 I didn’t get a lot of shop time this week. Just too busy with the everyday stuff that we all have to deal with. I did manage to glue and peg the two arched aprons to their corresponding shelves though.

I also added grooves to the sides, bottom rear apron and the upper shelf of the drawer bank that will house a panel to close off the back of the drawer back. The grooves in the apron and shelf were completed with my plow plane, but the grooves in the sides had to be done with a chisel since they were both of the stopped variety. I also added the decorative cuts to the foot of each side. Sorry no pics. You’ll just have to take my word for it.
This morning I woke up and put my big-boy pants on in preparation for the eight large holes that I needed to bore to create the decorative elements on the side panels. For a little background on that you can take a look at this post.
This decorative element is just four intersecting circles built around a central circle of the same diameter and the layout is pretty simple. First establish the center circle with lines radiating vertical and horizontal, set a pair of dividers to the required radius then strike the center circle. Then, without altering the dividers, strike four additional circles centered on where the center circle intersects the horizontal and vertical lines.

I then brought out the brace and set the expansion bit the same radius as the dividers. I then clamped one of the sides into the vise along with a backer board. Next I set the bit at the center of the center circle and bored in just deep enough for the spur of the expansion bit to incise the outline of the center circle. Then I cinched up my big-boy pants and started on the first of the eight holes.

On an earlier test piece I had discovered that it was far better to work on all four holes at once than to bore one entirely through before moving on to the next one. This goes a long way in minimizing the chances of blowout where the holes intersect each other.

Once all four holes were half way through I flipped the board over and started on the reverse side.

The one downside to working on all four holes at once is that the waste area starts to get weak. So I had to stop short of boring all the way through.

I finished off removing the waste with a keyhole saw and a light touch. As long as I didn’t try to steer the saw, it would track along the established wall of the hole and free the reaming waste.
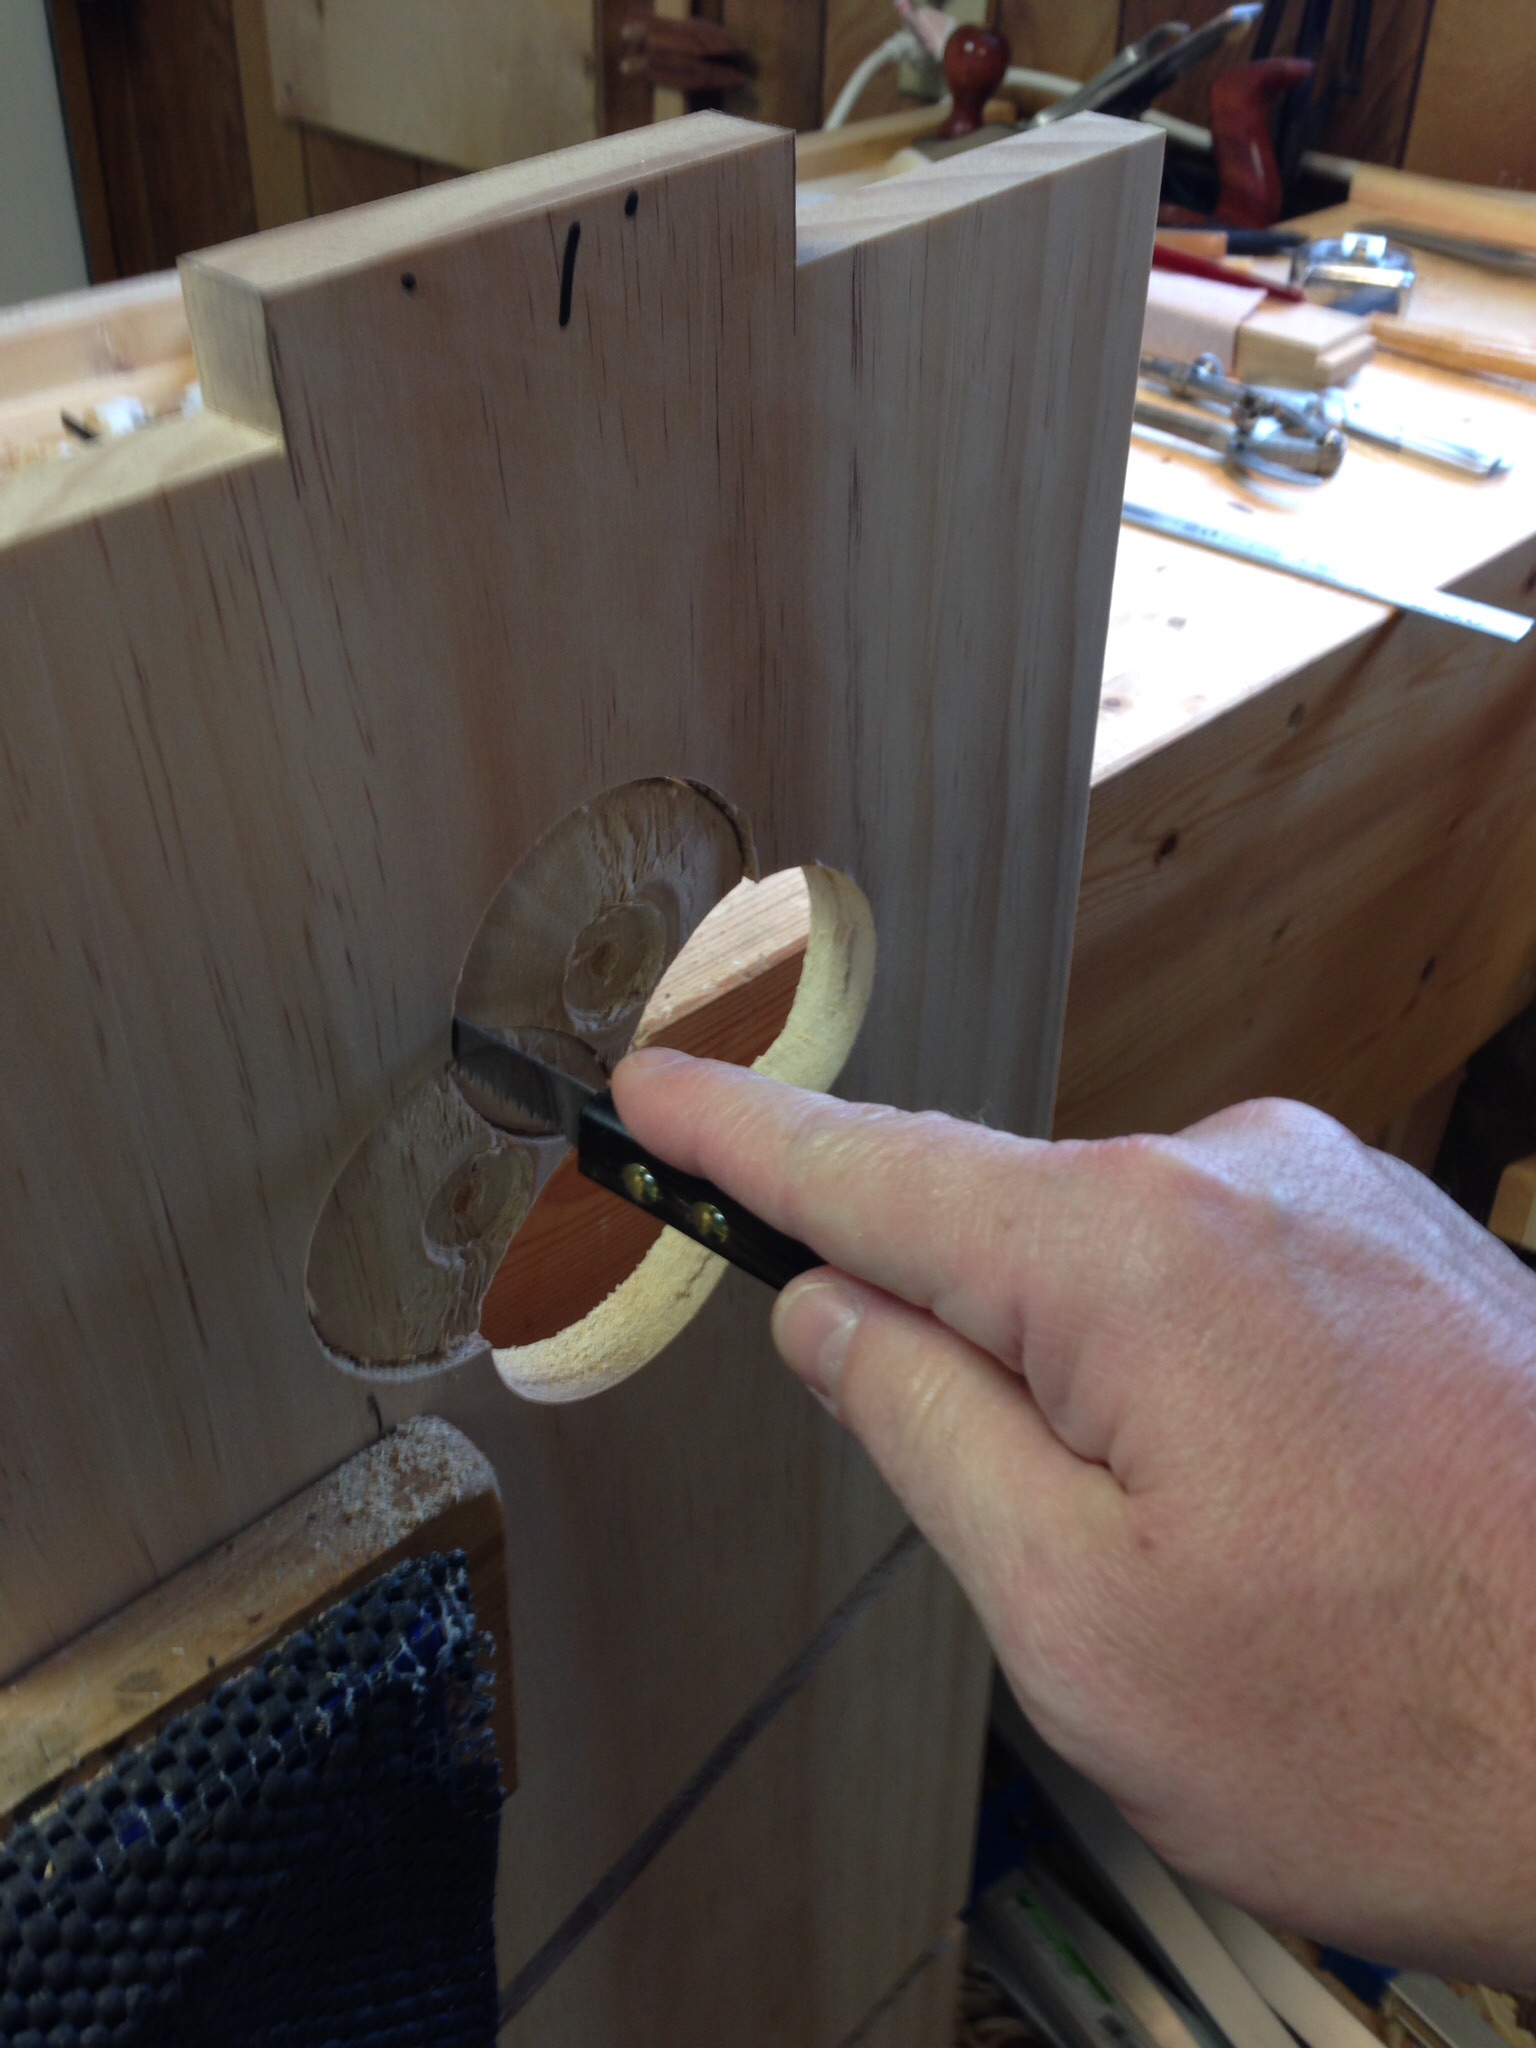
With the hard part out of the way (it really wasn’t as much work as I had feared), all that was left was a little claenup with a rasp an chisel. With that bit done I was left with this:

I could have stopped there, but the design looked a little flat and the hard edges were not adding anything either. I had planned from the start to add a cove detail to this design so that is what I tackled next.
I set my compass at 10mm and set out an offset around the design.

Then I grabbed my gouge and mallet and began carving in the cove. Grain direction dictates all for this type of work and I manged to not split out anything that I wasn’t supposed to.

A little sanding, t0 clean up any inconsistencies, and I was done. To clarify, I did both sides of each.

To finish off my time in the shop today I knocked out a raised panel for the back of the drawer bank. Nothing fancy, just a piece of pine sized to fit. Then the edges beveled on both faces until it would slide into the established grooves.

Finally a shot of the end of the bookcase showing the decorative elements that I added. The foot details will receive the same cove detail as described above. I add that once the case is assembled and the lower aprons are installed.

Tomorrow I’ll give all of the parts a final cleanup and glue and peg this thing together.

Great work. Looking awesome!
Thanks Jeff. Its starting to come together.
Looks fantastic!
Thank you Wesley. So far, so ggod. We’ll see if my luck holds out.
Super work, Greg! Beautiful!
Thanks Emilio!
That is a really nice ornamentation. Great job!
Brgds
Jonas
Thanks Jonas. I’m pretty happy with the way it turned out.
Didn’t realize you were going to add the cove to the four-circle motif. That had to be a nervous time. Looks great, though.
Hi Matt. Thanks. Without some sort of edge treatment it just looked like four holes. Not very visually interesting. I was actually surprised by how easy it was to add the cove. I thought it would be a struggle, since I haven’t tried it before, but it was not too bad.
Those cut throughout are pretty amazing
Thanks Alex. (don’t you hate auto correct sometimes?) 😉
The iPhone and I do not get along….
Wow I’m impressed. First with how well the detail turned out and secondly with doing the cove with a gouge and it turned out great. Nice work
Thanks Randall. It really is not that difficult. I thought it would be too, but once I started with the gouge I found that most of the difficulty was in my head. Actually doing it was pretty simple.
It looks really good! I’m impressed with what the cove did to it. Those expanding bits can be useful sometimes. I had a hard time with them until I read what Aldren Watson has to say about them.
Thanks Brian. I completely forgot to consult my copy of Watson. Just pulled it out and read through the section on expansion bits. I wish I would have done so BEFORE I started. It would have saved me a lot of trail and error.
It looks really nice
Sylvain
Thank you Sylvain.
adding the cove has made it ‘pop’ looks great
When you say pegs. What do you mean dowels
Thanks Peter. I typically peg my stuff together with bamboo skewers. In this case 1/8″(3mm) diameter. I’ll cut them to length and taper them with a knife. I’ve had good luck with them so far.
Pingback: Bookcase-Progress 6 | GREG MERRITT – BY MY OWN HANDS
Pingback: Bookcase-Progress 4-Structural Notes | GREG MERRITT – BY MY OWN HANDS
Impressive – more and more so with each project. You continue to inspire me. Right now I need to be inspired to set up a shop (again).
Wow! Thank you Denise. I know what a daunting task setting up a new shop is. I’m still trying to get my new space up and running. I set it up just enough to get started working and I’m going to let the work itself shape the final setup.
Hey Greg,
I love that four circle design. I never would have thought to do something like that. Very creative, Bravo!
Jonathan
Thanks Jonathan. It is more common than you might think. Now that its on your mind, you start seeing it all over the place. 🙂