
 There are several forms of traditional Japanese bookbinding. Most of which originated in China. Including the style that I am focusing on, four-hole binding, also referred to as stab binding or pouch bound. The method involves punching (stabbing) holes along the spine with an awl and sewing the book together. Traditionally a long sheet of paper was folded in half, right side out, and the loose edges were bound at the spine. Thus each page formed a pouch. This allowed for the use of thinner paper since no printing was done on the opposite side of a page.
The method also lends itself to binding individual sheets and the minimal tools involved makes the method readily accessible. Even the absolute beginner can achieve good results. However, as is with most things, the art and durability of the finished product lies in the material selection and in the details of the execution of techniques.
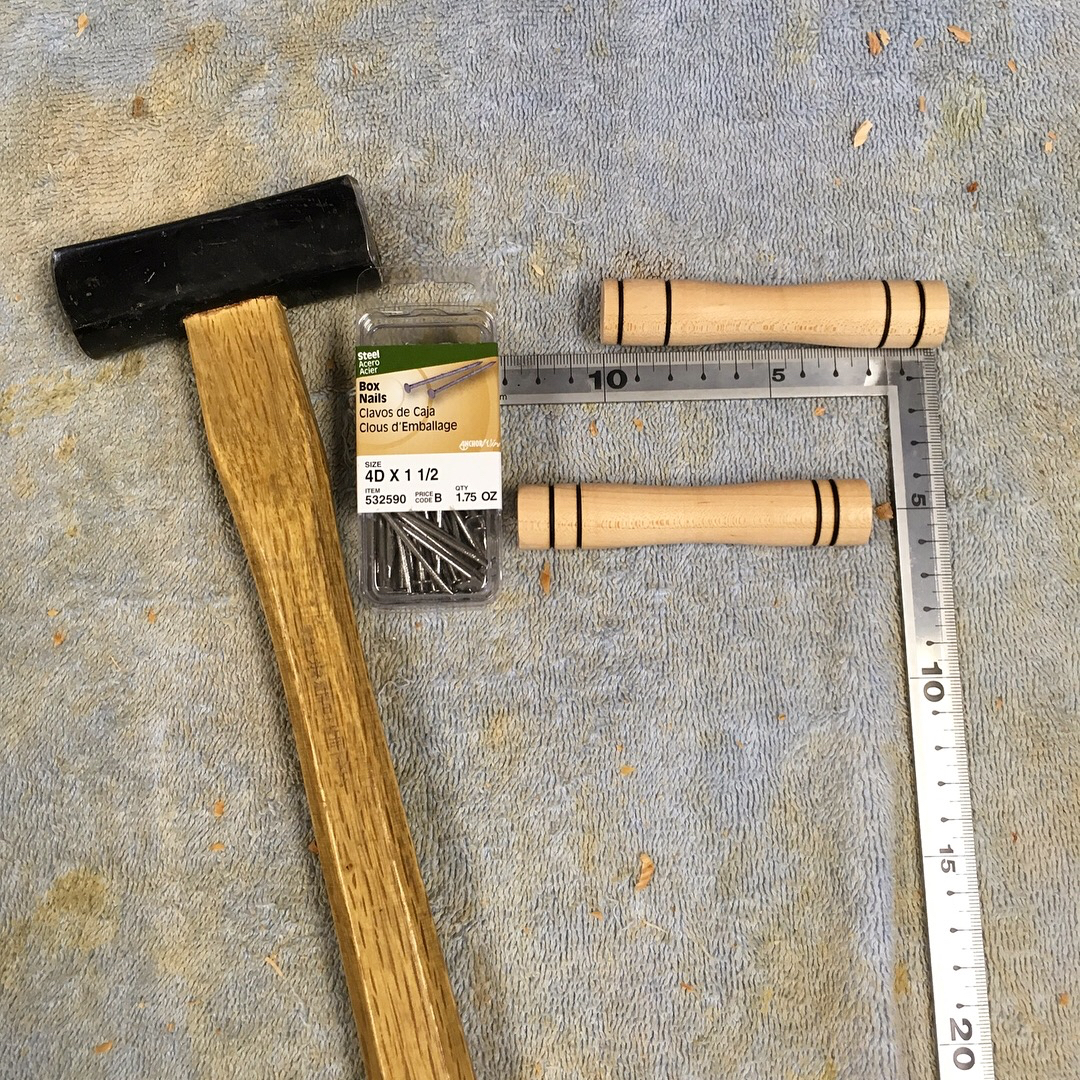
The minimum tools required are an awl, some sort of mallet with which to drive the awl, needle and thread. Of course there are an array of refined and specialty tools that have been developed specifically for the task. One of those tools is the nailhead gauge and is the focus of this post.
The nailhead gauge is a user made tool that simply consists of a headed nail driven into the end of dowel to a depth that creates the desired gauge distance. It is usually double ended. At its most basic, stab binding requires two gauge distances. One for the offset of the stitch line from the spine and one to locate the head and foot holes of that stitch line. These two distances also correspond to the corner wrappings found at the head and foot of the spine on some books. More on that later.
For my purposes, I have chosen to set my stitch line 10mm from the edge of the spine and to locate the head and foot holes 15mm in from their respective edges. I have also decided to employ a decorative stitching pattern, Kangxi, that requires an additional hole at the head and foot. That hole is located half the distance of the primary distances. So I needed to make two gauges. One with a 15mm/10mm setting and one with a 7.5mm/5mm setting.
In my eagerness to get started I grabbed a couple of scraps and turned them down to sever as the handles and installed nails.
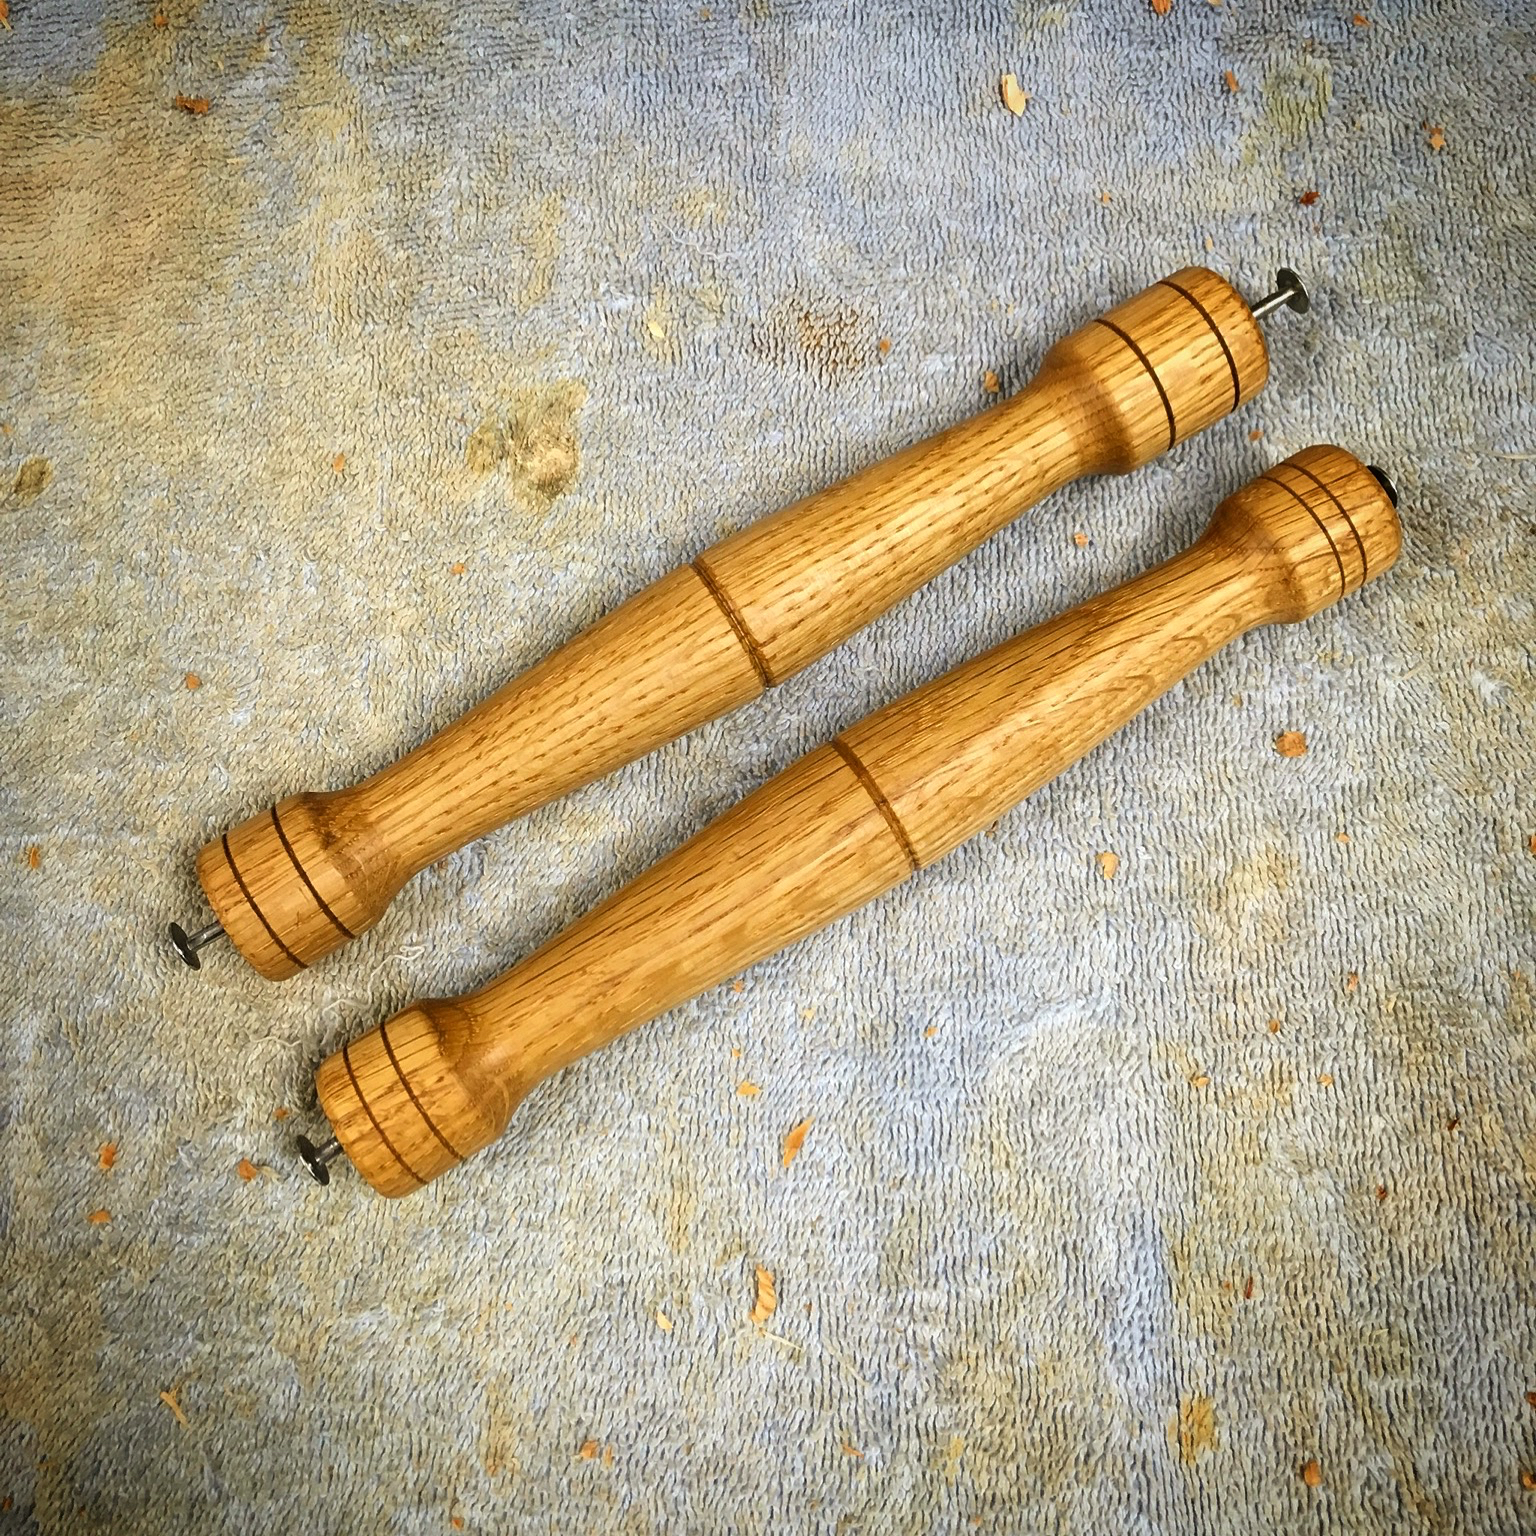
I used these gauges on my first binding attempts and they functioned as intended. What I discovered in use however, is that I had made them far too large. Both in length and in diameter. So I sat down at the drawing board and worked up a formal design for my next set.
This morning I rummaged through the offcut bin and pulled out a piece of maple that was long enough to yield two gauges. I first knocked the corners off at the shave horse with a drawknife.

Then turned the desired shape on the springpole lathe.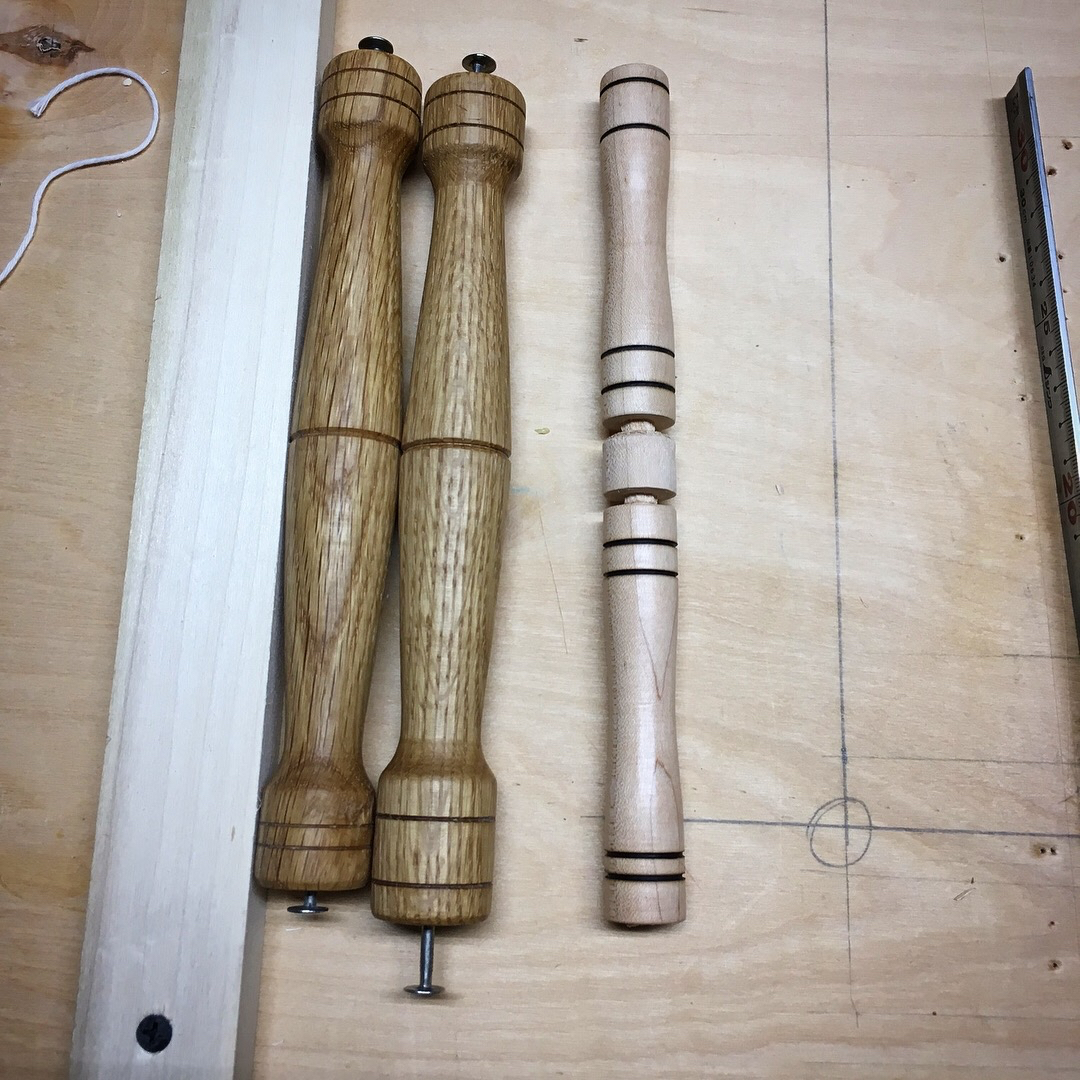
I then cut them loose.
Then it was simply a matter of drilling some pilot holes and driving the nails in to the required depth.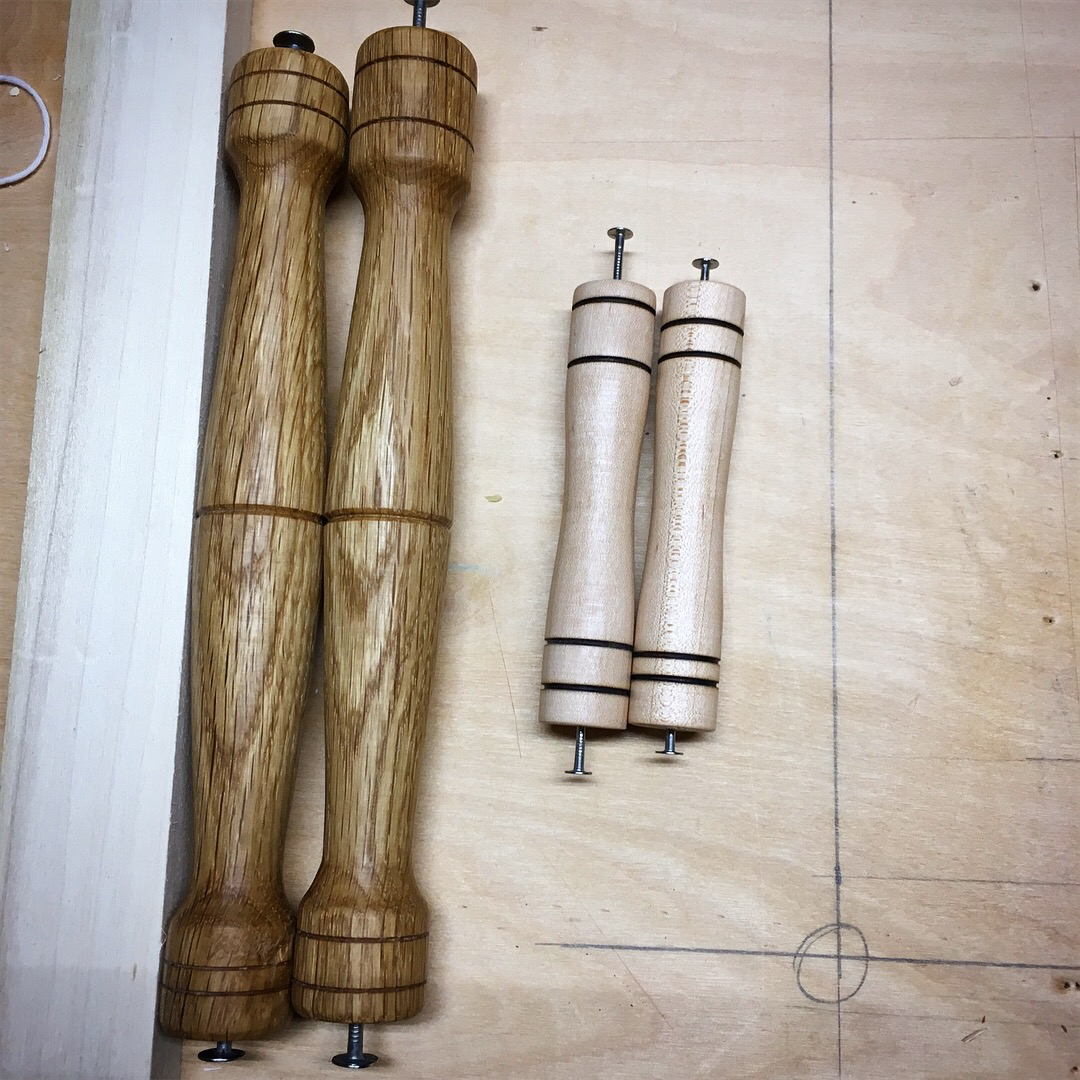
As you can see, these new nail head gauges are about half the size of my original attempt and should be much more pleasant to use. I’ll put them to the test soon. Until then, here is a look at my attempts at Japanese bookbinding so far.


I haven’t been commenting much, sorry about that. However, these books look really wonderful! Nicely done, Greg!
Thanks Brian. No apologies needed. I’m guilty of the same. Been wrapped up in my own world here lately.
Pingback: Japanese Bookbinding-Part 2-Work Board | HILLBILLY DAIKU