
 I was able to make a good start on the HB Tansu this weekend. The weather was tolerable, still a bit on the humid side, and there was no other pressing chores that needed to be done. I started off by cutting all of the frame pieces to rough lengths. Then ran all of them through the thicknessing jig. It worked great and went fairly fast. Then it was time to mark out all of the joinery. There’s a lot of it, so it was a little intimidating.
 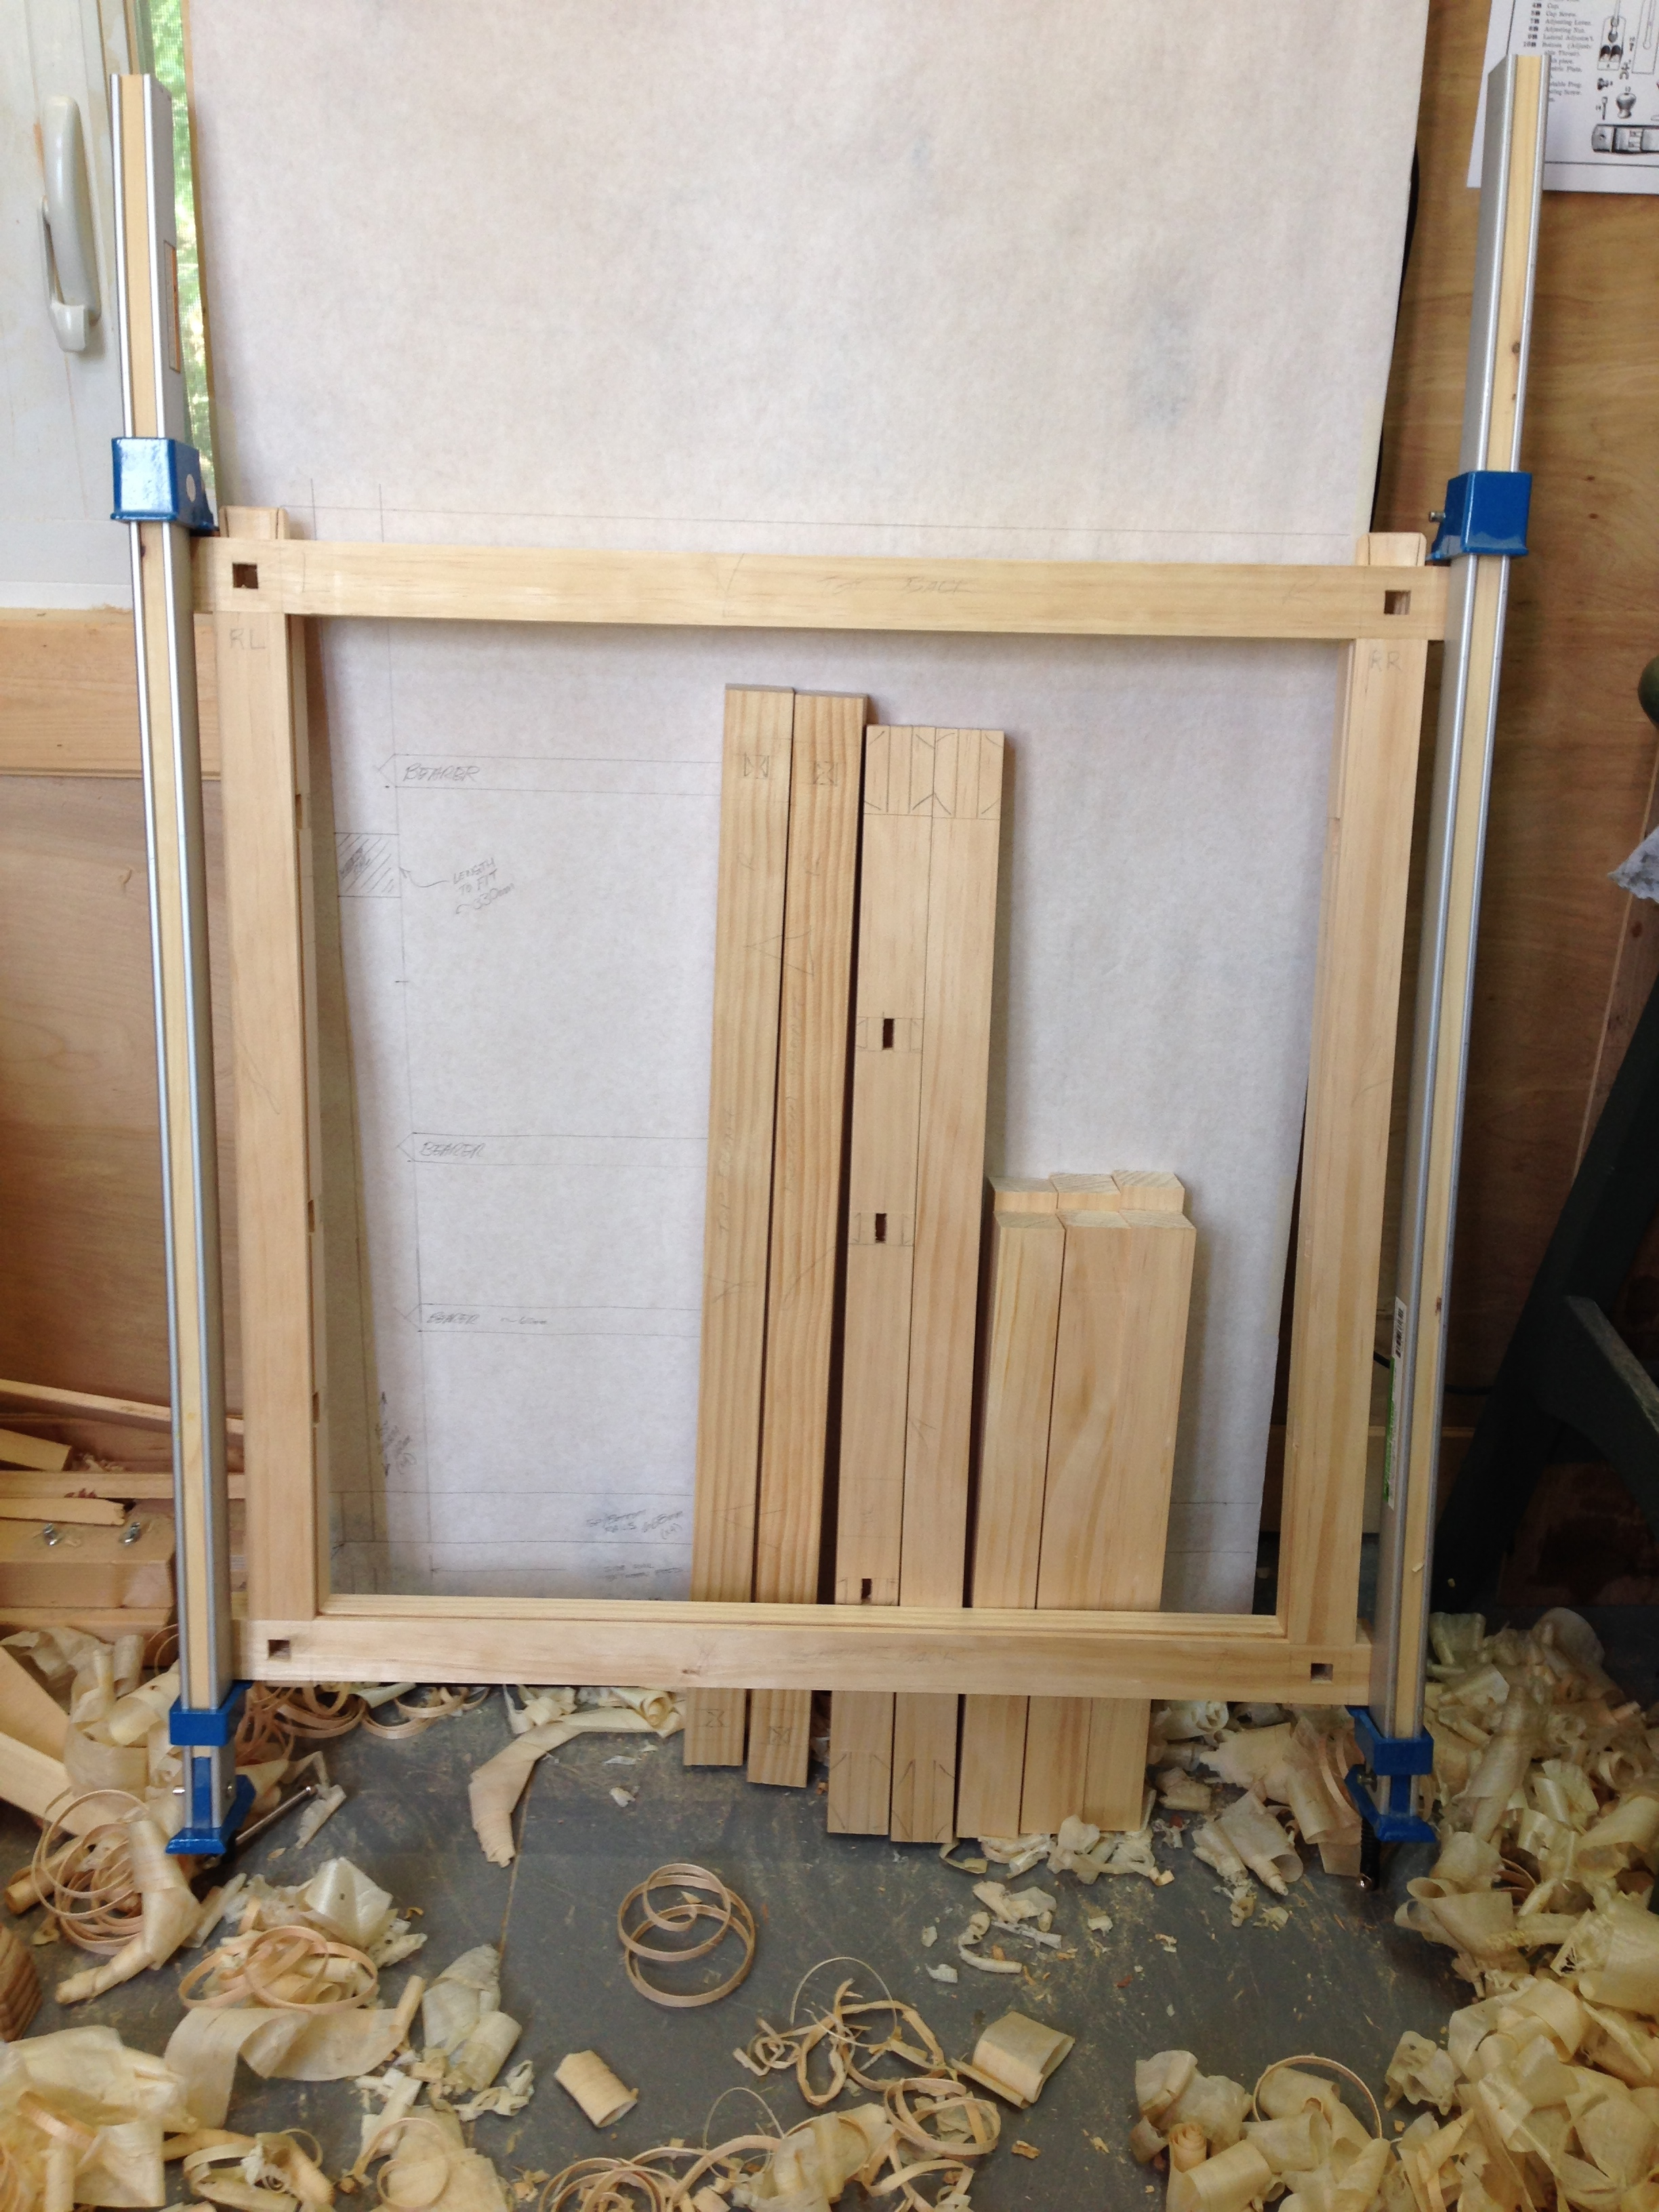 I started with the corner posts and marked them out for tenons top and bottom and all of the mortises for the front and rear bearers as well as the handle rails. My dedicated marking gauge worked as intended and made quick work of the layout. I also marked out the required grooves for each post. Then I moved on to the top and bottom rails and marked out the mortises that make up the corner joints and the required grooves to house the top and bottom panels.
I decided to start the actual cutting with the grooves. I find it much easier to keep track of the orientation of each piece if the groove are present. To plow the grooves I employed my secret weapon, I’ll write a post on this later, and made quick work of all but a few of them. This is the first project that I have done that requires stopped grooves. For those of you in the hand tool only column, you know that stopped grooves can be a pain to make. My approach was nothing special. I simply used a 6mm chisel to remove enough waste at the beginning and end of the groove to clear the skate on my plow plane. After that, I finished the groove with the plow plane.
From that point on it was just a matter of chopping the mortices. I chopped all of the required mortices but left the lapped portions for the bearers to be fitted to the actual bearer pieces. I also managed to fit the tenons for the rear frame and have it clamped together in the photo above.
So far, so good. No surprises, no mistakes. Of course there is a long way to go, so there will be plenty of chances for me to screw it up. Hey, I also drew up some sectional views to help visualize the location of all of the components and that drawing can be found below.
Instructional Drawing:
Greg Merritt

Greg I really have a lot of respect for the time you have taken and how thorough you have been through sketches, mock ups, trials etc. And now finally the ‘work’ has commenced and I believe you have armed yourself with all the tools necessary to create a wonderful piece of your own design. Well done sir, and thank you for choosing to share with us.
Brian
Thank you Brian. I’ve always wanted to create a piece of my own design. I’m sure there are many others with the same desire. So I thought that sharing my journey might be useful to someone else. Like I’ve said before, I’m not an expert in anything. The only thing I can contribute is my experiences, failures and sometimes my successes. I’m positive that the HB Tansu will be 2 of the 3. Time will tell which 2.
Again, thank you for your kind words.
Greg
Wow Greg that is a lot done in not a lot of time, what timber are you making it from?
Yep, the first weekend went pretty well as far as productivity. I’m building this first one out of home center clear pine. My local Home Depot actually stocks clear pine 1-1/2″ square stock 8ft long. A lot of folks, myself included, are limited as to what lumber/timber that we have available. One of the secondary goals of this project is to build with only readily available stock. 2x construction lumber could be used for the framing as well. With a little imagination this project can be adapted to a whole host of different materials. Actually, this project could be made from salvaged pallets if the need arose.
Greg
Greg, how are you going to mark out the peaked (triangular) part of the horizontal bearer joints? The dedicated marking gauge you made will ensure the mortise and tenon part is right on, but the angled part of the joint will show up any little discrepancy.
I was trying to think about how I would deal with that. It seems like if you had a template that you could register against the shoulder of the tenon on the horizontal bearer and also against the edge of the vertical post you could knife them in directly. You’d want a way to make sure the template was accurately centered in both locations too.
Hi Joe,
Its actually so easy I never gave it any thought until you asked this question. Easy with the right tool. I use a Japanese miter square for laying this element out. The base is mitered in line with the blade. With the shoulder lines knifed on the work pieces, I just slide the miter square to the mark and knife the 45deg angle, flip and do the same for the other side. All cuts are on the waste side of the line. It looks harder than it actually is. The Japanese miter square is the key. I doubt that I would be able to do it consistently using my Starrett combination square.
Greg
Ahh, perfect. A new tool that I need!
At least it’s inexpensive. LOL