
 Part two of this little project starts with the installation of the rope grommet at the top of the bag. This operation would be difficult if not impossible without the seaming palm. To sew the grommet in place requires the needled to pass through several layers of canvas on each stitch. The seaming palm gives you the protection needed as well as allowing you to use the power of your entire arm to push the needle
through the canvas.
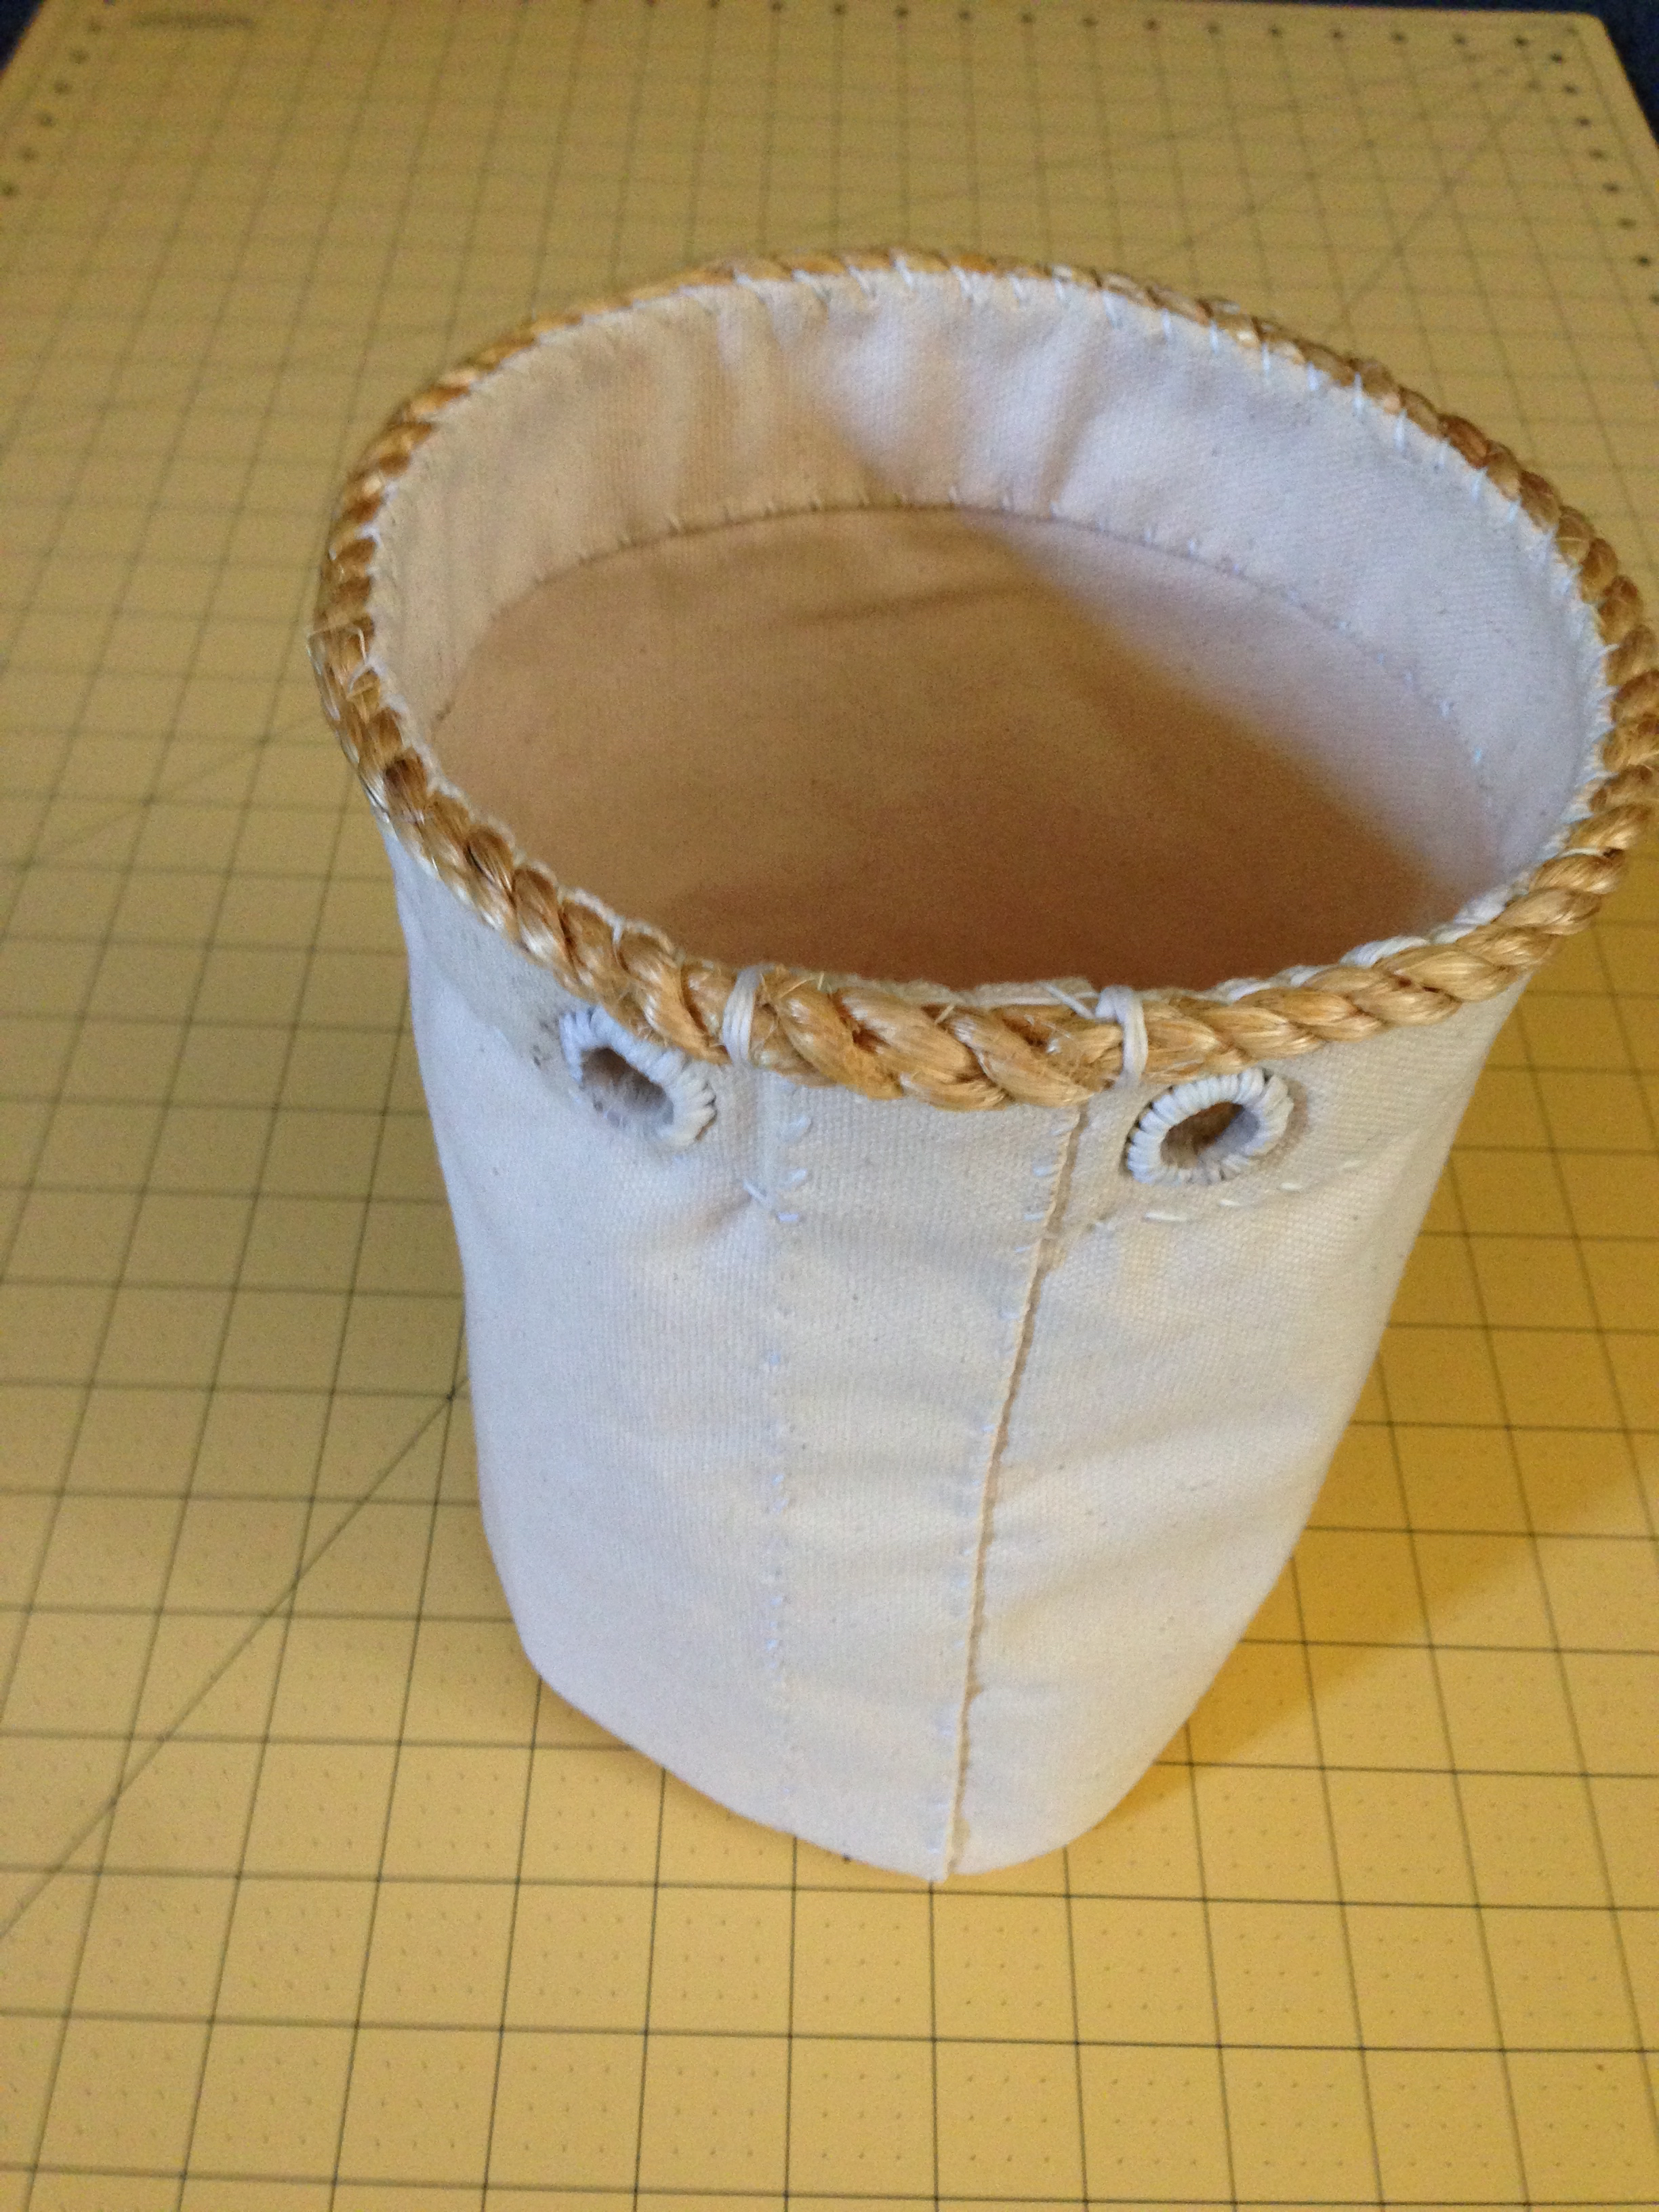
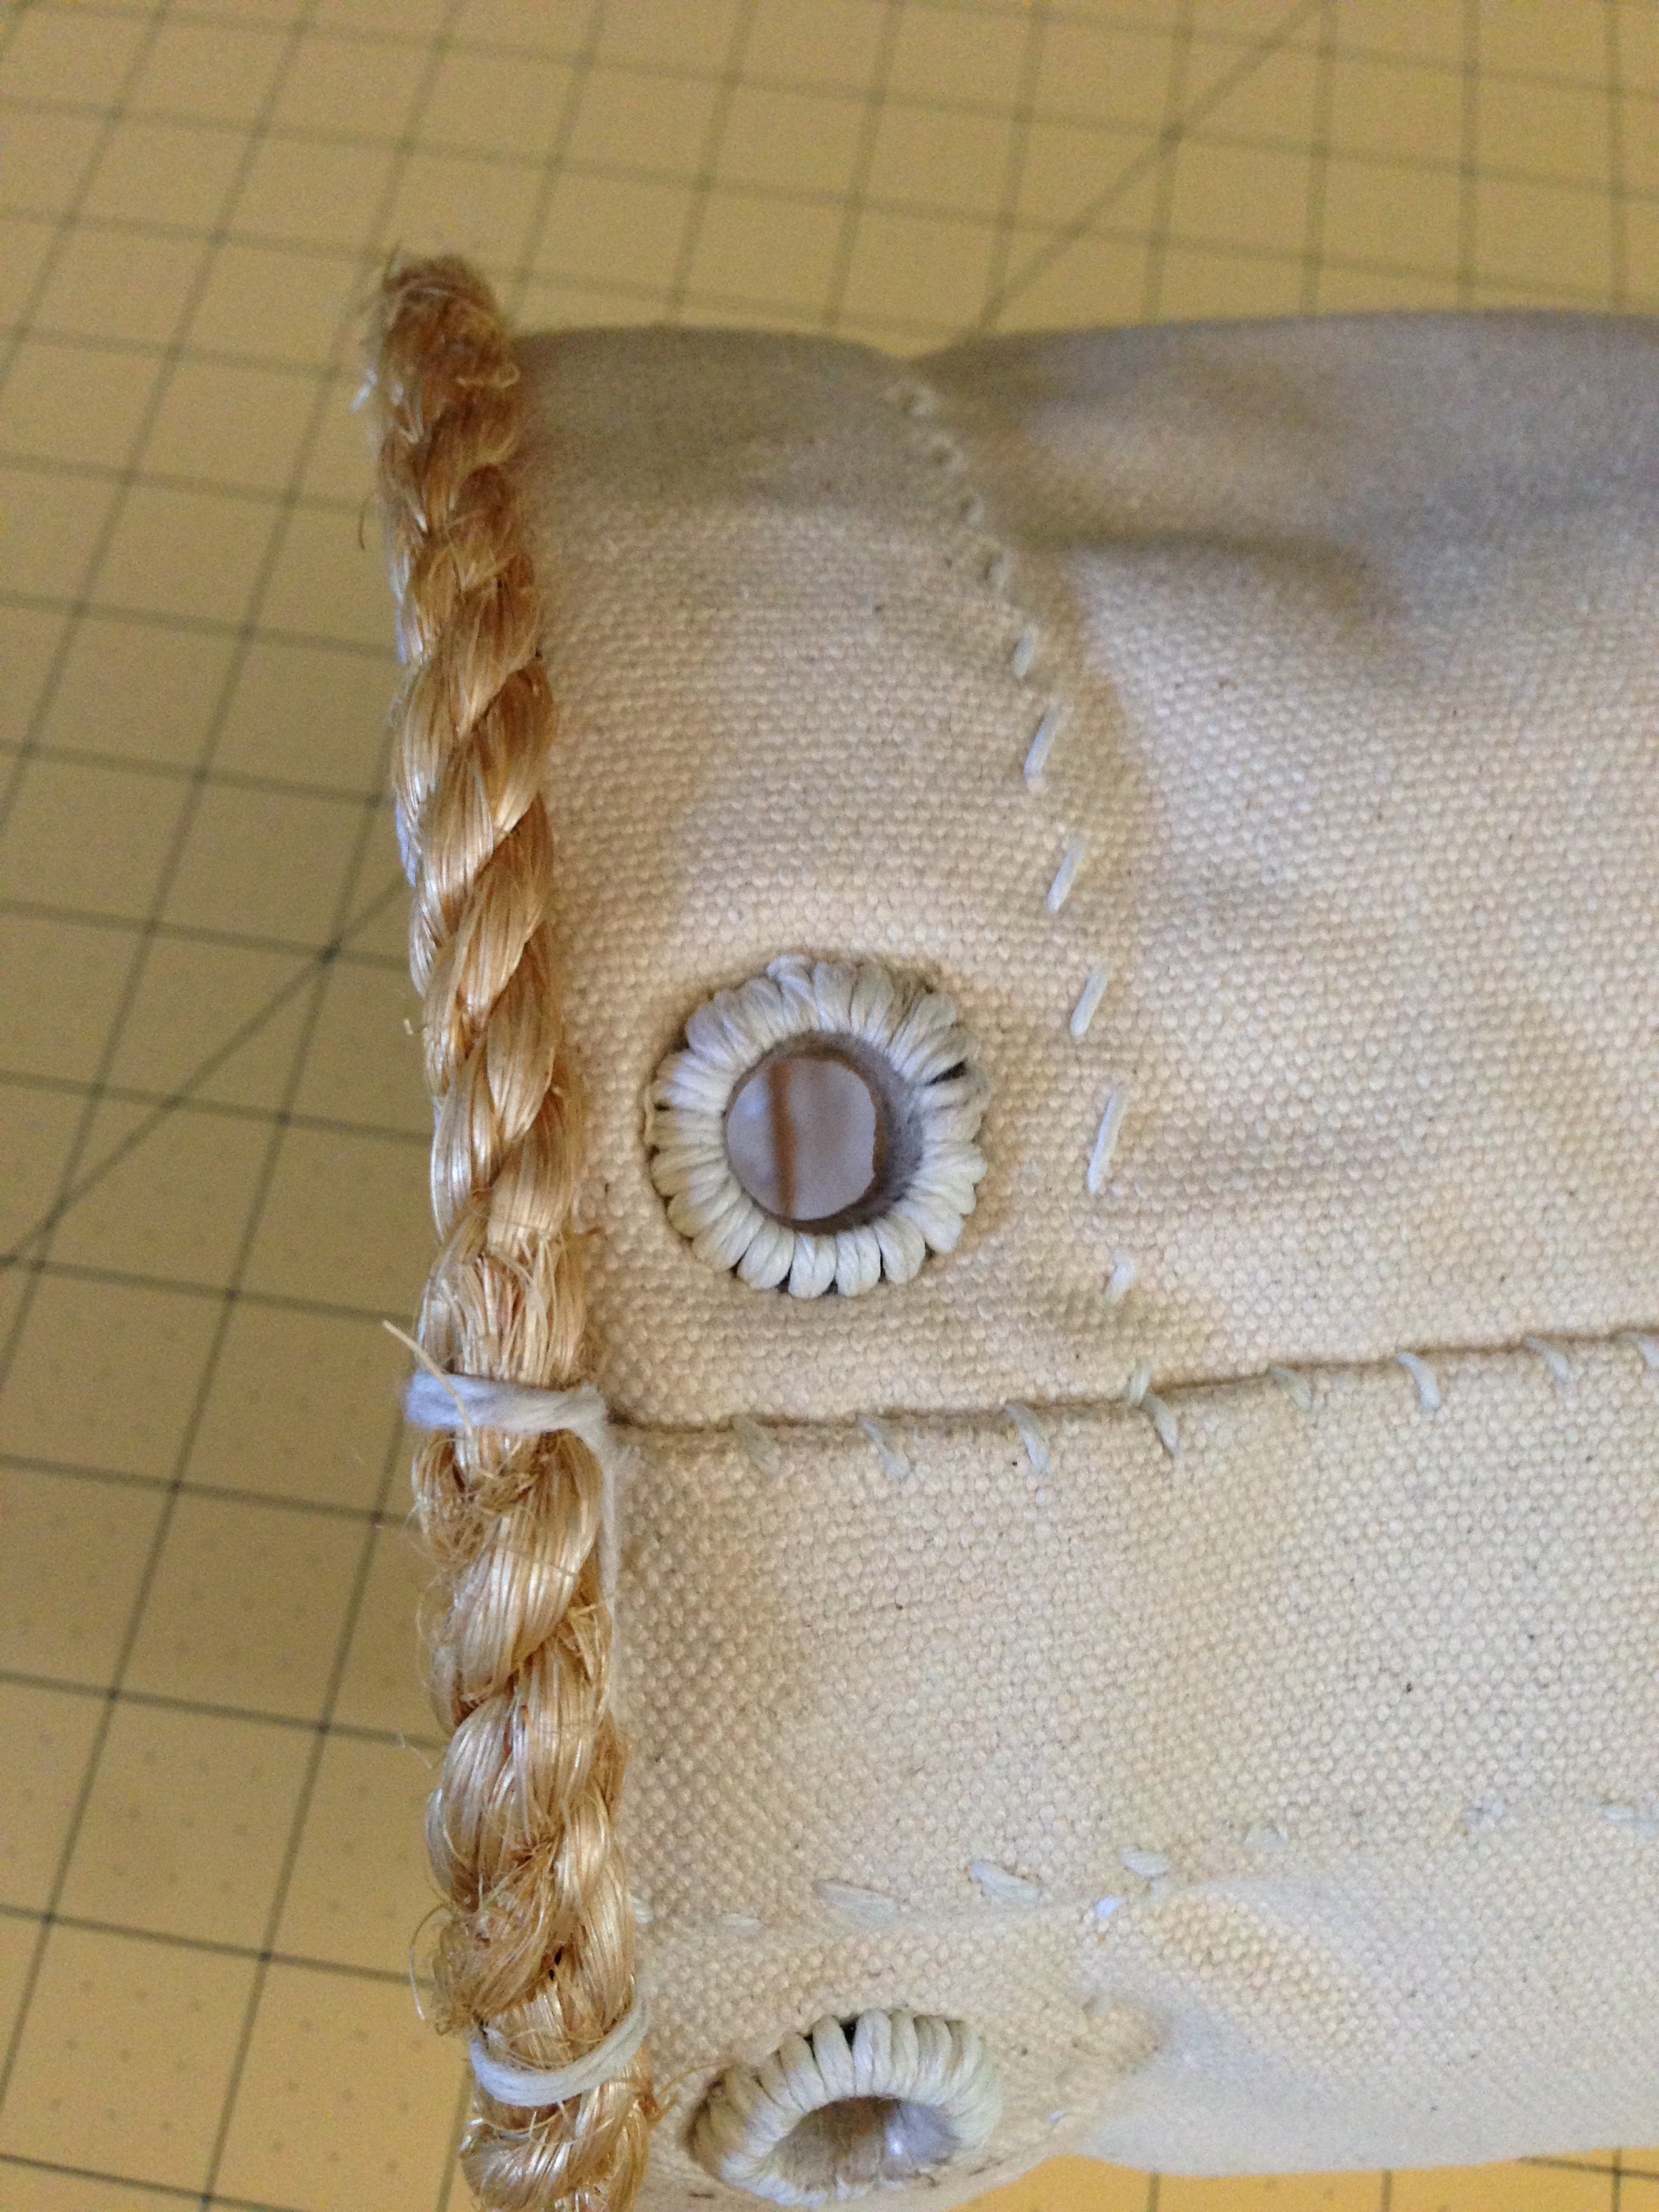
With the rope grommet installed I then added the small grommets through the canvas. These are made by sewing a small twine grommet around the hole in the canvas. Once all the stitching was in place I shaped the grommet opening by reaming it with the fid. Like with the seaming, I’m a little rusty at installing grommets but they turned out decent none the less.
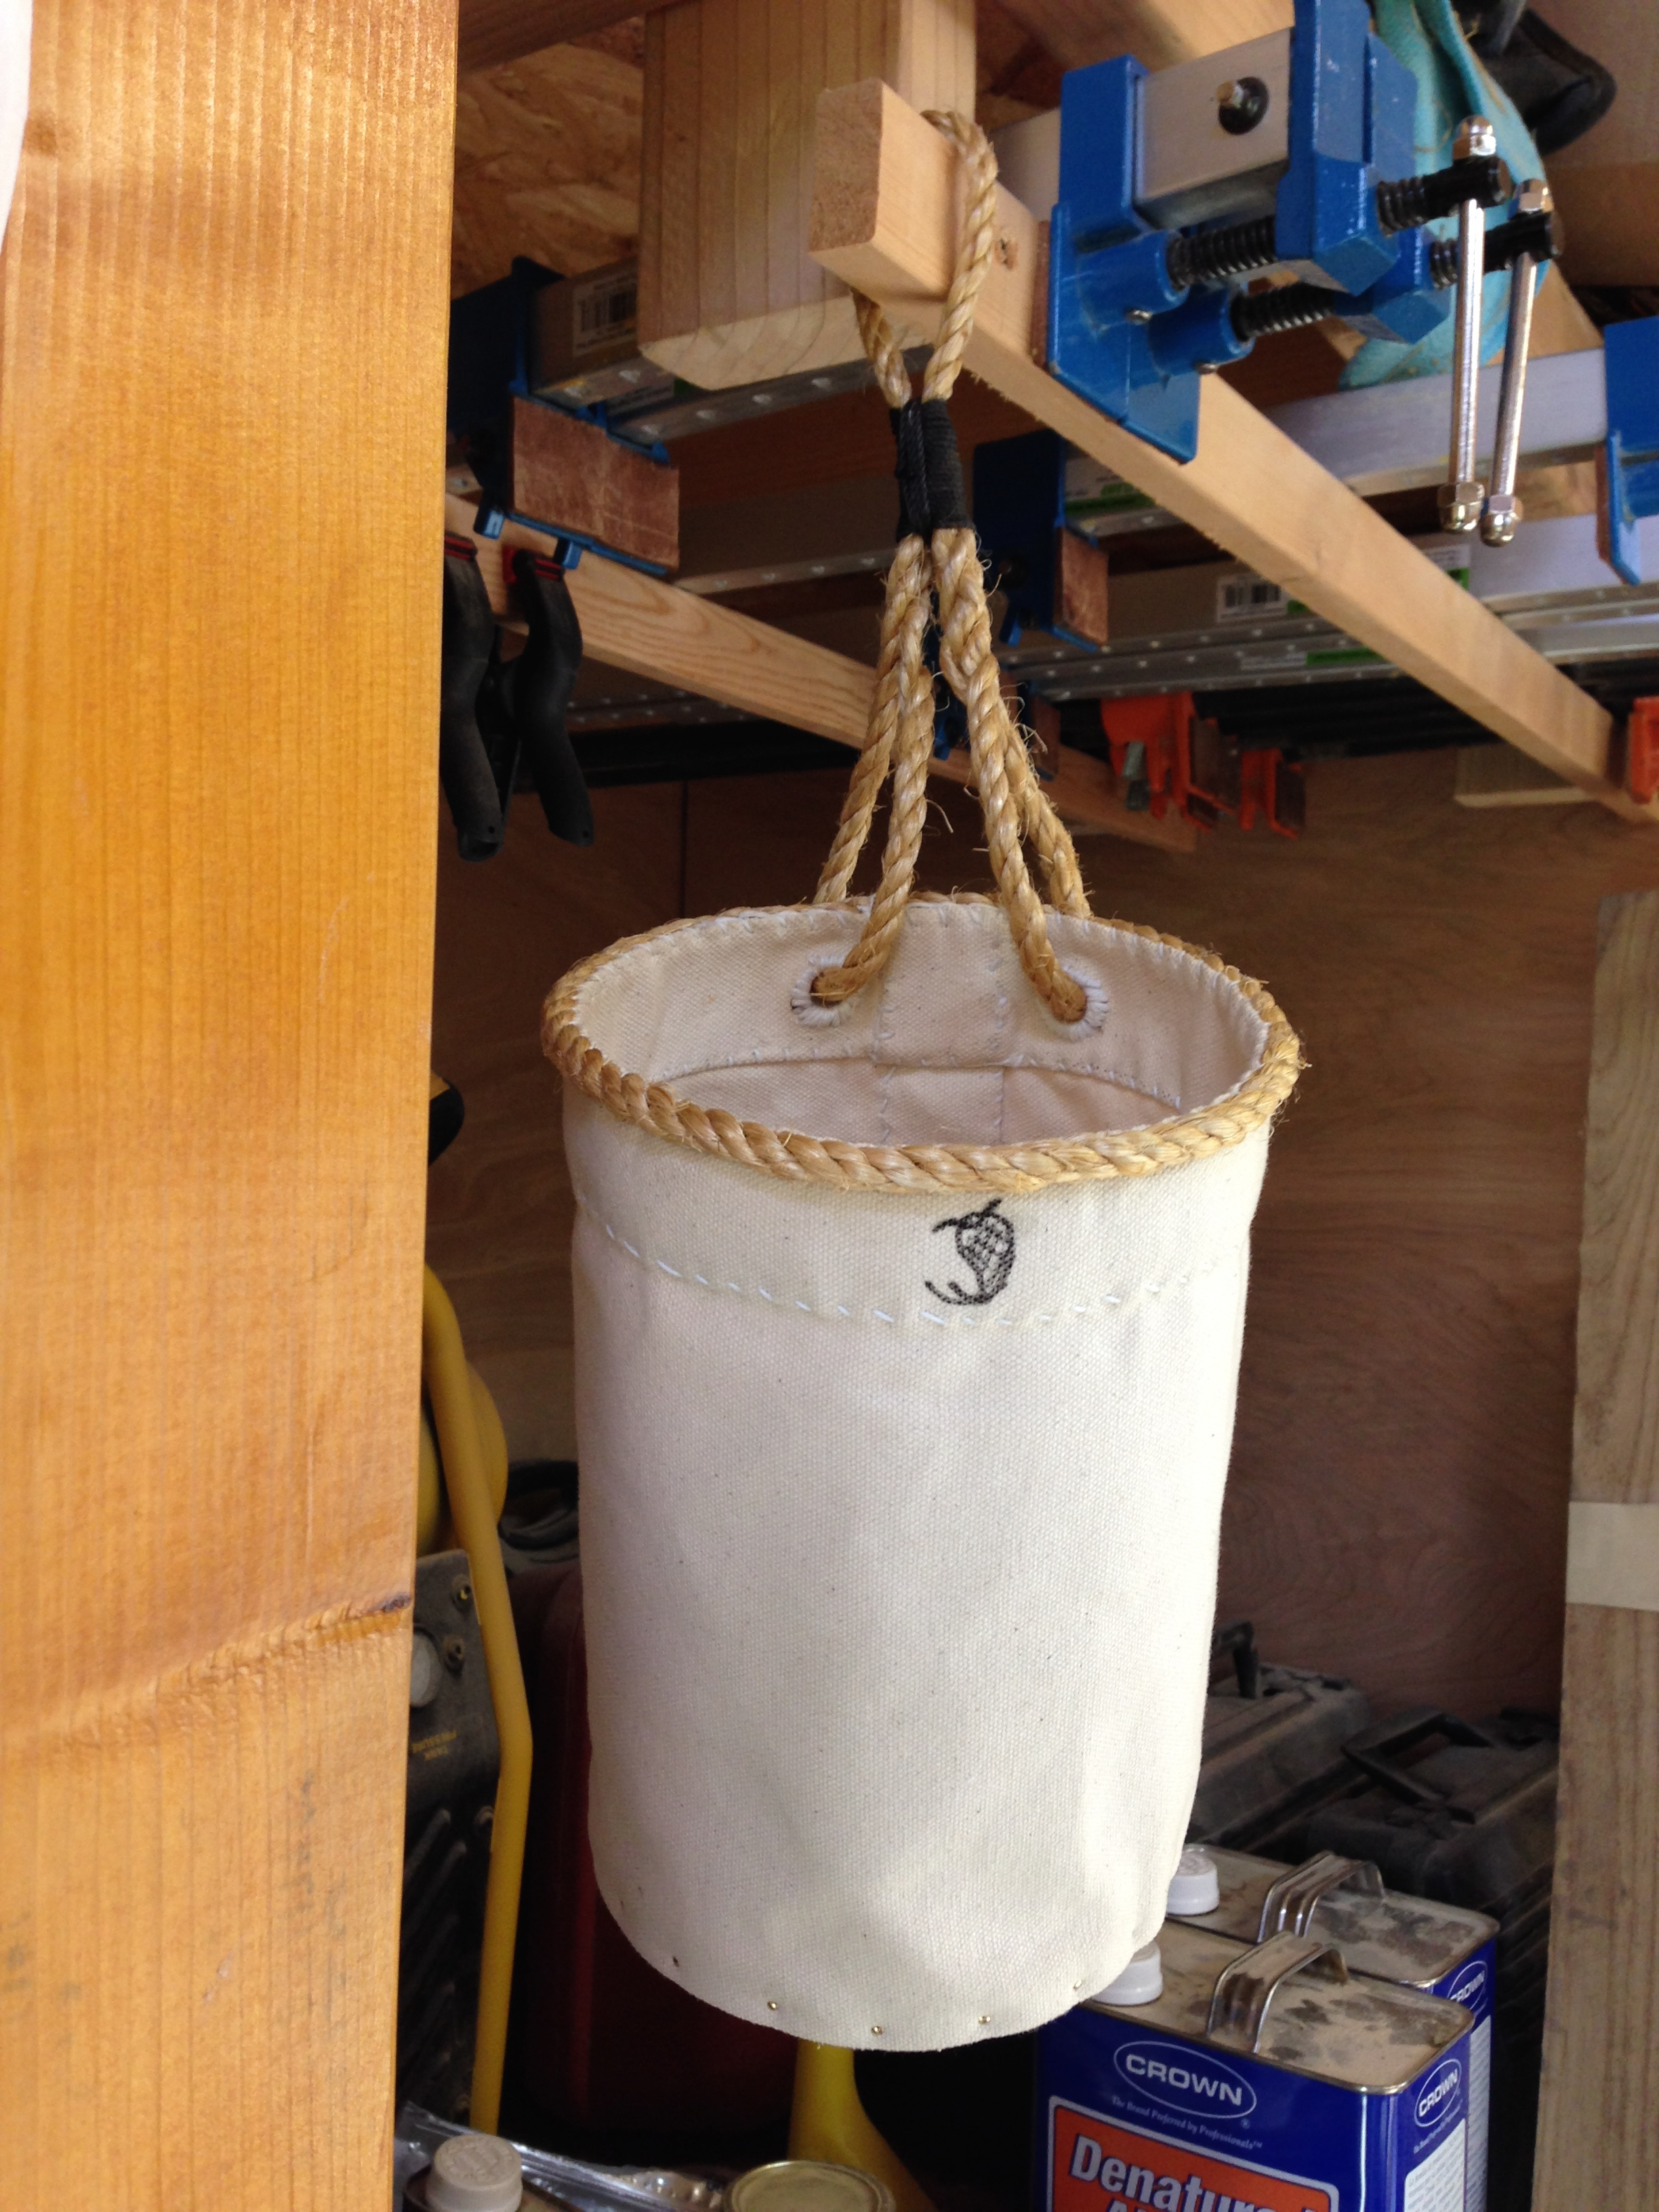
The handle is made up of a length of 1/4″ rope. The ends are threaded through the grommets and then an eye splice is made to secure it. The top loop in the handle is made by clasping on a seizing.

Then it was time for the bottom. Just a simple wooden disk. I marked out the circle with a pair of dividers. Then cut out the rough shape with my bow saw. A little work with the spokeshave and a the rasp resulted and I had a circular disk for the bottom.


The bag is then slipped over the wooden disk. To secure it in place I used some brass tacks spaced about an inch apart. It’s bottom is plenty strong but I could have made it just a little larger in diameter for a tighter fit.


That’s it. Not too bad if I do say so myself. I hope that this little project gave you some new ideas. Sewing and canvas work is a handy skill to know how to do. We can’t make everything of wood. 🙂
I found this video on YouTube. It’s an interview with an old salt from Australia. About half way through the gentleman gives an overview of the tools and their use. He doesn’t mention it, but keep an eye out for the sailmakers hook.
Greg Merritt

I love it. Nice work!
Thanks Brian.
Cool project. A sewing awl might also work well for that sort of thing. I use mine with a lock stitch for that kind of thing and it goes pretty rapidly.
Thanks Mark.
The sewing awl is handy for some stuff, but not this. This style was developed around sewing large sails. When doing that you only have access to one side of the sail. It’s too large to flip and a lot of the seams are towards the middle of the sail. So this is a running stitch and is done entirely from one side of the material.
Greg
It doesn’t look like the ditty bag I had in boot camp. I like how your bottom for it came out.
I saw the hook in use – I guess the holes it leaves aren’t a problem?
Nope. My Navy issue was a white plastic mesh thing with a drawstring.
The bottom worked out pretty well on this. Just enough weight to make it stable when sitting on the bench. The hook spreads the fibers in the canvas, it doesn’t cut them. Once you remove the hook the fibers spring back leaving no evidence of a hole.
Greg
Nice job, I think the grommets came out really well.
Brgds
Jonas
Thanks Jonas. I was starting to get back into the swing of it by the time I started the grommets.
Pingback: Ditty Bag with a Wooden Bottom-Progress 1 | GREG MERRITT – BY MY OWN HANDS
Nice work! A couple of canvas sewing questions if I may. I have a few Japanese saws. I want to make a canvas cover to protect them. I’m puzzled over which weight canvas to use. I have a canvas tool roll from Blue Spruce. None of my local fabric stores carry canvas the same weight, so I’ll have to buy online but I don’t know what weight to order. Googling hints at 10 or 12 oz canvas for tool rolls. But is this too heavy? Too light? Can you offer any suggestions?
For sewing, I’ve seen Speedy Stitcher or needles and sailor’s palm methods. Any advice on choosing one over the other? What size needles should use?
I’m sure by the time I’m done, I’ll spend far more that the $20 or so for a commercially made cover. (See Steve Ramsey, Woodworking for Mere Mortals https://www.youtube.com/watch?v=Es74ScqwMlY –especially his last one 🙂 ) But it won’t be as much fun?
Thanks for the help!
Bob
Thanks Bob. 10-12oz canvas should be a pretty good weight for a tool roll. The little ditty bag above was made from 18oz canvas and is pretty stiff.
I have both the sewing palm and the speedy stitcher. Can’t remember the last time I used the speedy stitcher. I find the sewing palm much more versatile. It’s an investment, but if you plan on tackling heavy duty sewing, its worth it. Good #18 sail needles are what I end up using more than anything. You will spend more than $20 getting setup, but you’ll get a great deal of use out of the equipment.
Thanks Greg, I appreciate the advice! I’m excited to give it a try. Two questions I forgot to ask: The type of thread that works best? I was thinking about upholstery thread, though I not sure it is strong enough to not break going through many layers of canvas. Or perhaps waxed linen thread? Your ditty bag seems to be made with something almost like dental floss.
Second question, is stitching, with needle and sewing palm, usually a simple running stitch? Or how about saddle stitch? When I hand-piece quilts, I do a running stitch. After every 8-10 stitches, I do a short back-stitch. The idea being when the stitch eventually wears out, only a small gap (hopefully) will open instead of the entire seam.
I really enjoy reading your blog. You give me lots of ideas to think about and try.
I use #3 sail twine. Well waxed with beeswax. A proper sailmakers stitch is basically a running stitch but its done completely from the top side of the material. The stitch is pulled tight enough to set the twine slightly lower than the surrounding material. This prevents premature wear on the twine. The best info on this can be found in a book called “The Sailmakers Apprentice”. It covers material, tools and technique.
Thanks for the book reference. I ordered some 12 oz canvas and started mocking-up a pattern.