
 Spreading glue is a necessary task in woodworking, no matter your choice of glue. If you use PVA glue then a disposable brush is probably the best choice. You may not even use a brush, I have spread a lot of PVA glue with a sliver of wood scrap. Hide glue is different though.
When hide glue is at its proper working temperature it is much more viscous than PVA. This viscosity necessitates the use of a brush for applying the glue. The brush doesn’t need to anything fancy. The bristles need to be stiff enough to push the glue into the joints and the brush needs to hold enough glue so that you are not constantly going back to the glue pot. I like to think of it as a glue mop more than a glue brush.
You can purchase a purpose-built hide glue brush, here and here. They are not too expensive, but it seemed to me that making one or two shouldn’t be too difficult. So that is what I set out to accomplish.
The first thing I needed was a source of bristles. Traditionally horse hair or hog bristles were used. I don’t have a source for either of those, so I headed to the Home Center. There I found a $2, natural bristle paint brush. These are the el-cheapo, throw away brushes.
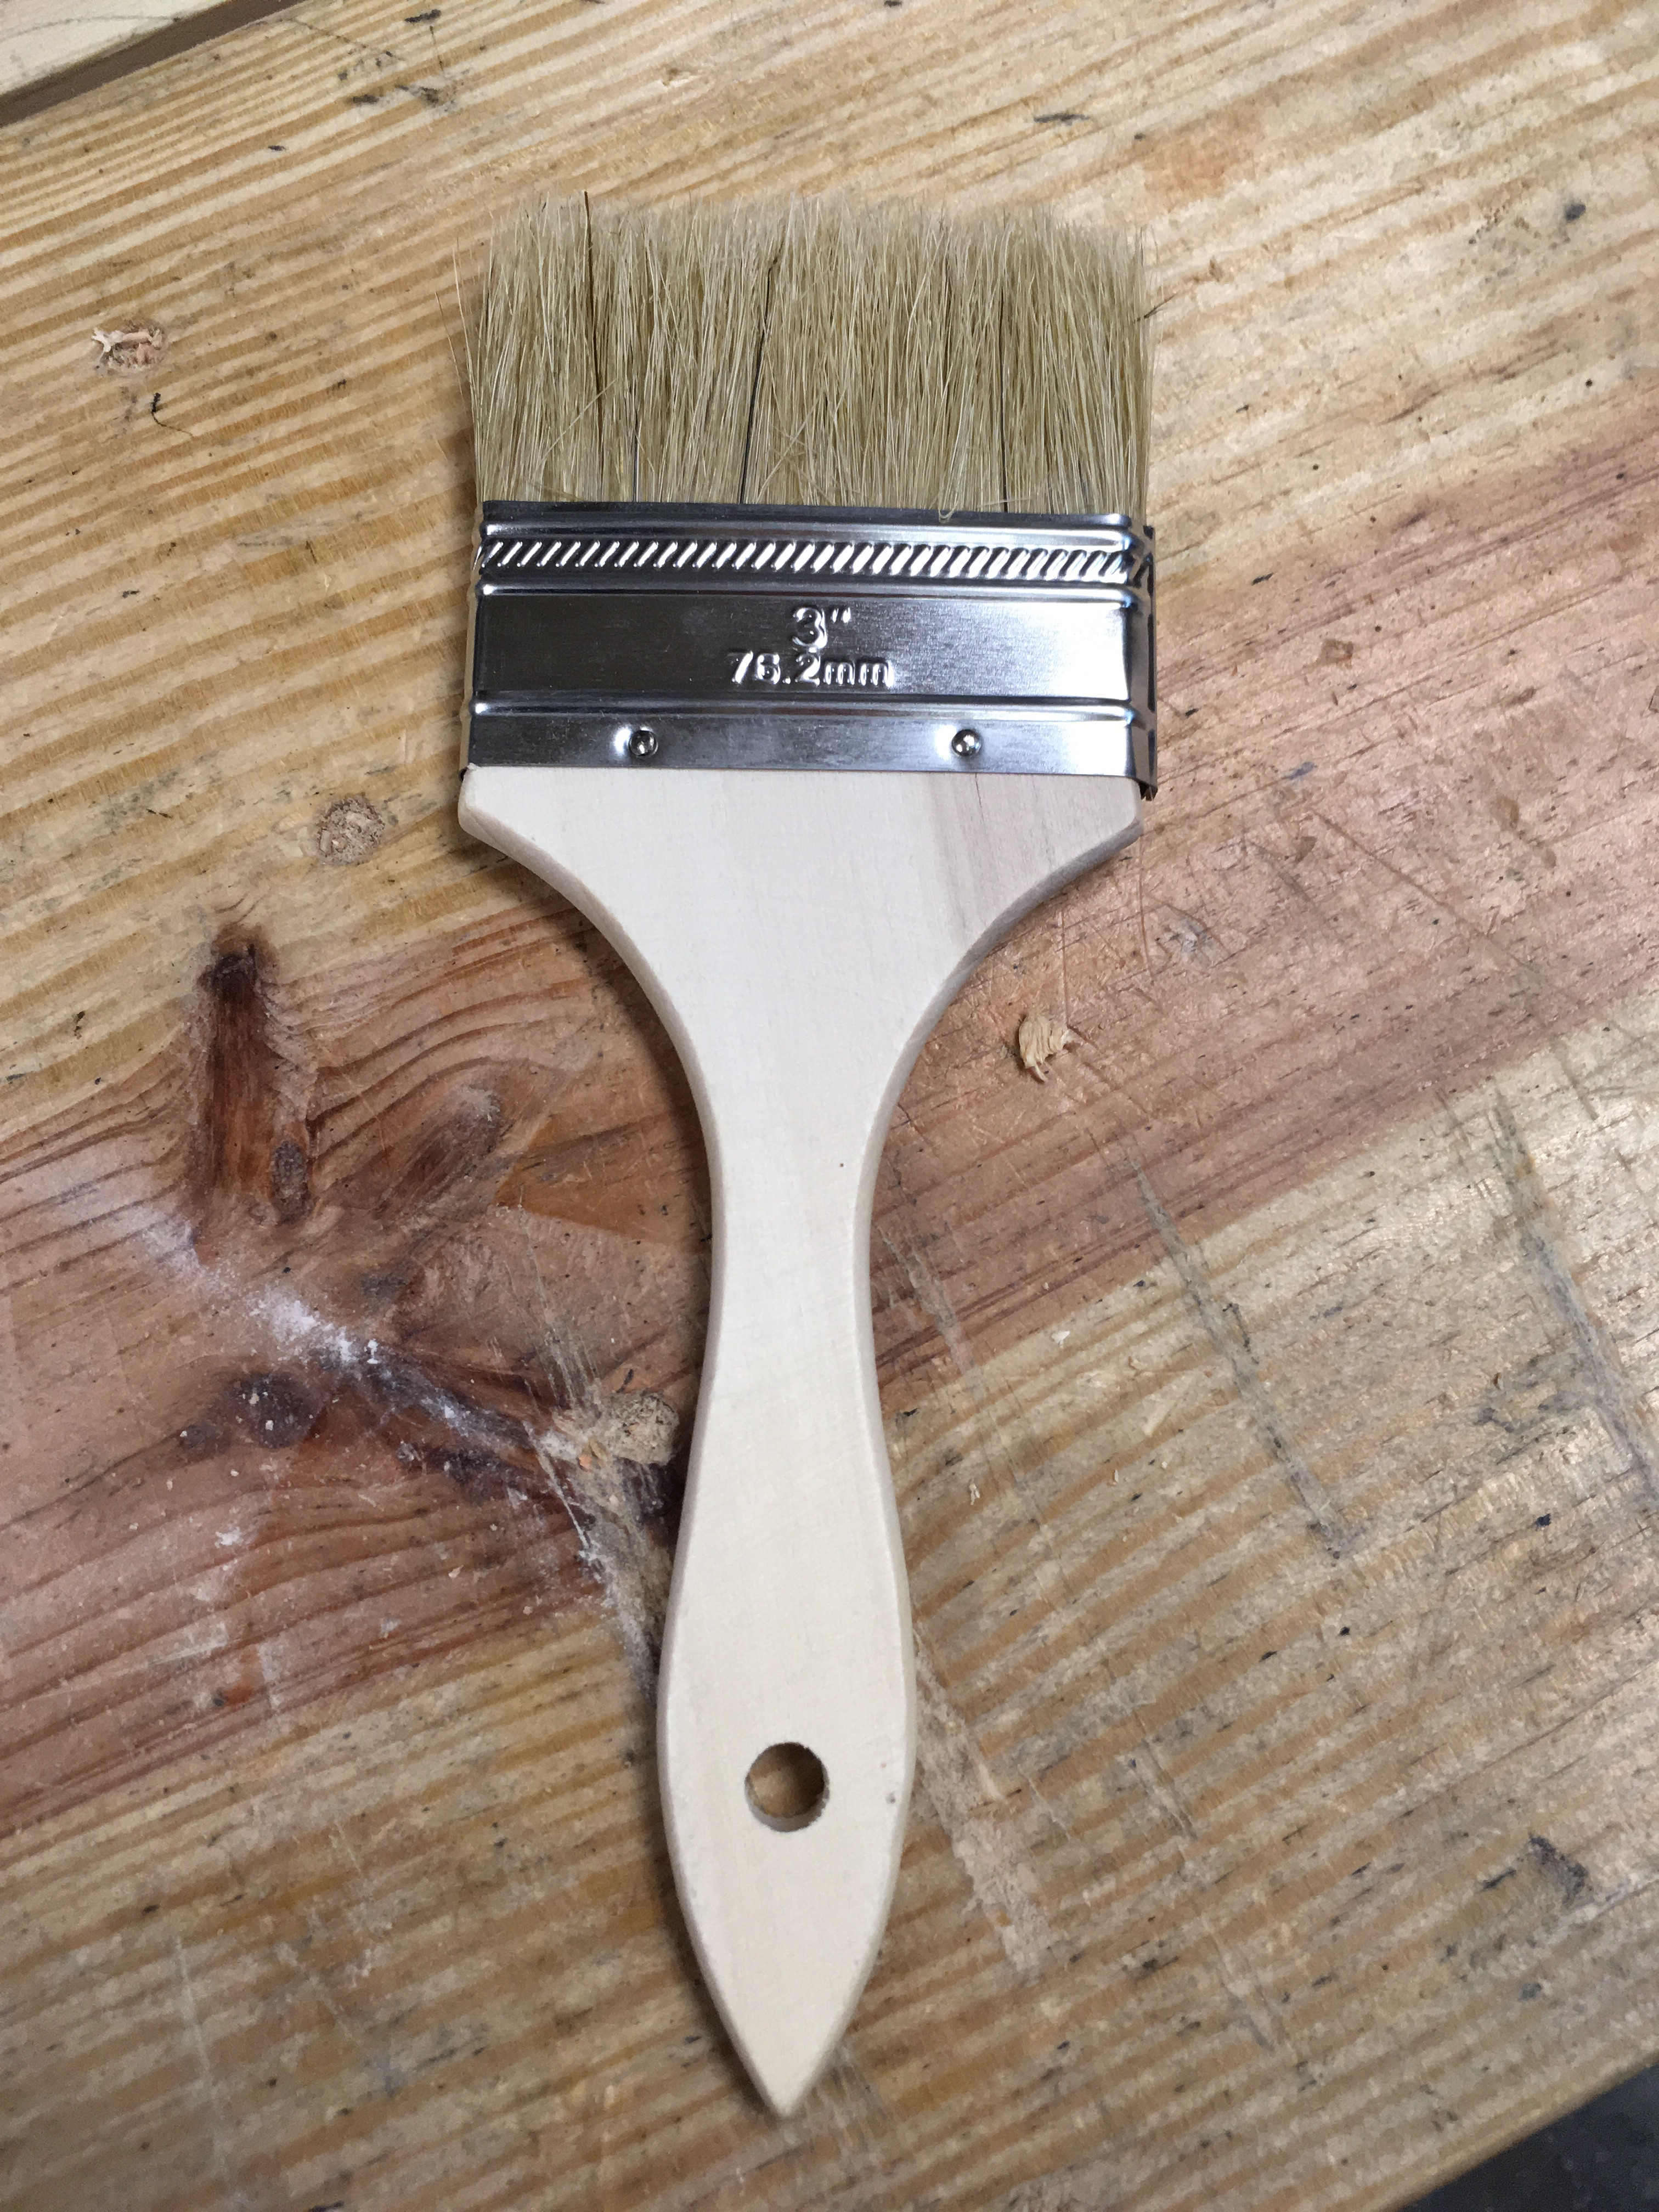
Once home, I dismantled the brush to get at the bristles. First I removed the metal ferrule.

This revealed that the bristles were glued around a small rectangular wood core. Using a knife, I separated the clumps of bristles from the wood core.

Hide glue brushes are traditionally round. So now I needed a handle. I have lots of small bits of pine and oak in the scrap pile. I ruled out the oak for fear of the tannins causing a reaction with the glue and discoloration. Ideally I would have had some bits of birch or maple, but pine should work fine.

I used a spokeshave and knife to round and taper my handle blank.

I searched far and wide on how these brushes are traditionally made and came up utterly empty. So my method may or may not be correct, but it works just fine. I left the scavenged bristle clumps in their original glued together state. To fit them to my new handle a carved a recess in the handle. The shape of this recess allows the glue clump to sit flush with the surface of the handle. The recess is also shaped in such a way that the bristles will be positively secured to the handle. The remaining core, that the bristles surround, will create a hollow area within the bristles that will hold a fair amount of glue. This it what the recessed area should look like.

I then simply applied enough of the bristle clumps to fully encircle the handle. I then secured them in place with a constrictor knot tied just below the original clumps of glue. This draws the bristles down below the bulbous tip of the recess as well as flaring the bristles outward creating the hollow, glue holding center.

Using a sharp knife, I trimmed any bits of glue clump the were proud of the handle surface. The smoother the transition between handle and bristles, the easier and neater the next step will be.
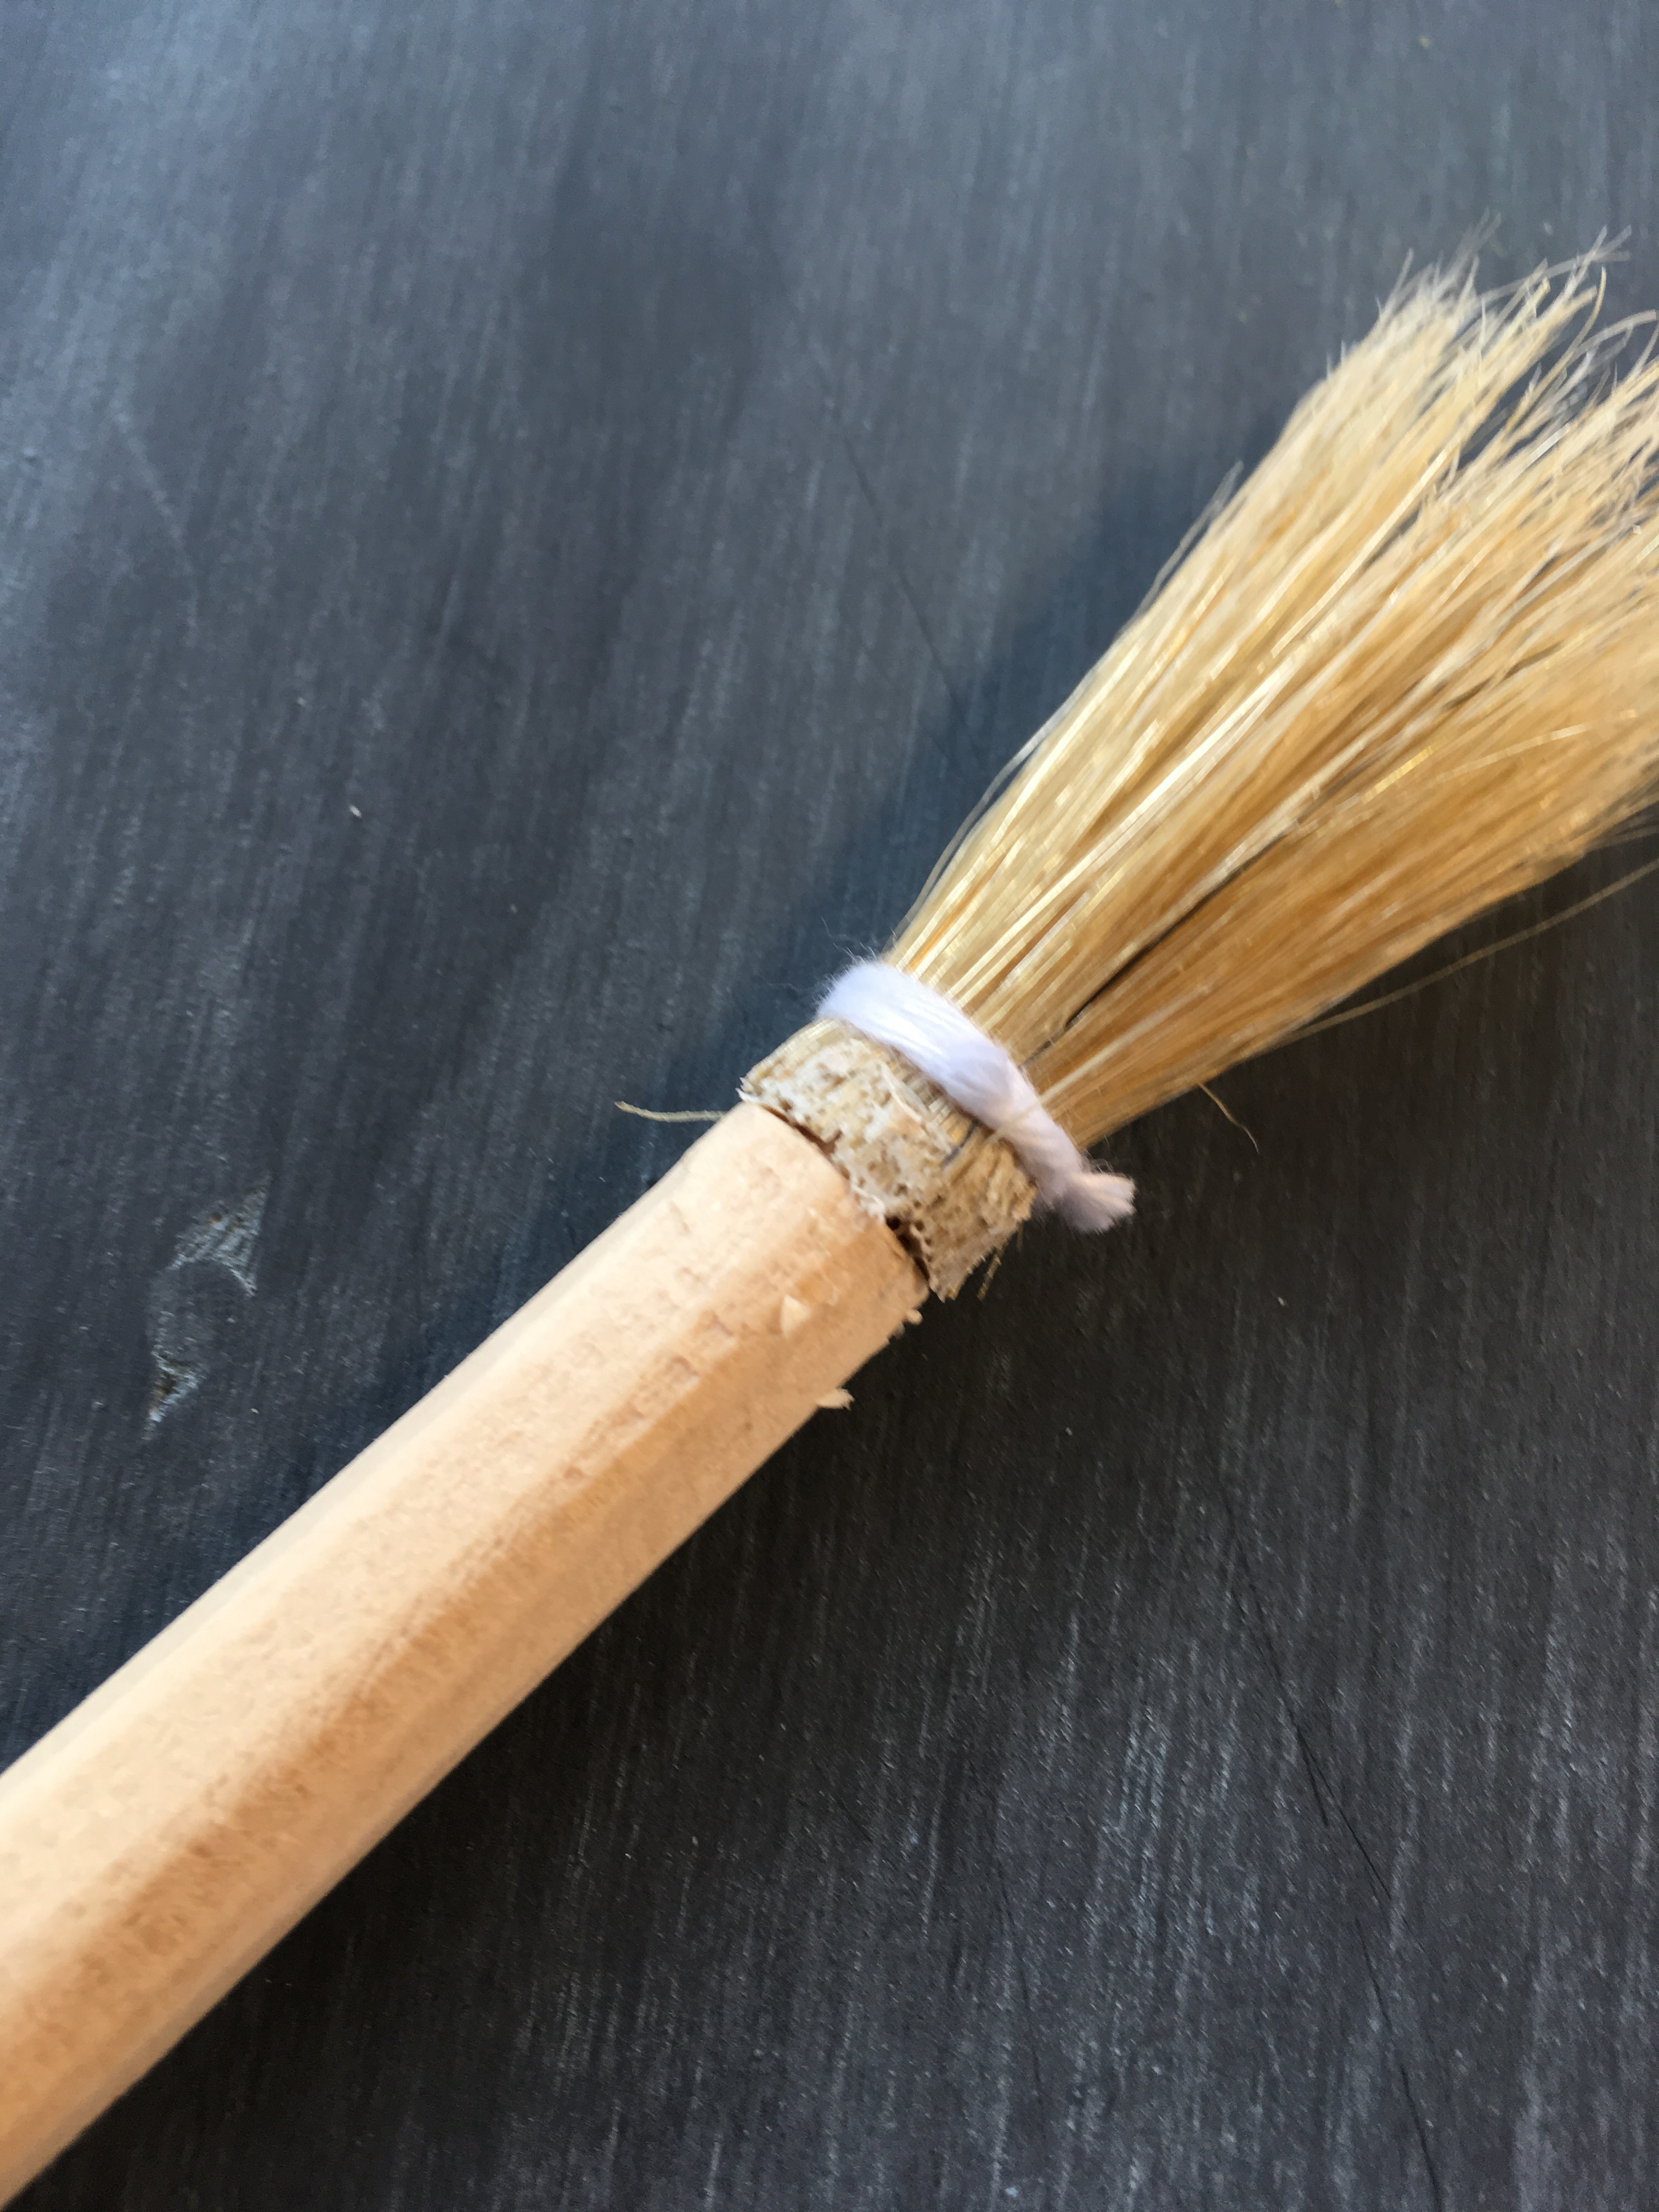
To complete the joining of the bristles to the handle, I applied a common whipping. This is simply a bit of string tightly wrapped around the joint. I used unwaxed cotton sail twine, but any strong cotton string will work just fine. Most grocery stores in the US have cotton butcher’s twine which should work just fine. I wouldn’t recommend any coated or nylon string. Coatings could contaminate the glue and nylon tends to react unpredictably to heat.

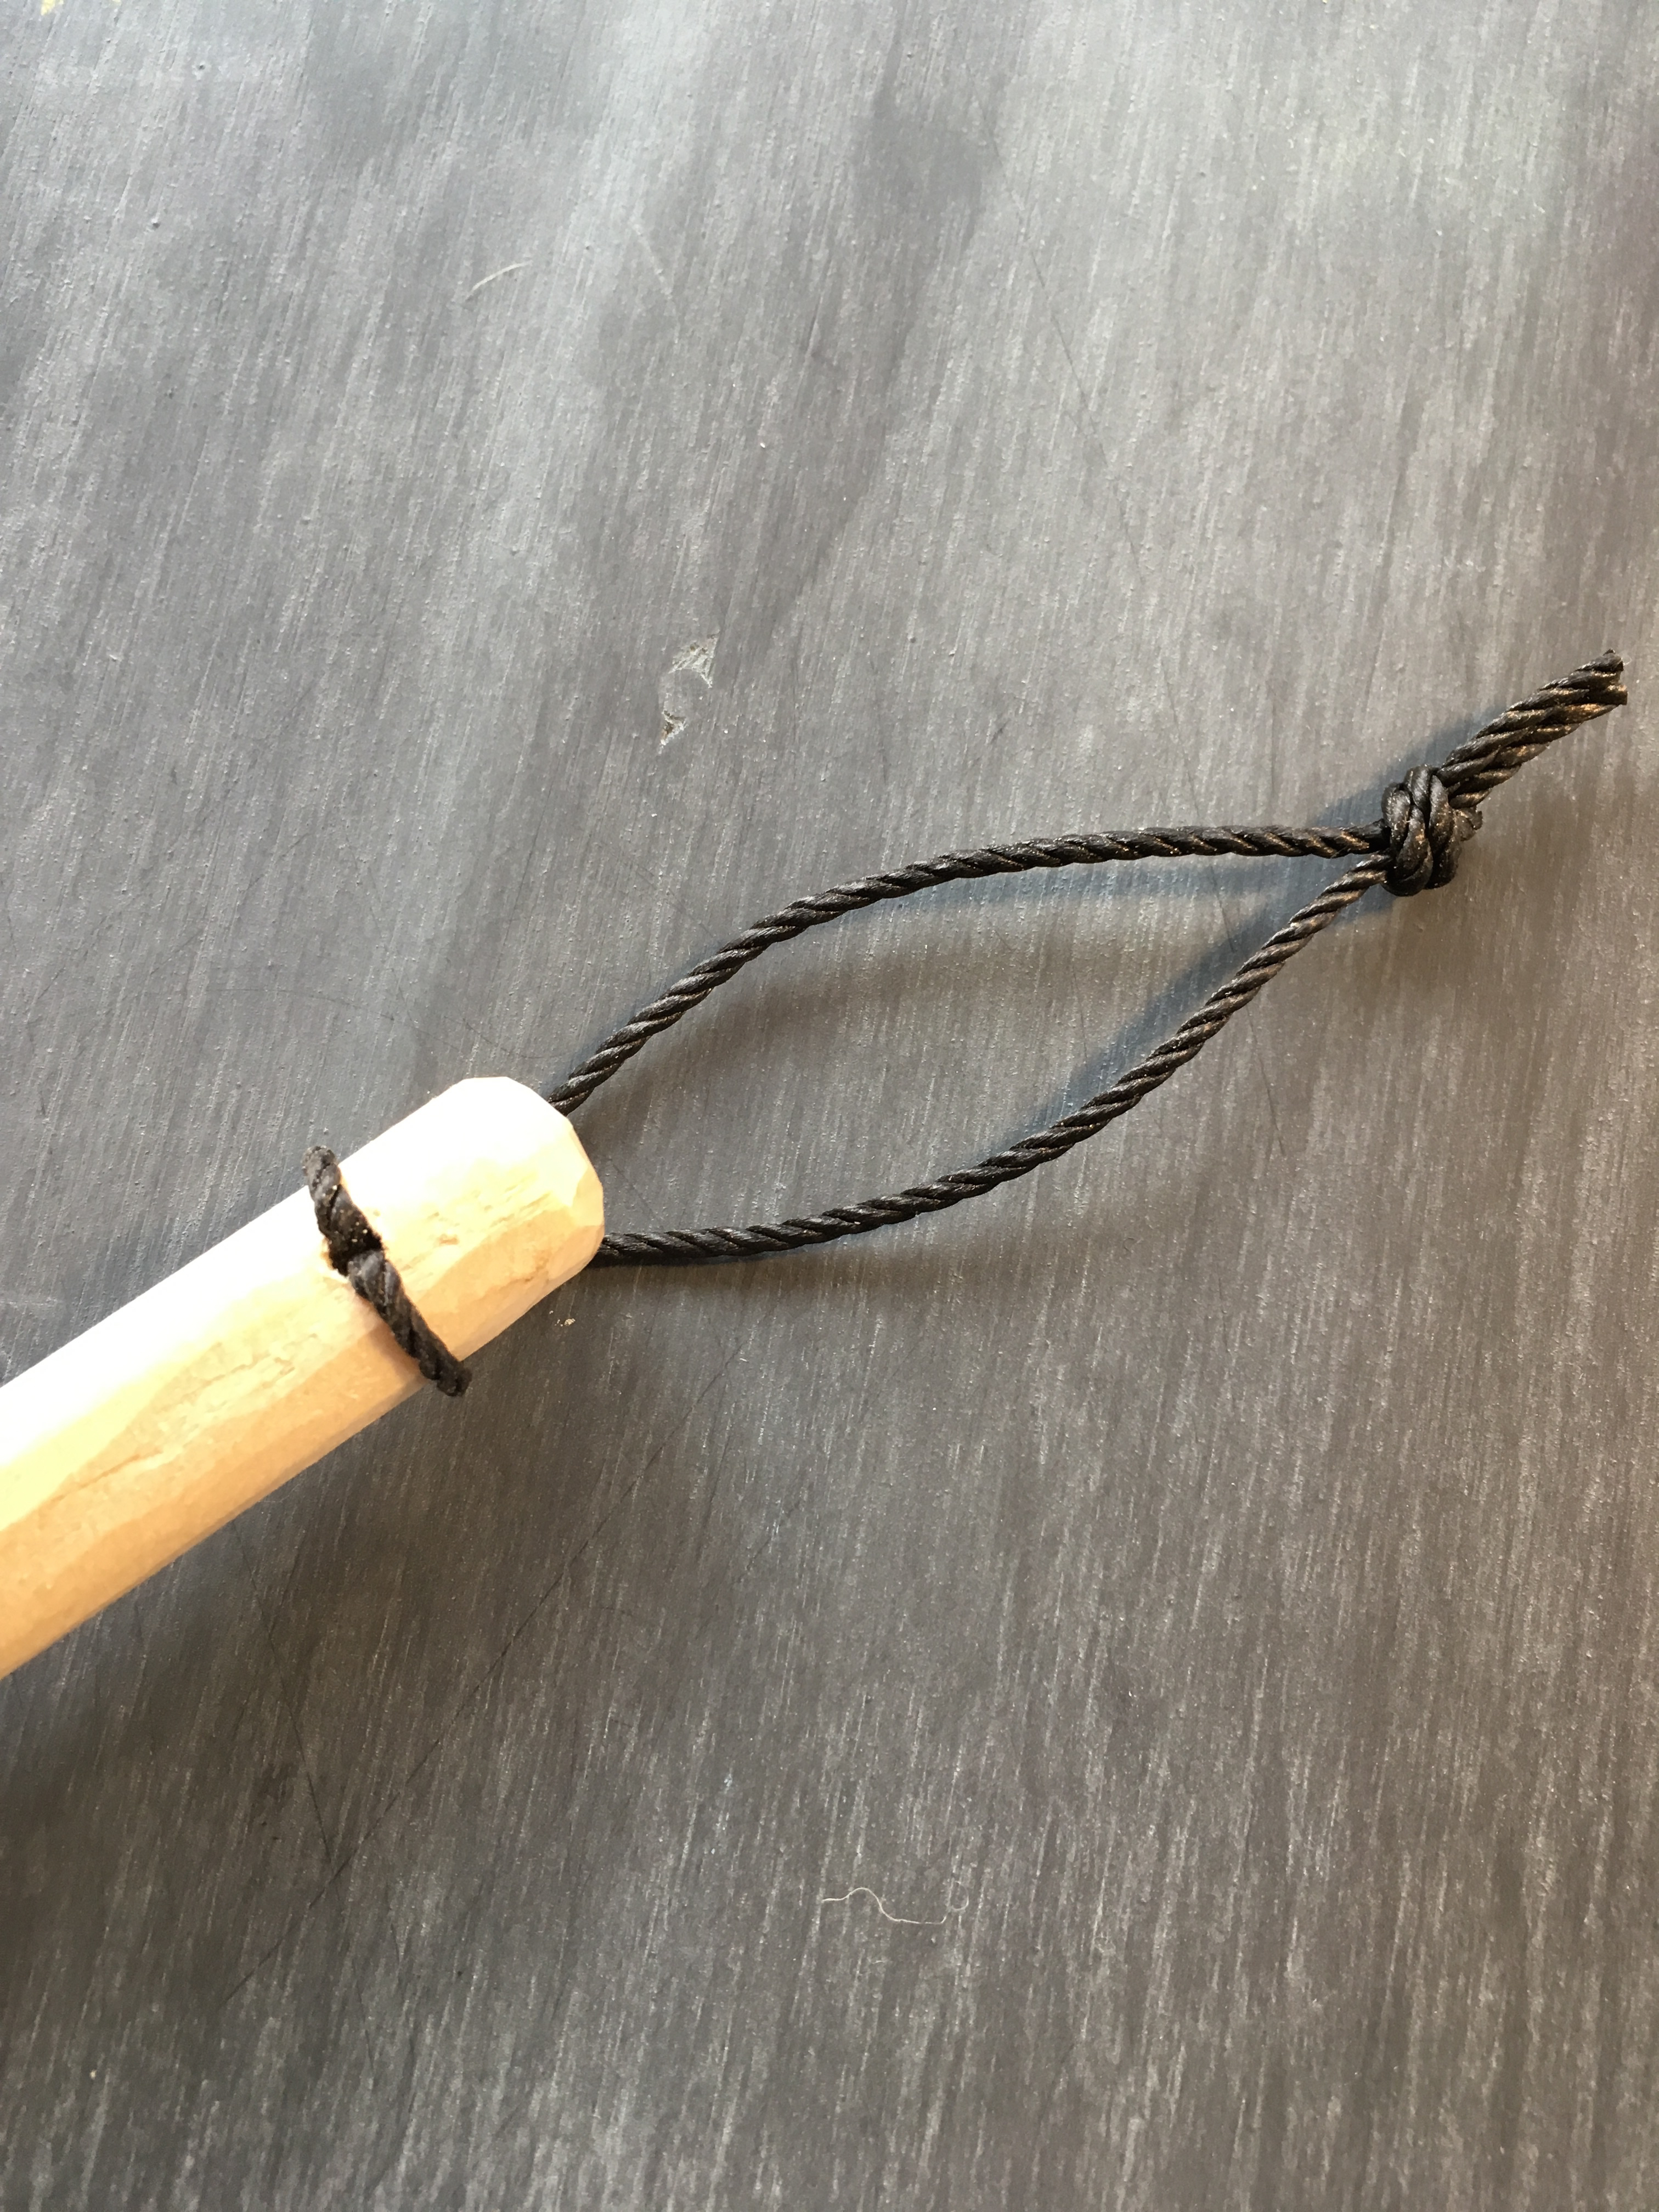
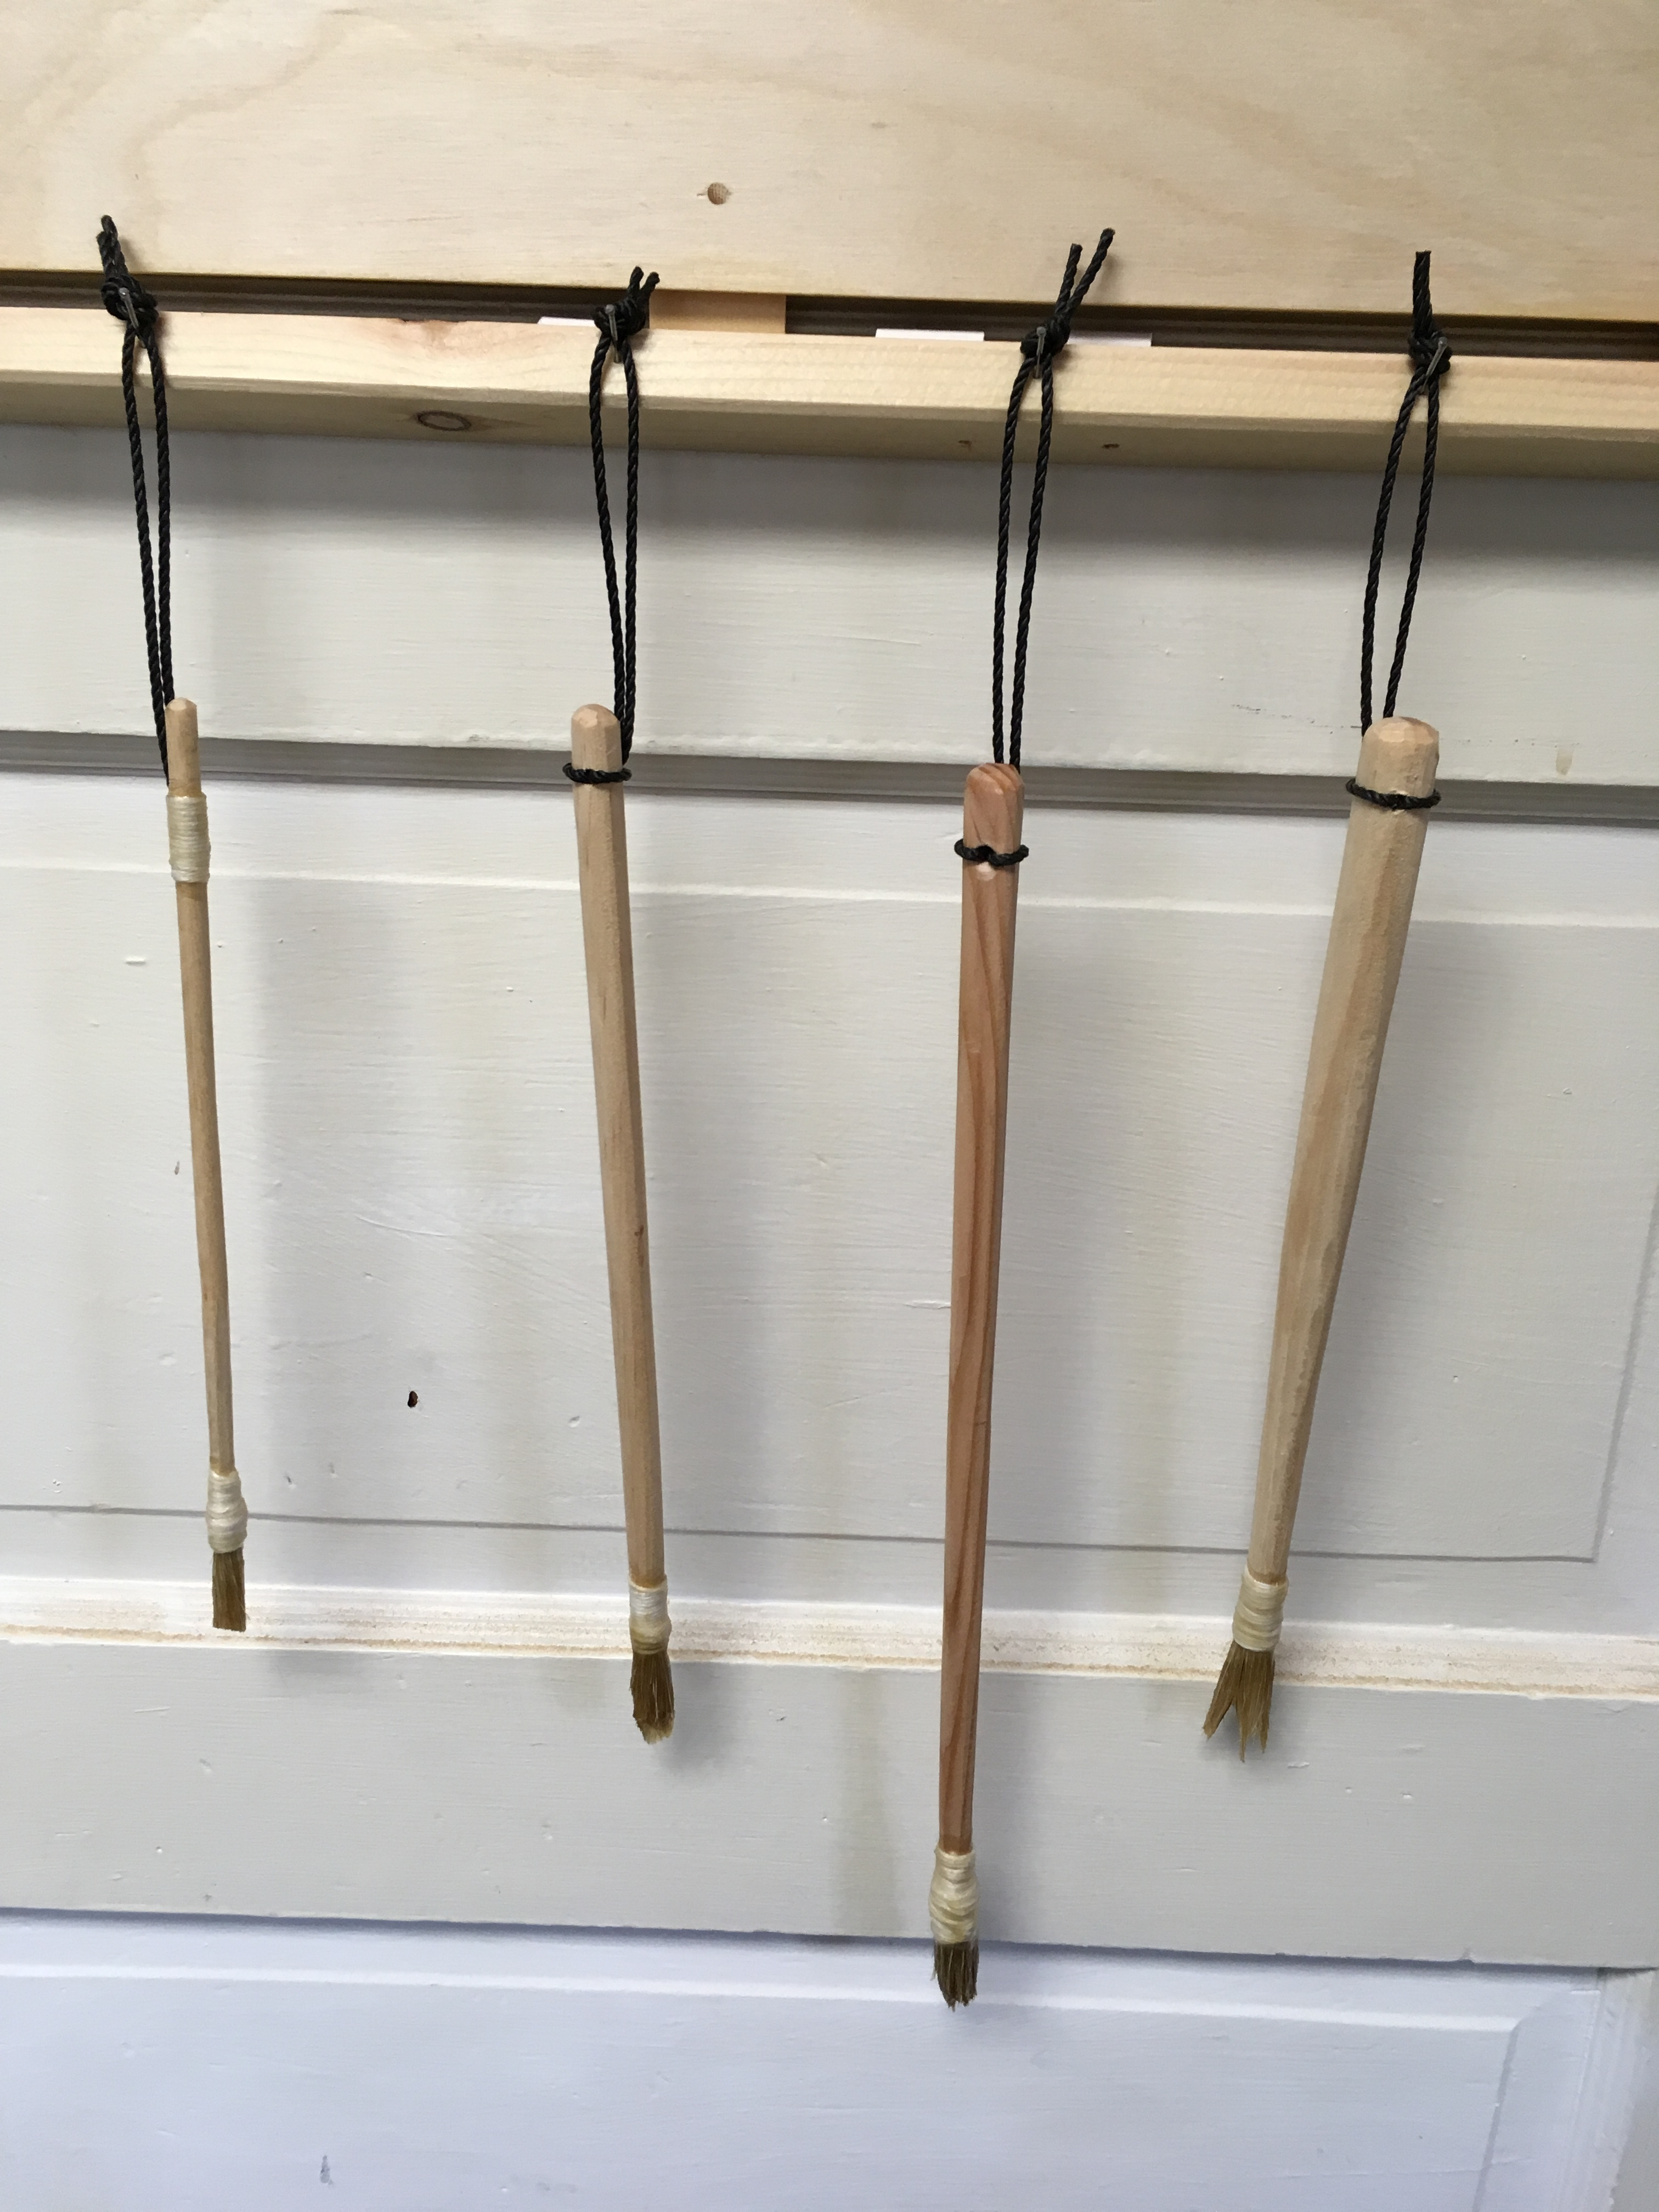
I also added a hole and loop of string at the far end of handle so that I can hang the brush from a peg/nail.
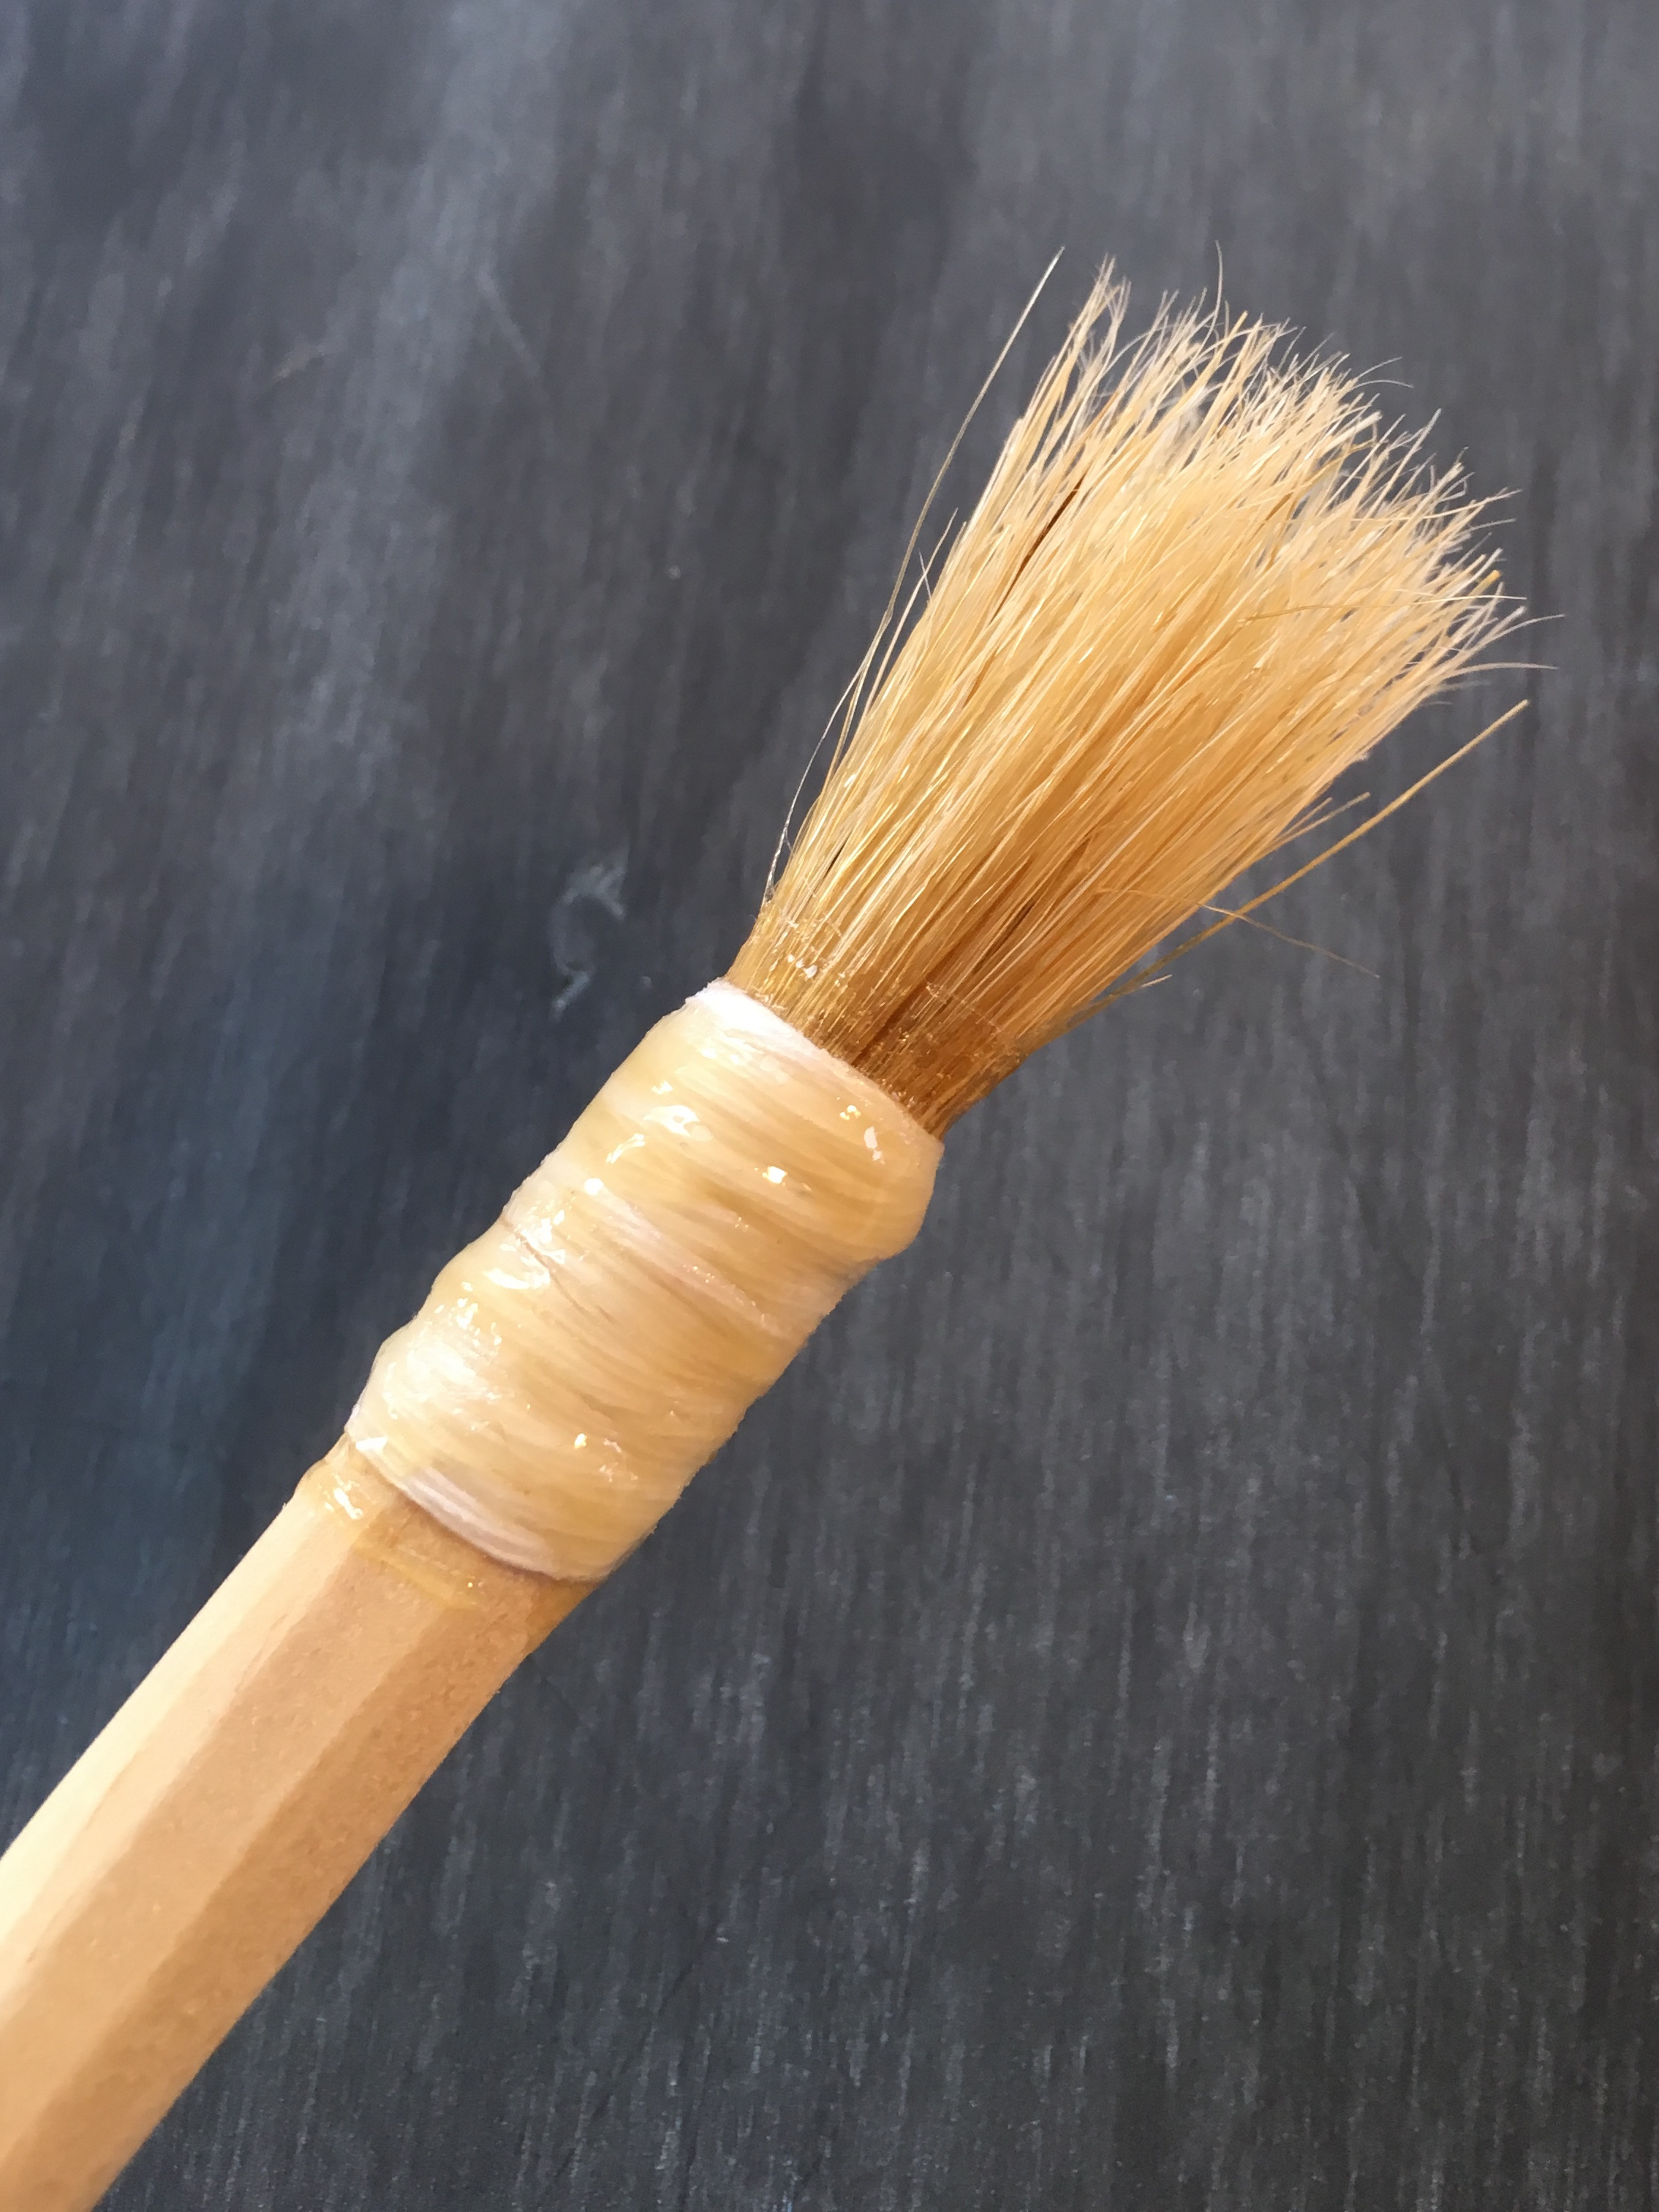
I trimmed the bristles of my new brush to a shape that I think will work best for spreading glue. This will be trail and error as to what shape of brush actually works best for spreading glue into joints though.
The last step was to coat the wrapped joint with a bit of hot hide glue.
There should be no need to clean the brush after every use if you are using hot hide glue. Simply allow the glue to dry. Stick the brush back into the pot on the next round of glue up and the hot hide glue will reconstitute the glue on the brush. If liquid hide glue is your preference, then cleaning of the brush after every use will be the way to go.
Here is a reference drawing that outlines the steps.
Obviously you can make these brushes any size you desire. You could also refine your handles to the nth degree, if that is your inclination.
At any rate, I hope that you found this useful.
Greg Merritt

I don’t know why but that might be my favourite of your blog posts!
Perhaps it’s the beautiful sketch? It’s a very long way from being the most impressive thing you’ve built but for some reason I really like it.
Thanks.
I agree I really enjoyed this post and I’m going to make one as well. Love the drawings!
Thanks Salko! Be sure and post or send me some pics of the brushes you make and let me know how they work for you.
will do bro
Expect to read about horses mysteriously going bald.
Just wondering why you put hide glue on it since it’s going to melt in the pot.
Not really needed. Just a protective coating. I wasn’t sure how long it would be until I put these to use.
ok got it.
Thanks…really glad to hear that you enjoyed this post. Hope it inspires to make a brush or two.
Perfect!
Since I warm my hide glue in a small jar heated by a crock-pot (and kepping the lid on is important to maintaining the temperature), I’ll make mine with a shorter handle that lets the brush rest in the jar while the lid is on the pot. THANKS for idea and drawings!
Hey thanks Bob! I almost didn’t write this post. I thought the brush was pretty neat, but wasn’t sure if very many folks would be interested in it.
When you make one, I would be interested in you feedback on the making and the use.
That is too cool and waaaaaay more elegant than the acid brushes I use — Harbor Freight 2 dozen for a couple of bucks!! I use Old Brown Glue rather than the traditional heated but your brush is beautiful.
Thanks John!
Those are the same brushes that I have been using. They work fine for spreading, but are lousy at getting the glue from the pot to the work. I thinks these new brushes will be much better. Plus they were fun to make!
OBG is the same thing just added urea and I’ve read if you add 3 tablespoons of salt it should never go off. Haven’t verified this to be true though.
I can confirm the salt thing – it doesn’t seem to affect the strength of the glue and it indeed keeps the hide glue from going off.
That’s fantastic news thanks for the confirmation.
I need to make one just because.
LOL…these are fun to make. Let me know how it goes for you.
As someone who loves to make his own brushes (and own hundreds more), this was a fantastic post!
Don Williams
Thanks so much Don! It is reassuring to have your stamp of approval. At best, this was an educated guess on my part. LOL.
Great post Greg!
The pictures, drawings are very creative… but as always my wife saw it first and mocked me… 😛
Happy Holidays mate!
Thanks Antonio!
LOL…hope she is not too hard on you. 😉
Merry Christmas and Happy Holidays!
In many books, it is said that the hide glue must not comme in contact with iron. Your nice brushes take care of that.
Best whishes.
Sylvain
I have also read that “tampico” also known as “sisal” which is an agave fiber of the South of Mexico is the material of choice for hide glue brushes.
Sylvain
Thanks for the additional information Sylvain. Its great to have other material options.
Nice! Love your illustration.
Thanks Jeff! I have as much fun creating the illustrations as I do making the project.
“They say he made the little brush from a bigger brush!”
I recognize this paint brush as the same as what I can buy in China. I’ve used the smaller versions for hide glue but I generally used a natural bristles paint brush for hide glue. I certainly like this design and its adaptability, but I wonder whether you or anybody else so inclined has a suggestion for bristle sources that don’t come from paintbrushes.
I’m afraid I do not have a source for bristles. Which is why I used the paint brush. I’m sure availability of raw materials varies widely around the world. I am able to buy hanks of horse hair, but it is expensive. A $2 paint brush generated enough material for 5 glue brushes. Hard to beat those economics.
Pingback: Hot Hide Glue-New Setup | HILLBILLY DAIKU
I am using cheap (I mean, very cheap) watercolor brush to spread glue, with similar bristles. Works ok but does not hold enough glue. Your design solves everything and looks easy to implement – moved straight to the top of my “to-do” list 🙂
Awesome…glad you found this post useful.
Pingback: Moulding planes in the making – Journeyman's Journal
Glad to have stumbled on this post. I have tried making hide glue brushes but they didn’t turn out to be as nice. I will give it another go with ideas from your post.
Don’t know if anybody mentioned this already. I find shoe brushes to be a good source of bristles.
Thank you for posting this. I really enjoyed following your lead and making brushes from your drawings. I have a bit of curiosity though. Would you mind sharing the dimensions of the end of the stick you used, the shoulder and the recess. I think I made mine too big.
I’ve always wondered how those hide glue brushes are made, this is very informative.