
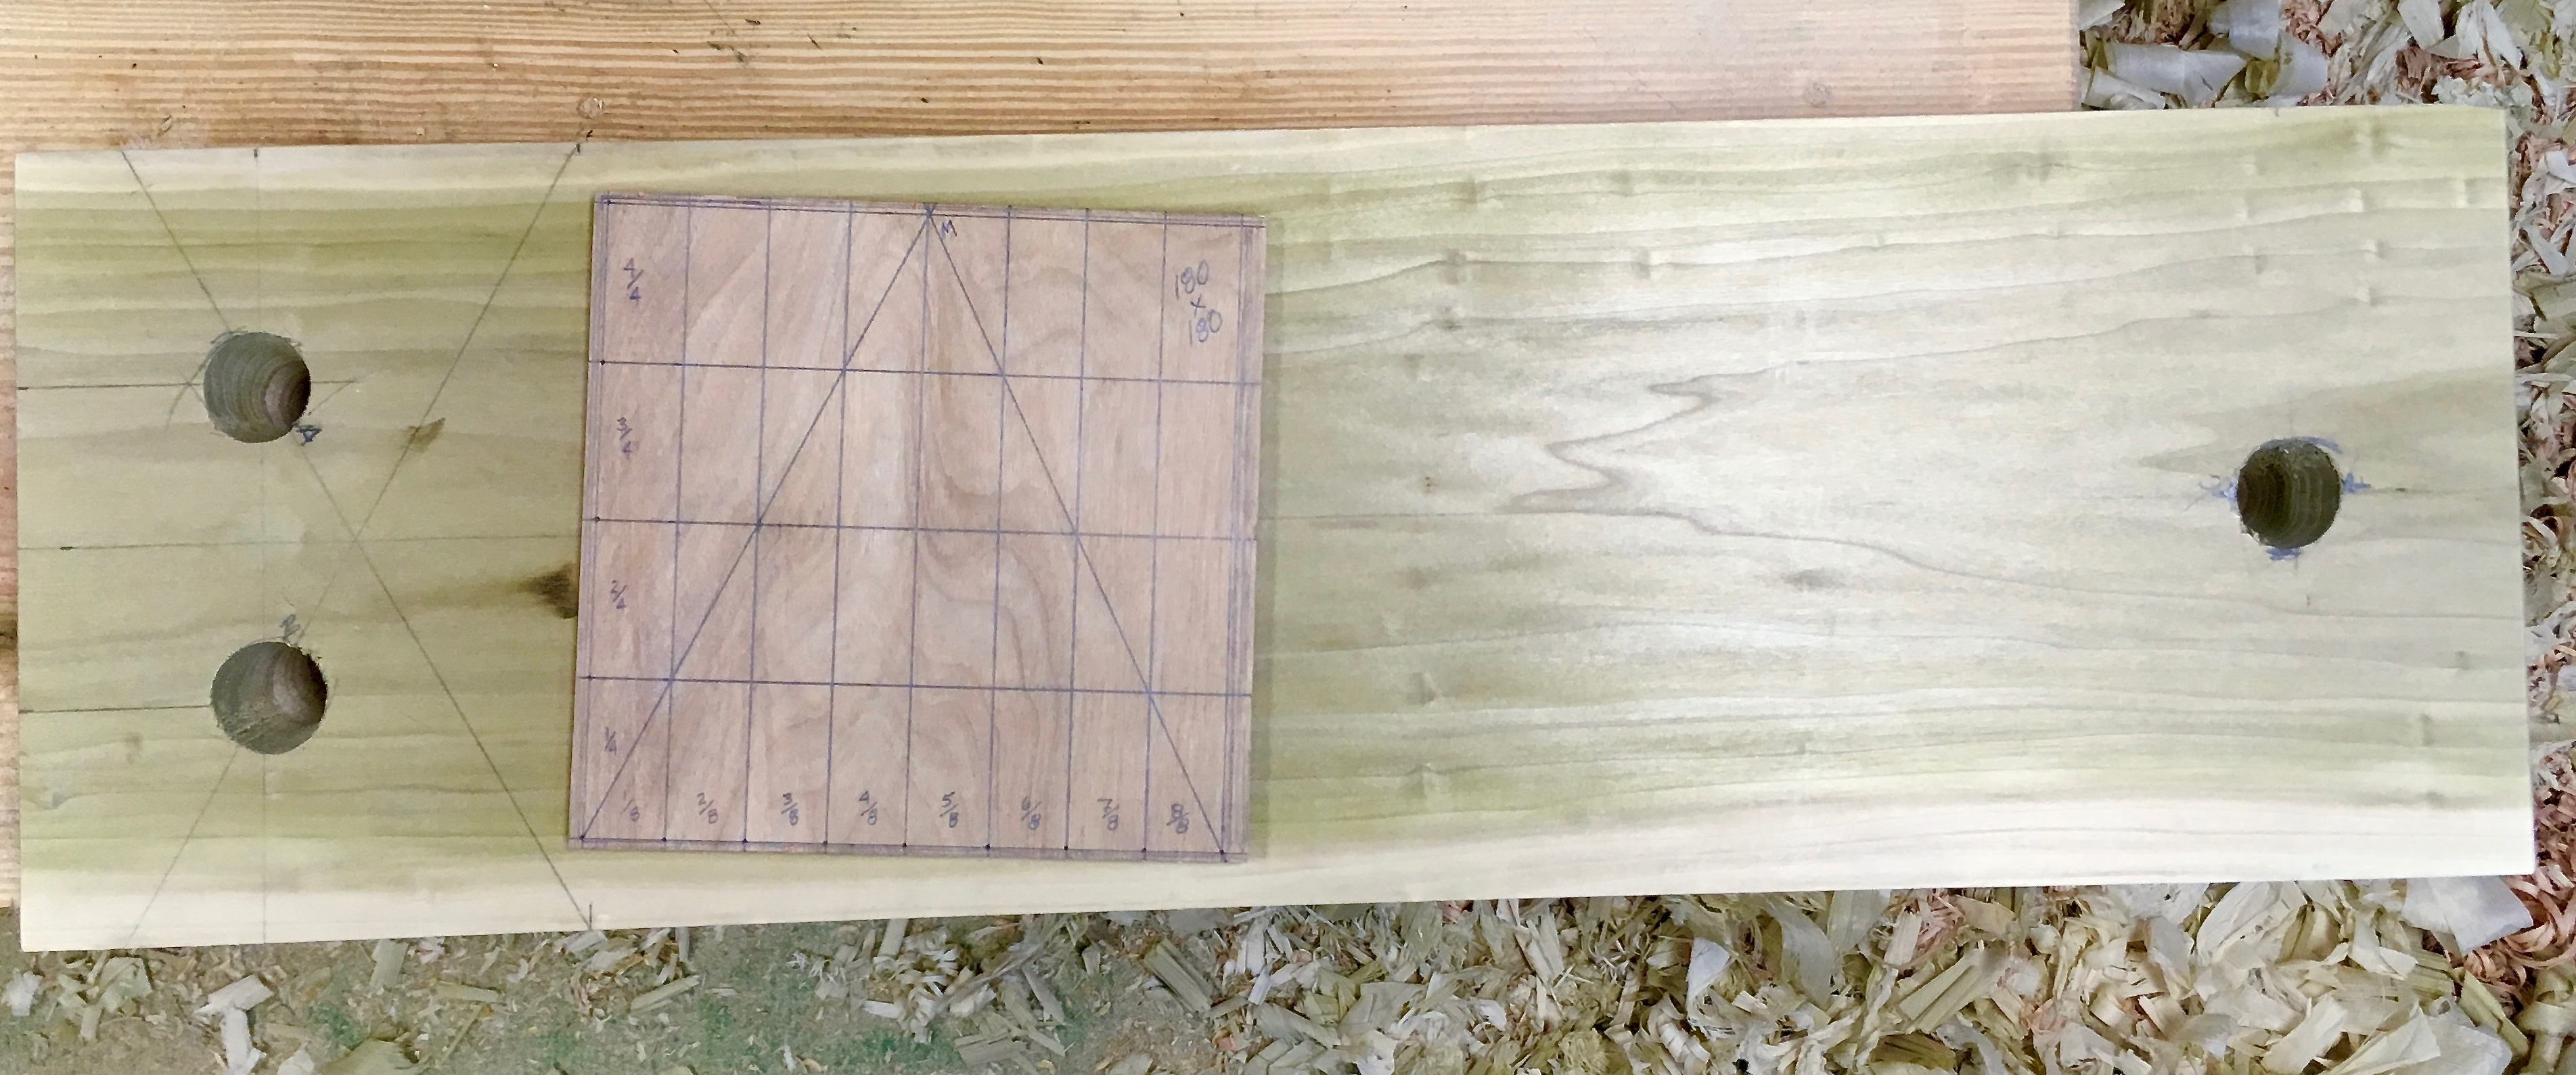
With the top slabs thicknessed, cut to size and squared it was time for the layout. This was a simple task of transferring the layout from my design drawing to the slabs.
 There are several ways that I can translate my scaled drawing into full-scale. Sometimes I simply pull out a piece of paper and draw the project to size. This is handy because it gives me something to continually check my actual pieces against. Other times I may lay out a story stick. For this project I simply created a full-scale version of the module block that is found on the drawing. No matter the method, most of the work is done with dividers once the initial base measurement is established. In this case that measurement is 180mm.
I first drew a 180mm square on a scrap of ply. Then stepped off all of the required divisions with dividers. Once I had the full-scale module in hand, I then had an instrument that I could use for either direct transfer of distance or I could set my dividers to. At any rate, the layout was completed as per my drawing.
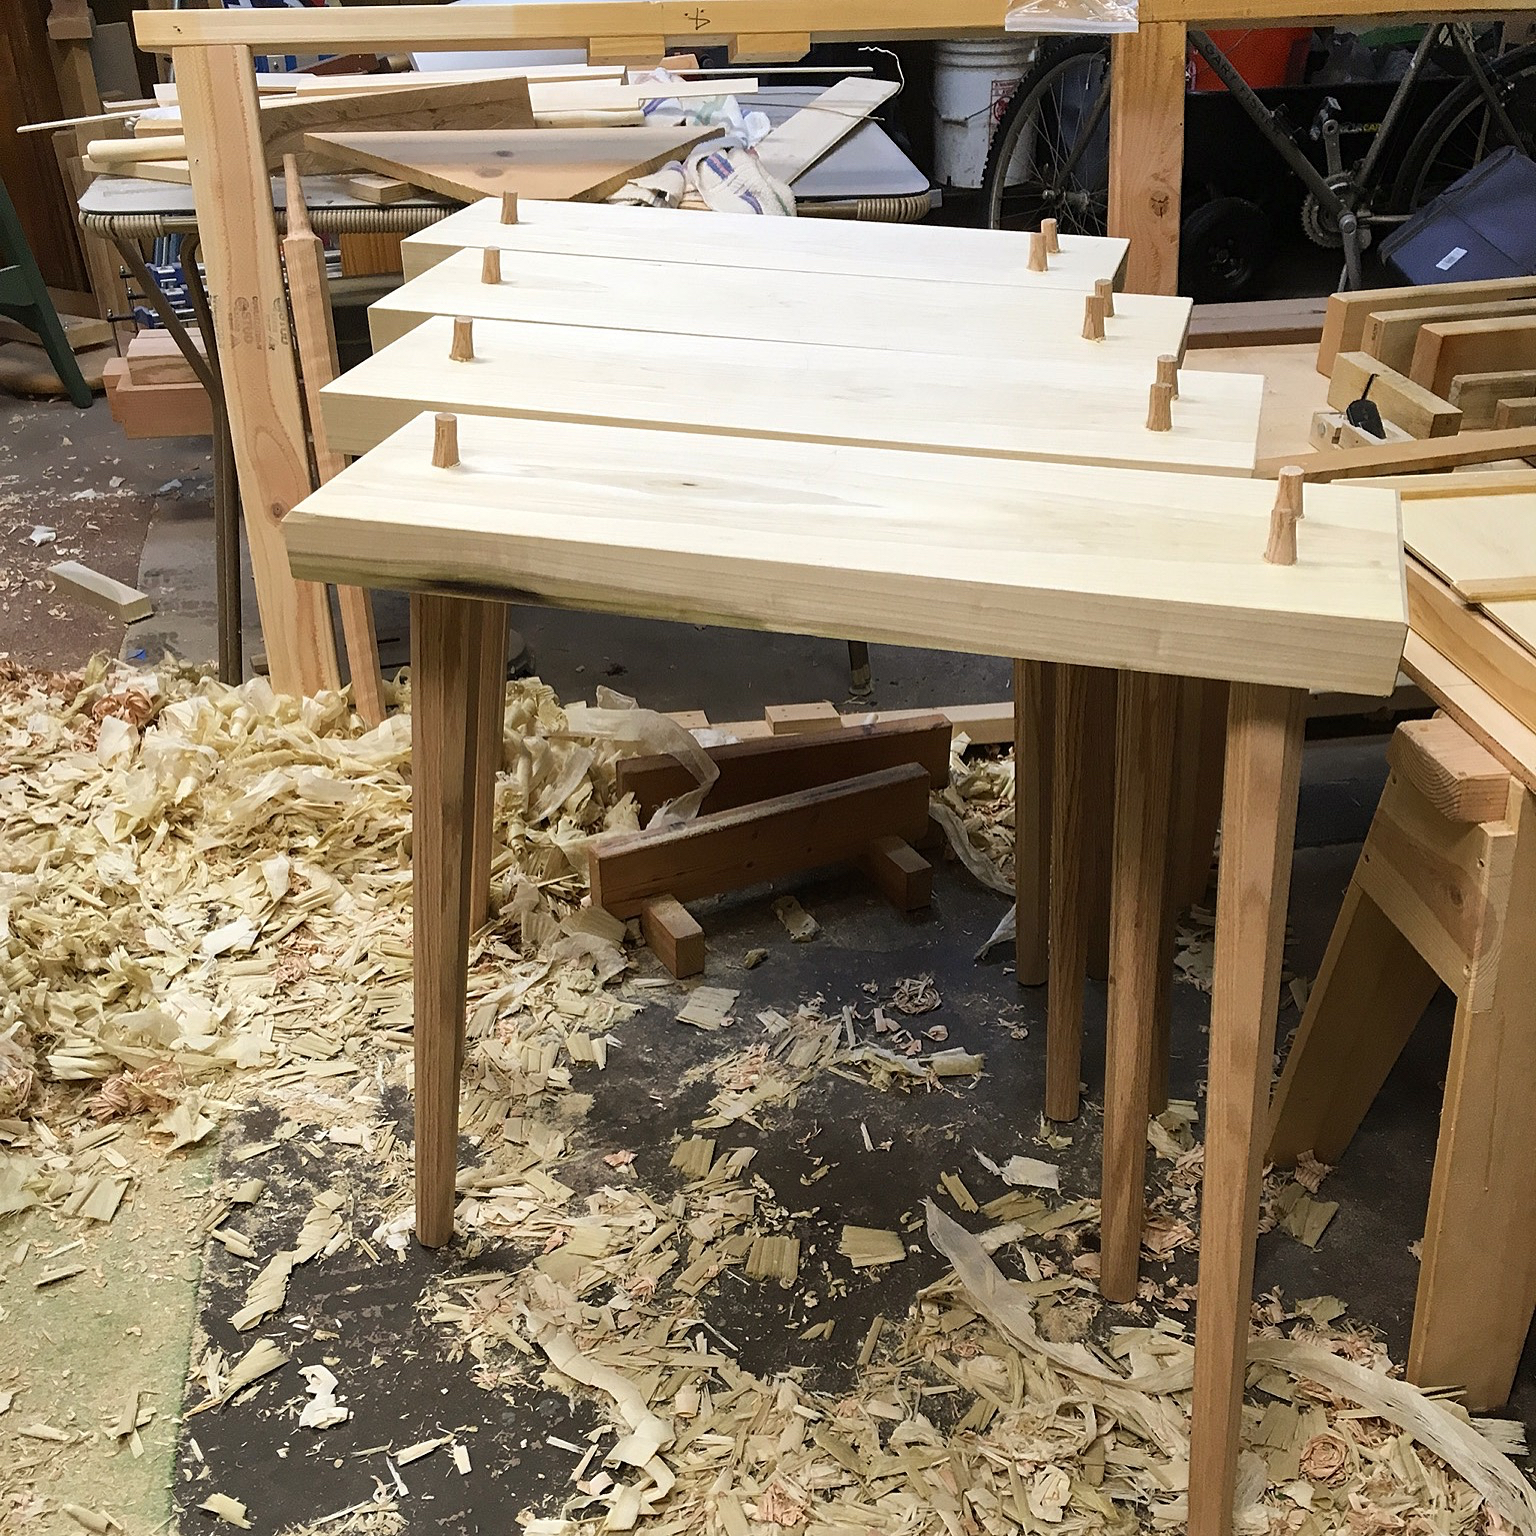
I’ll not bore you with the drilling and reaming operation. I’ve done that in previous posts. ;). After a good bit of work with the brace, all four trestles were legged up.
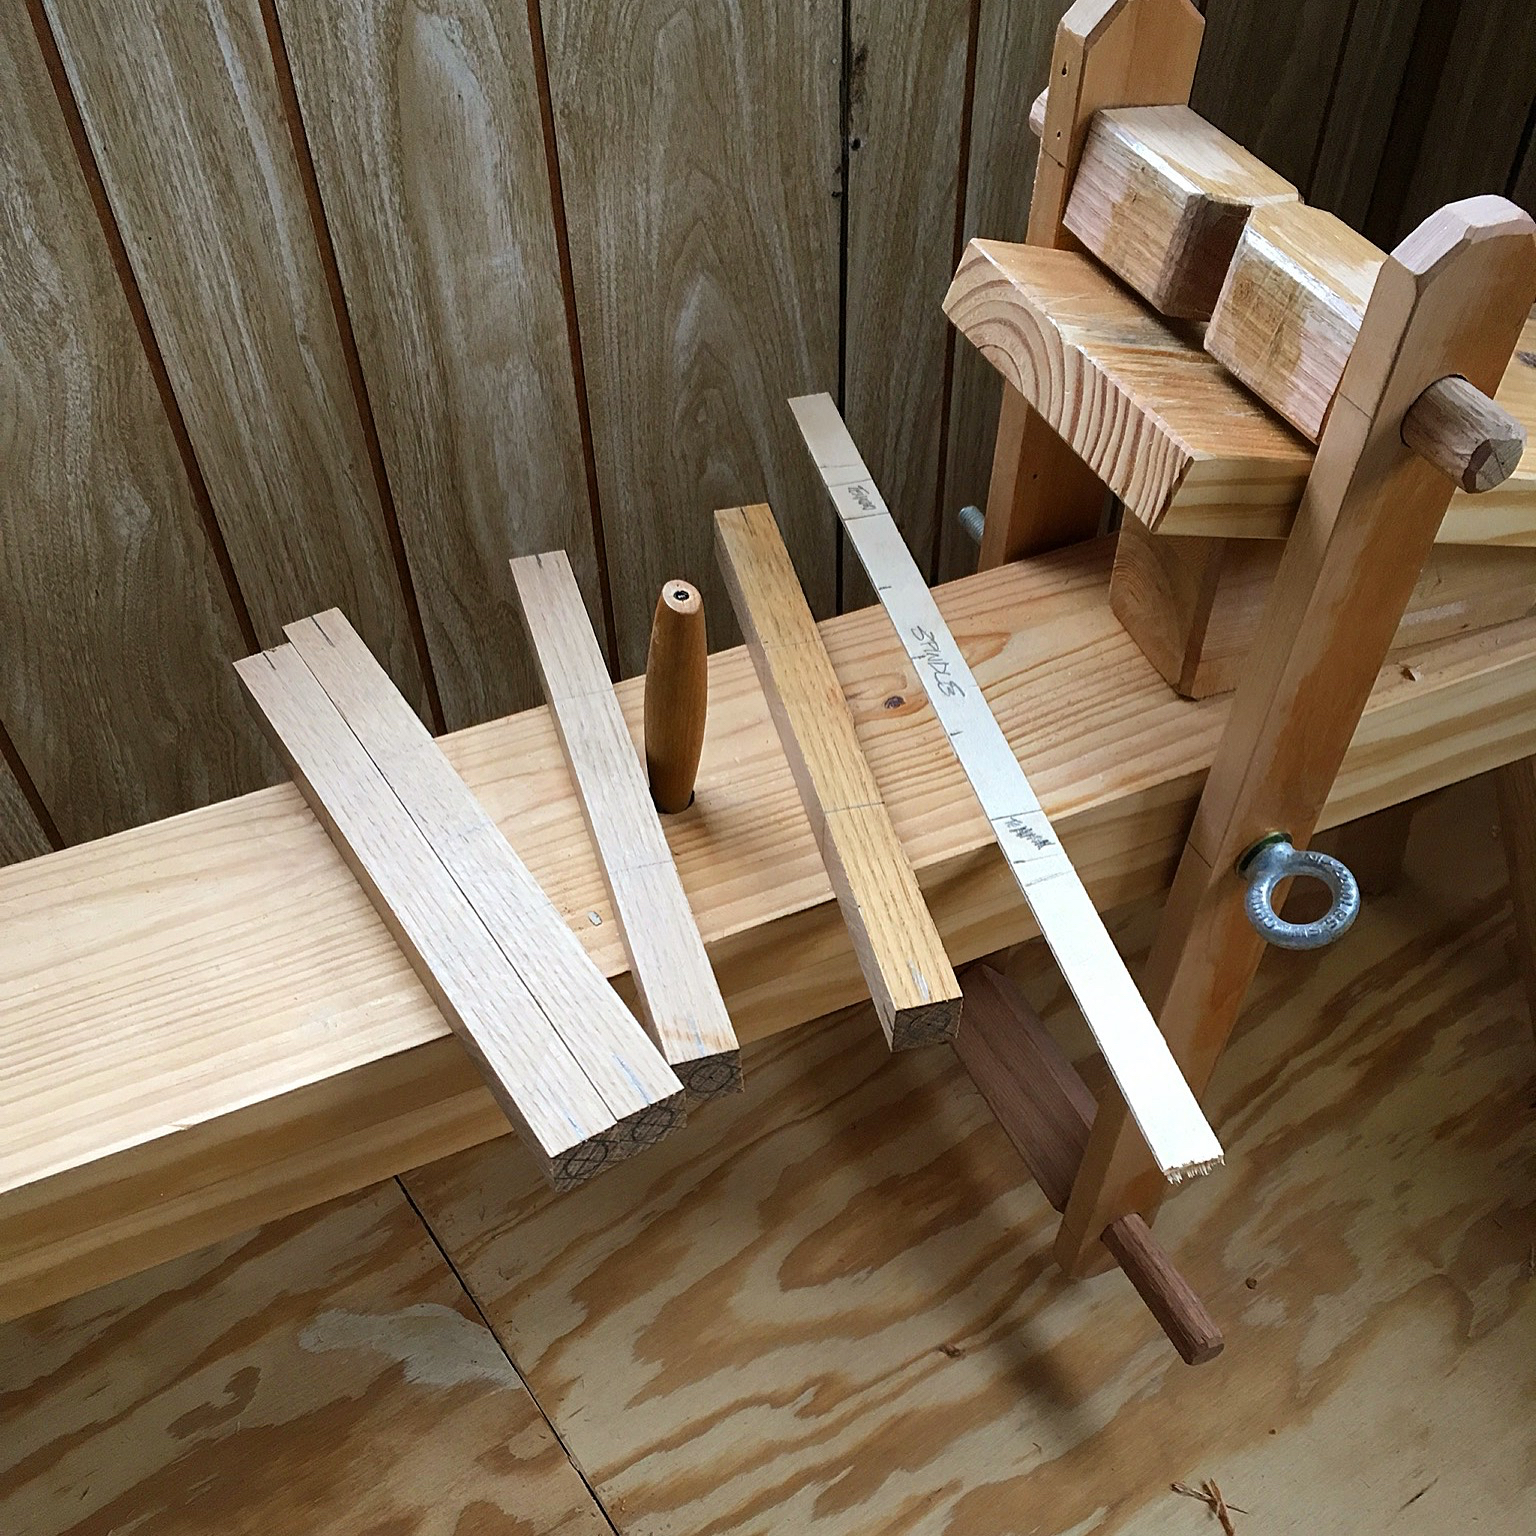
The next order of business was to make the spindles for each leg pair. I sawed several blanks of white oak so that I could try a couple of different shapes and methods. No matter the shape, each spindle needed a 1/2″ tenon at each end. I struggled as to how best to make these tenons, but it finally dawned on me that I could use the same tapered tenon cutter that I used for the leg tenons. When a piece is passed completely through the cutter the emerging portion is a constant ~9/16″ diameter. So all I needed to do was run the spindles through the tenon cutter so that the required length of tenon was passed through the cutter. Then it was a simple matter of using my knife to trim and fit the tenon to the 1/2″ mortise hole.
The first spindle shape that I tried was cigar-shaped. It was easy to make, but didn’t seem right for the octagonal legs of these trestles.

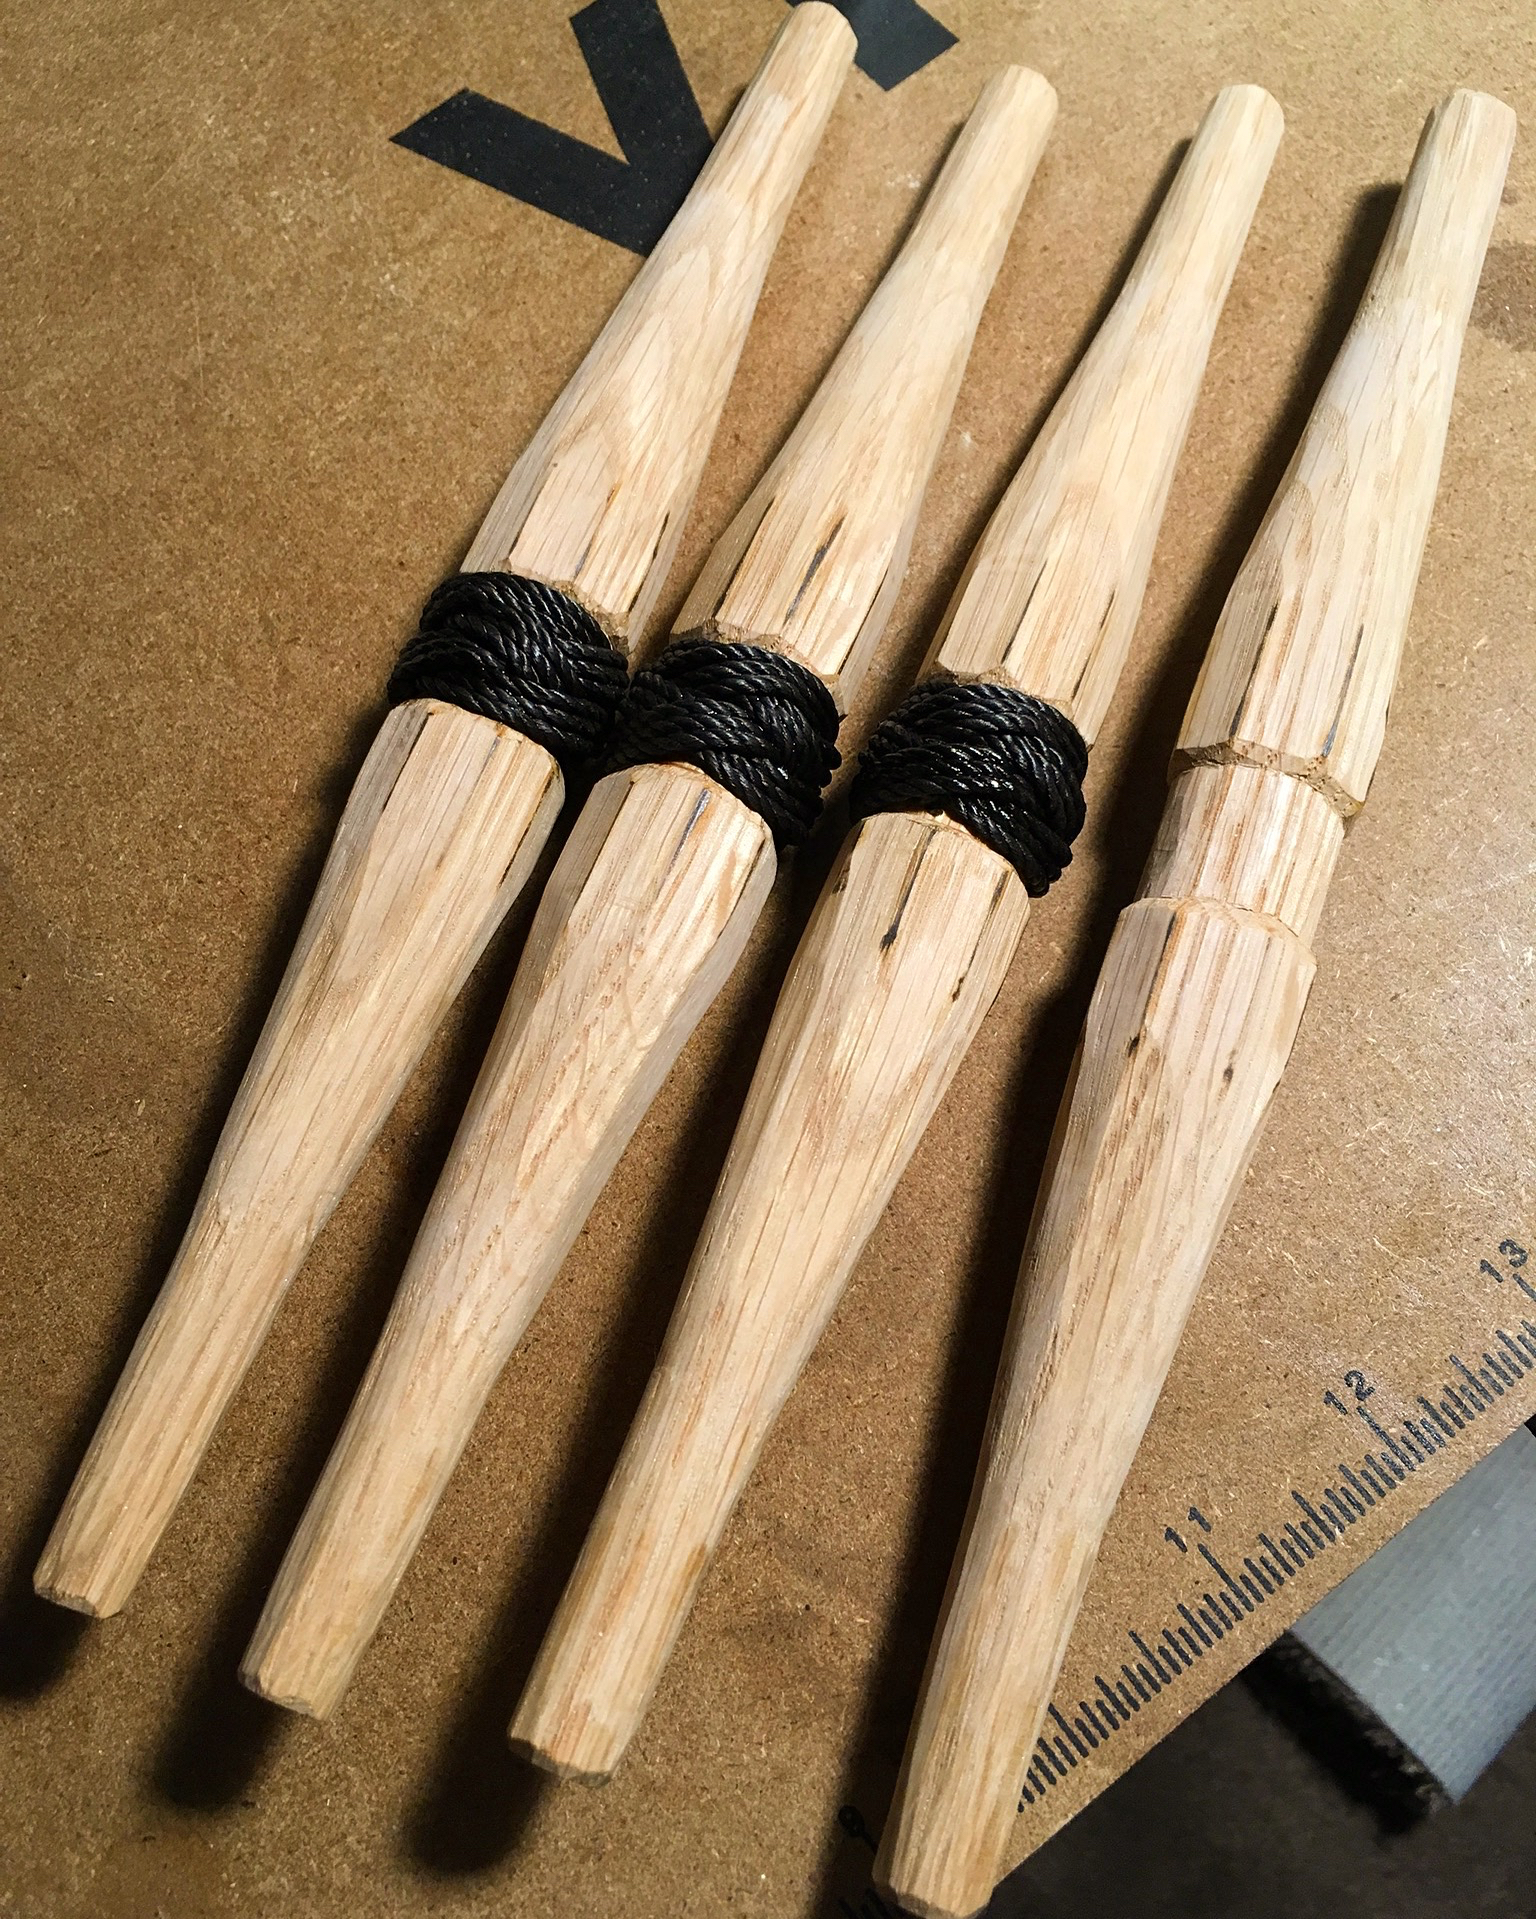
The next spindle shape that I made was octagonal and I left them intentionally a little rough. I like this shape much better for the octagonal legs.
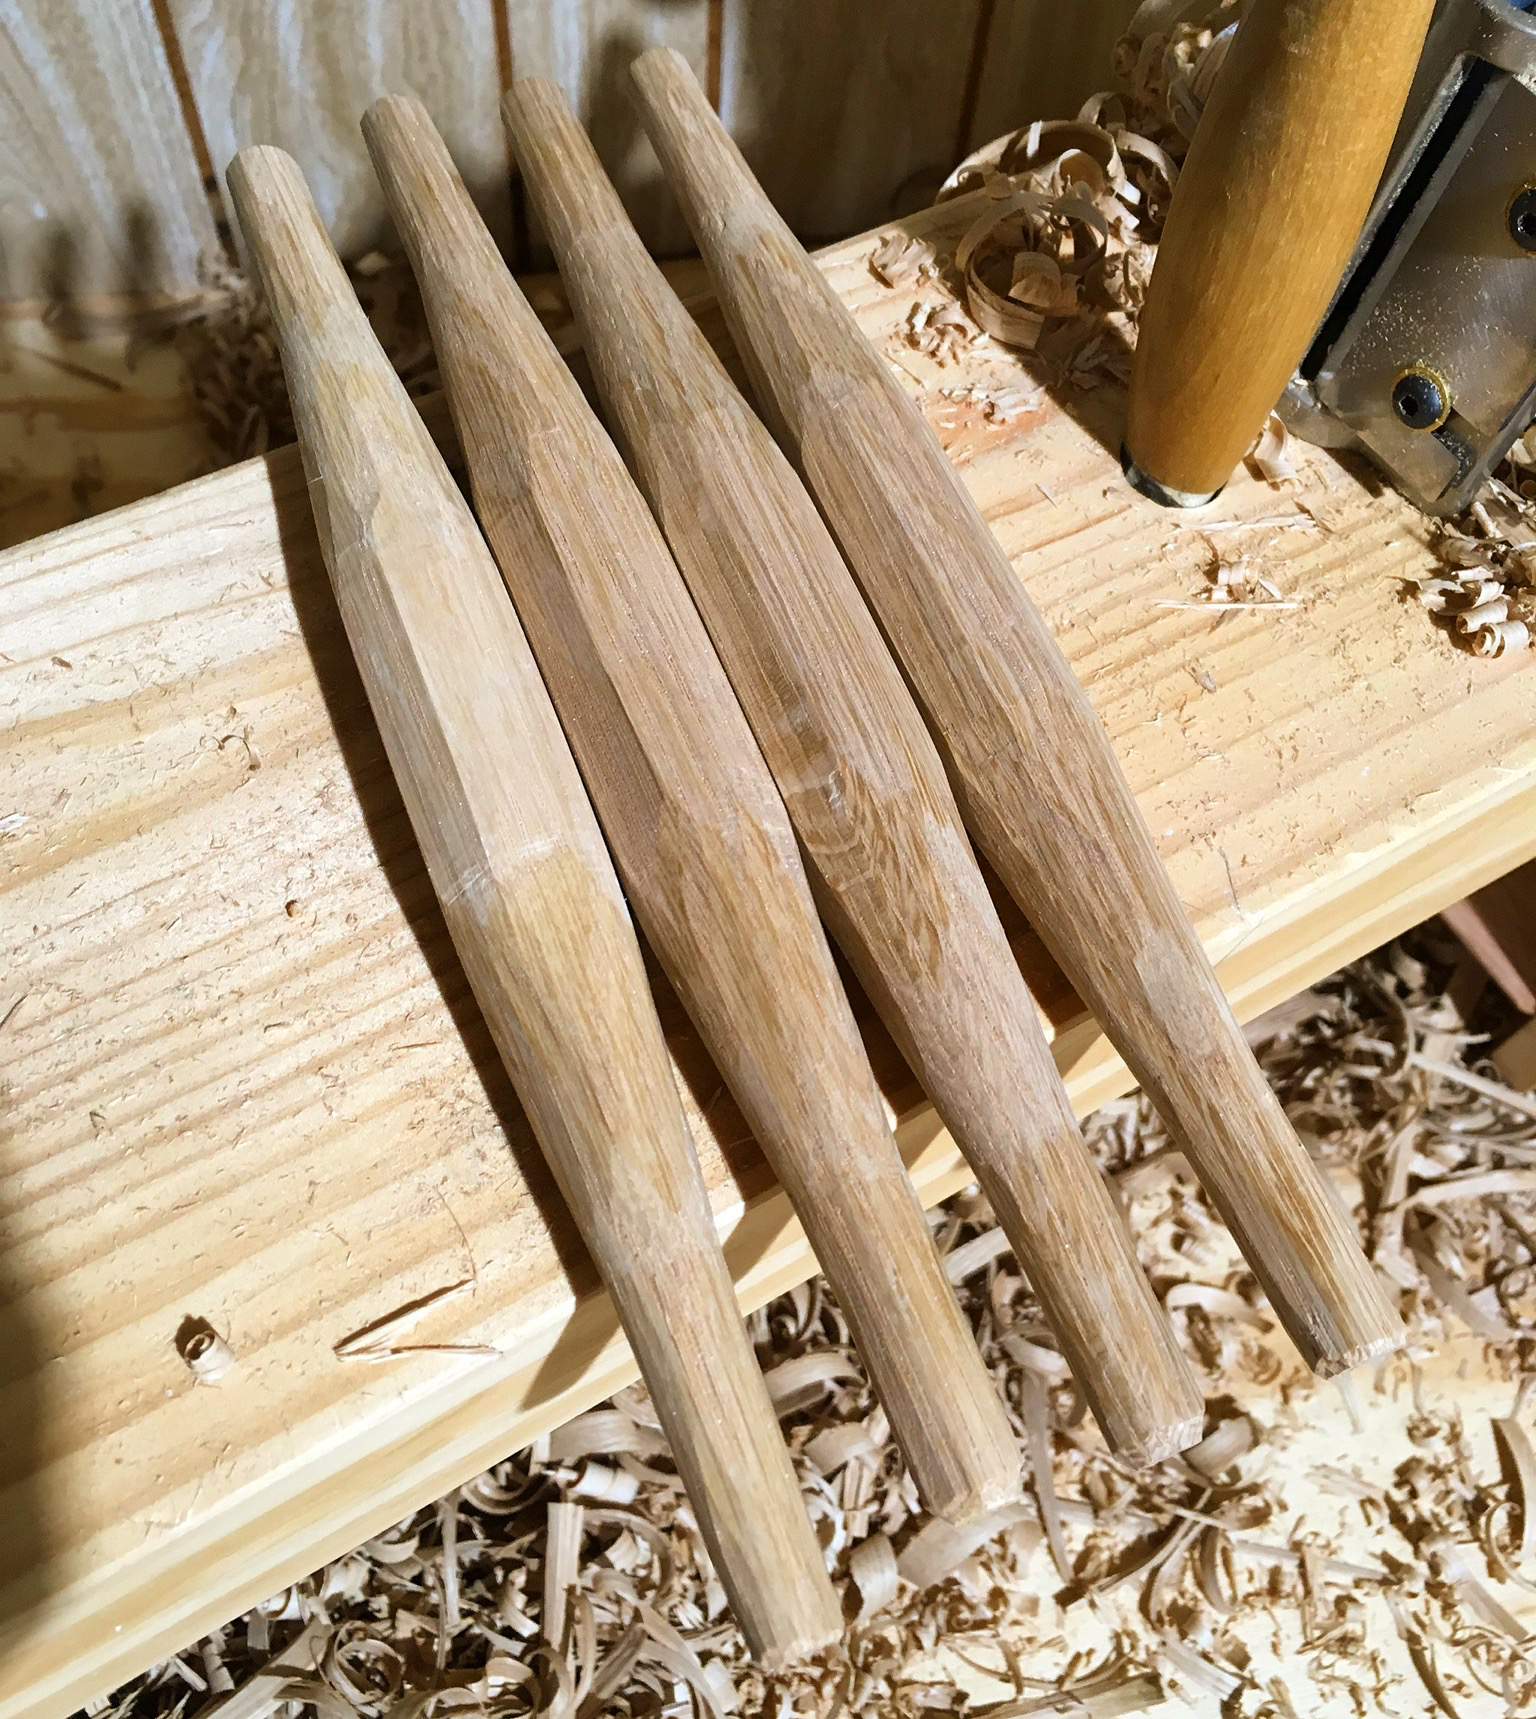
It has become almost a signature of mine to add some sort of knot work to my projects. Usually this shows up as knotted pulls for drawers, but in this instance I went with a turk’s head knot to add a bit of interest to the spindles. The knot sits in a recessed area centered along the length of the spindle. I made the recess with my carving knife and added a little wood burning to the corners of the octagon.
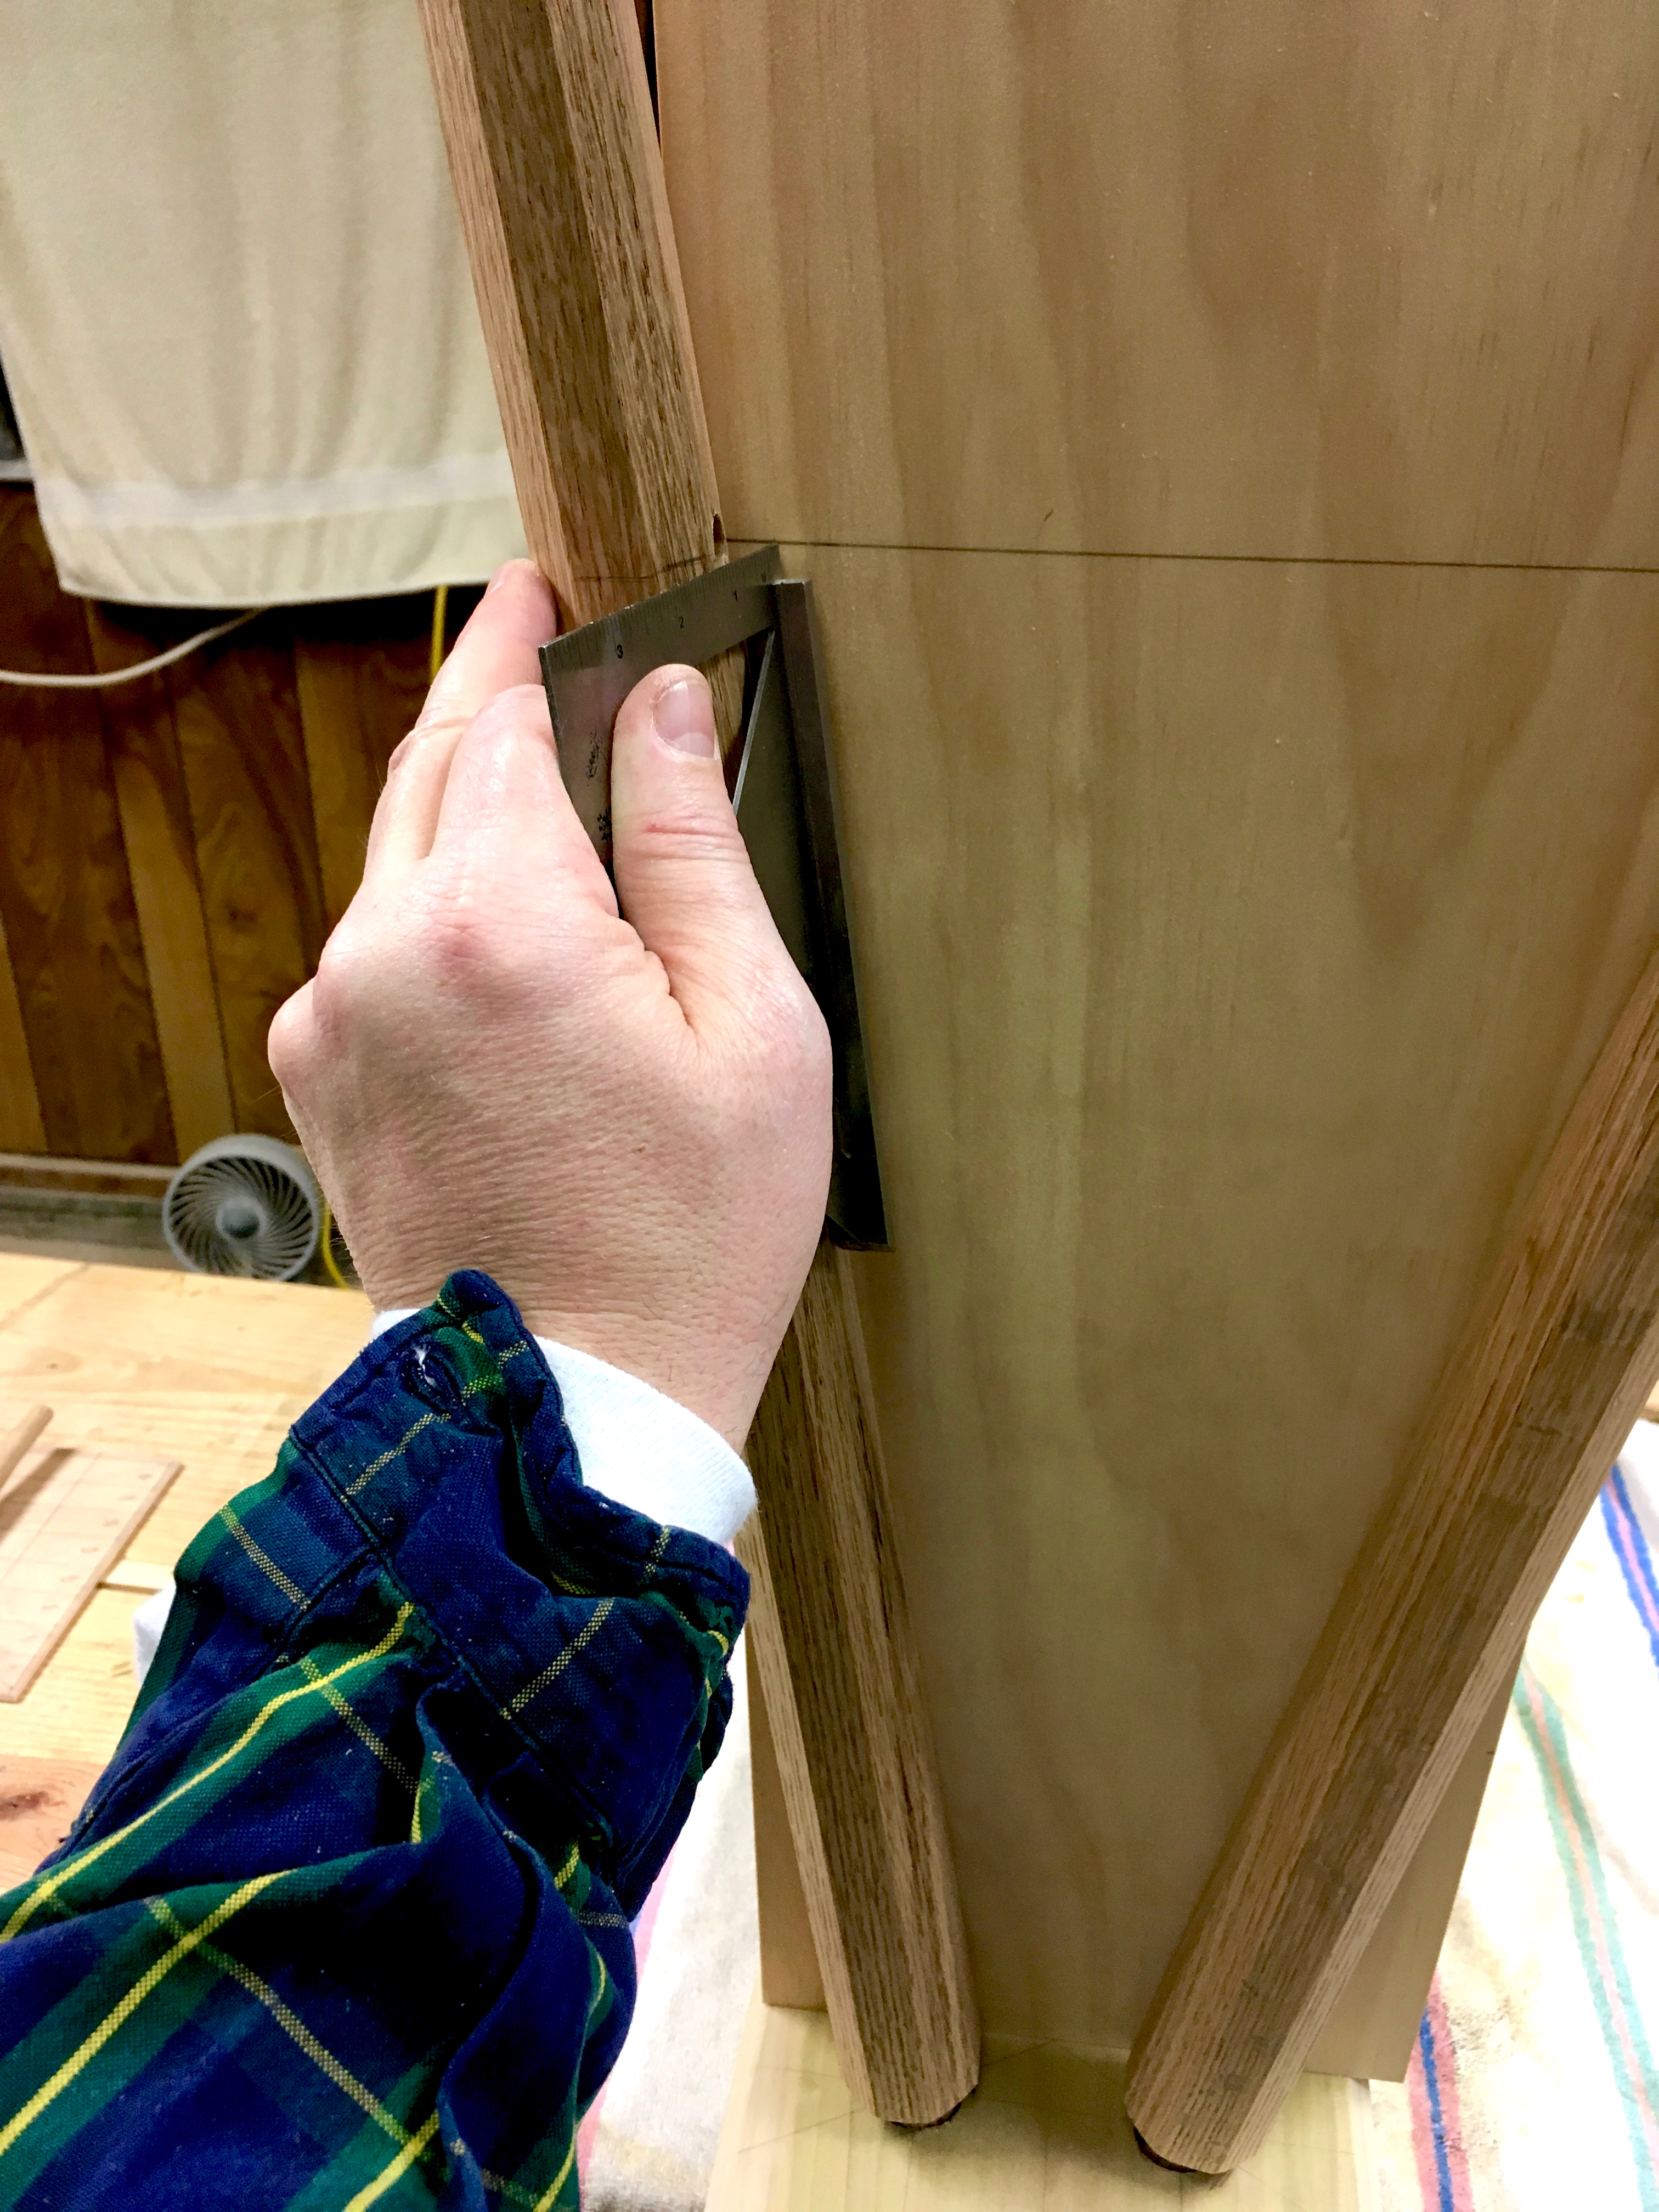
Next up were the mortise holes in the legs. To mark them I squared a board and on it marked the distance of the mortise holes from the bottom face of the trestle. Then set the board in place on the inverted trestle and marked the mortise holes.
In his book, “The Anarchist’s Design Book”, CS recommends a spade bit with an extension. I had neither and when I went to the Big Box store I found an extra long spade bit and went with that. I was worried that I would have chipout when drilling the holes, but found that the spade bit created a surprisingly clean hole.

I chamfered all of the edges of the top slabs and added a little wood burning embellishments to the tops and legs.
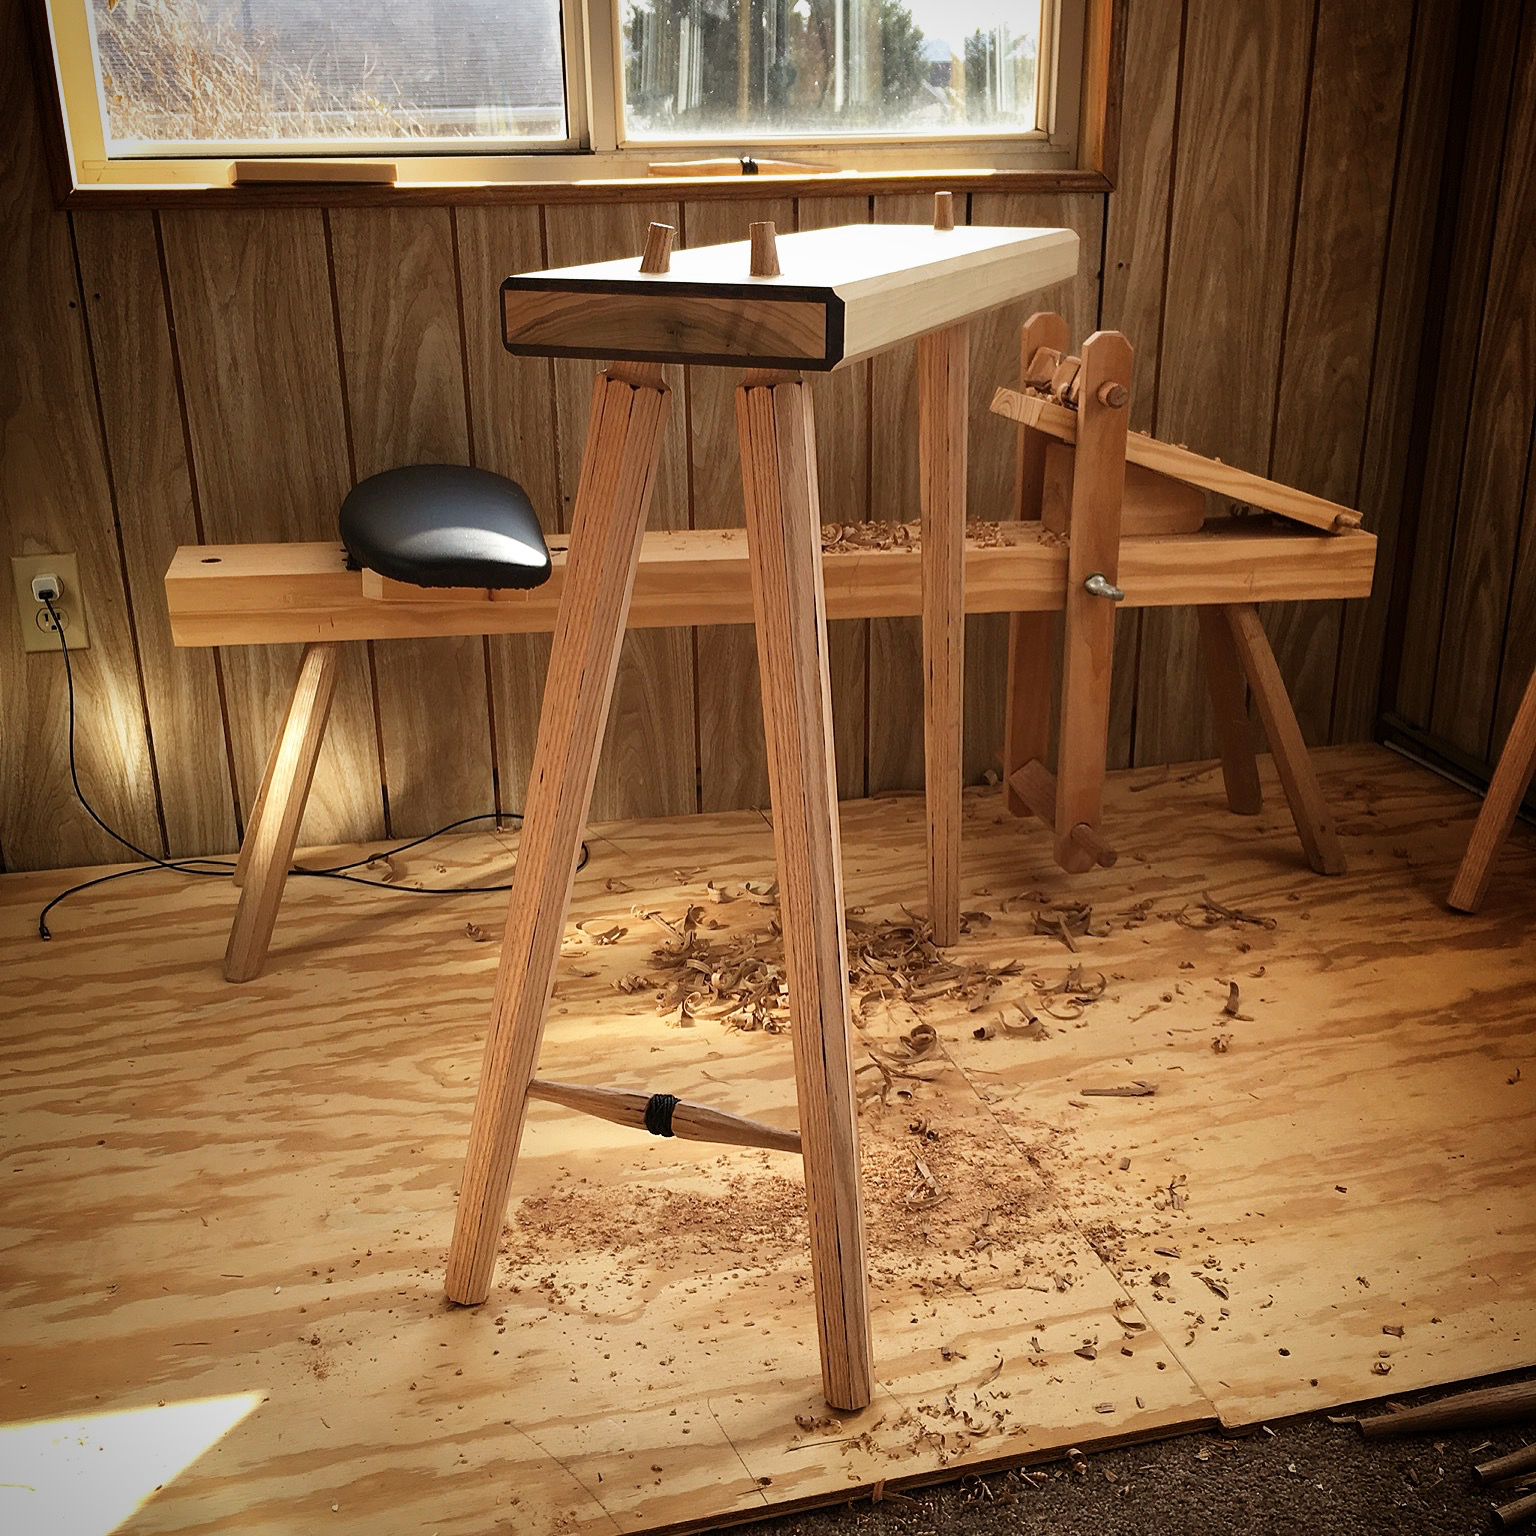
I hope to be able to assemble these trestles this coming weekend. Then I’ll tackle the table tops.

Looking good. Nice photos.
Thanks Jeff. Sometimes I get lucky with the iPhone…sometimes I don’t.
The burning and chamfers on the endgrain looks great. Like it.
Thanks Derek. My hope is that the darkened chamfers will create a nice shadow line when the table tops are in place.
Nice work all around, Greg. I’m especially impressed with the chamfered end of the top (flat) piece. You managed to get what looks like a perfect rectangle of end grain.
I agree
Don’t be too impressed. I used my Japanese chamfer plane. As long as I keep it sharp I can cut perfect chamfers with my eyes closed. 😉
WHAT!!!???
what’s the matter with you Greg your using a power drill instead of using a “Kuri Kuri”…. Sad!
🙂 🙂 LOL 🙂 🙂
The table is getting great!
And my wife is moaning more and more when she sees the pictures…
Could you please, please once in a while put some pictures with some mess in the shop?
I’ll appreciate! 😉
LOL..it seems that I keep disappointing you Antonio…and making things tough for you at home all at the same time. I’ll try and do better in the future.
I think all the elements you are using are progressively showing a greater cohesiveness with each project Greg. The detailing is a real standout. Maybe a photo with a plain backdrop to really focus on the completed trestles? Really like this one. Gavin
Thanks Gavin. I’m getting fairly comfortable with my less than conventional embellishments. I’m still trying to find an area for photographing my final projects where I can set up a neutral backdrop. Its tough though, I’m just a guy banging stuff out in his garage.
Pingback: Table Trestles-Part 4 | HILLBILLY DAIKU
Pingback: Table Trestles-Part 2 | HILLBILLY DAIKU