
 Since my last post I have managed to turn and fit the stretchers for the second chair. I truly do enjoy the spring pole lathe. Nothing like and hour at the lathe after work to rid the mind of the stresses of my day.
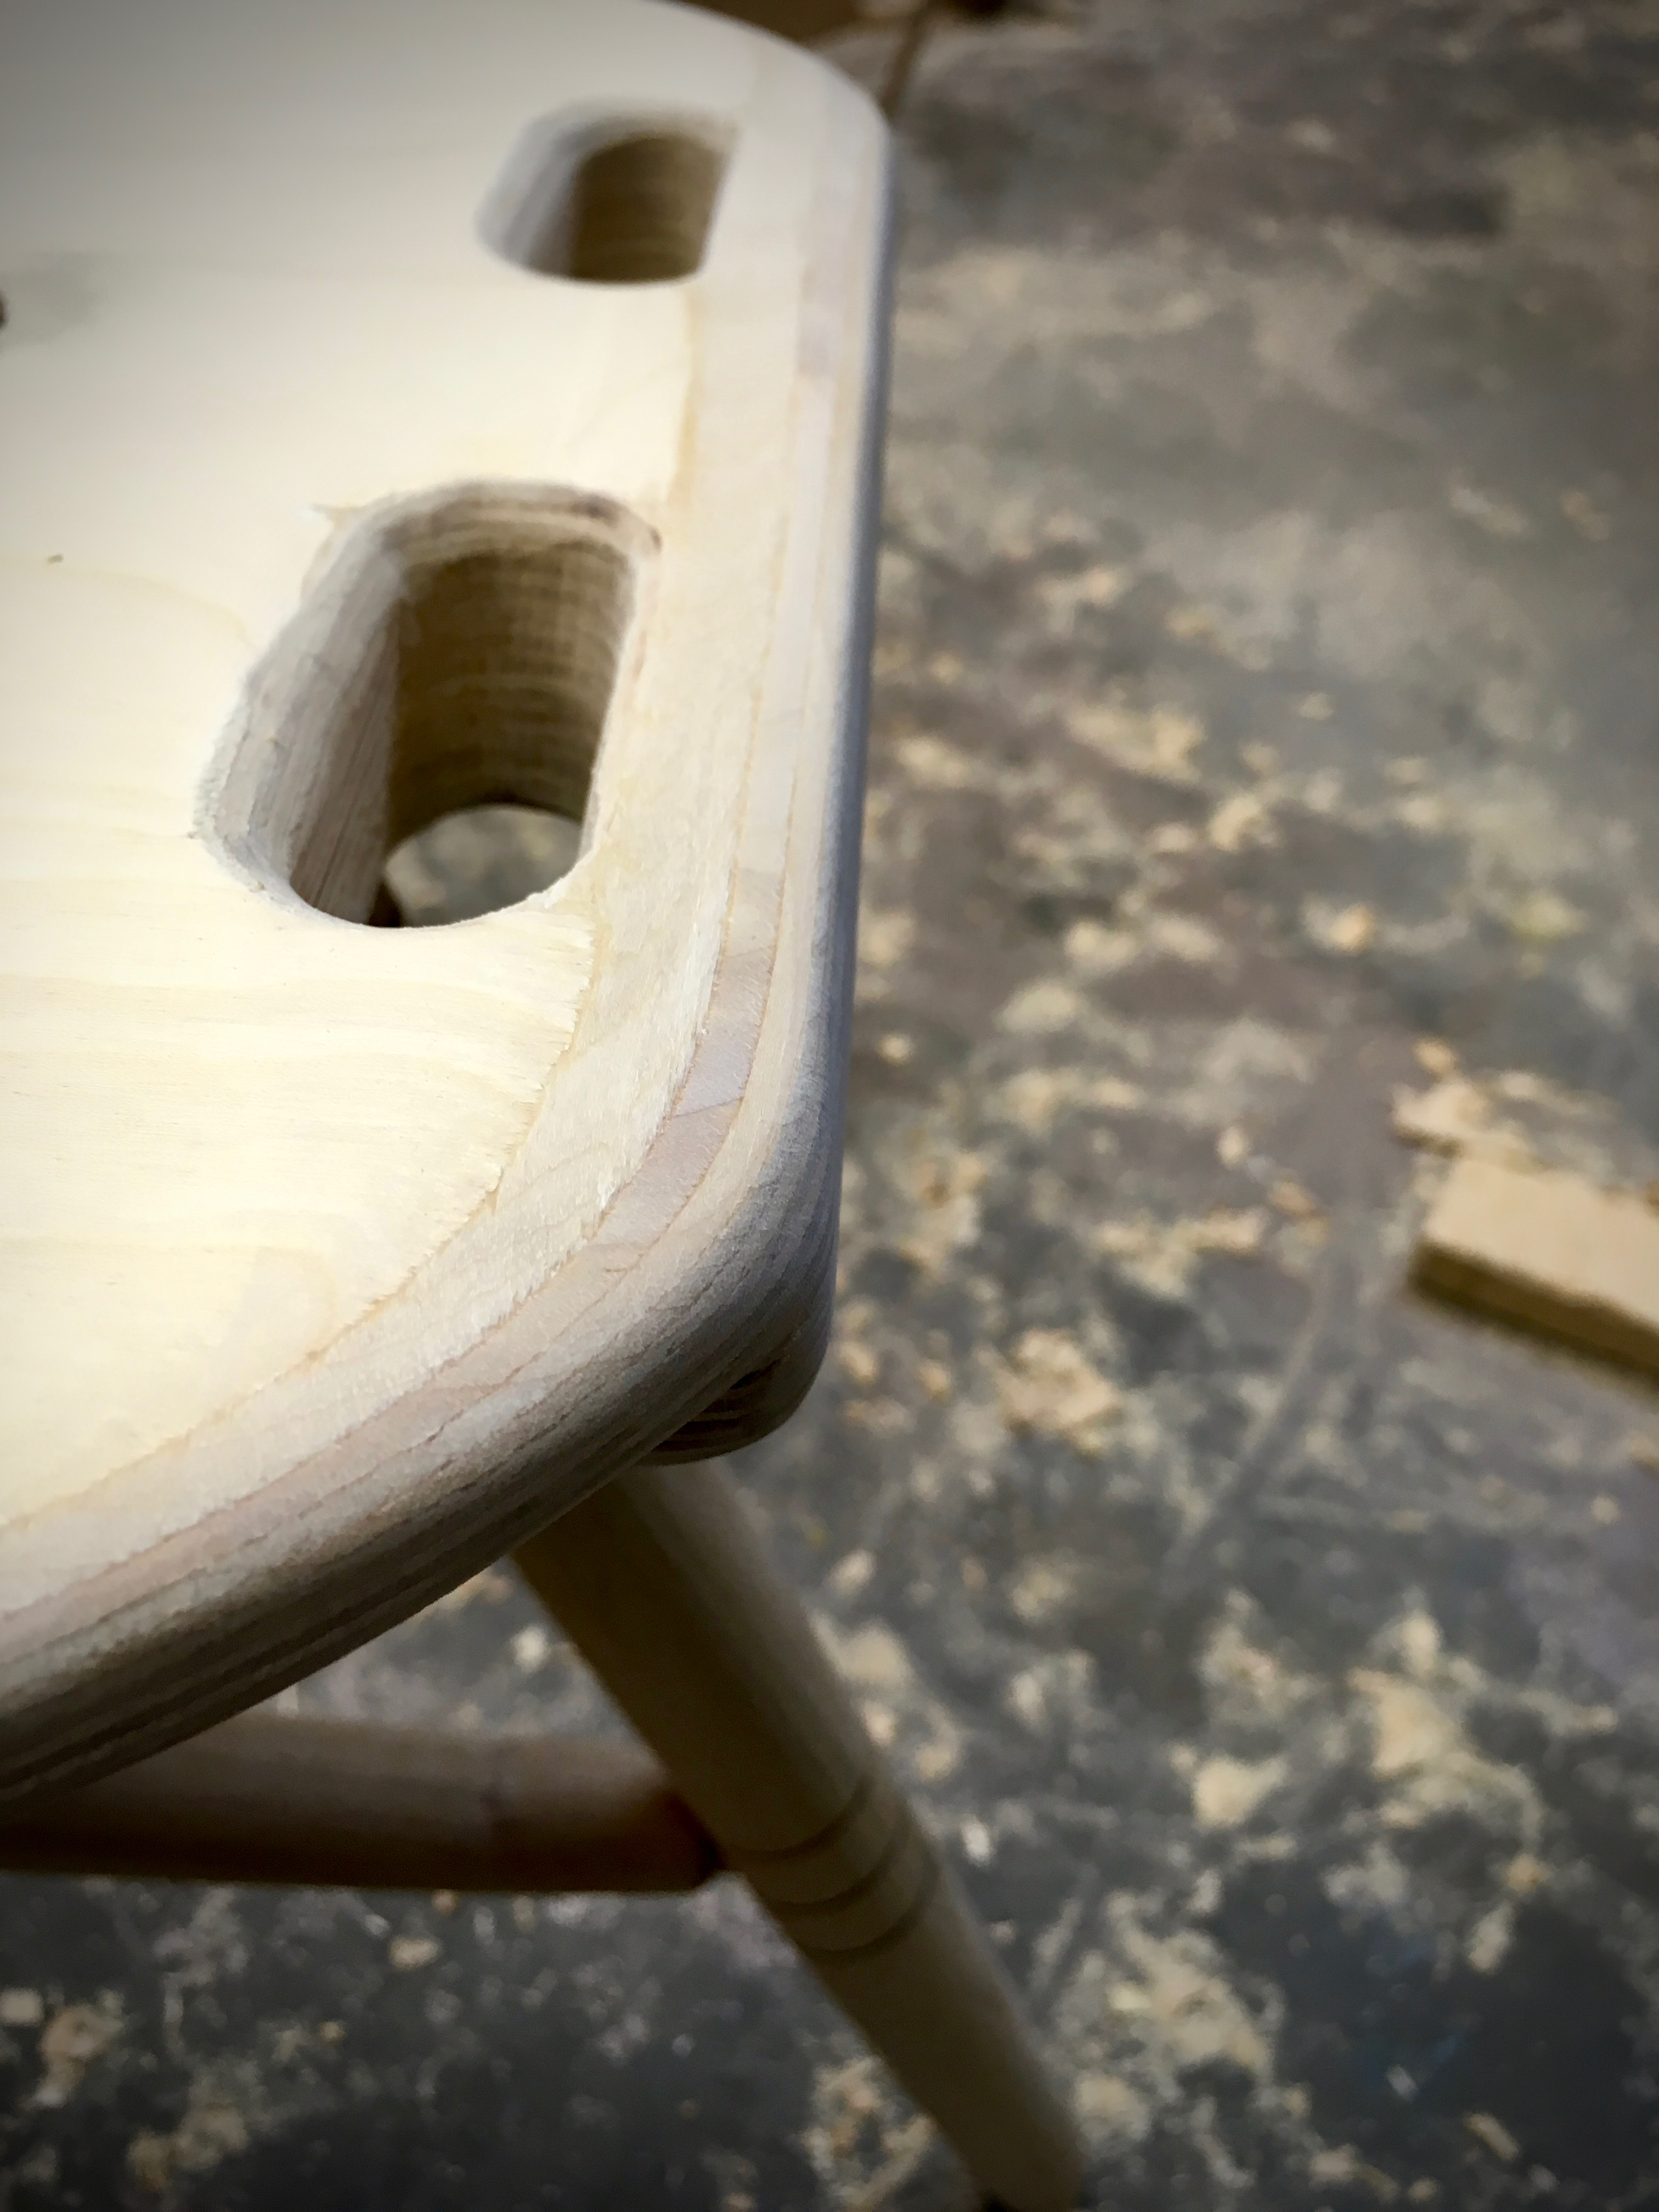
With the parts for both undercarriages fabricated it was time to turn my attention to shaping the seats. Given my whining about having to resort to using an electric router to round the edges of the back mortises and handle cutout, I really wasn’t looking forward to tackling the seats. Once I got started however I found that I could do all of the shaping with hand tools. So no electric router torture was needed.
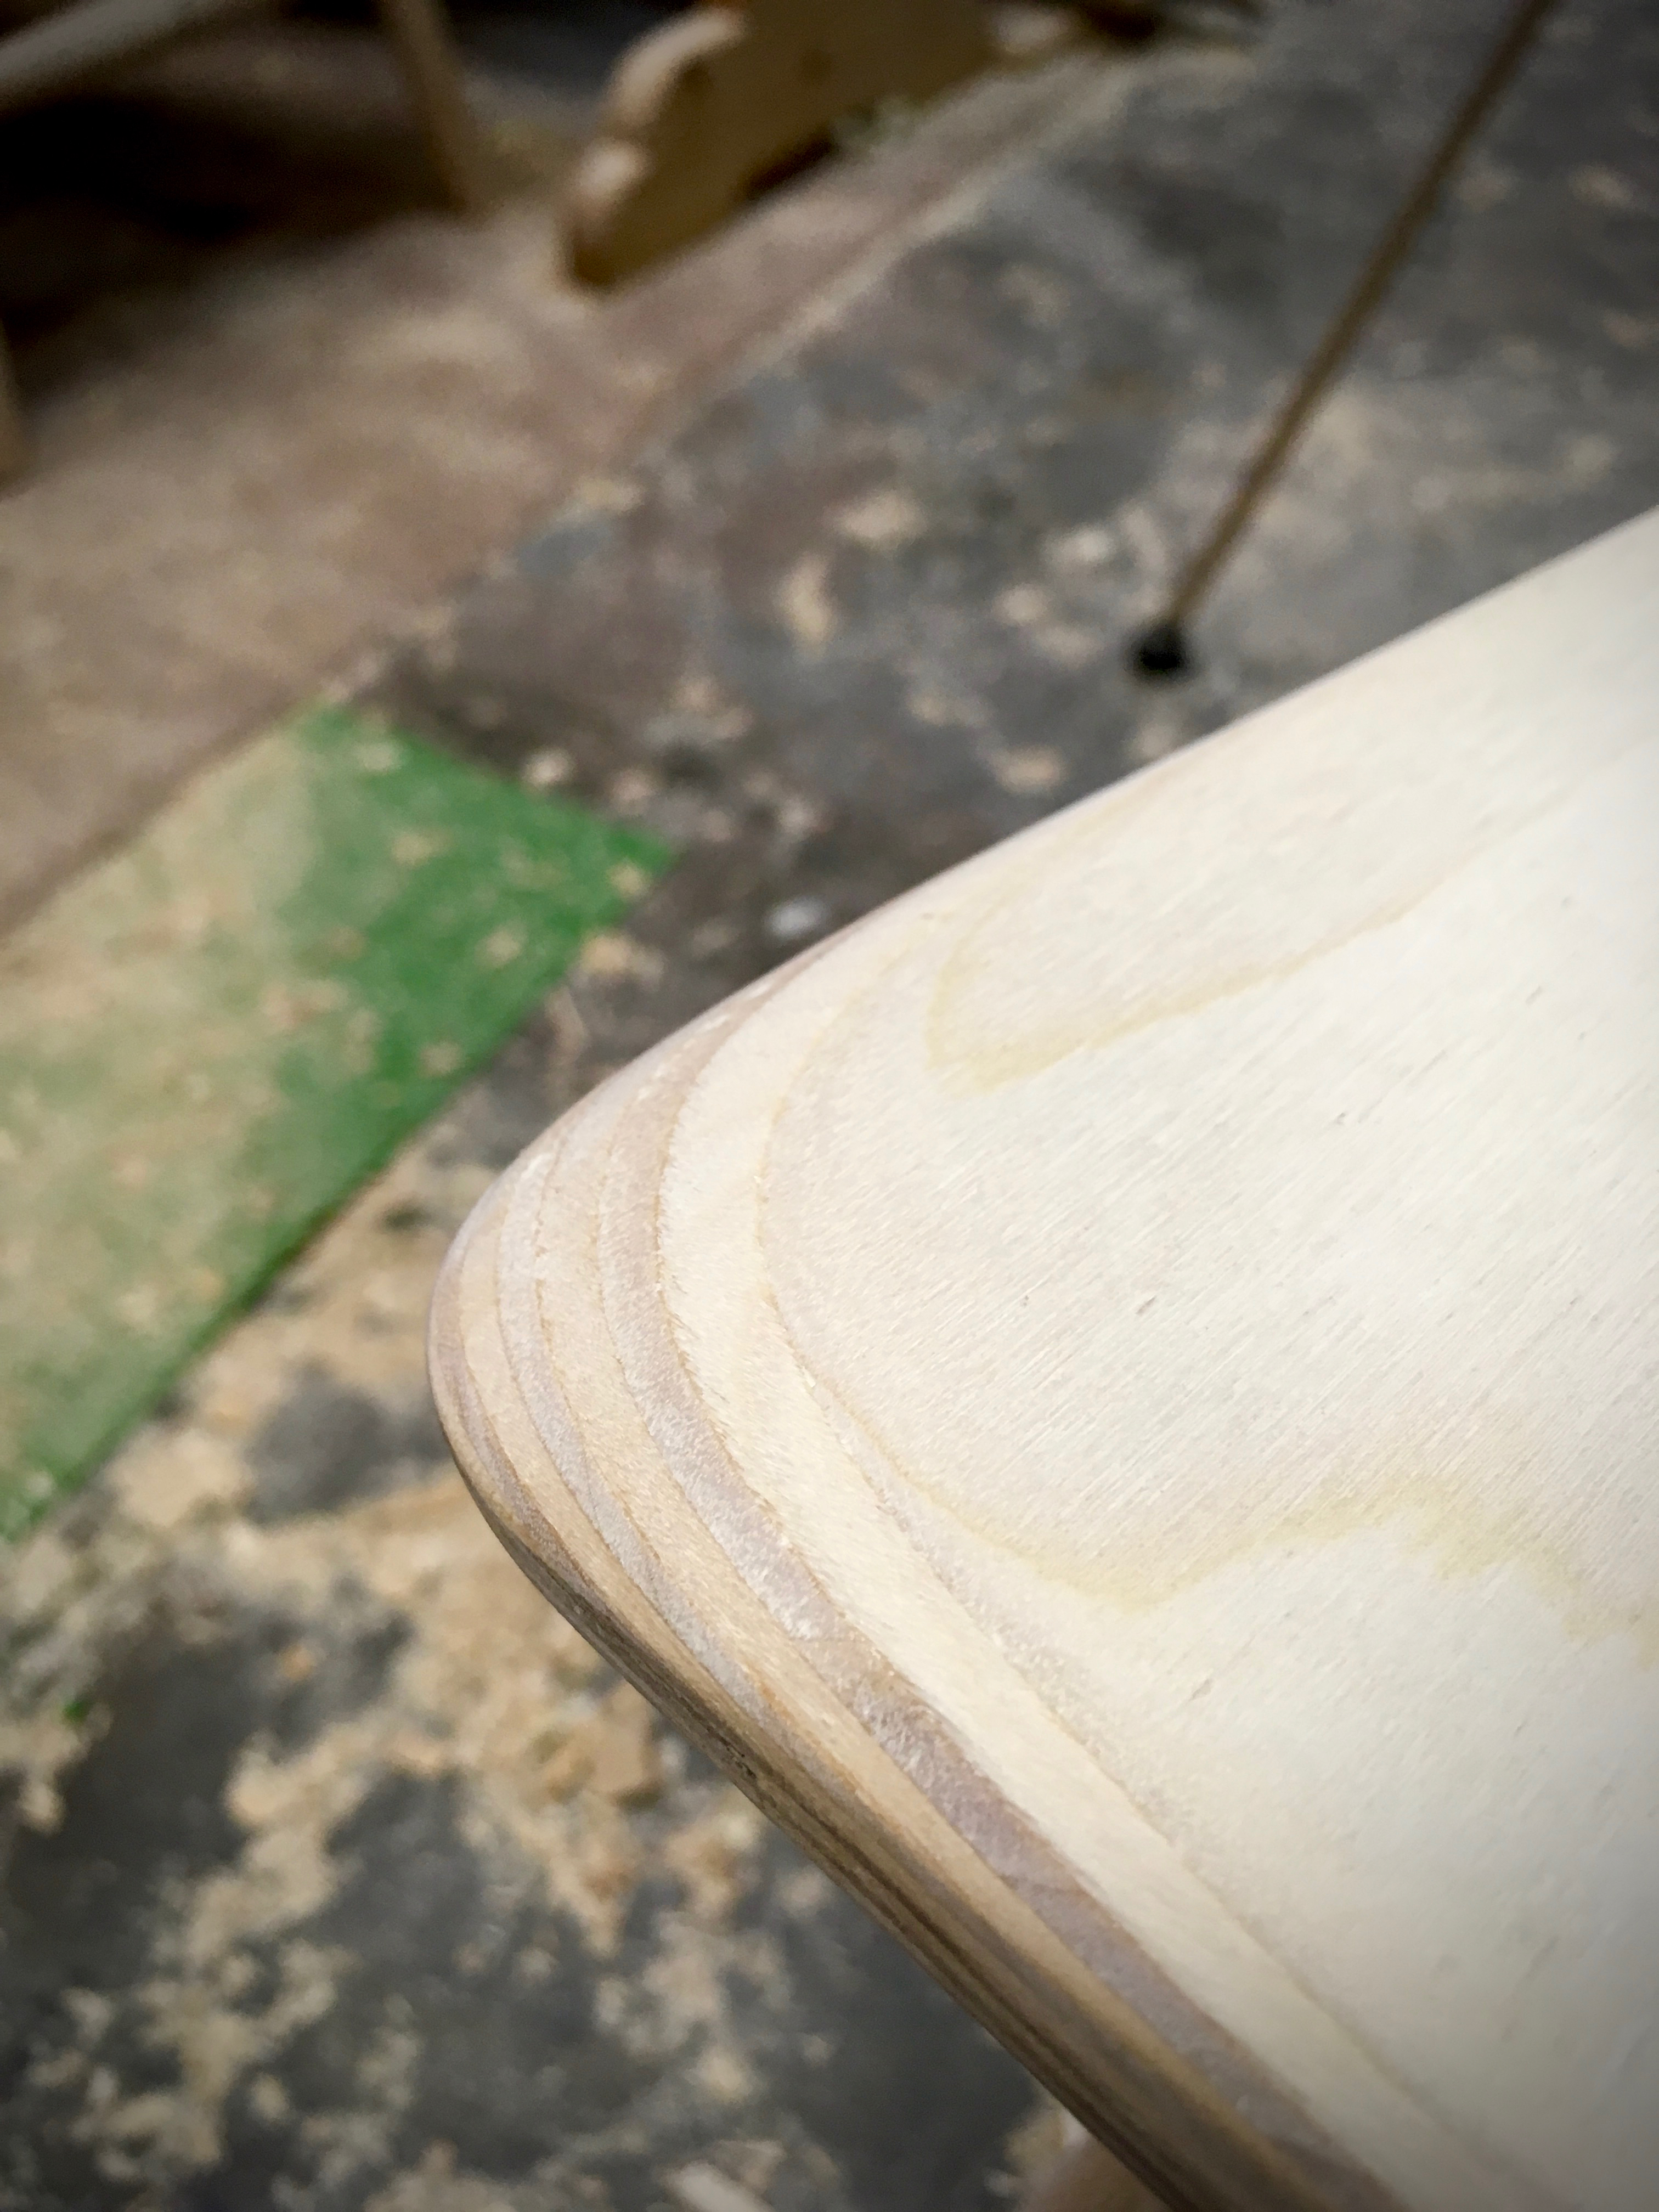
To shape the seat I first sketched a few shapes directly onto the seat board. Once happy I used a combination of hand saws to hog off the waste. Then used a hand plane, spokeshave, rasp and files to refine the outline of the seat.
Here it is cut to the basic shape and very light shaping.

I had to hold back on the sculpting of the first seat so that I could use it as a pattern for the second. Once the outline was established on both seat boards I could begin the sculpting of the edges. That’s right sculpting. Just because I’m using plywood doesn’t mean I can’t go beyond the basic edge rounding.
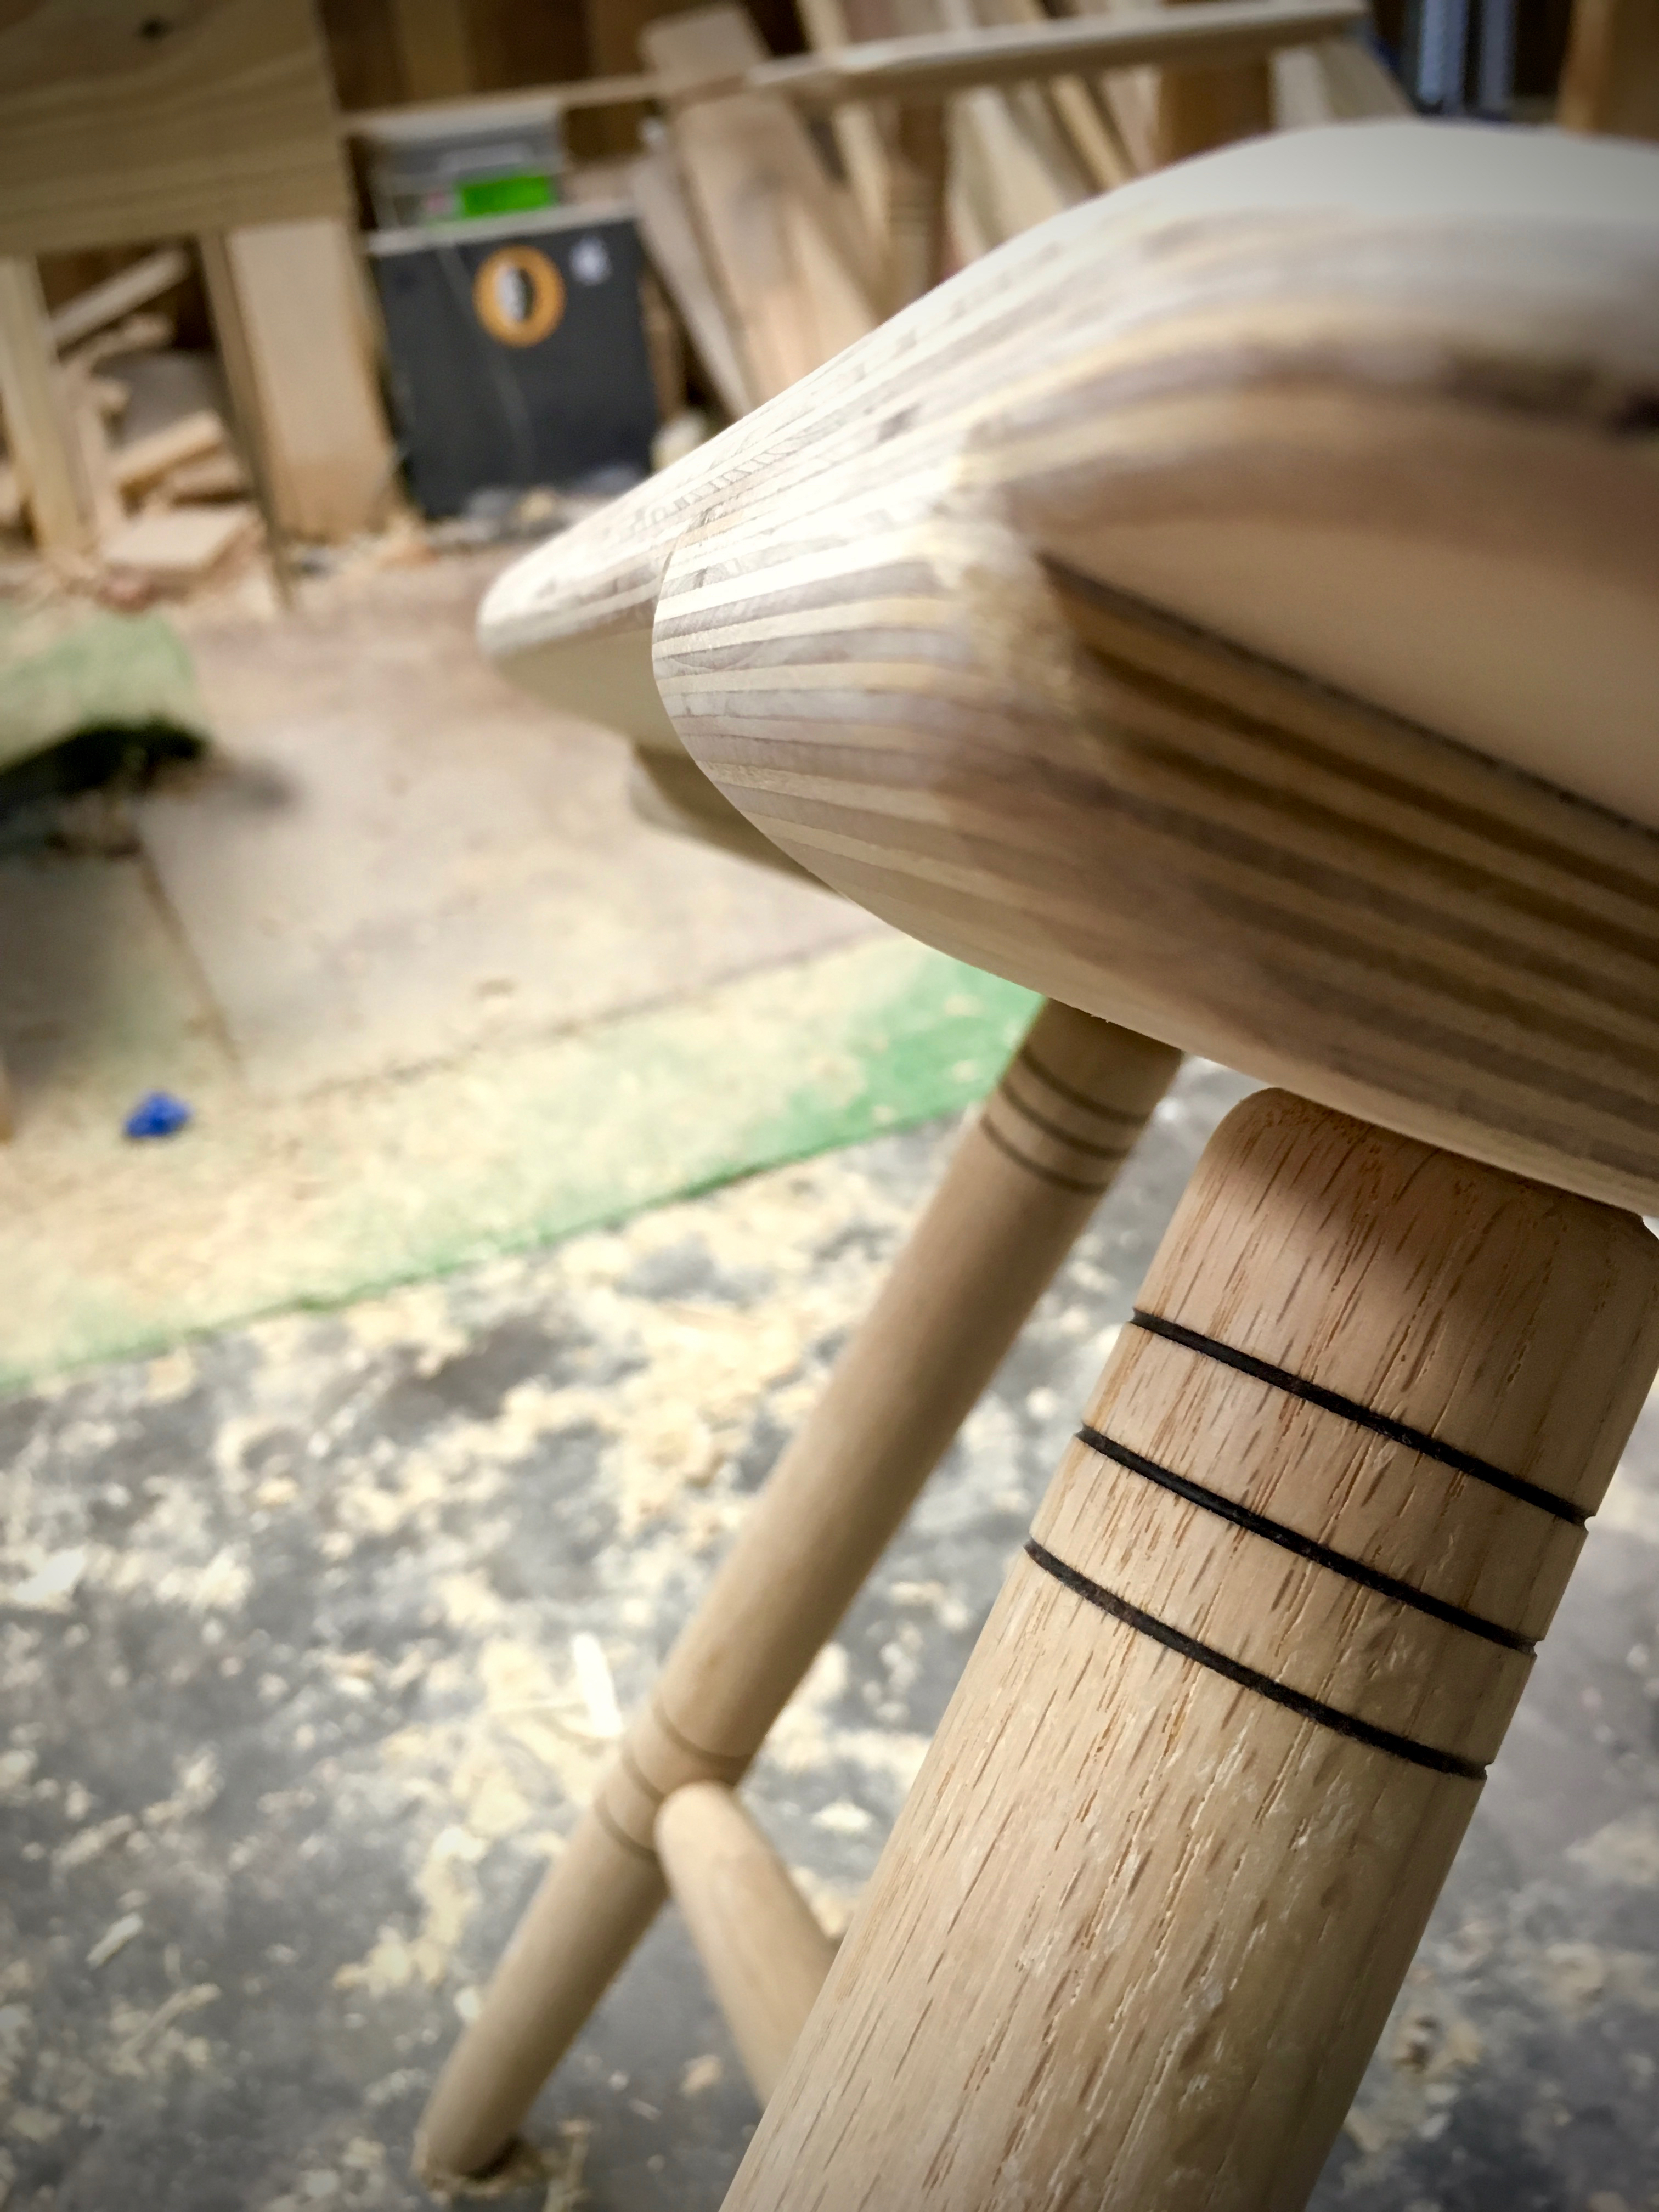
If you look closely at chairs, especially Windsor chairs, you will note that the front corners of the seat are eased over. This easing prevents having a pressure point on the back of the sitter’s thigh. It also helps to visually lighten the chair. As a nod to this time proven design feature, I too eased the front corners of my seats. This was a simple exercise with the spokeshave, rasp and file. Sanding blended everything together.
I also gave the rear corners of the seat the same, albeit less pronounced, treatment.
The majority of the remaining edges were simply given a rounding over. The other area that was given a little more dramatic treatment was the outer ends of the front batten. At an inch and a half thick these looked pretty clunky and felt even worse. So I added a heavy chamfer to lighten the look and rounded all of the edges to create a pleasing surface to touch.
Tonight I came home from work and gave all of the parts for the first chair a thorough sanding and inspection. Satisfied with the parts, I cut some wedges and starting adding the glue. I’m happy to say that the glue up went smoothly.
Tomorrow after work I’ll go over the parts for the second chair and assemble its base.
The next task will be the upholstered panels for the backboards. Those still need holes drilled, hardware installed and upholstered.
Brian is also making good progress on his “June Chair Build“. He is wrapping up the eight legs that he needs for his two chairs. Be sure and check out his blog.

Pingback: 3-Ply Moravian Chair-Part 2 | HILLBILLY DAIKU
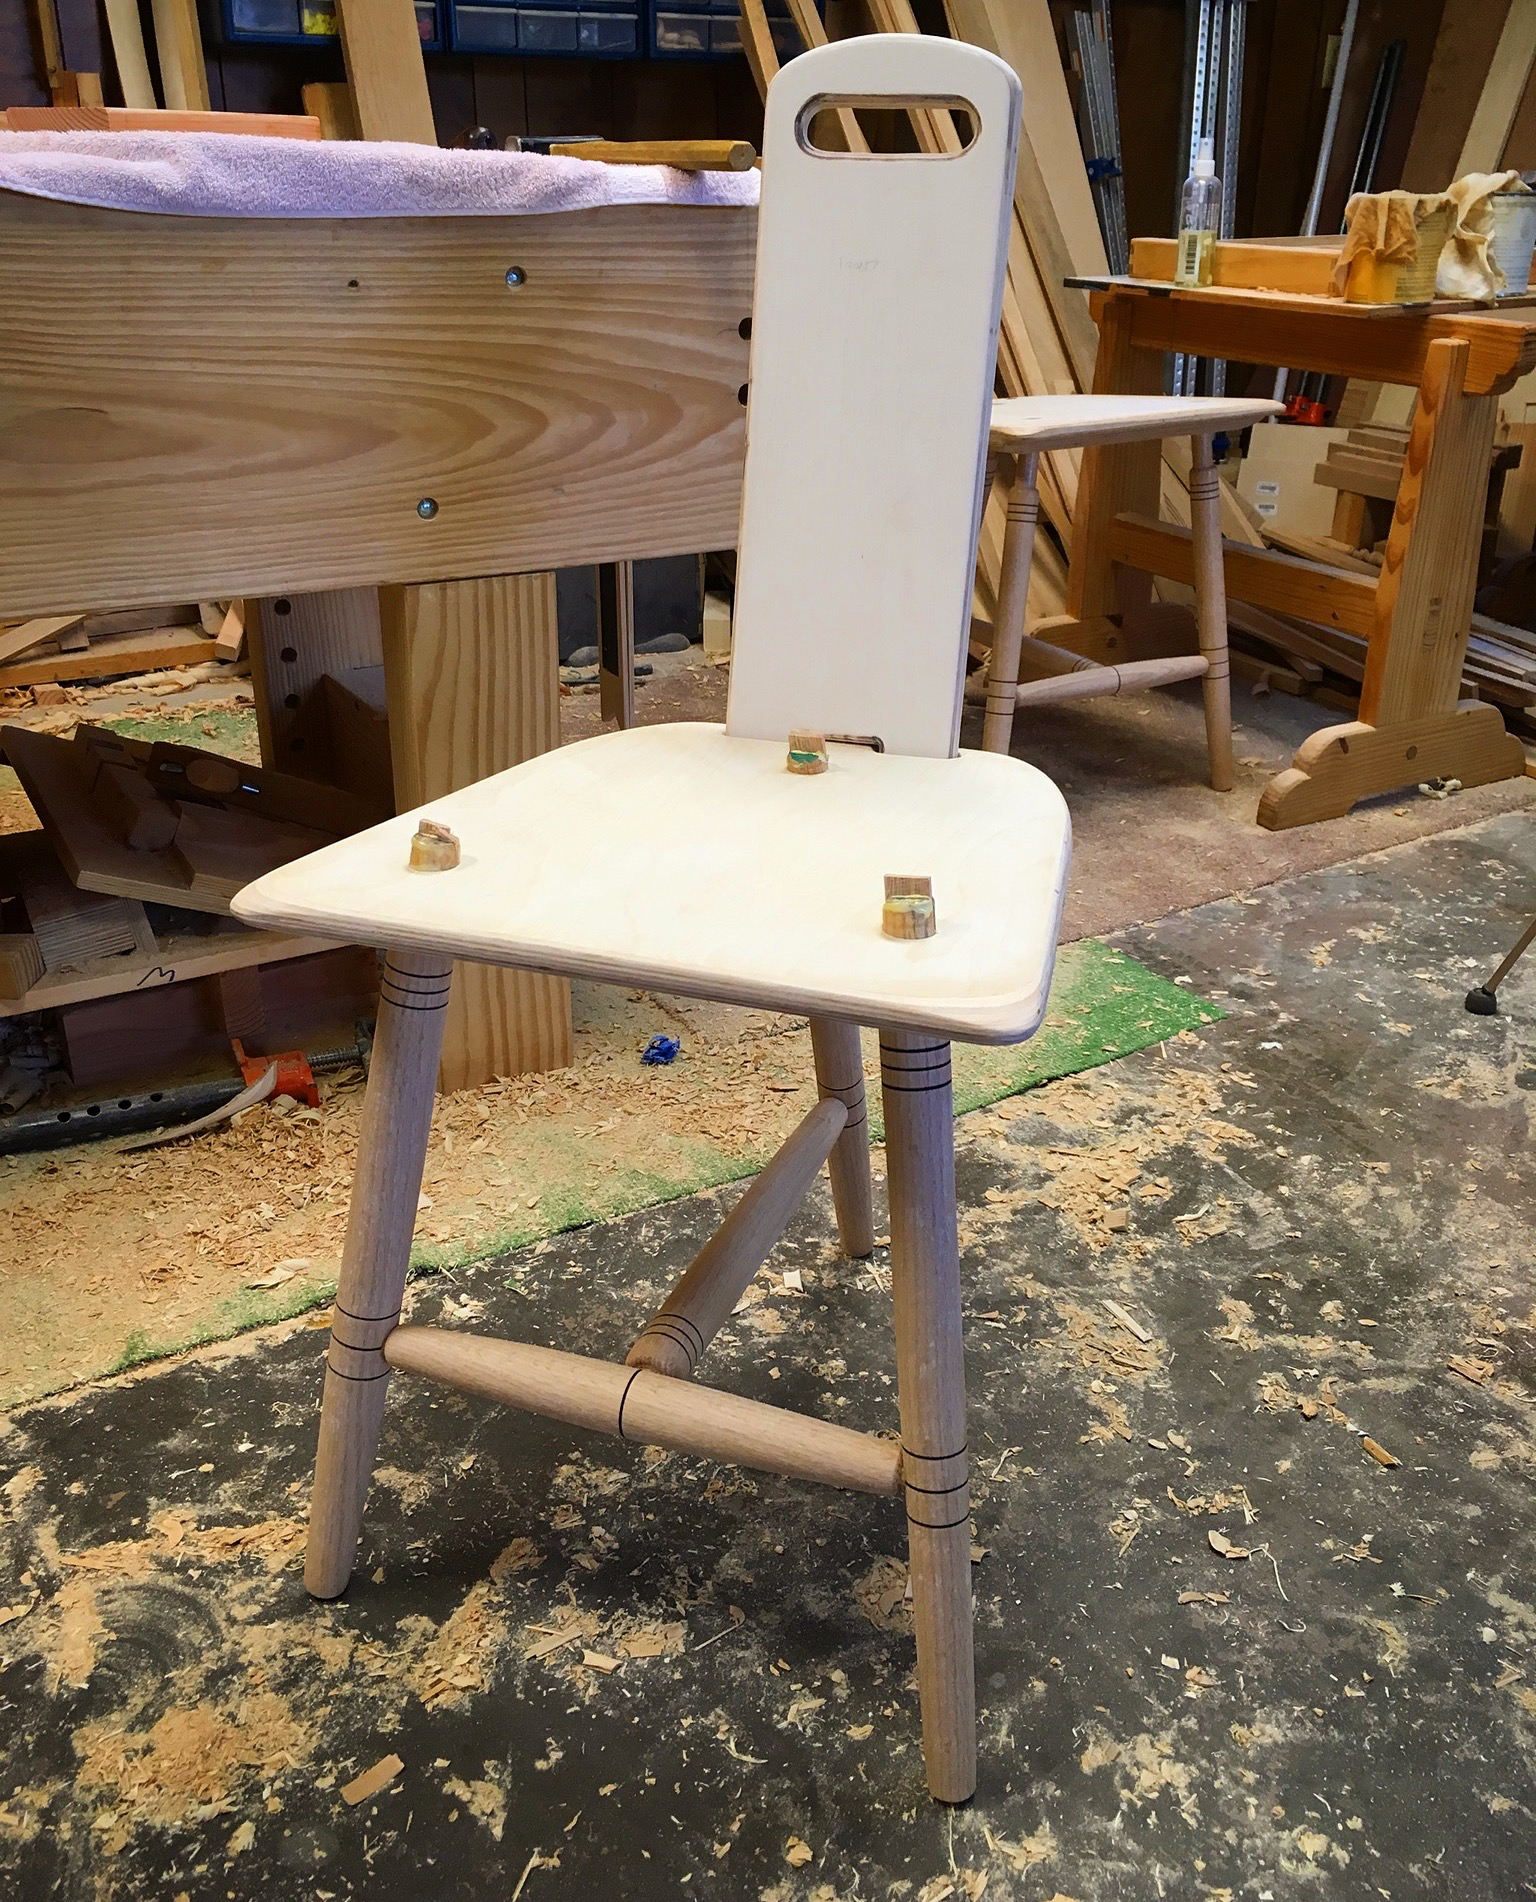
It is super cute! How will you finish it? I vote for painting it to look either like a minion or a cylon. 🙂
Actually, I think the shaped plywood parts look great! what an interesting pattern.
Ouch! Cartoon and sci-fi character comparisons and the dreaded “interesting” adjective all in one comment. That’s pretty harsh Brian! LOL
I promise the back board will have a little more visual interest when everything is done. The finish is still up in the air. I have a couple of plans thought out, but the ultimate decision will be made once management chooses an upholstery fabric. So who knows? They may end up bright yellow with a red led light that moves back and forth. 😉
You should name one Bender, after the robot in Futurama.
Pingback: 3-Ply Moravian Chair-Part 4-Complete | HILLBILLY DAIKU