
 The second chair went together pretty much as the first.

The next bit of fabrication was the back panels that will eventually be upholstered. These are simple squares of ply that will be secured with bolts and “T”-nuts. A little shaping should make for better comfort.


With that done it was time to make a final decision as to the finish. You know I’m an oil and wax kind of guy, but plywood needs a little something more. I thought about some sort of paint. Maybe a bold color to make my wacky design even more over the top? Maybe a traditional color of milk paint? In the end I went a somewhat conservative route and decided to dye them.
Before committing to the dye, however, I broke out the wood burner (don’t act surprised, you knew I would). I did show great restraint and limited myself to burning the front and rear corners. For the dye, I chose to use Transtint’s Dark Vintage Maple. I’ve used this product before in a different color (dark walnut) on a few tables.
-

- Barn Red Milk Paint with shellac and wax

Transtint comes as a concentrate and needs to be mixed with a carrier. Water or denatured alcohol are the choices and I chose to use alcohol. The alcohol dries fast and doesn’t raise the grain, although water may offer deeper penetration. So mix the dye per the instructions and apply. I rag the mixture on and work as fast as I can so as not to lose the wet edge. The open grain of the red oak and birch ply absorbed more dye than I wanted resulting in a slightly darker shade, but I can live with it.


Since the dye/alcohol mix dries quickly, I was able to follow up with a first coat of Tried & True Original just a few minutes after applying the dye. Today I applied the second coat of Tried & True.
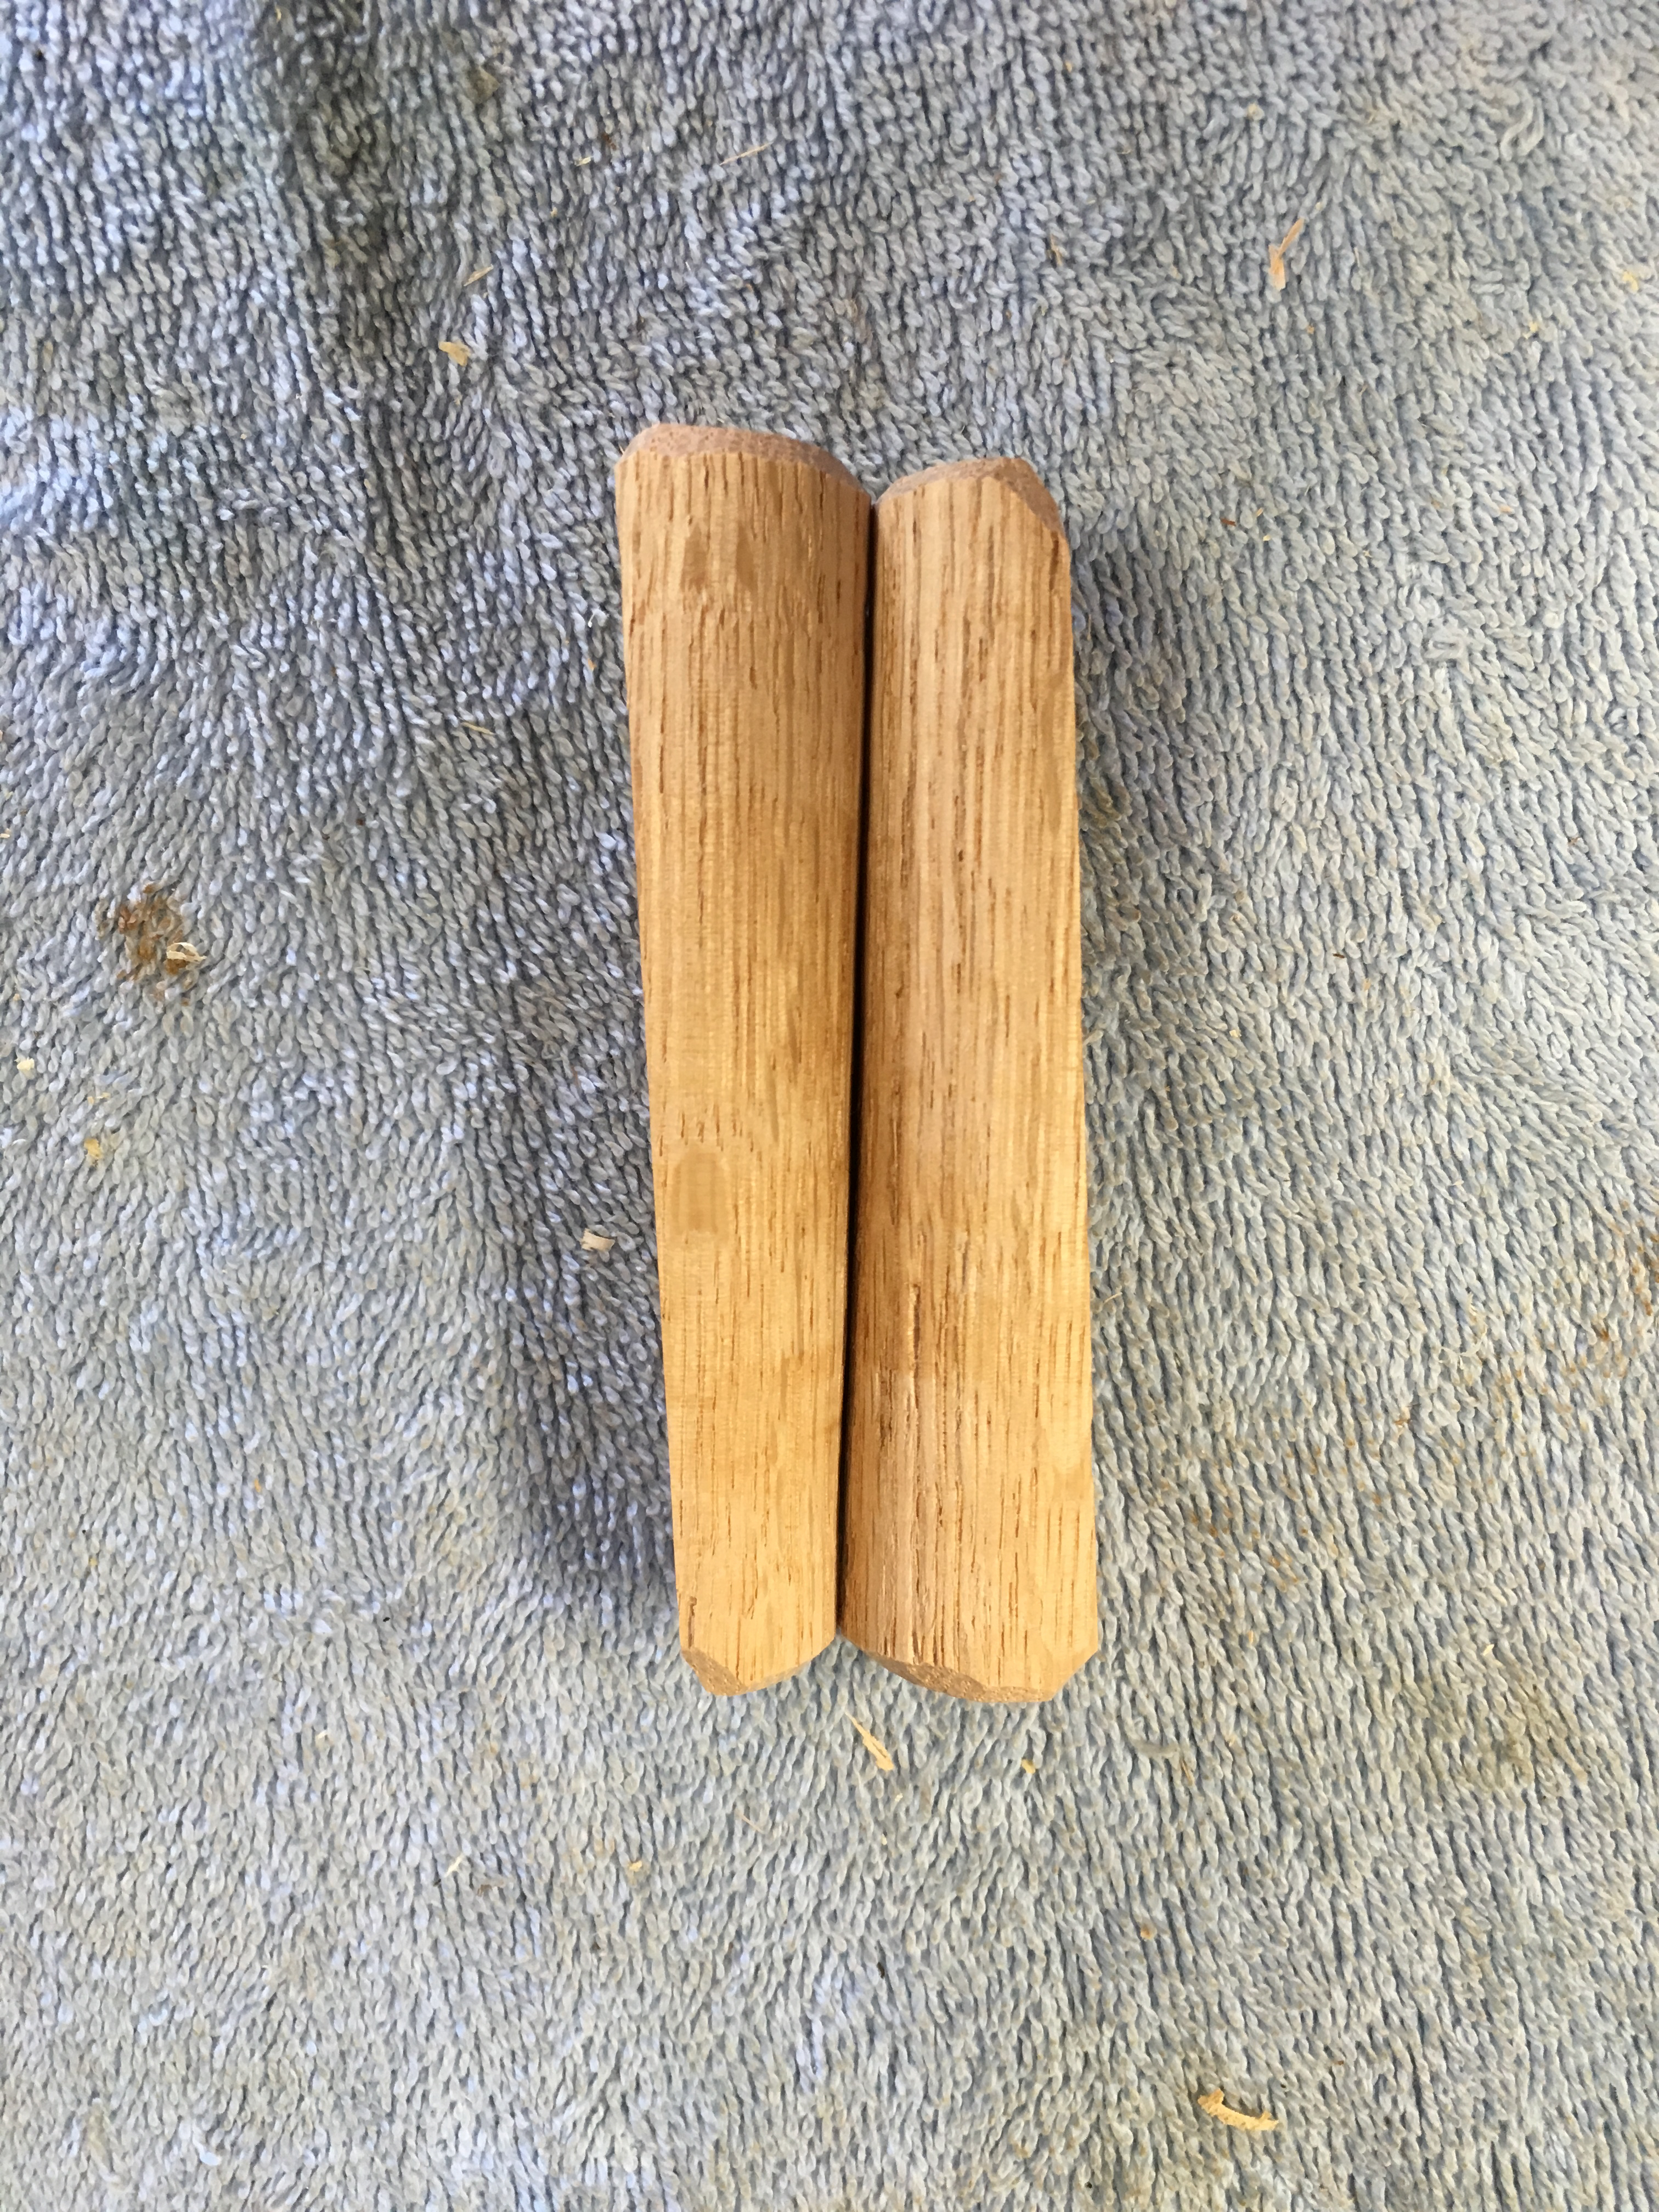
While waiting on the finish to do its thing, I tackled the last bit of construction. The wedge pins that secure the backs. These are simply dowel pins shaved to a wedge shape. To create the dowel pins I prepared two red oak billets. One billet would generate two pins.


The last task was to upholster the two small back panels. I completely missed taking any photos of the upholstery operation though. They are really simple. One inch foam covered with sage green vinyl (the same vinyl that I used on the footstools) and stapled in place.
That is pretty much it. A final buff with a soft cloth and the backs wedged in place.

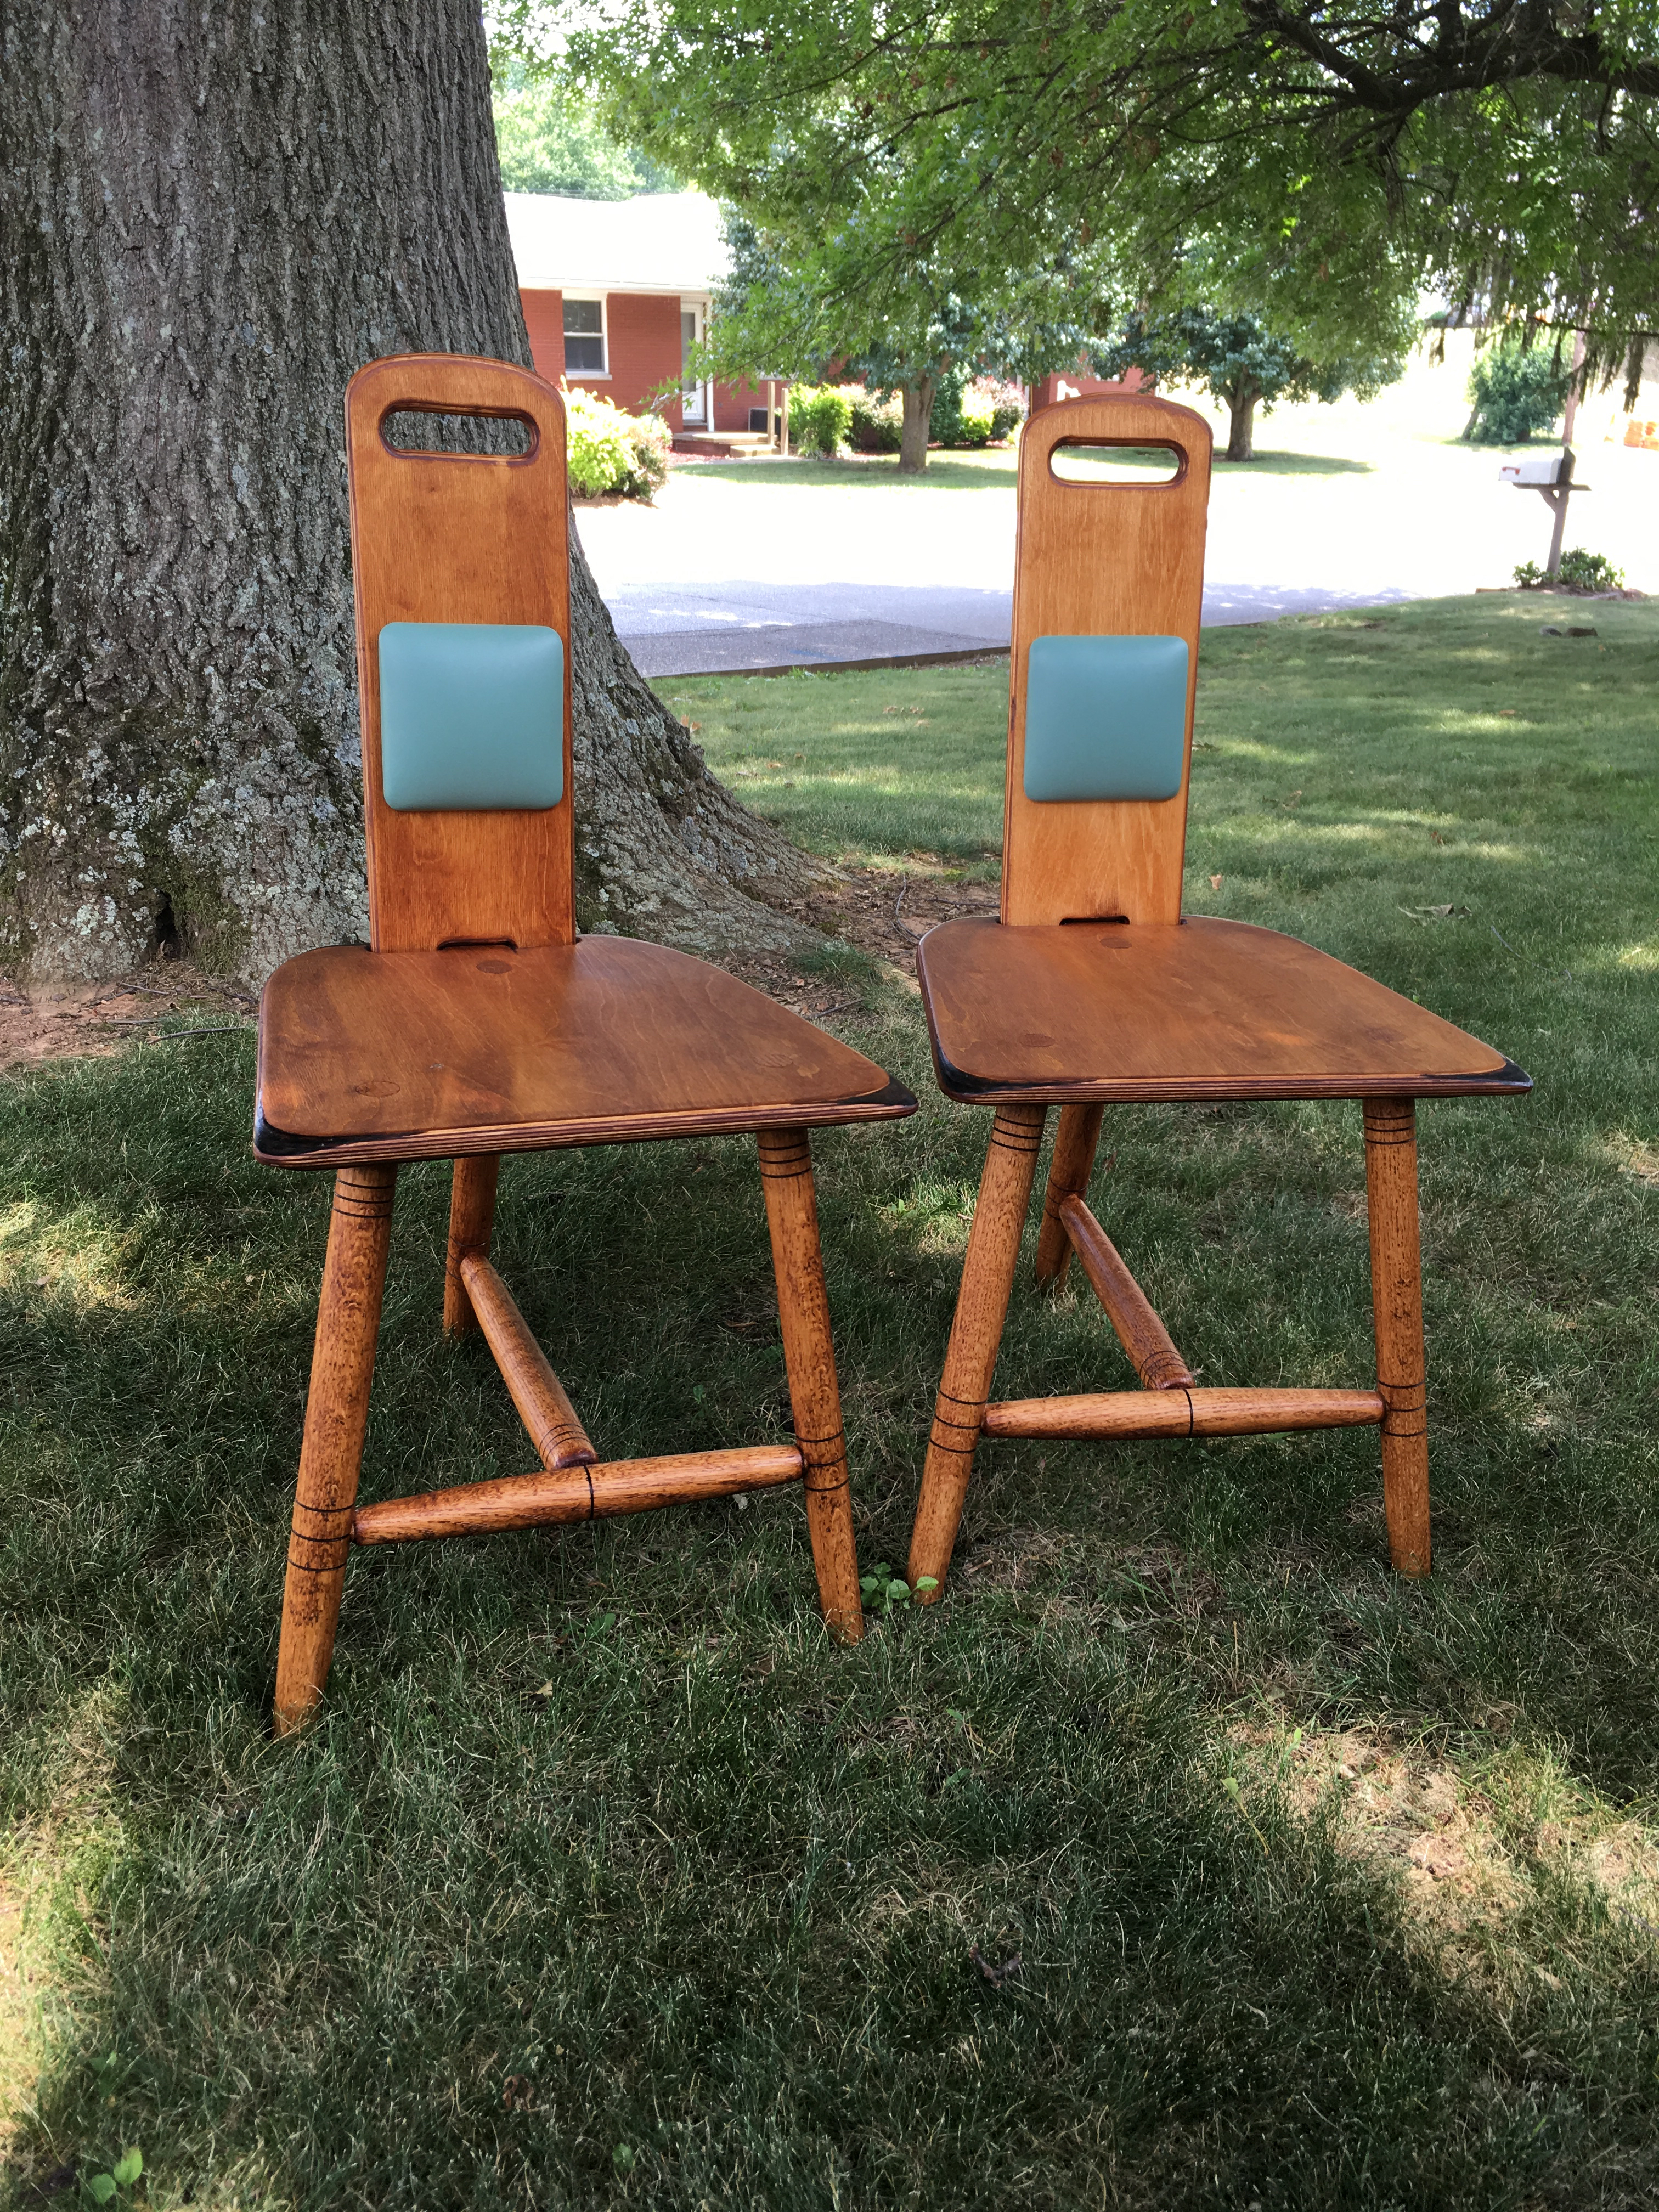


So that concludes my crazy chair experiment and my entry in Brian’s “June Chair Build“. This design works, but is best suited to power tools because of the use of plywood. Shaping the outside edges of plywood with hand tools is doable (requires frequent sharpening). Shaping the inside edges (mortises/handle) is possible, but best suited to the use of an electric router. One note about the stretchers. Structurally they are not required, although they do add quite a bit of strength. The legs and their tenons are more than strong enough on their own. I simply prefer the visual of having the stretchers.
All in all I think I accomplished my original goal. A simple chair that required no special tools or steam bending. A chair that could be built from readily available materials. Maybe even a chair that took an age-old construction method and updated it to a modern aesthetic. The degree of my success is in the eye of the beholder and will most likely run the gamut of the scale.
Part 3 Greg Merritt

Pingback: 3-Ply Moravian Chair-Part 3 | HILLBILLY DAIKU
Your a clever little cookie Greg and I think you have achieved your goal. I have an idea I’ll send you an email now. btw they look bloody great!
I think luck played a biiger part in this build than cleverness, but thank you.
I’d rather call it skill, there’s no such thing as luck.
Although the ratio changes, luck is a mixture of preparation and perspiration. No matter the ratio…you have to make it yourself!
I like you philosophy and so true it is
Nicely done, Greg. I hope they’re comfy on the tush. What is the Tried and True? Is it an oil/poly mix?
Thank Matt. I was a little worried about the flat seat, but they are surprisingly comfortable. I’ll get a better idea of their comfort once I cycle several folks through.
Tried and True Original is what I use to finish just about everything. Its an emulsion of beeswax and polymerized linseed oil. Non-toxic, food safe and no heavy metal driers. I love the stuff.
http://www.triedandtruewoodfinish.com/products/original-wood-finish/
Again, I like the directions and explorations your ideas take you to Greg . Plywood can be testing and rewarding to work with. There are some really bad plys out there and some really nice ones- trying to afford them can be the hassle. Like the back drop for your final photos too. Having just started playing around with a recently aquired lathe (I cheated, didn’t build it , runs on electricity and was given it in return for some favours ) I can see the appeal. They are fun.
Regards, Gav
Thanks Gav. You never know what I might come up with. This idea has been nagging at me for a while and I just had to find out if it would work. Your right, the quality of plywood varies a lot and the good stuff is fairly expensive.
Good to hear that you have aquired a lathe. I’m surprised at how much I enjoy mine.
Wow, I wouldn’t have thought plywood could look so good!
Thanks Derek! I think they turned out better than expected. Not sure I’ll build anymore, but glad that I built these two.
Great work, and a lot you’ve learned (I’m sure)
I don’t have a power router. The most close to it is a small rotary tool (Aldi’s brand). Good for … let’s say very little things. So in those places I can’t use a rasp or file I’ll use a roll of sandpaper witch have a fabric back instead of paper – so in that way it’s quite flexible for tight inner curves.
I use to cut thinner long strips and use it like a ‘human power belt sander’ to perfect radius curves!
(I’m sure there a English word for it witch I do not know 😦 ) This ‘sandpaper’ is like a belt sander one but more flexible and is sold for “professional” applications like metal working shops and so on.
The downside is you must be careful to clean all the particles from the wood and be aware of sweet drops it stains in pine.
Thanks Antonio.
I’ve used the sandpaper you are talking about. It’s sold as emery cloth over here. Usually found in the plumbing section for cleaning copper pipe before soldering. I works great for tight spaces, but yep, leaves a lot of grit behind on the wood.
Amazing. They look great! I’m glad you didn’t take my advise and paint them to look like cylons.
Thanks Brian. LOL…although bright yellow and coral were both discussed as viable options.
I have to admit, I’m not thrilled with this design… I mean, you could have done exactly this design in solid wood with less fuss. And it’d look a bit more like what people expect chairs to look like. But finished they’re not as foreign and weird as I thought they’d be. The wood burning just isn’t my style either. But to each his own, I say! And I’m still intrigued by your spring pole lathe, and will stay tuned for more turning!
Consider building a steamer box if you haven’t yet – I made one with an earlex brand seem generator (its like $60, but until you go buy a hot plate and some tubing/valves, and then factor in the safety issue, it’s simpler and about as cheap to just buy the earlex). I hooked it up to some 8″ galvanized pipe (I think they use it for chimneys or something? Ducts? Not really sure, but it was cheap and available at the local hardware store), made a simple rack with some slats I cut off of a 2×4, and it works like a charm!
Its OK that you hate my design and hate my “decorative” touches. I won’t hold it against you…much. LOL
The lathe is a lot of fun and I keep finding reasons to use it.
One of the reasons for this experiment was to deliberately exclude any steam bending. Putting together a steam box is a bit much for those of us who only want to a couple of chairs.
I have one, maybe two, more chairs to build and that will be it. The next one will be a little more traditional and I may try a little steam bending in the oven with a pan of water.
I love the look. Wish I could sit in one. I’m afraid I would want a more broad back piece. Not sure though.
Thanks Brian. The narrow back is not too bad. Admittedly the width is a direct result of my trying to get all of the parts for two chairs from a quarter sheet of plywood.
I had a feeling that was why you designed it that way.
Pingback: Chairs-The Journey Begins | HILLBILLY DAIKU