
 Toshio Odate outlined the construction of a simple toolbox in his book, “Japanese Woodworking Tools:Their Tradition, Spirit and Use“. It’s a simple affair nailed together with built-in handles at each end and an ingenious sliding lid. An elegant and inexpensive solution to storing and transporting tools. The design is very scalable and can be adapted as required. It’s also quick and easy to build. Making it an ideal storage solution for both the beginner and experience woodworker. I’ve done a little research trying to discover when this type of toolbox came into use, but have yet to pinpoint any definitive time period. A Lumberjocks member who goes by “mafe” compiled some information and photos of Japanese toolboxes that’s well worth a look. At any rate, this is where I’m headed with my toolbox build.
I started, same as I always do, with a proportional drawing. The drawing shows the basic construction and some suggested proportions for individual parts as they relate to the whole.

A couple of things to note. One is the handle thickness. Odate shows in his book that the handle is 1-1/4″thk, in a subsequent article he calls it out to be 3/4″thk. So it’s not all that critical for the construction. 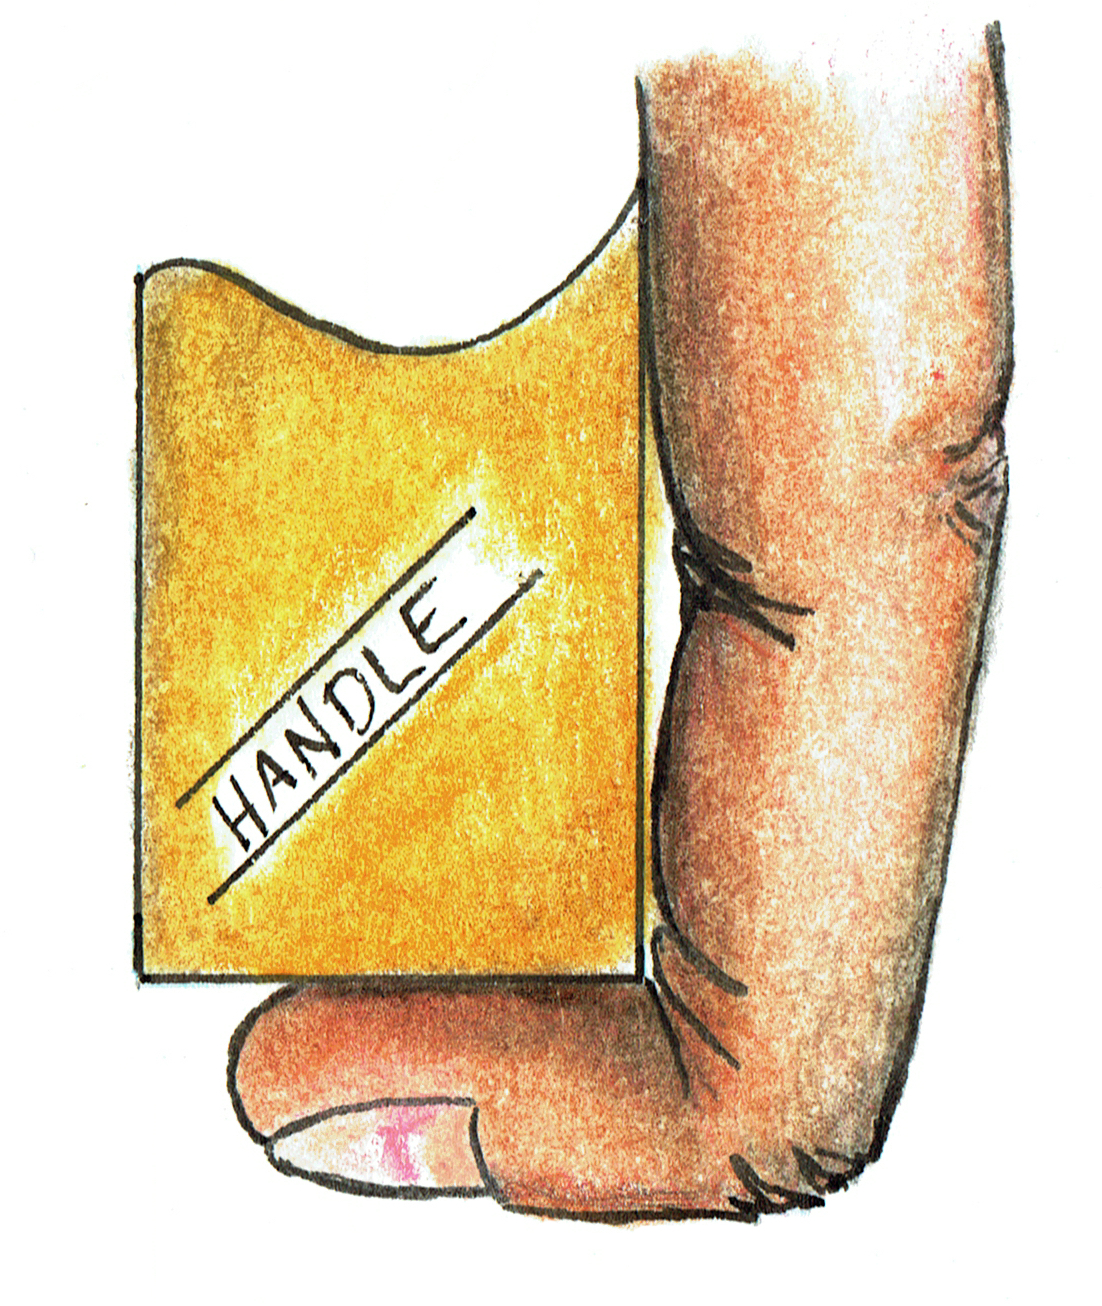 However, it is critical for comfort. The average distance from the tip of a finger to the first knuckle is ~1″. So a handle that is over 1″ thick allows for a full fingertip grip and is far more comfortable. The second point of note is material thickness. It’s very tempting, especially when using surfaced home center lumber, to use the boards at the thickness they are at. Put forth the extra effort and thin down the lid and the bottom panel. Weight is critical when it comes to a toolbox. Thinning these down from 3/4″ to 1/2″ may not seem like a lot, but it will make a big difference in the overall feel of the toolbox.
 The only deviation from the general design presented by Odate that I have made, is to install the end pieces in a shallow housing dado. This is not for strength, but to ease the assembly of the box. If you have ever tried to juggle pieces that are only butted together and join them with nails or screws, then you know what a hassle it is. Hopefully the housing dado will be just enough to both index and hold the pieces so I can easily add the required screws.
With my drawing in hand I headed to the shop and started work on the full-scale shop drawing that I will be building this toolbox from. I don’t have a specific set of tools that I’ll be either storing or transporting in this box. As such, my size requirements are fairly minimal. I want the box to be large enough to accommodate a #5 jack and a #4 smoother end-to-end. I also need it to be large enough to hold my ryoba saw. That should give me plenty of space to carry what I need. So I began the full-scale shop drawing by laying out the side elevation of the box. I established the height by simply laying my plane on the drawing and adding a little bit of wiggle room above the highest point of the plane. The length was established in the same manner by laying the #5 and the #4 end-to-end and adding a little breathing room.

Finally I checked the saw against the established lid opening to ensure that it would go into the toolbox without issue.

The width of the box was determined with even less science than the height. The widest board I can get for the bottom at the home center is a 1″x12″. Which will actually yield an 11″ wide board once I dress the edges. So 11″ it is. The remaining elements were established based upon the proportional drawing. Obviously you could take this to the nth degree depending on your needs and carefully size the box to hold a specific set of tools. This is a very scalable design after all. The point being, size the box to fit your needs.
That’s it. The size of my toolbox is established and my next stop will be the home center for some lumber and screws.
Download instructional PDF drawing: Japanese Toolbox

Hi Greg
I’ve been for long time enjoying your blog, and several times before I wanted to comment but never came to do it. It was something to do with kanna I guess…
Anyway, I made a small box for my chisels following Mafe’s drawings and two comments: a) it’s easier to hold if you make a small undercut on the handle, and b) when nailing it together I nailed first the handle to the horizontal end piece. Like that you have a reference right angle and it’s very easy to nail the sides to it.
I dig your drawings by the way
Cheers
Sebastian
Hi Sebastian,
Thanks for the suggestions. I’ll keep them in mind as I progress through the build. The goal for this toolboxis to keep it simple and stick closely to Odate’s original design. This style of box does lend itself to innumerable adaptations and refinements.
Best,
Greg
12 bottles of wine weight about 16 kg and the boxes are made of 8mm (~ 1/3″) thick wood. But of course you don’move them every day. So 1/2″ would be strong enough.
For my own box, I should be able to travel to and from the basement without rubing my hands against the stair walls.
What about a trapezoidal (a bit like a sliding dovetail) and tapered batten to lock the lid? I have seen it somewhere.
Sylvain
“For my own box, I should be able to travel to and from the basement without rubing my hands against the stair walls.”
Exactly, make it to fit your needs.
The box I’m building here will have 18mm ends & sides with 12mm lid and bottom. Plenty strong enough for its intended use.
The wedge lock is a clever solution to a problem that I don’t think exists. In operation the lid must be flexed slightly to slide under the end caps of the box. This makes a strong friction fit. In other words, the lid should never slide on it’s own.
My 6″ Makita planer came in such a box, 8″ x 11″ x 23 ½”. Half-inch plywood w/box-jointed corners and plastic-coated rope loops for handles. Really tough and utilitarian. The problem with boxes: every time I build one it gets filled with tools, make one that will hold everything and it’s too big to move.
In reality this is just a crate with a fancy lid. LOL…I have the exact same problem with drawers too. Every drawer I have is full of “stuff”. The good news is that if I want more tools I just need to build more boxes. 😉
Did I read that right, the end boards have the grain running vertically, and the sides are horizontal? Is that so the screws aren’t going into end grain?
No…the grain for the sides and the ends will all be running horizontally. Which bit gave you the impression that the ends were oriented vertically? I may need to clarify something.
Hi Greg, it was this part:
“The width of the box was determined with even less science than the height. The widest board I can get at the home center is a 1″x12″. Which will actually yield an 11″ wide board once I dress the edges. So 11″ it is. ”
Did you mean depth rather than width? Or am I reading that wrong?
I see the confusion. How about this?
“The widest board I can get for the bottom at the home center is a 1″x12″.”
Aha, that makes sense to me know. Thanks for the clarification Greg.
Your drawings are absolutely stunning as always.
Making a tools chest is always a nice project. I like the idea of more smaller tool chests compared to one larger one. If the chest is intended to be used on the road that is. The larger ones always ends up very heavy making them next to impossible to move.
Brgds
Jonas
Thanks Jonas! I know you are more than aware of the need for portability. I think that a large chest has its uses in a stationary shop setting. For transporting tools, small makes much more sense. Multiple small boxes would be much easier to transport than one medium or large toolbox. At least IMHO.
Best,
Greg
Pingback: Japanese Toolbox-Progress 1A | GREG MERRITT – BY MY OWN HANDS
It looks like Odate san used plywood for the top and bottom? Is this frowned upon by some?
I don’t see anything wrong with using plywood and have done so on other toolboxes.
Thank You! I may try and hand plane down 3/4″ to save weight but this is more for the shop:)