
 I took a day of vacation today so that I could squeeze out a four-day weekend with Monday’s holiday. Today’s plans included only two things. Install the handles and build the sliding doors for the HB Tansu. Simple and easy….not so much.
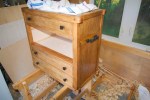
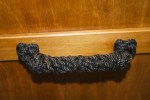
I have been working on the handles over the past several evening and finally finished them last night. So I took them out into the shop this morning at 7am and started the installation. Pretty straight forward stuff, thread the loose cords through the holes in the handle rails, tie them off, lock the knot with CA glue and trim off the excess cord. The process went smoothly and exactly as planned. Both handles were installed in less than twenty minutes and I was feeling a little full of myself.

-

- Inside.
“Hell, I should have the doors built and in the clamps by noon, no problem.”
I measured the opening in the tansu that was to receive the sliding doors. I then measured again to verify my first efforts. You know the saying. The doors need to be 10mm taller than the opening to account for the grooves that house them. Since there is a 3mm tongue at the bottom and a 10mm tongue at the top, the bottom and top rails need to have this extra width in order to keep the finished reveal the same all around the door. One additional hiccup is that the center stiles should exactly overlap each other in the center of the opening.
“I’ve got this under control.”
I opted to skip my standard practice of creating a full size layout drawing and went straight into cutting the parts. With all the parts cut to rough length and surface planed, I began the layout on the stiles. Then I moved on to the top and bottom rails. With the layout completed it was time to start chopping mortises. I opted to build just one door at a time and began by plowing grooves in each piece. No problem. Then I chopped the (4) required mortises, (2) in each stile. With that out of the way, I sawed the required tenons in the top and bottom rails. Everything went together perfectly. With the frame dry-fit together I checked it against the opening.
“What the …….!”
The frame was exactly 20mm too tall for the opening. Not 10mm like its supposed to be but 20mm. A little measuring revealed where my error was on the layout of the stiles. So I cut (2) new stiles and surfaced plane them. Then I pulled out my layout board and created a full-size layout of the doors. I used this to re-layout the stiles. Correctly this time. I chopped the mortices and had the frame back together. Checked it against the opening and it was 10mm taller than the opening. Perfect. I repeated the process with the other frame and it too came together just fine. Then I checked them in the opening with the doors overlapping each other.
“Damn!”
 The (2) center stiles came short of overlapping each other by about 0.5mm. This left me nothing for cleanup and fitting later. So I made yet another stile. This one I made 3mm wider than all the rest. This will be the one that I plane to width last when fitting the doors to the opening and to each other.
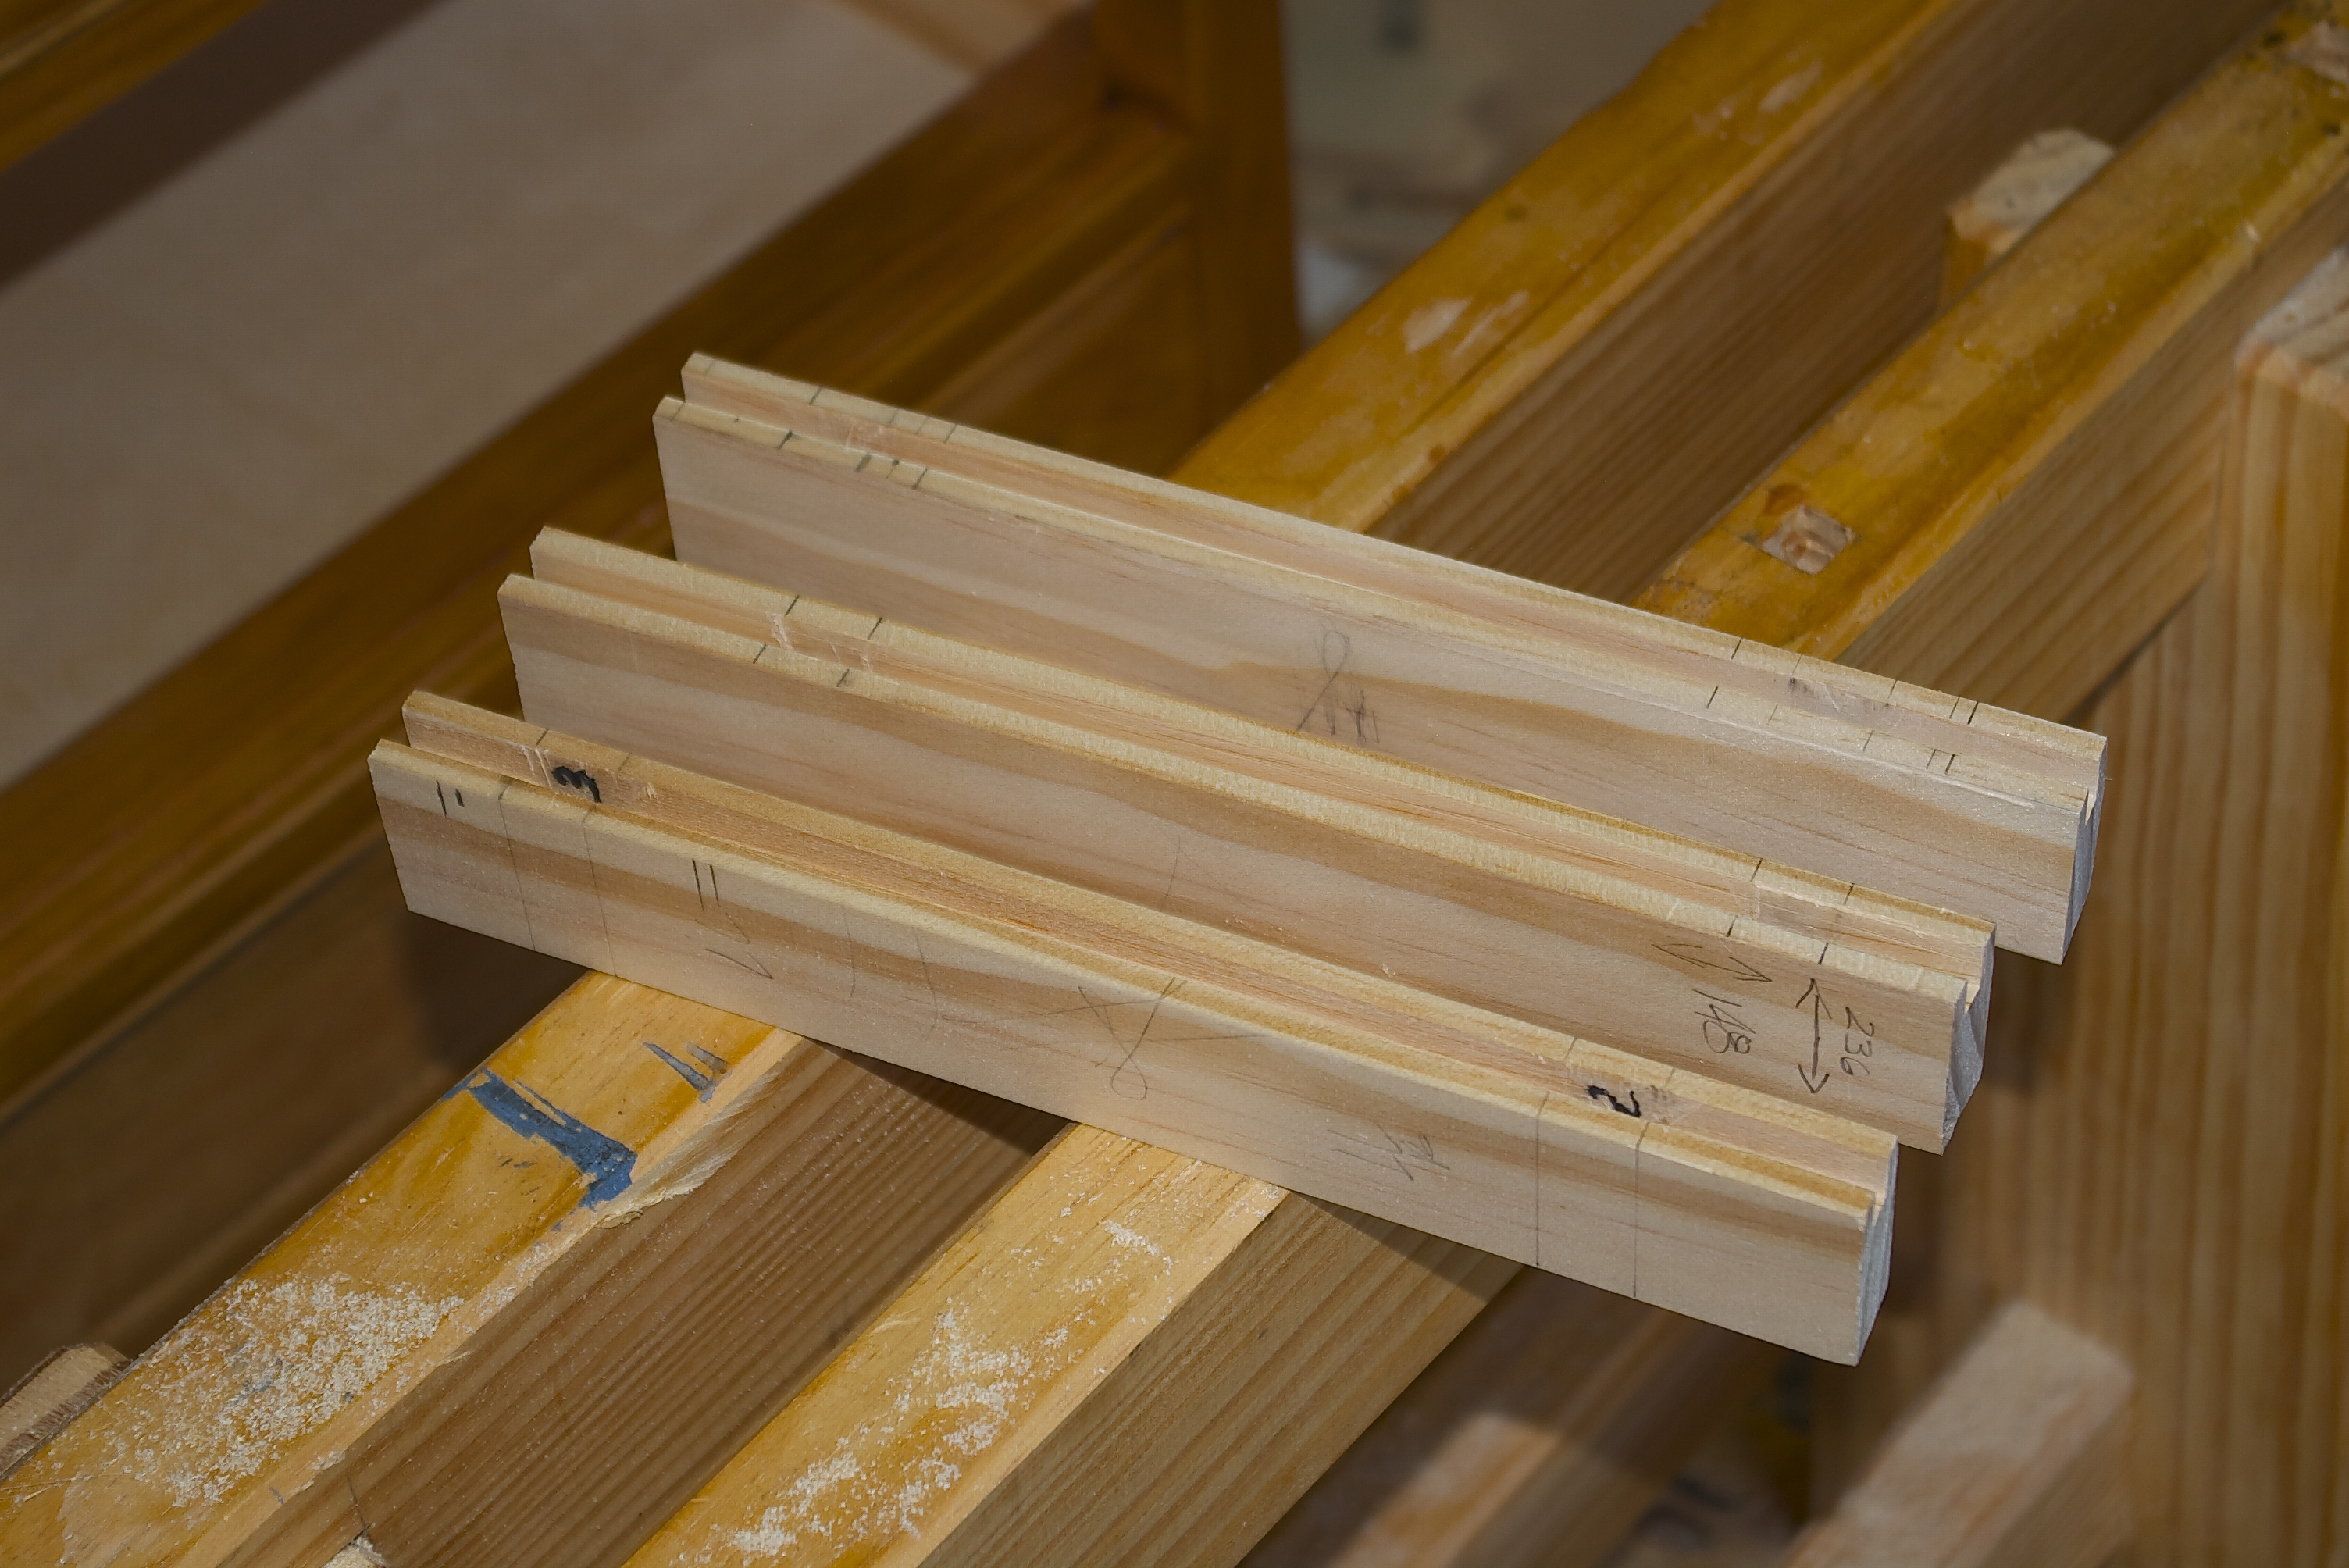
The innocent victims of my carelessness.
Not my finest day of woodworking, not by a long shot. It was after 6pm before I managed to get the doors assembled, glued and in the clamps. Tomorrow I’ll tackle the fitting of the doors and will take care not to screw them up.
Greg Merritt

I’ve always contended that rulers have too many marks on them. It’s too easy to use the wrong mark! 🙂
This is shaping up to be a very fine looking cabinet! (I have, in the back of my feeble mind, an idea for a small scale Chinese wedding cabinet … yet another variation, but with simpler joinery.)
Thanks Bob.
Rulers are nothing but trouble. I try to stick with dividers for layout. This is what happens when I try something new. 🙂
I’ll have to search the internet for Chinese wedding cabinet. Your due for a project, aren’t you?
Greg
I know that feeling where things are going quite as expected, but it seems like you’ve got it under control. I’m eager to see this come together as a finished piece. The joinery is great, and the completed piece will be super nice. I bought the little angle layout square we discussed with an enemy toward making some sample joints one day between other projects.
This project has stretched my limits. It’s a little aggravating that I made it through all the other joinery without incident and these “simple” doors bit me. Still it’s been loads of fun and I’m on the downhill side.
Be careful with Japanese tools. They can be addictive. I do really like that little miter square though. It’s only good for one thing but does it exceedingly well. This is the case with most Japanese tools, hence my worsening addiction to them.
Keep me posted on you joint trials.
Greg