
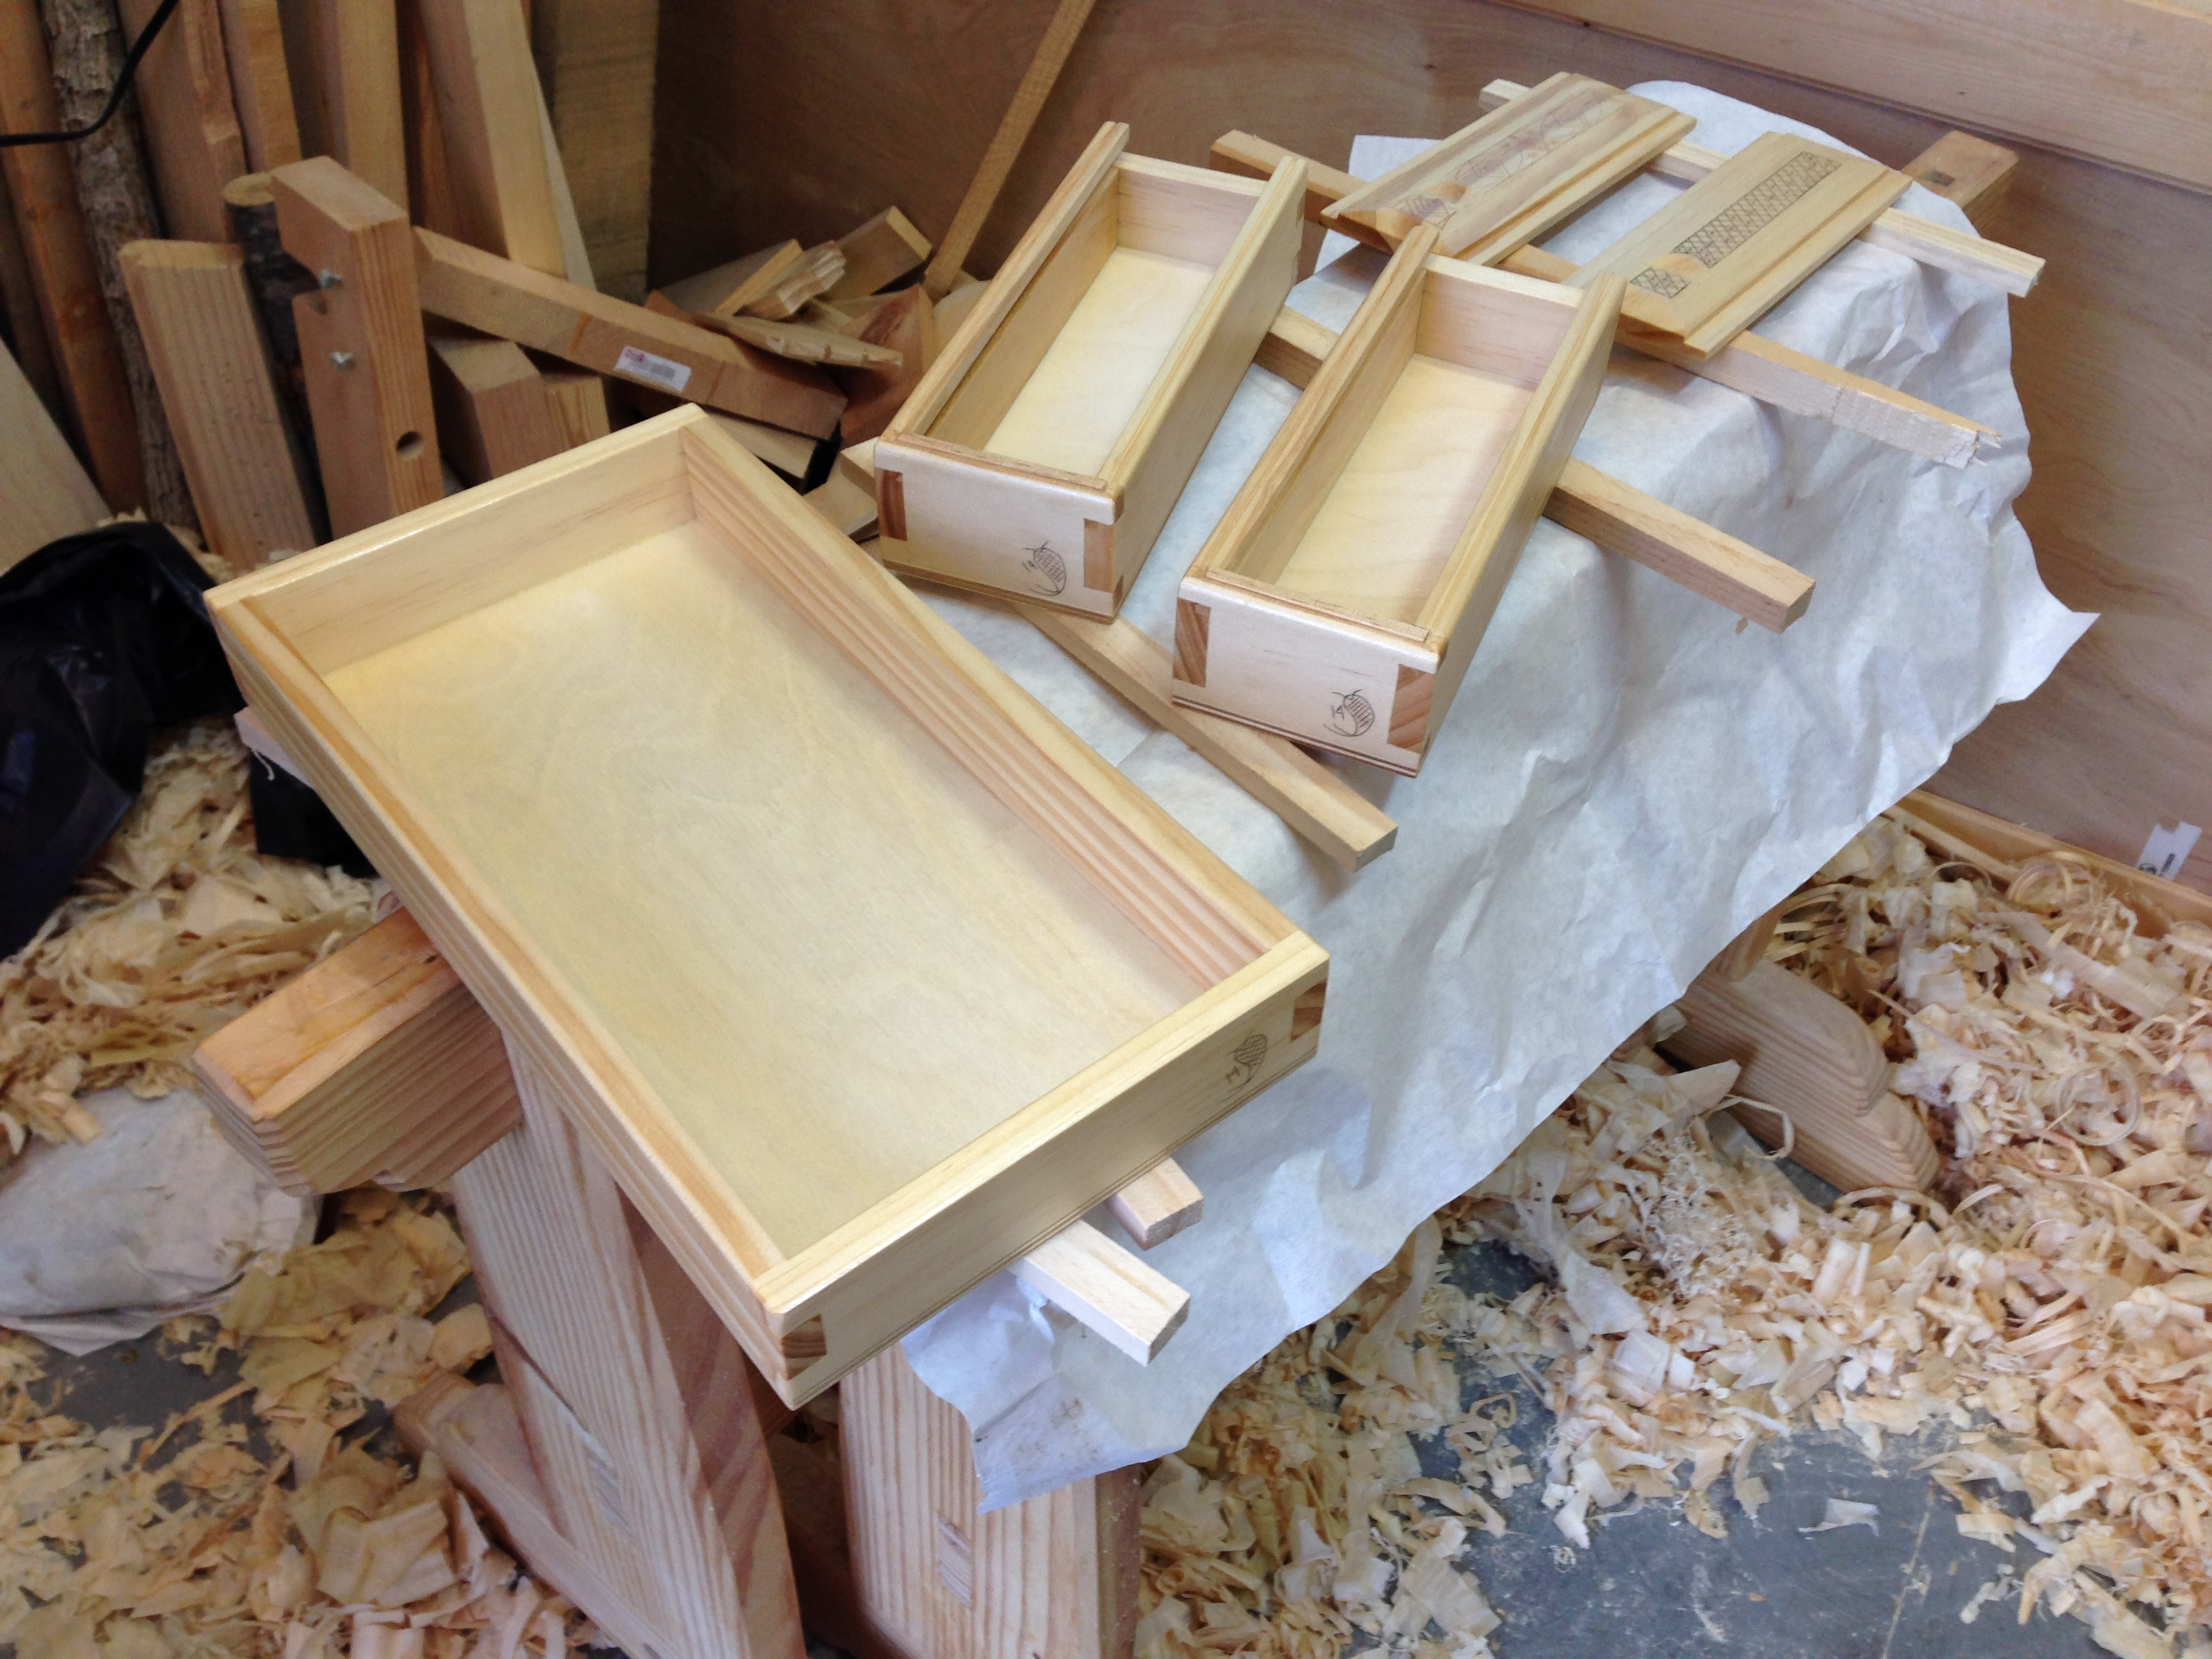
 I been piecing on the boxes and trays after work this week. An hour, at the most, every evening before having to call it quits. Nothing ground breaking, just finish planing and a little sanding. I also added some decoration to the lids of each box. Today I managed to apply two coats of clear shellac. They’ll need another couple of coats before I buff them with steel wool, apply a paste wax and move them to the done pile.
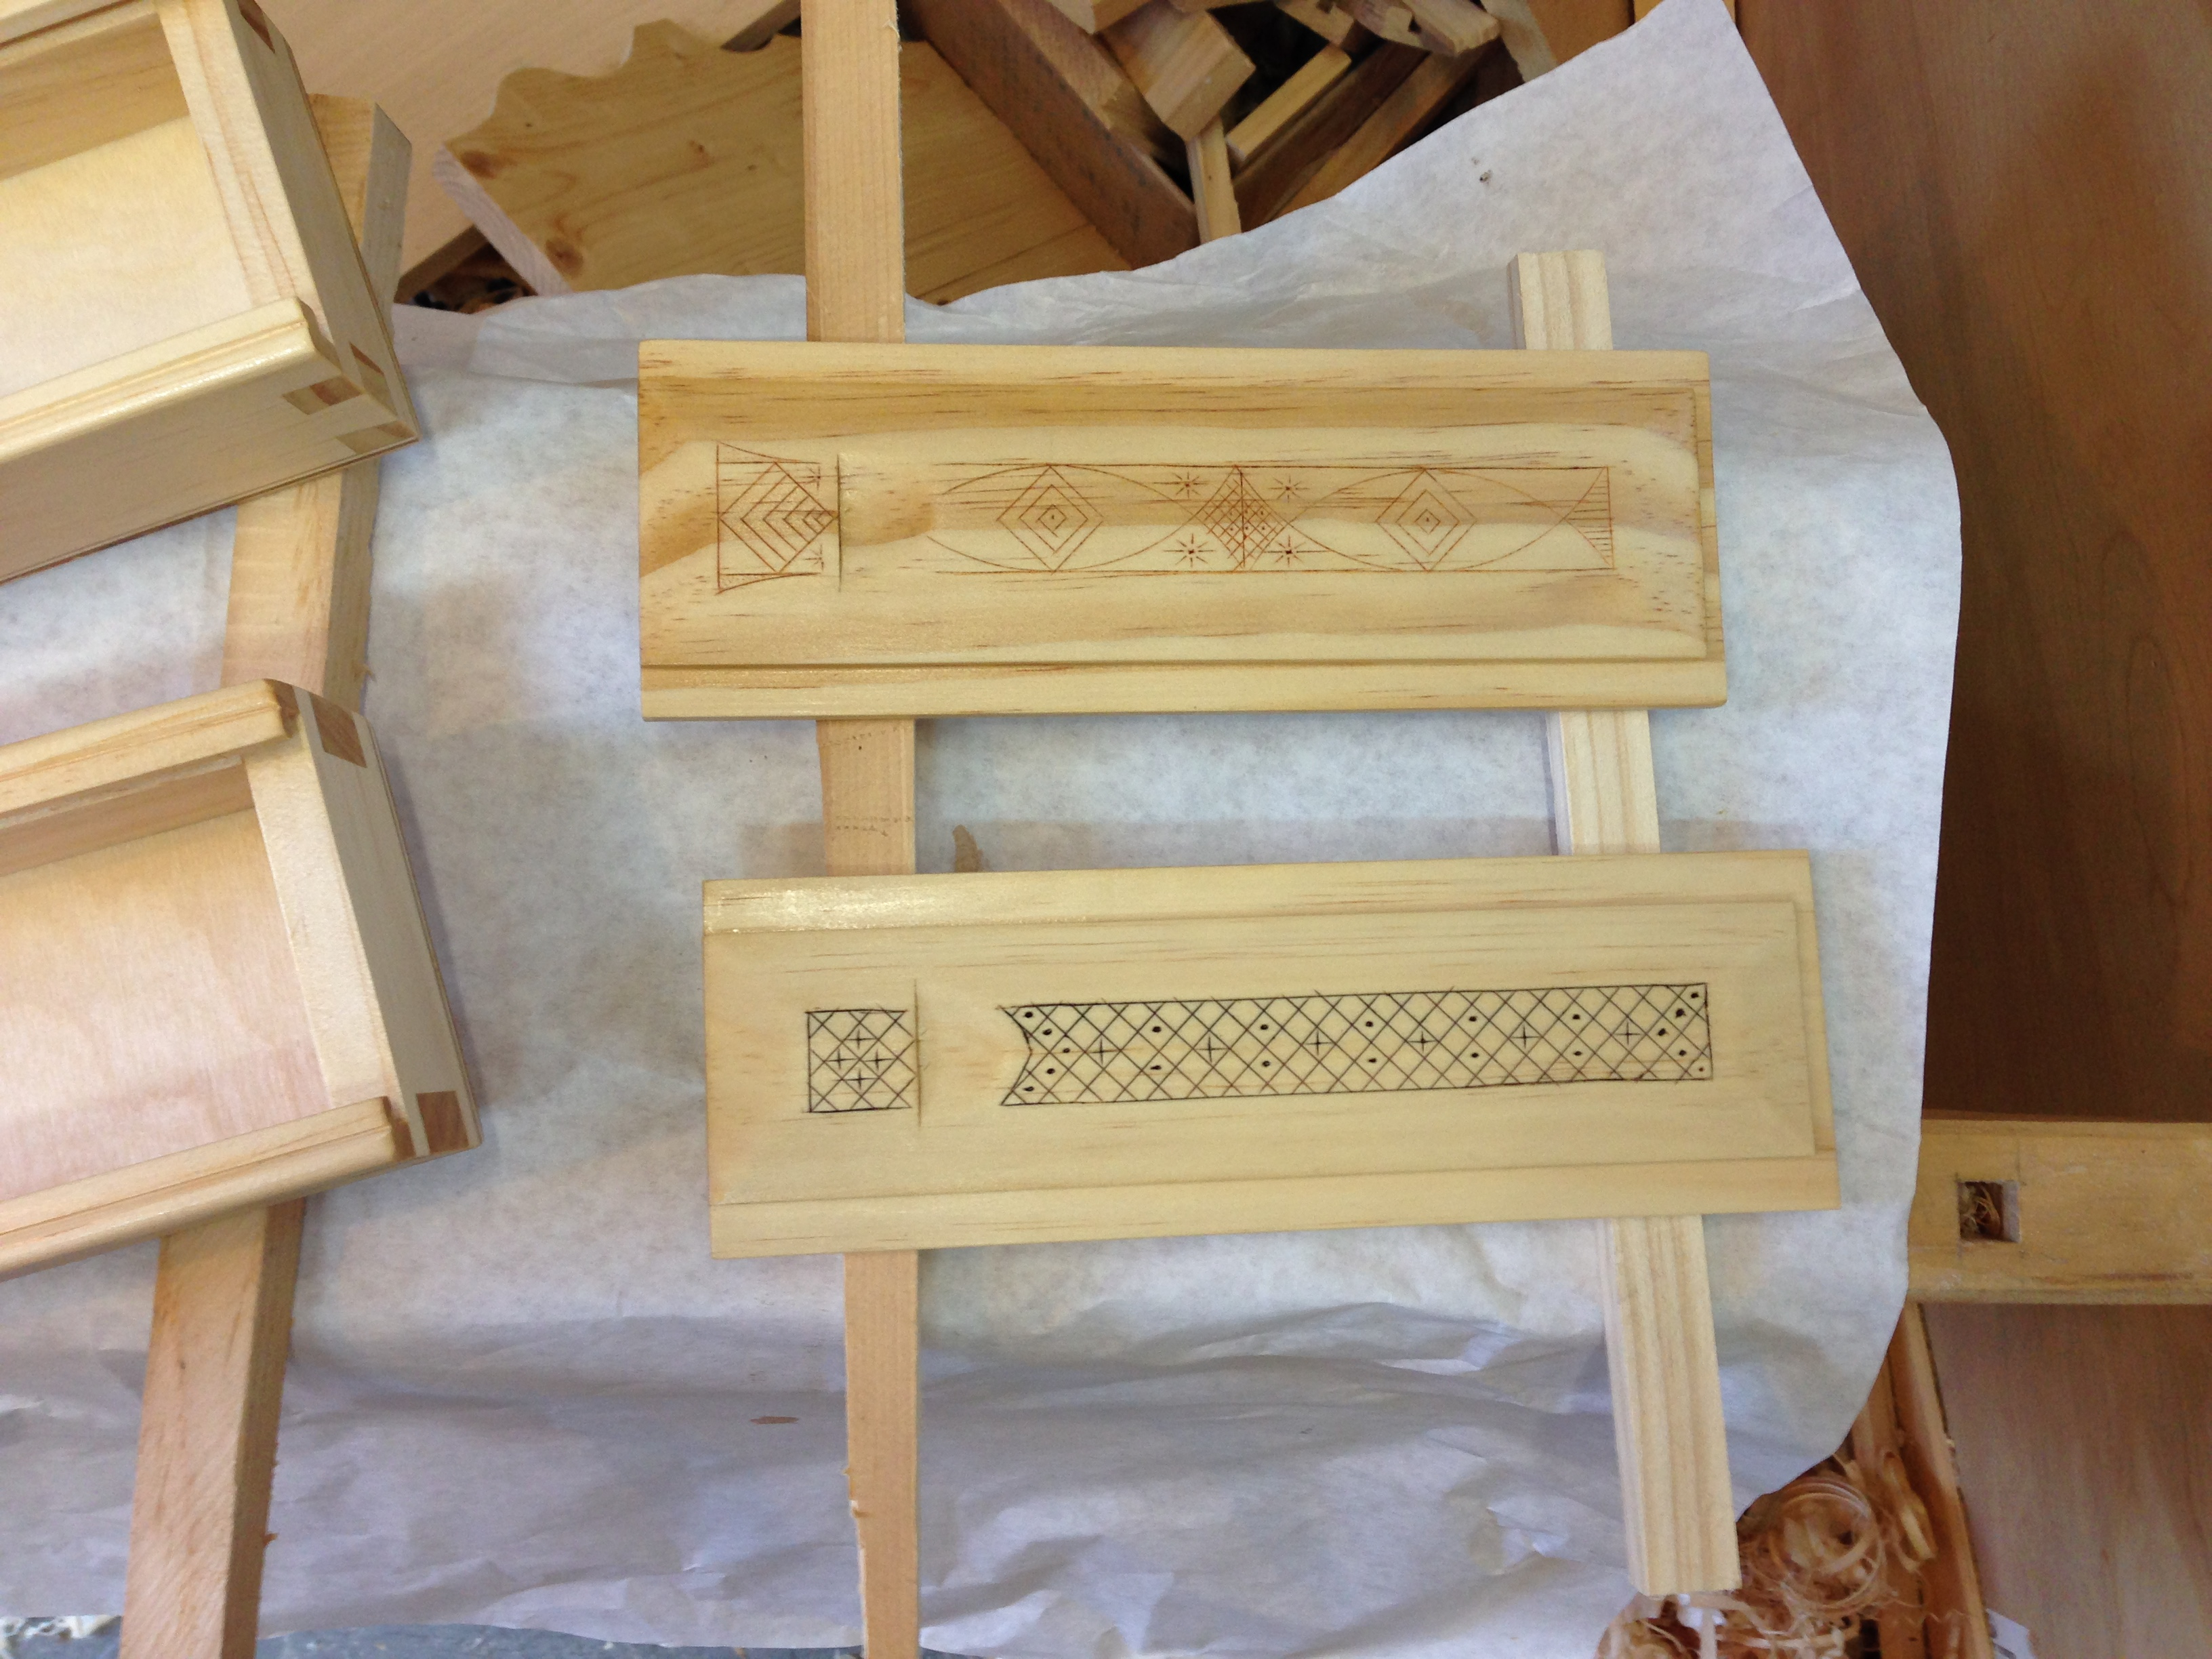 The decoration I approached with no plan whatsoever. There is something sort of liberating about going this route. Each design just sort of takes its own form as I cut each line. For those of you who aren’t familiar with the technique, here are the cliff notes. What I have done with these is a simple form of kolrosing. A Scandinavian form of decoration. You just incise a line, or lines, into the surface of the wood and then rub in something to fill the incision.
  Historically this was done with coal dust, hence the name. Since I don’t have any coal laying around, I use instant coffee. Just sprinkle the coffee on the wood and rub it in with your finger. Wipe off the excess and lightly sand to remove the raised areas of the incision. Simple. The design that shows as red in my photos was done with paprika. It gives a more subtle appearance than the coffee and I like it on the pine. There are several “fancy” knives that can be had for this technique. I’m a simple SOB and just use a utility knife. I did try an experiment by mounting an exacto knife in my large compass to incise a circle on the chisel box lid. As you can see, THAT DOESN’T WORK! No matter how careful you are, the knife acts like a rudder and steers its own path. You don’t know unless you try. I can do much better free hand. I also use the kolrosing technique to add my mark and the year to each piece.
So tomorrow evening two more coats of shellac and Saturday they will be buffed and waxed.
Greg Merritt

I’ve not come across this before: thanks. I was looking for a traditional way to make a design on my final exam piece next year and this may fit the bill…
Hi Andy,
Your welcome and I’m glad you found it useful. Hope it gives you some ideas.
Greg
Did you have any problems with the coffee getting into the grain of the pine? I saw one article that mentioned sealing the wood before incising to avoid this.
I was experimenting on a scrap of douglas fir the other day, I think that this technique is a non-starter on fir. The darker growth rings are like 10X harder than the light ones and don’t really incise at all. I’m going to try it on pine and expect I’ll have better luck with that.
Hey Joe,
I’ve not had any issues with pine so far. I always hand plane the surface so that might help me as well. Applying a sealer coat is probably the safest way to go though. Even with pine, the grain can vary widely from piece to piece. Finer grain wood is what you want. Pine, aspen, cherry and maple all work well for this technique. Grab some pieces out of the scrap pile and a sharp knife and play around with it. Coffee, paprika and cinnamon all work as a filler. Actually just about any fine powder will work. I bet you have some mahogany saw dust laying around the would work too. Keep me posted on your experiments.
Greg
Greg,
does the coffee or the paprika get washed out when the shellac is applied?
Nope. When I first tried this I thought for sure the brush would pull at least some of the coffee out and make a mess of things. Its not happened even once. I’m sure there is some property of physics that explains why but I just know that it doesn’t. The lines are quite narrow and it takes some scrubbing to work the coffee, or whatever, into the lines. Once its in there, it stays.
Greg