
Today was carcass glue-up day. Always a little stressful, but getting less so every time I do it. I started by addressing all of the small areas that I identified yesterday as needing work. Once that was done, I gave the exterior panels one more round of sanding just to be sure. From there I disassembled the carcass and stacked all of the parts in what I hoped would be a logical sequence of assembly. Then it was slather on the hide glue and place the parts. I apologize for the crappy photos. Truth is, I’m actually surprised that I had the presence of mind to stop and take any photos at all.
I started withe the back frame assembly laying on the trestles.
Then installed the corner rails and the handle rails. Followed by the exterior panels.
Then I installed all of the front/rear bearers and dust panels.
Then came the front panel assembly. This ones tricky to do by myself. There are a lot of bits that need to be guided into grooves. Any one of which can stall the entire process until it’s sussed out.
Then I added the clamps to seat all of the parts.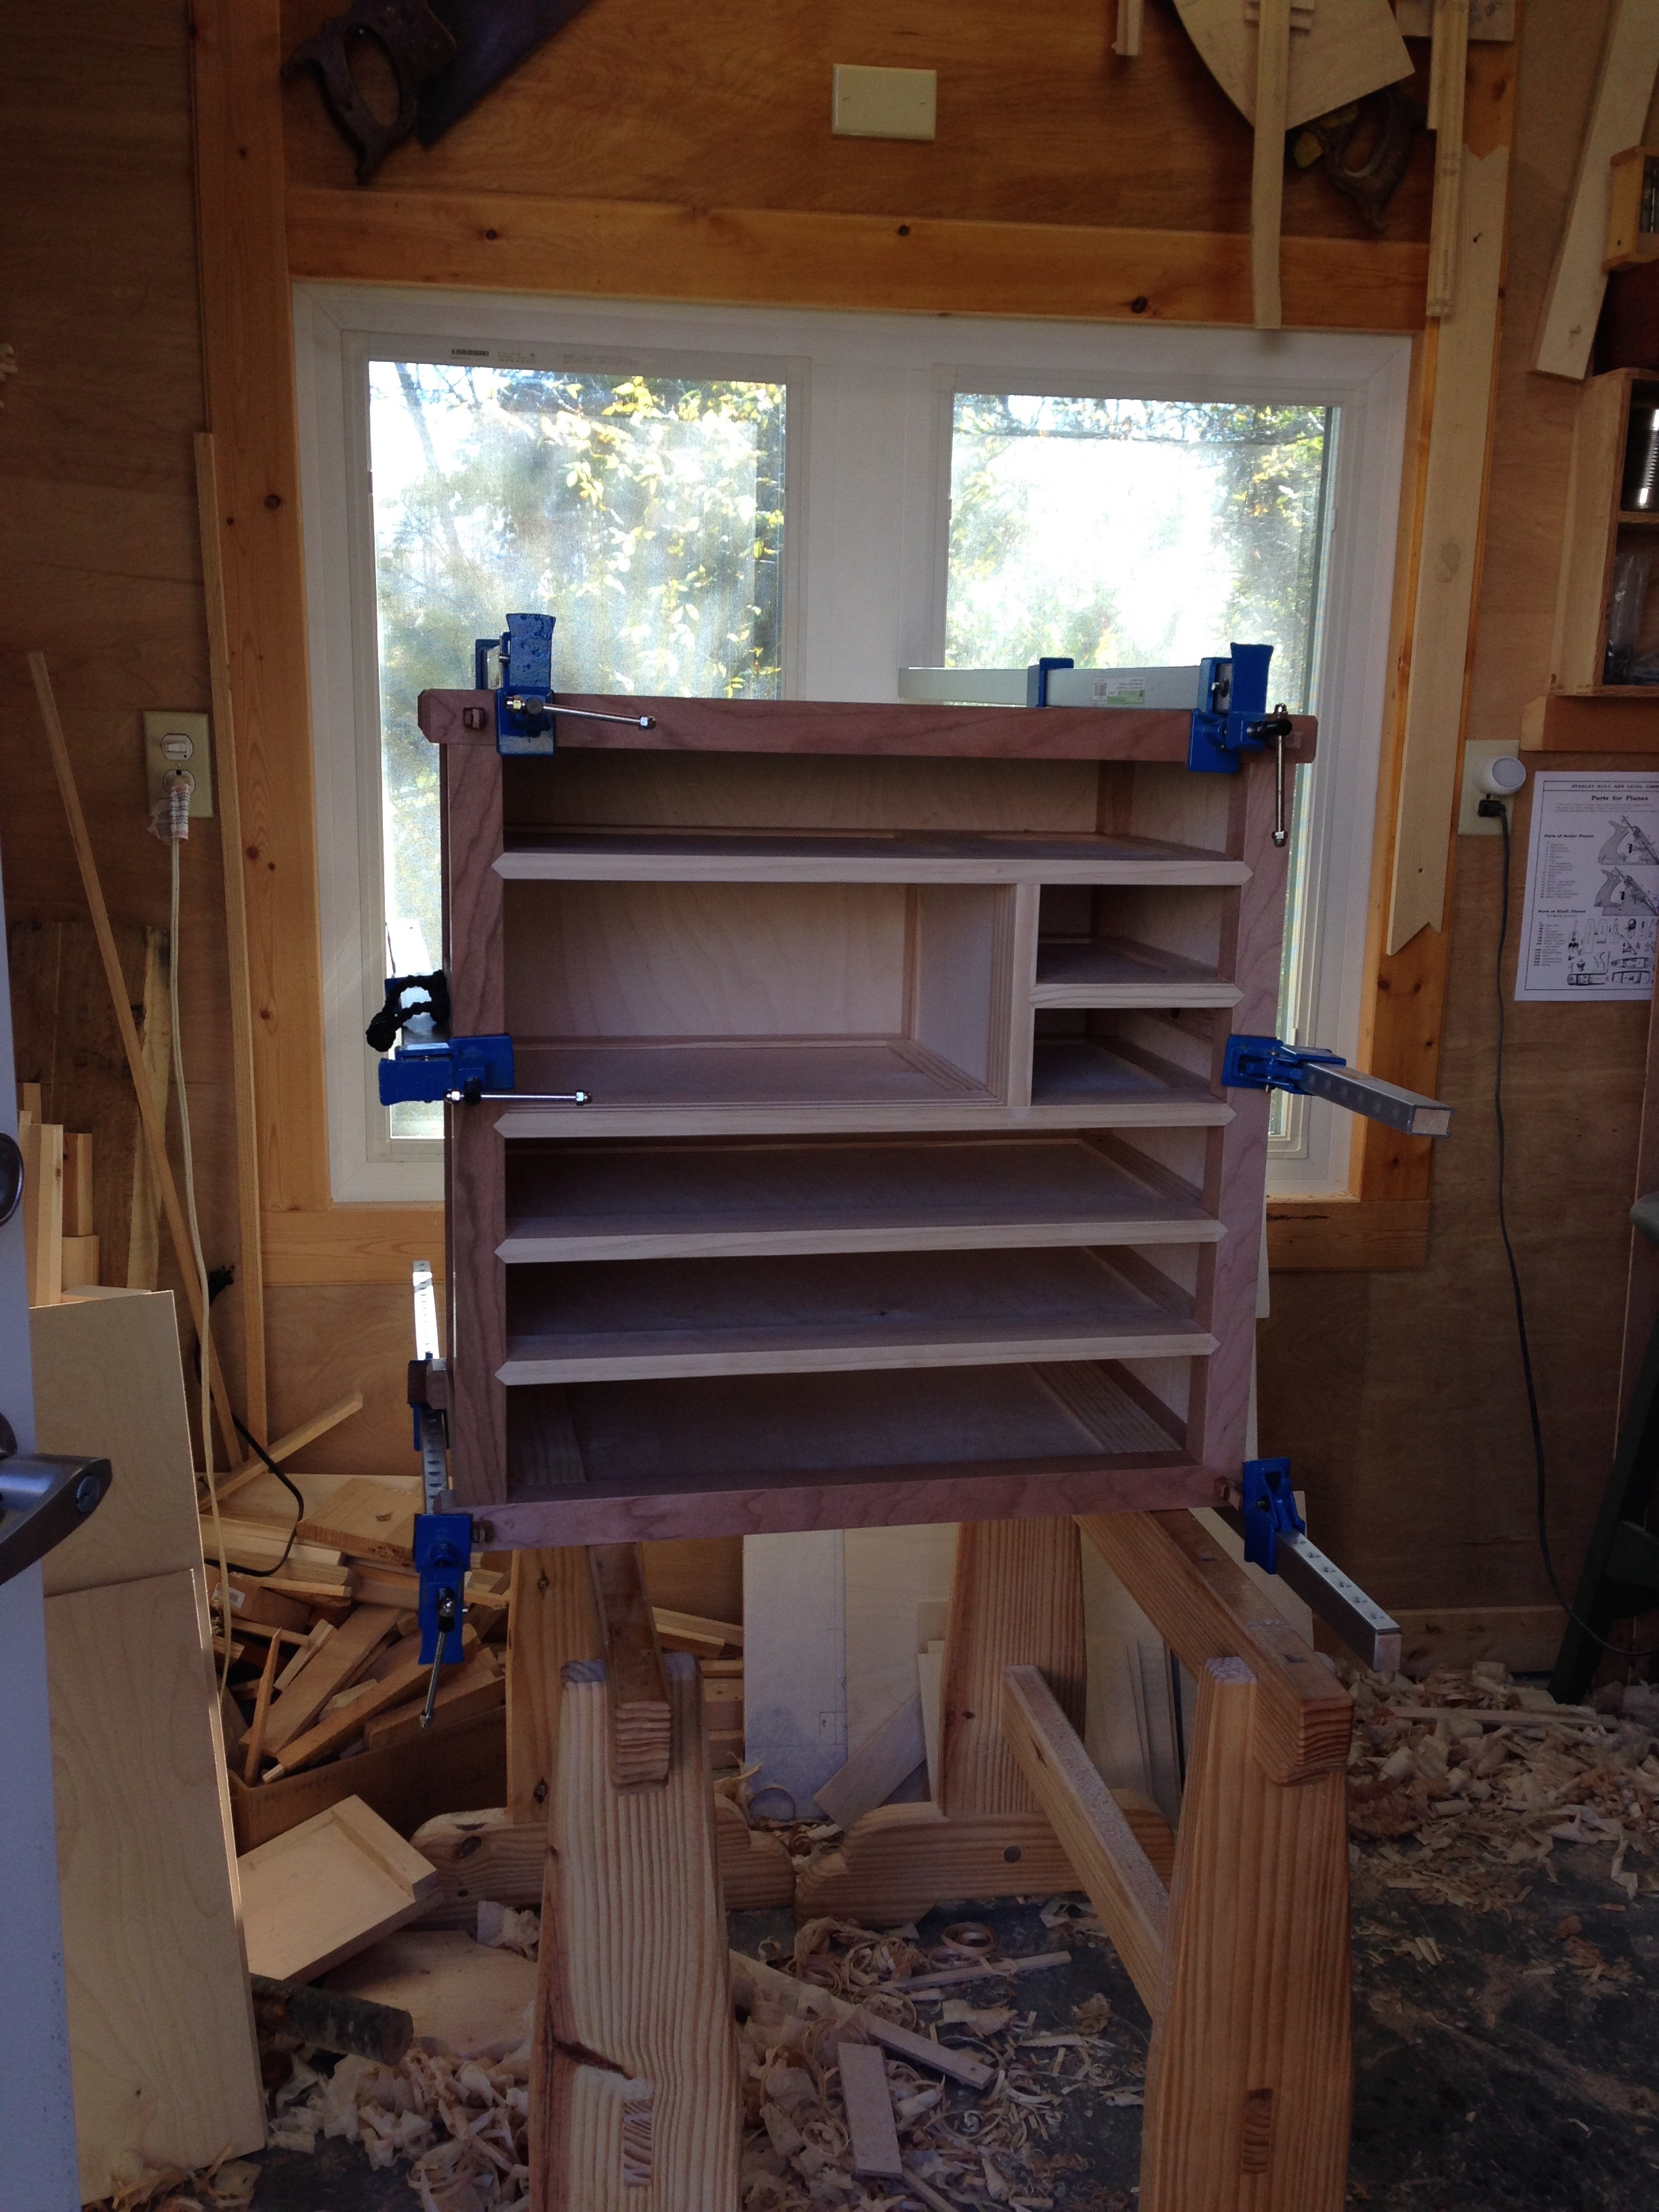
Once I was satisfied that everything was seated and in its proper place, I added the wedges.

Now I just wait for the glue to set. After that I’ll start the final cleanup of the carcass.
In reality, I could skip the glue and simply clamp the carcass tight, drive in the wedges and the assembly would be just fine. The glue is not needed to hold the thing together, but I still feel better knowing it’s there. Maybe on the next build I will be brave enough to skip the glue….maybe?
Greg Merritt

It’s got to be a nice feeling of accomplishment after fitting so many joints and having the it all come together. This one looks real good in the clamps.
Thanks Ralph. To be honest, it never really sinks in until a few days after. I’ve worked with the parts so much that they still don’t register as a whole yet.
Greg, that’s a crazy amount of parts to glue and assemble! Holy cow, I’m feeling stressed out just looking at the assembly sequence, but it looks like it came together perfectly. Really nice job.
We’re all waiting on pins and needles to see what you’re going to do on finishing. No veneer obviously, and we can probably rule out milk paint at this point…
Thanks much Joe. If I’m going to keep building these, I may have to train the dog to guide tenons into grooves. This is approaching my limits for number of parts in one glue-up.
I’m still on the fence with the finish. I’ve narrowed it down to shellac or Tried and True original. I’m leaning towards the Tried and True though. I like the look and feel of oil and wax on these. I’ve added some kolrosing to the panels and will be adding some to all of the drawer fronts. Hopefully it will emulate the look of the iron hardware that is typical of the Japanese tansu. None of the kolrosing shows up on camera yet, but will pop once the finish goes on.
Congratulations Greg on sucessfully completing a very complex glue up, maybe a trained dog would help if you try to obtain a guide dog you need to make it clear you want a dog to help with your glue ups and that you are not short sighted.
LOL…thanks Dave.
Awesome face grain orientation Greg, look very balanced to me. It will be very sharp once the finish is applied.
Brian