
 Whew! Lots of progress happened this week. So much so that the first coat of oil is on. Oh, you want a little more detail than that? OK, I’ll back up a bit.
The week started off with fabrication of the bearers and subsequent drawer runners. The bearers are just slabs of wood that hang from the bottom side of the top slab and are screwed into place. So oak pieces were cut to size, about a 1/16″ taller than the drawers, and counter bores and clearance holes drilled. I then cut the drawer runners from a piece of maple and planed them to fit loosely into the grooves of the drawer sides. I also sized them to sit a little proud of the drawer sides. I then drilled mounting holes into the runners.
To locate the runners on the bearers I set a marking gauge to the distance from the bottom of the drawer to about a 1/32″ above the top edge of the drawer groove. This distance was then transferred to the inside faces of the bearers. Again gauging from the bottom edge of the bearers. I made the runners about a 1/2″ shorter than the drawers so that the drawer front will not bottom out on the runner. The area where the groove meets the drawer front is thin and one hard close could blow that piece out of the drawer front. I’ll be adding a proper drawer stop during final assembly. Anyway, here is a bearer and runner assembly.
The ends of the bearers received the same texture and wood burning treatment as the lower chamfer on the top slab. With that bit of “decoration” added, I installed the bearers and drawers. I’ll be damned they work!
Here is where I let loose with the embellishments to the top slabs.
The outer, top edge of the slab top received a heavy chamfer and wood burning. I then added texture to the exposed tenon ends and followed that with some more wood burning. Creating something of a flower effect at each tenon location.

From the start I knew that the center of the top slab would receive some sort of kolrosing detail, aka Hillbilly Inlay. It wasn’t until I added these flower motifs to the tenon ends that I knew for sure what I wanted that element to be.
First, I made a pattern based of the wood burner tip that I have been using.

Then I laid out another, larger flower motif to echo those on the tenon ends.
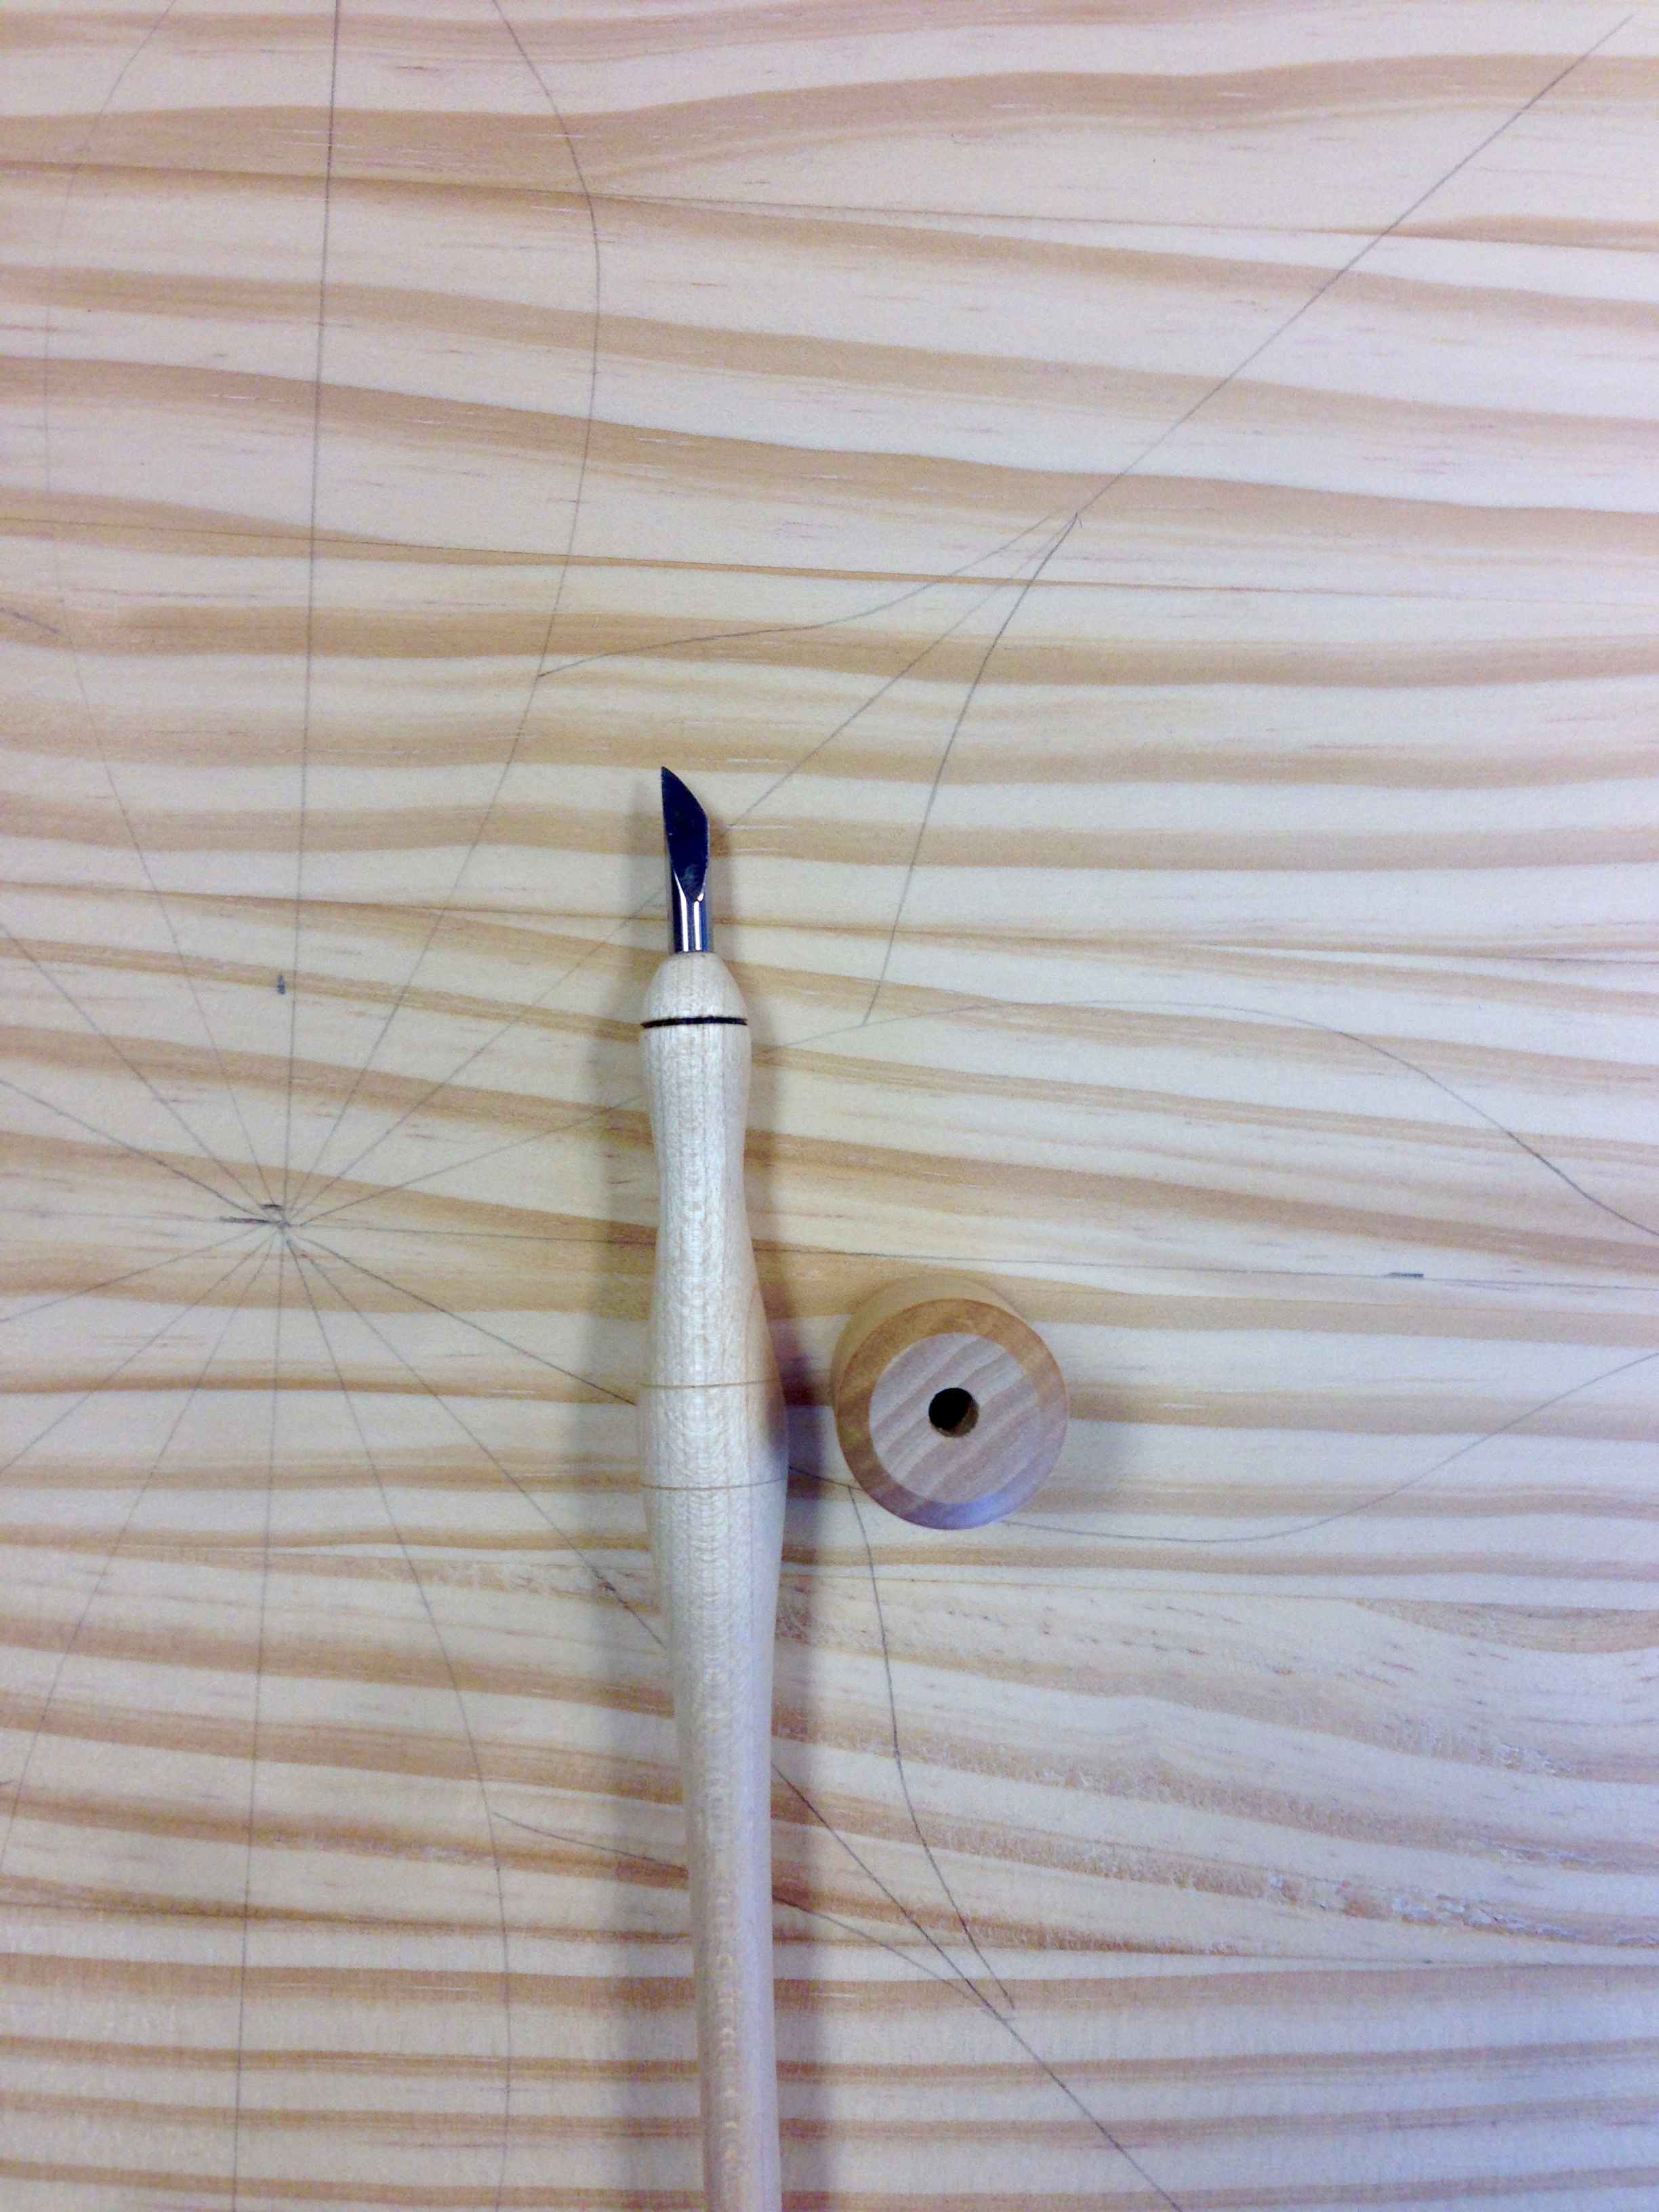
Then I knifed in all of the lines and rubbed some instant coffee into the incisions. Followed with another application of texture.

It doesn’t look like much until a little oil is wiped on.

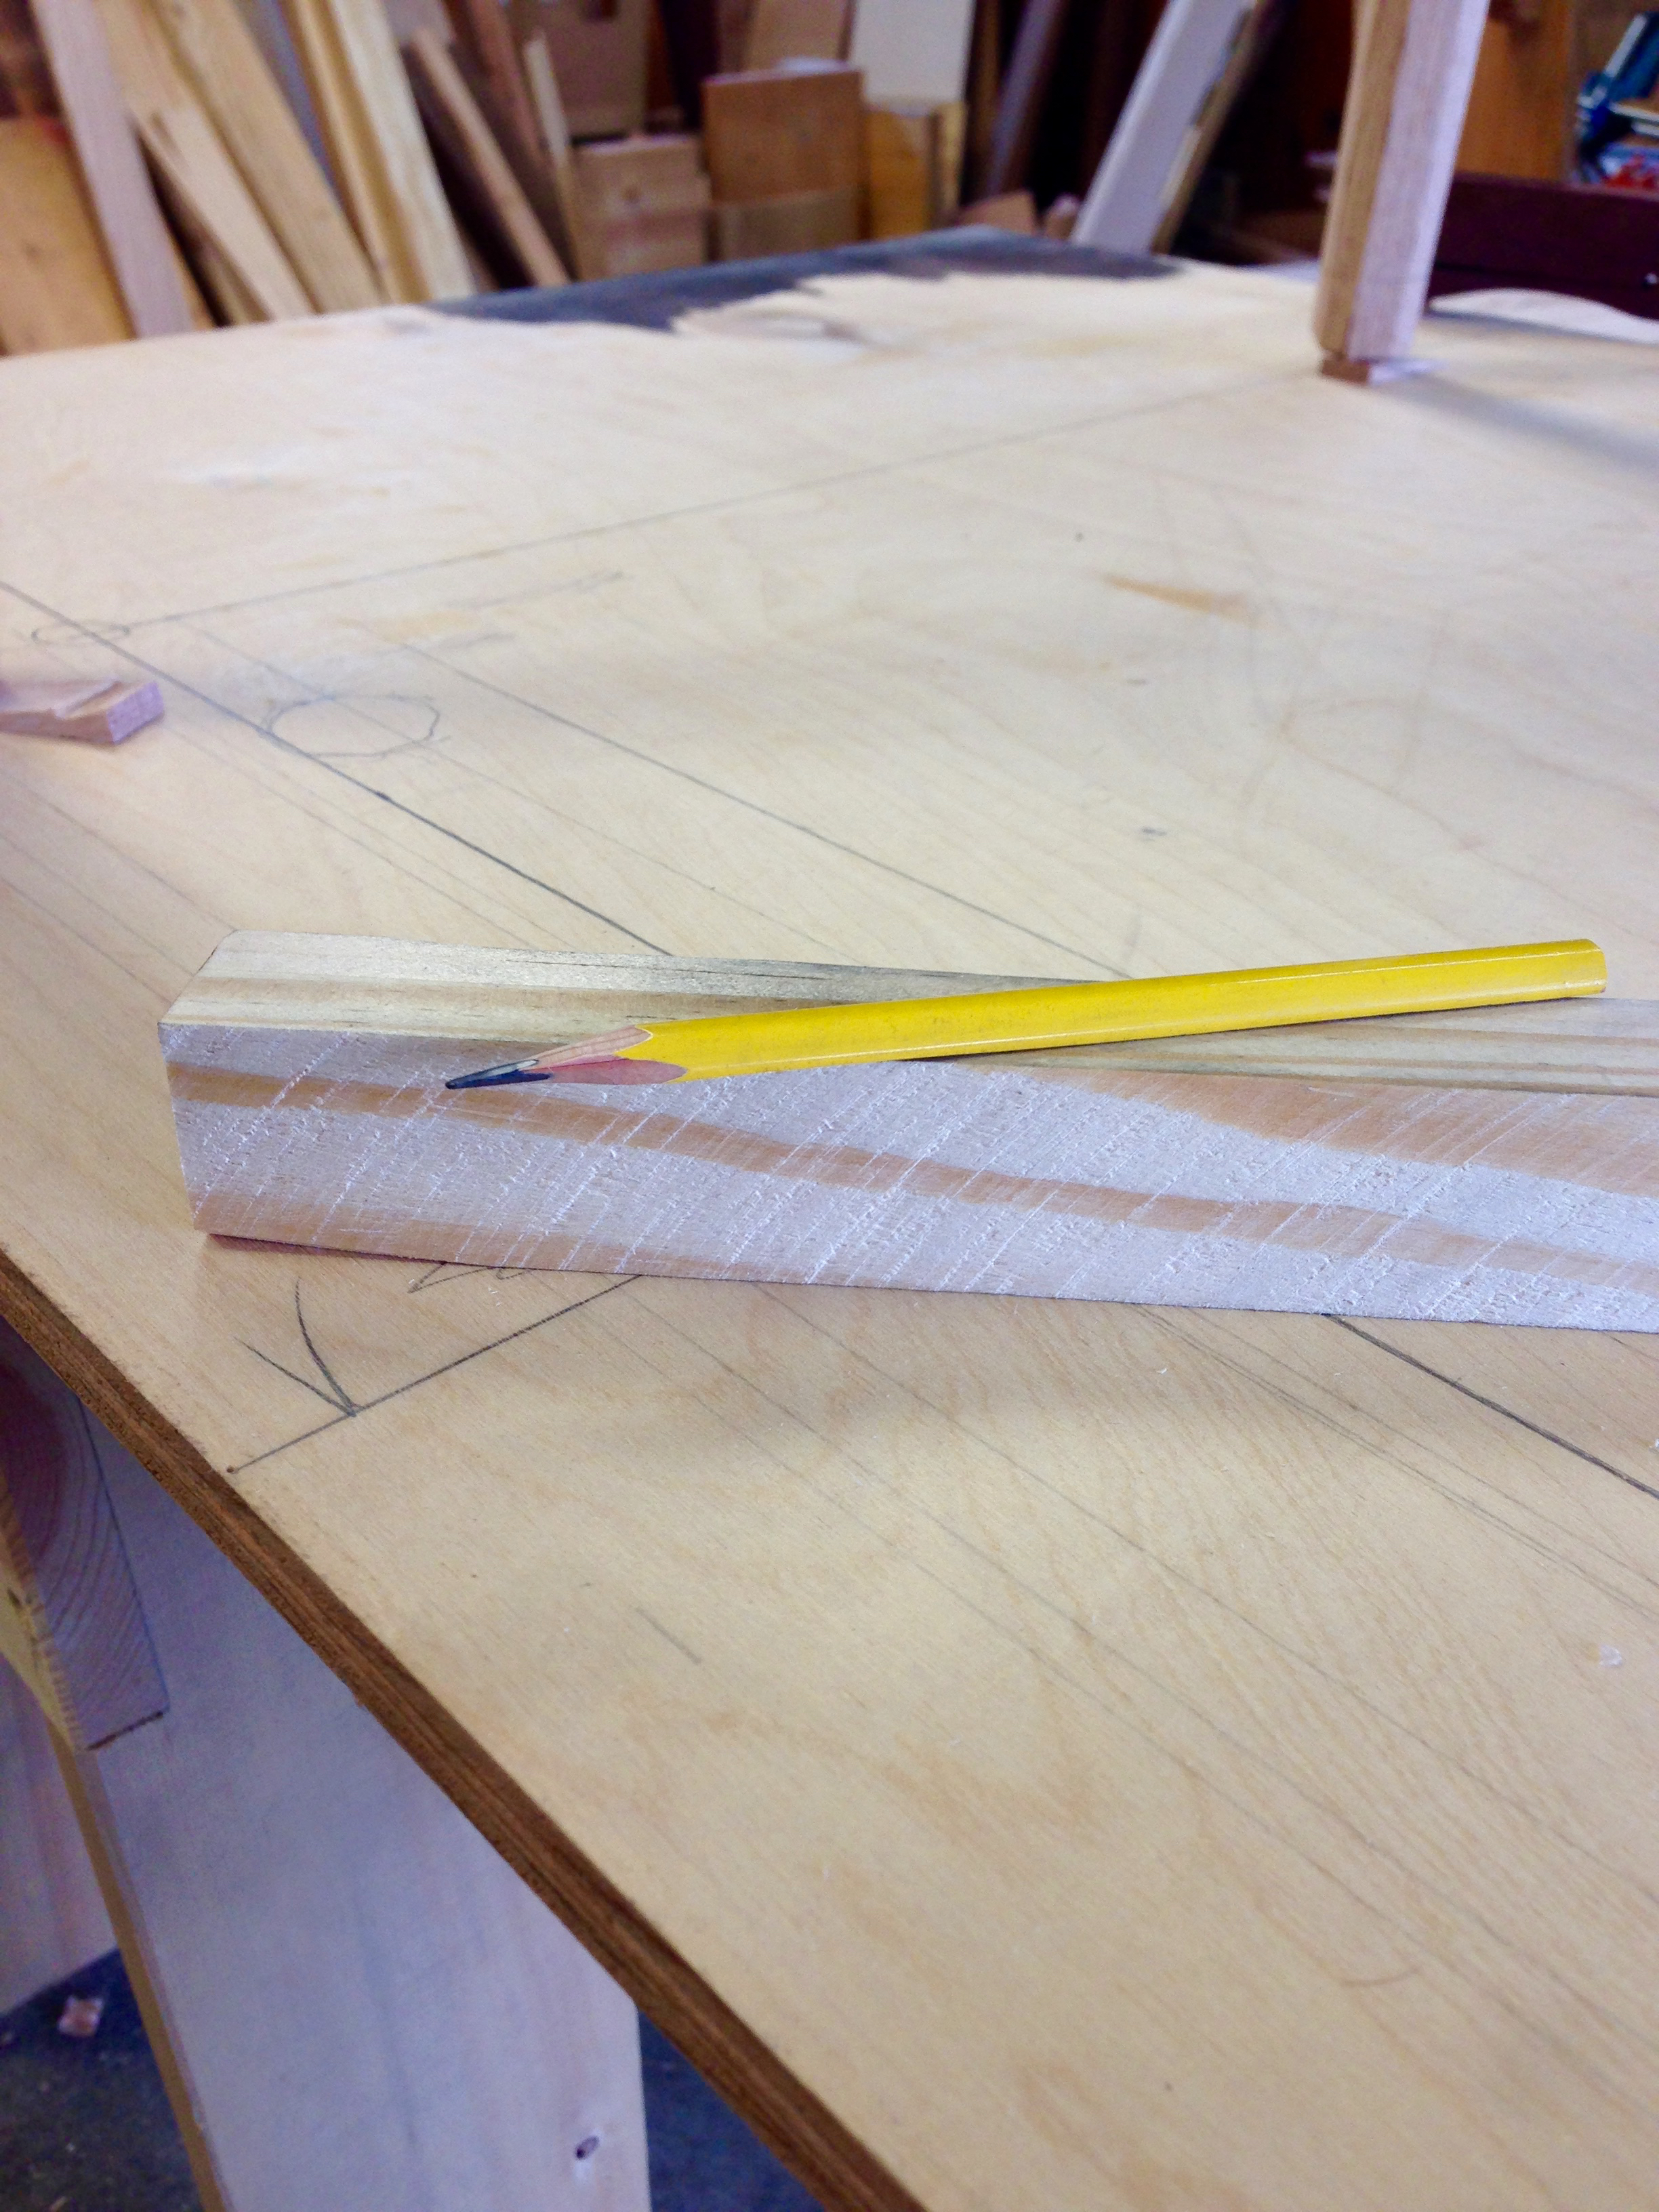
I then set about leveling the assembled tables. To start, I placed a piece of plywood onto my saw horses and leveled it by shimming as necessary. Then placed a table onto the plywood and shimmed the table until it too was level. Finally I measured for final height and cut a piece of scrap equal to the amount to be removed from the legs.

Using a pencil cut in half, I marked around all of the legs and cut away the waste.
With both tables sitting level all that remained was to add the first coat of tinted linseed oil.
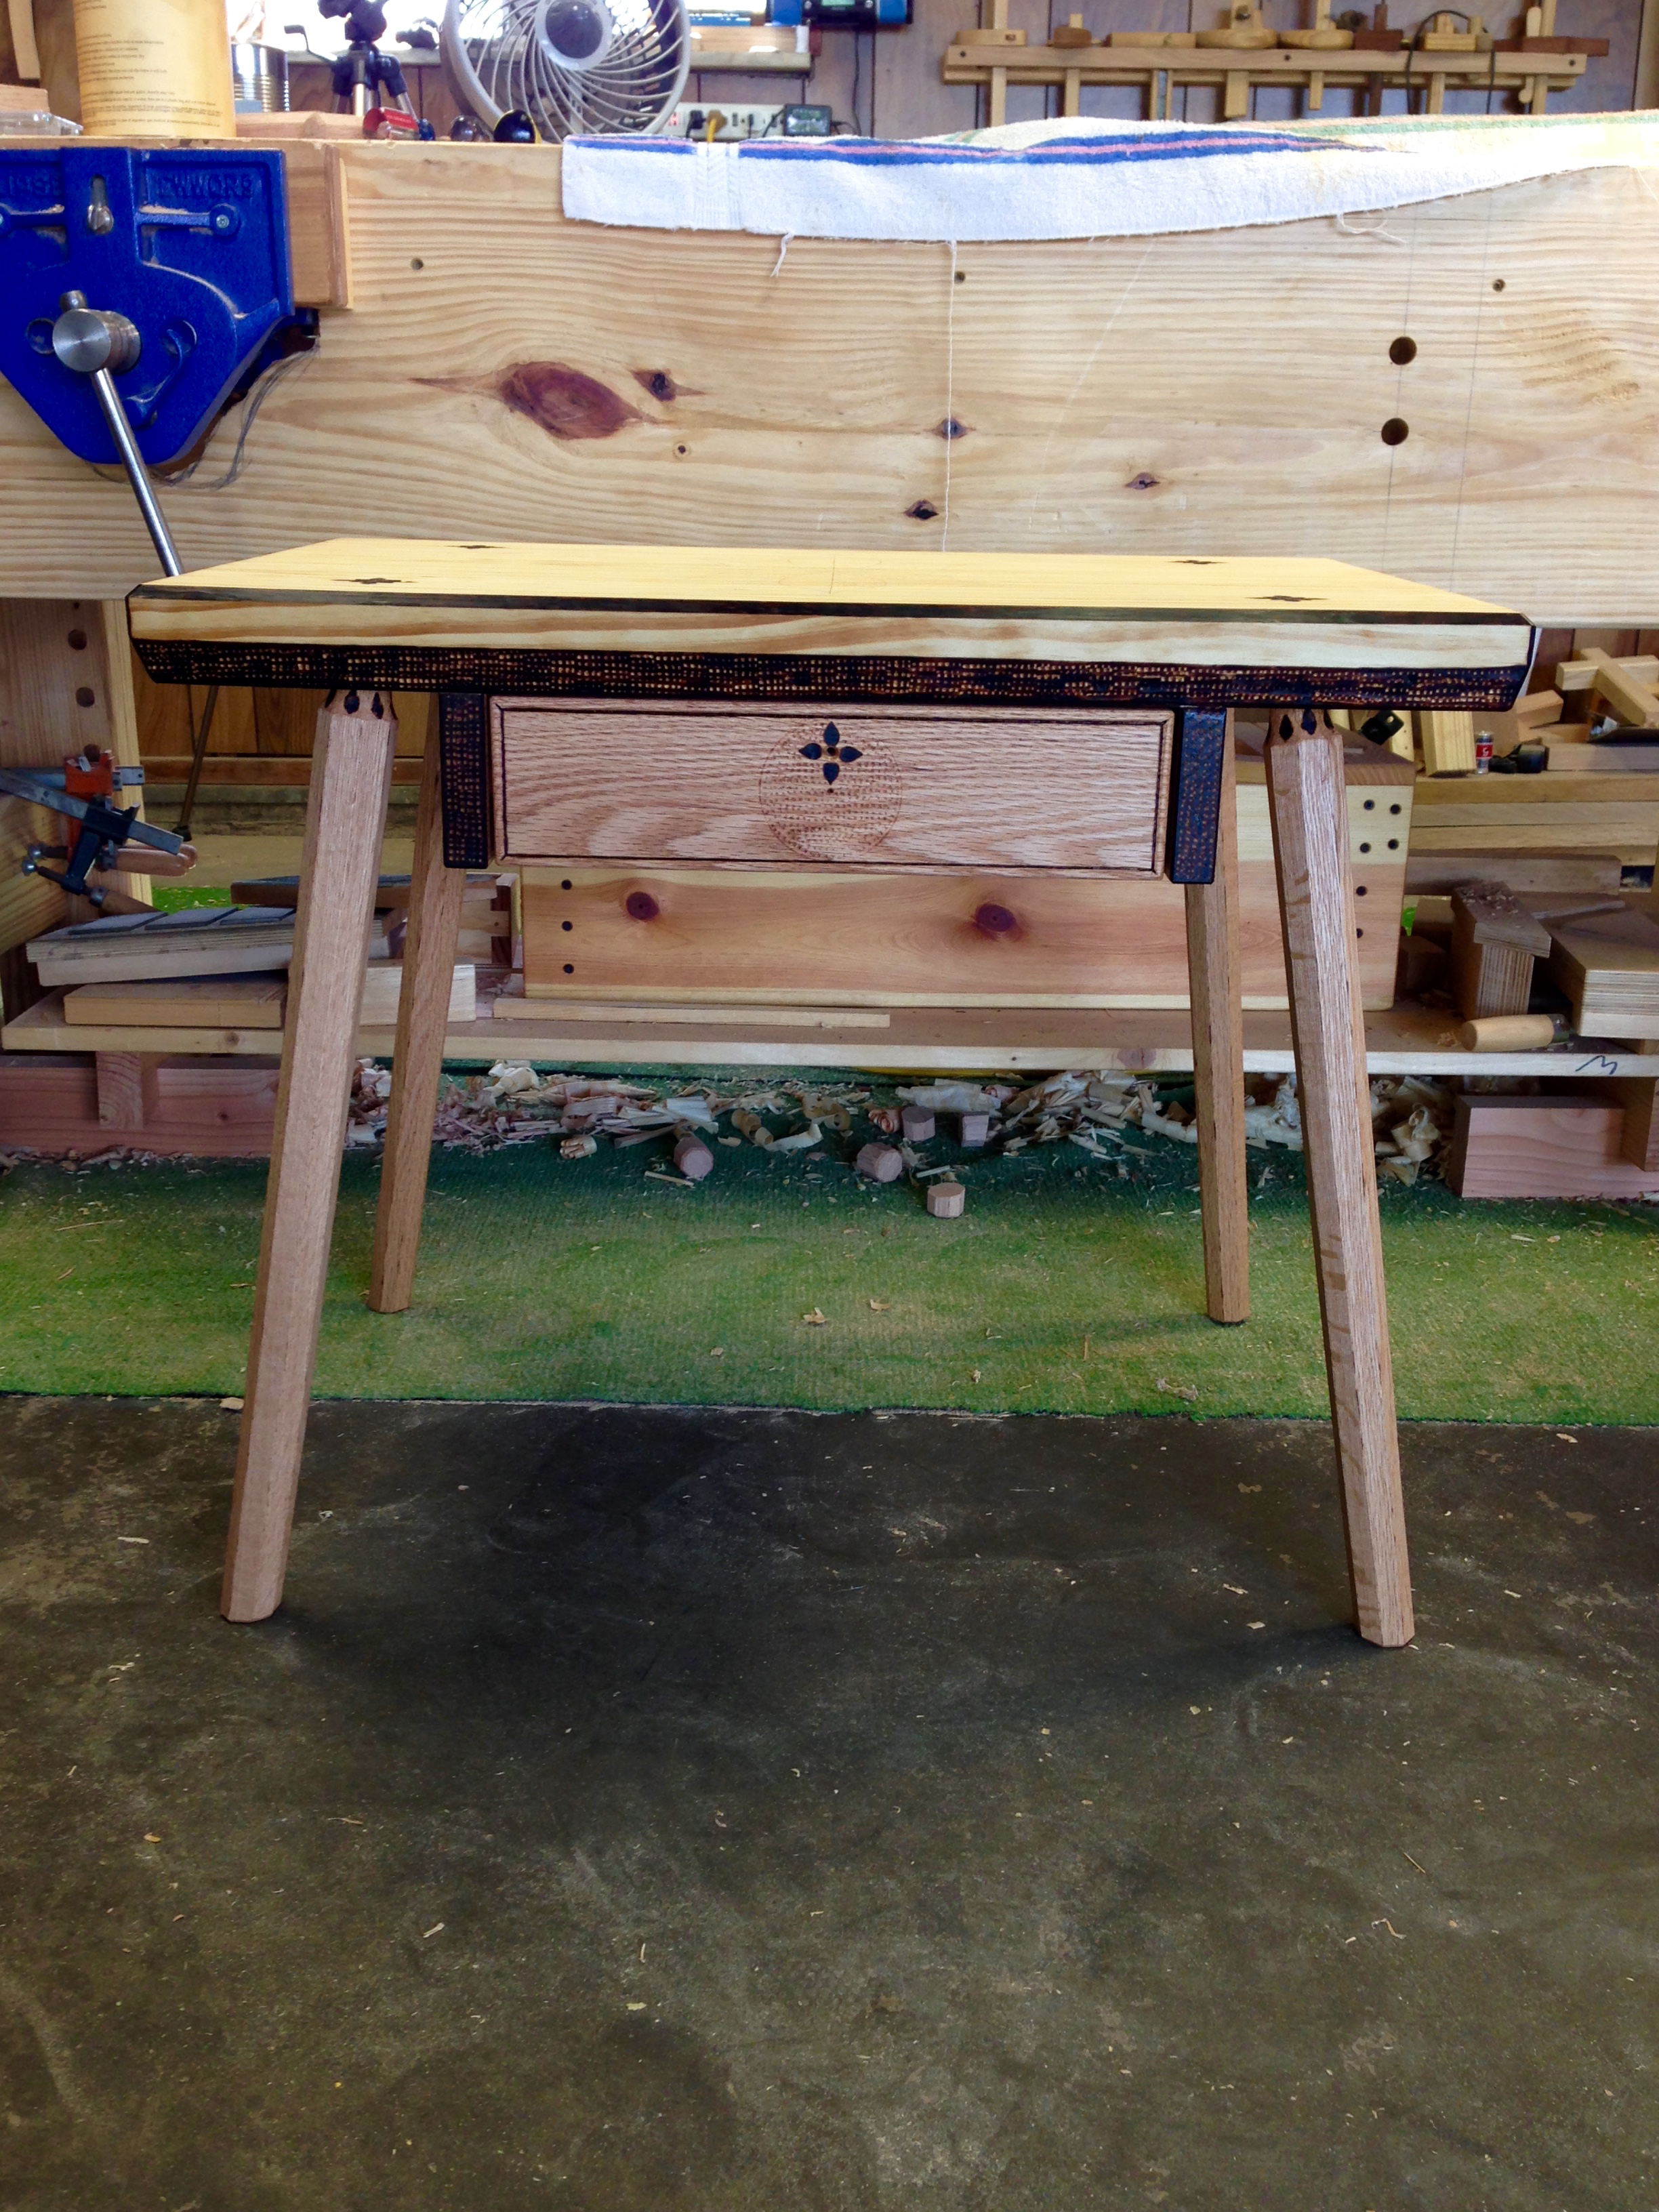
Tomorrow I’ll add another coat of the same. I’ll follow that with a coat or two of Tried and True original finish. So with any luck, I’ll put up a final post about mid-week with a few dog and pony photos of the completed tables.

I just love it when I see someone pour their heart and soul into it, that is very creative and attractive. Well done
Thanks Salko. I like to have some fun with what I build. If an idea hits me, I run with it. They all seem to work out with varying degrees of success.
That’s great Greg just keep at it and stay as a hobbyist believe me going pro is not what it’s all cracked up to be.
WOW… Extra Fancy!!!!
Thanks Antonio! I pretty happy with the way the are turning out. It is always a gamble when I start adding “decoration”. LOL
Wow Greg
You never fail to impress and amaze me , you are a true craftsman and artist, you are either very good at your day job or you are wasted doing it
Thanks so much David. You never fail to encourage. For now I must be content with the day job feeding the bank and everything else feeding the soul. But one never knows what may be just around the corner.
The anticipation of the final reveal is killing me… Looking good!
Thanks…won’t be long now. I just finished slathering on the second coat of tinted BLO.
Dig it! This is looking very nice, Greg. It’ll be great to get them into the house.
Thanks Matt. Yep…management is getting impatient and has already started with a list of “I think your next project should be”…
Pingback: Staked Side Table-Part 9-Complete | GREG MERRITT – BY MY OWN HANDS
Pingback: Staked Side Table-Part 7 | HILLBILLY DAIKU