
 Since Saturday I have applied three coats of the tinted BLO and one coat of Tried & True original. For those not familiar with Tried & True, it is a mixture of polymerized linseed oil and beeswax. It is non-toxic, food safe and leaves a low-luster sheen and a velvety smooth feel. With the finish applied, all that remained was to install drawer stops and pulls.
The drawer fronts could, theoretically, bottom out on the runners, but that area of the drawer front is quite thin. It would be a matter of time before a drawer was closed a little too hard and big chunk of the drawer front would be blown out. So I stopped the runners short of this fragile area and installed drawer stops.

Drawer stops seemed easy insurance.
Next was to install the knotted ring pulls that I made a couple of days ago. The ring is just a grommet and it hangs from a lanyard knot. Those pieces are then soaked with CA glue which renders them rock hard. The tag ends of the lanyard knot are fed thru a whole in the drawer front and knotted on the interior of the drawer. That interior knot is locked in place with a few drops of CA glue.

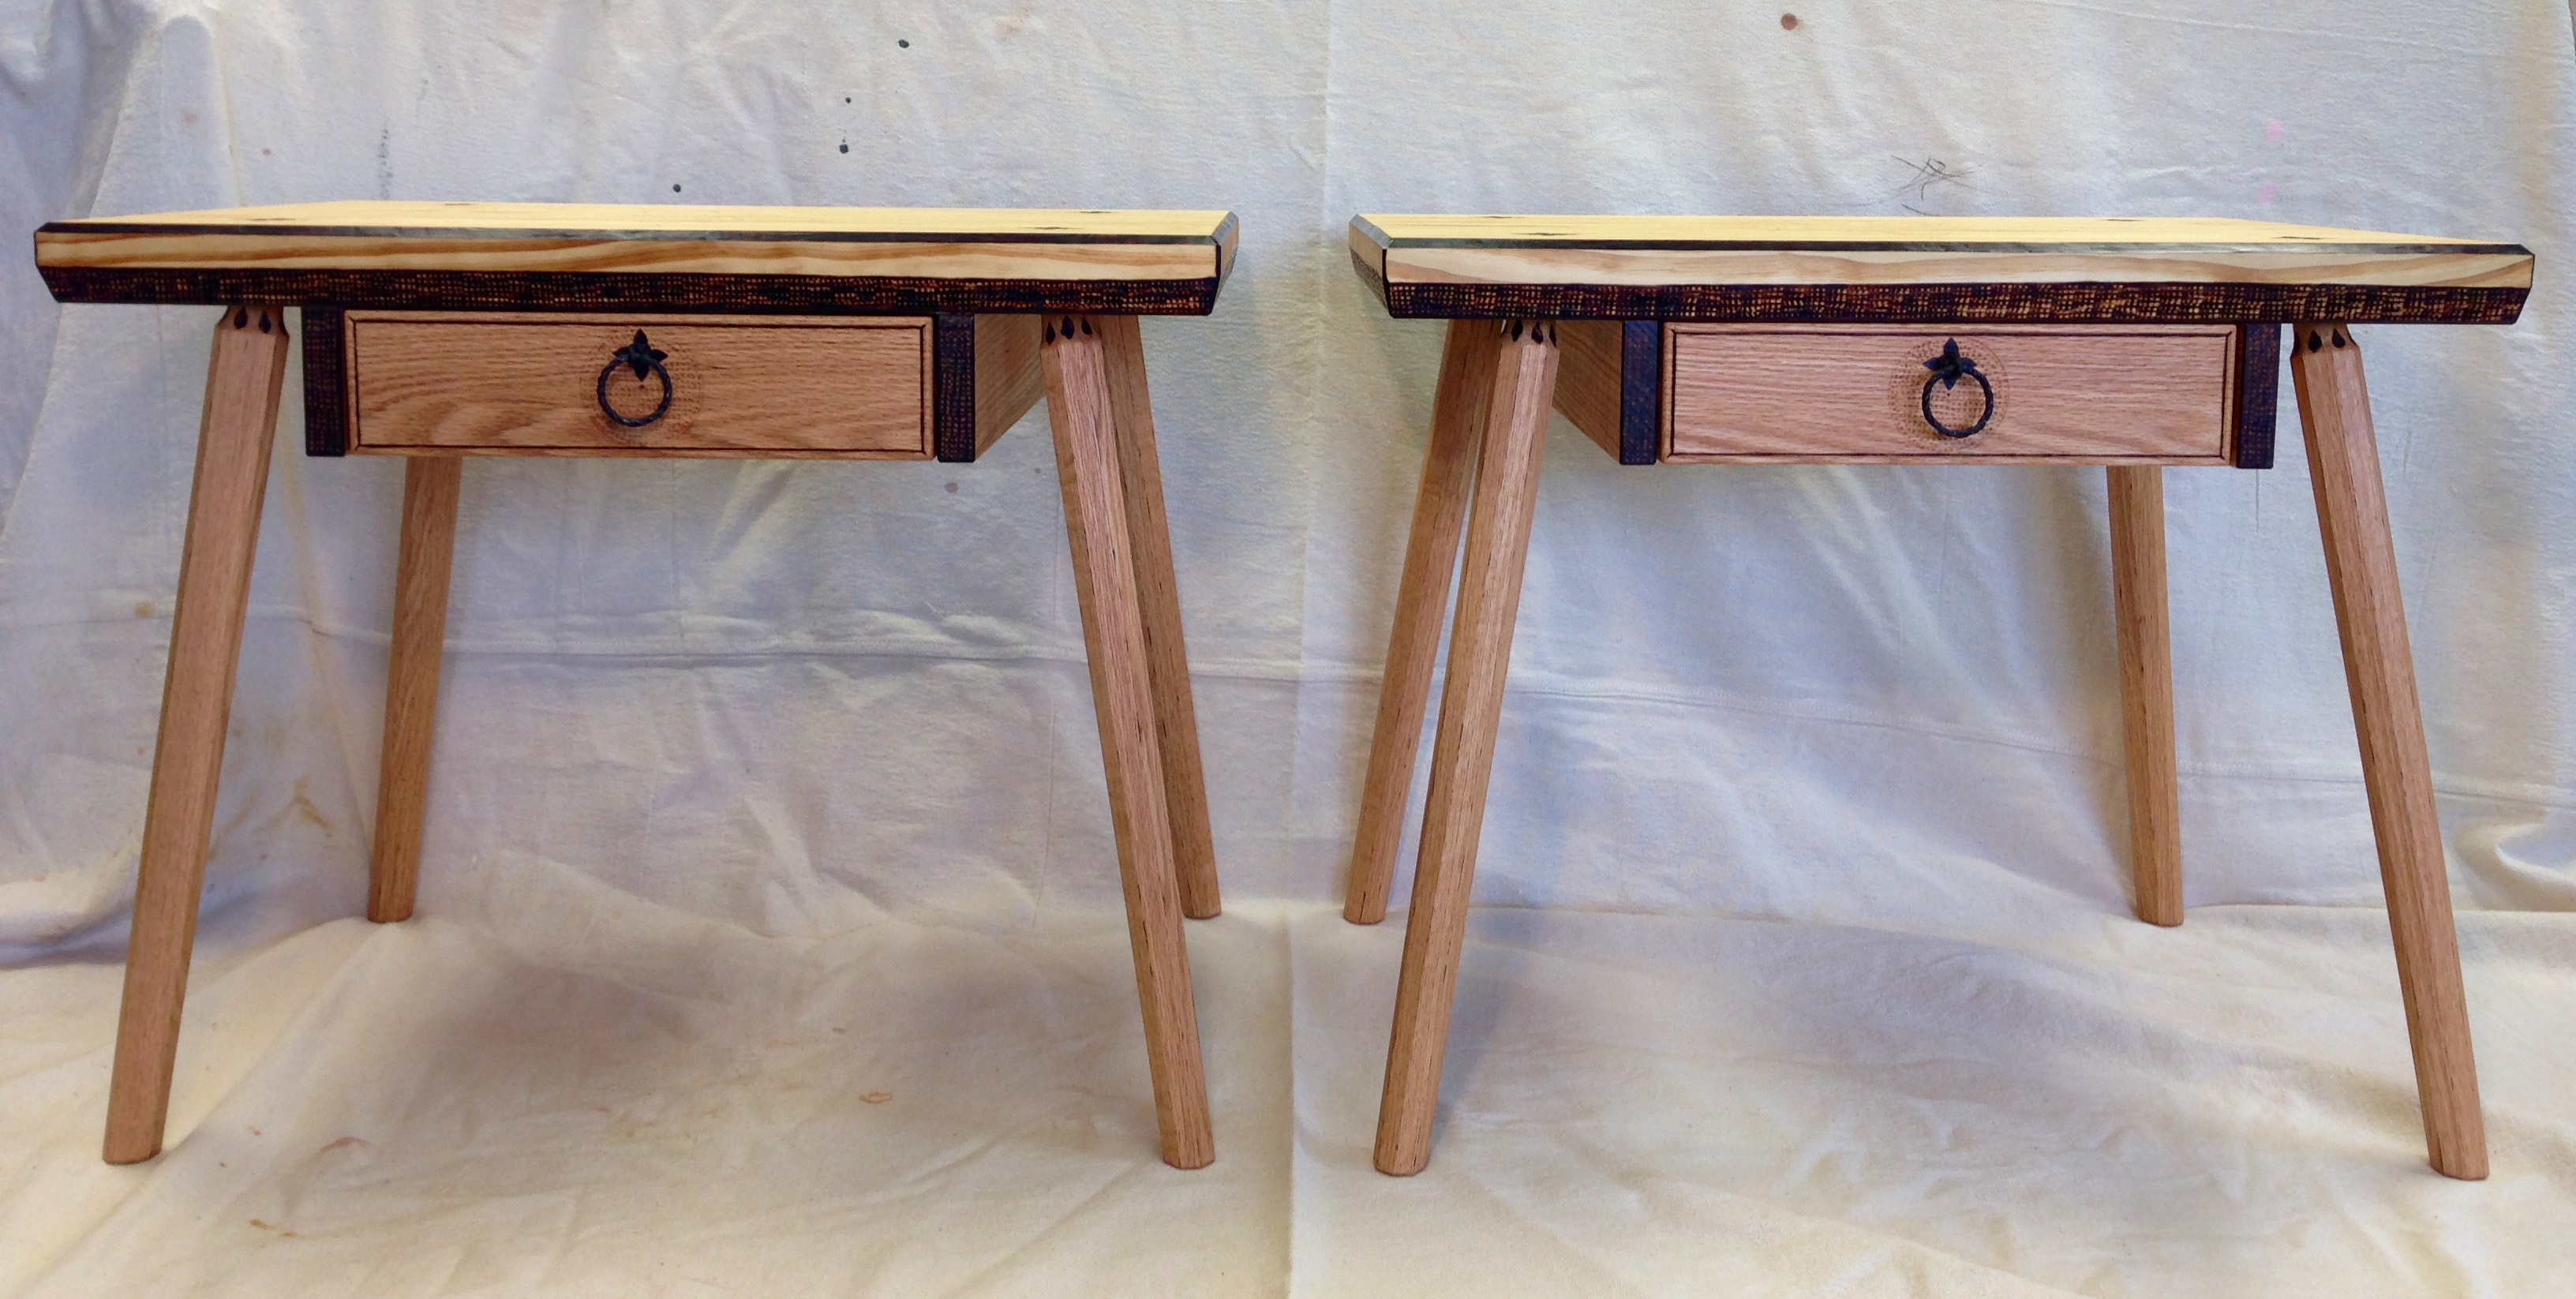
With the pulls installed, these tables are complete!

I had a lot of fun building these tables. I finally delved into using the drawknife. Which led to my building a shaving horse. Something that I can see getting a good bit of use in the future. I also tried out a new-to-me drawer system and it worked out great. The drawers run super smooth on the runners and these drawers were the easiest fit up that I have done. The staked construction was a little frustrating, but that is just a learning process. My angles aren’t exactly what I had on paper, but given the hand-work nature of this process, they turned out more than satisfactory. Like most things in hand tool woodworking, you need to develop a “feel” for drilling and reaming at these compound angles. Repetition will go a long way in my developing this skill. Of course I couldn’t resist adding my “decorative” touches. Texture, wood burning and a little kolrosing. While not to everyone’s taste, I find the process and results quite satisfying.
So a few final photos to sum up these two tables.


Part 8 Greg Merritt

Pingback: Staked Side Table-Part 8 | GREG MERRITT – BY MY OWN HANDS
Looking good!
Thanks Andrew!
Looking really nice, Greg. The wood burning designs really look great. Time to get them into the house and put them to good use.
Appreciate it Matt. Way ahead of you. They are already installed in the house.
Innovative and nicely done Greg. Enjoyed the pics and progress as well as the creation of a very handsome piece
Thank you Jeffrey. Glad to hear that you enjoyed the build.
Greg
You are truly gifted!
You’ve developed your own style and your designs are always impressive…
If any you could probably make a living out of this.
Diego
Thanks so much Diego! The “style” is all mine. I doubt anyone else would want to lay claim to it. LOL
Awesome!!!!
Thanks Antonio! Sometimes I get lucky.
I’ve been following your staked table work and really like it. Quite some time ago I played around with what I called TV Tray Redux using similar leg construction. Didn’t know that it actually had a name! Let me share this link to them: http://woodworksbyjohn.blogspot.com/2011/12/tv-tray-redux-is-complete.html I really like how you used the decoration to highlight where the legs came through the top.
Thanks John.
Those tables of yours are very nice. I really like how they nest to creat one large table. The that you used is absolutly beautiful! One question…have you had any issues with the tenon straddling the miter joint?
I just inspected them and they’re tight! The miters are reinforced with biscuits and the tenon is angled. i didn’t use a lot of force on the splines but that project is about four years old; so far, so good. You’ve inspired me to design a taller version of them to display sculpture but need to get a shop back first.
Thanks for the reply. I do like the arrangement that you have in those tables and it has the wheels turning. A tall version for display would be quite attractive. I’ll be watching for developments. I’m sure the apartment woodworking is starting to get old, but you have tuned out some great frames.
You really knocked one out of the park with these tables, Greg! It sure looks like you got the angles right on the legs, and the finish is really nice.
Thanks man! The angles are pretty close. On paper there was a little more splay, but I happy with what I ended up with. I just let loose on the “decorative” bits and they played out pretty well too, IMHO. It is always a gamble once I get started though.
Oh, definitely the details are good. I like your “style”.
Pingback: Asymmetrical Footstool-Part 1 | HILLBILLY DAIKU