
 So as I was installing the freshly minted side tables/nightstands, management begins rattling off a list of my “next” projects. She is getting a little carried away and if she is not careful the Hillbilly Daiku will be coming to you under new management. 😉
Anyway, first on her list was a headboard. Which I knew was coming and had been thinking about for quite a while. After looking at many options and examples, I finally realized that a wall hung upholstered version was the way I would go. I know, I know…but I simply could not come up with a wooden version that I liked.
I have never upholstered anything, so there is that little wrinkle. The upshot is that I have close to a lifetime supply of upholstery grade vinyl. A few years ago my brother showed up at the house with a huge tote plus a loose role of the stuff that a friend of his had given to him. He asked if I wanted it and I said “sure!”. So I have stored it ever since. I have white, brown, grey, beige and black. For this project the black is finally getting put to use.
So I watched a few videos and read a few articles on upholstery. Then made a few sketches and finally a formal drawing. Saturday I headed out for materials. Originally I thought about buying a 3/4″ sheet of plywood to cut down and us as a backer board. Once at the big box store though, I found a glue-lam panel that was the exact width I needed and just a little longer than required. It was cheaper that a full sheet of ply and a lot easier to handle on my own. Then I went to the fabric store for batting and foam. Apparently high density foam is made with a mixture of unicorn and Bigfoot hair. At least based upon the price. Luckily the checkout girl took pity on me and set me up with a 50% off coupon.
First step in the process was to cut the board to length, lay out the pattern of the tufting buttons and drill their clearance holes.

Next was to glue the foam into place with spray adhesive.
Then wrap the foam with the batting. Securing it on the backside of the backer board with staples.
Then I repeated the wrapping process with the black vinyl. I had to re-watch a YouTube video several times to get my head around how to tuck the corners.

You can purchase a kit at the fabric store to make the tufting buttons. You cut a few bits of fabric and press the two-piece button together and you have a fabric covered tufting button ready to go. I didn’t go that route… Don’t act surprised, you know I make all of my own knobs and pulls. Buttons are no problem. So I tied ten 4-strand star knots into buttons and began the tufting process.

To install the buttons is just a matter of looping a stout thread thru the button and, with a long needle, pull the thread thru the front cover and out the pre-drilled clearance hole. Then one side of the thread is secured with a staple or two. The other end of the thread is pulled tight and again secured with a couple more staples. I worried about getting the dimples all the same depth. I found that I quickly developed a feel for how tight to pull the thread. In the end they came out just fine.

With the amature upholstery work out of the way I worked up a French cleat from a couple scraps. I also made a couple of spacer blocks for the bottom edge of the headboard. These spacer blocks will keep the headboard sitting even on the wall.

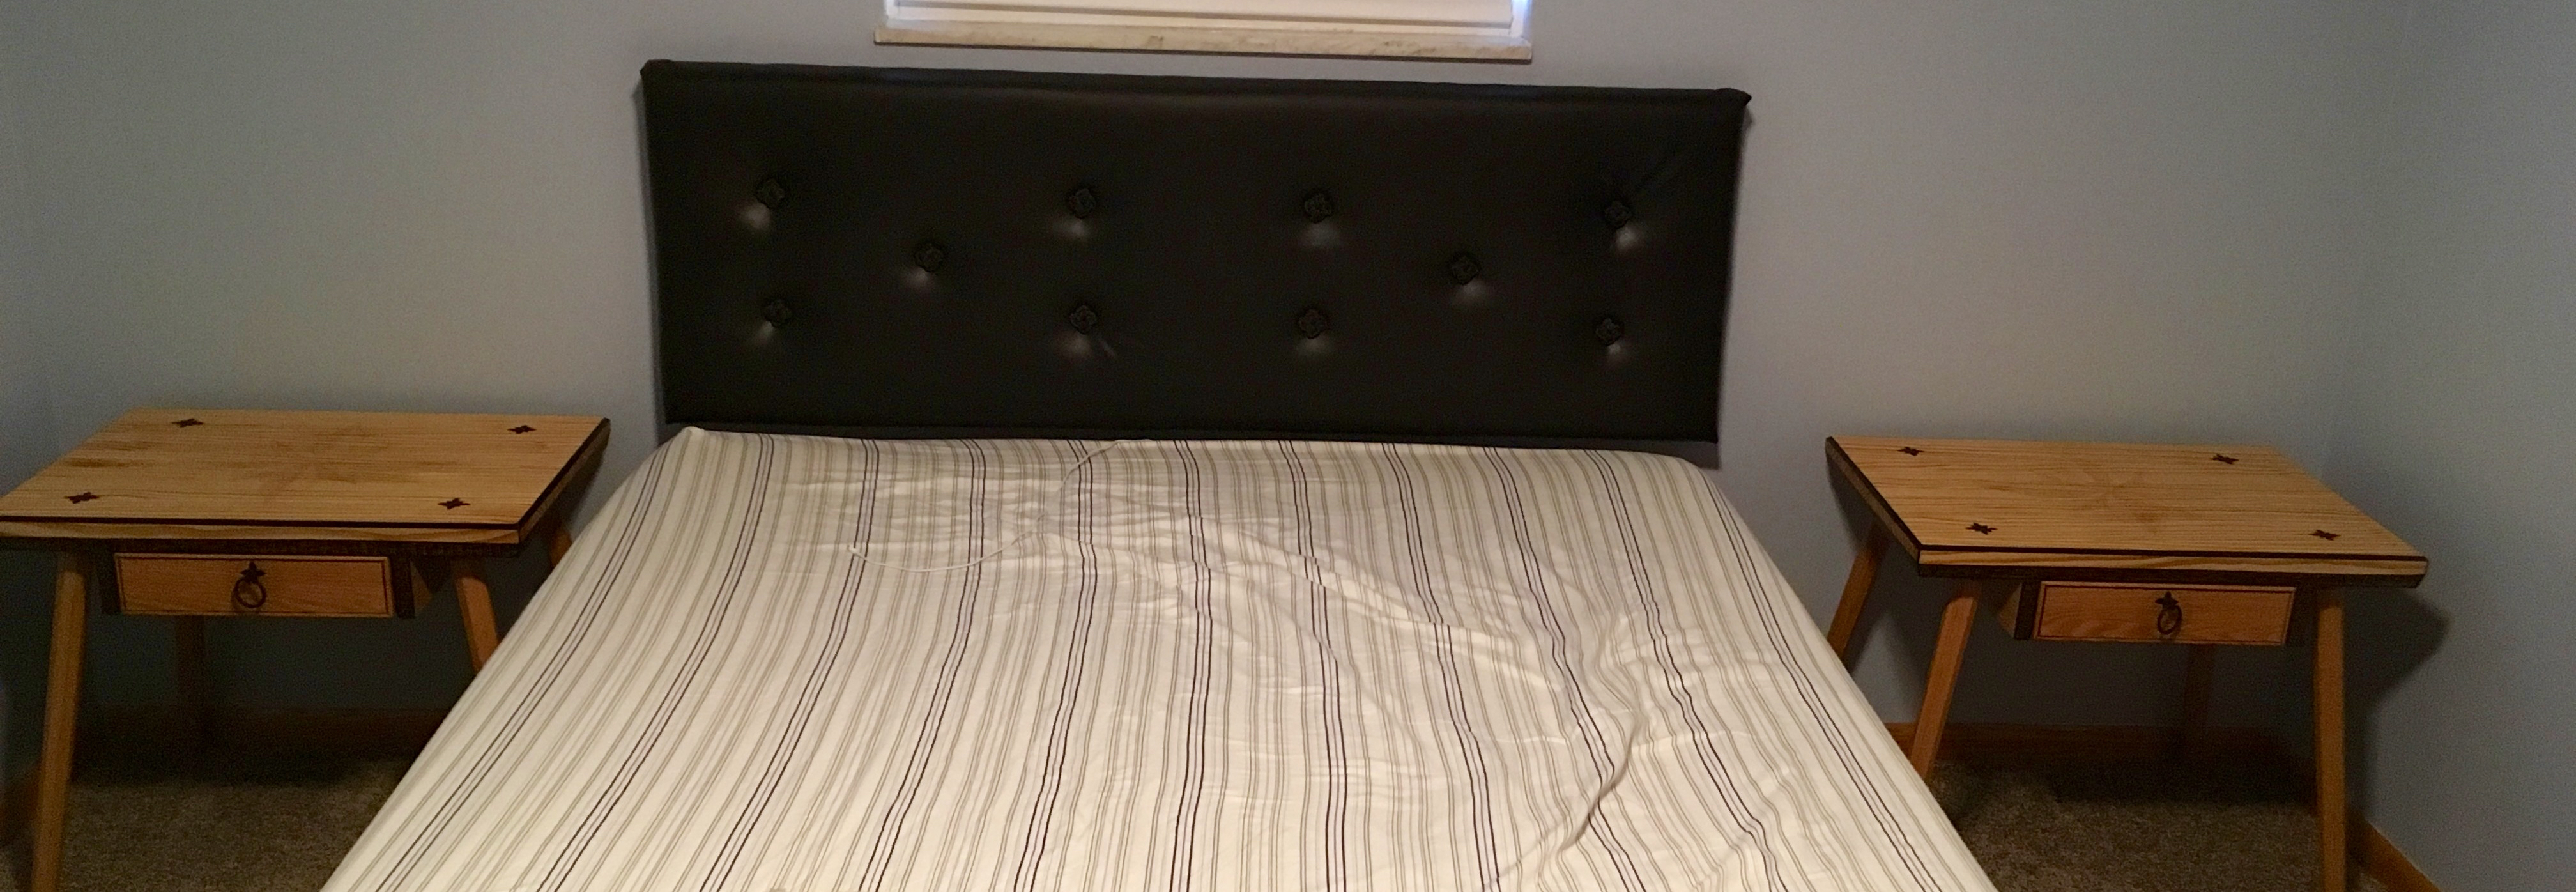
All that was left was to hang it above the bed and await further instructions. It will be a short wait I’m sure. Management is still in the process of choosing drapery fabric and bedding, but we are getting there.
Greg Merritt

Your making good headway there Greg I like how those buttons, I used to work upholstery when I was 18 my mum got me a job with her in her factory but it didn’t last very long but long enough to learn how to upholster a chair seat which isn’t much different to what Paul did.
Thanks Salko. The buttons are just my way of adding my stamp on it. Plus I have a lot f fun tying knots like these. I fumbled along, but all-in-all it turned out just fine.
That’s great Greg!
All three are nice match in the bedroom….
Although… I was a bit concern were this was going… you know… a bit of rope, knots and vinyl … 😛
LOL
LOL…nothing like that…
We are taking our time putting the new house together. The bedroom is starting to take shape. My part is pretty much done…I think. The rest falls to management.
Good stuff, Greg. it looks nice. I wondered if Sellers’ videos on upholstering a chair seat helped at all.
Thanks Matt. Paul’s videos on upholstery has some good tips that were applicable, but this was a slightly different application. Particularly the corners and the thickness of the foam.
A woodworker with upholstery skills is a force to be reckoned with. I really like the french cleat idea, and the buttons are awesome.
Thanks.
In my case it is a weak force, but I’m working on it. The French cleat was the simplest way I could think of to mount this thing to the wall and worked great. The knotted buttons and pulls have inadvertently become something akin to my signature. It’s funny how things come about.
Pingback: Asymmetric Footstool-Part 3-Complete | HILLBILLY DAIKU