
 I did a little less than scientific weight trials on the completed toolbox. I used a bathroom scale and weighed myself. Using that base weight I was able to obtain a fairly close approximation of the empty and packed toolbox.
To find the empty weight I simply stepped on the scale while holding the toolbox. A quick calculation and the empty toolbox was found to weigh approximately 15lbs. Pretty light, I think, for the size. Next I began loading in tools to get an idea of the capacity.
I was surprised at just how many tools I could pack in. In fact it easily held all of the tools that I would typically need for any of my projects with a little extra room remaining. I’ll not list everything here but here are the highlights. The box held a #4, #5 and all of my joinery planes. All of my Japanese saws easily fit as well as the majority of my layout tools. It also held a full complement of chisels plus my sharpening setup. My boring tools also fit.


Once fully loaded I installed the lid, picked up the toolbox and stepped on the scale. Another calculation revealed that the loaded box had 50lbs of tools in it, giving me a 65lb package. Not too bad for the number of tools that I had in it.
This toolbox was never intended to be worked out of. It was designed for transport and possibly storage and I think it will excel for these tasks. It’s just a box after all. With a few additions it could become a toolbox that could be worked out of. A shallow tray for chisels and layout tools would be a really good start in that direction. For now, I like the flexibility that a simple box affords.
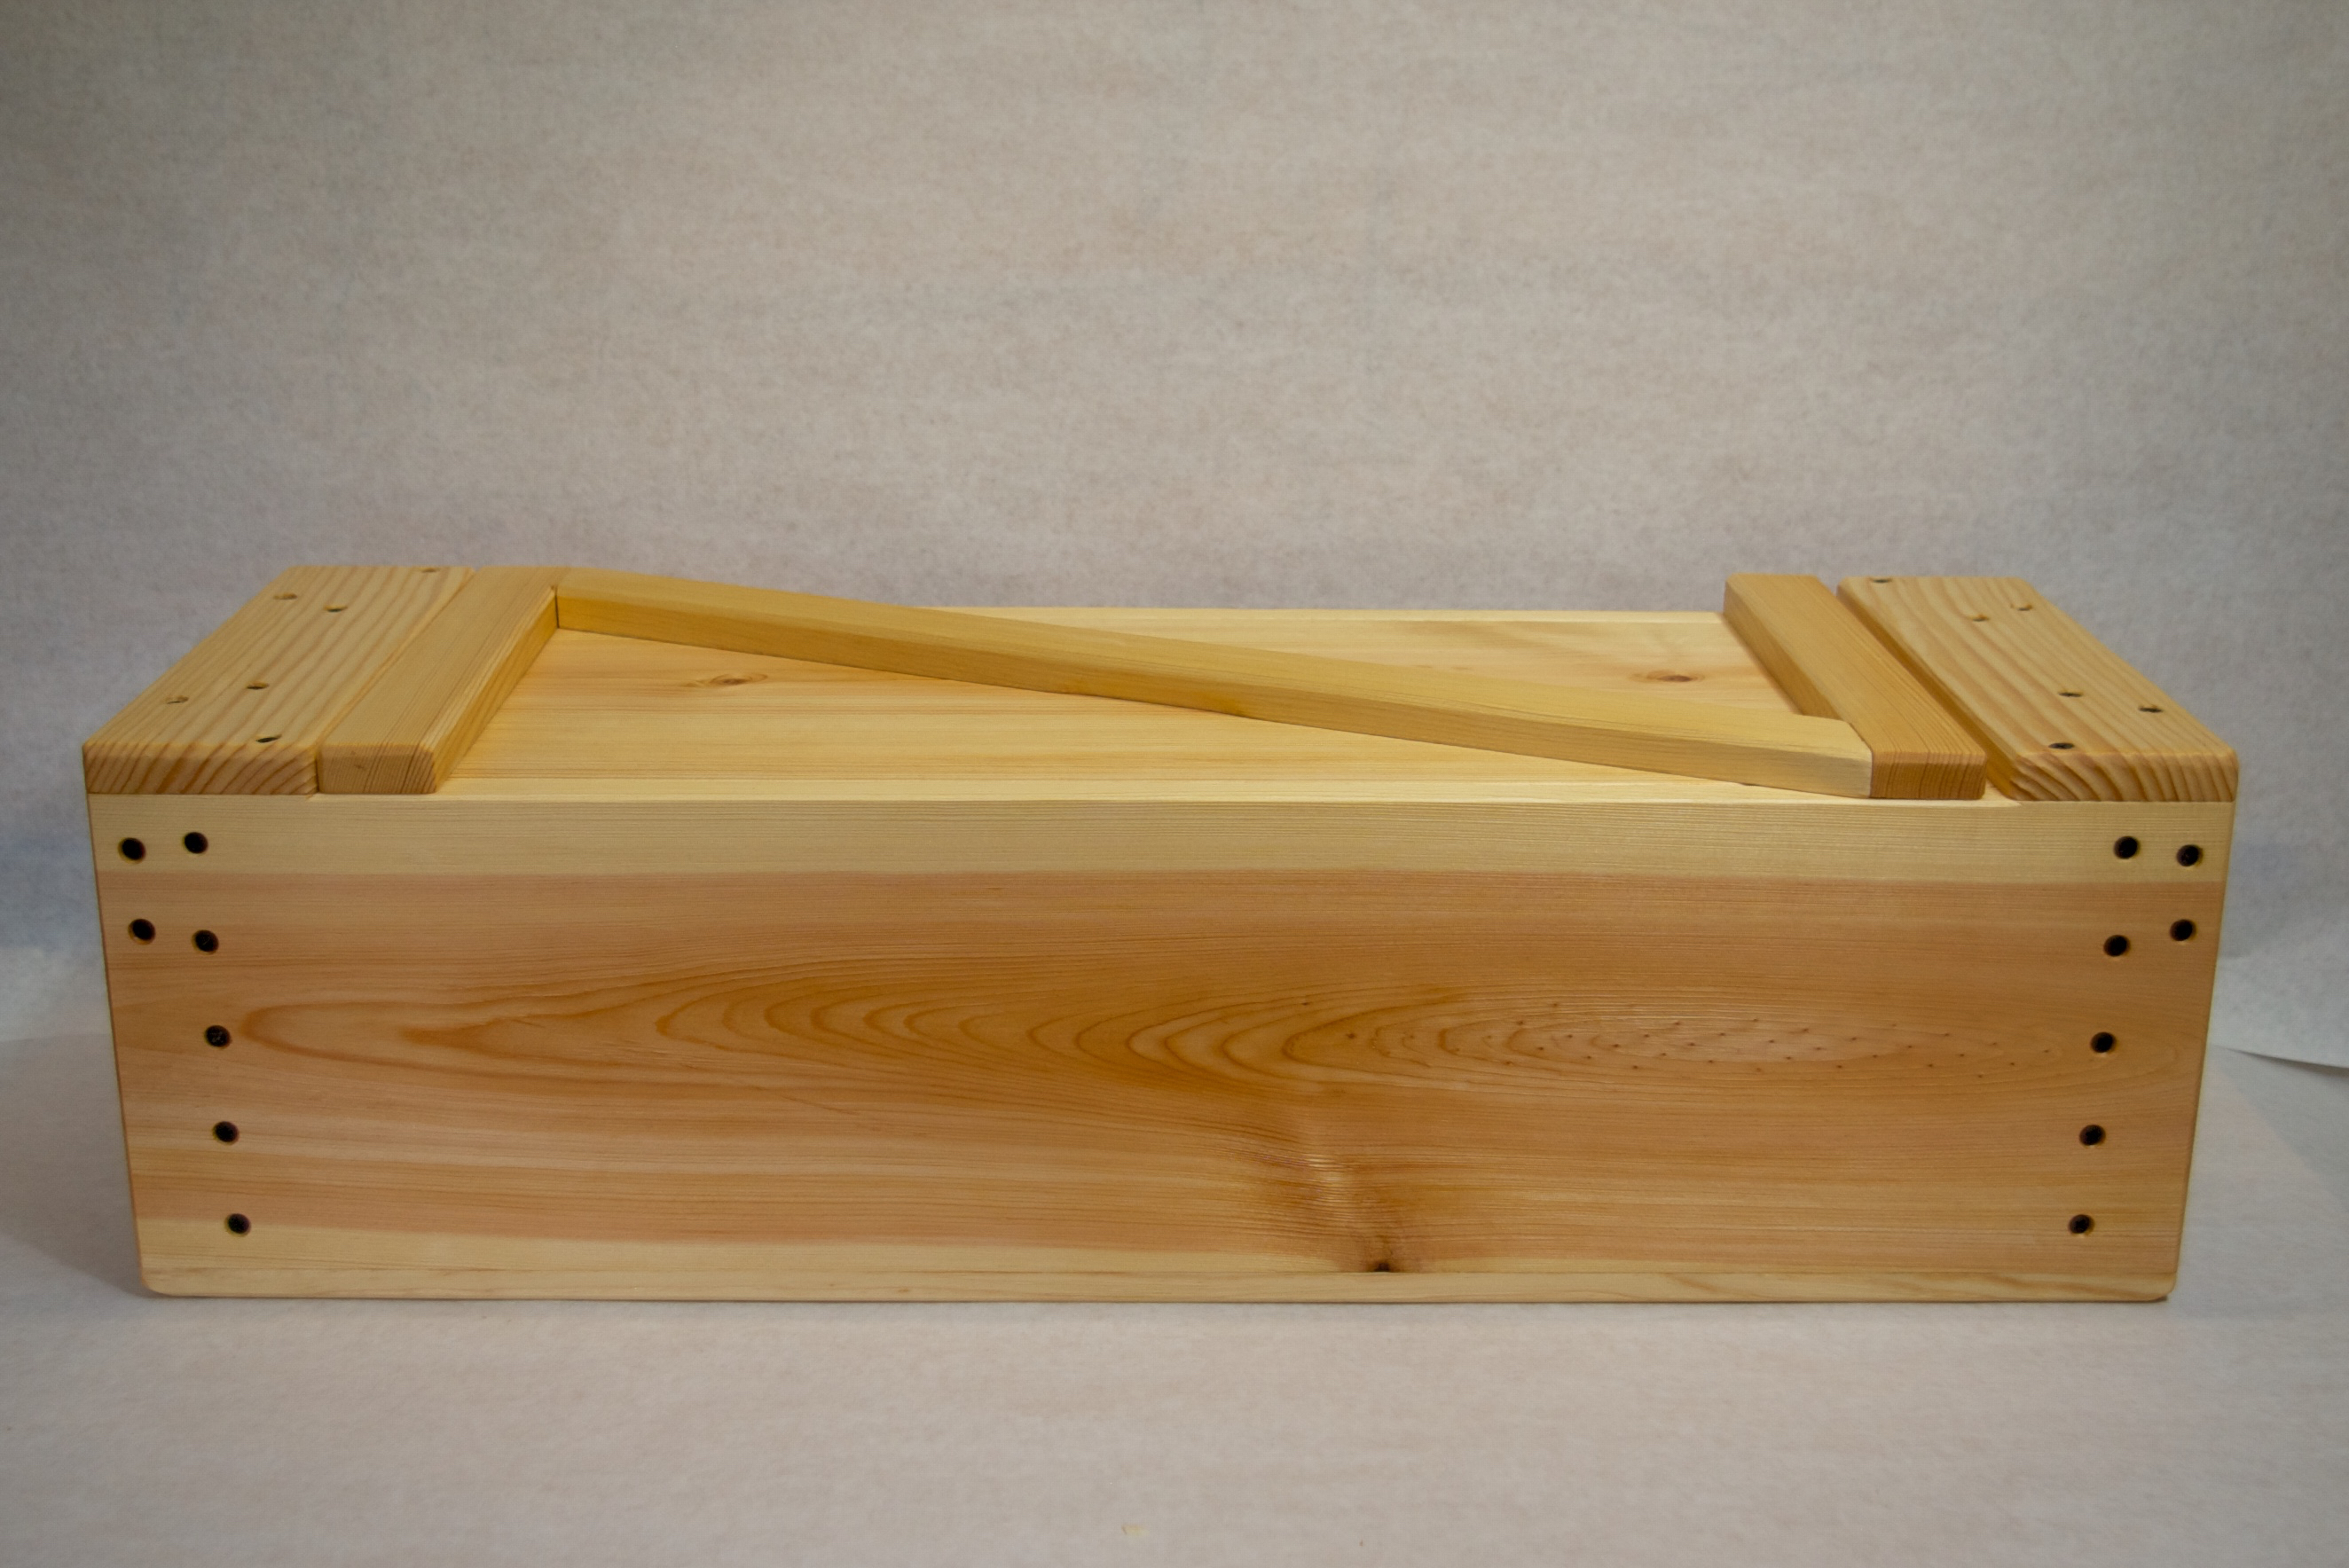
The toolbox is surprisingly strong given it’s weight and simple construction. There are a couple of design elements that I would like to point out. The first being the integrated handles. Besides being, well, handy, they cause the ends to be inset. This moves the screws securing the sides well away from the edge of the sides. Reducing the chance of a spit during assembly and during use. The other design element has to do with the bottom panel. Generally speaking, the width of this type of toolbox is fairly narrow. Typically 10″-16″ being the width chosen. This narrow width reduces the loading on the bottom and allows for a thin, light bottom panel. One additional weight reducing element is the lid. The lid has no structural value for the box. It simply closes the top opening to protect the contents. So the lid can be quite thin. The lid battens adding rigidity and helping to keep the panel flat.
A finish isn’t really necessary but to further my uzkuri research I added a single soaking coat of BLO. Once that had dried for twenty-four hours I added a coat of Tried & True Original. When that had dried I buffed the toolbox with a soft cloth. As expected the oil brought out the grain and added a little color.


Part 4 Greg Merritt

Very nice. I like the simplicity of the inset handles.
Thank you. The inset handles are a simple idea that just works extremely well.
Pingback: Practice with the Uzukuri-Part 3 | GREG MERRITT – BY MY OWN HANDS
Great looking box! Did you have any trouble with the BLO on the pine? I used sugar pine for my Japanese toolbox, and it blotched like crazy unfortunately. Also I’ve been reading a lot of good things about Tried & True, curious on your experience and reason for including it as part of the finish. Your finish looks great. Thanks.
Thanks Siavosh! I’ve not had any trouble with BLO on pine. I’ve not used sugar pine before so not sure why you had a blotching issue. I do try to have everything warm. Around 80F. Even in the winter. You could also thin the BLO for the first coat or two for more even penetration.
Tried and True is what I finish just about everything with. I like it because its non-toxic and it has beeswax in it. Granted its not the most durable finish, but easy to maintain. The wax buffs to a nice even sheen. I find it far too thick for raw wood however. Hence the first coat of BLO.
Looks great.
Thank you.
Looks great. I followed along but stuck closer to Odate’s plans, using 3/4″ wood everywhere. I’ll load it up to see for sure, but at the moment I’m wishing I’d copied your revision to make the handles deeper. I’m going to try a paste wax on mine. I’m planning to make a second, deeper version for all my bench appliances and hand screws, so it’ll likely be a lot closer to yours.
Thanks. My version is closer to what Odate presented in his book. In my initial trials I found the 3/4″ handles hard on the finger tips. I explain why in Part 1 and on my drawing. Just about anything works though. Thats one of the great things about this style box.
Yeah, I’m kicking myself because it wouldn’t have taken much extra time to thin down a couple of bits of 2×4. I was making this to actually transport my tools, so if it’s too awkward, I’m thinking I’ll glue an inch wide strip of hardwood above the grip.
…and just for the books -following Odate’s American Woodworker article’s all ¾” white pine version (13 ½” x 30 ½” using dimensional 1x10s for the sides) comes out to about 7 lbs heavier.
That sounds about right. Mine is only 11″ wide and a little shorter plus the lid and bottom panel are thinned down.
I agree. I followed Odate’s plans using 3/4″ pine before I saw your idea for the handles. I have fairly small fingers. The 3/4″ depth for the handles doesn’t give me a secure grip. If I do it over, definitely deeper is the way to go.
And I used 6d cut nails. I like the cleaner look. No problems splitting the wood. Odate commented on this once. He observed when American woodworkers hammer nails, they really whack away. Japanese woodworkers hammer as if the nail is saying to the wood “Excuse me. Excuse me.” The result is rare splits. I tried it and worked for me here. 🙂
I added some runners to support tills, too. Japanese saws and planes will be on the bottom. Removable tills for chisels, etc. above them.
The deeper handle is much more comfortable and is per Odate’s plan for this box in his book. I install my bamboo pegs just as you describe. Slow and steady lets the wood adjust to the nail/peg. I used screws on my build because they are cheap and readily accessible. This box started out as a quick, simple and utilitarian build. The practice with the uzukuri made it a little “fancier” though.
Pingback: Japanese Toolbox-Progress 4 | GREG MERRITT – BY MY OWN HANDS
The tool box came out looking great Greg! The oil finish really warmed up the color of the wood nicely. My current project needs to be smooth and glossy but I definitely want to experiment with this sort of textured surface some day.
Thanks Joe! It’s amazing the difference a little oil can make. I still like smooth and glossy too. I’m thinking of doing up a post using the make-shift tools. That way folks can give this technique a try without spending much cash.
Reblogged this on Paleotool's Weblog and commented:
Greg Merritt finished his Japanese toolbox. Head over and have a look. I think they are a great design and would store well in a pickup or a van. Great! More to do…
Thanks George. The support is greatly appreciated!
Pingback: HB Hobby Tansu #1-Part 1 | GREG MERRITT – BY MY OWN HANDS
Greg, I chased back through your Japanese toolbox posts, because I’m looking at building several out of some salvaged wood, to provide storage for an old friend’s collection.
Really like your drawing style, and the module concept. Makes quick sense for material thickness, etc., but found it a bit confusing regarding the box itself (I have an aversion to drawing full-sized plans for anything…).
I went back and measured the box for my Makita power planer: 11″ x 23″ x 7 ½” ; box-jointed plywood with rope handles.
Can’t say whether the box was made to fit the tool, or the other way around. Traditional Japanese measure is shaku, approximately one foot (depends whether you take Kyoto or Tokyo as standard). Plan proportion is 1:2 ; end proportion ⅔:1.
In this particular case the size of the box is arbitrary, within reason. It just needs to be big enough for the intended purpose. So I did not specify any length, width or height on my proportional drawing, but focused on the thickness of materials. Generally speaking, max length is probably somwhere in the neighborhood of 40″, max height and width are around 16″. Any bigger and it becomes too damn heavy and awkward to carry. Most examples seem to be purpose built to hold specific tools. Length quite typically was based upon the longest saw that needed to be carried. Not too much different that a traditional Europian toolbox.
I can lay a tape on my box and post the dimensions if that will be of use.
For furnituure, I carry the module system through for every dimension based upon a controlling dimension, height, length or depth. The proportional system works out pretty well for me as I’m designing.
Proportion is generally an iteration or approximation of fibonacci’s numbers, design (I think) is a conversation, which I appear to be having with myself…I’m working out of the scrap pile this time, width is what I glue up, length is variable depending on whether I want to include scarf joints. Just another exercise in frugality.
Those ad-hock type projects are some of the most fun. Fibonacci’s numbers are almost omni-present and can usually be found in just about everything.
Have fun with the box builds. Post up some pics.
Pingback: Chisel Tray-Part 1 | BY MY OWN HANDS
I second the “sturdy as heck” sentiment. My son (2.5 yr) likes to stand on mine to watch me working on my bench, or help me saw stuff, or plane some moldings. Yes, always with some helping hand from me, as he lacks strength and control to move the saw straight fore and back, or keep the plane straight while pushing it. Still: it is a fun project to build (he wants his own now), and I will take some more care in building MK II for him. Mine is…. functional.
I added a wedged “locking” piece of wood that goes between one of the top stretchers and the end. This is beveled as well, so it cannot pop out. The stretcher is also beveled, as is one of the sides of the box – this means I can hang (stand?) the lid on that side to rummage around and don’t have to put it on the ground. The box survived a few trips by airplane, as did the tools (a lot of paper / shavings / bubble wrap helped 😉
Thanks (oh, and Merry Christmas!)
Joe