
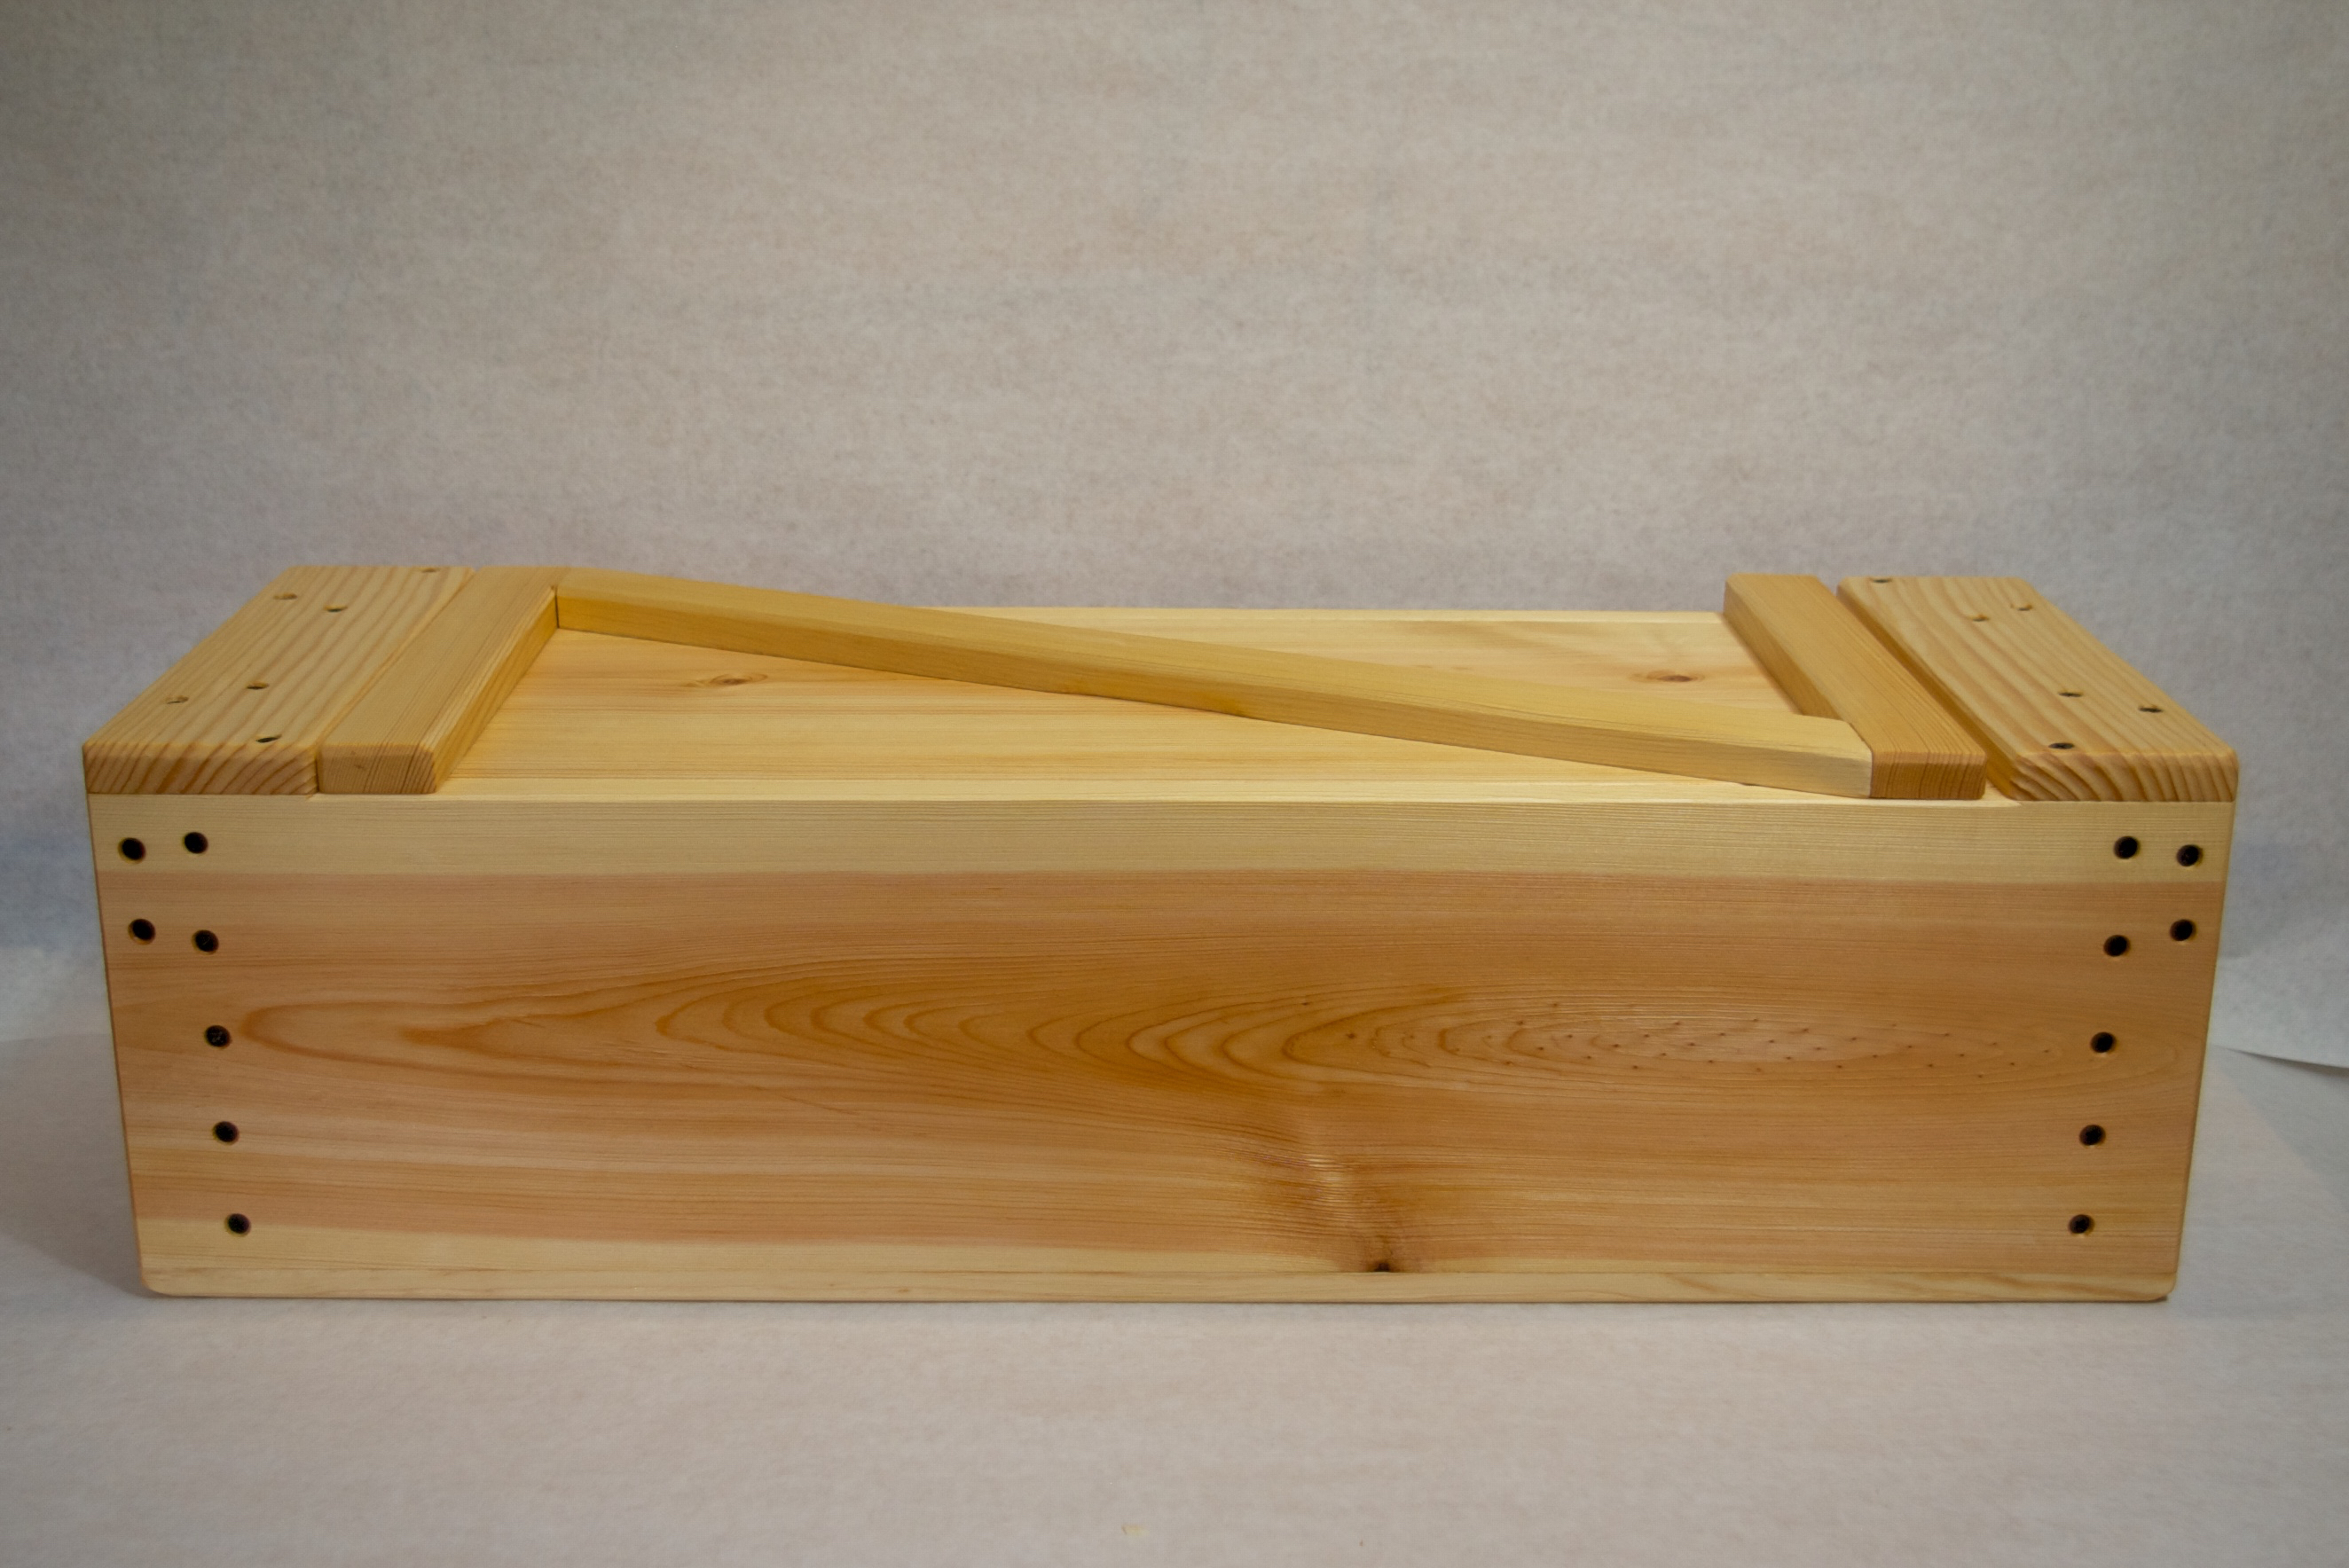
The completion of my Japanese style toolbox gave me the opportunity to see how the uzukuri technique would respond to a linseed oil finish. All of the exterior surfaces, except the bottom, of the toolbox received the uzukuri treatment. The surface created by the uzukuri is a burnished surface and I wondered how it would respond to the oil.
I half expected the oil to just pool on the surface. Thankfully that is not what happened. The BLO was absorbed normally. What did happen was a little surprising though.
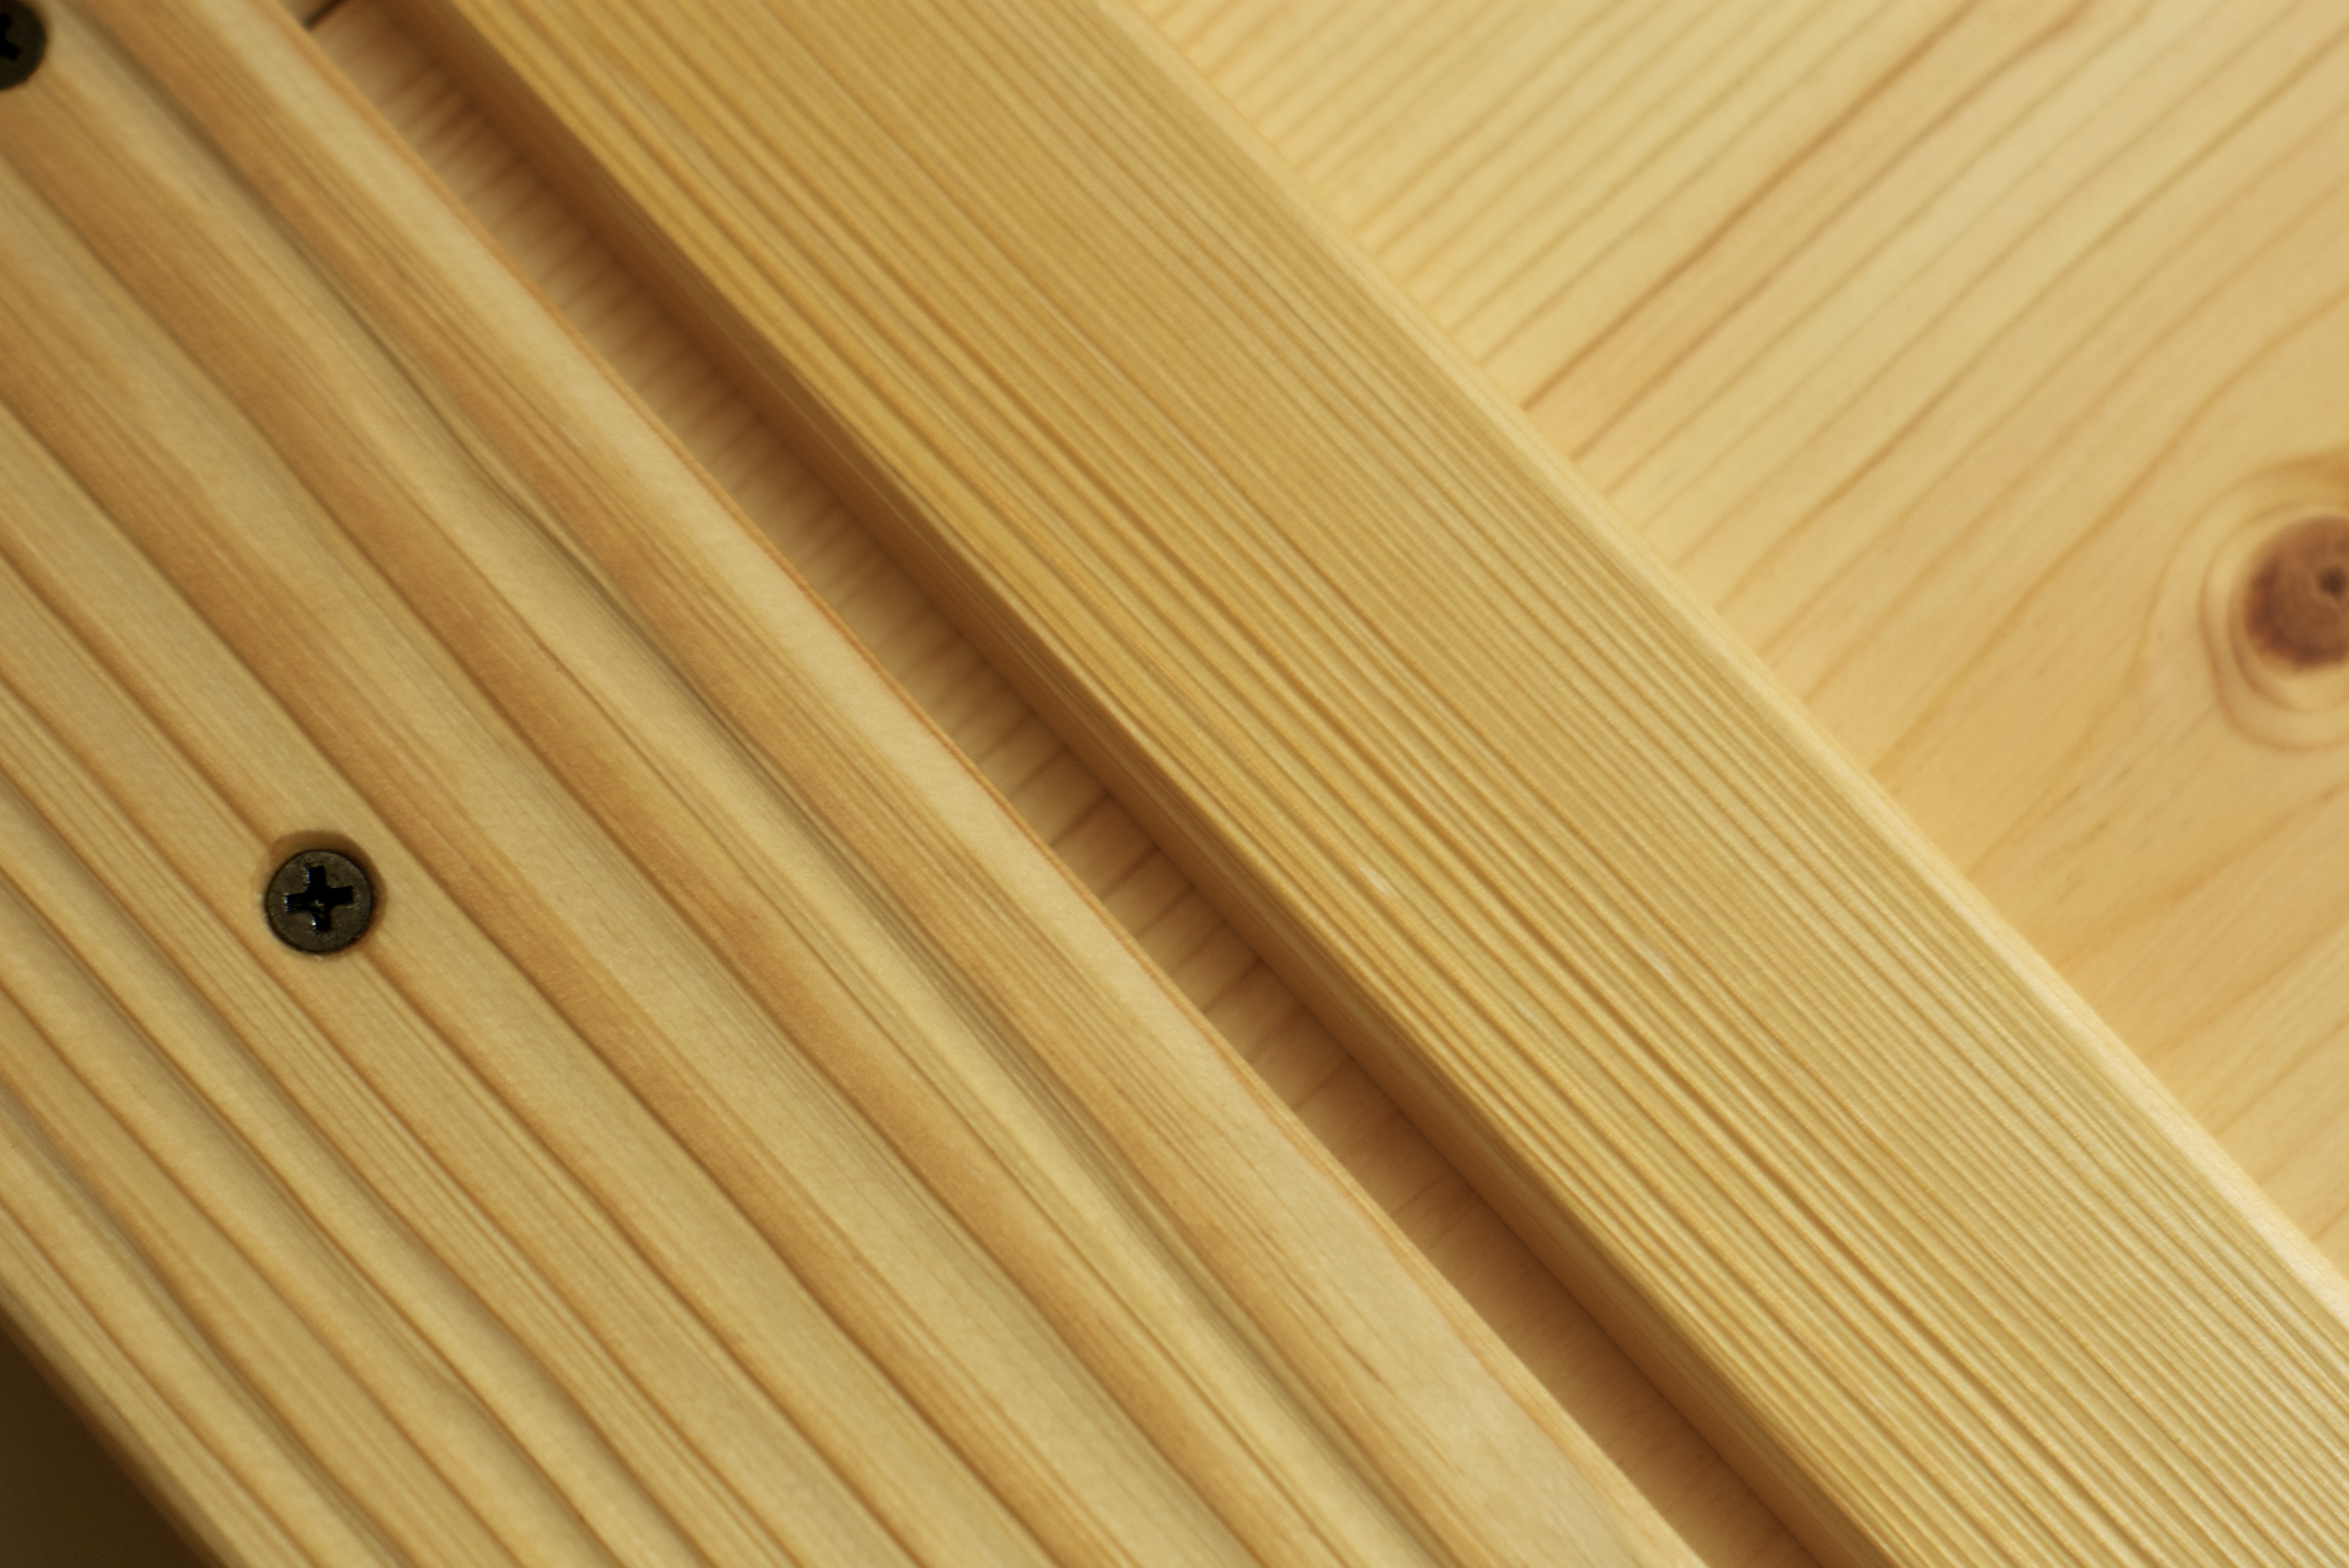
The burnished surface was quite glossy before the addition of the oil.

After the oil though, I was left with more of a satin finish. My guess is that the compressed fibers, from the burnishing process, swelled slightly as they absorbed the oil. Not expected, but not unwelcome either. In all I finished the toolbox with one coat of BLO and one coat of Tried & True Original. The Tried & True product contains linseed oil and beeswax and buffs to a nice sheen.
I really like the surface that is created by the uzukuri. It’s a simple process to complete and it’s quite easy to create as little or as much texture as desired. One thing to keep in mind is that the process is easier to perform on the individual parts than on the whole assembly. So it’s best to treat each piece as you go. A little blending after assembly brings everything together.
I wish there were someway for all of you reading this to touch the surface. I cannot adequately describe it. But it begs to be touched. Smooth and rough, but in a pleasing way. Another thing is, IMHO, that it elevated a marginal piece of timber to something interesting and beautiful. I will be employing this technique quite a bit on future projects. One downside, however, is that it’s unbelievably difficult to photograph. I did the best that I could, but these photos fall well short of the real thing.


Part 2 Greg Merritt

Where would one go to find more info about this Japanese style woodworking/finishing etc.
Pingback: Practice with the Uzukuri-Part 2 | GREG MERRITT – BY MY OWN HANDS
Greg, You are straying dangerously from the canon of *Anarchy* and doing something original and creative. What will become of woodworking in Amerika if others follow your lead?
Your authority in this subject appears to be little more than the ability to draw with a pencil, sharpen an embarrassingly small collection of tools (and use them well), and the confidence to proceed without instruction or assistance. There is no Roubo™ workbench in evidence, you are not a minor shareholder in Lie-Nielsen, and you pay scant homage to the eternal shrine of Williamsburg. This, sir, approaches heresy. Please, continue.
LOL…your gonna’ have me on the woodworking consortium’s hit list with talk like that. Although….Hillbillydaiku, the woodworking heretic…does have a nice ring to it.
I’m just a guy tinkering around in my shed. Granted, I color waaay outside the lines sometimes. No agenda, no tools to sell. Just sharing what I’m doing. Hopefully I can manage to build some decent items and maybe inspire some other folks along the way.
I like the look, might have to try this for my saw till.
Thanks Alex. I’m thinking of doing another post on this using only my make-shift tools. That way folks could give it a try with some simple inexpensive tools.
I have searched for a place to purchase the burnishing brushes. Where in the heck did you find your “proper” ones?
Japan Woodworker
http://www.japanwoodworker.com/category/SA105-02/paint-brushes-and-applicators.aspx
Pingback: HB Hobby Tansu #1-Part 14 | GREG MERRITT – BY MY OWN HANDS
Pingback: Hillbilly Tsuitate Screen-Part 1 | GREG MERRITT – BY MY OWN HANDS
Pingback: Hillbilly Tsuitate Screen-Part 2 | GREG MERRITT – BY MY OWN HANDS
Pingback: Hillbilly Tsuitate Screen-Part 4 | GREG MERRITT – BY MY OWN HANDS
Pingback: Hillbilly Tsuitate Screen-Part 5 | GREG MERRITT – BY MY OWN HANDS
Pingback: Japanese Art on a Hillbilly Budget-Part 2-Complete | BY MY OWN HANDS
Pingback: Table Trestles-Part 7 | HILLBILLY DAIKU
Pingback: Table Trestles-Part 9-Complete | HILLBILLY DAIKU
Pingback: Welsh Staked Stool-Part 3-Complete | HILLBILLY DAIKU
Pingback: Charpoy-Part 1 | HILLBILLY DAIKU
Wow, this looks amazing. I would love to try it for myself but i don’t know if I want to spend the money to get authentic brushes. I’ve been trying to figure out alternative materials (the broom corn is easy but the finer brushes are trickier). Do you think that nordic skiing waxing brushes would work? http://www.swixsport.com/Products/Wax-Tuning/Tuning-Equipment/Brushes
Thanks. I tried several alternatives with no luck. Many will get you the texture, but I have yet to find anything that will produce the burnished surface. At the very least you could make a rough one from broom corn and buy the medium finish uzukuri. That is the one that I use the most and it will last many years.