
 As per my usual, every day after work this week I tried to get in half an hour to an hour of work on the tables. After a nine or ten-hour day at work you would think I would just come home and relax. Well that is exactly what I’m doing. A little wood working is the best way to quiet my mind. Anyway I made some progress.
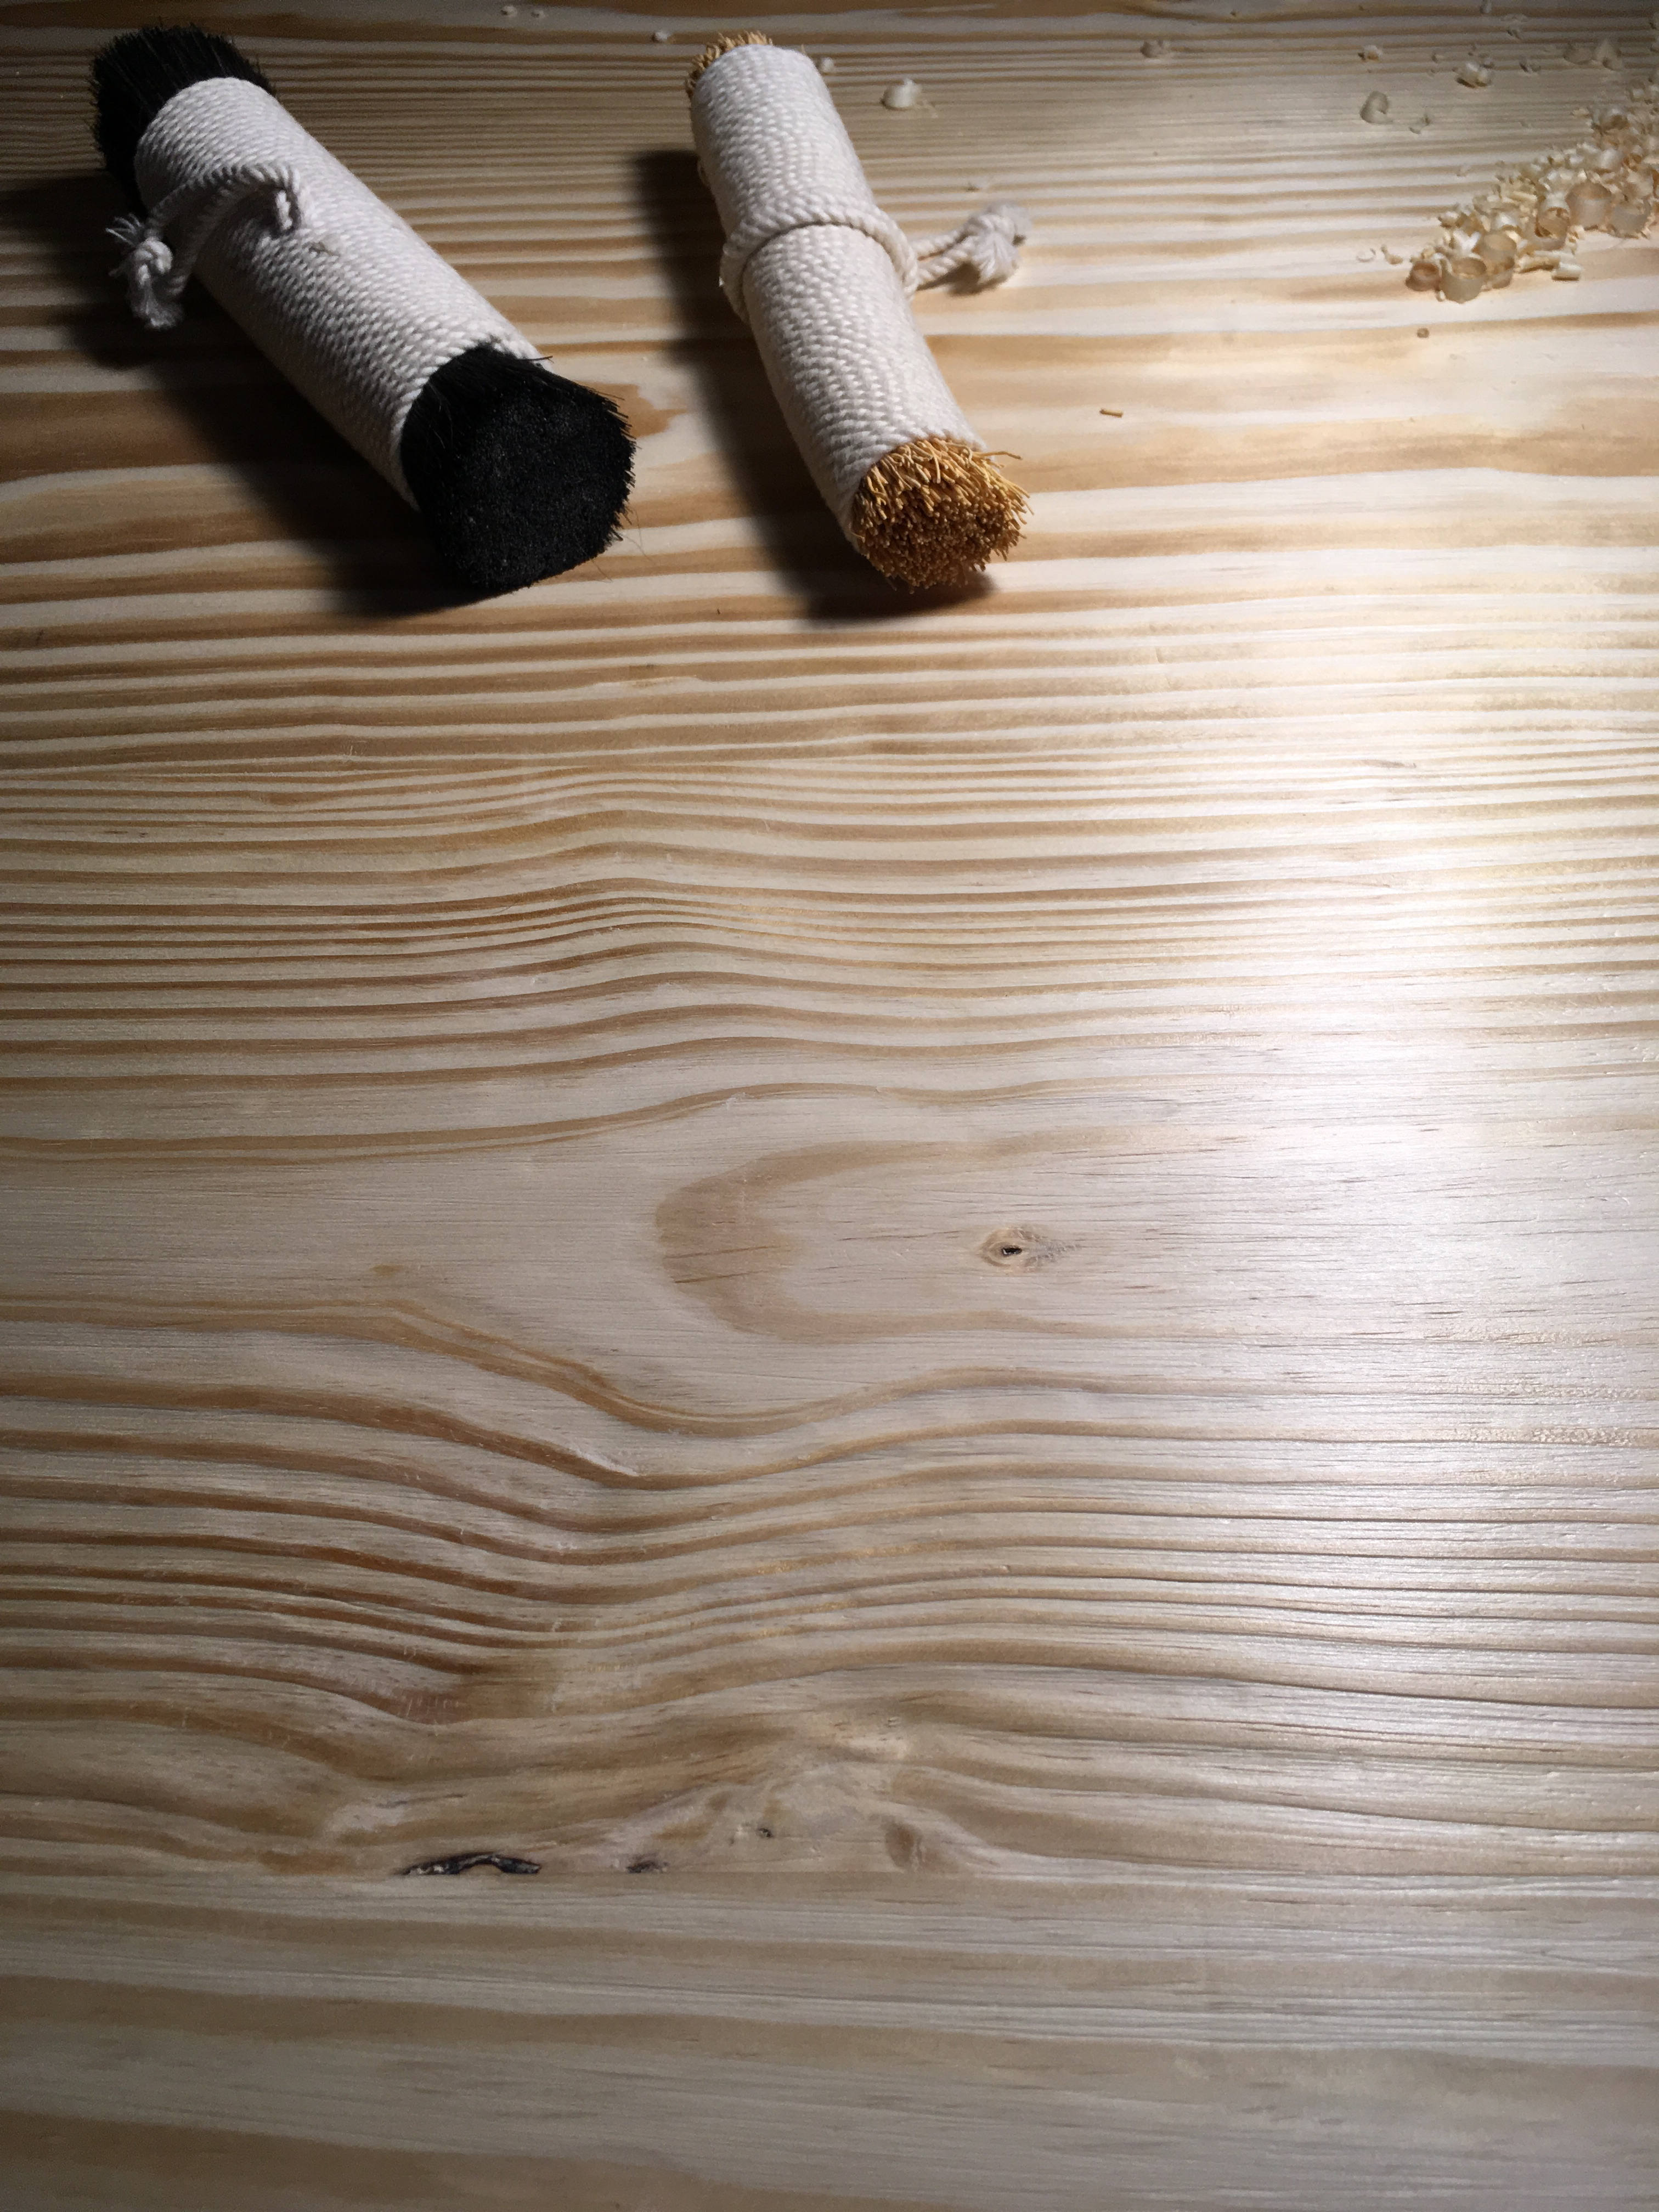
Most of my attention this week was focused on getting the first tabletop ready for finish. I could have just went with the planed surface. Except for a few troublesome areas, the top was smooth, but a little boring to my eye. Admittedly, I had planned to treat this top with the uzukuri technique. Essentially an abraded and burnished finish treatment created with “brushes” of varying coarseness. The abrading action lowers the less dense (early) wood from the harder (late) wood. Subsequent finer “brushes” further refine, as well as burnish, the surface. I also used a couple of gouges to further deepen the effect here and there. The resulting surface is much like polished driftwood. The technique isn’t difficult, but takes time. Plus you are never really done. At some point you just have to stop.

Here you see one of the trouble areas with some wild grain.

Much better…IMHO.
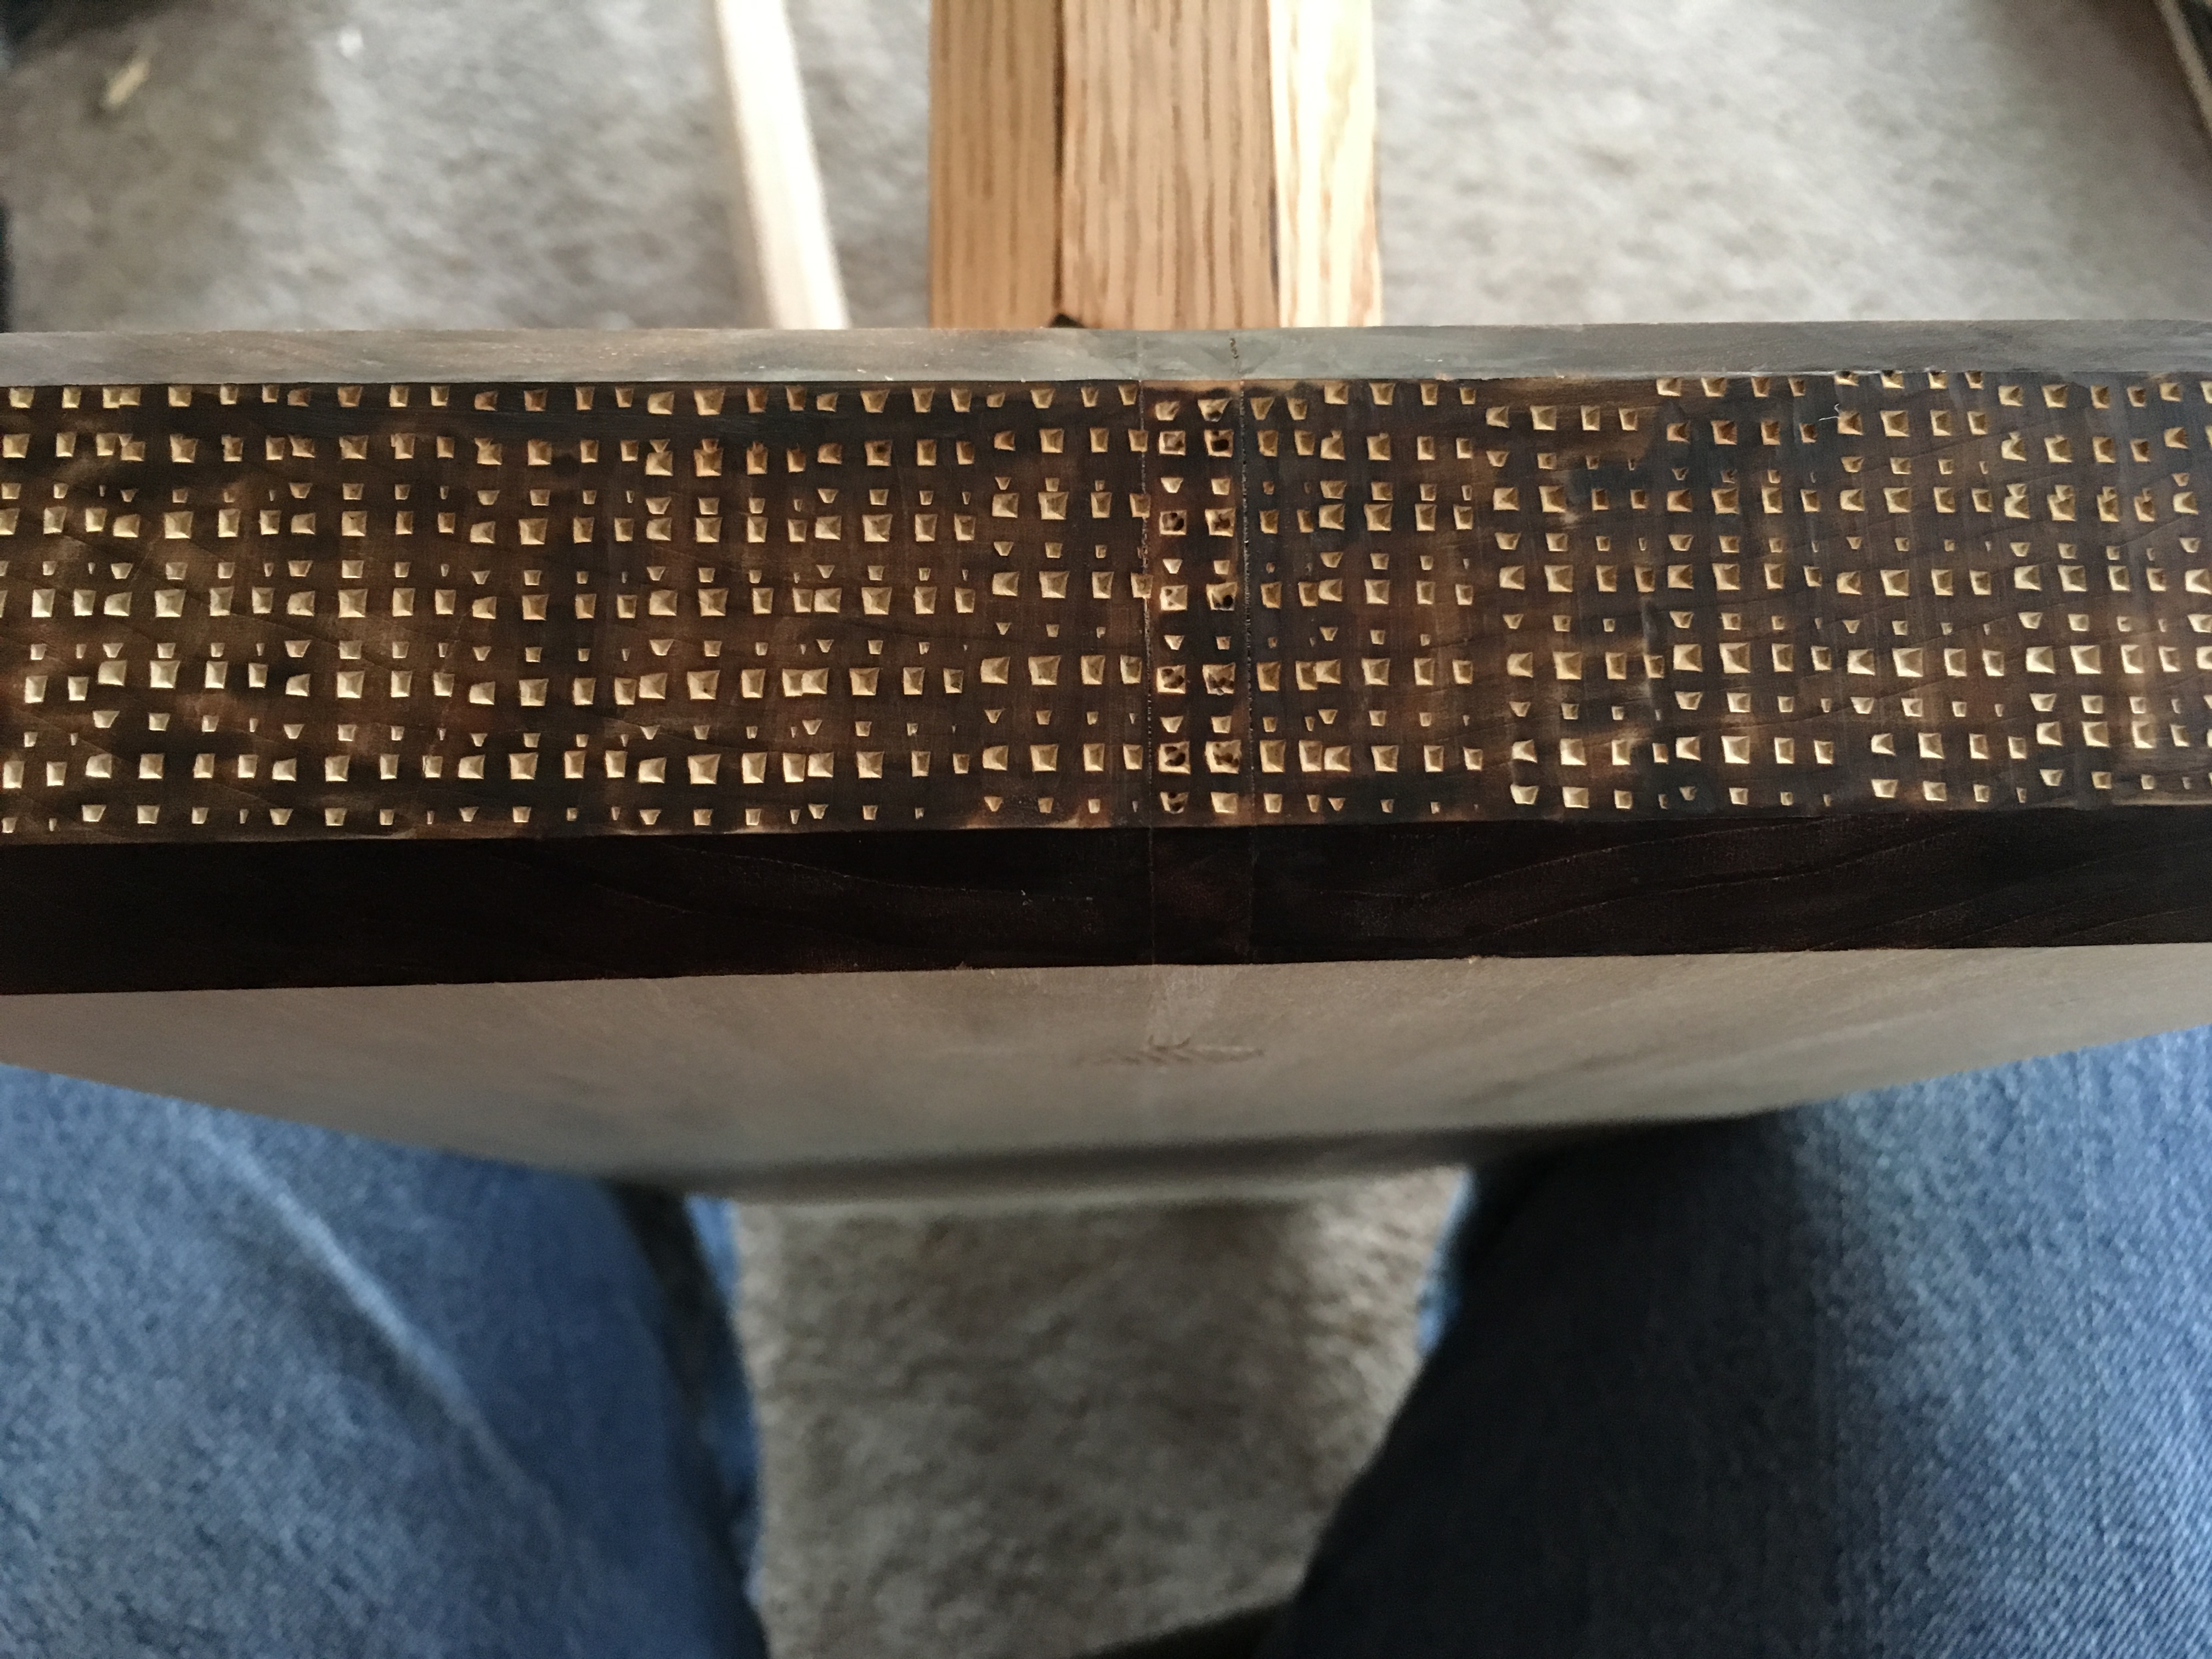
I did a little work on the trestles for this top as well. If you remember, I had a couple splits that needed repaired. The repairs worked out fine, but their visibility was wearing on me. So I broke out my stamping tool and added some texture to the ends of the trestles and followed up with the wood burning tool.

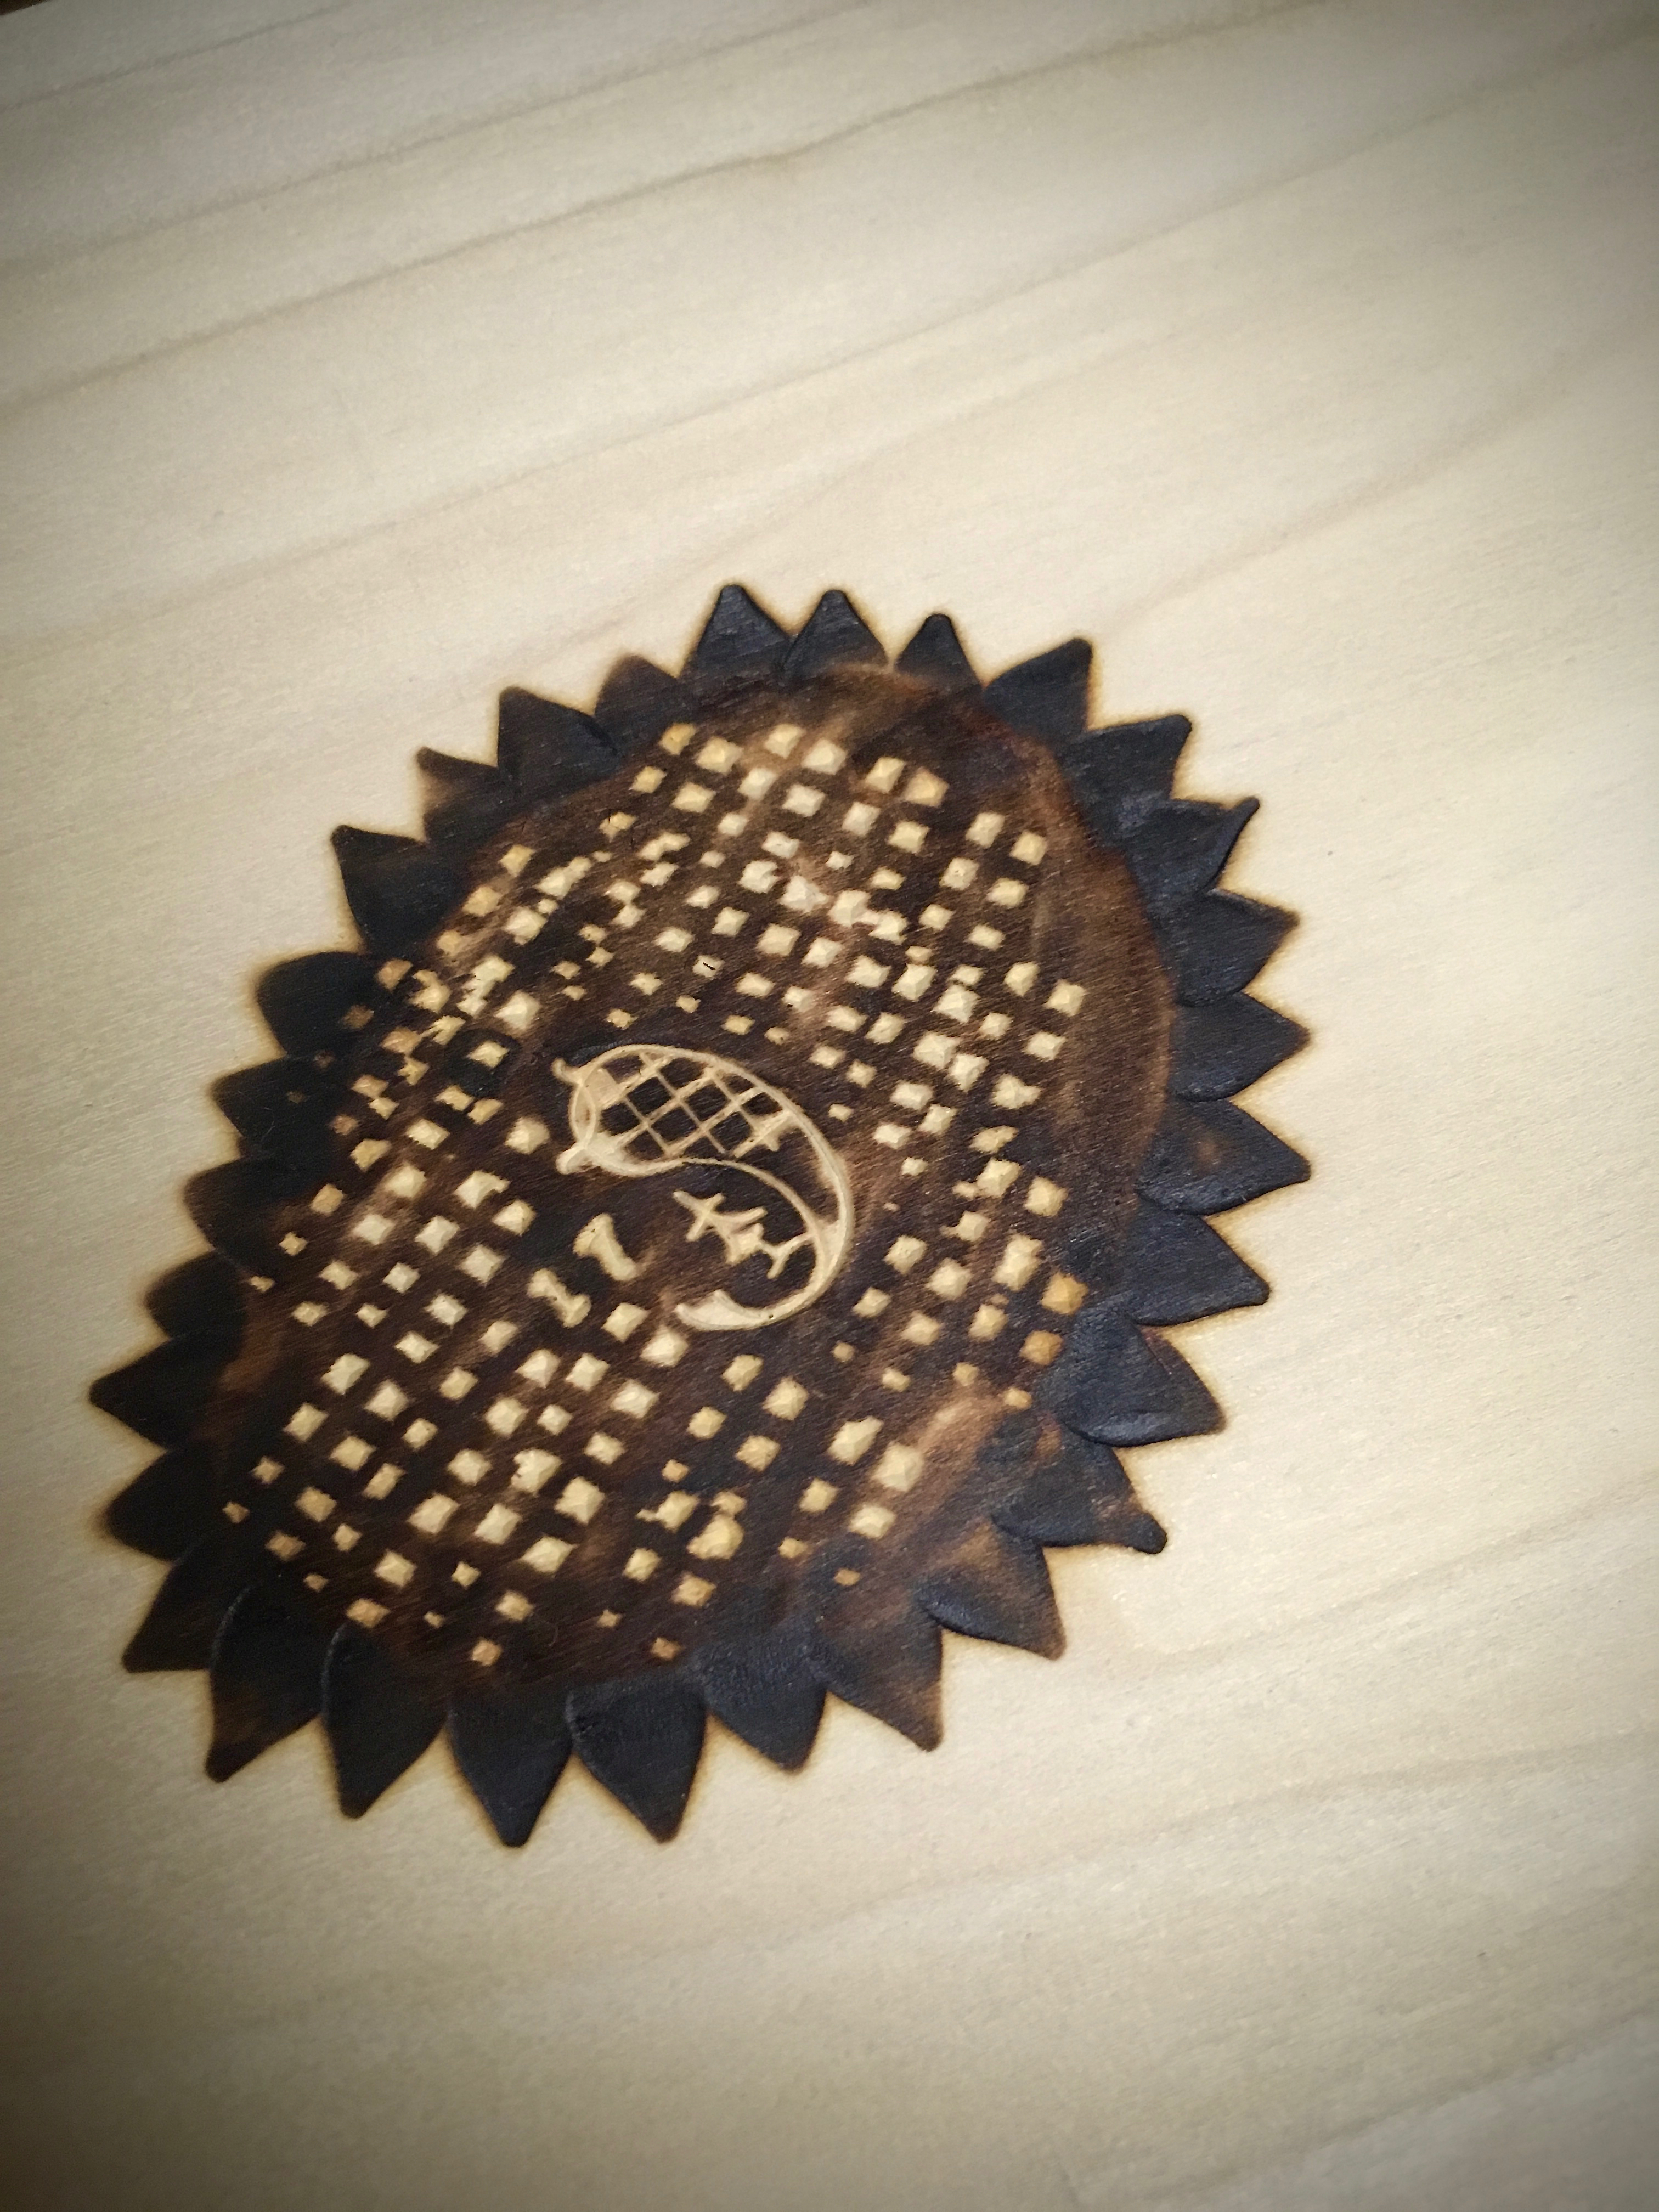
Since I had the wood burner fired up, I had a little fun with the tops of the trestles. Very few people will ever see this, but I think it will be a nice surprise for those who do.

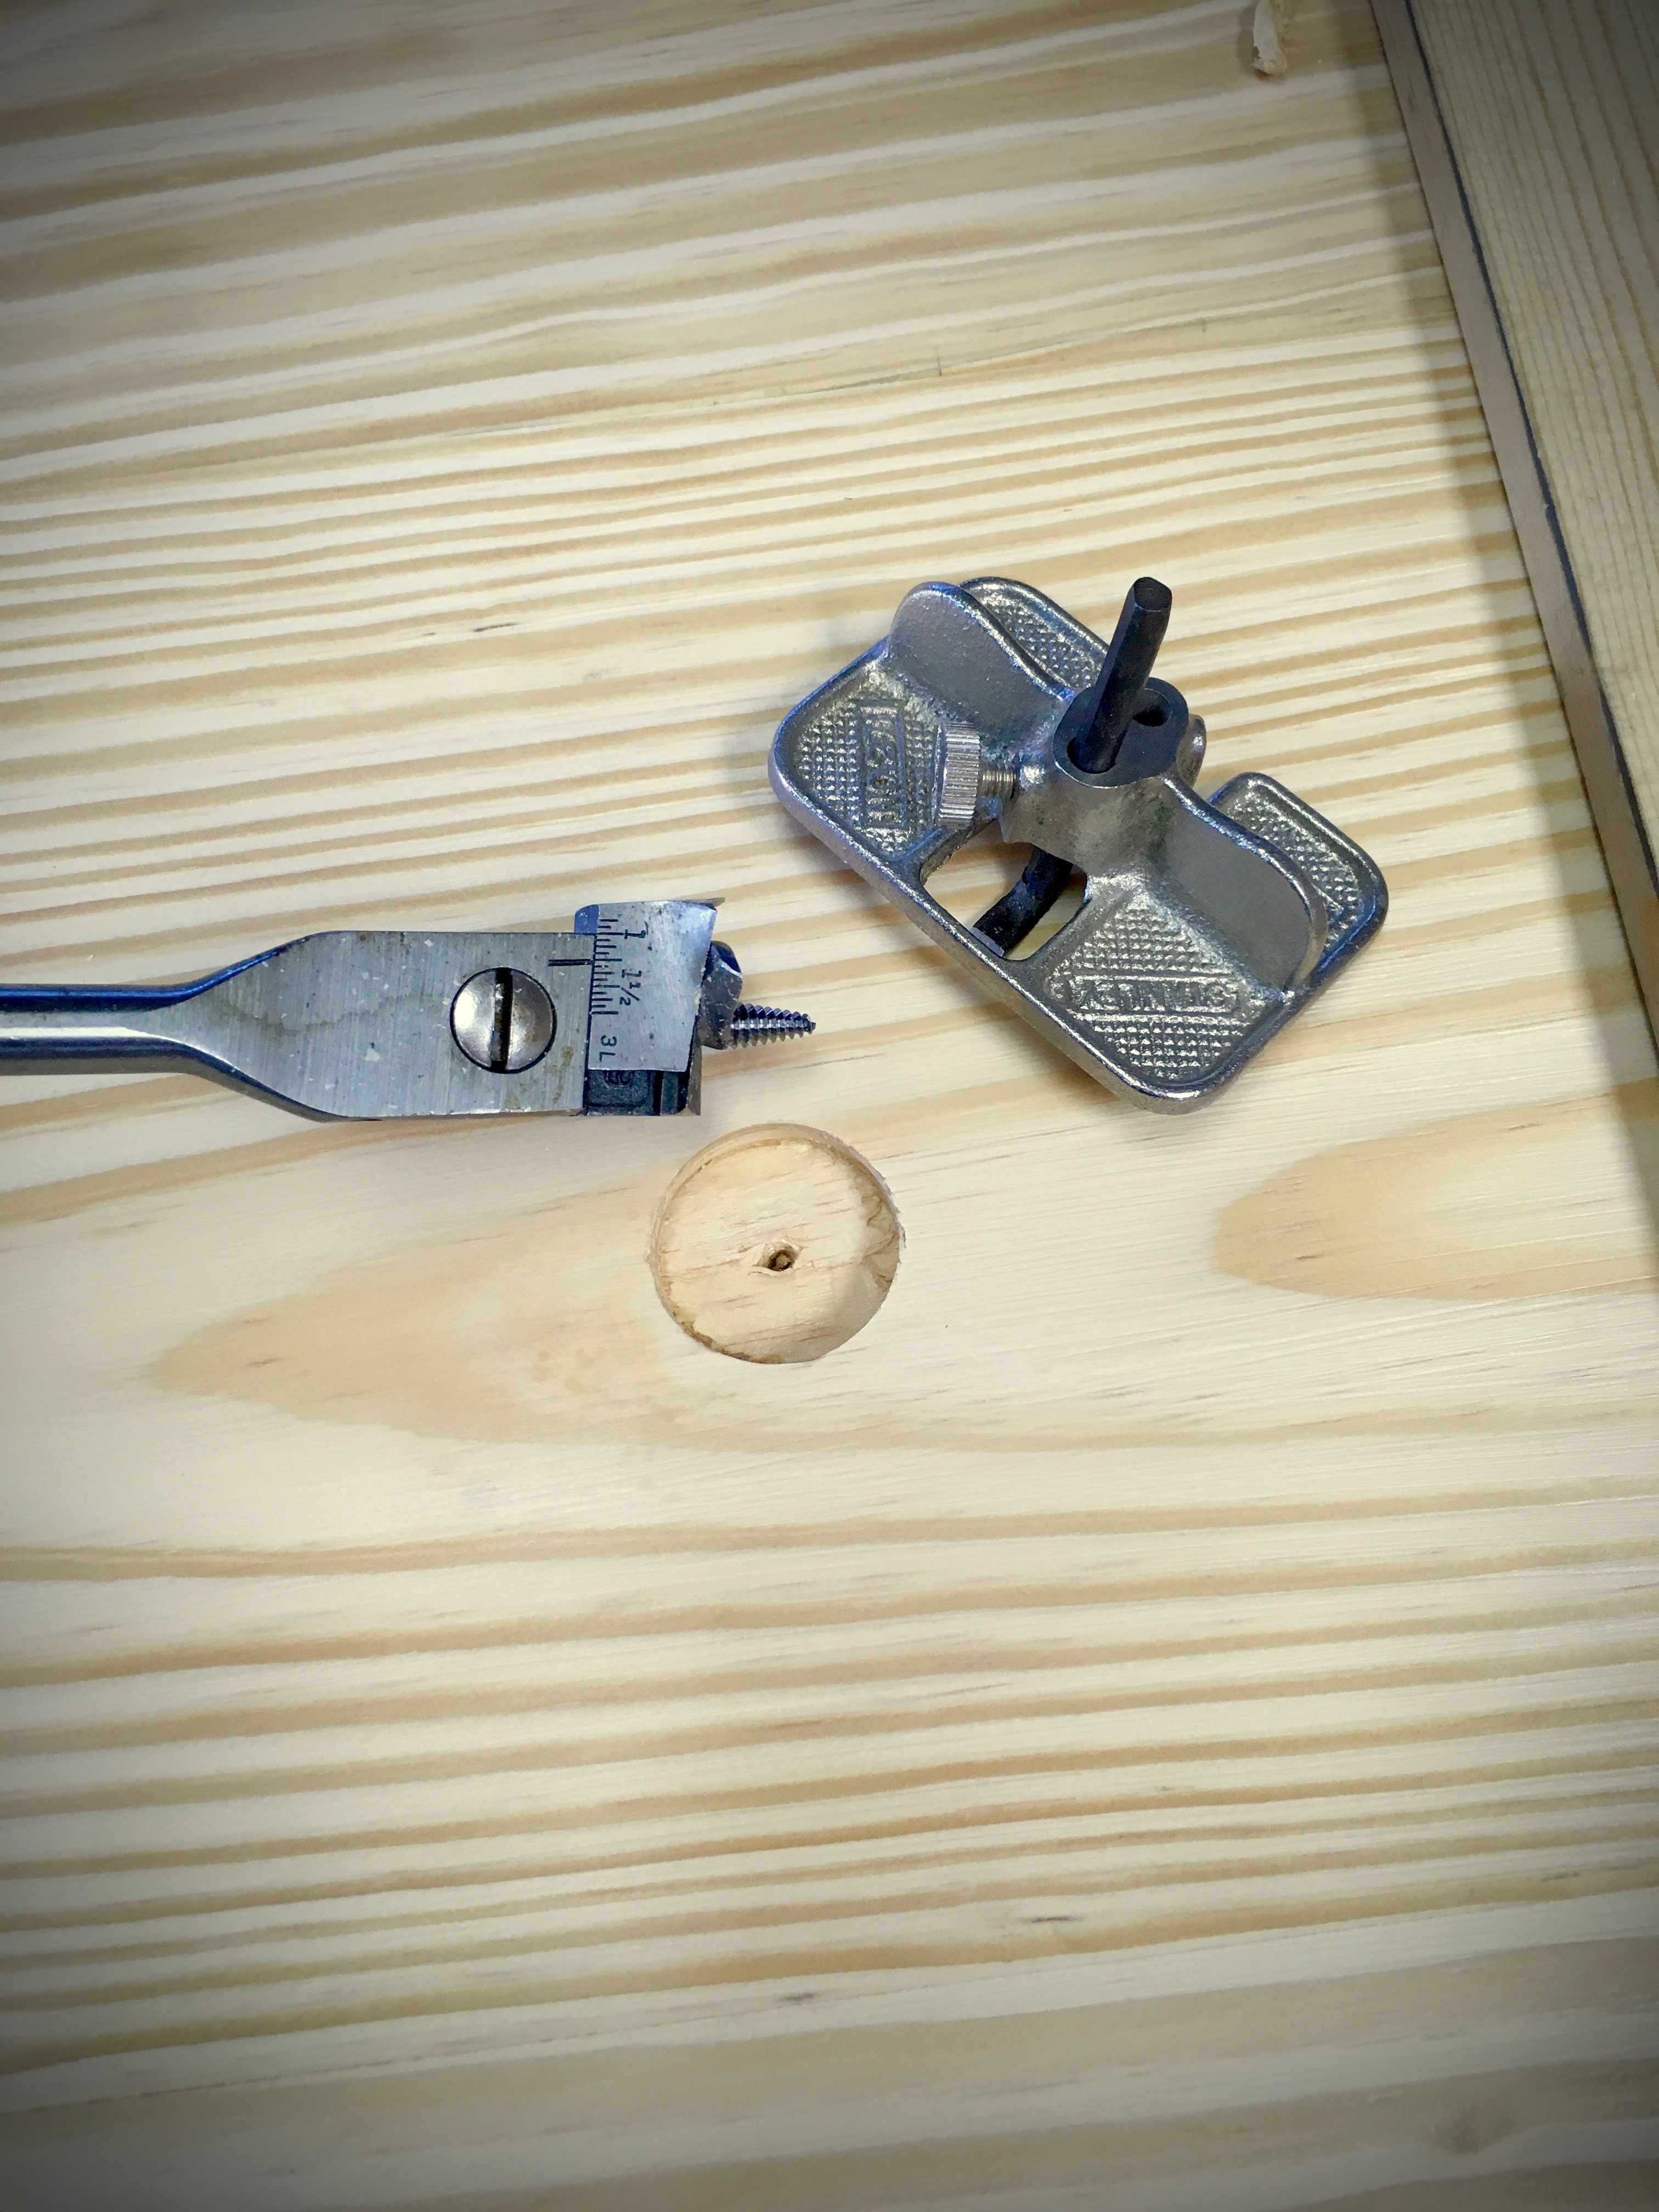
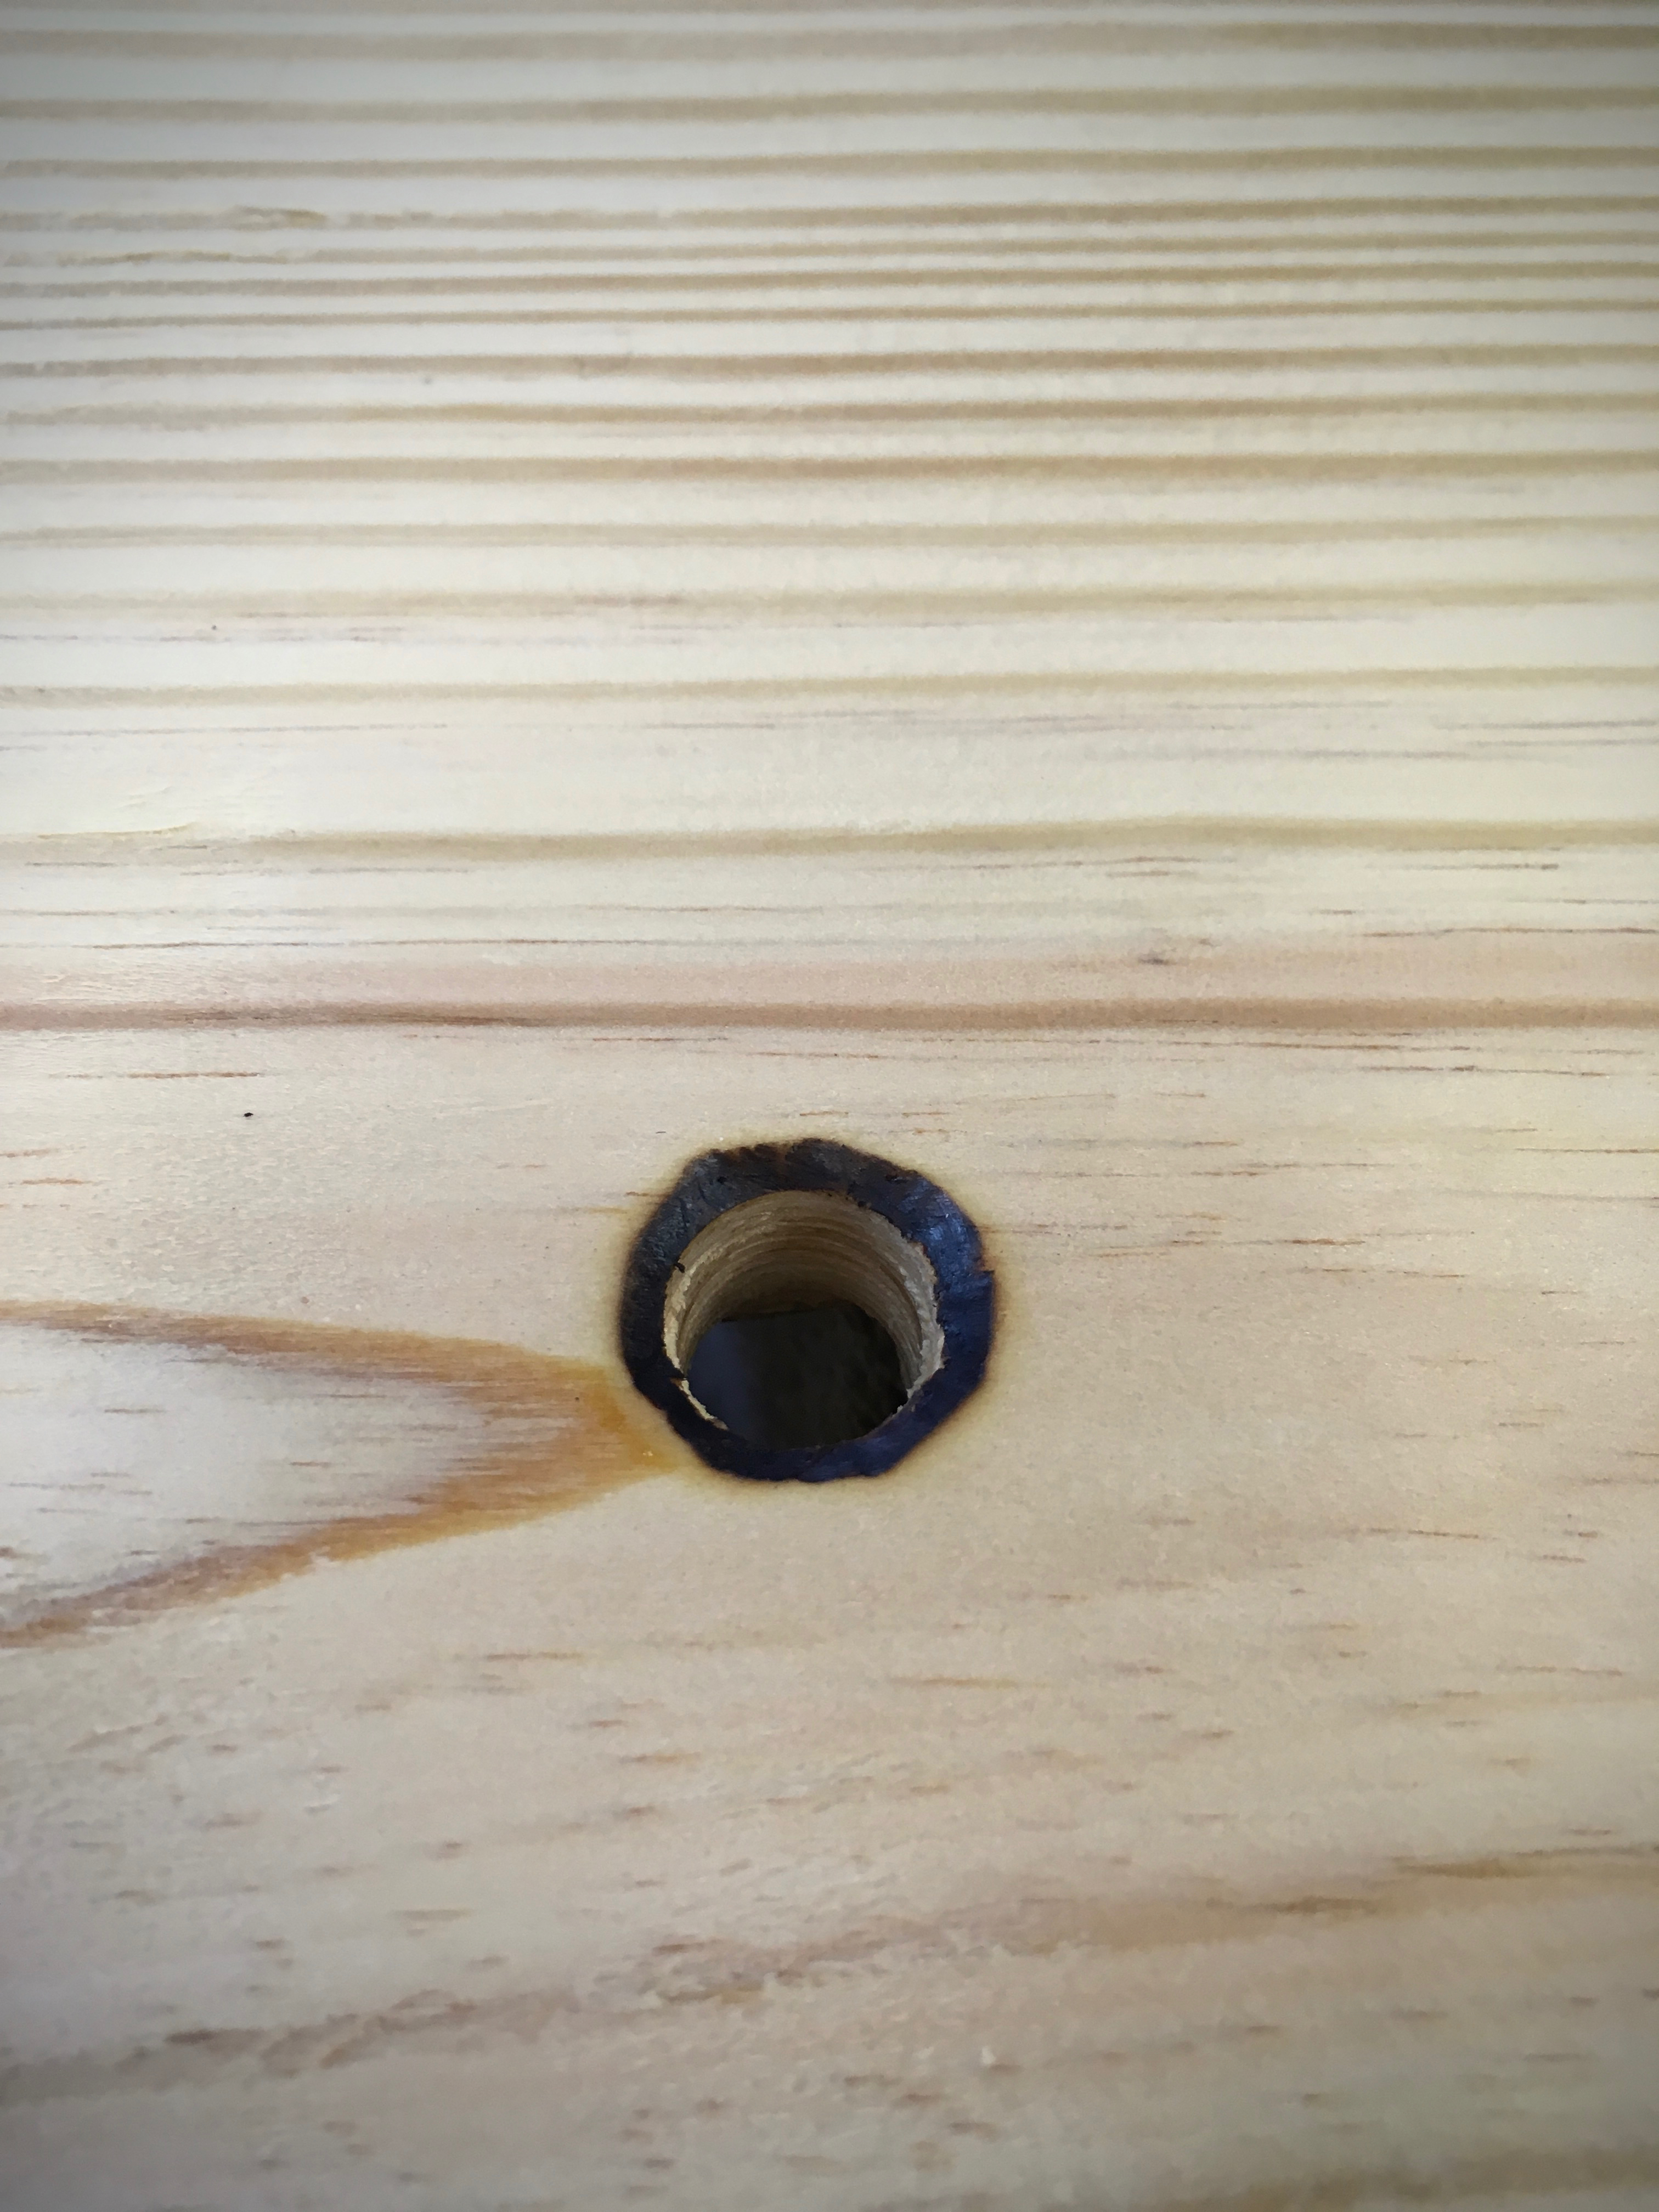
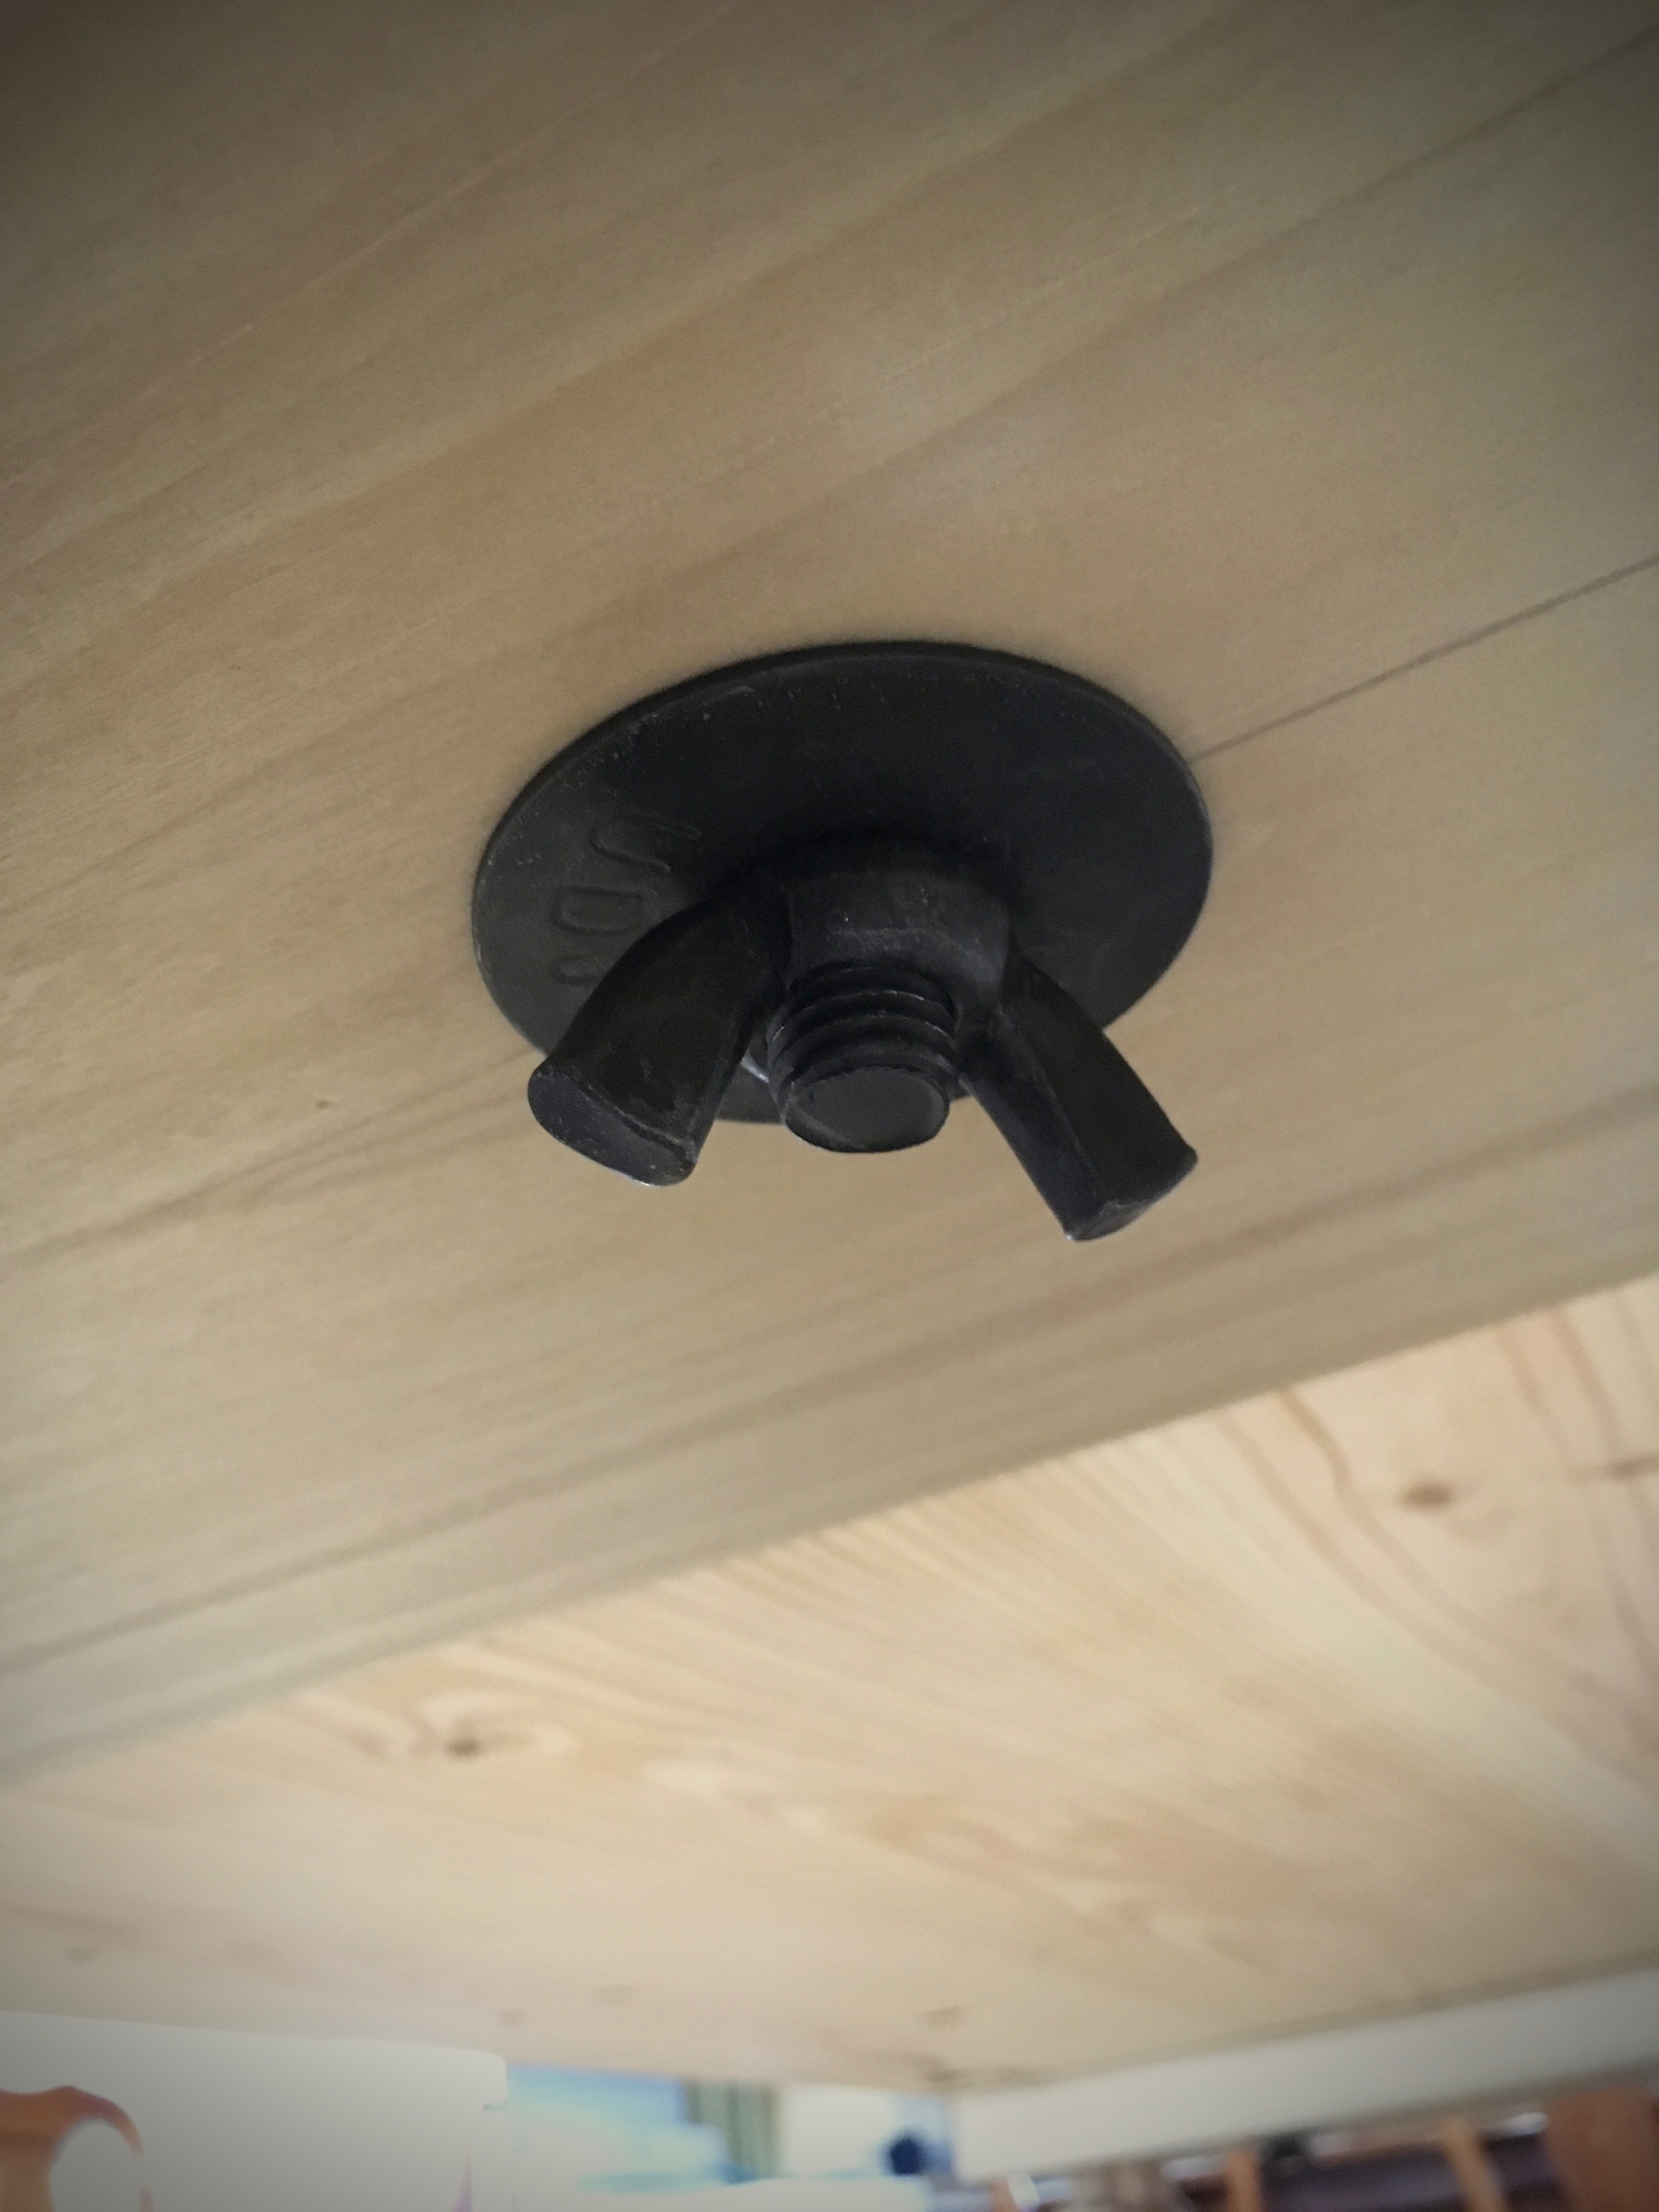
I mounted the top with the carriage bolts and wing nuts that I “aged”. Two bolts per trestle. These are 1/2″ bolts and I needed to allow for any expansion and contraction of the top. To do this I bored 3/4″ holes in the trestles. Hence the need for a fender washer. The tabletop received a countersink for the bolt head and a 1/2″ thru hole. To create the countersink I employed my expansion bit and cleaned up the bottom of the hole with a small router plane.
I used a gouge and, you guessed it, the wood burner to ease the entrance and exit edges of the hole.

So the first table is complete and ready for finish.
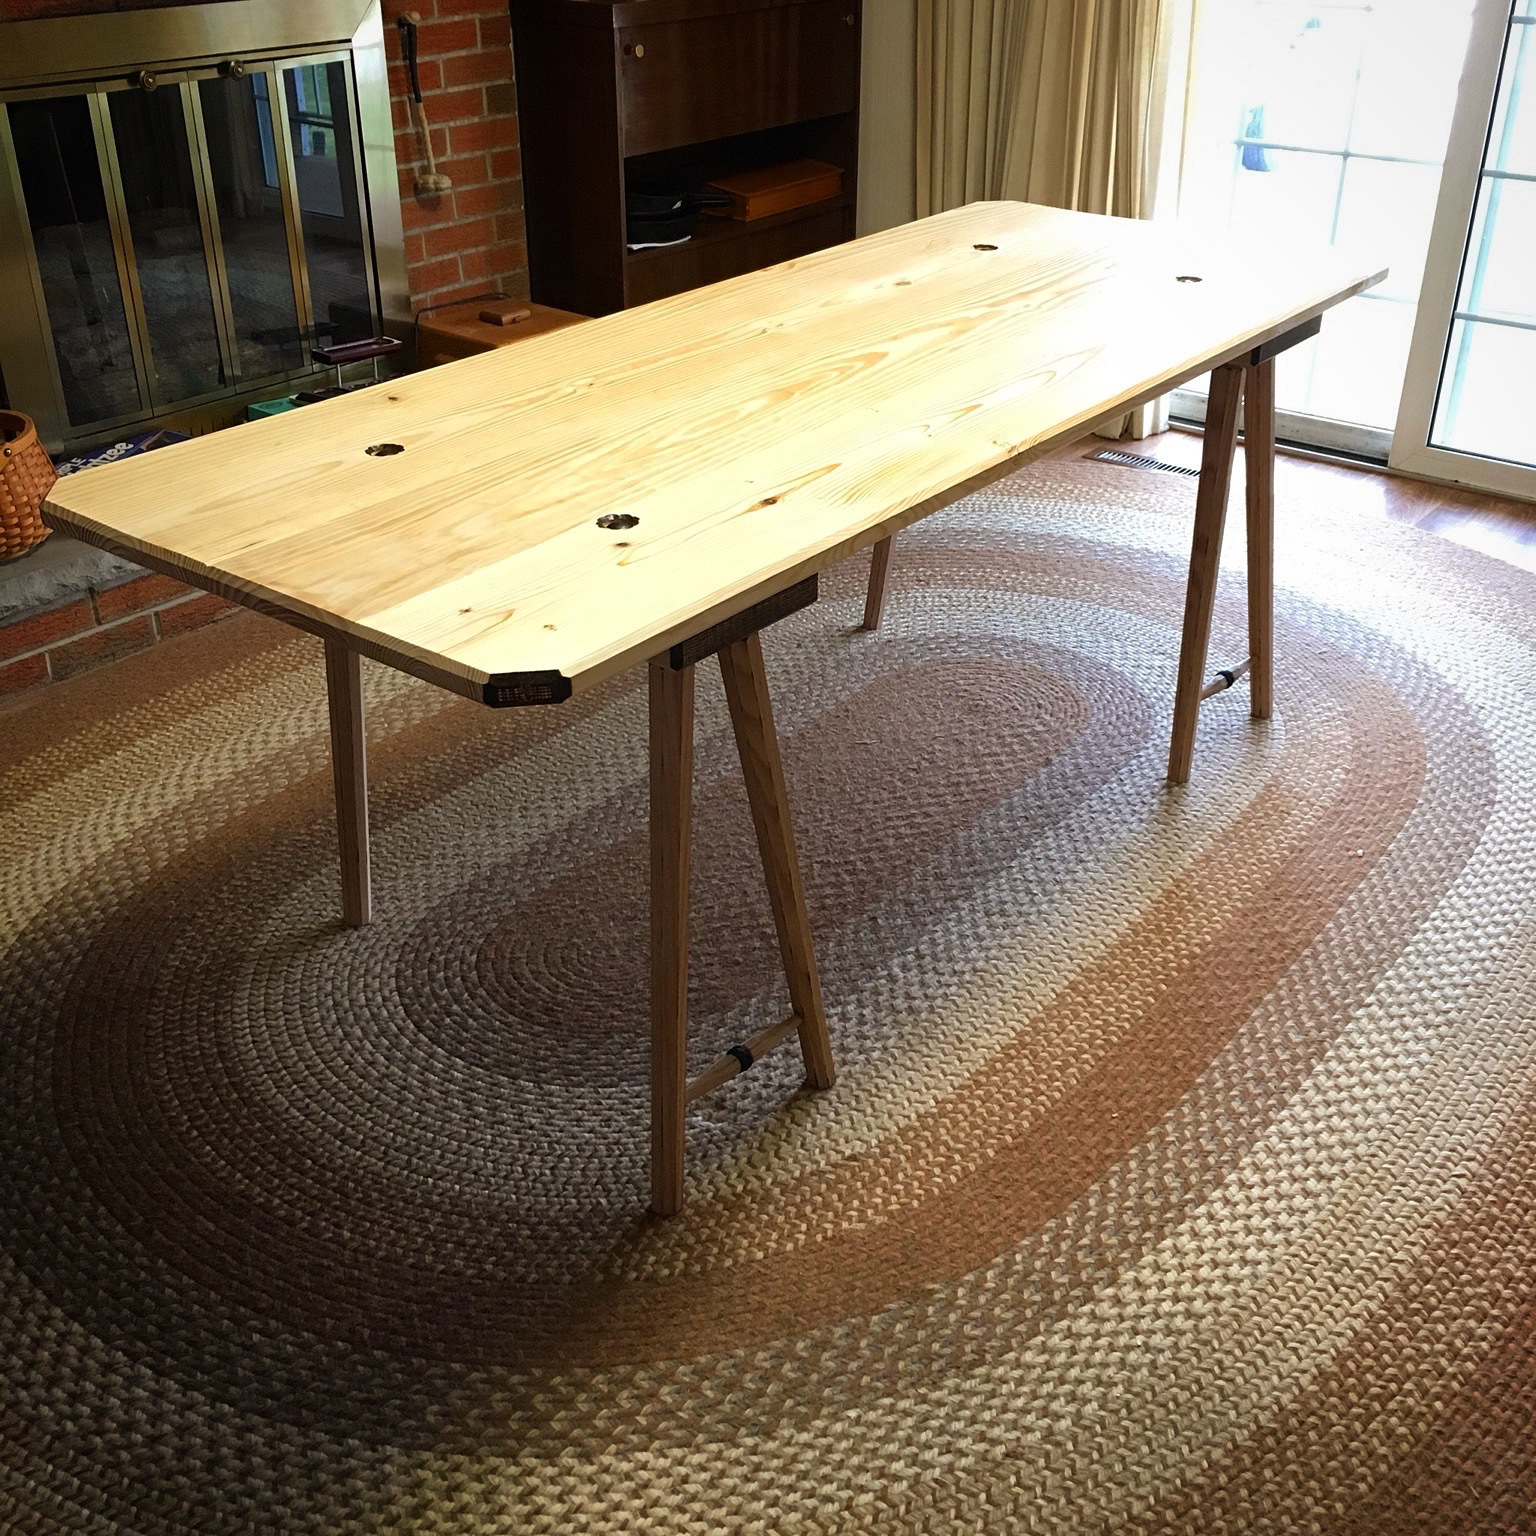
Now onto tabletop number two.

Pingback: Table Trestles-Part 6 | HILLBILLY DAIKU
The table turned out pretty good Greg but I really like the first picture. I know it sounds ironic but that’s the photographer in me talking now. If you tone down the saturation of the polossiuer and sharpen it up a bit it would make a great poster.
Hey thanks Salko. Sometimes I get lucky with taking photos. That one turned out pretty well considering I took it with my phone. I think it would be a nice one to frame and hang on the wall.
I think so too, it’s amazing just how good a lot of photos can be taken with a phone.
That is pretty cool work.
Thanks Jeff!
That looks unique and appealing. Very artistic.
Congratulations!
Thank you Maurice. I’m just trying to have a little fun with it.
I can’t believe how nicely that tear-out cleaned up with the brushes (and maybe a little gouge work). Nicely done.
It took a little of both. This construction grade SYP has a good bit of reversing and rising grain. I’m getting a lot of practice on reading grain though. 😉
It looks great, and all the details are quite unique!
Have you experienced working ‘wild grain’ with a Stanley no 80 or similar cabinet scraper?
I saw Paul Sellers thoughts about it and I’m thinking in getting one for those wild areas…
HI Coisas,
I just finished a job in Australian Blackbutt which is reasonably dense and hard but in some sections has difficult reverse grain which can be a bit of a sod- to the point that some of it comes through thicknessed by sanding from the timber suppliers to help overcome this. If it wasn’t for the scrapers I would have been relying on more sanding, which wouldn’t have been as fast or as accurate. I haven’t used them in softer timbers a great deal but understand that as with all tools there is definitely a limit for suitability. As a bonus they are nice and quiet, unlike my powered sanders and the need for a dust mask was basically eliminated, which suck in 38C and high humidity. Like your finishing details as usual Greg!
Gav
Thanks Gavin.
Thanks Antonio. The #80 works great on hardwood. Not so great on softwood. Same as a card scraper. I have a small Japanese block plane that, when finely set, could have easily fixed this crazy grain, but I really like the uzukuri technique.
Pingback: Table Trestles-Part 8 | HILLBILLY DAIKU