
 It has been a long hard week in the shop. I have the aches and pains to remind me of it.
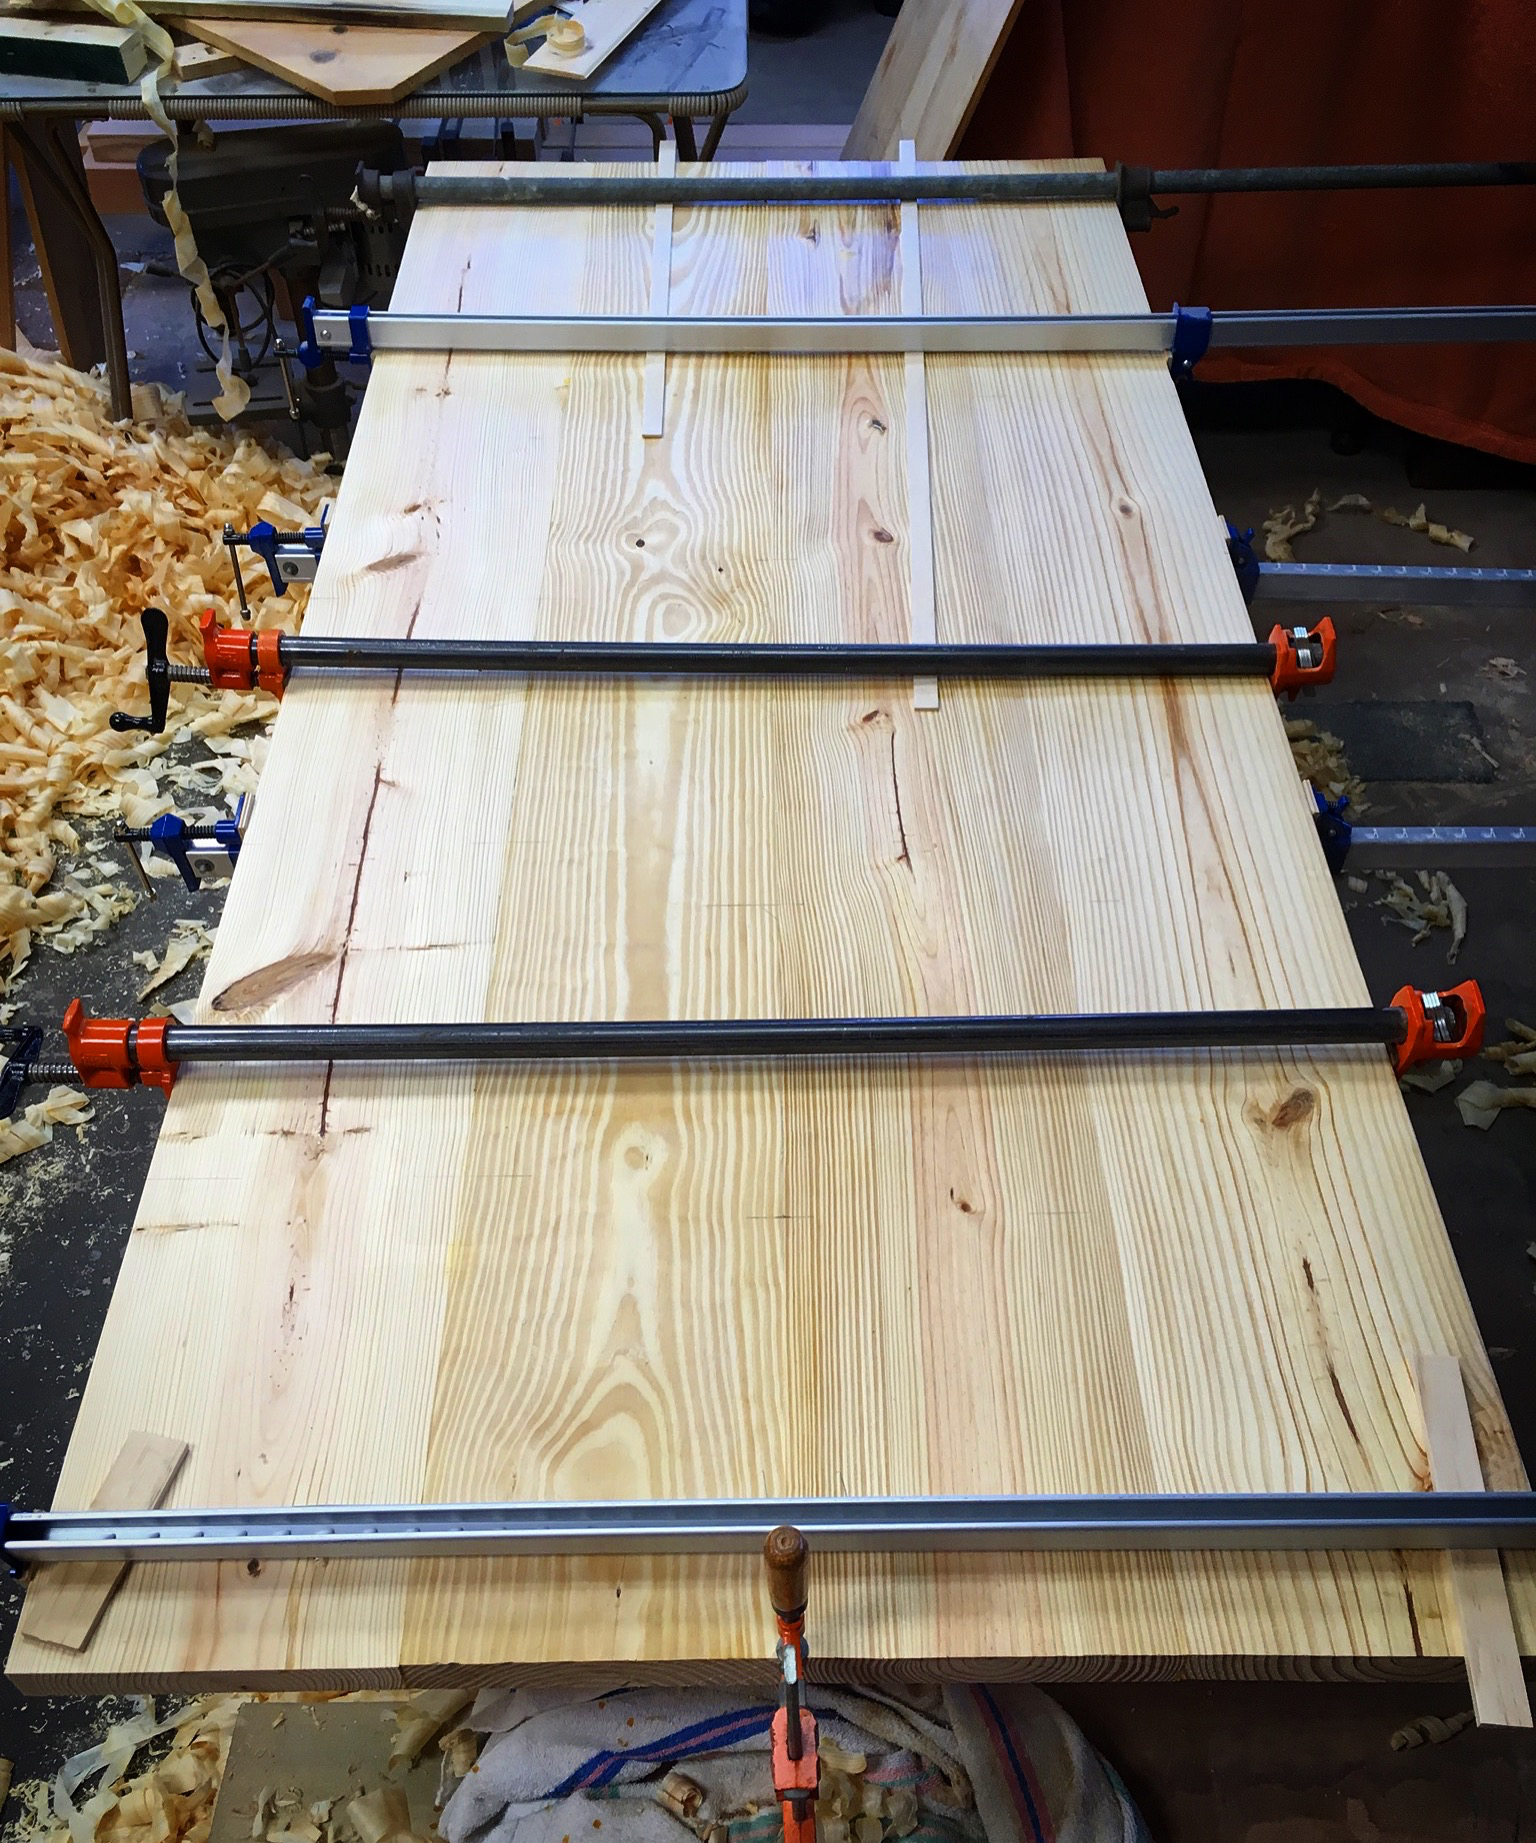
Almost every evening after work I worked on getting the table tops together. I continued my method of flattening one face and squaring an edge on each board. Then glueing up two boards at a time. I actually got pretty good at it. I could prep two boards, add the alignment biscuits and have them in the clamps in about an hour and a half. That is how my week went. By Friday I was ready to assemble the first top.
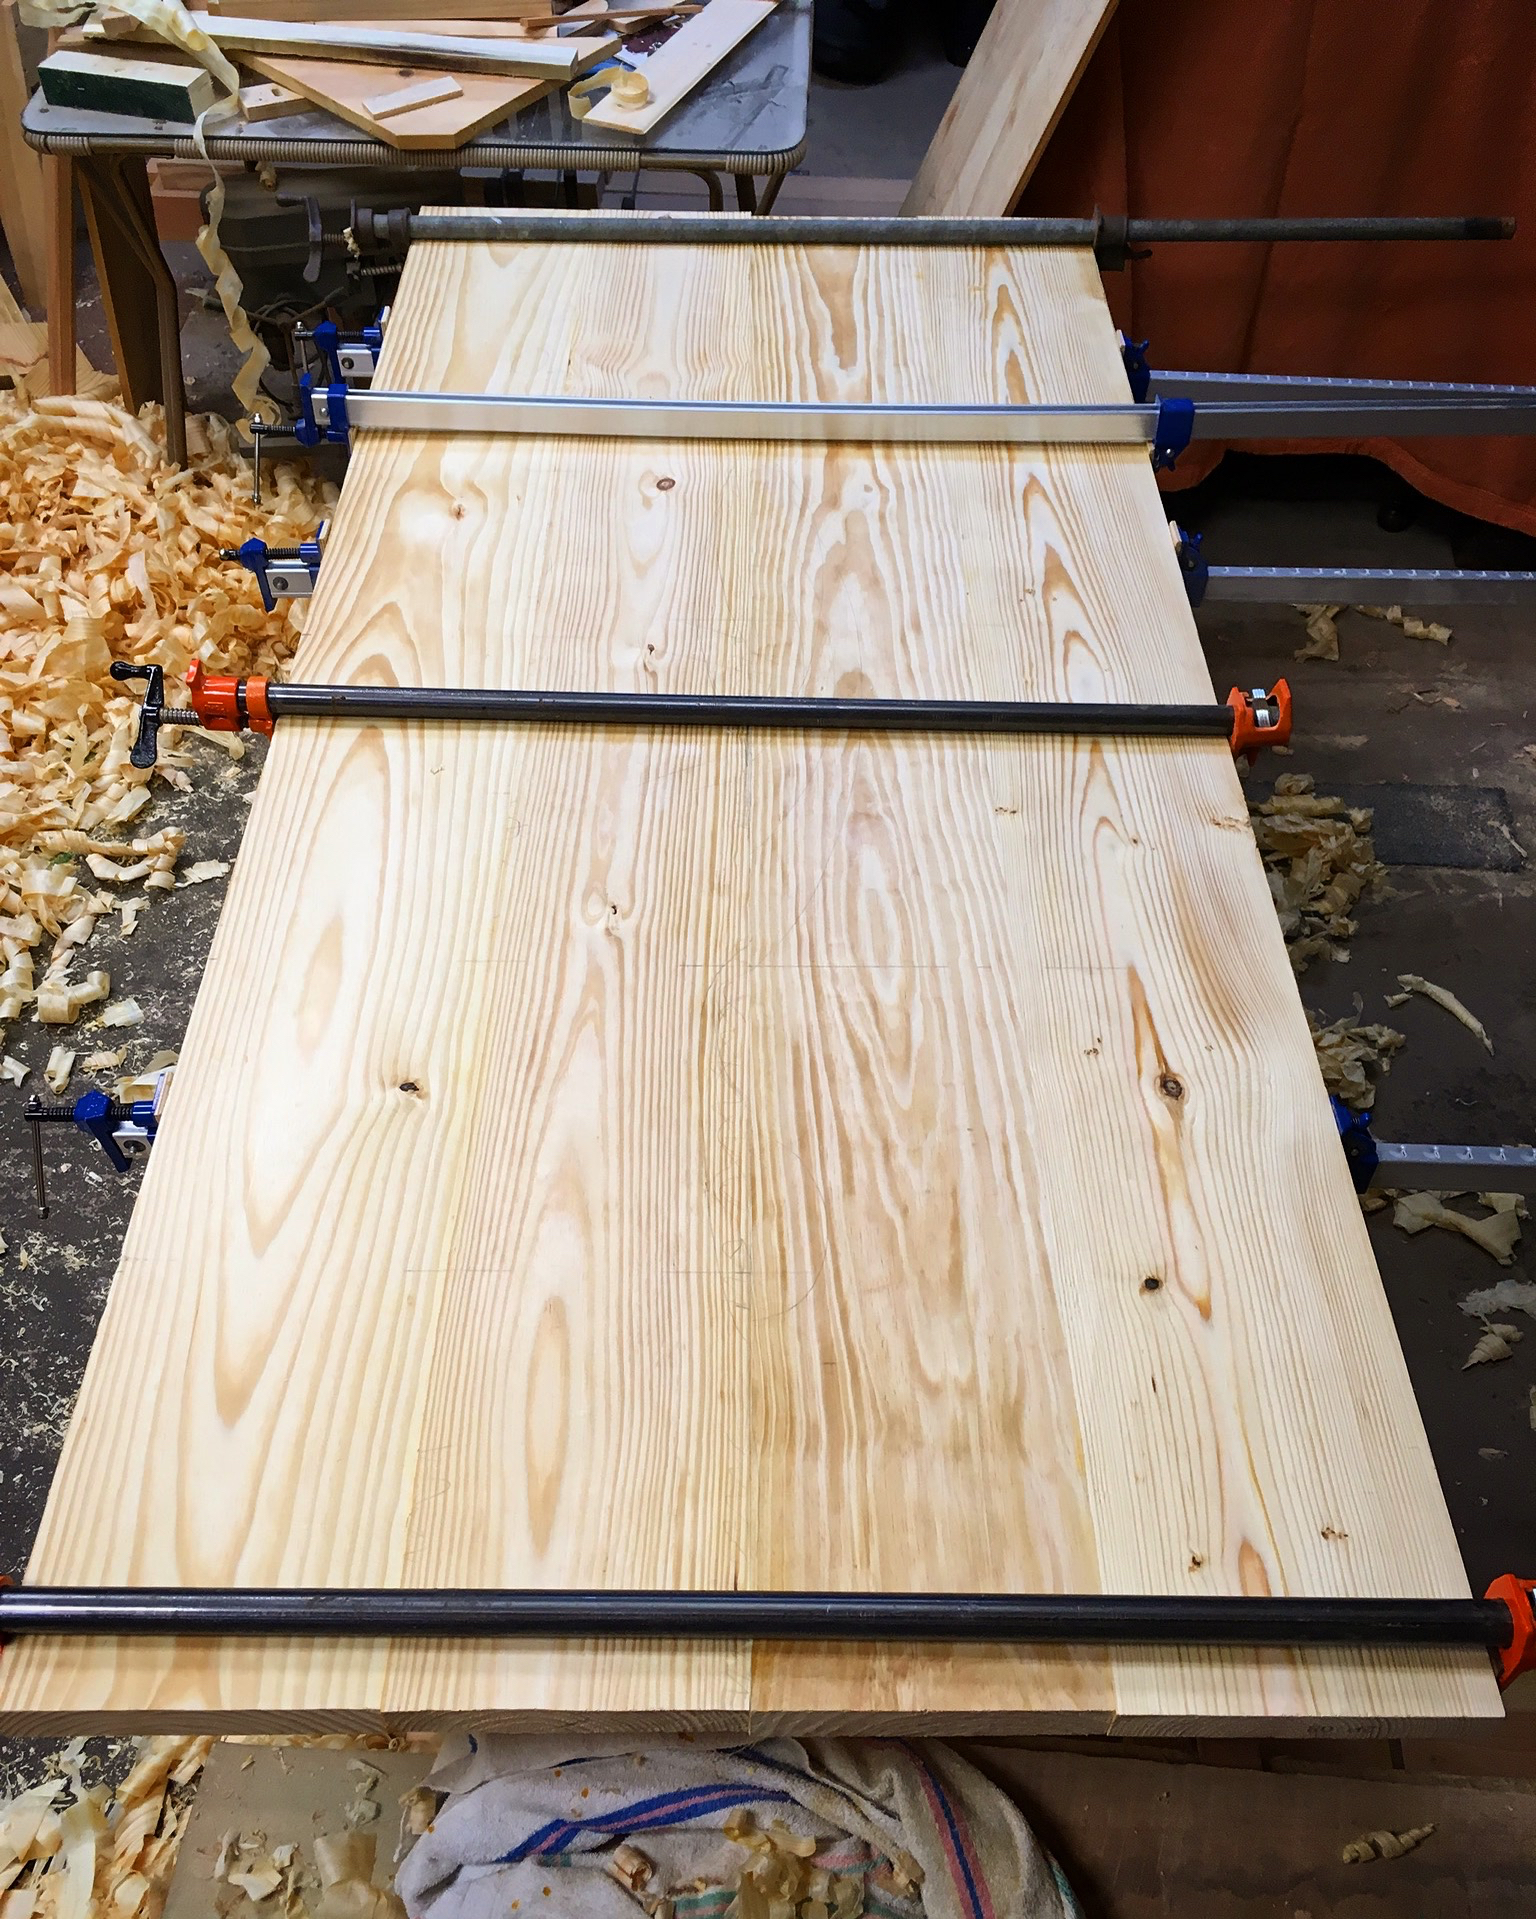
Saturday had me assembling top #2.
Since I wanted each top to cure for a full 24hrs, I turned the remainder of my Saturday to working on hardware for attaching the tops to the trestles. In his book, CW used a large wooden screw for attaching his top to the trestles. An elegant solution, but a quality tap and die set, such as the set he used, is spendy. Yes, there are much more inexpensive versions. The reviews for those seem to be less than favorable. Anyway, my solution is to use carriage bolts and wing nuts. I’ll use two per trestle and make sure to allow for any wood movement. Plus I can easily get these from the big box store. The only issue is that they are bright and shiny and this just looks wrong for furniture.
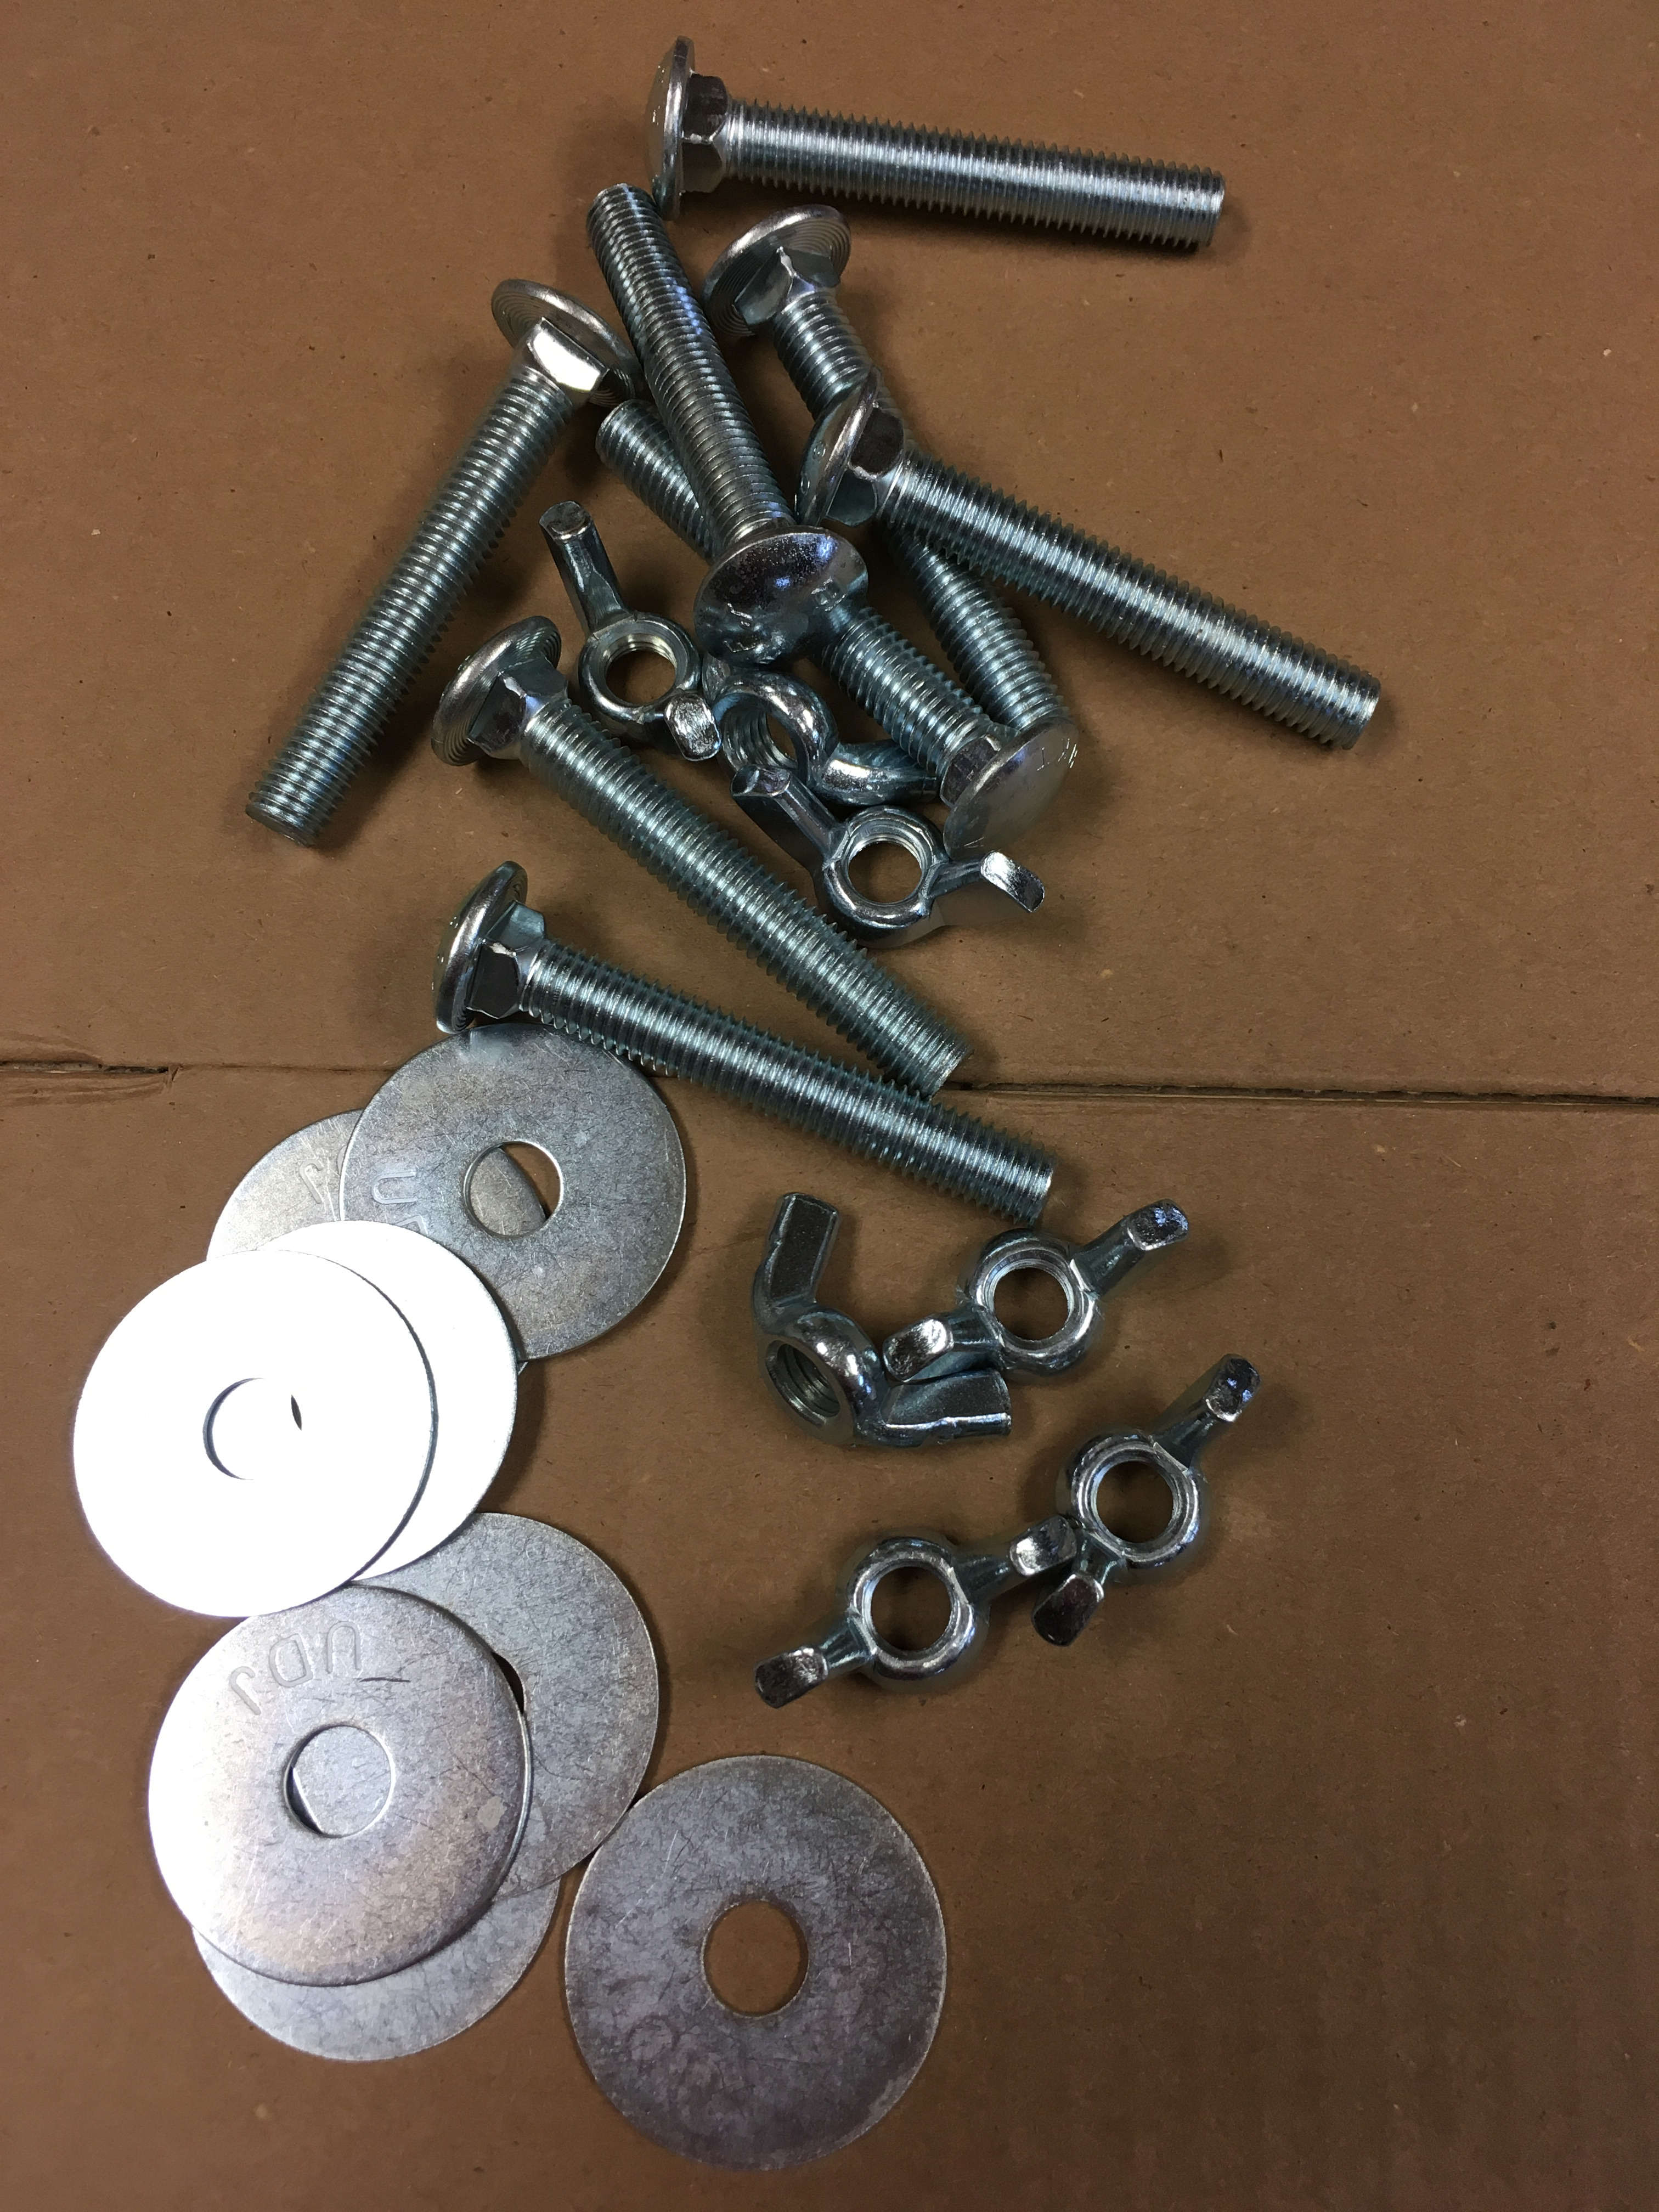
There are several ways of “aging” hardware to be found on the internet. The simplest is to use a gun blue solution. This product is typically used to oxidize the bare metal parts of firearms to protect them from rusting. It also blackens or “blues” them as part of the process. So I picked up a bottle and went to work on my bright and shiny hardware. Following the directions, cleaned each part with denatured alcohol. One extra bit of prep was a little file work on the heads of the carriage bolts. These bolts have grade stamps on their heads. A little file work removes them and give a bit of a faceted look.

No one will mistake these bits as blacksmith made, but they will at least look “right” when installed.

Today I began the final work on the first top. The first thing to tackle was flattening the underside face. During my two-board dance I had ignored the opposite face in favor of getting them glued up. I’m not sure that was the best strategy. The bottom face required a fair amount of work to bring it level and flat. In hindsight, it may have been better to thickness all of these boards up front. Live and learn. It took me about three hours of continuous planing to get the bottom face flat and level. It was a hell of a workout.

Once the top was flat and level, I clipped all four corners at 45deg and added a chamfer to all of the edges. On the clipped corners I added my logo stamp, a little additional texture and finally some wood burning.

I ran out of daylight and energy so I had to stop. Table #1 is starting to look like something though.
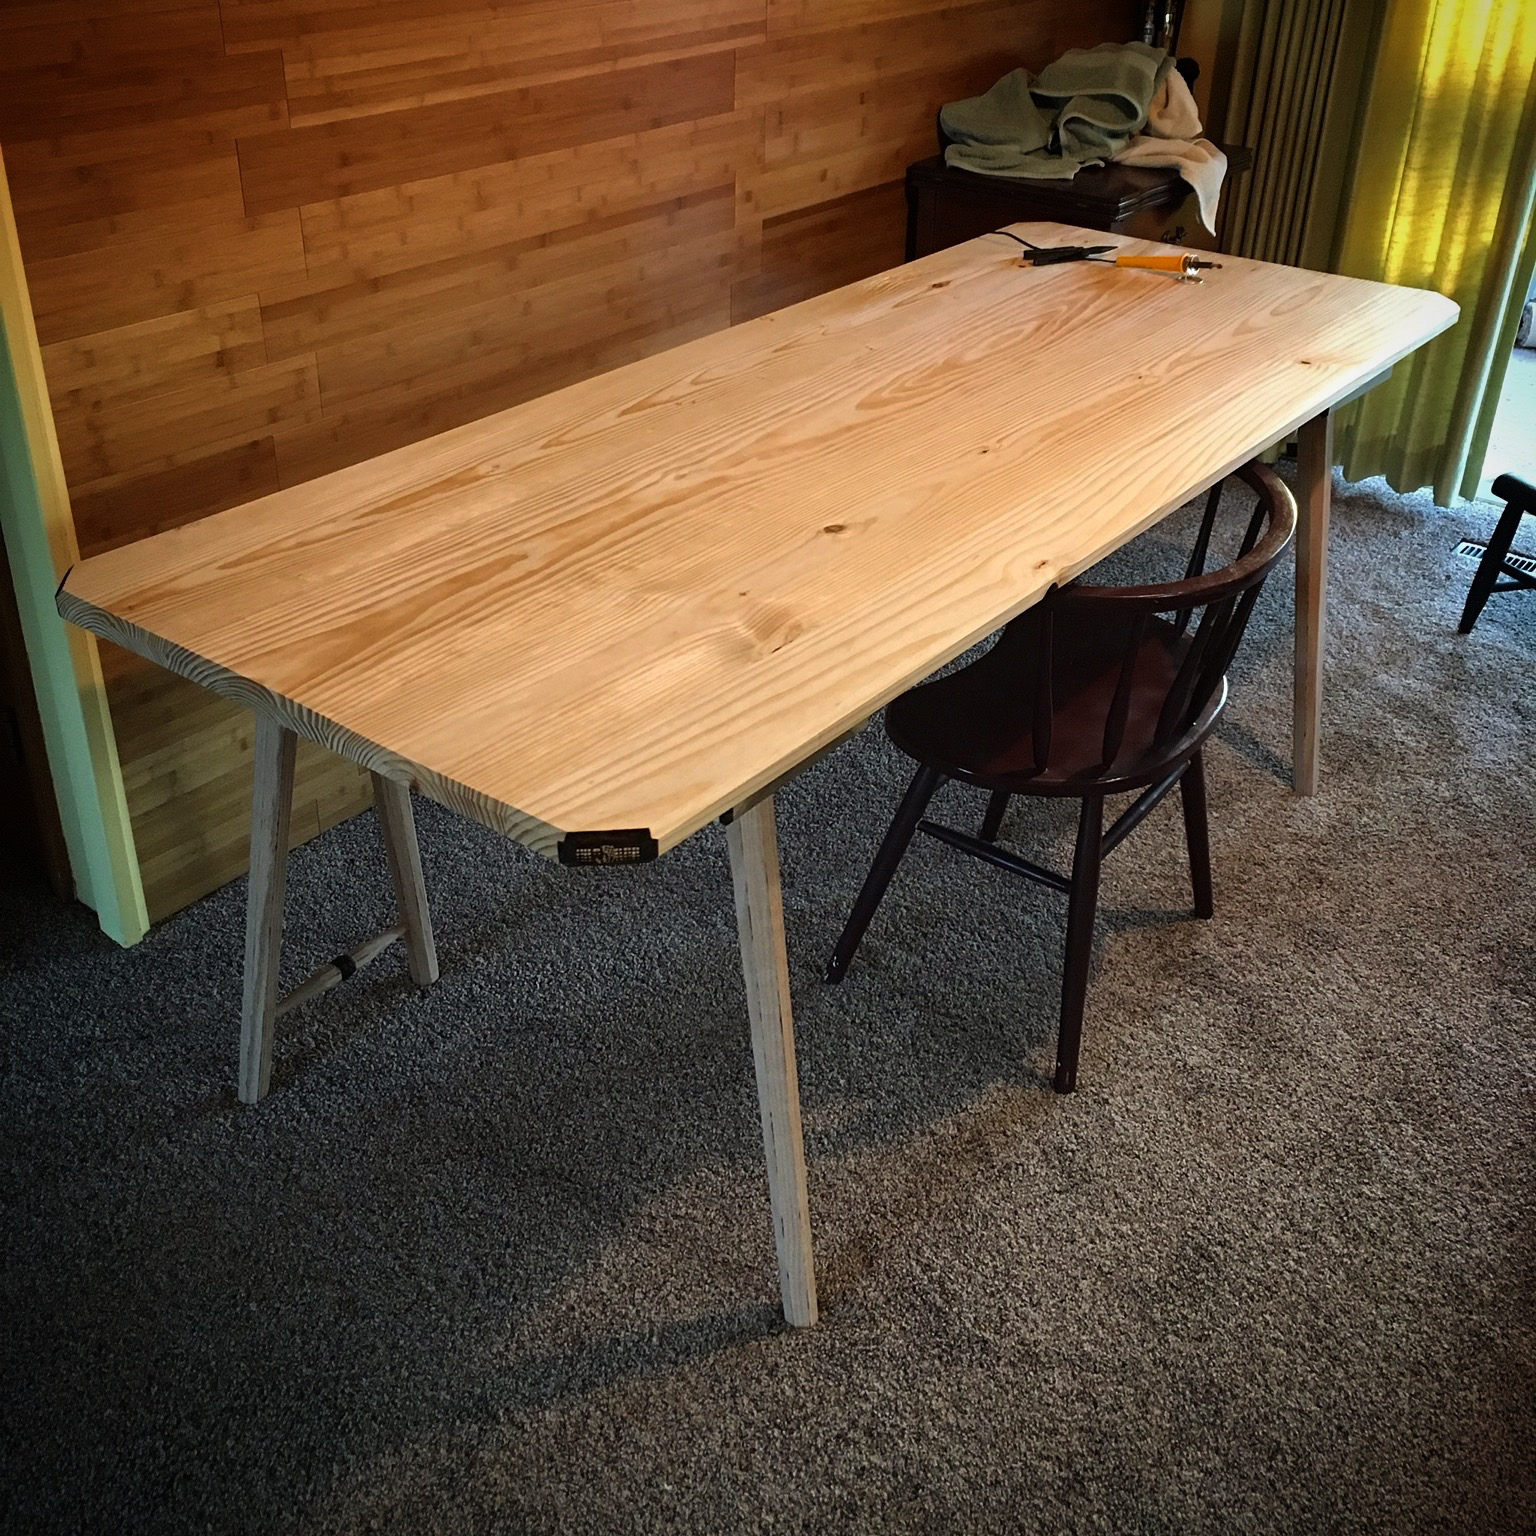
I have a bunch of work still in front of me, but the finish line is getting close.

Pingback: Table Trestles-Part 5 | HILLBILLY DAIKU
Great workout, when those tables hit that Antique Roadshow in a couple of decades you’ll have them fooled with your “authentic” aged hardware!
LOL…that will be a sad day indeed. Most likely they will be pointing out what a fraud this guy was. Until then this will work for a poor-man’s substitute.
Looking good, Greg. I wasn’t sure if you were going to have the double leg of each pedestal on the same side or if you would have one different from the other. I think I like it as you’ve got it.
Thanks Matt. Nothing is attached yet, but this is probably how we will typically set them up. If need be though, the trestles can be flipped around.
I like your technique on aging looks great, in fact I’ve never seen a table like it anywhere. As for flattening how many pounds did you lose, it’s a good workout and very rewarding even though throughout the process you’re wishing it could somehow go a little faster.
Yep, the gun blue solution worked really well and is super easy. Flattening is a rewarding process, but damn,,,I wish it went a little faster. LOL
At least your saving a lot of money on an heath club… and the only downsize is you’ll get some great tables!!! A win/win situation 😛
LOL…what I know for sure is I’m tired and sore…hopefully these tables turn out OK.
Pingback: Table Trestles-Part 7 | HILLBILLY DAIKU