
 So the idea is to hang a tenugui on the wall as an art display. When I purchase a new one, I’ll switch them out and put the previous one into service. I didn’t invent anything here, there are tenugui hangers commercially available, but I wanted to make my own. I also wanted to make it to my own vision. That’s why I’m a woodworker after all.
I made a few sketches, but nothing set in stone. I wanted to sort of let this project develop on its own. The material needed to be lightweight and ideally straight-grained. A quick trip into my magic attic and I descended with a piece of pine that fit the bill perfectly.

After a quick surfacing.

The idea is to create a top and bottom piece. Each piece has a groove and there is a spline fitted to each groove. The tenugui is captured within this groove spline arrangement. The splines will be held in place with rubber 0-rings that I purchased from the plumbing department at the big box store.
The first step after surfacing my board was to plow grooves. This task is much easier to perform before the pieces are separated. Nothing too complicated, a 6m groove 10mm deep centered on the long edges of the board. My old Japanese plow plane was perfect and somewhat fitting for the task.

With the grooves done it was time to separate the top and bottom pieces. I simply divided the width into thirds. Two thirds for the top and on third for the bottom. Then I sawed the two pieces apart and cleaned them up with the plane.

I also added a slight concave arc to the top edge of the top piece with a spokeshave.
I then added a slight recess around the ends of the pieces in which the o-ring would seat. It doesn’t take much. I made these about 1mm deep with a square shoulder towards the inside and sloping from the outside. The o-ring will roll into the recess and seat against the shoulder.

The entire assembly will simply hang from a cord. To attach that cord to the top piece I first drilled a counterbore in the groove and then drilled a clearance hole for the cord. Finally cleaning up the top surface with countersink bit. I’ll thread the cord down thru the hole and tie a knot. Then seat the knot in the counterbore. Simple.

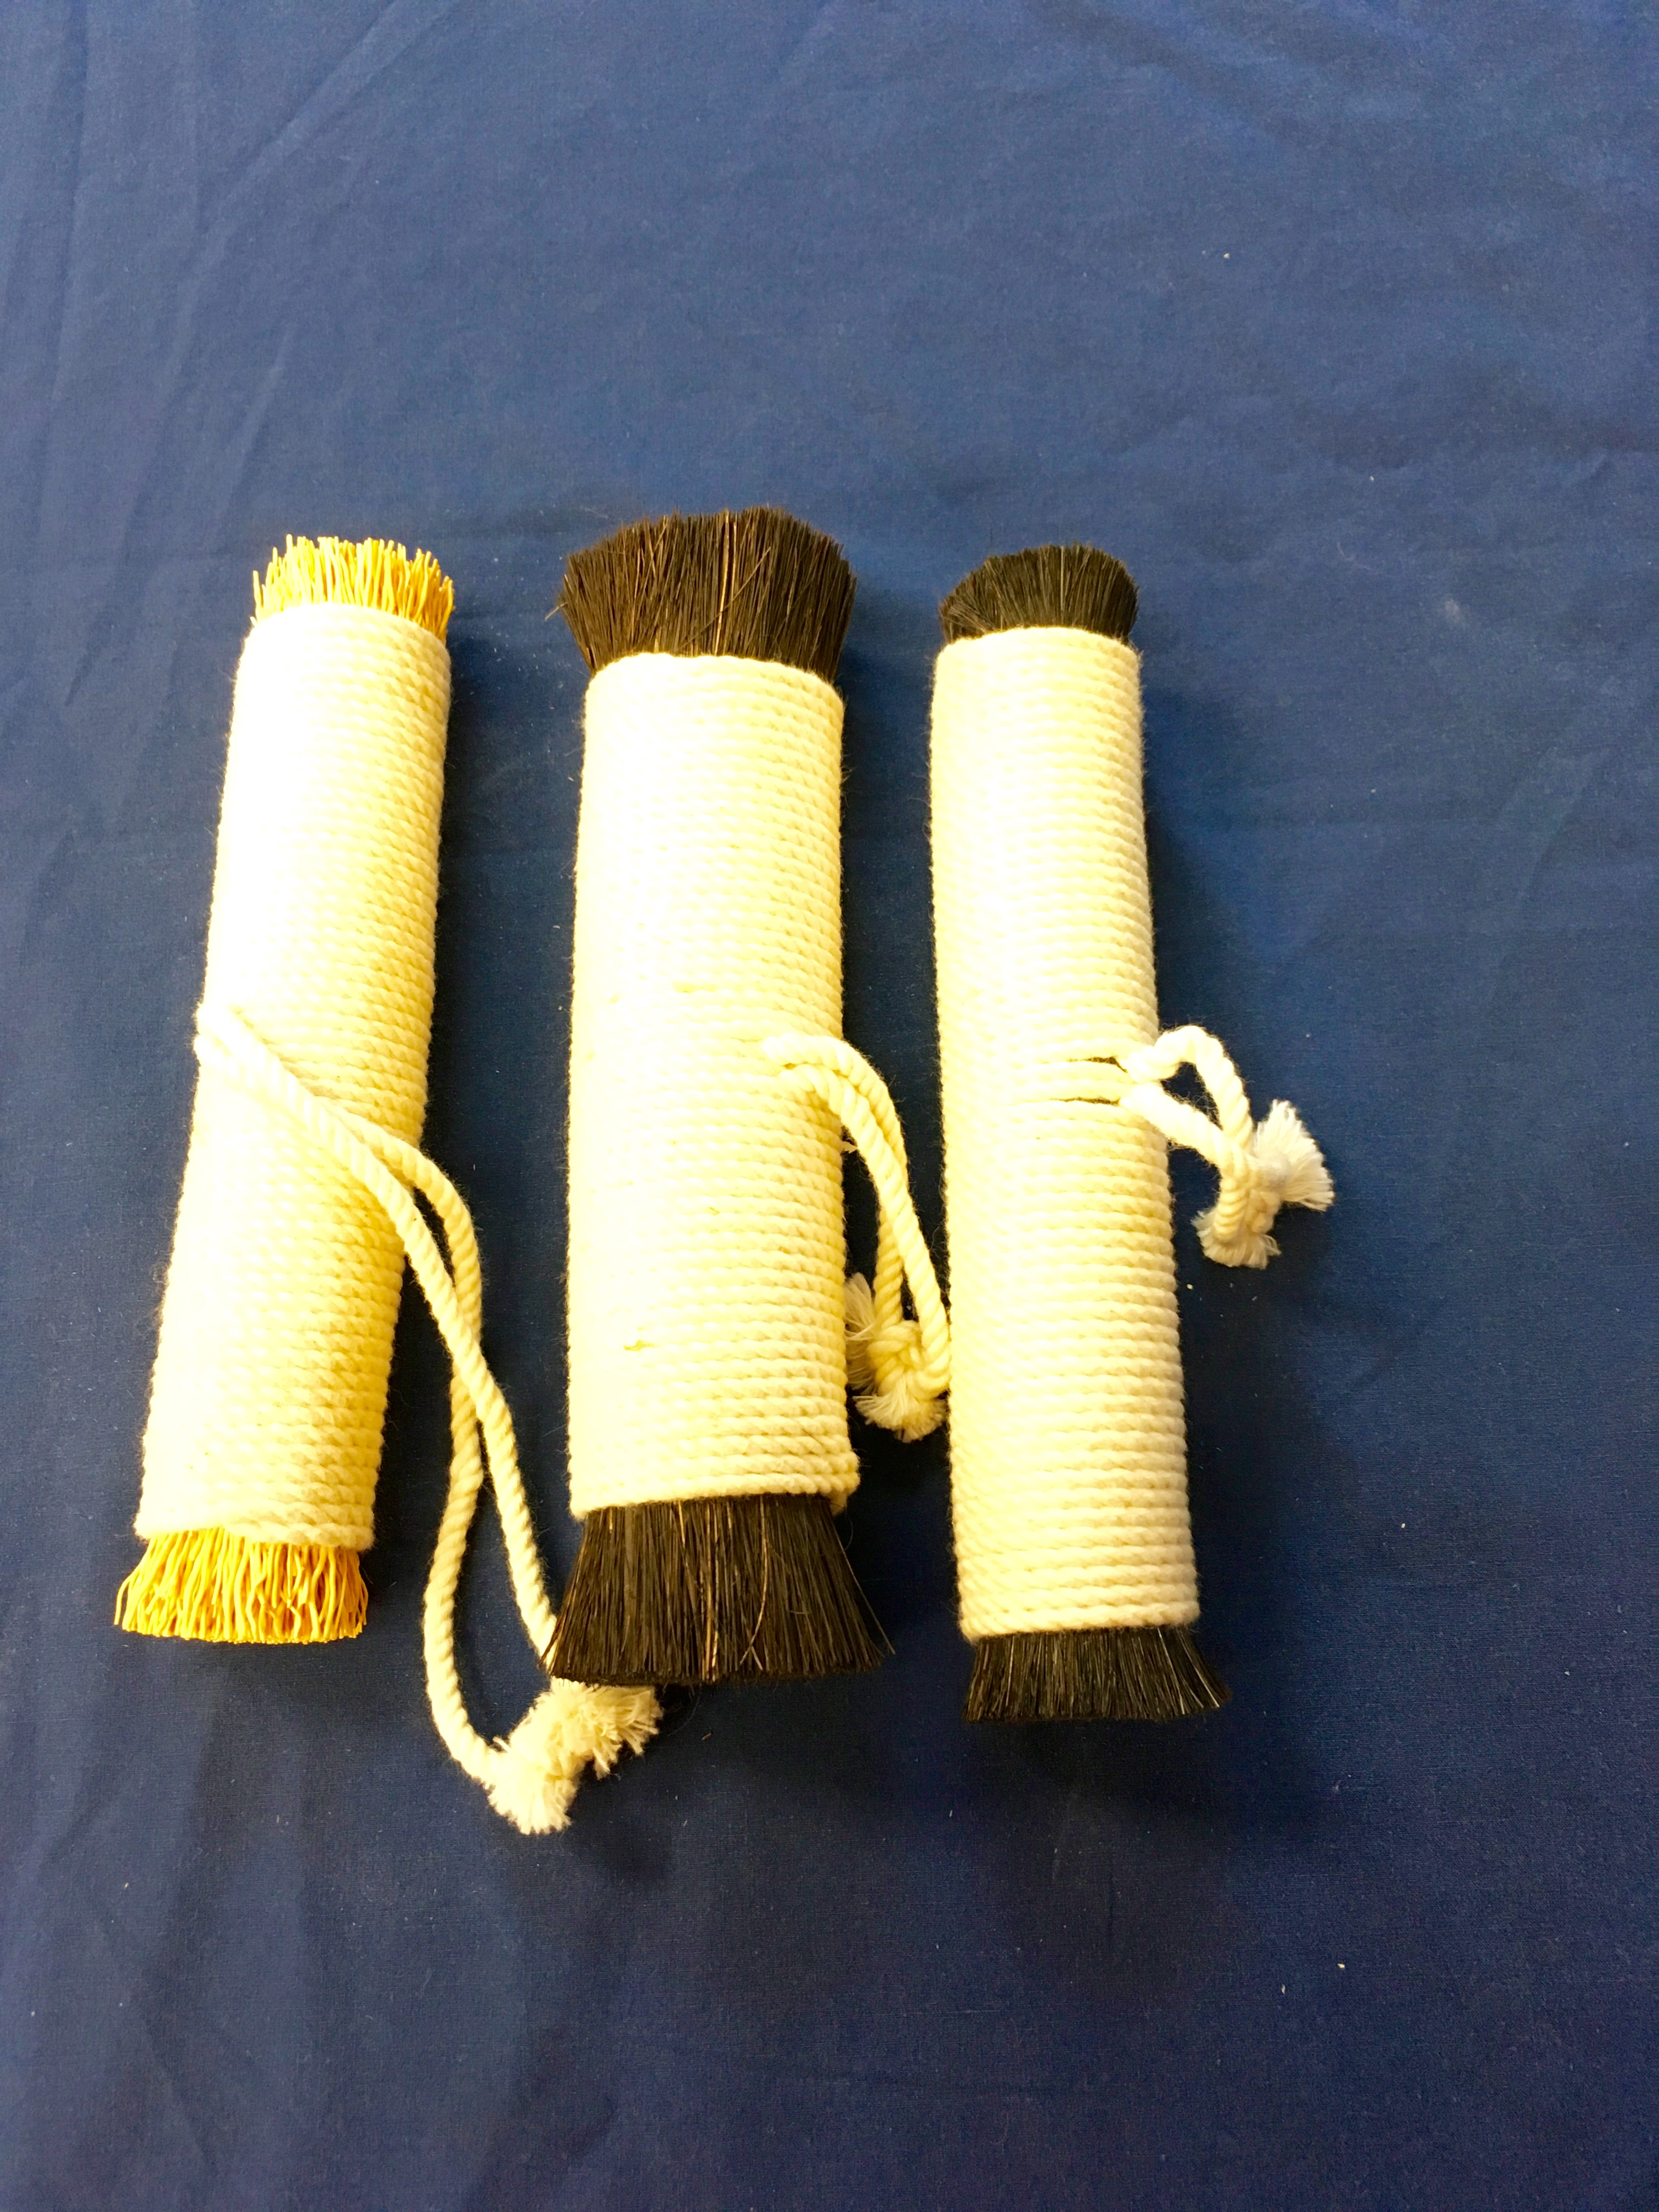
The splines are 20mm wide and thicknessed to fit loosely in the grooves. They also received notches to seat the o-rings and their ends were tapered to make rolling the o-ring into place a little easier.
All edges of the pieces received a slight chamfer, just to knock of all of the sharp corners. The straight and fine grain of this wood lends itself perfectly to a uzukuri finish. So I broke out the brushes and went to work.
Then I slathered on a coat of Tried & True Original finish. Finally all of the pieces were left to dry overnight.
One final bit to add a bit of flair was to tie some decorative knots to hang from the o-rings on the bottom piece. I started with a length of black paracord and tied a Japanese tassel knot and then Celtic button knots to finish off the cords. The remaining tag ends were frayed out to create a tassel.

All of the parts awaiting a tenugui.

I installed management’s tenugui and hung the assembly on the wall.

I think it looks pretty damn good…
and that my friends is how you can have Japanese art on your wall on a hillbilly budget.
Part 1 Gregory Merritt

Pingback: Japanese Art on a Hillbilly Budget-Part 1 | GREG MERRITT – BY MY OWN HANDS
Beautiful work Greg!
Thanks…it came out pretty decent for a couple sticks of wood, string and rubber o-rings. the real star is the tenugui.
Outstanding work my friend…Simply Outstanding !!!
Thanks!!
Hi Greg! That came out very, very nice indeed!
Just a little curiosity, the knot you call “Japanese tassel knot” I learned it (when I was a boyscout) by the name of “friendship knot” because of the interlocking in the front of the knot – “our friends makes us stronger”
Cheers
Thanks Antonio…while the center section of the Japanese tassel knot looks similar to the friendship knot, they are actually quite different. Did you watch the linked video tutorial?
Yes I did. And also I search a bit and compare some of the knots names (from and old US ‘Boy Scout Handbook’ and some Portuguese Navy books, -no luck for a UK book yet) and there are lots of different names for the same knot. And that goes like that even with my neighbours – Spain. Its funny!
Knots are one of those things that seems to be ubiquitous across cultures. Names are different but the knot is the same. Beyond that almost every culture seems to have a few knots that are unique to them.
When you use Tried & True Original Finish, do you use it at its original consistency, or have you found a thinning proportion that works for you in terms of drying time? If so, what do you thin with?
Thanks for all the great things you share — it’s a gift to us all.
Thank you for the kind words Walt.
I always use Tried & True at the original consistency and per the instructions. It really takes very little product to get the job done. Drying time usually varies between 24-48 hours for me depending on temperature and humidity.
Love it, Greg!
Thanks…it was a fun and simple project.
If you like books about knots, look for “The Ashley book of knots” by Clifford W. Ashley, first published in 1944, last published in79, ed.Doubleday [also available in French as “Le grand livre des nœuds” (ed; Gallimard) last published in 2012]
https://en.wikipedia.org/wiki/The_Ashley_Book_of_Knots
Sylvain
Yep, ABOK was the first knot tying book I bought well over 20years ago. Still the best resource out there.
Pingback: Tenugui Hanger Revisit | BY MY OWN HANDS
This is great, Greg! I just pulled out about 8-10 tenugui from my time in Japan years ago and started searching for the hangers online. I’m not sure I can pull off this handmade version but I might try!