
 The goal for this most recent andon lamp was to create a stand that would essentially turn it into a floor lamp. I went through several iterations on paper and finally concluded that my best option would be to create a stand from which the andon would be hung. A chance trip up into the “magic attic” served to further focus my efforts.
For those unfamiliar with my “magic attic” complete a search of my blog for references to it. The short version is that the attic of my home is filled with things left behind be the previous owner. The bulk of which is wood.
In my attic I discovered an 8ft length of bamboo. Seemed like a sign, so I went with it.
I had no real plan, but figured I would start at the ground and work my way up. The base is a simple affair. Two bits of SYP joined with a half-lap and a little shaping.

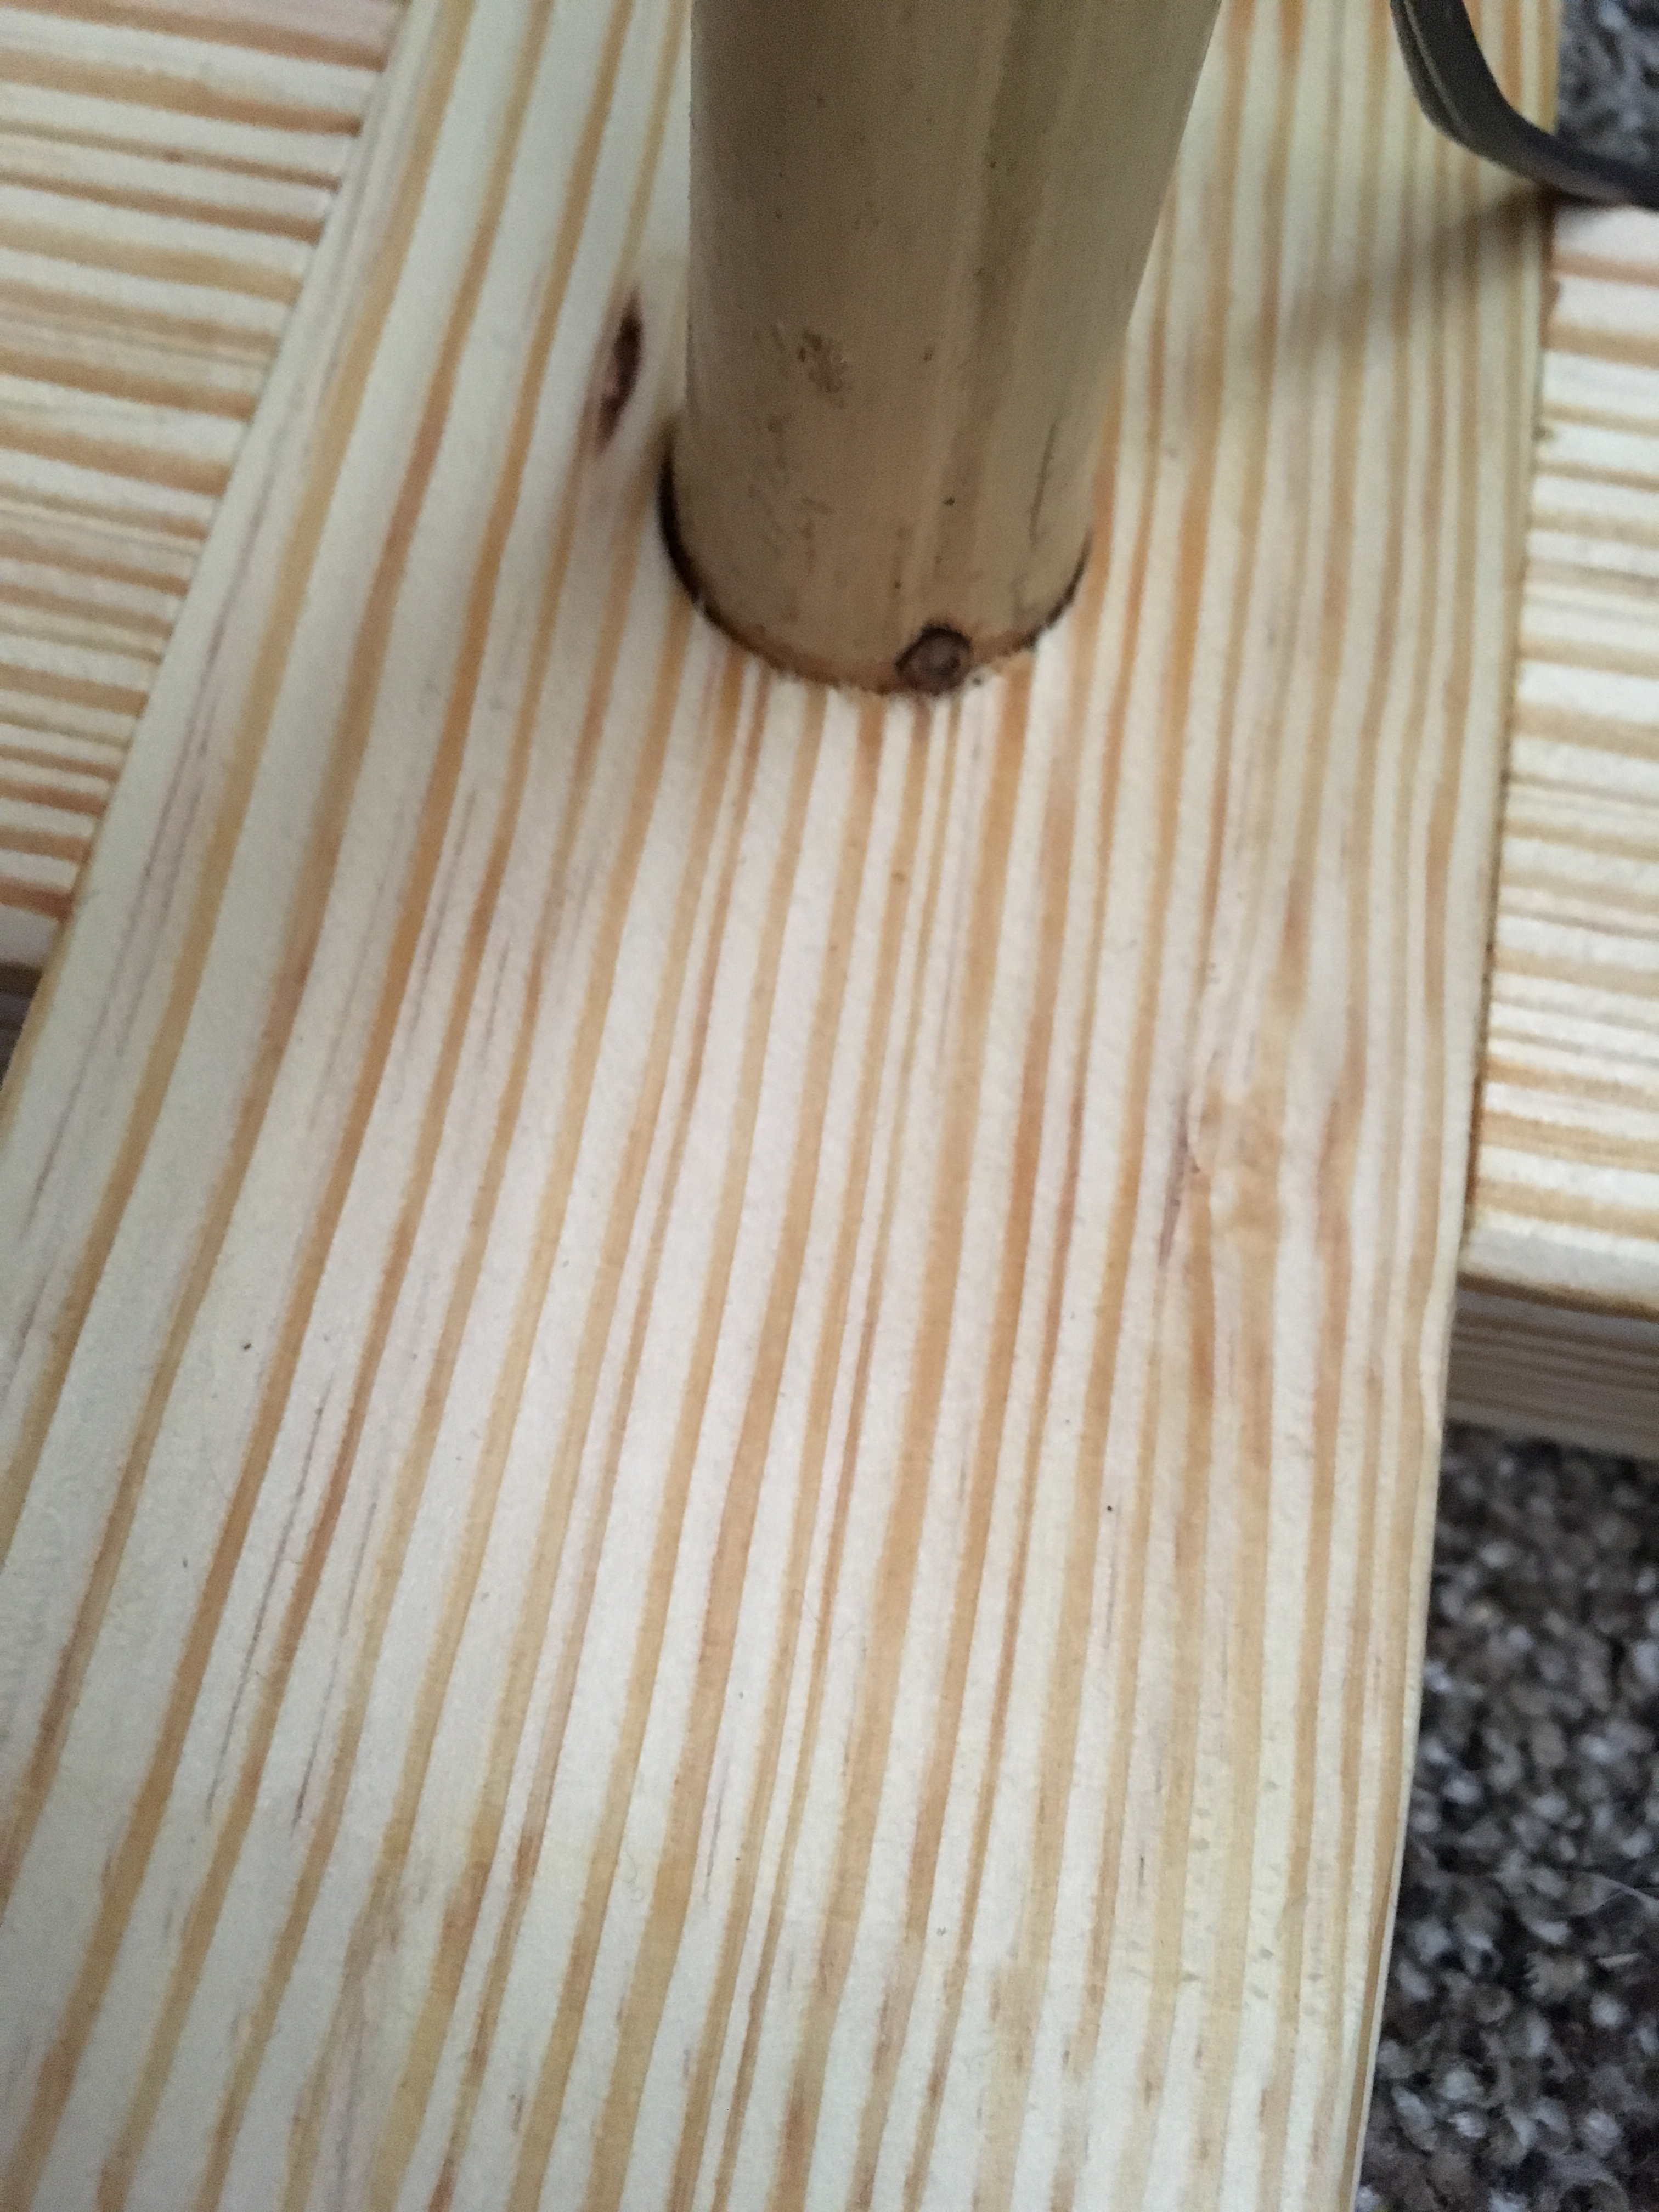
To install the bamboo pole into the base I drilled a hole. Then tapered the hole slightly with a reamer and whittled the bamboo to fit. I adjusted the fit so a node on the bamboo would bottom out into the top of the tapered hole. I was going to add glue, but it wedged in so tight with the final fit that I saw no need for glue and was afraid of damaging the bamboo if I tried to remove it.
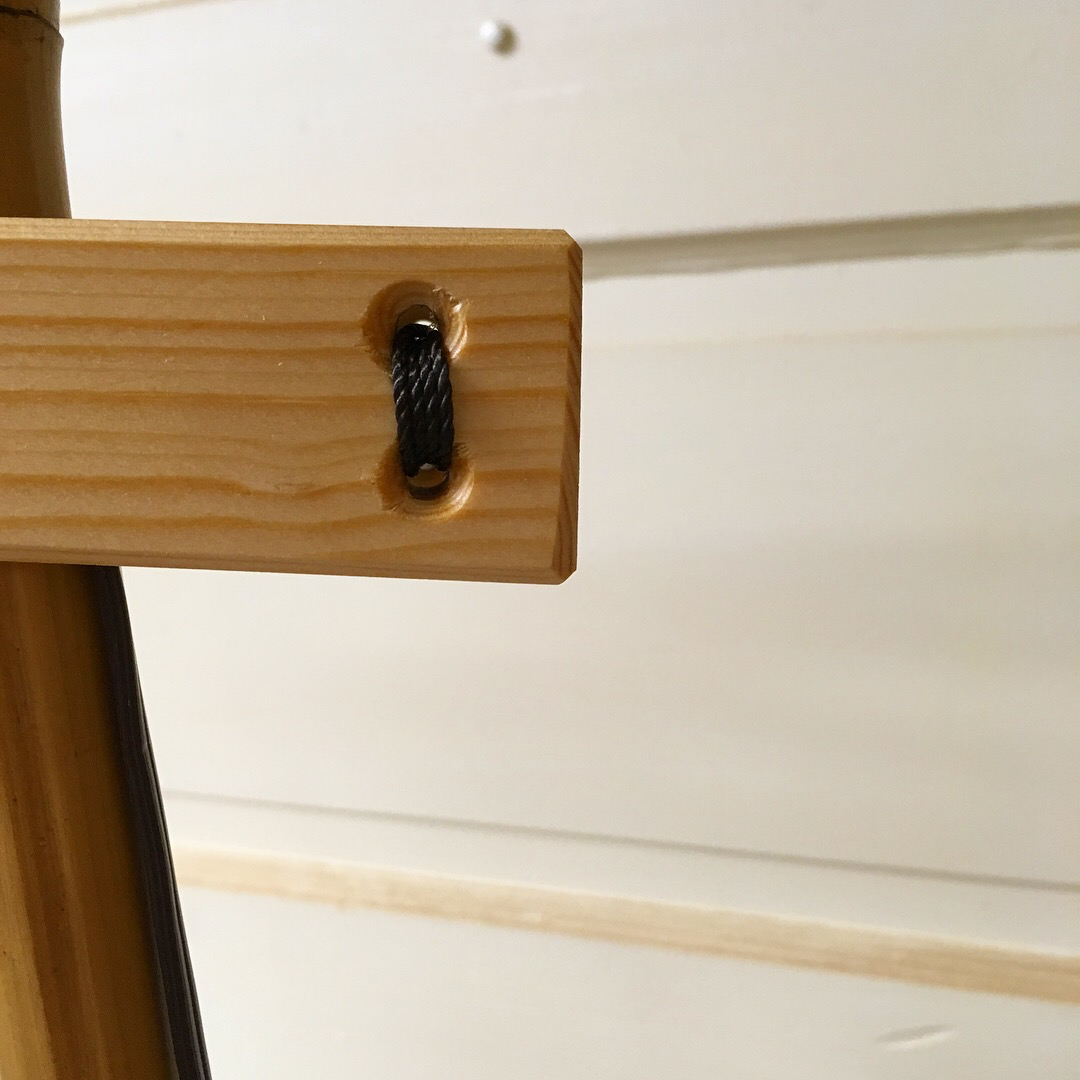
How to fashion a hanger perpendicular to the bamboo pole was a head scratcher. After a bit of trial and error, I hit upon an arrangement of two boards with cross pins.

The two pins at the rear serve to lock the boards onto the pole when downward pressure is applied to the boards. The more pressure, the stronger the lock. The third pin simply serves to maintain the spacing between the two boards. I could have just glued the assembly together but chose to add a few holes and lash the assembly together around the bamboo pole. It came together well and is very secure.


I then papered the lamp and added a cord to hang it with. The original plan was to run the electrical cord down through the bamboo pole, but I couldn’t come up with a way to either knock out or drill through the internal nodes. So I just strung the cord down the back of the pole and called it done.


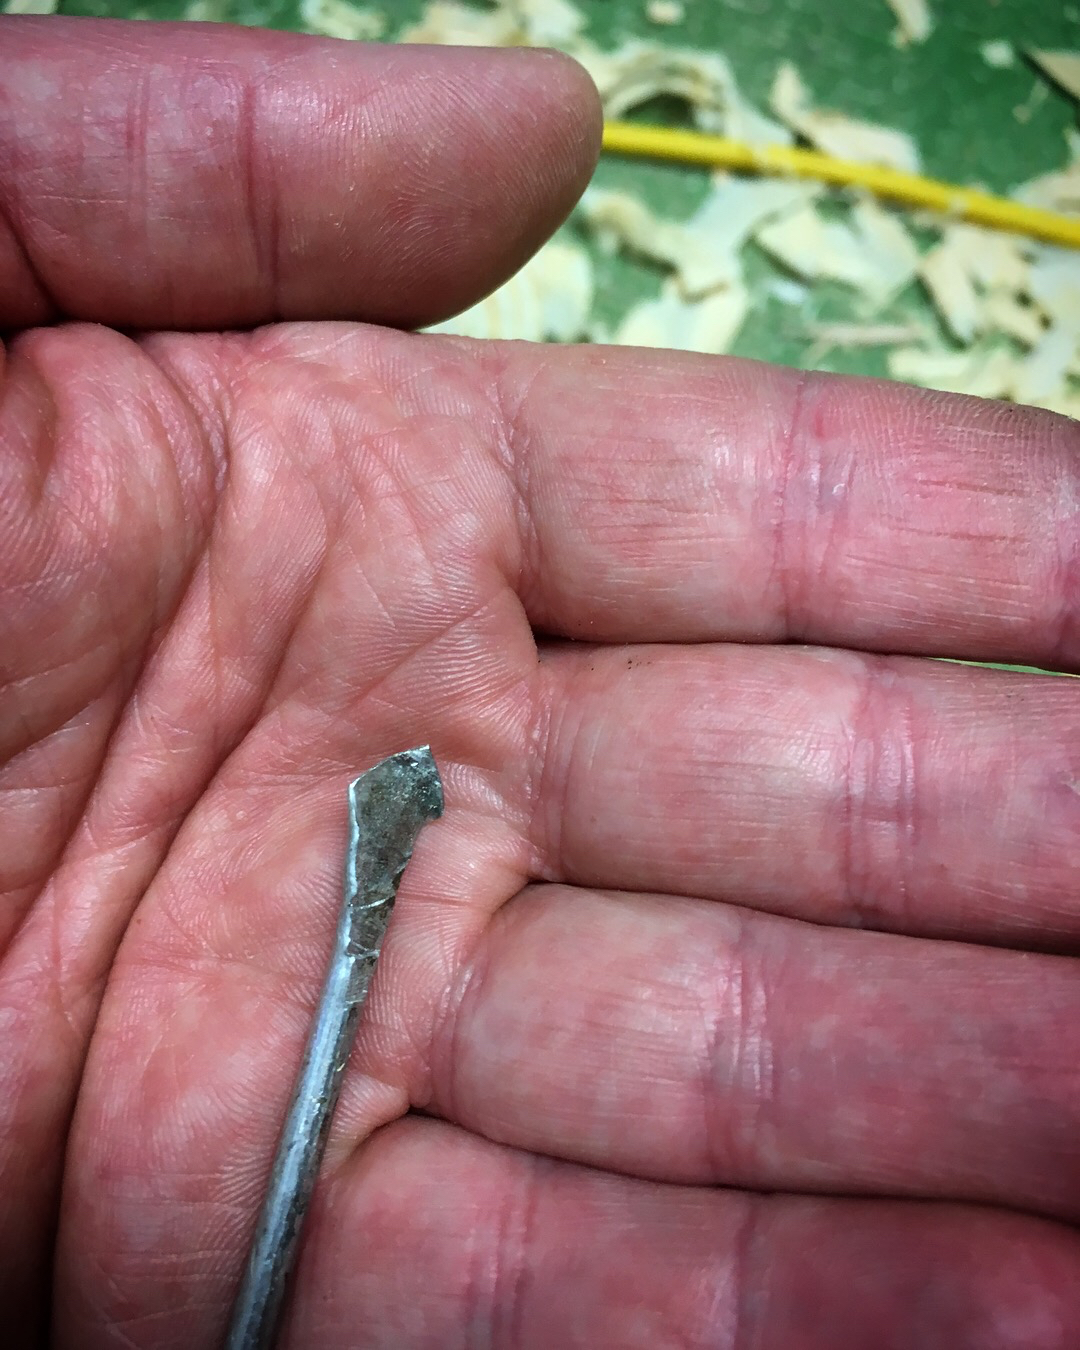
After a couple of days the exposed cord had driven me to the point of madness and necessity became a mother. I had a length of stiff wire left over from my pole lathe build and I decided to try to fashion it into a makeshift drill bit. I hammered one end into a crude spade bit shape and installed the other end into my cordless drill driver.
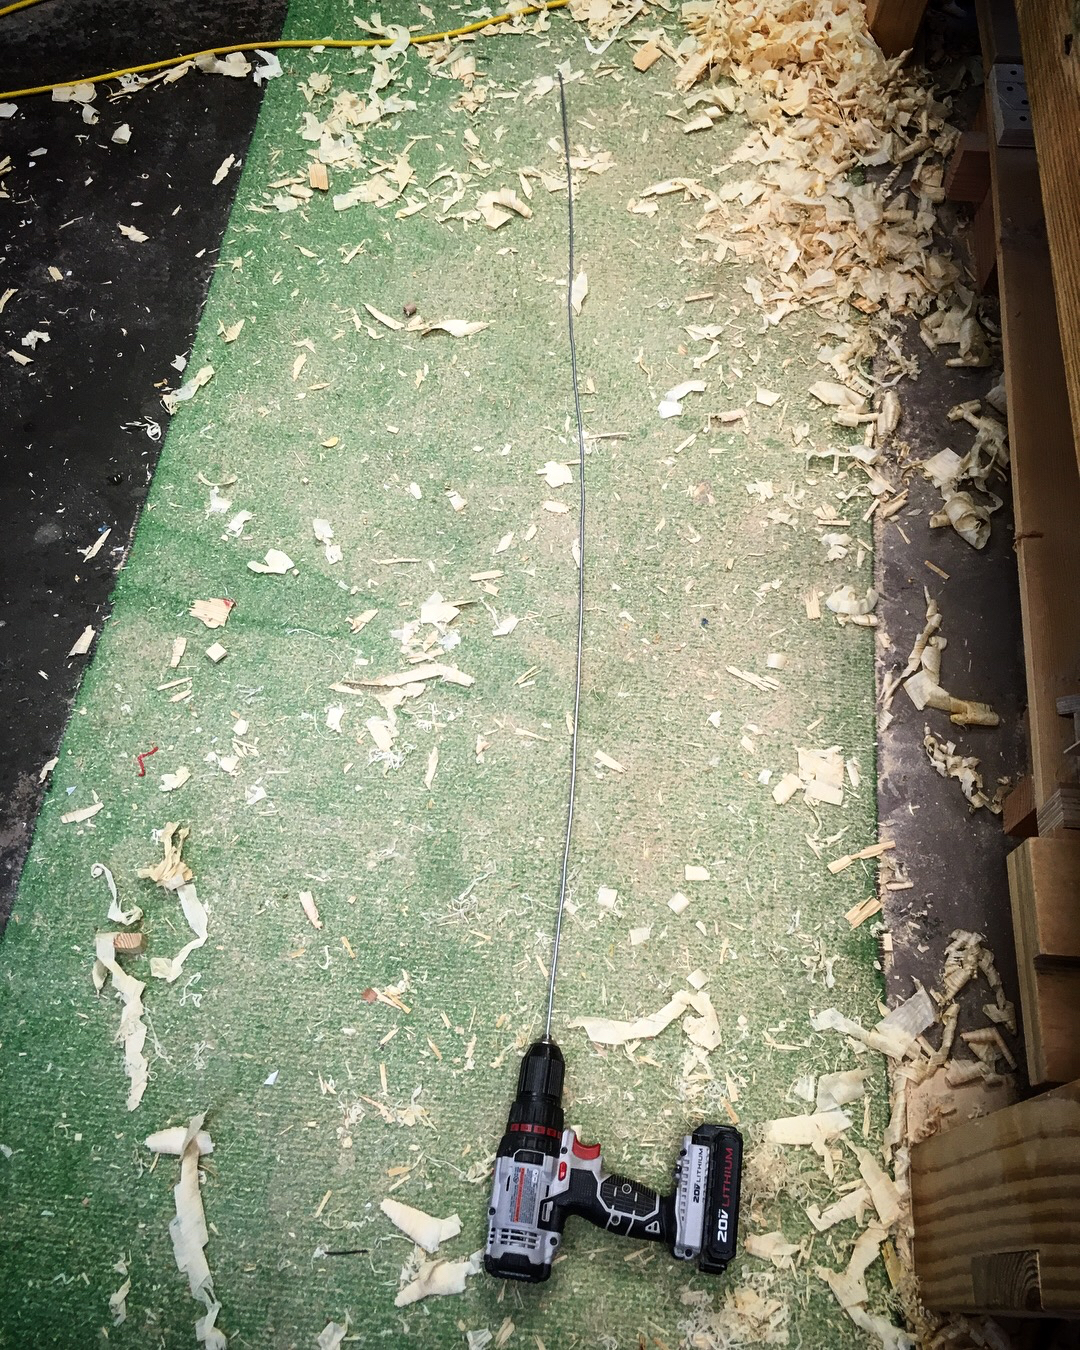
I’ll be damned, it worked! A little awkward at the start, but in just a few minutes I had drilled through all of the nodes and was snaking the electrical cord down through the bamboo pole. I think the lamp looks much better with the now hidden wire.

Now I can comfortably call this one complete!
I also have been working on illustrations for the small andon and diamond kumiko infill. Hope that some of you might find them useful.

Part 1 Greg Merritt

Pingback: Andon and Kumiko-the Journey Continues | HILLBILLY DAIKU
Super cool. Great pics and illustrations. Your kumiko is really looking good.
Thanks Jeff. I’m starting to get comfortable with the process. Much less fumbling around this time. LOL
It’s partially your fault but I’m getting the yen to create a Kumiko inset for the top of a small display table! Do you find that 1/4″ thick by 1/2″ wide is a good size to make your material from? Or does it make any difference and is mostly visual? I ordered a book from Desmond King and will make the jigs based on your design — Thanks
Ha, I have no issue shouldering some of the blame for leading down this rabbit hole.
King’s books are really good.
1/4” is about as thick as I would go. Any thicker and the trimming of the required angles would become laborious. In the lamp above the main diamond grid uses 1/4”x3/8”. The pattern infill pieces are from popsicle sticks which are 1/12”x3/8”.
Can’t wait to see what you come up with.
Pingback: Kumiko or “down the rabbit hole!” | Woodworks by John
Wow es increíble ¿como puedo obtener los diseños que publicas? Felicitaciones