
Our sense of smell is a powerful thing. Pleasant smells have the power to alter our mood. Some smells bring back memories. I’ve even read that the smell of fresh baked cookies can help to sell a house. Unpleasant odors can be just as powerful. I’ll not go into examples, I’m sure you know what I mean.
Just about every culture and religion has made use of this powerful connection to smells. Usually in the form of incense made from natural ingredients and burnt to release the odor. Some of these ingredients were and are so valued that they are valued more than their weight in gold. It wasn’t until I understood that last fact that the biblical story of the Gifts of the Magi actually made sense to me.
In the last generation or two we have abandoned the natural for the synthetic. Adding fragrance to just about everything has become a multi-billion dollar industry. Even my plastic garbage bags have a scent added to them. However, artificial is no substitute for natural fragrances.
Management is into essential oils, but I’m old school and prefer skillfully blended incense made from natural ingredients. I don’t assign any religious or healing significance to burning incense. I simply know that the aroma makes my home a much more pleasurable place to be. OK, that’s enough background.
The project at hand is to transform my recent “art” panel into a simple stand/platform. In this case for my porcelain incense burner. I made a quick sketch to get me started.

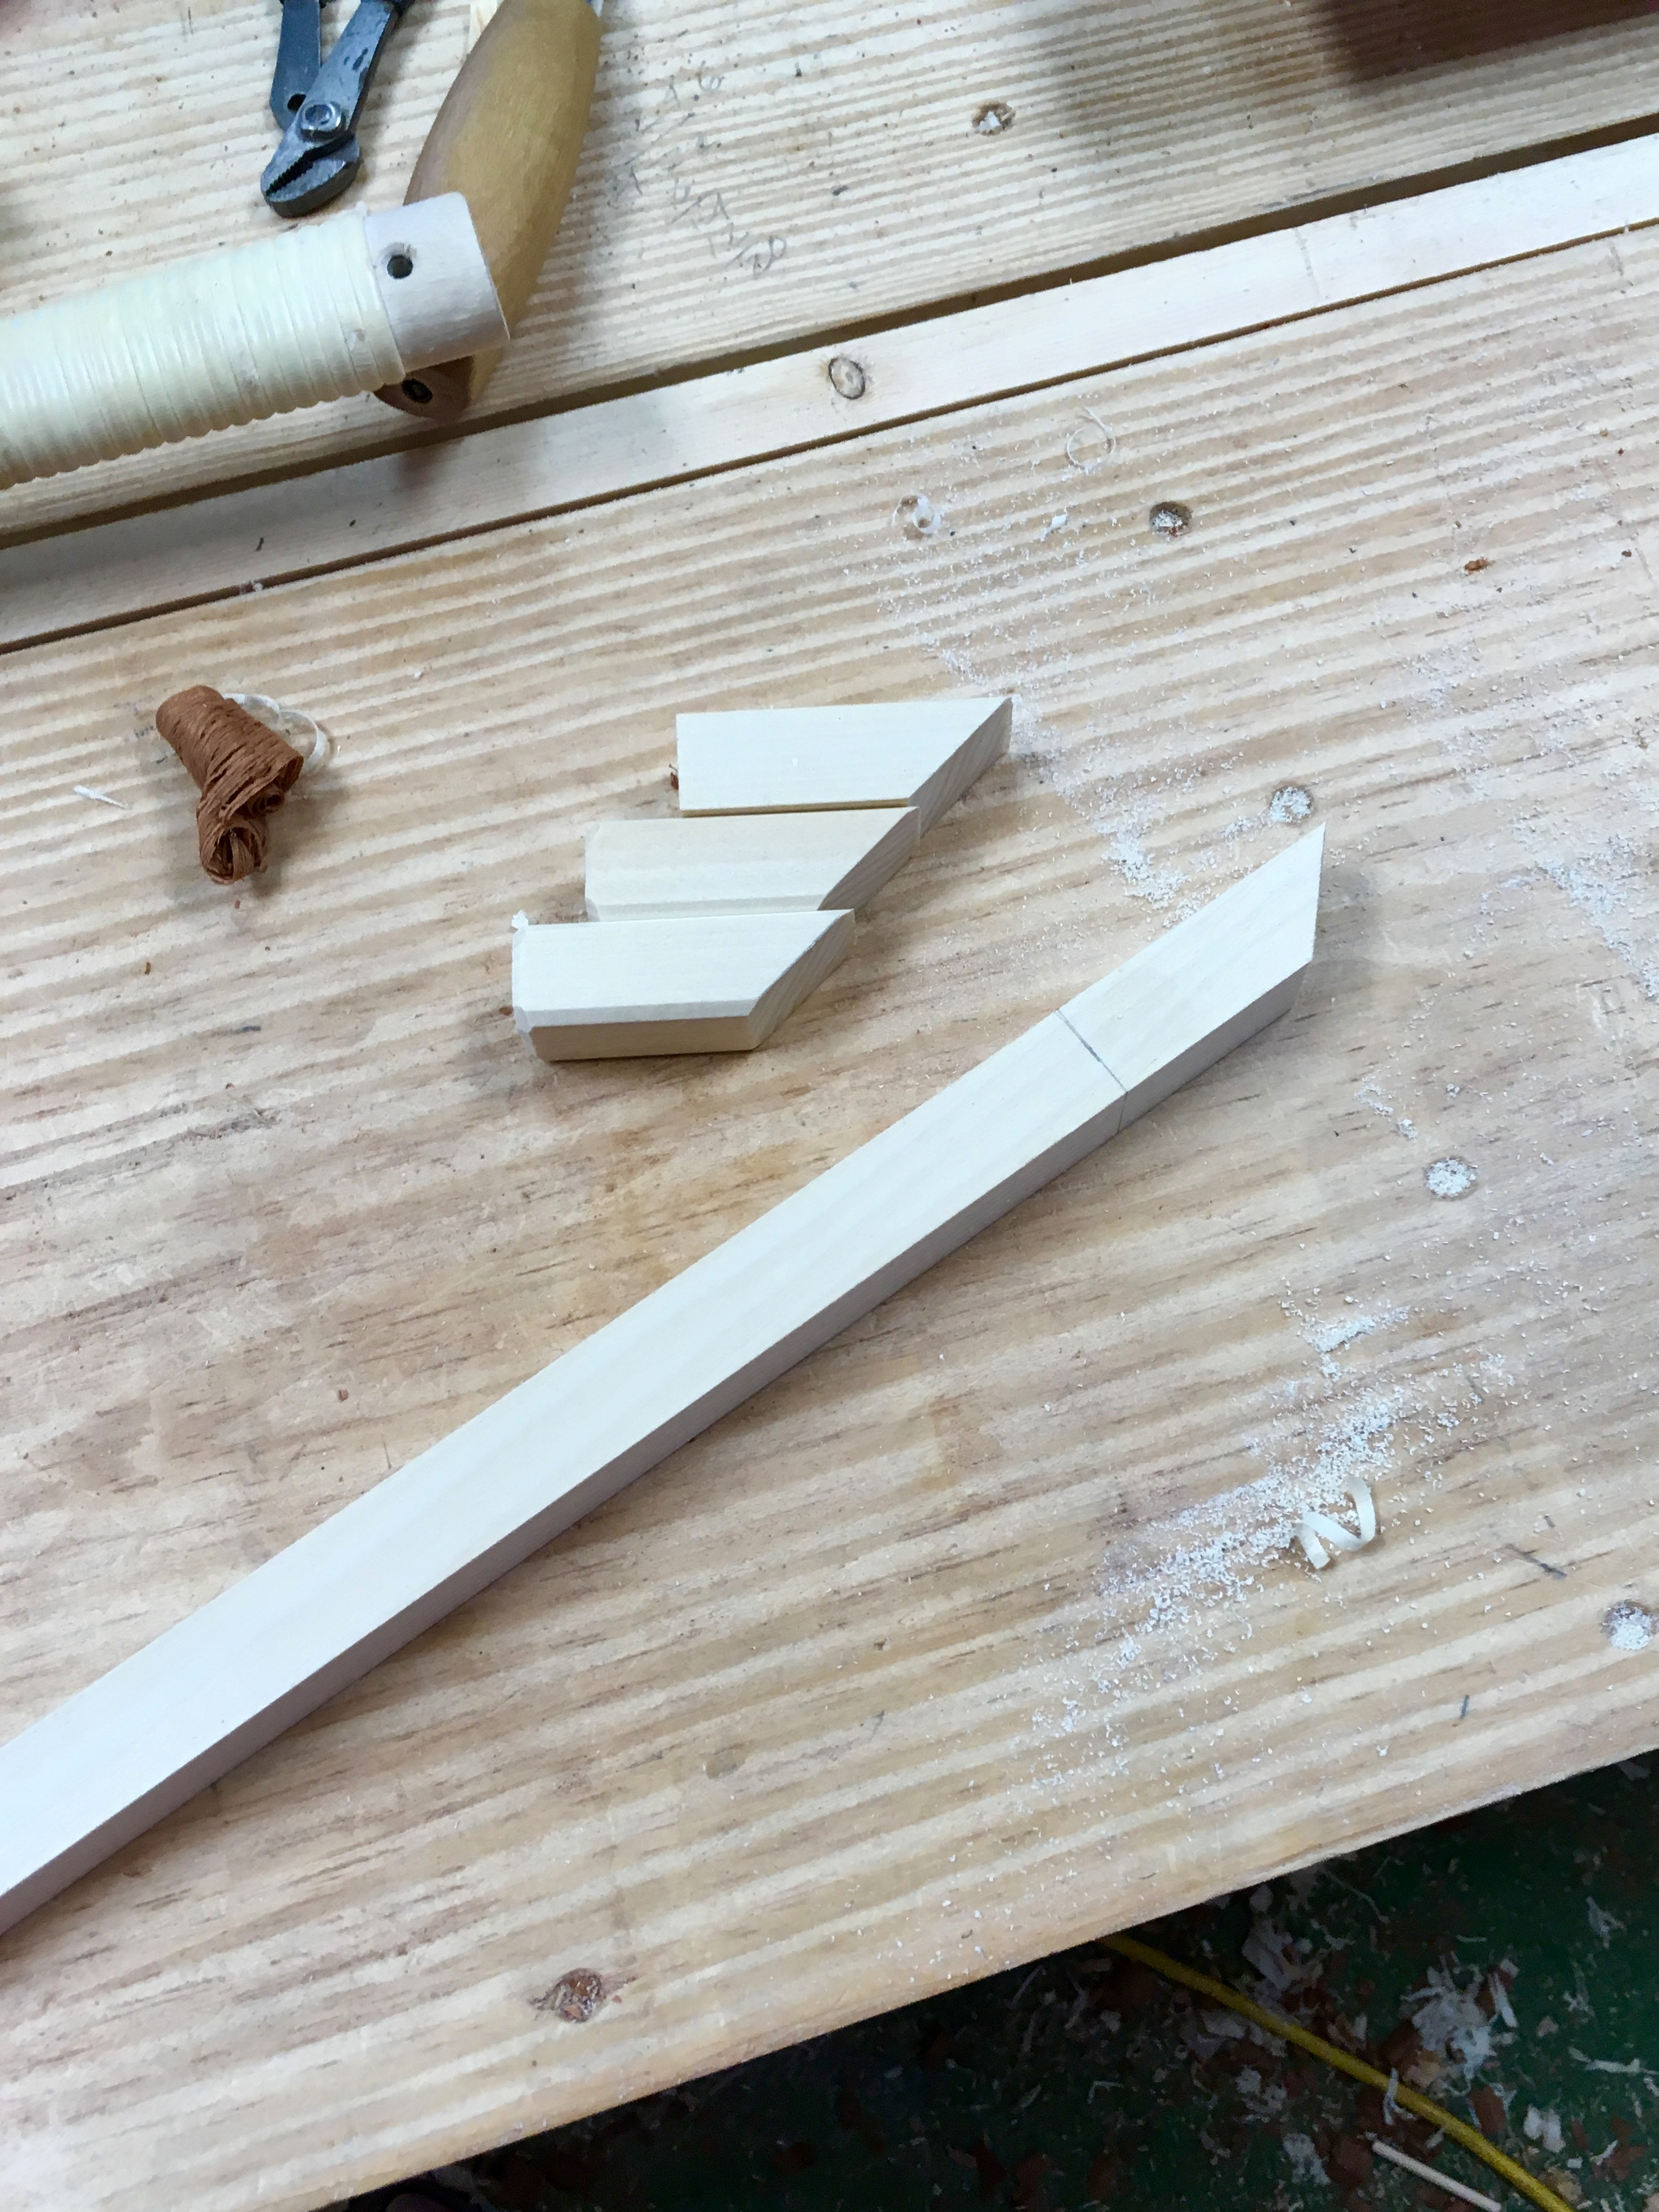
So I dug around in the scrap pile and pulled out enough bits of mahogany to create a simple frame around my plywood panel. The first step was to dimension and surface the pieces. Then I plowed a groove into each piece.

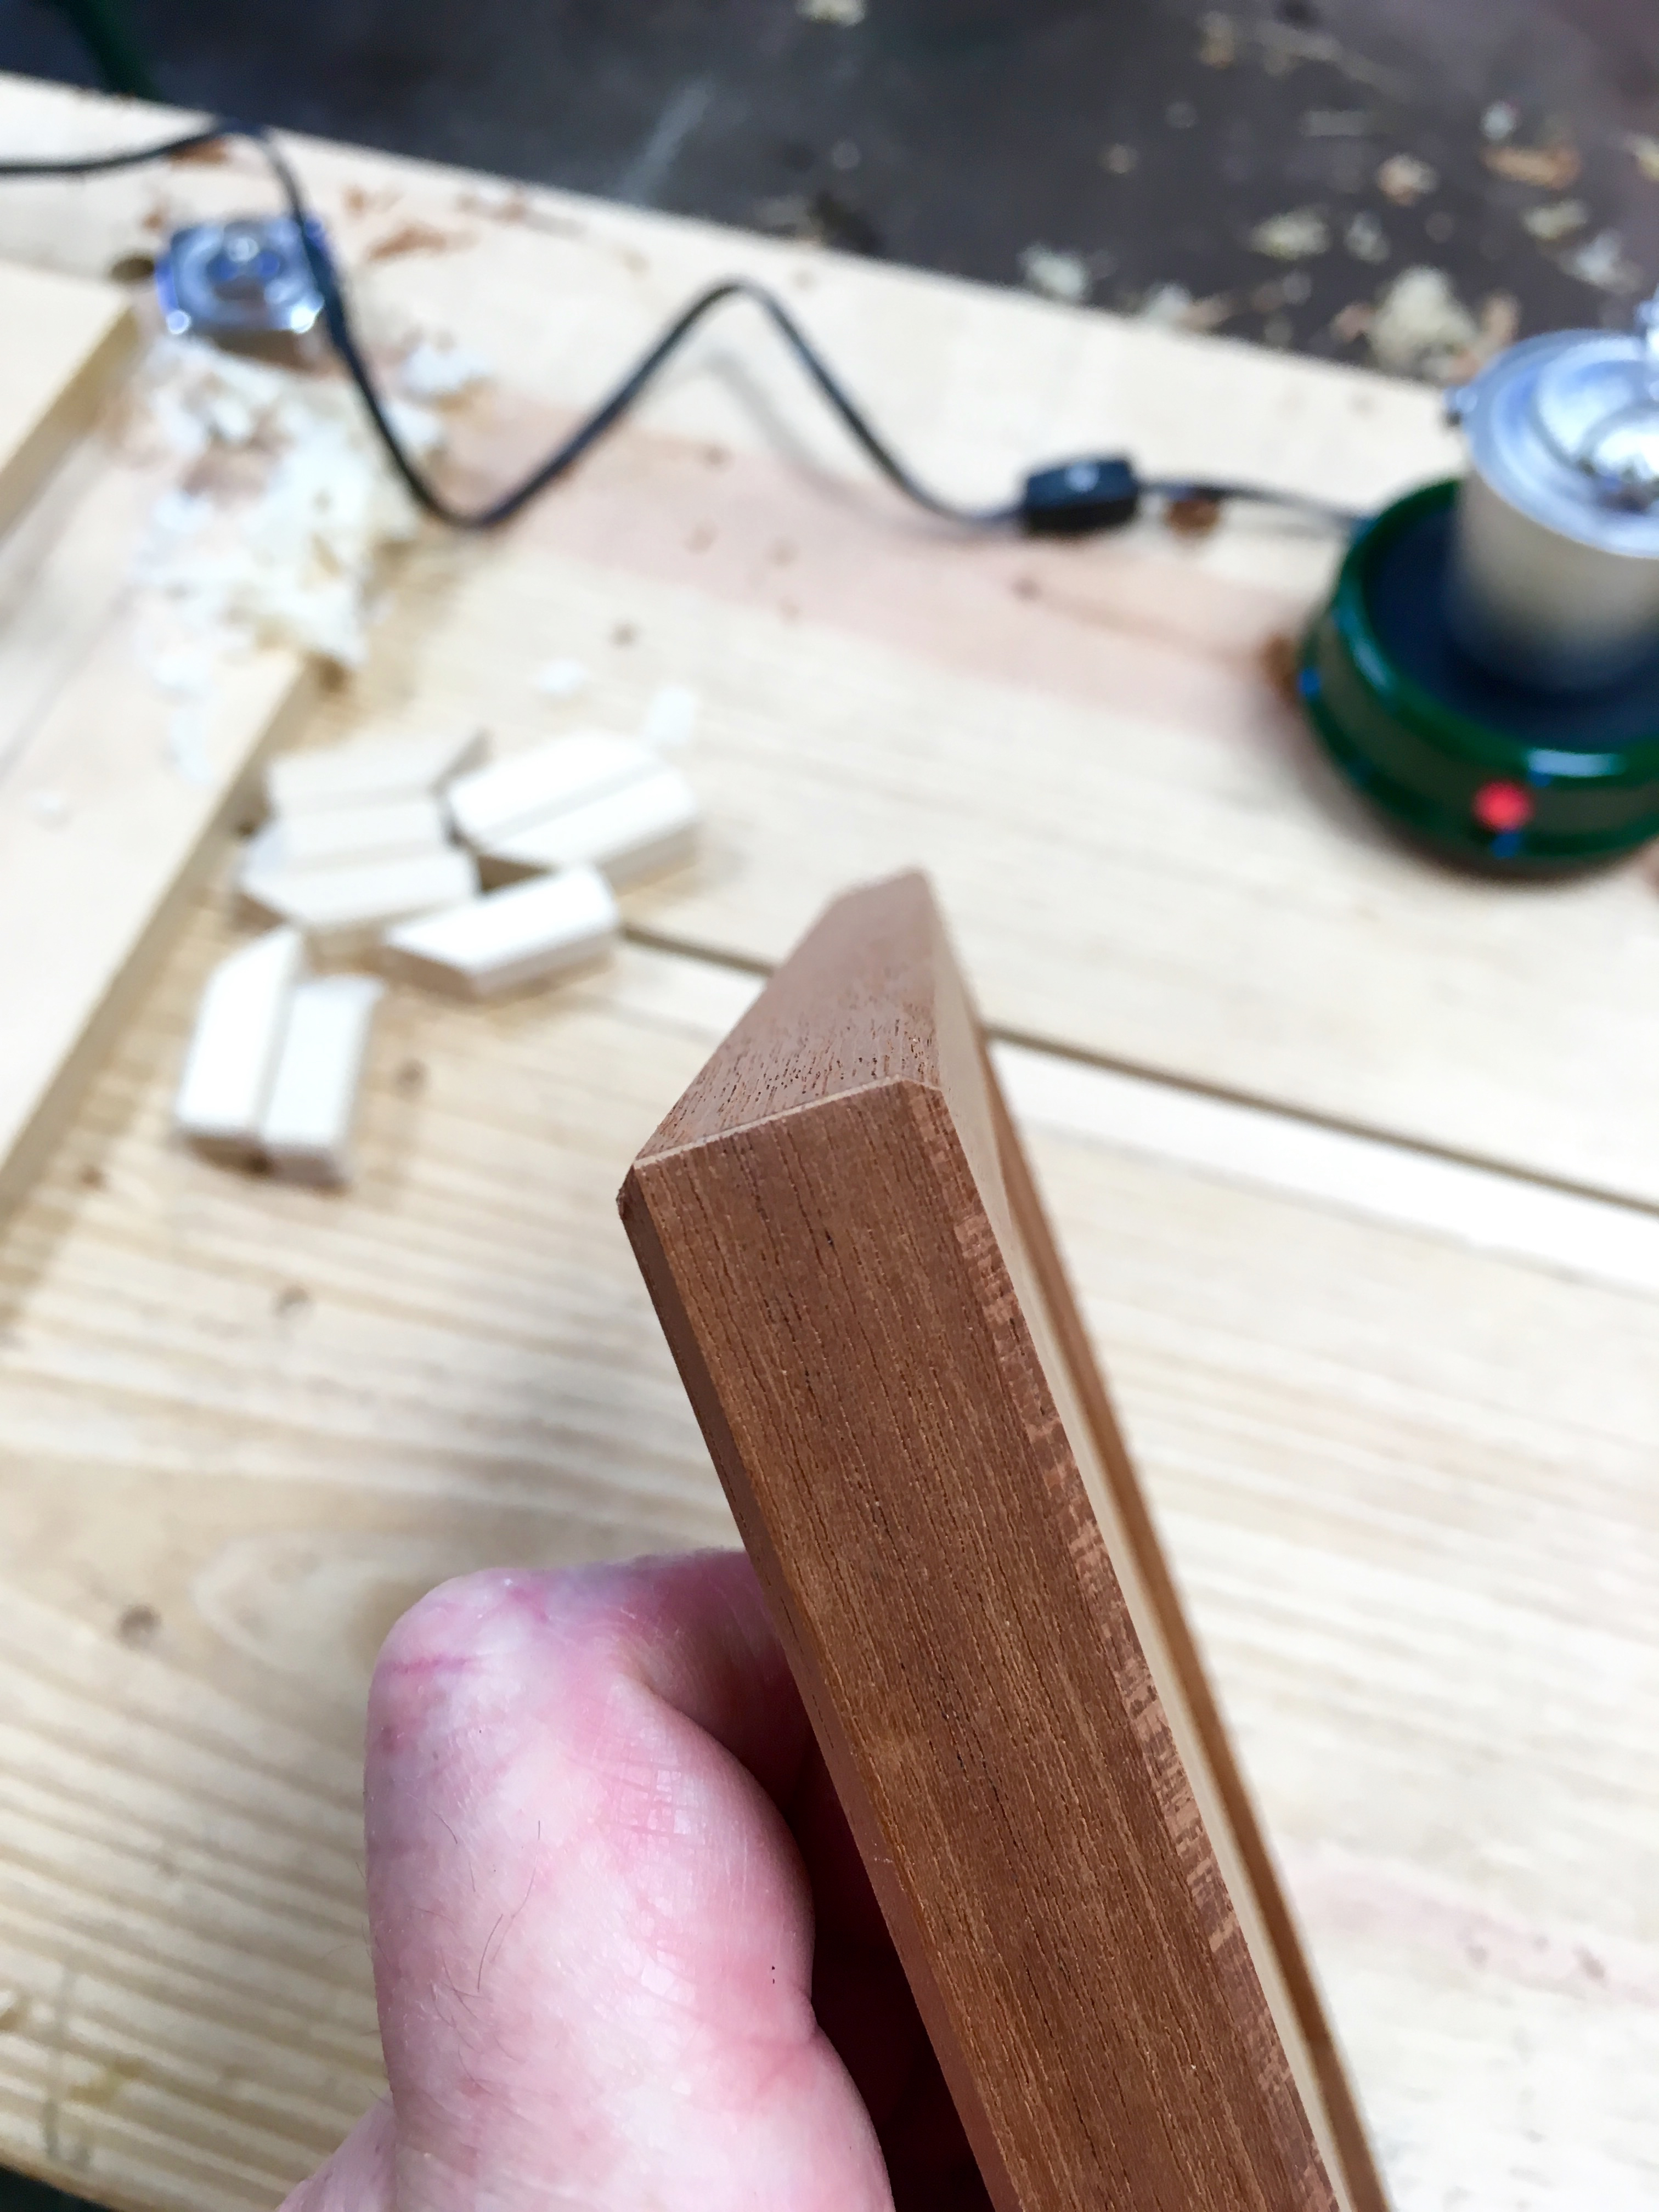
With that complete, I cut and mitered the four pieces for the frame. Cleaning up the miters on the shooting board. I also added a chamfer to all of the inside edges of the frame pieces before tackling the glue up.
This is my first chance to use hot hide glue and my new toy that I’ve had for a while now. When I built my first Hillbilly Tansu I started using liquid hide glue for the extended working time and became an instant fan. One of my issues however is that liquid hide glue has a shelf life. For most people this isn’t a problem, but I don’t use that much glue in my projects. Heck some of them don’t require any glue at all (Chinese Gate Bench). So some glue expires before I have a chance to use it. This plays havoc on my practical nature. The extended working time of liquid hide glue isn’t always a benefit. Sometimes a much faster set time is a good thing. Drawers, boxes and mitered frames, being examples.
Granular hide glue has an indefinite shelf life. When mixed and heated, hot hide glue will tack much faster than other glues. So it was time for me to find out for myself. A few months ago I ordered the small hide glue and hot plate package from Lee Valley. It’s small, but holds more than enough glue for the majority of my projects. I also have a bag of 192grm strength hide glue granules. So I mixed up a tablespoon of dry granules and set up the little pot per the instructions. In about 30min I was ready to glue the frame together.

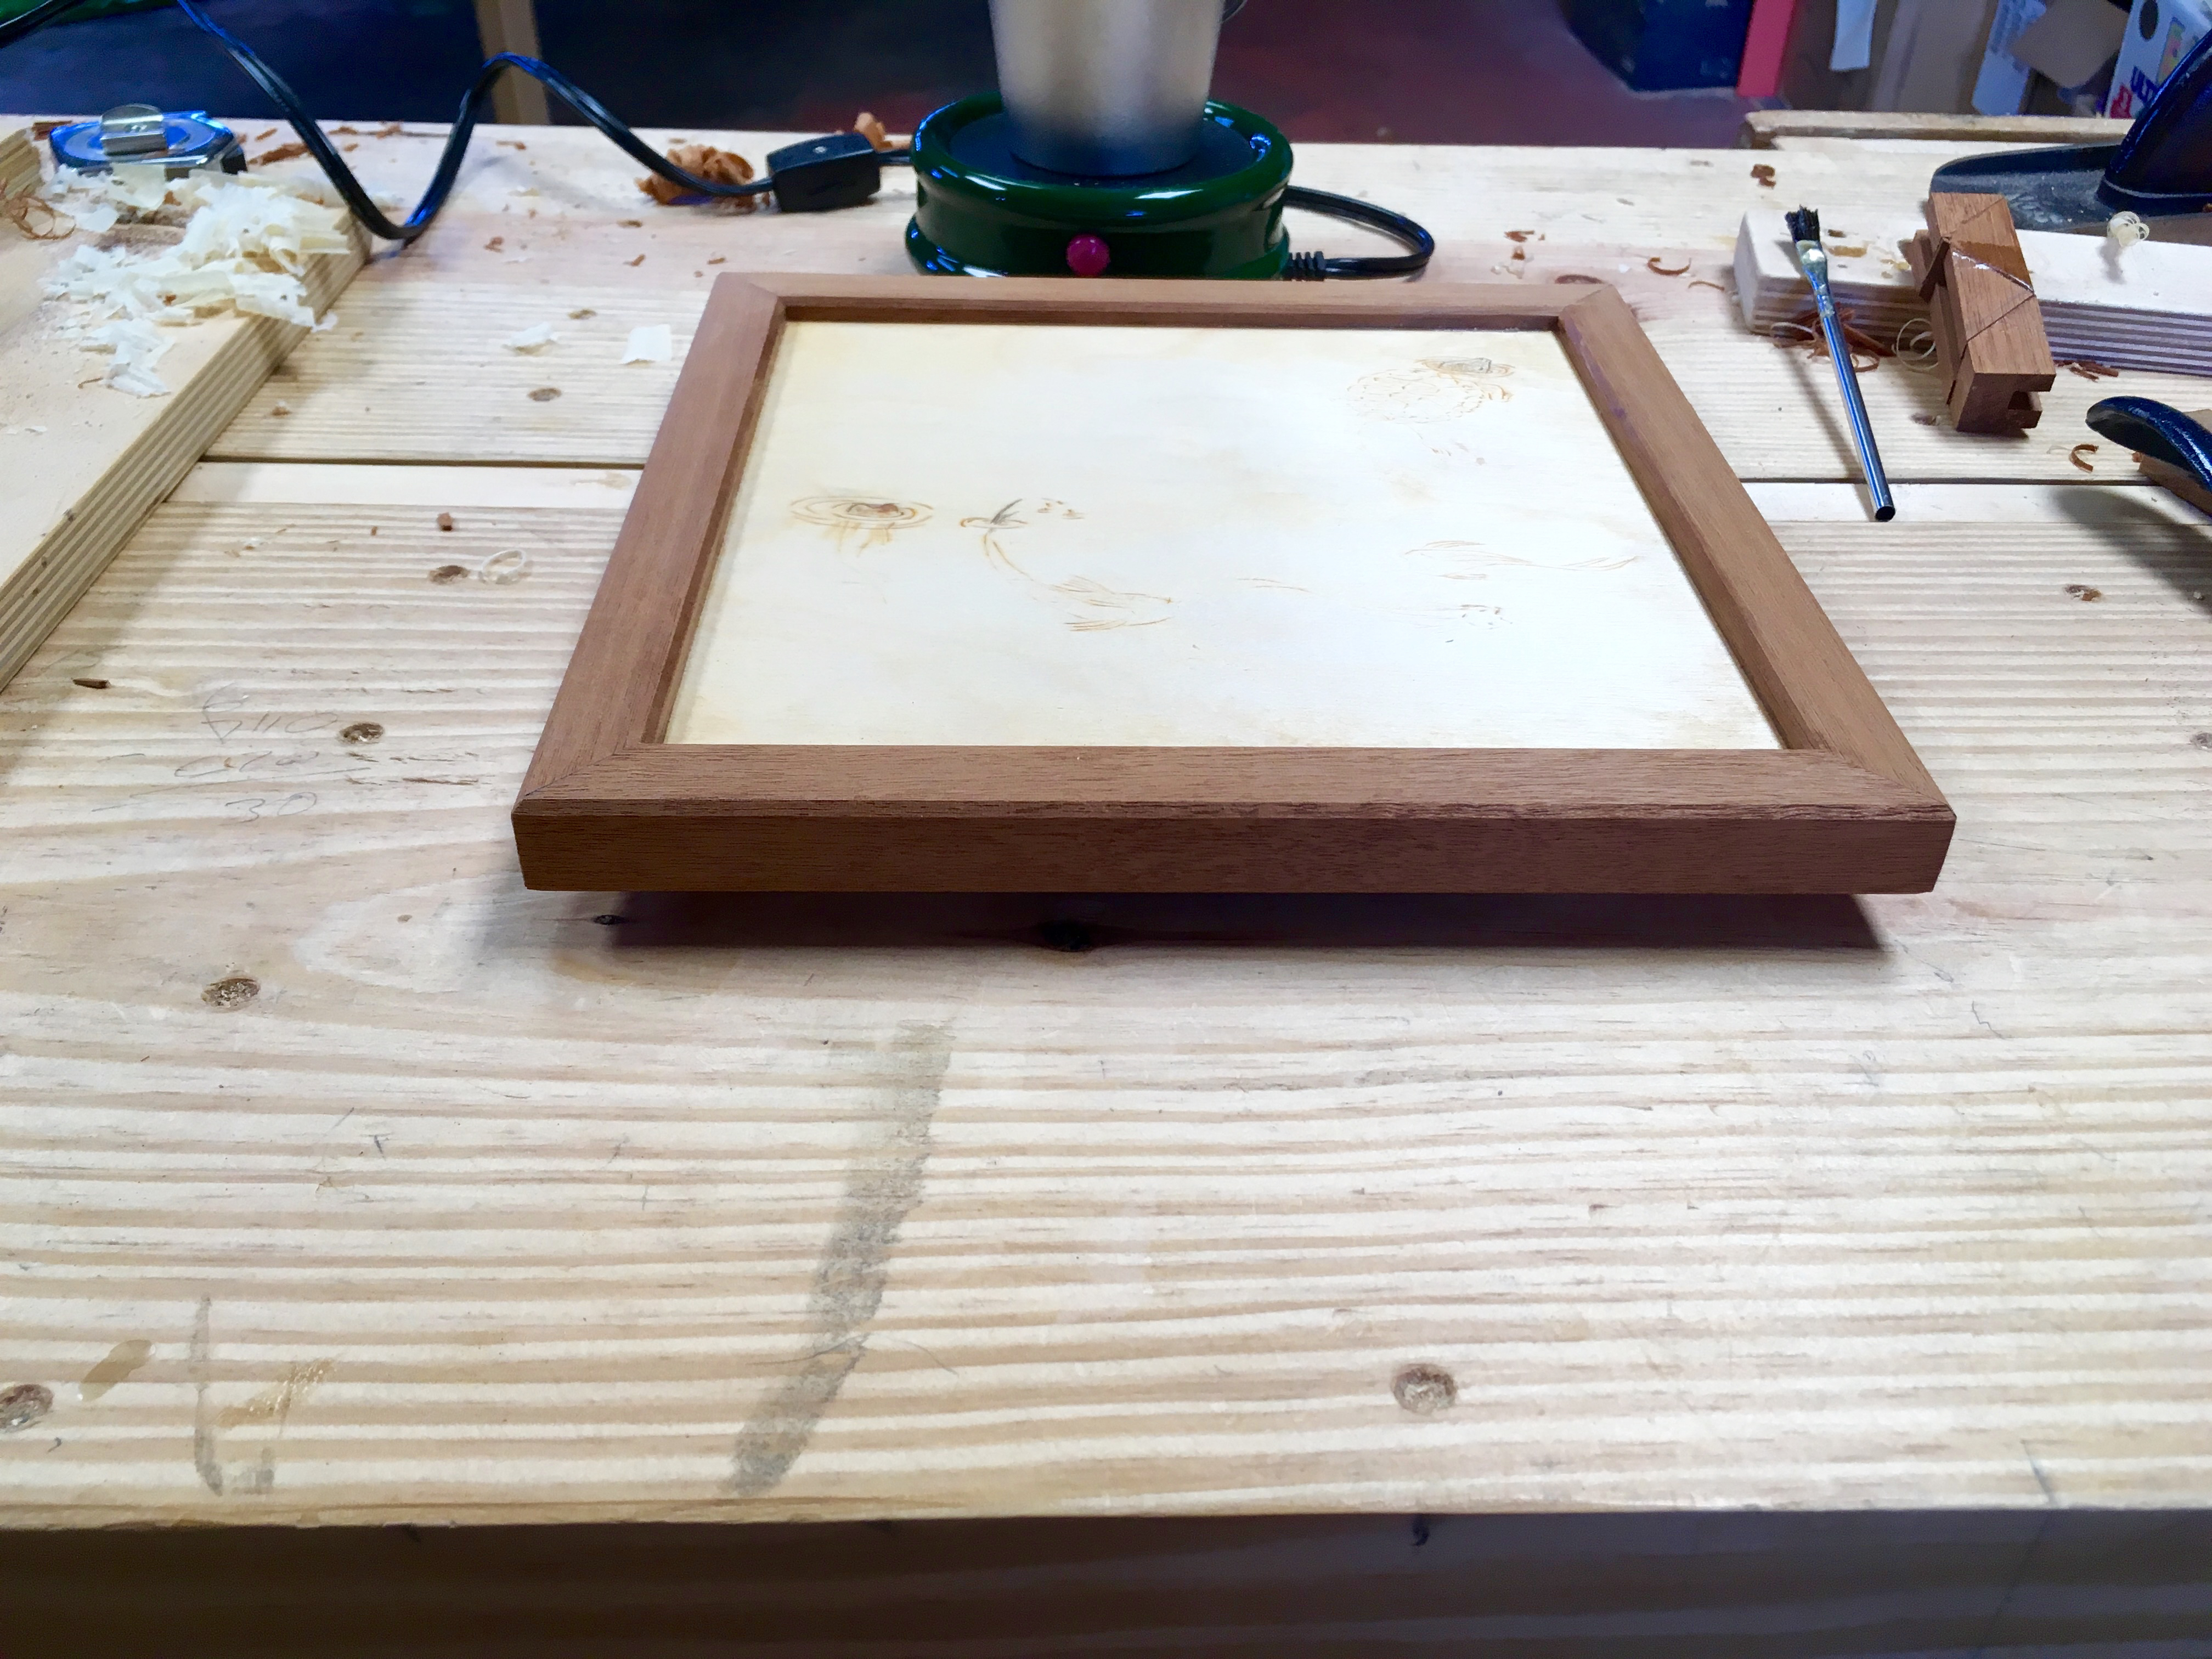
The hot hide glue performed as advertised and made gluing the mitered frame and panel together much easier. Add glue to each part, rub them together and when they grab move to the next corner. I wrapped the assembly to add a little clamping pressure and set the whole thing aside to set up.

The stand design that I sketched calls for an inset foot. Raising the frame and insetting the feet should give the stand a floating effect. To make the pieces for the feet I fished out another scrap, poplar this time. Then I sized, surfaced, mitered and chamfered all eight pieces. The feet will also serve as glue blocks and help to keep this stand together.
After a couple of hours the frame was solid enough for finish planing…

…and chamfering the outer edges.
Then I added the feet.

The floating effect.
The hot hide glue experiment was a rousing success. Not only did it make the assembly easier with its fast tack, it shaved a full day off of my build time. With other glue options I would have need to wait 24hrs before moving on to the next step. I’ll be able to start the finishing process on this little stand tomorrow thanks to hot hide glue.
Greg Merritt Part 2

Neat project, Greg. I think a lot about hide glue. I don’t care for getting a hot plate, but maybe some liquid hide glue. I keep hearing good things about it. I haven’t had to disassemble a project yet, but you never know …
Not only that Matt but it’s also about recreating the past, re living it, abandoning modernisation, finding that zen in your life. I know it all sounds a bit over the top after all it’s just friggin glue but despite all of its property benefits it’s rekindling with the past what attracts me to it.
I’m looking at that picture on Lee Valley and it looks tiny, 1 fl oz converted to grams is about 28. I’ve never measured how many grams I ever used on a project and I wonder just how much I could cover with 28 grams of glue. I know Greg the shelf life is an issue but as Don said if you add salt when you making liquid hide it will have an indefinite shelf life but just how much salt is the question. I’m waiting to see how Antonio goes with his making and if he will add the salt. If 28 grams is enough to cover a single project then I’ll be getting one myself but then I’ll need an electric stove as your voltage is different to ours or is just a matter of getting a converter.
Salko the “hot” plate is just a high quality mug warmer. So you should be able to find one locally. The pot is small, but 1 ounce of glue is more than you think. I struggled with the size as well. It holds enough glue to assemble at least two clocks of the style that you just built. The pot is really high quality and will last generations.
For me I think it will be plenty large for 90% of what I do in one go and I can always add glue to the pot as I go if needed.
Thanks Matt. Hide glue has several advantages. The most commonly touted benefit being reversibility. Long term this means that an item can be disassembled and repaired as needed. Hide glue, when mixed from dry granules, can also be much more economical in the long run. Stephen Shephered wrote a book and is well worth the read if your interested in hide glue.
I’ve been using the Lee Valley pot and found that it’s a good size for most glue-ups, especially since a few ounces of pre-soaked glue keeps for a week (at least) in the fridge. You only need to add more to the pot as you work and it’s ready in about 10 minutes. I’ve tried some small veneering projects and the pot is too small for that, so I’ll be buying a baby bottle warmer or something for the next project. I love working with hide glue because you can brush it right into the joints – not squirt it on and spread it out with a stick or something. You can have as much squeeze out as you like because it wipes clean with a little water and it washes out of clothes. For small stuff, it’s exactly like making plastic models, apply glue and hold the bits together for a minute.
Exactly…I think the Lee Valley pot is a great option for the home workshop.
I figured I’d update this comment…I’ve done a bit of veneering now and have found that the Lee Valley heater works well with smaller mason jars (that you use for jams). They can be nested in a coffee mug with a bit of water. Setting them directly on to the heater hasn’t been a problem but they cool a bit quicker when removed.
It is NOT faire!!! 😦
Man you get me again. When will I catch up man!!! I think of something, prepare and open the e-mail and bum You already did it! LOL
Nice project. I like it and my manager to.
Just a note to the glue. My research lead me to several sources and a common ground is that the full strength is only accomplish 24h to 48h and.
I don’t have that book – its on my list – so maybe you already know this, that blue is also good for other applications (with some additives) like leather, metal, and outdoor, water proof and boat building but could take almost to 5 days to fully cure.
LOL…I didn’t mean to beat you to the punch.
The book is full of useful information. Some you mentioned. Another is using hide glue to glue brass to wood.
I’m looking forward to what you come up with in making your own liquid hide glue.
Pingback: Incense Burner Stand-Part 2-Complete | BY MY OWN HANDS