
 Progress continues on the stools. Mostly one hour at a time after work each day. This has become my basic workflow as of late. Come home, check in and then out to the shop until dinner time. Then grab as much time over the weekend as I can. Anyway…
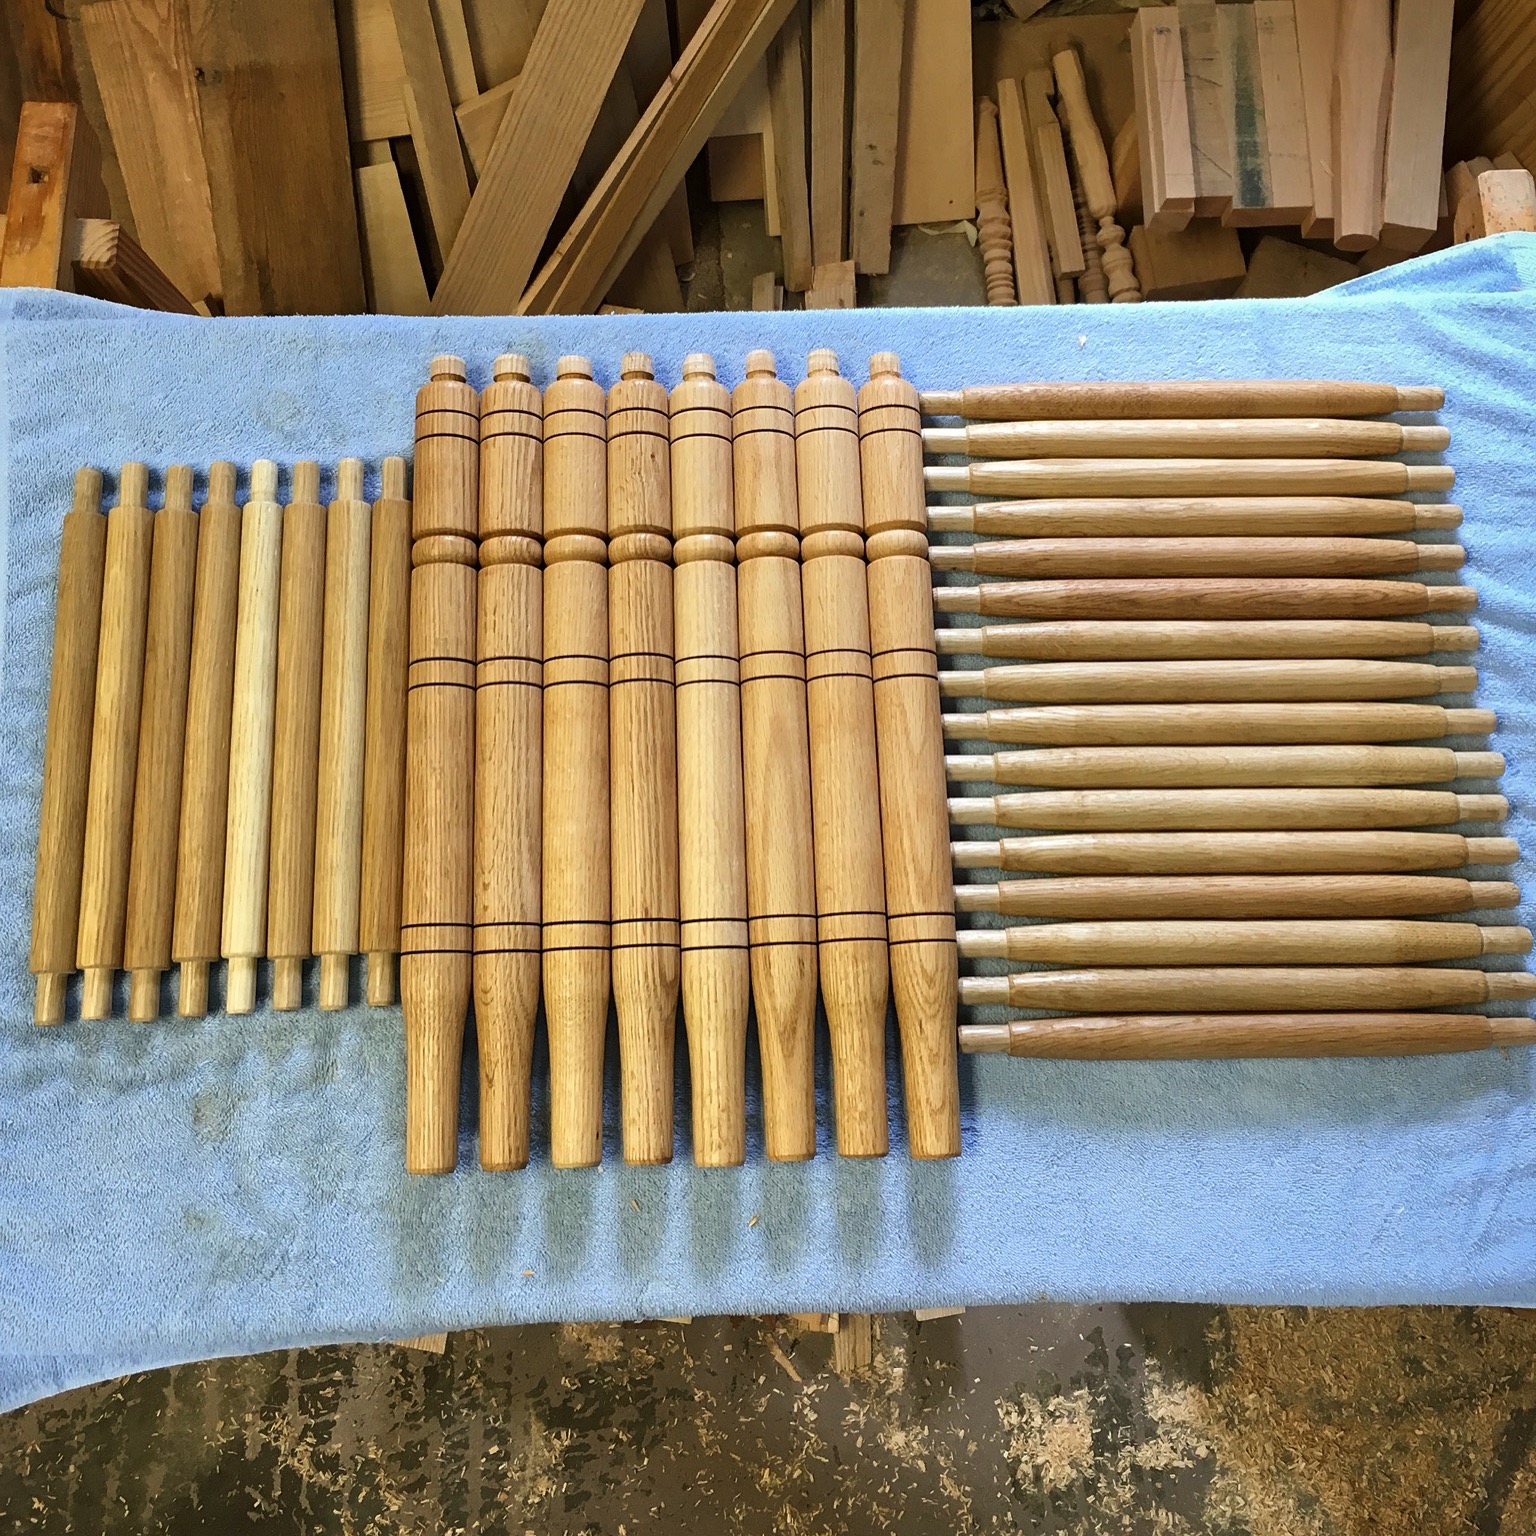
I managed to finish turning all eight of the legs (posts). These are close to final shape, but I’ll most likely chuck them back into the lathe and change the shape of the taper to the foot. I also completed the initial turning of all of the required rungs.
When I design a project I tend to focus on the overall proportions and keep the details to a minimum. I do this so as not to overly influence the final product. I know this seems counter to the whole idea of design, but it’s what works for me. My goal is not to crank out identical, production style pieces. If I make a piece again, I want the proportions to be right, but I also want each piece, or series of pieces, to be unique. So part of my process is to work each element in stages. Essentially designing on the fly through a process of gradual reduction.

Working this way would drive some folks absolutely crazy. A lot of people like to have everything mapped out ahead of time. For me though, I like having the details sort of evolve along with the project itself. Sometimes I have an idea about the details from the start, but often I don’t have clue what will develop. I find this to be particularly true with my wood turning. A contributing factor is that I’m not all that confident in my developing wood turning skills, but I’m beginning to find my way.
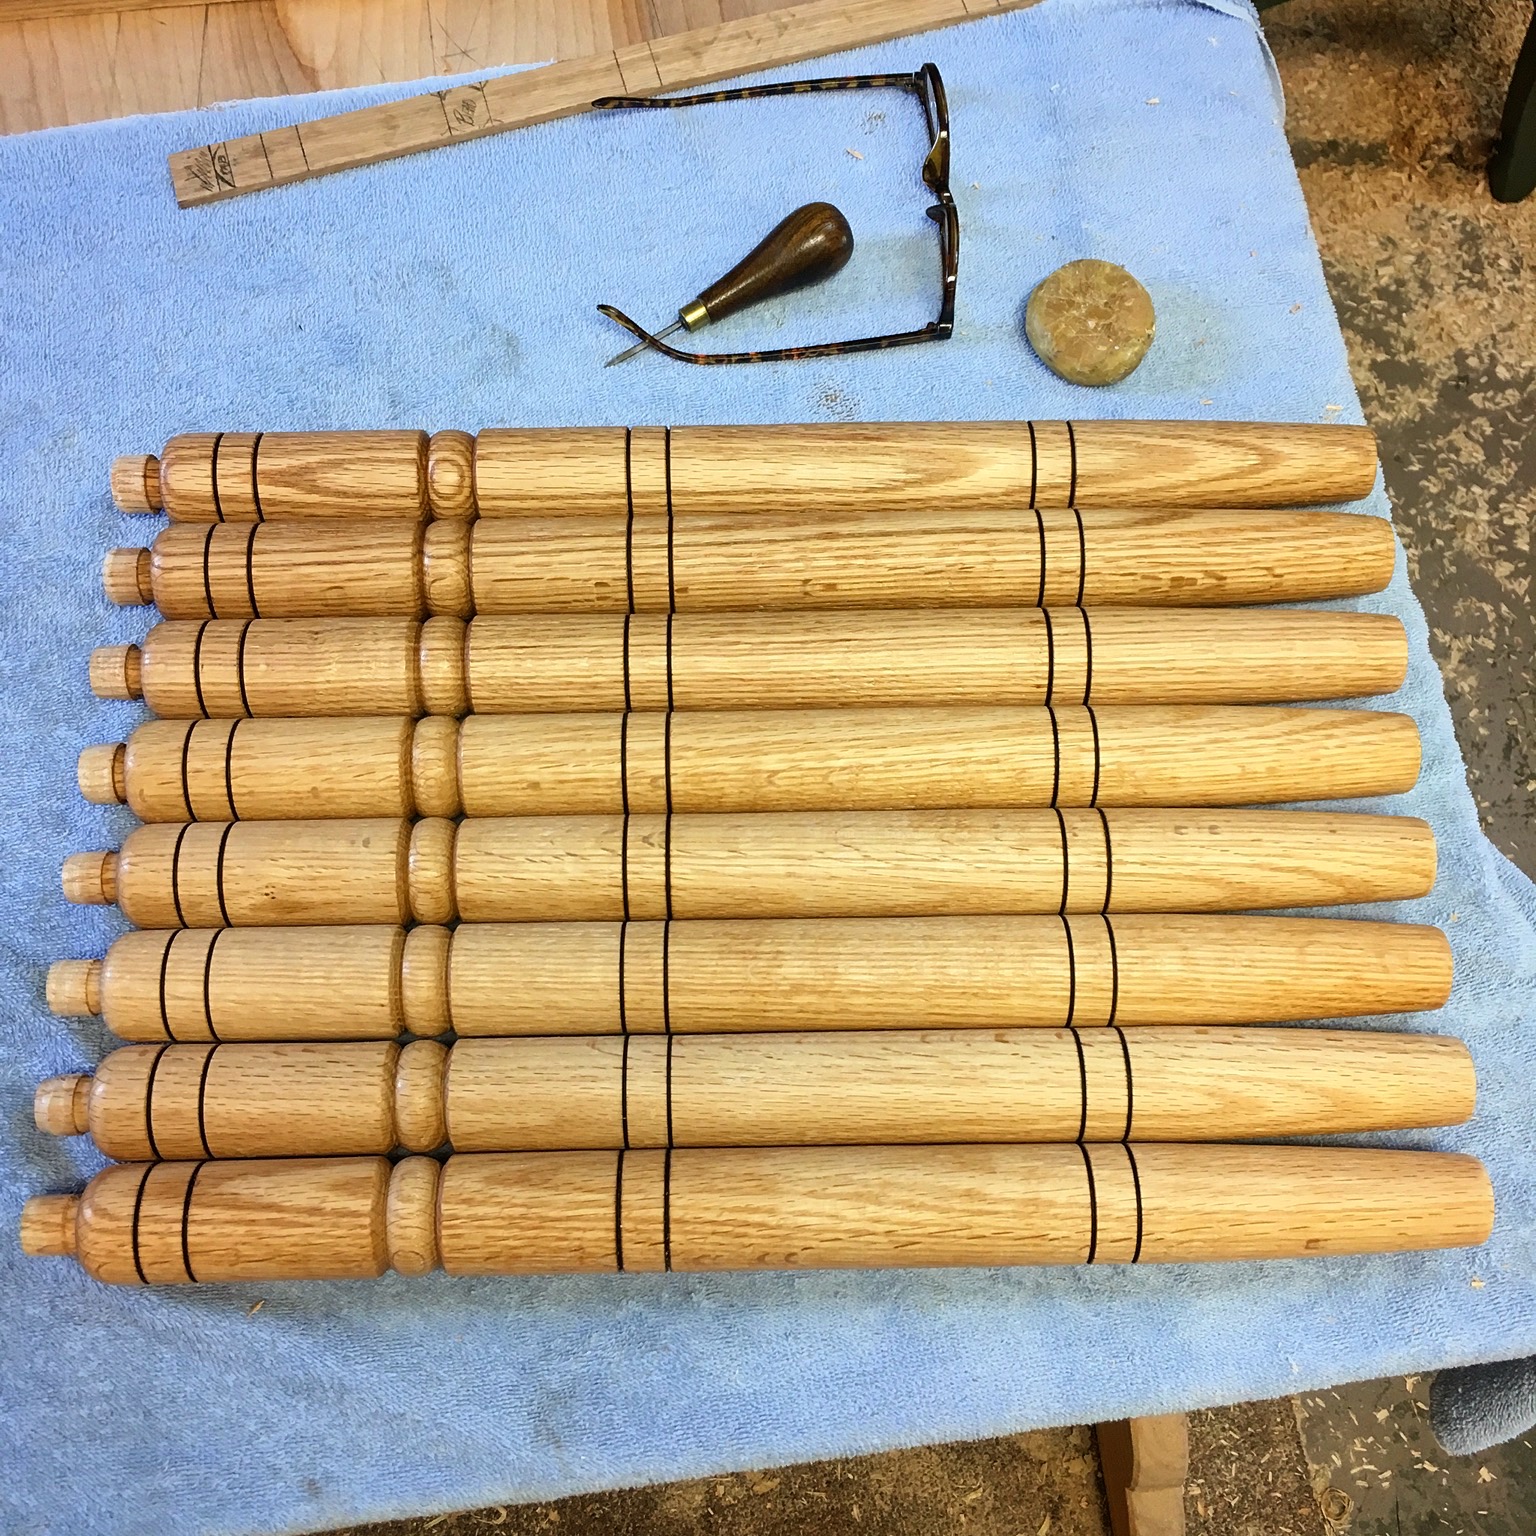
The point of all that rambling is that my pieces tend to change as a project progresses. The first change to the project at hand was to add a bead to the legs.

The rungs were next to fall victim to change. I first turned all of the rungs to a simple cylinder and added the tenons. I then set eight of them aside to become the top rungs around which I’ll weave the fibre rush seat. The remaining rungs went back on the lather and received a taper on each end.
The final bit of modification was to the foot end of the legs (post). During the initial turning I established the transition point of the taper to the foot, but left this area “fat”. I felt they needed a little more grace and took cues from some Shaker examples to added a bit of life to the taper.
So now I have all of my wood bits ready to go. Next up will be the drilling of holes and assembly of the frames.

Full speed away or did you reach cruise speed? 😉
Just a rhythm of work. Not pushing, not going slow, just steady. Letting the work at hand and my skill level dictate the pace.
Pingback: Shaker Stools 240 Mod-Part 3 | HILLBILLY DAIKU
Pingback: Shaker Stools 240 Mod-Part 1 | HILLBILLY DAIKU