
 With all of the parts complete, it was time to bore some holes. There are (24) rungs which left me facing (48) holes that needed to be drilled plumb and square. It’s not that difficult of task really, but one errant hole can mess up the whole works. Actually, a little variance can be beneficial by way of adding tension into the frame. Too much variance though will either split a post or make it impossible to assemble the frame.
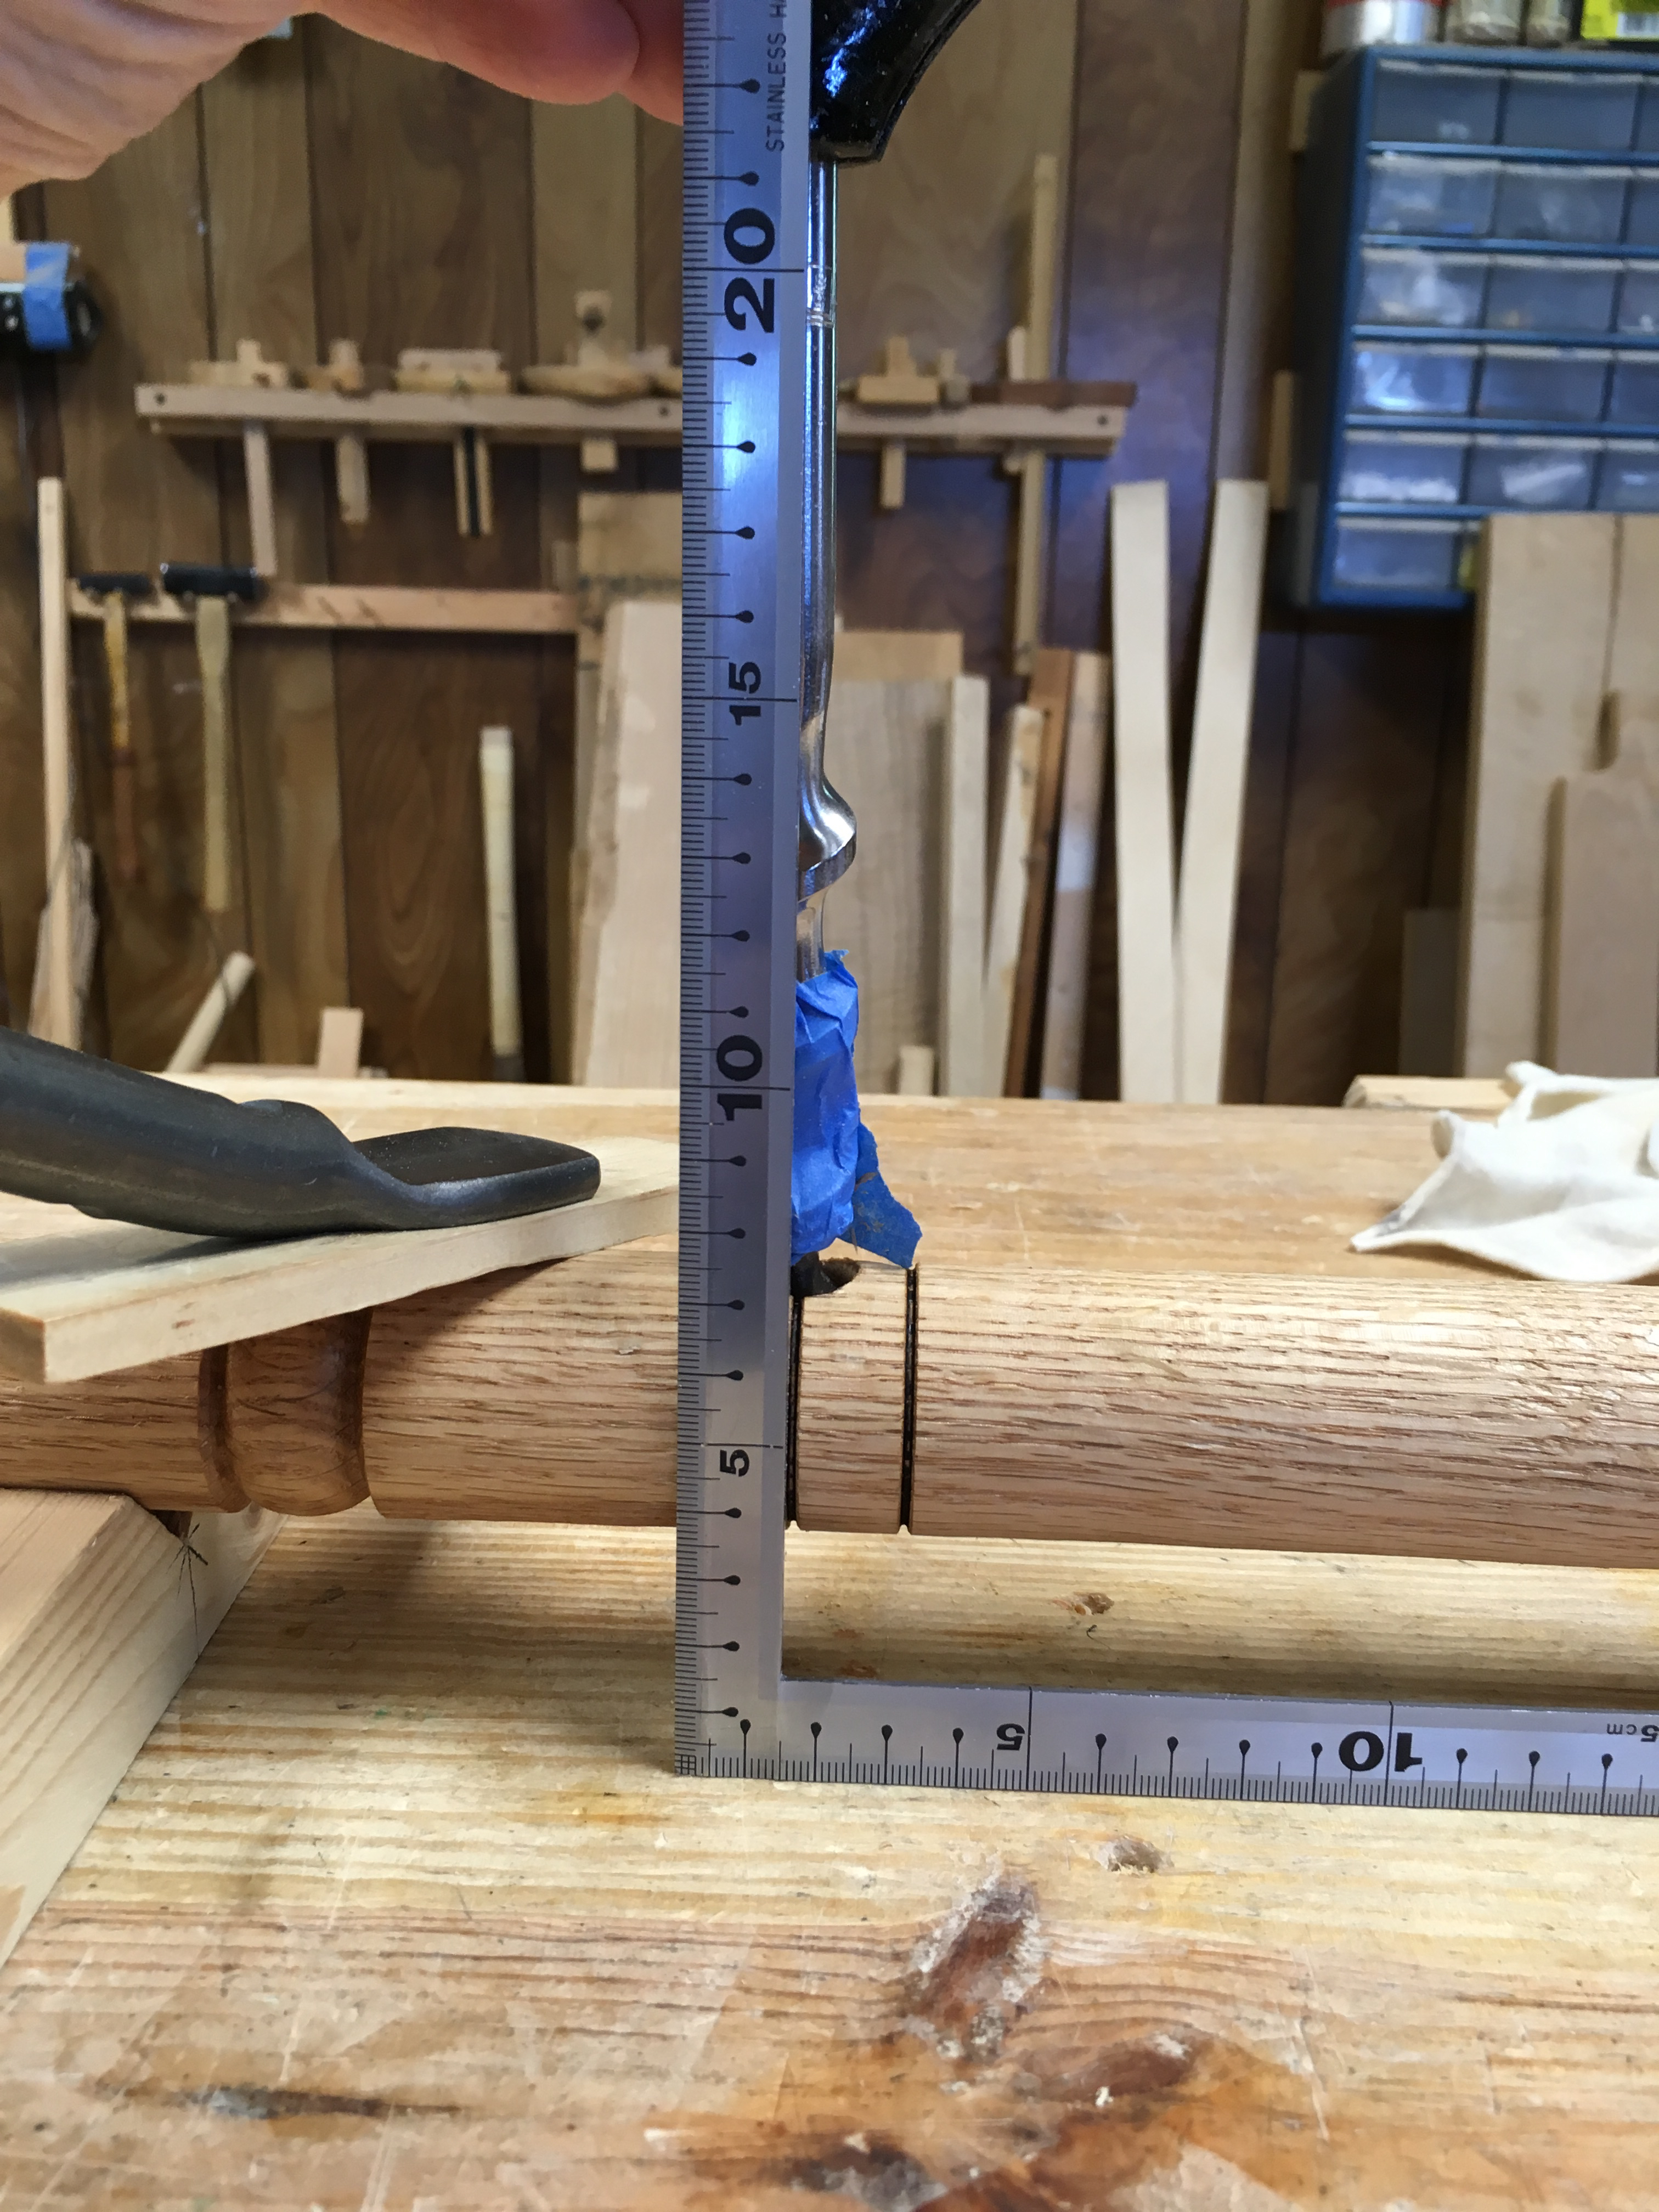
So I cautiously began marking out and drilling each mortise holes. To add a little extra stress, I had to be diligent with my depth. These are blind holes and need to be as deep as possible to form a strong joint. I used a standard auger bit and had to pay careful attention to the lead screw. Half a turn too far and the lead screw would come through the opposite side. To control the depth of bore you can count turns, strap on a vintage depth stop contraption or, as I did, wrap a bit of painters tape around the bit.
The process was to mark out the centers by sighting across the post at the top and bottom locations and connect those with a straight edge to establish the intermediate location.

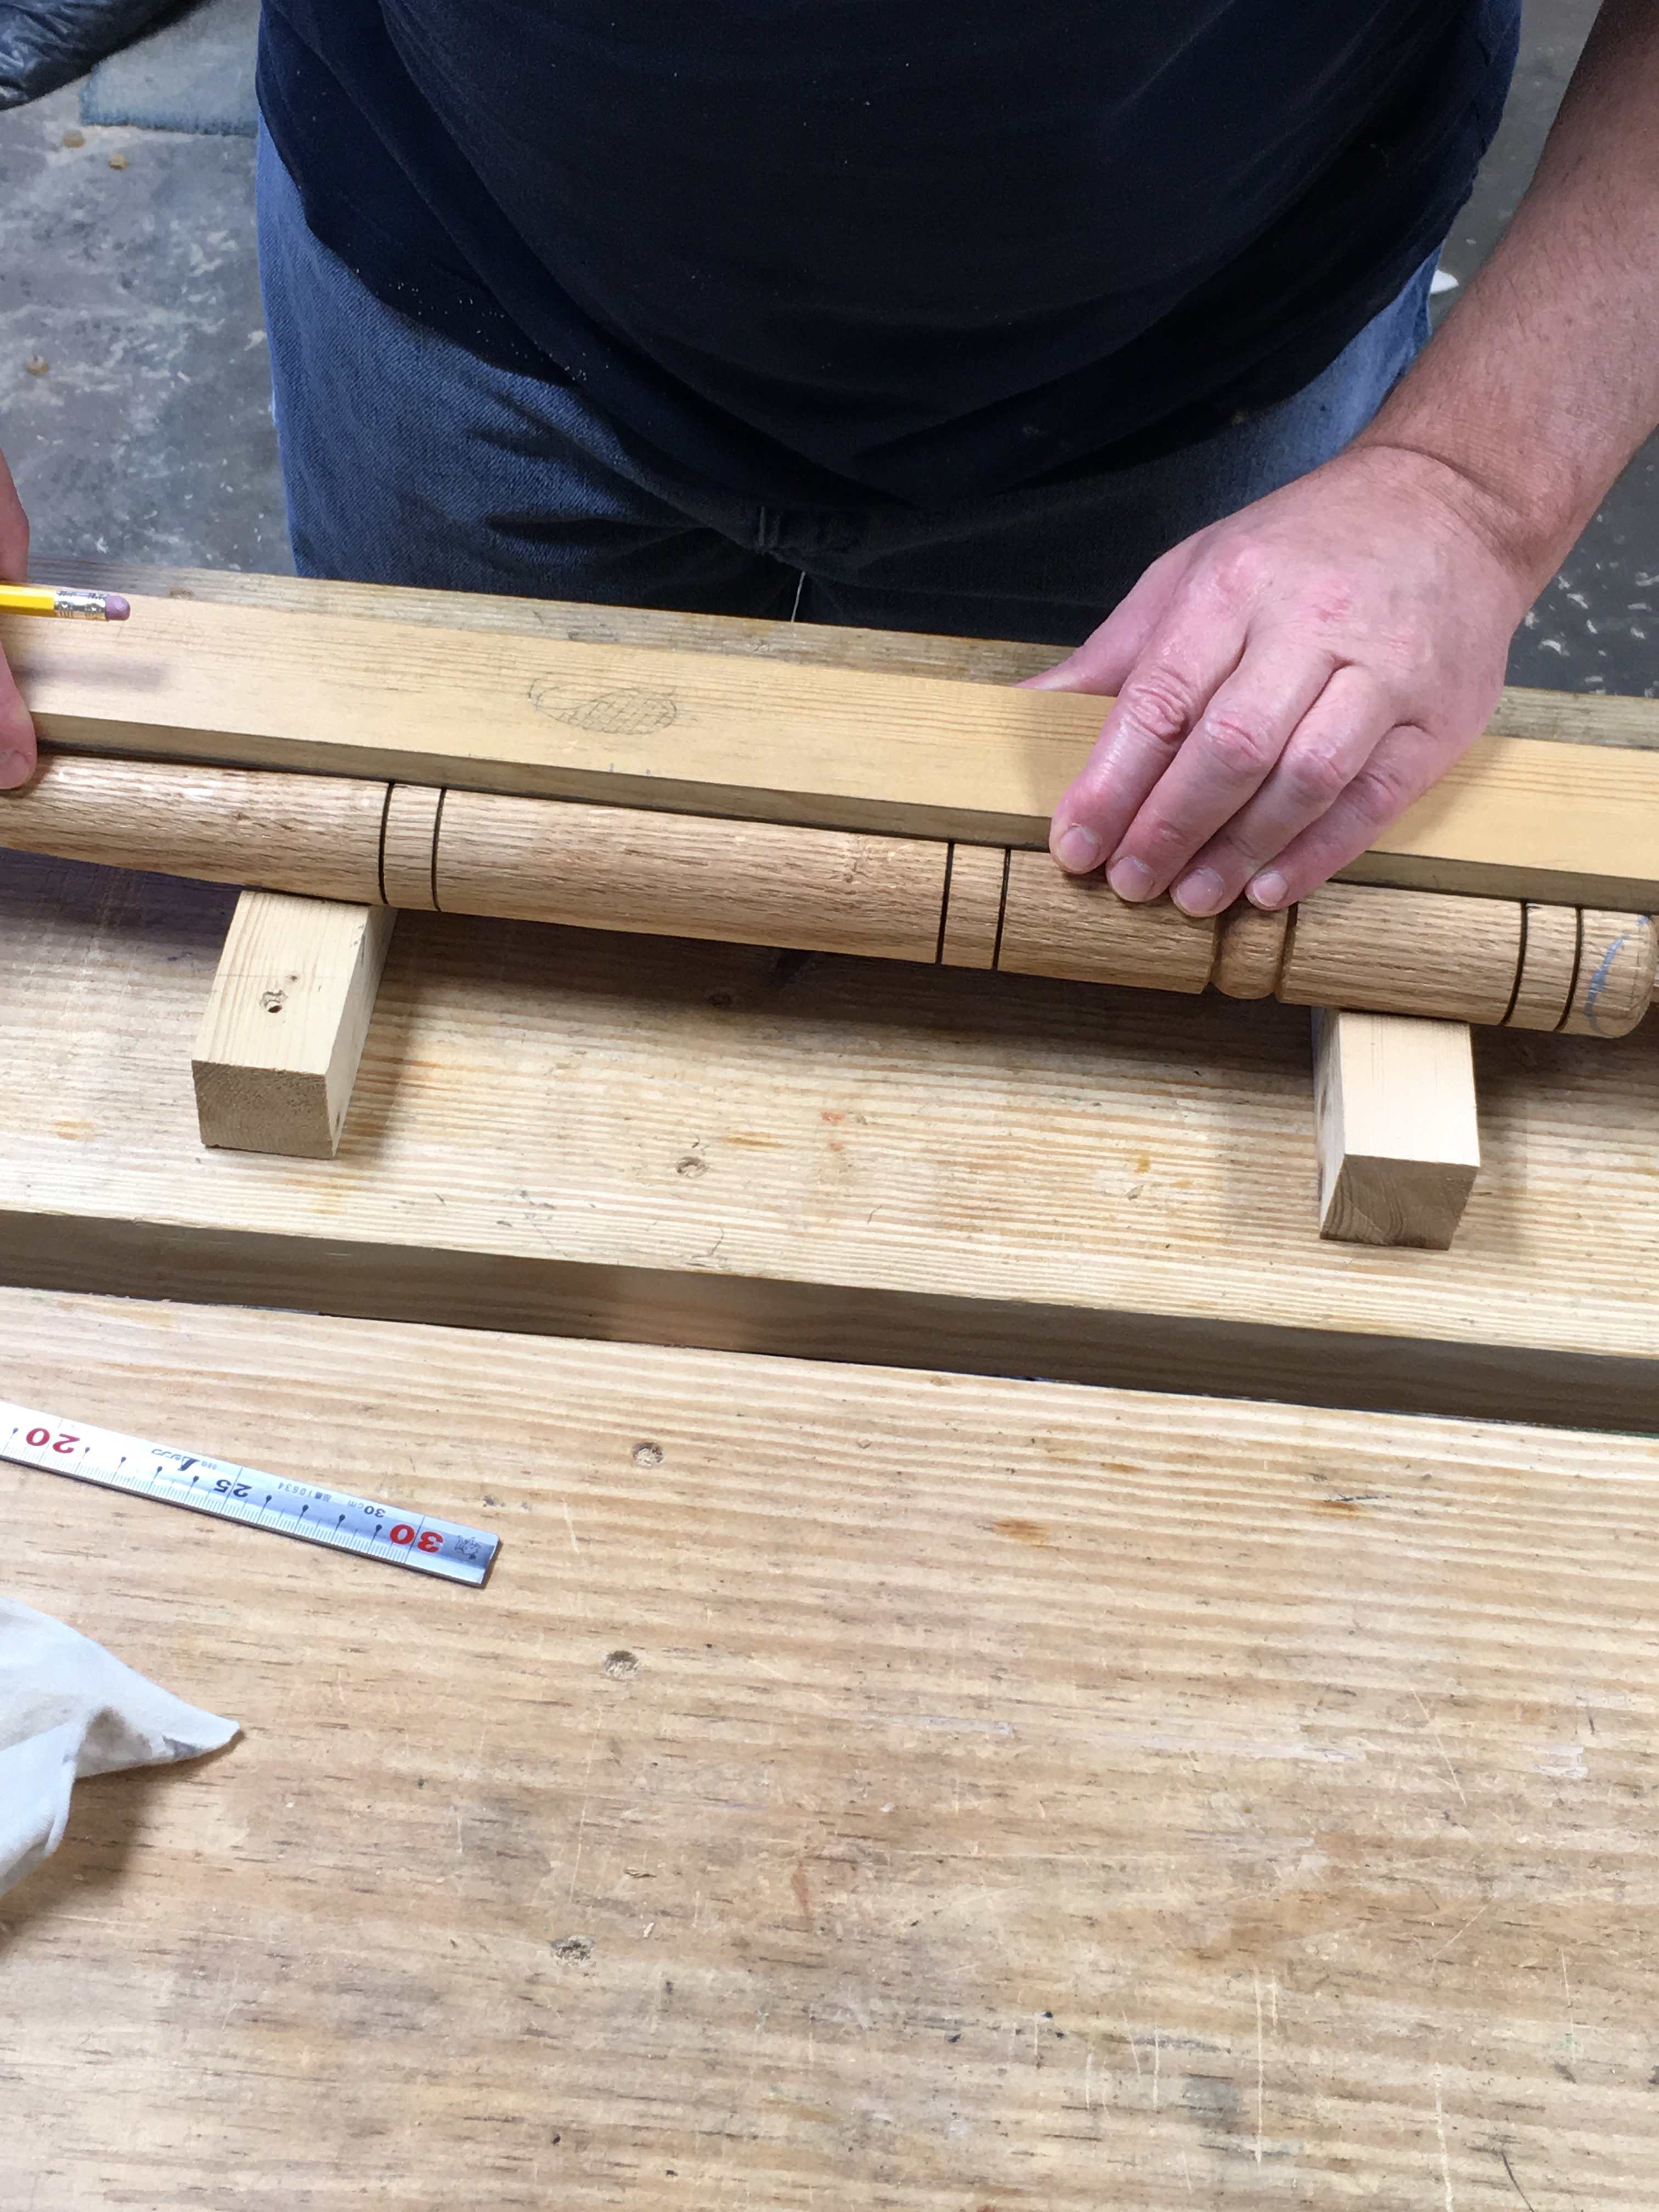
The best way I have found to hold an individual leg is to place it in joiner’s saddles and clamp it to the bench with a holdfast.

The drilling is straight forward, but I checked my progress with a square.
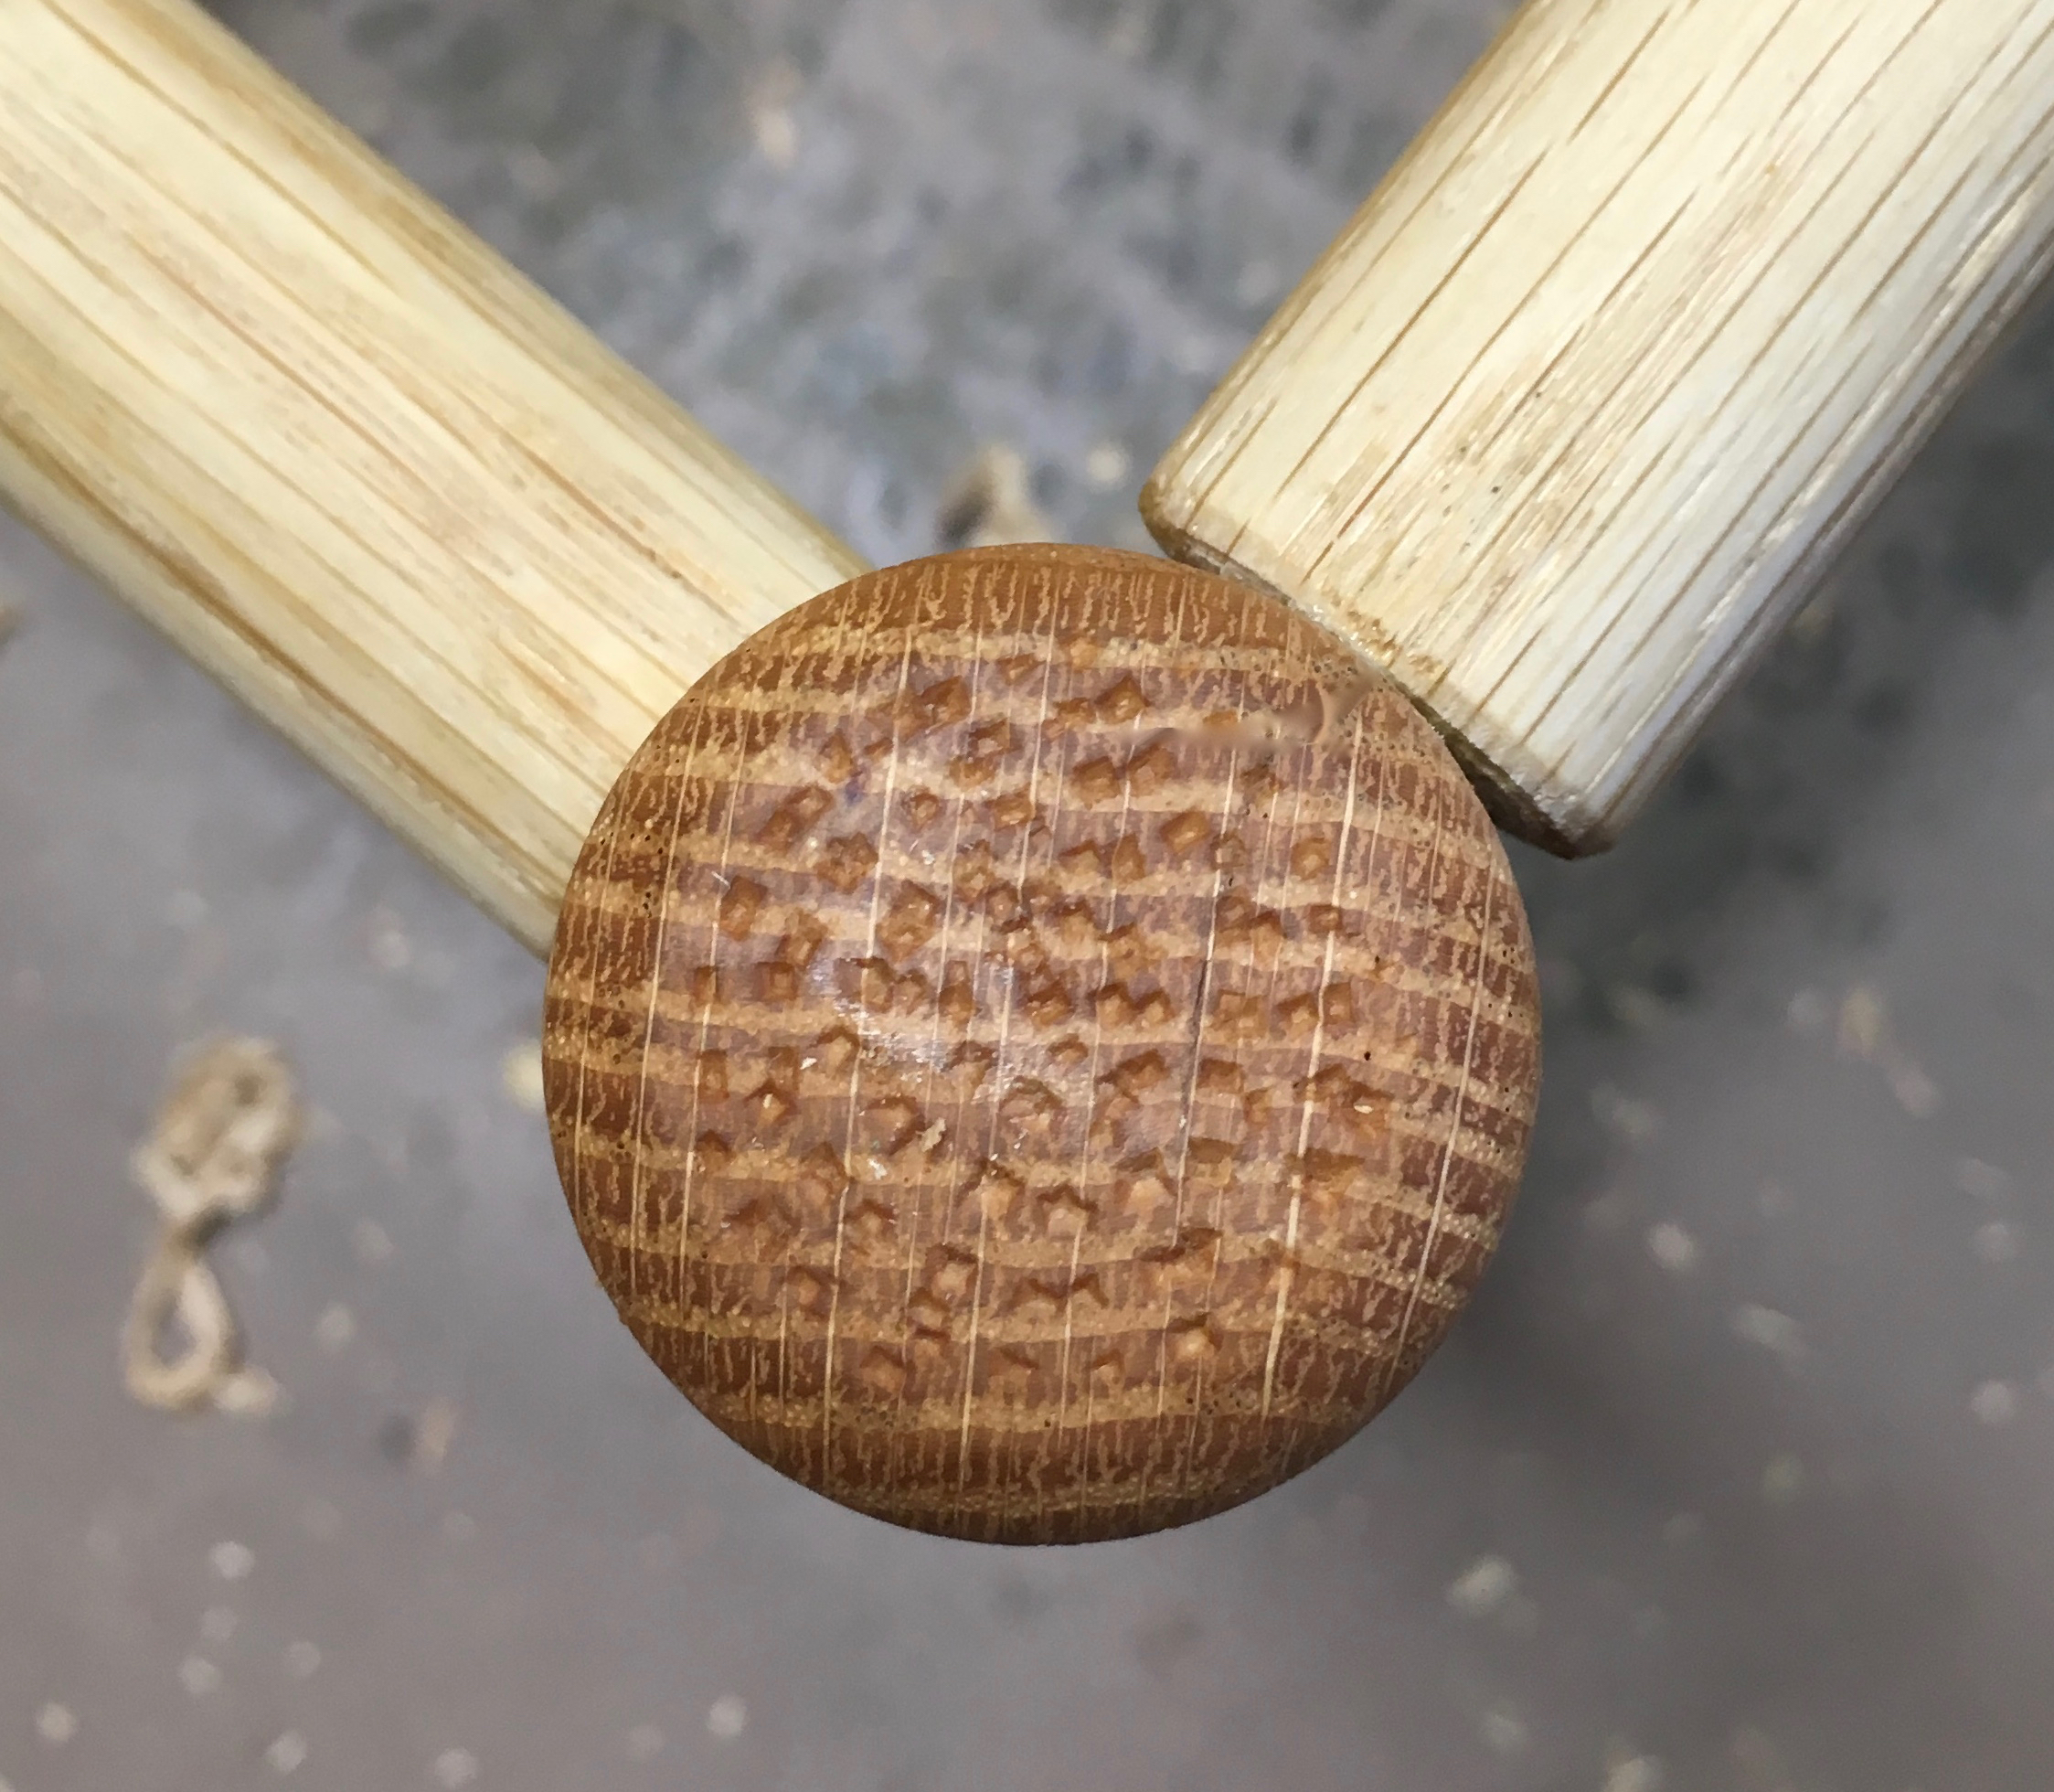
No matter how careful you are, sometimes the point of the auger makes it through to the other side.
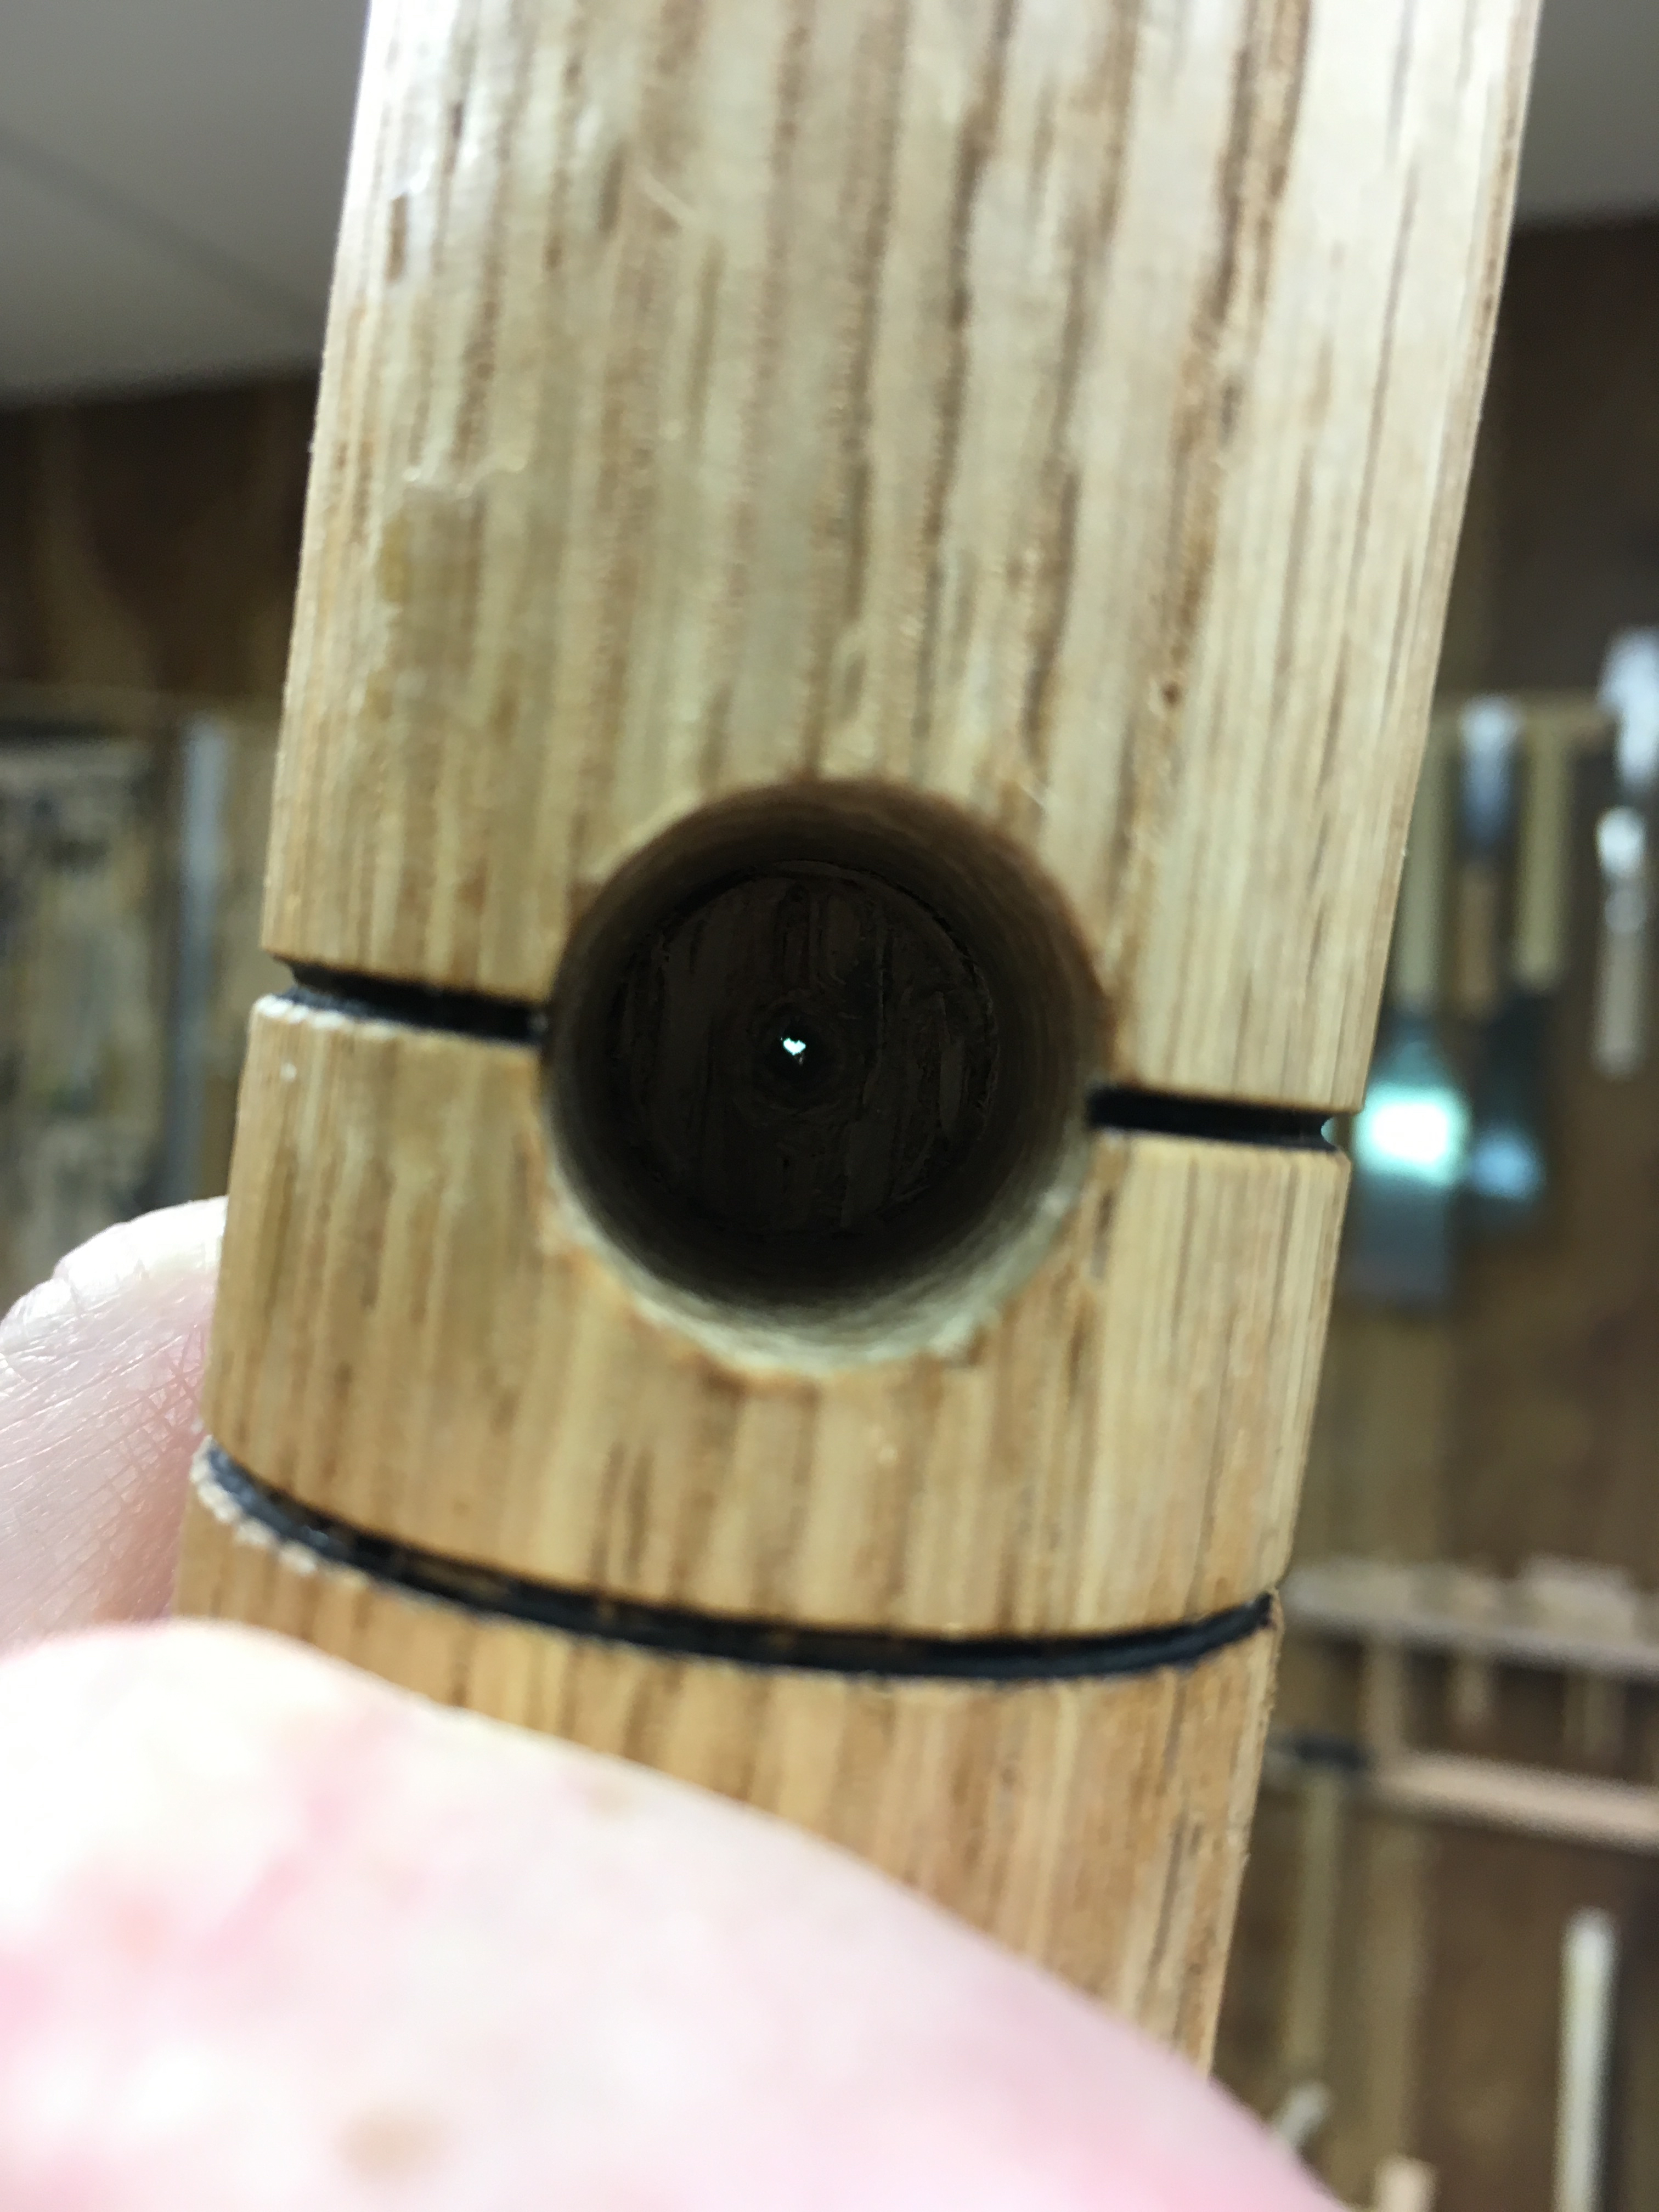
Sometimes though, it validates your skill with the brace and bit.

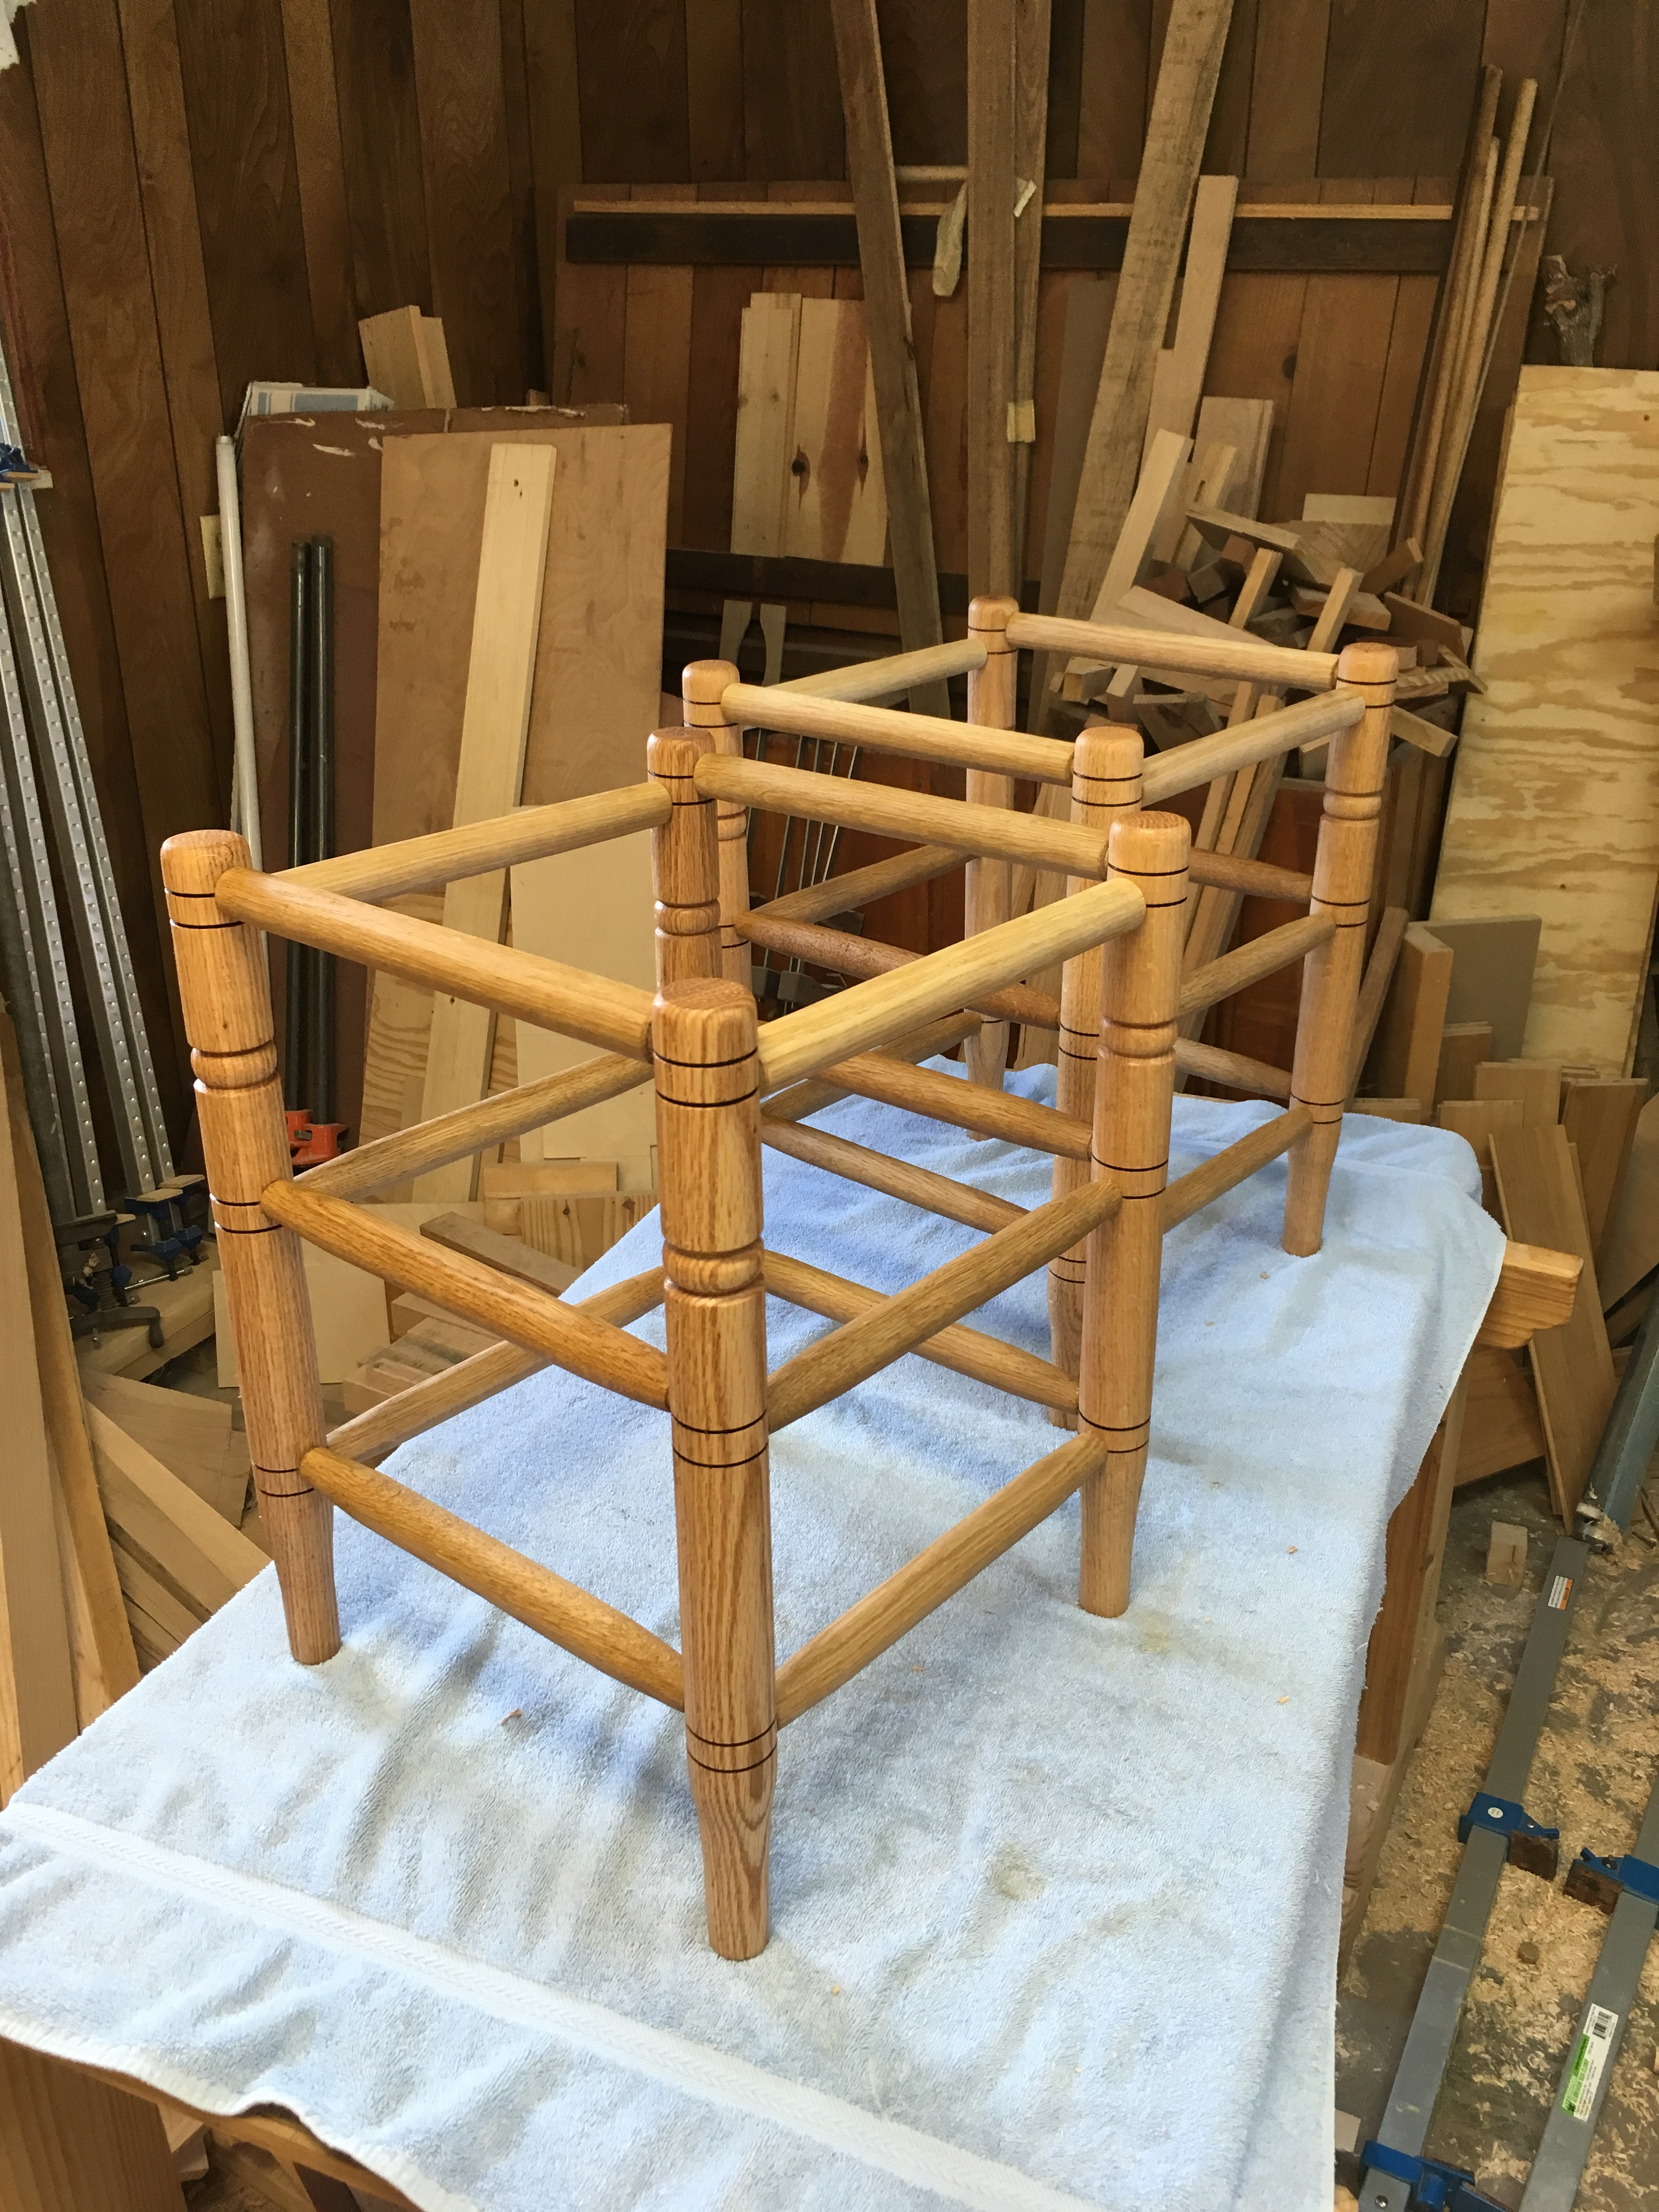
And so I progressed, first with individual frames and then the entire frame.
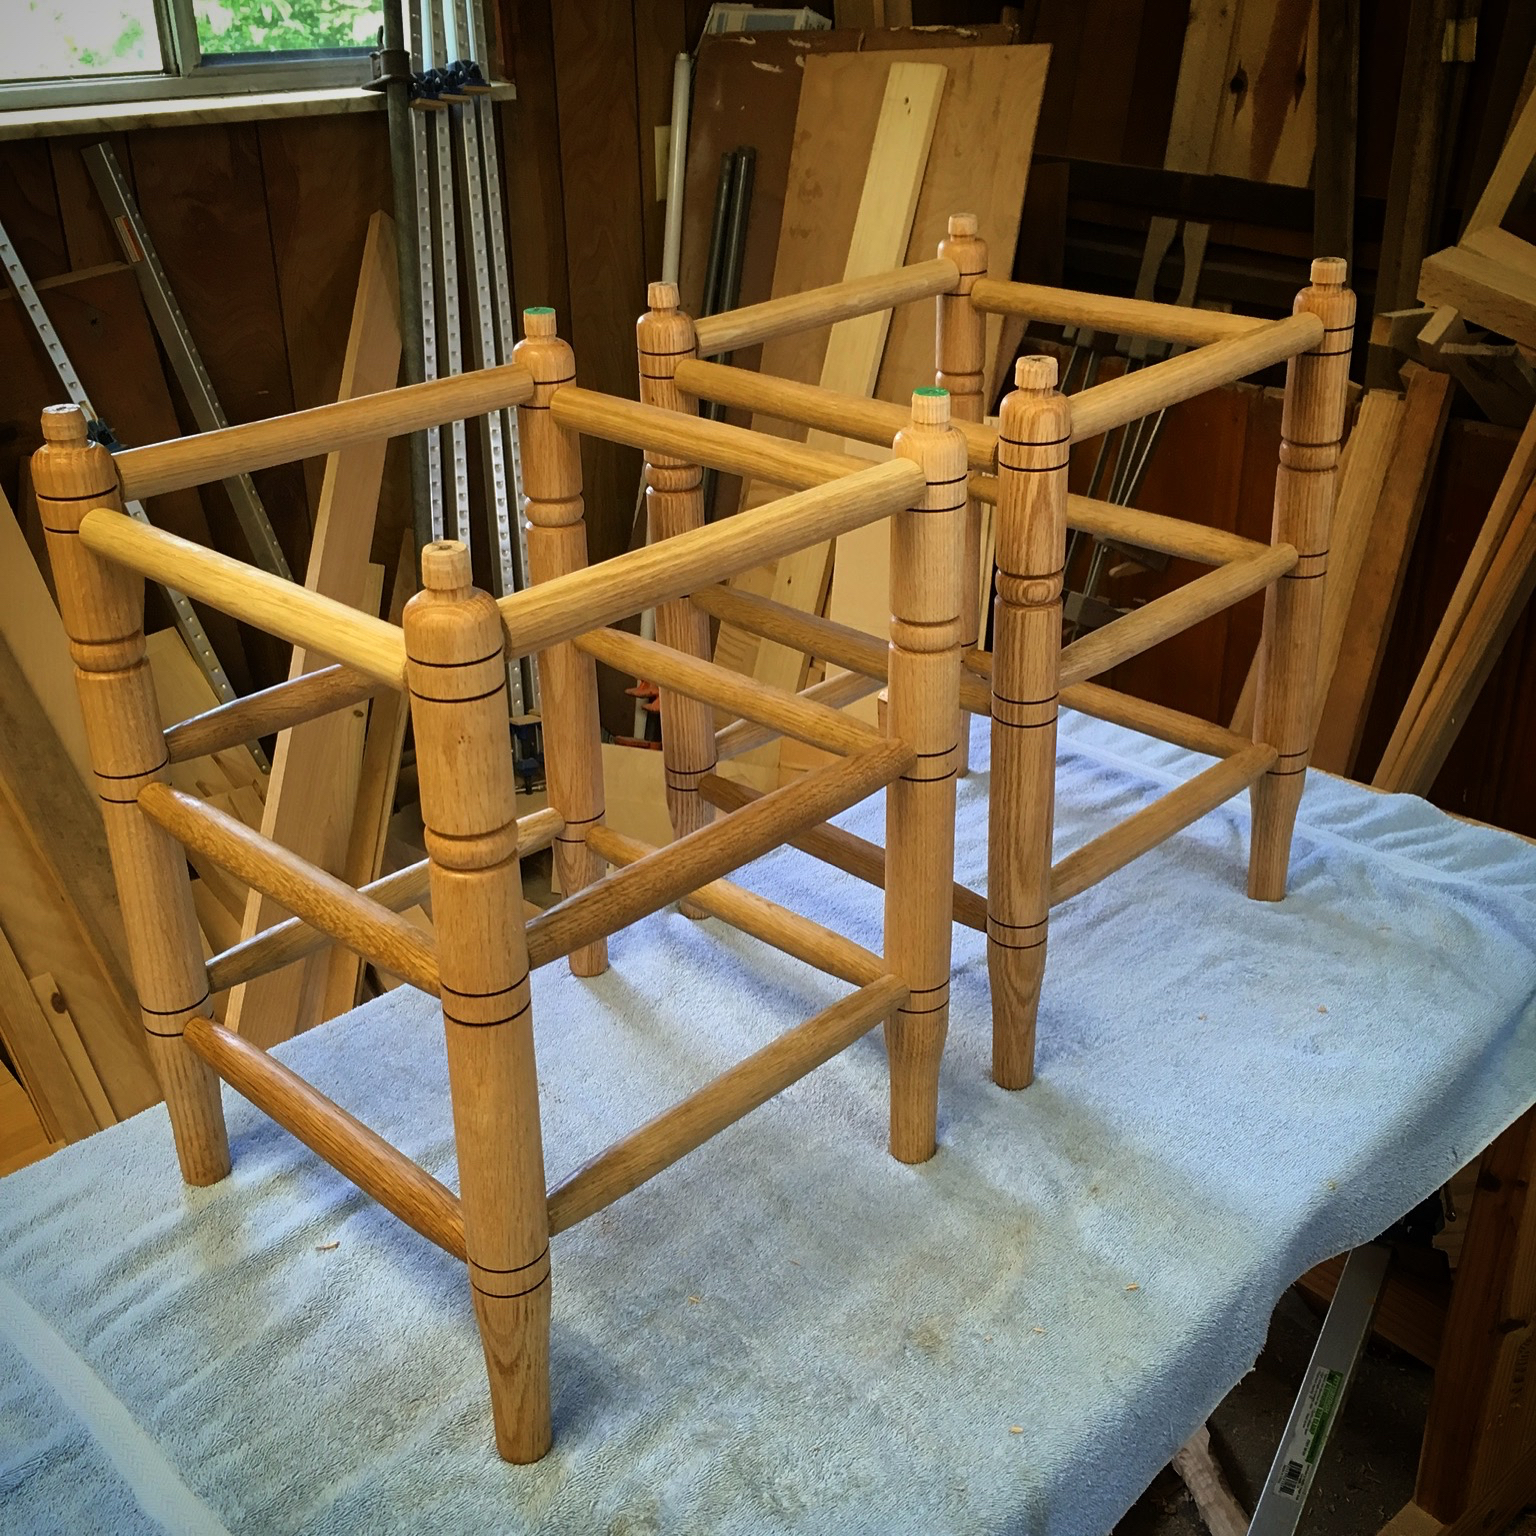
The glue up was a bit stressful. It was a lot of parts to assemble and hot hide glue doesn’t wait. I was given a few extra seconds though, due to the high temp (88F) in my shop. So no pics of the glue up. All of my concentration was on the task at hand.
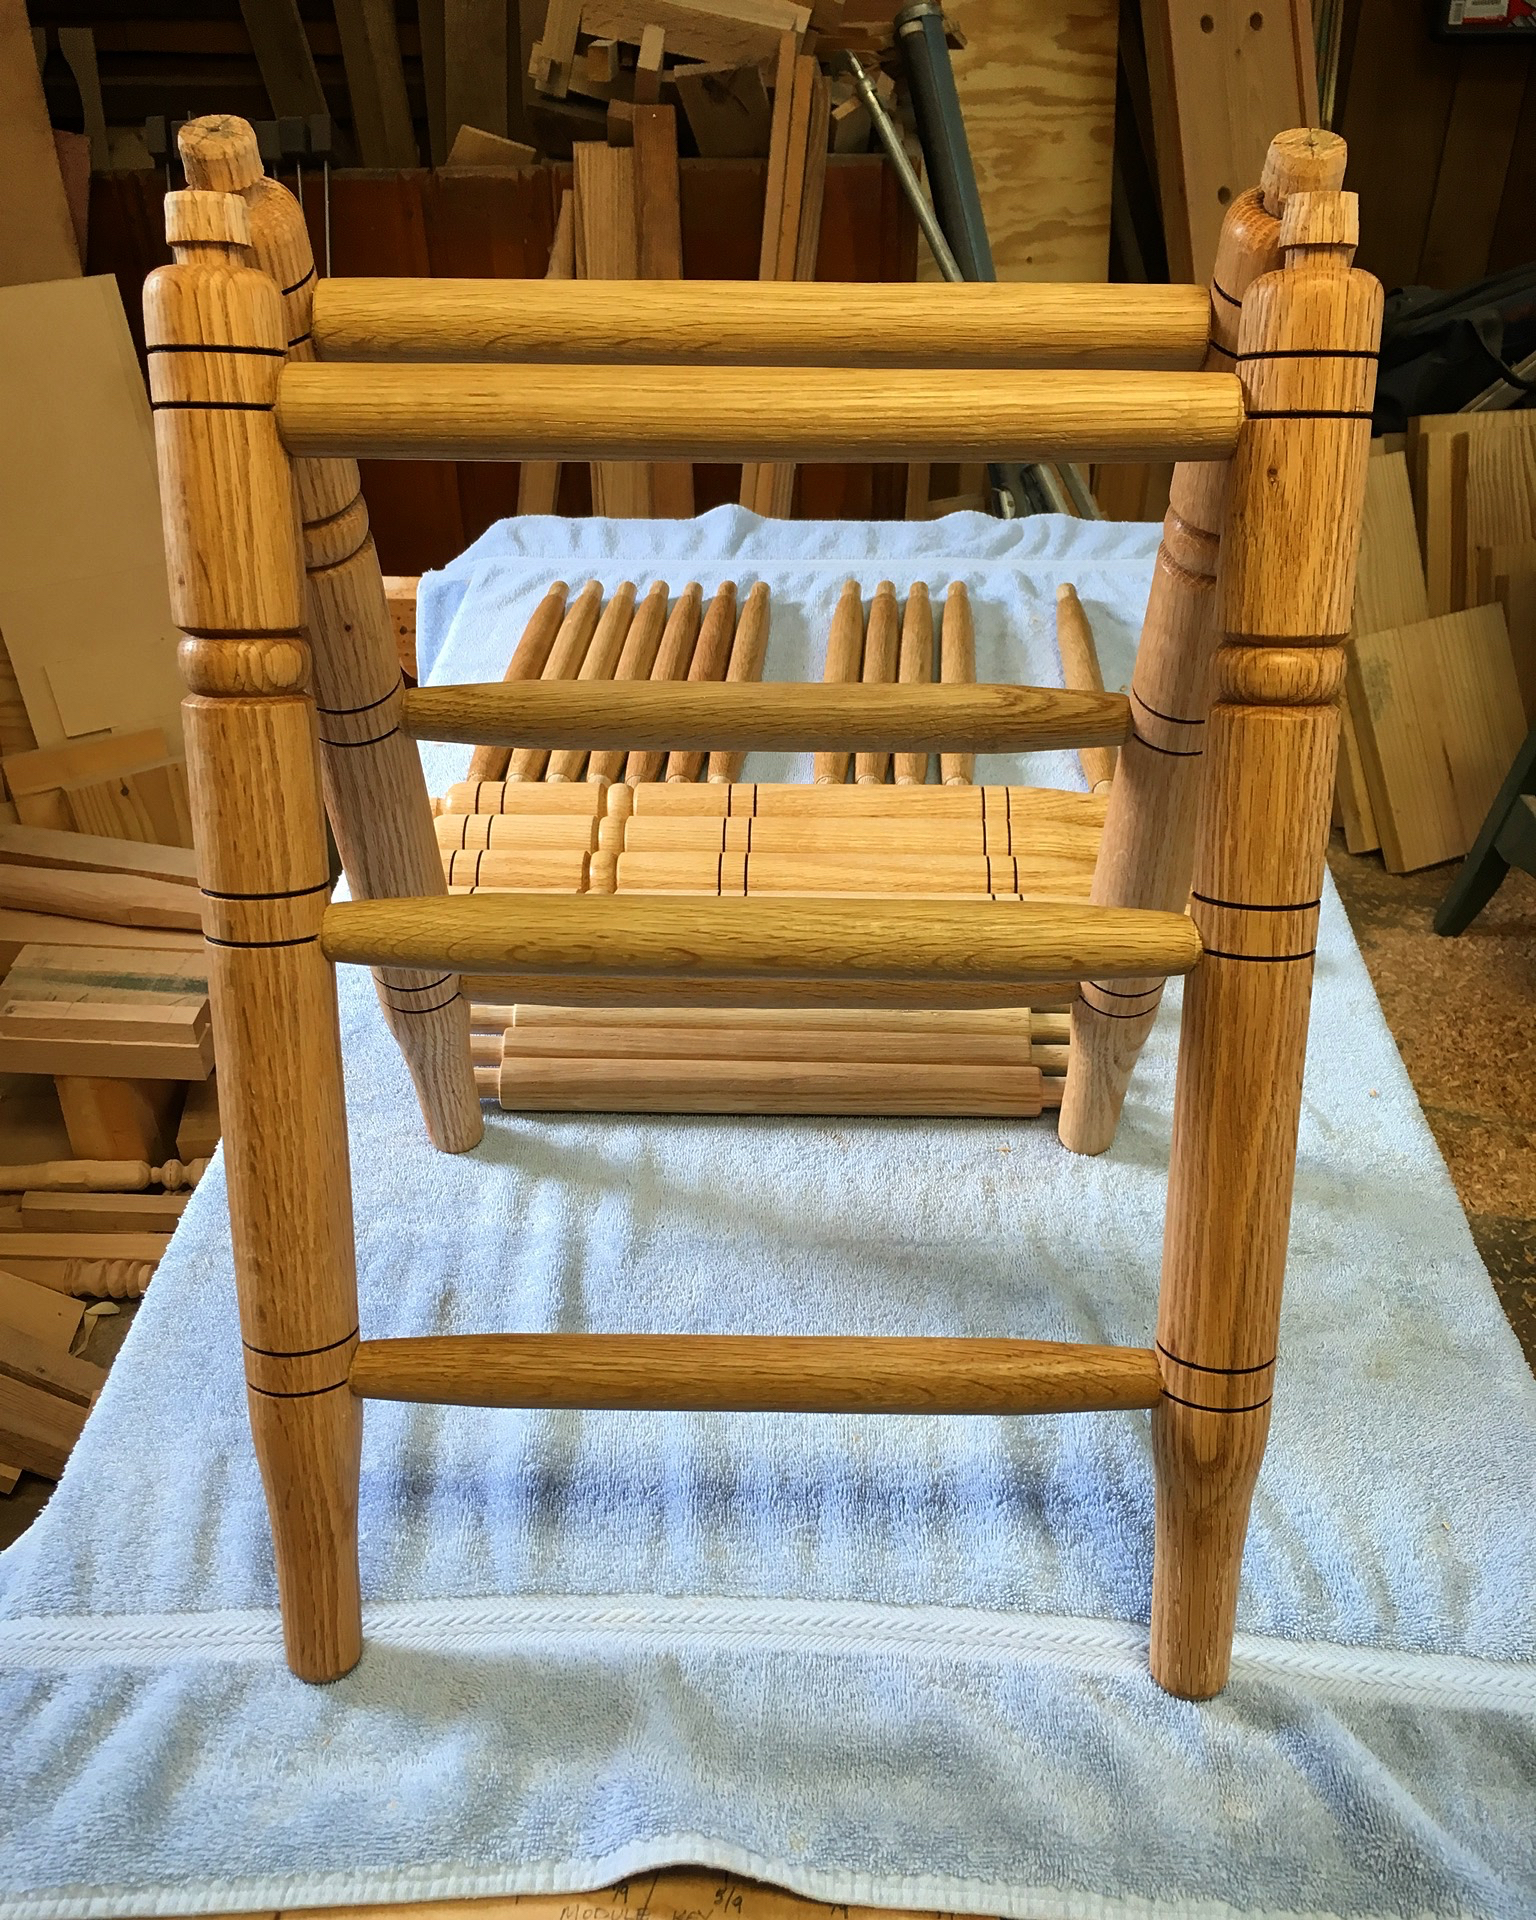
The glued frames with a second coat of Tried & True Original. The first coat was applied while the pieces were on the lathe. That first coat of the individual pieces saved me a good bit of work when cleaning up the glue squeeze out.
A note about the grain orientation of the pieces. I set the rungs so that their grain was perpendicular to that of the posts. I also set the posts so that none of the rungs inserted directly through the long grain of the post.
Now all I need to do is figure out how to weave the seats.

Pingback: Shaker Stools 240 Mod-Part 2 | HILLBILLY DAIKU
There is a show on the woodwright show a guy showing how to weave seats, sorry I can’t remember what episode it was.
I bought a booklet and watched a few YouTube videos. I have the mechanics figured out and the first stool is ready for shellac sealer. Should have a post up soon.
Pingback: Shaker Stools 240 Mod-Part 4 | HILLBILLY DAIKU
Pingback: Shaker Stool 128 Mod-Part 2 | HILLBILLY DAIKU