
 I mentioned in a previous post that several years, eighteen to be exact, we spent an impromptu weekend at the Shaker Village of Pleasant Hill. We fell in love with the Shaker furniture and, at the gift shop, I purchased three little books of measured drawings. I had big plans to make a bunch of the projects in those books. Unfortunately about all I had were plans and ambition. I didn’t have a place to work, practically no tools and a very limited skill set.
Once we were home, the harsh reality began to sink in. So I focused on the smaller projects, with little success. One of those small projects was a clamp-on pincushion. A nifty little thing that utilized a wooden screw to clamp it to a table. I was convinced that I could build one. I even purchased a tap and die set from the local Woodcraft.
After several failed attempts at trying to thread store-bought dowels I gave up and stashed the tap and die set in an old toolbox. There it has remained ever since. I had actually forgotten I had the set until I came across it while rummaging for something else recently. The sight of it set the wheels turning again. Now that I have a few tools (lathe in particular) and a slightly expanded skill set, I thought I would give the clamp-on pincushion another go.
The first task was to get the wood threading thing figured out. Ironically this proved to be a simple task once I turned a proper diameter dowel. There was a bit of fussing with setting the cutter to the right depth, but still pretty easy. Obviously having a decent dowel or shaft is the key to the whole operation. Wood choice is a factor as well. A hard, tight and straight grained wood is the best choice. I had maple, white oak and cherry on hand with maple being the best choice. Now I could tackle the clamp-on pincushion.

The clamp-on pincushion is basically a wooden c-clamp. The “C” portion of this version is a turned barrel shape with half the center section removed. My best guess is that the barrel needs to be four times the diameter of the threaded screw. Since my tap and die is for 3/4″ diameter, I needed a block of wood at least 3″ in section. So up into the magic attic I went. I returned with a chunk of mahogany that I hoped would work, knocked off the corners and mounted it in the lathe.

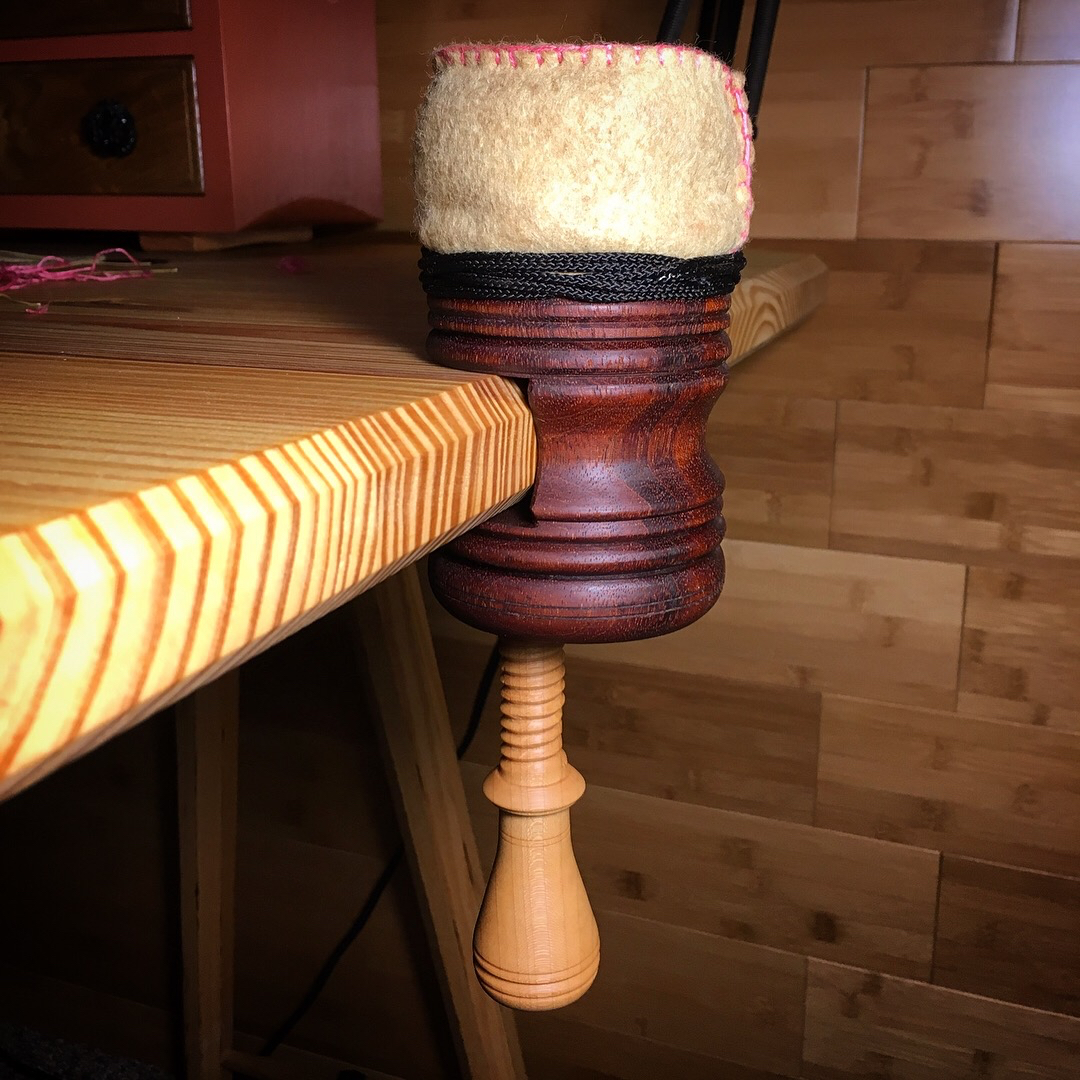
My tendency when building off-the-cuff is to keep my head down and fully engaged. This instance was no different, so I’m light on photos. At any rate, the tuning of the mahogany into the barrel shape and subsequent drilling, tapping and removal of the center section went smoothly. I used another piece of maple to turn and thread a slightly more svelte handle than my initial version. By the end of afternoon I had the thing together and working.

The version in the book has an addition turning upon which the actual pincushion is mounted. Its’s unclear from the book as to whether this was an additional piece or turned as one unit. Either way, I’m omitting it on this version and will be installing the pincushion directly on top of the barrel-shaped body. I turned a cove at the top edge specifically for the purpose. I struggled with the handle shape and length for this thing and ended up making yet another handle. The last operation of the day was to add the first coat of oil.

Admittedly, I have become obsessed with the clamp idea. Not that we have any great need for clamp-on pincushions, but the idea has lots of applications. While searching the internet I stumbled on a different arrangement of the same idea. That version lends itself to being used on a greater variety of table thicknesses as well as the ability to be mounted through a hole in the table top.
Over the past week I have been applying oil to the first version and working on proportional drawings for both versions. Ironically, here is the drawing for the second version. I’ll have the drawing for the first version next time.

Keep in mind that there is nothing “absolute” or ” critical” with the construction of these clamps. They are just a fun and useful way of using up some scrap bits of wood.
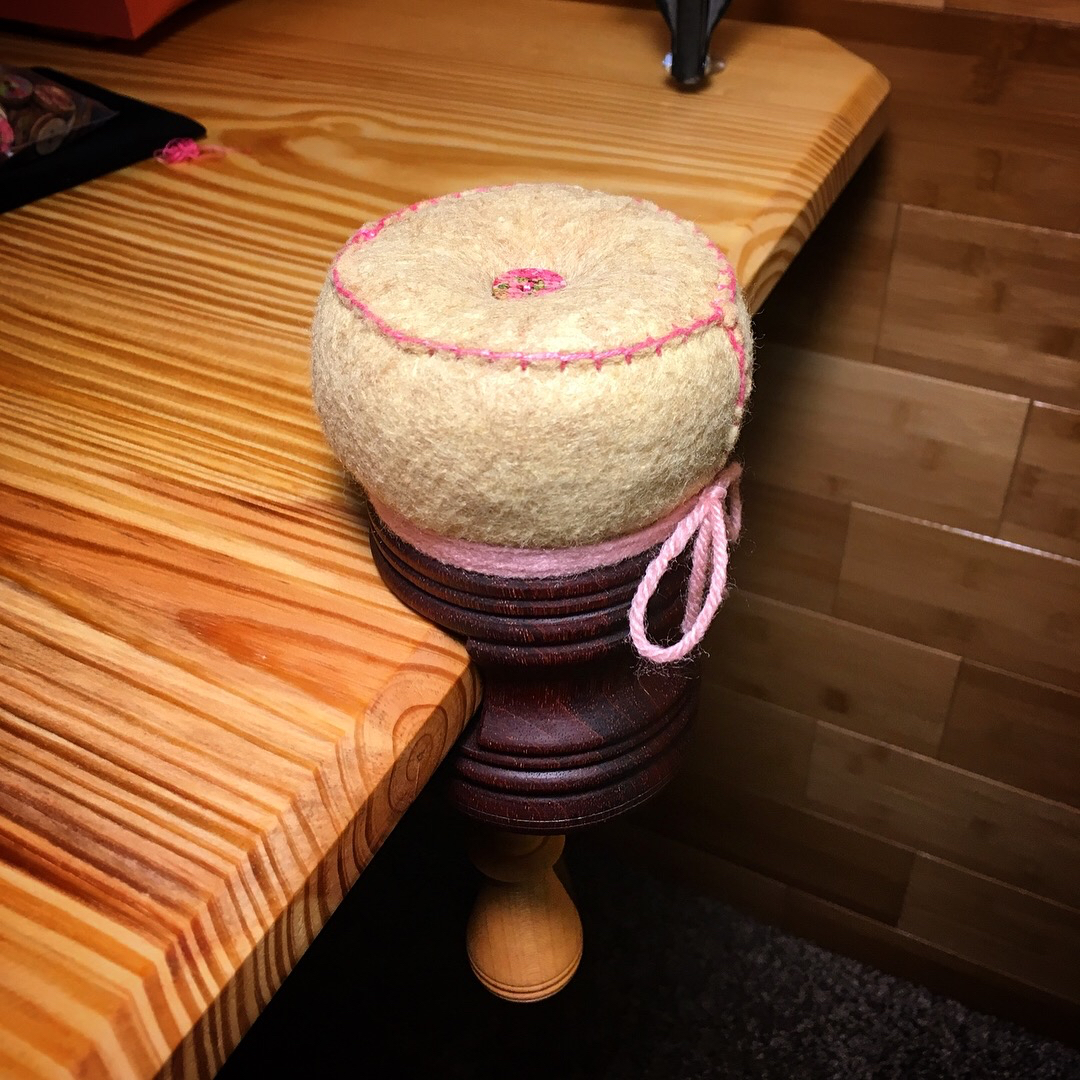
I did manage to finish the first version. I even made the pincushion myself. Although my sewing ability is a bit lacking and I ended up taking it apart and redoing it.
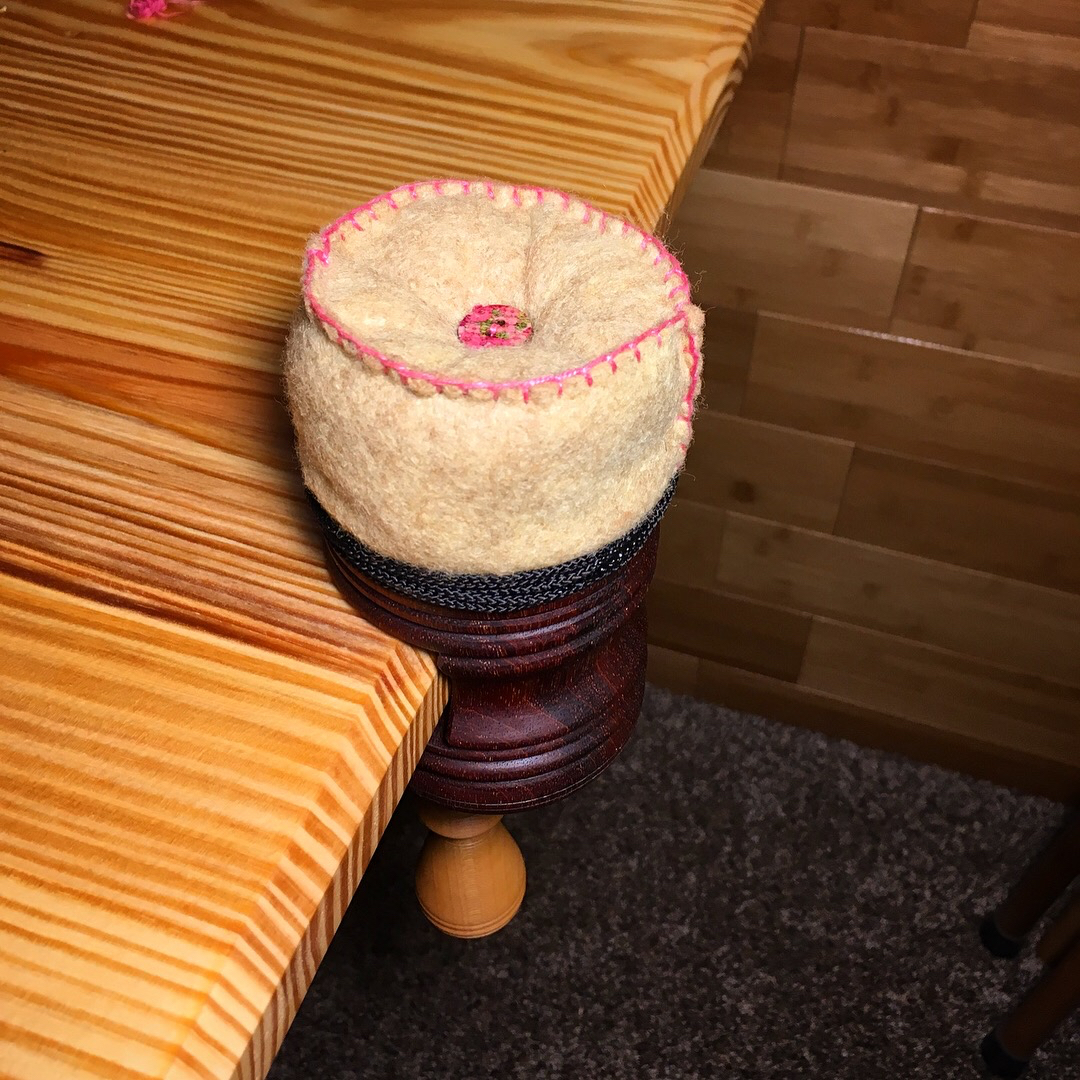
Second attempt at the pincushion.
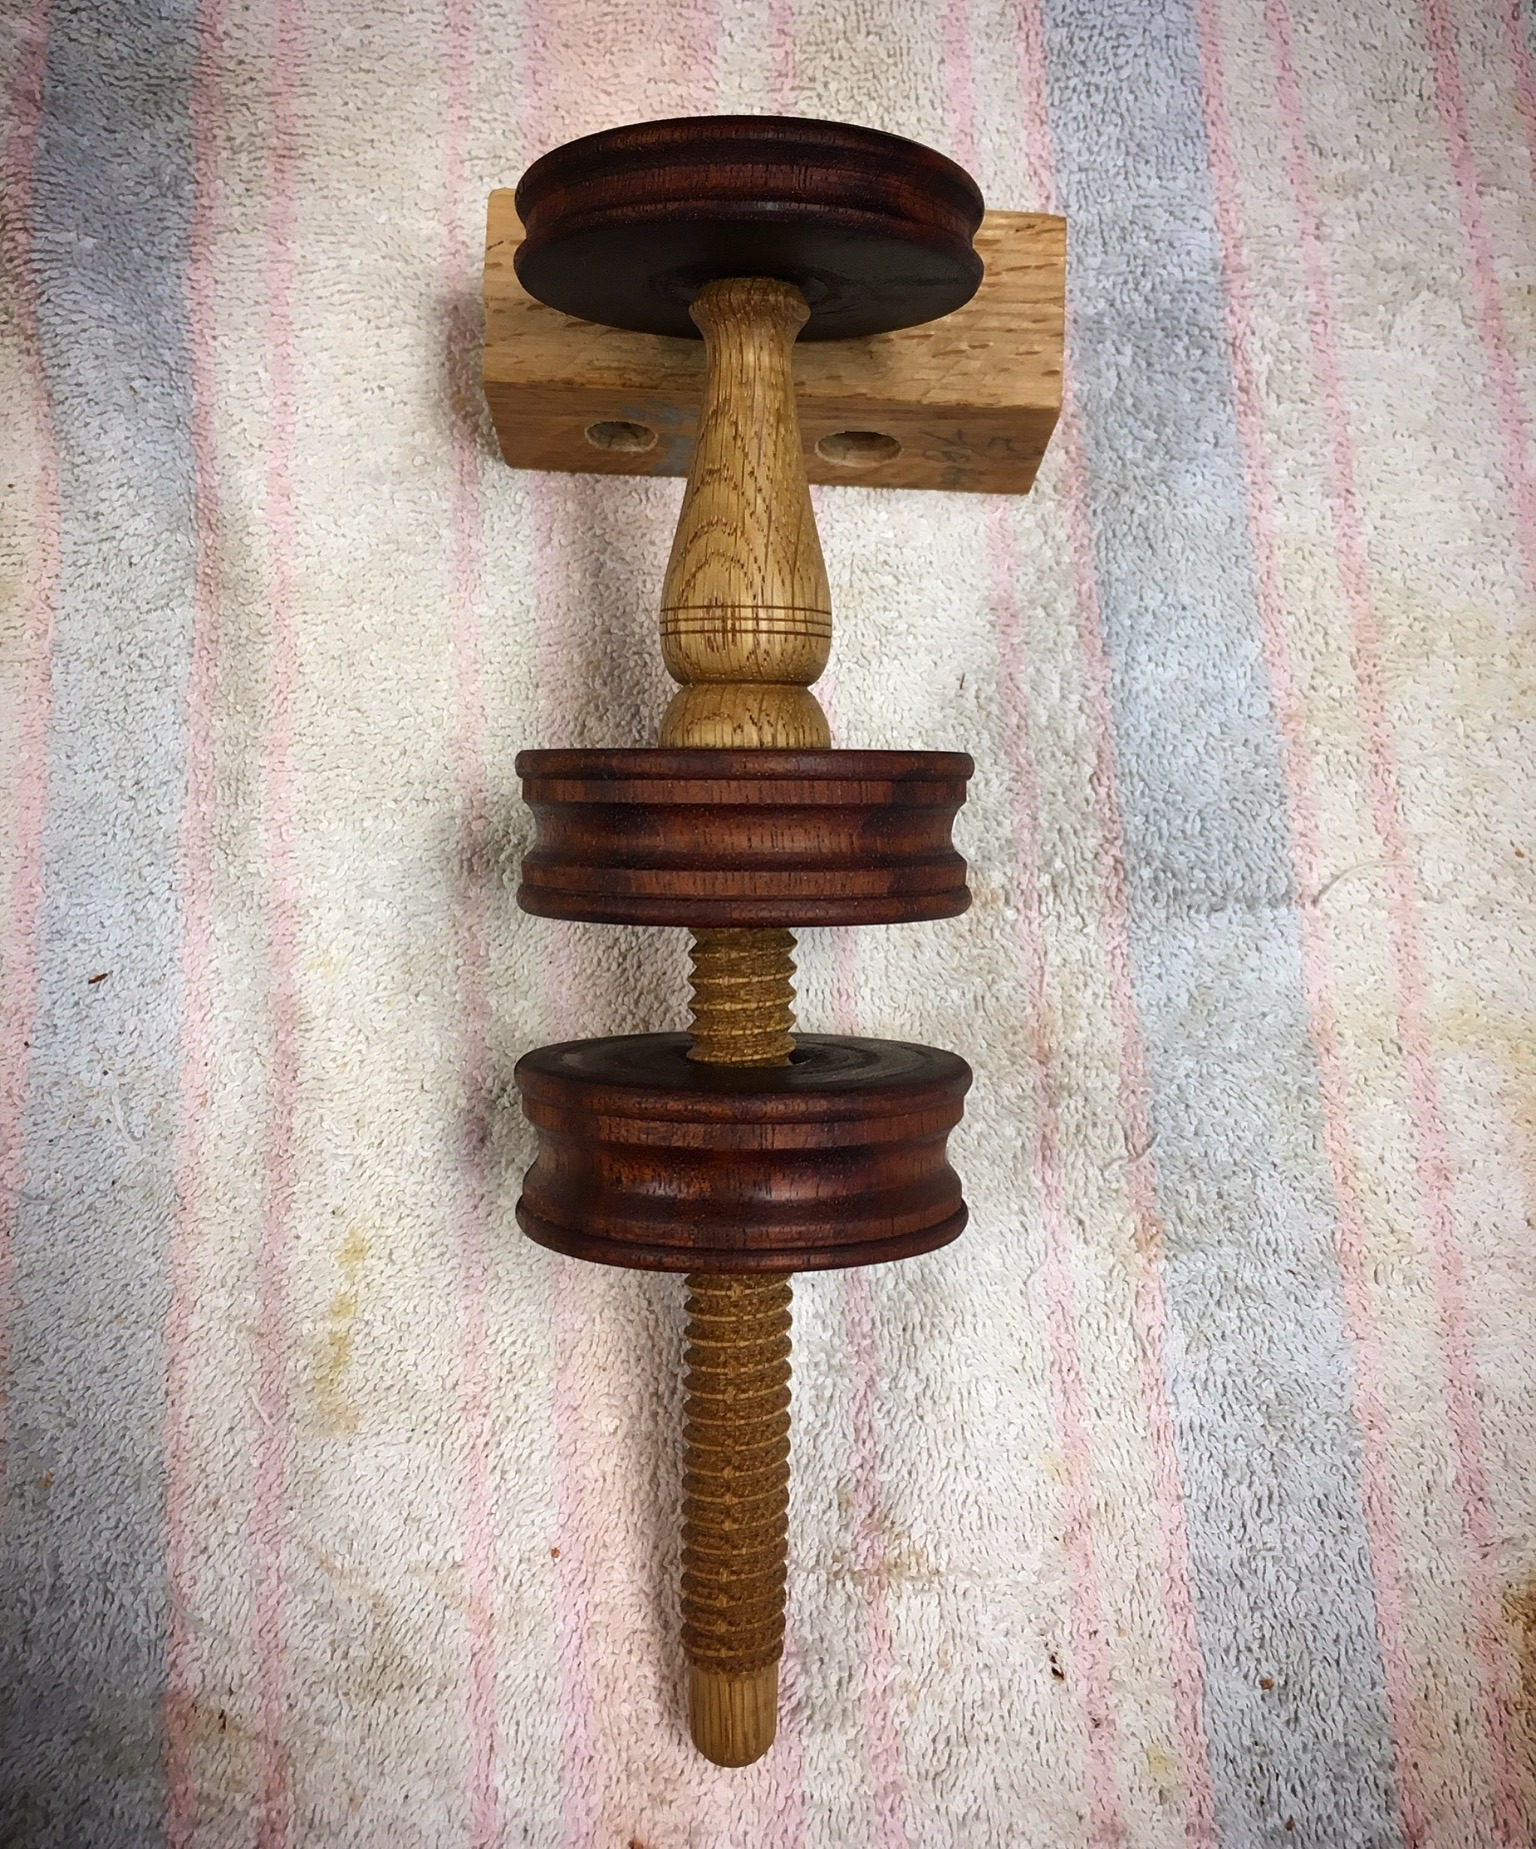
I also started on the second version and have it glued up and the first coat of oil is on it.
I’ll put up another post when I have the second version and the drawing for the first version finished.
Greg Merritt Part 2

Brilliant!!!!!!!!!!!!!
Standing on the shoulders of giants…Shakers, but thanks!
You inspire us all. I have a shaker book too, but I’m not ready to dive in yet. Thanks for sharing.
I post this stuff in hopes that others will take the chance and start making stuff, but its always humbling to find out that it actually does. Don’t wait eighteen years like I did.
So what!!??
You just had a bit of minor delay but you kept your promise and did the job, and that’s what matters in a lifetime of love and dedication on serving ‘Mrs Management’!!!
😀 😀 😀 😀
Great project Greg!
LOL…I may not be fast, but I get the job done…eventually. 😉
Cool stuff, Greg. I got interested in threaded wooden screws a couple years ago when I was trying to rehab a screw-arm plough plane. Tried (unsuccessfully) to make a screw box – the one that creates the male threaded rod. It needed a LOT more work that I didn’t have time for. I recall reading that some people put their rod stock in oil overnight before trying to thread it. Did you do anything like that to prepare your dowel?
Thanks Matt. I’ll not be trying to make a screw box anytime soon. Looks way too fiddly.
I haven’t tried soaking the rod stock in anything yet, but have read to same thing. I can see where it may make process a little easier though. The bigger concern is the quality of the wood.
Hi Greg.
Nice project.
I have the 1″ version of that screwbox. I’m able to get pretty good threads with store bought dowels if I sand them on the lathe to reduce the diameter a little, then soak in mineral oil for 24 hours. I use a piece of pvc pipe for that. I’ve had pretty good success with cherry, maple and walnut if it isn’t too wavy grained. It also helps to slather the box insides with tallow and beeswax. I had no real success trying to make threads on dry wood.
Thanks for the tip Larry. I’ll have to give that a try. I have had really good results with dry maple, decent results with dry white oak and poor results with dry cherry. The cherry basically crumbled.
Pingback: Clamp-On Pincushions-Part 2-Complete with a Bonus | HILLBILLY DAIKU