
 I spent the last few days completing the remaining tenons on the long rails. Nothing fancy. Just a lot of rip and crosscuts. After a little judicious pairing I had those tenons fitted and the charpoy frame dry-fit together.

The rails were far too angular in their current state. Eventually the webbing and anchor cord will wrap around the rails, rounded corners will be much easier on those materials. The decision at hand was what did I want the completed rails to look like? A precisely radiused corner is not that difficult to create with a hand plane, but I didn’t think that level of precision would look right for the overall project. The fir, the webbing and the rope work all lend a bit of a rustic feel to this charpoy.
To give the rounding of the corners a “rustic” look I first used a drawknife to remove the bulk of the waste. I then followed up with a plane and, in some areas, with a spokeshave. The tricky bit is to not take the refining too far. Thus ending up with the precision look I was trying to avoid.
With the rails rounded I turned my attention the legs. First cutting off the waste at the top. Then I marked the finished length of the legs and trimmed them. Finally, I lightly planed the flat faces of the legs to remove the layout marks.
Originally I had planned on painting the legs. During my searches for information I came across photos of several examples where the legs were painted. I also noted that many examples had no finish at all. After agonizing over the finish for several days, I finally settled on a very minimal approach.
I first added a simple wood burning to the top of each leg.

Then I gave each of the parts a coat of linseed oil.
The last step in my minimal finish, after the oil had cured for twenty-four hours, was to burnish all of the surfaces with a piece of white oak scrap.
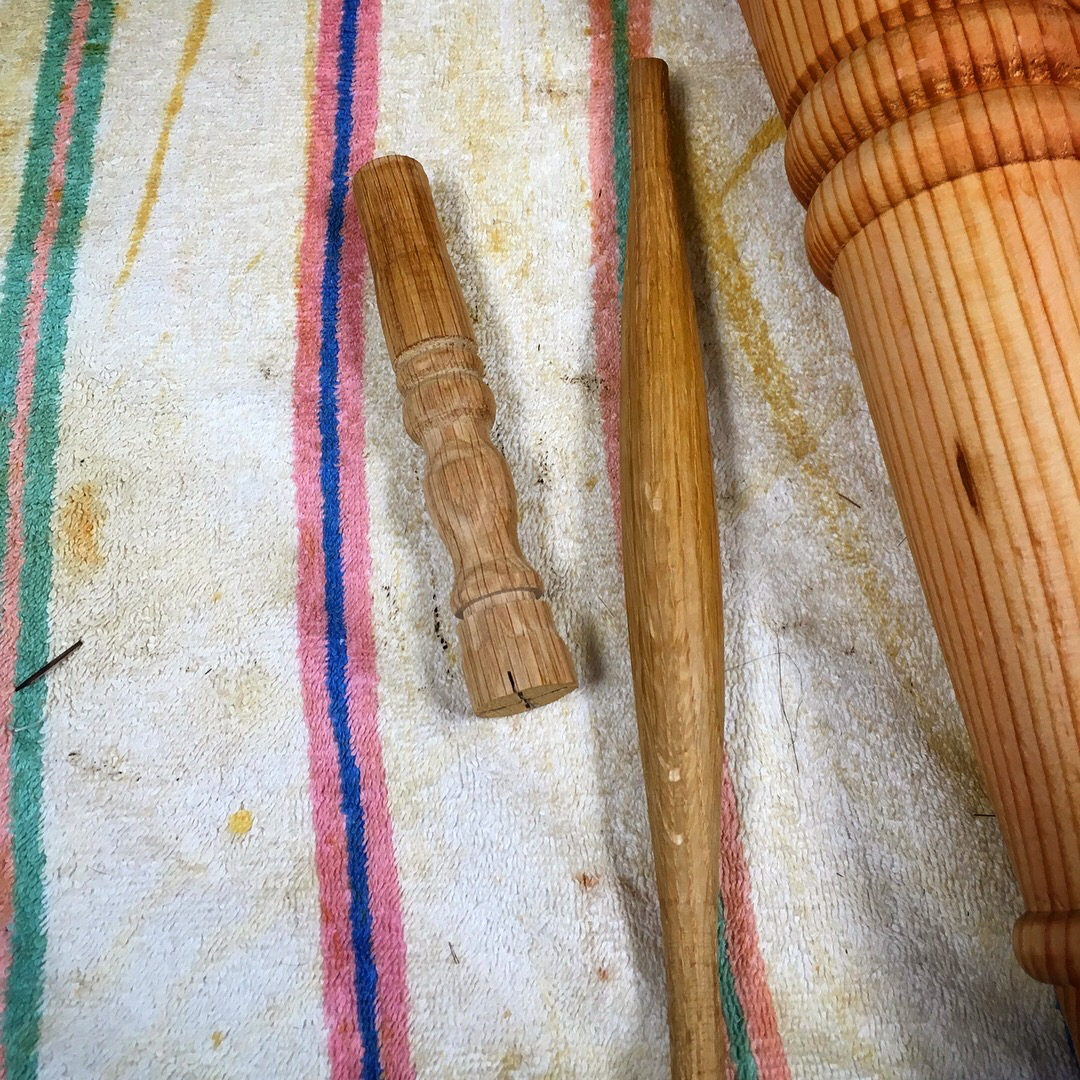
The burnishing produces a smooth surface and a pleasant low luster.

Assembly was pretty straight forward process. Each tenon received two slots for wedges. After preparing the wedges, I began the assembly with the long rails. None of my clamps were long enough for the task at hand and I had to get a little creative. I used a couple of ratchet straps to pull the legs in tight while driving the wedges in place.
Then I trimmed the protruding tenon and wedges flush with a saw. Completing the trimming with a hand plane.
I repeated the operation for the remaining joints to complete the frame assembly.

All that remains is to complete the weaving of the infill. That process has already turned into a whole separate kind of adventure, but I’ll save that until next time.

Pingback: Charpoy-Part 1 | HILLBILLY DAIKU
It’s astonishing on how well your progressing with your turning. Now brother boy, if your Mrs throws you out of her bed you’ll have a better bed to sleep on
I don’t know if it is too impressive. Most everything is just simple turnings. Nothing too complex.
Yep, I’ll have a place to lay my head…eventually. Still need to get the weaving completed, but I’ve been having supplier issues.
Nicely done so far. Looking forward to seeing the weaving. After the rush stools you did recently, this weaving should add very well to your skills.
Thanks Matt. I’m looking forward to the weaving too. Right now I’m stuck waiting on supplies.
As “simple” as you say things are, they are coming together very nicely.
Thank you Bob. Ha, nothing that I do is complicated. Well within the reach of anyone who is willing to try. 🙂
Great idea to use the straps for clamping, I must remember that one.
The ratchet straps worked great. It was a bit of a juggling act getting them in place though. I really could have used an extra set of hands, but I managed.
Greg
You’re making my life a bit difficult with these posts. Its getting harder to find something to joke about!
😀 😀
Thanks Antonio! You must not be looking hard enough. 😉
That looks really good Greg. Maybe next time you could attach a screw clamp on a rail. That would provide an anchor point to enable you to use a ‘short’ clamp.
Thanks Steve. Yep, a screw clamp could work as an anchor point. Nice tip.
Pingback: Charpoy-Part 3-Complete | HILLBILLY DAIKU