
Upon the completion of my first to andon projects I realized that I had enough bits and pieces left over to maybe, possibly build a smaller version. Plus, I have been bitten by the kumiko bug and wanted to try a couple of additional ideas on that front. So I jumped right in and milled up the remaining stock that I had for the outer frames and worked out the size of this andon based on that availability.
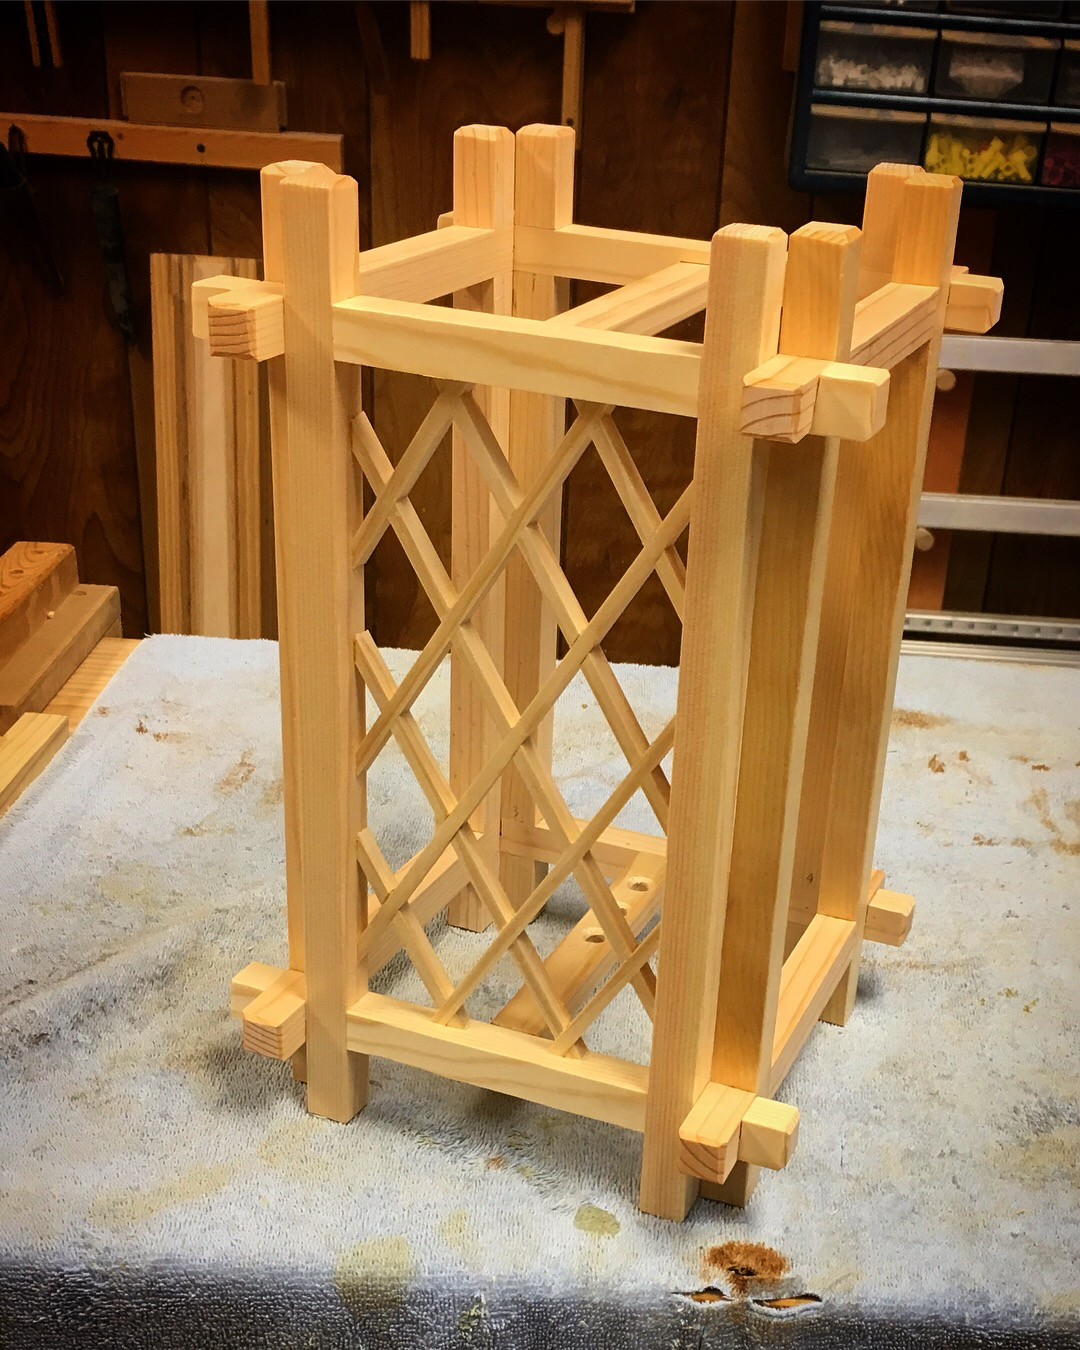
The basic frame is identical in construction as to the previous ones, less the additional inner grid work. Thus I had the outer frames cut and assembled rather quickly.

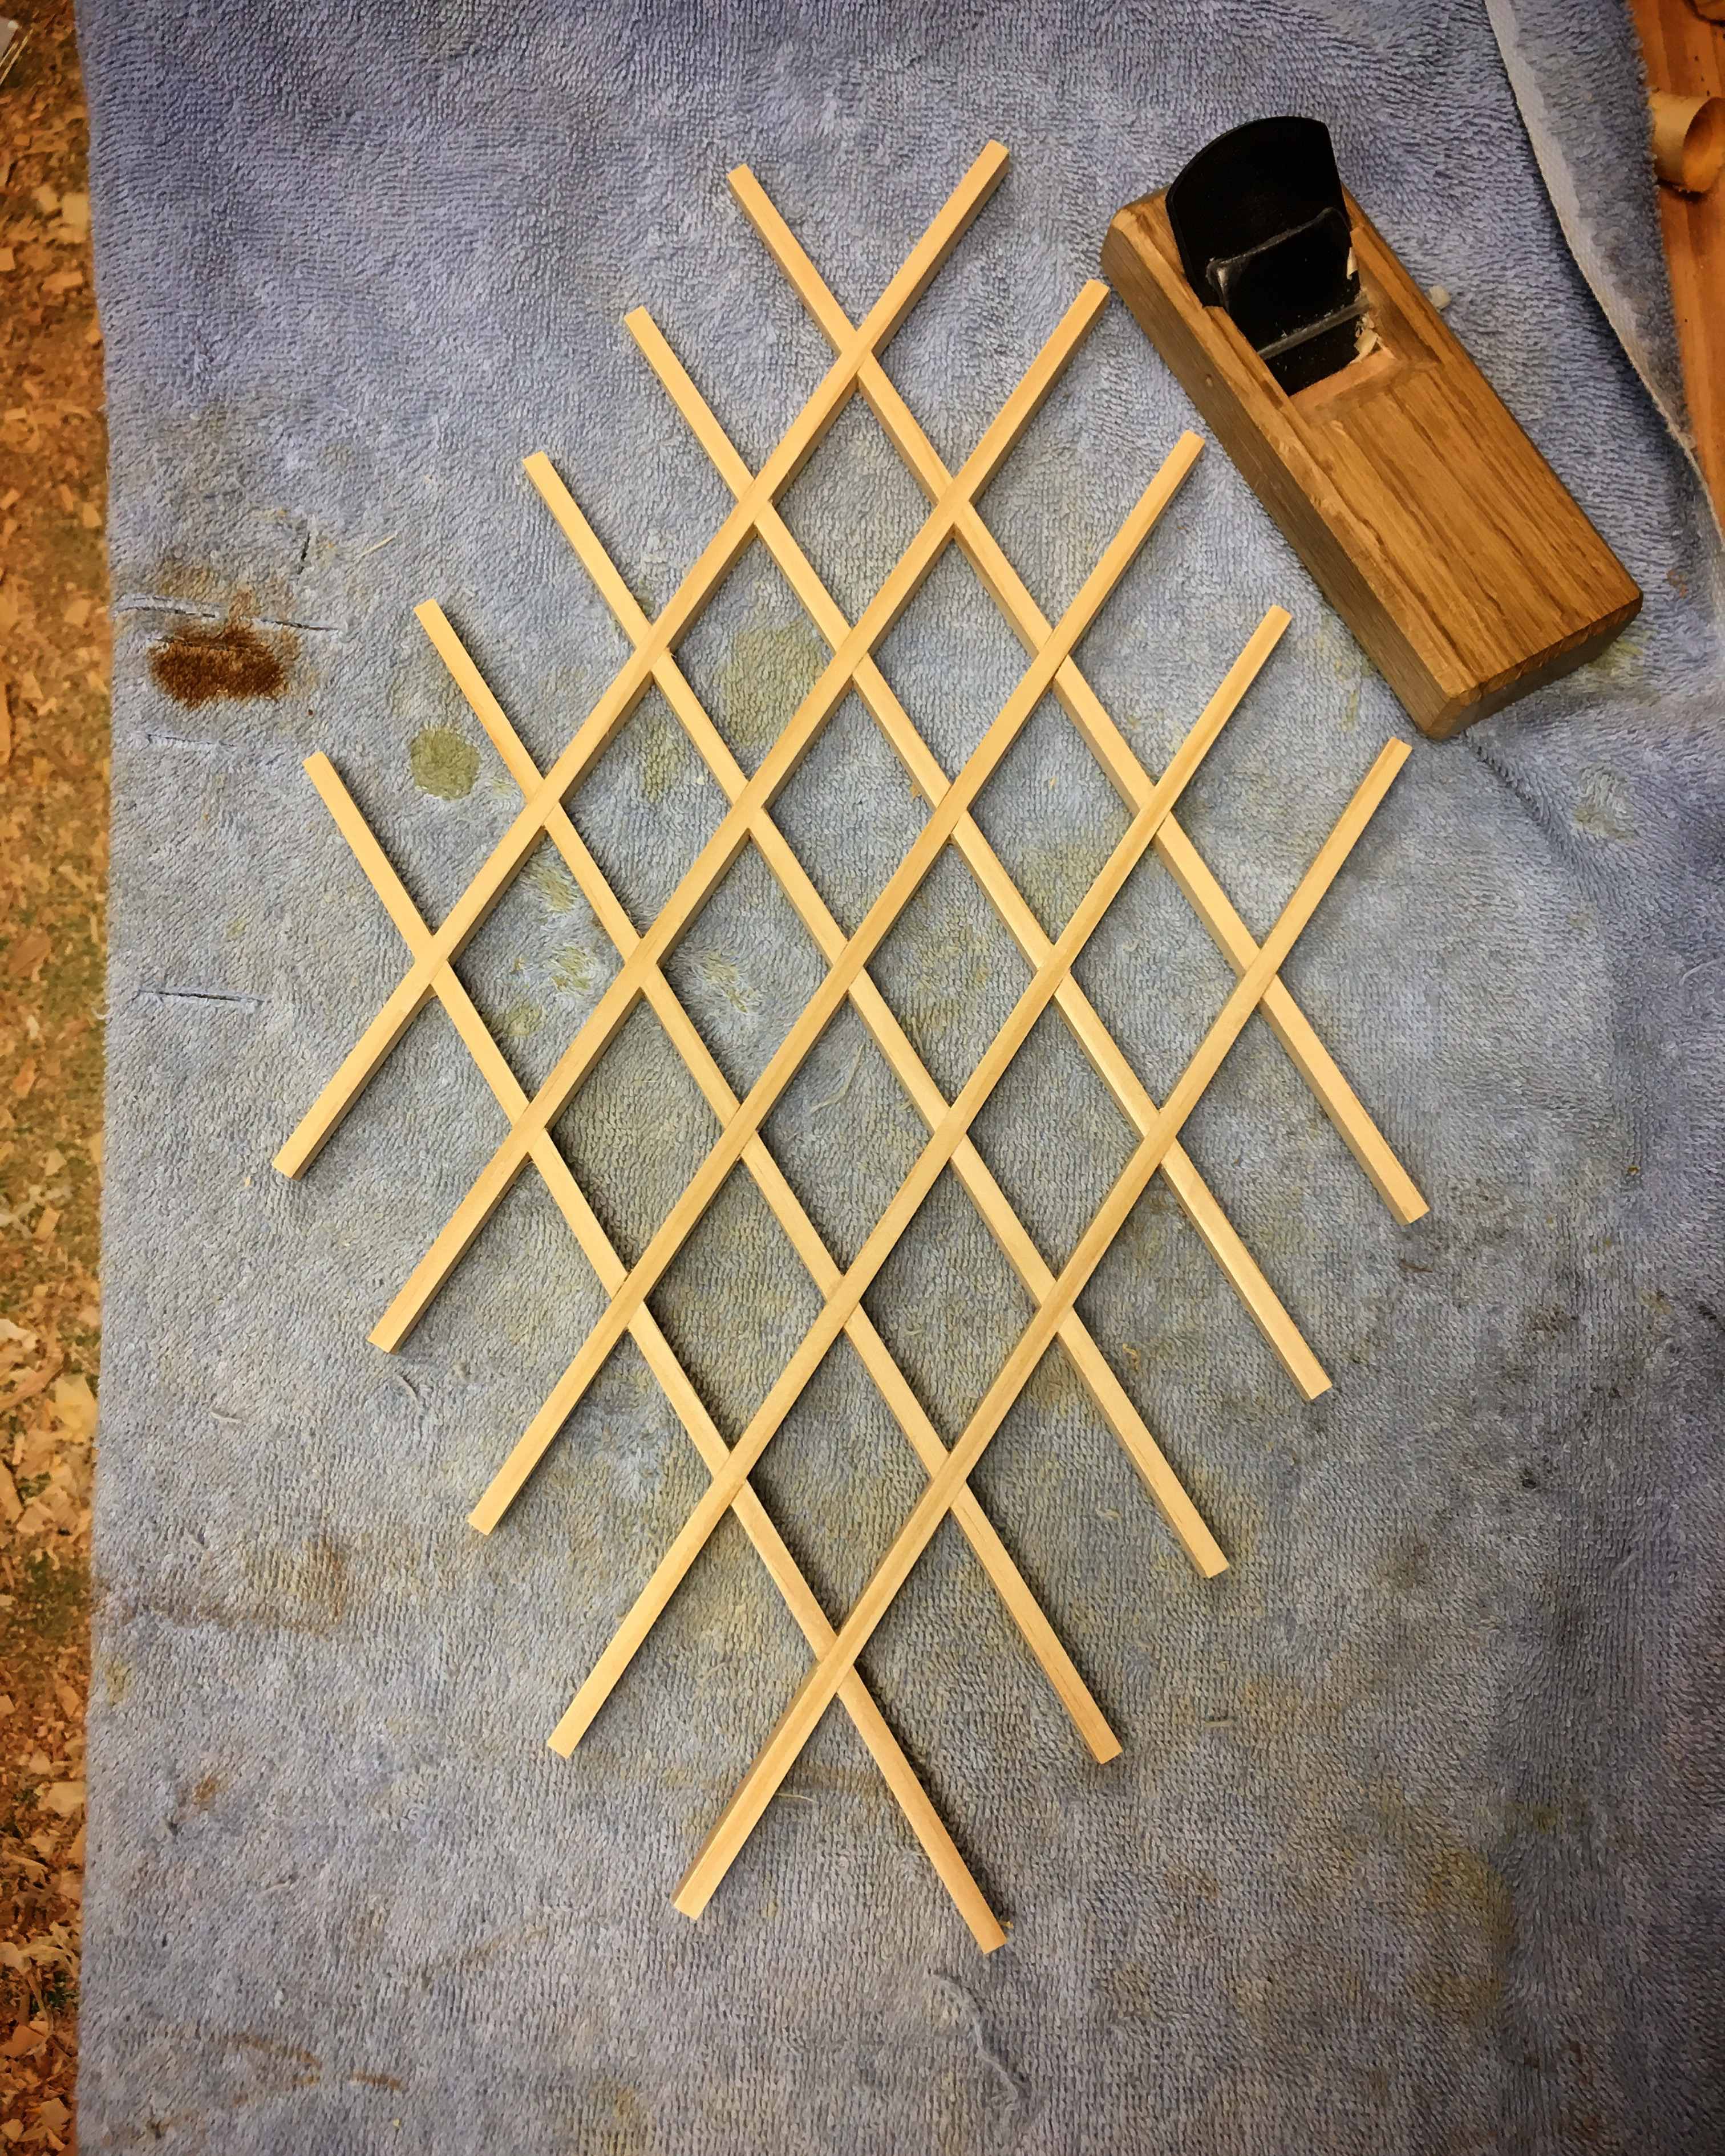
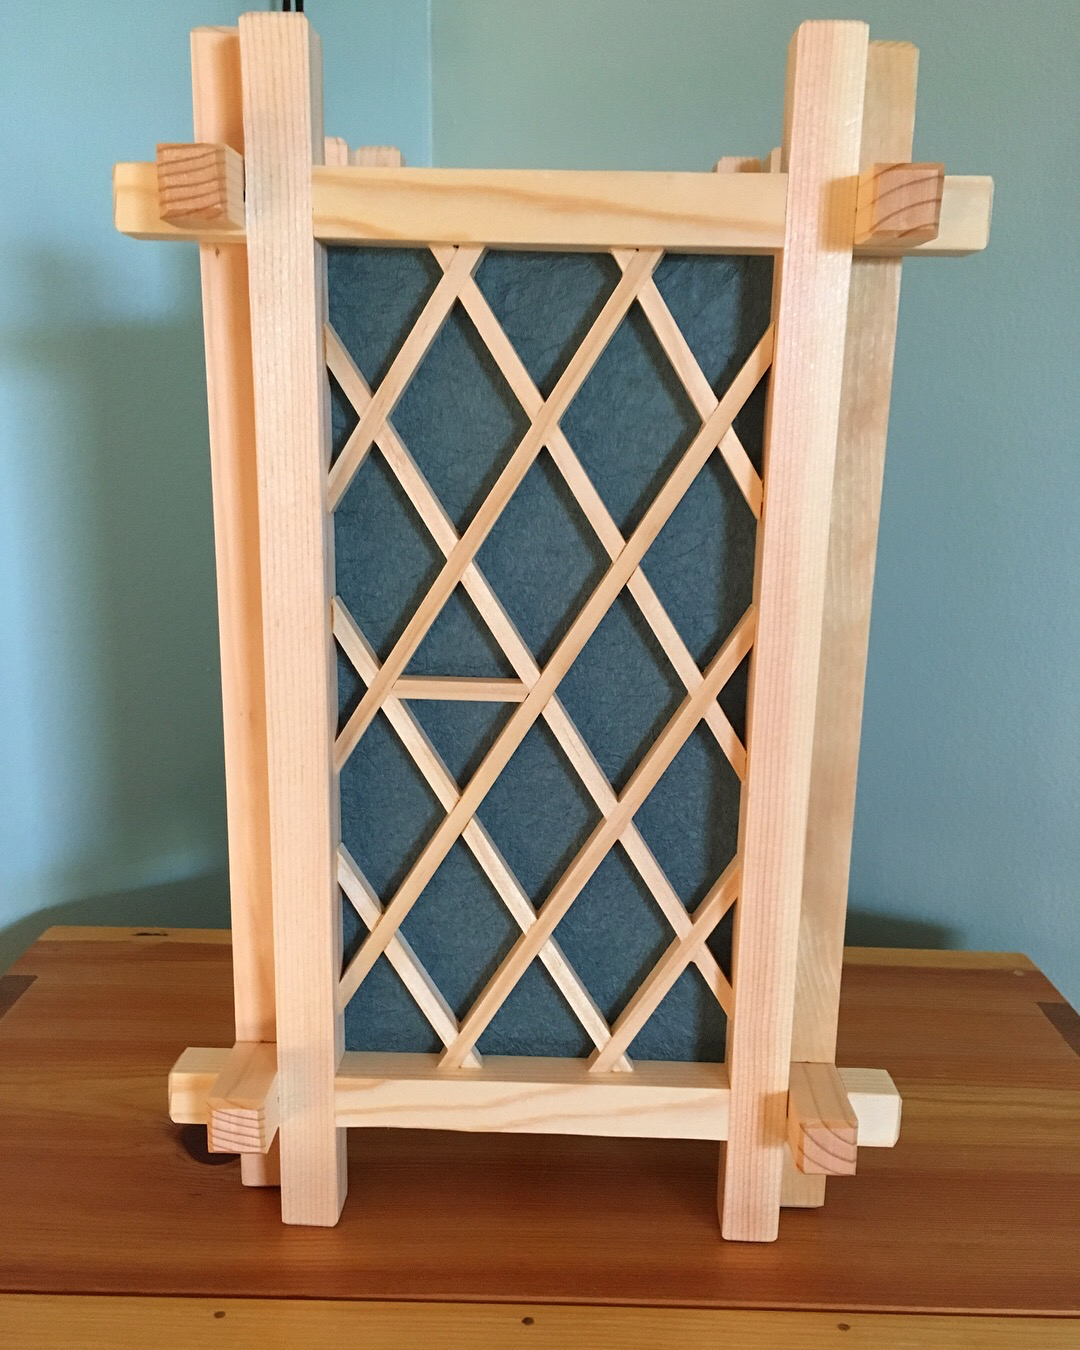
To infill one of the frames I wanted to use a diamond pattern lattice work that I had seen in a YouTube video. Again, just simple half-lap joints. The twist being that, as opposed to square, the half-laps are cut on a 60deg angle.

While far from perfect, the lattice went together fairly well.
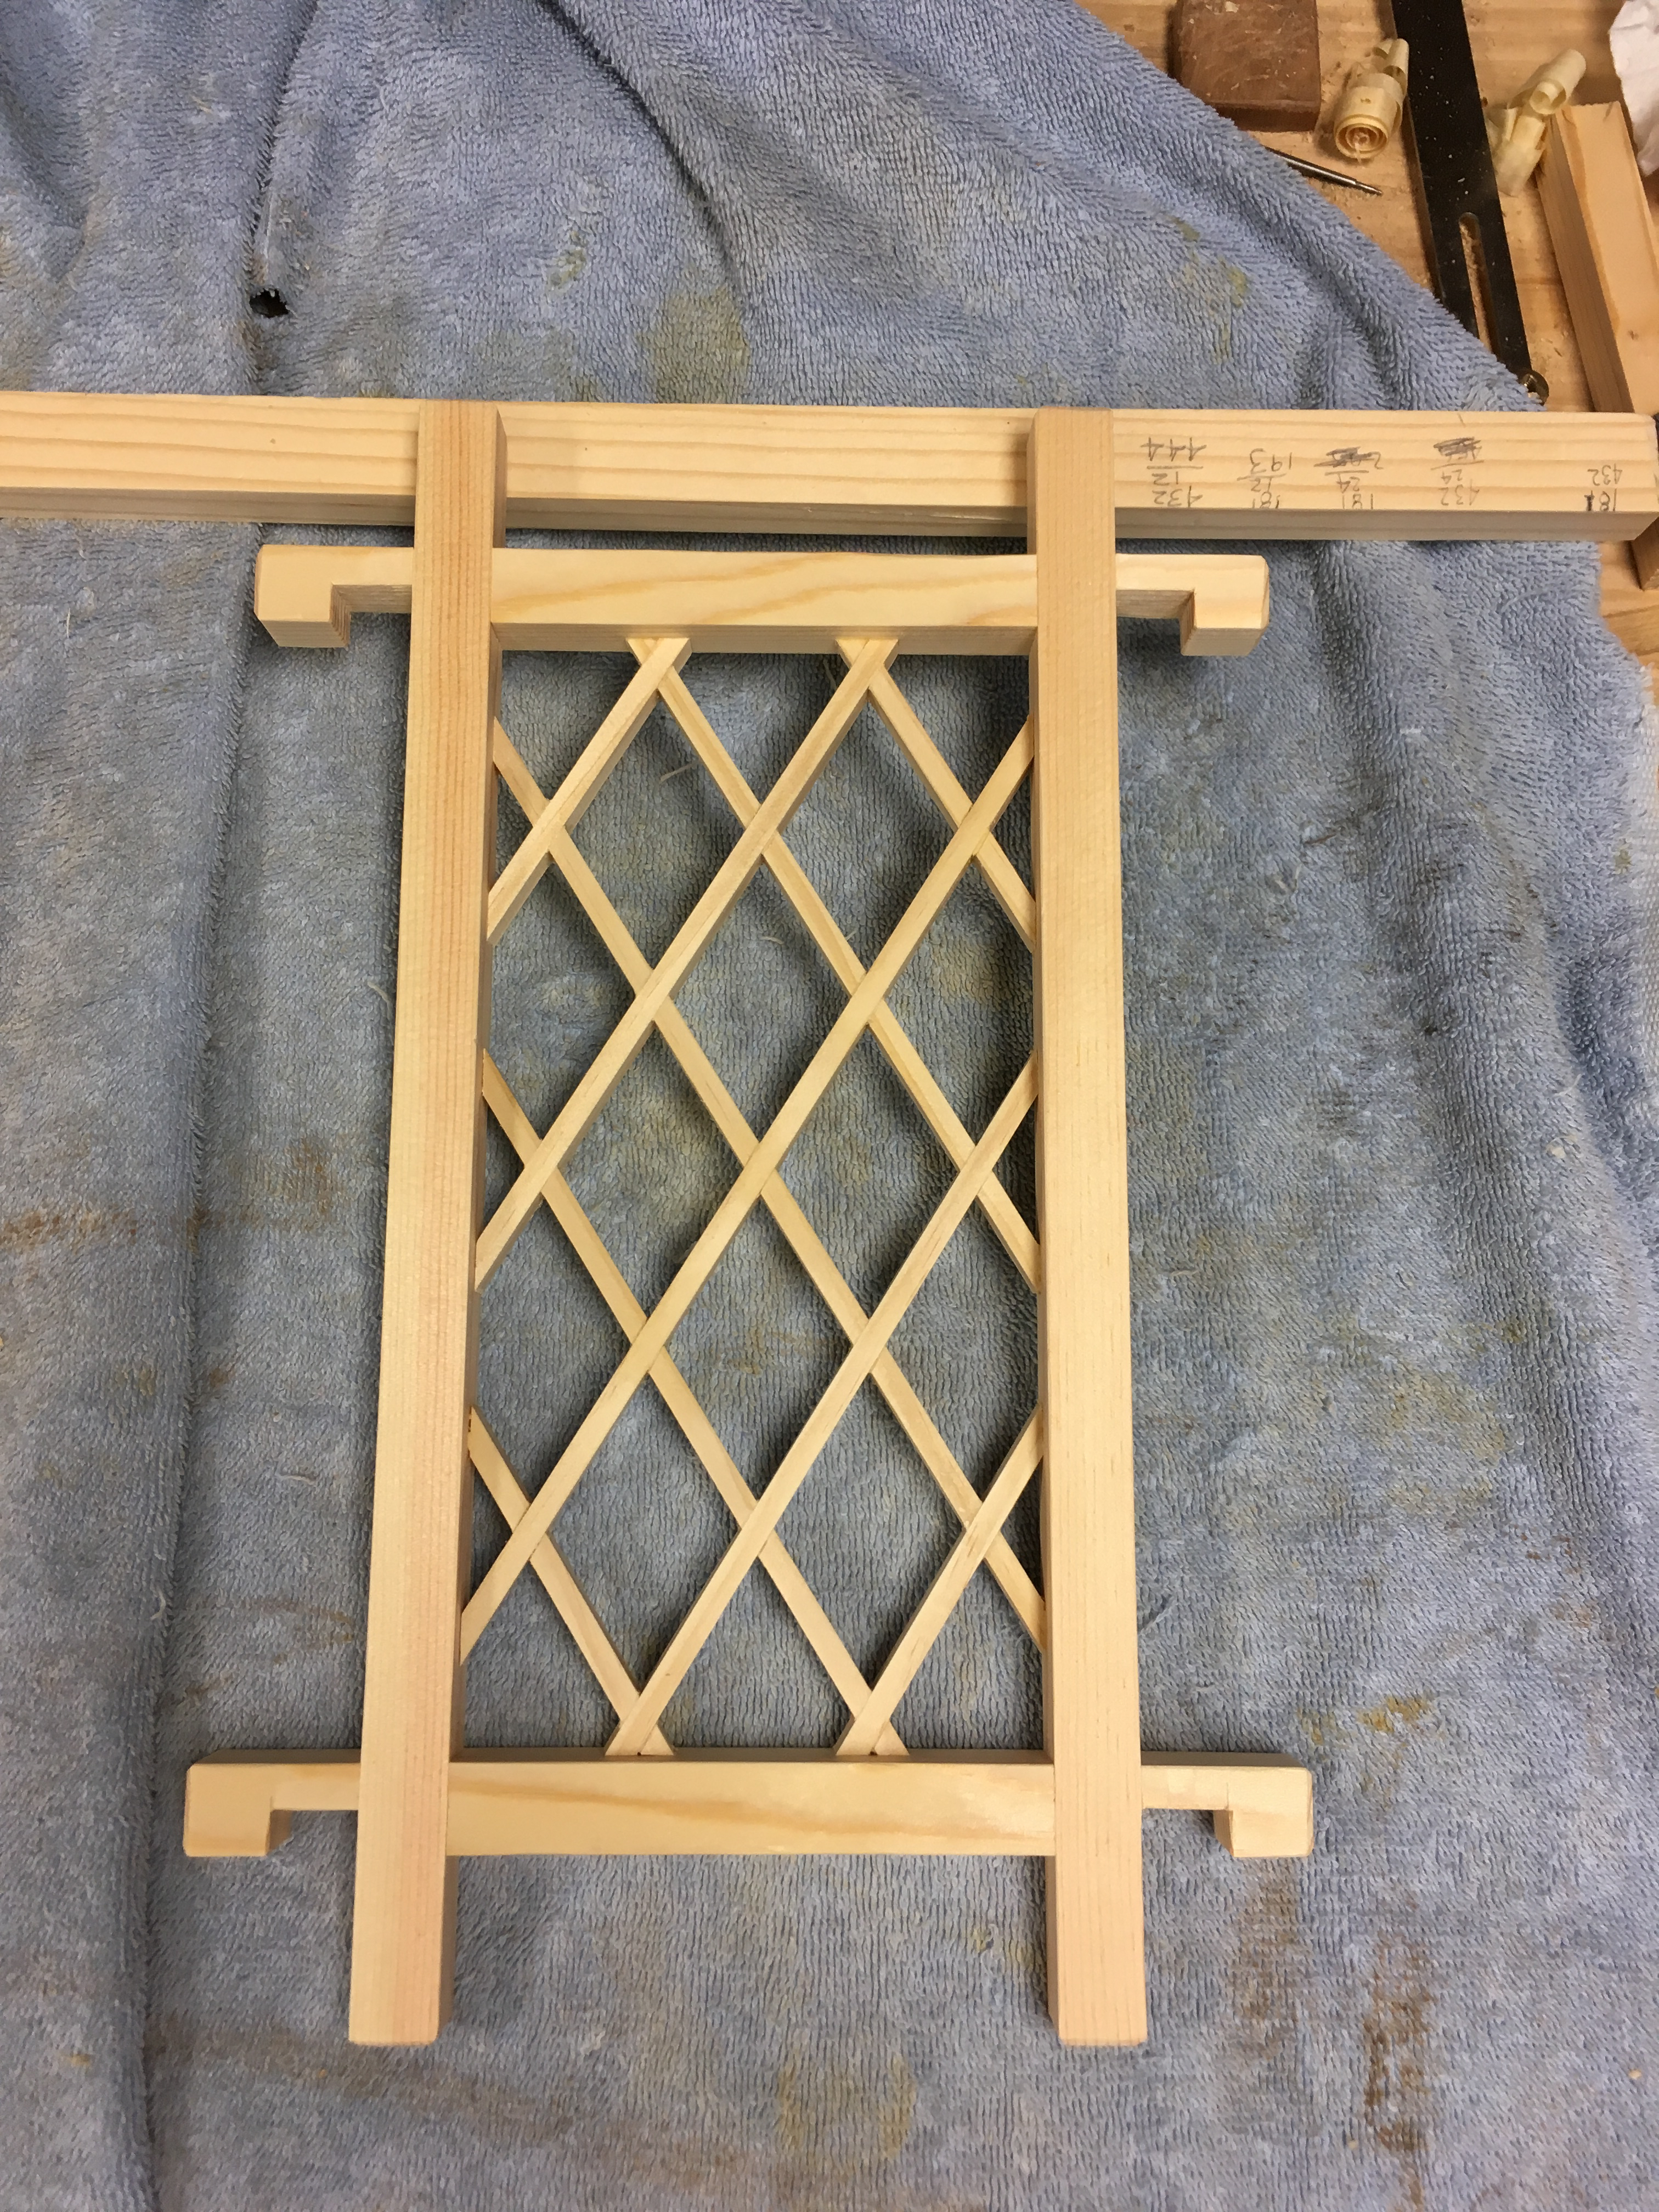
The assembled lattice panel was then cut and fitted into one of the andon frames.
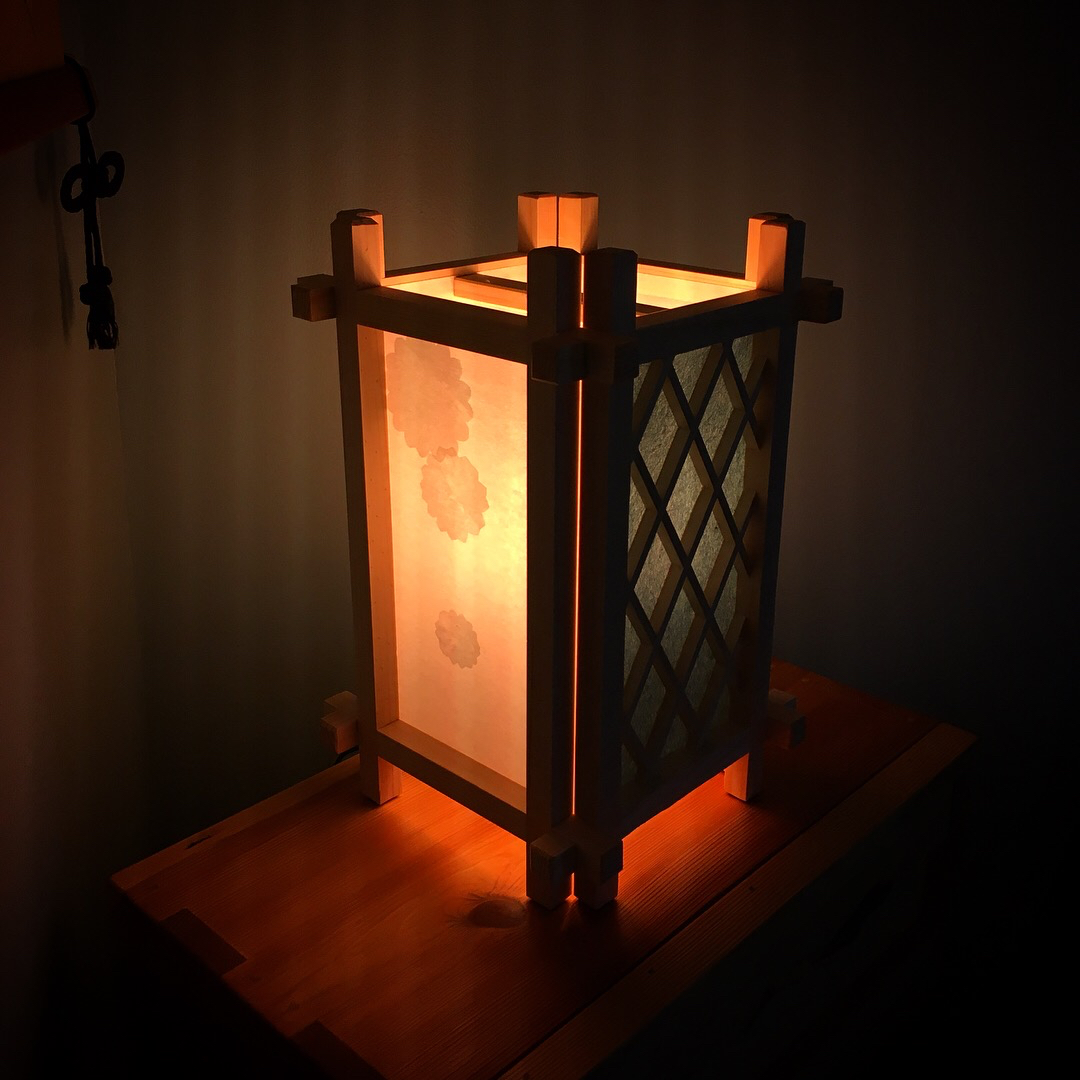
I then added the lamp socket and paper as before.
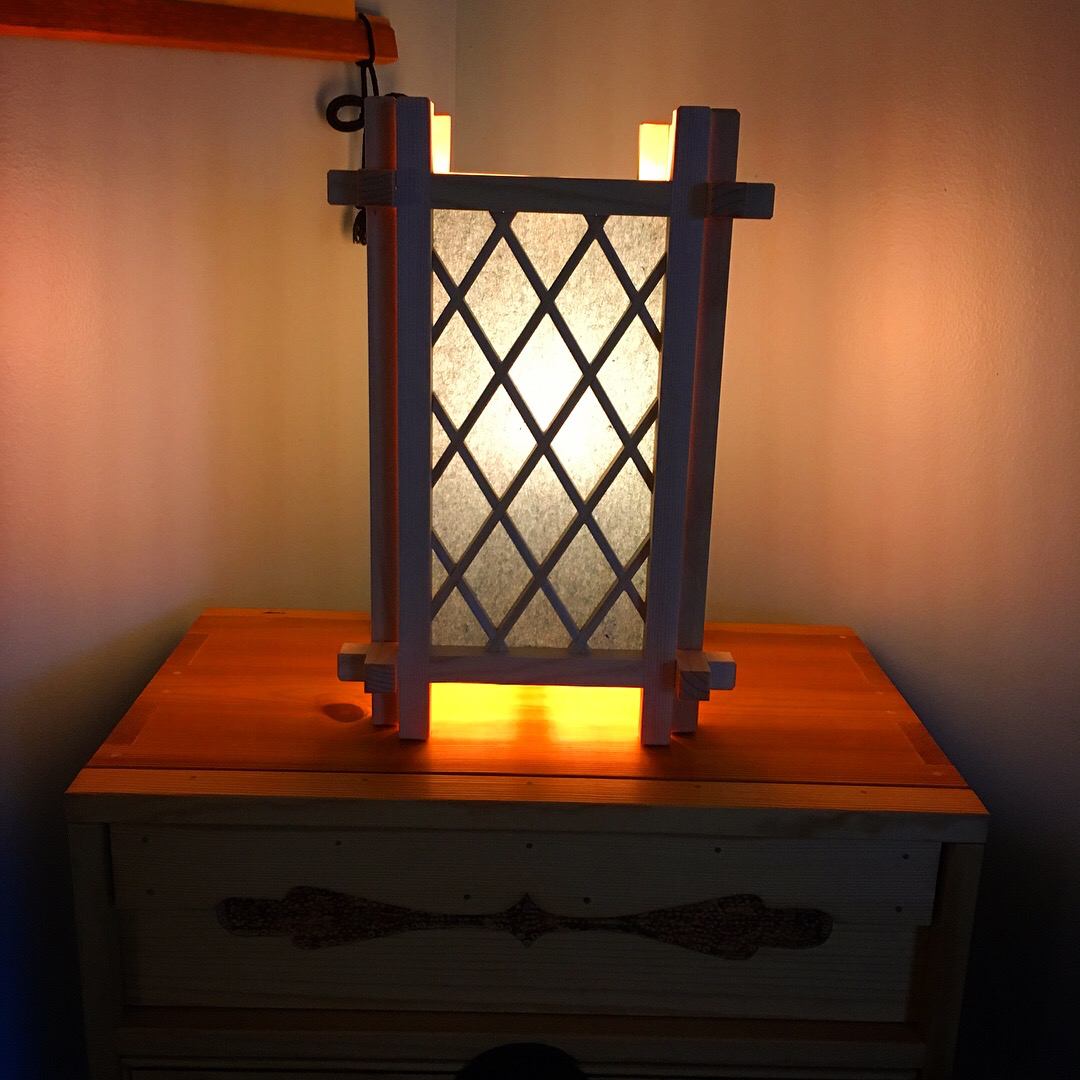
To add a little visual interest to the open frames I glued in paper “patches” that become visible when the light is on. These are meant to represent chrysanthemums.
At this point I thought I was done, but the kumiko bug kept nibbling at me.
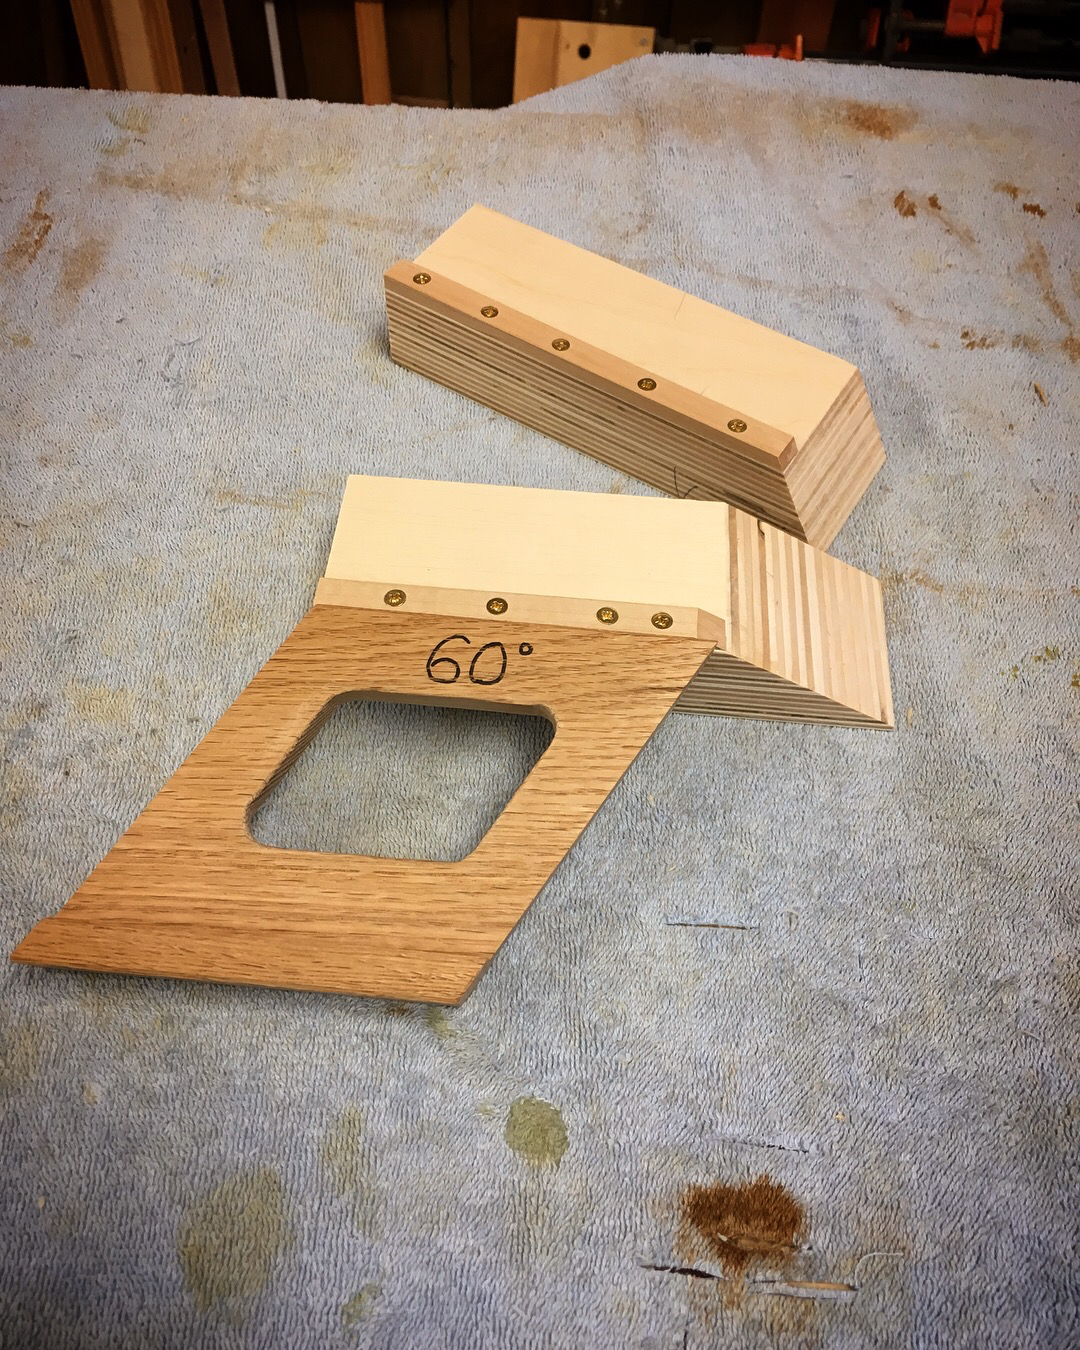
The diamond lattice was a winner, so I decided to build a dedicated 60deg miter square to make the process a little easier in the future. I modeled this square around my 45deg metal square. To ensure accuracy, I added a temporary 60deg fence to my shooting board. The fence of this square is simply glued and screwed into place.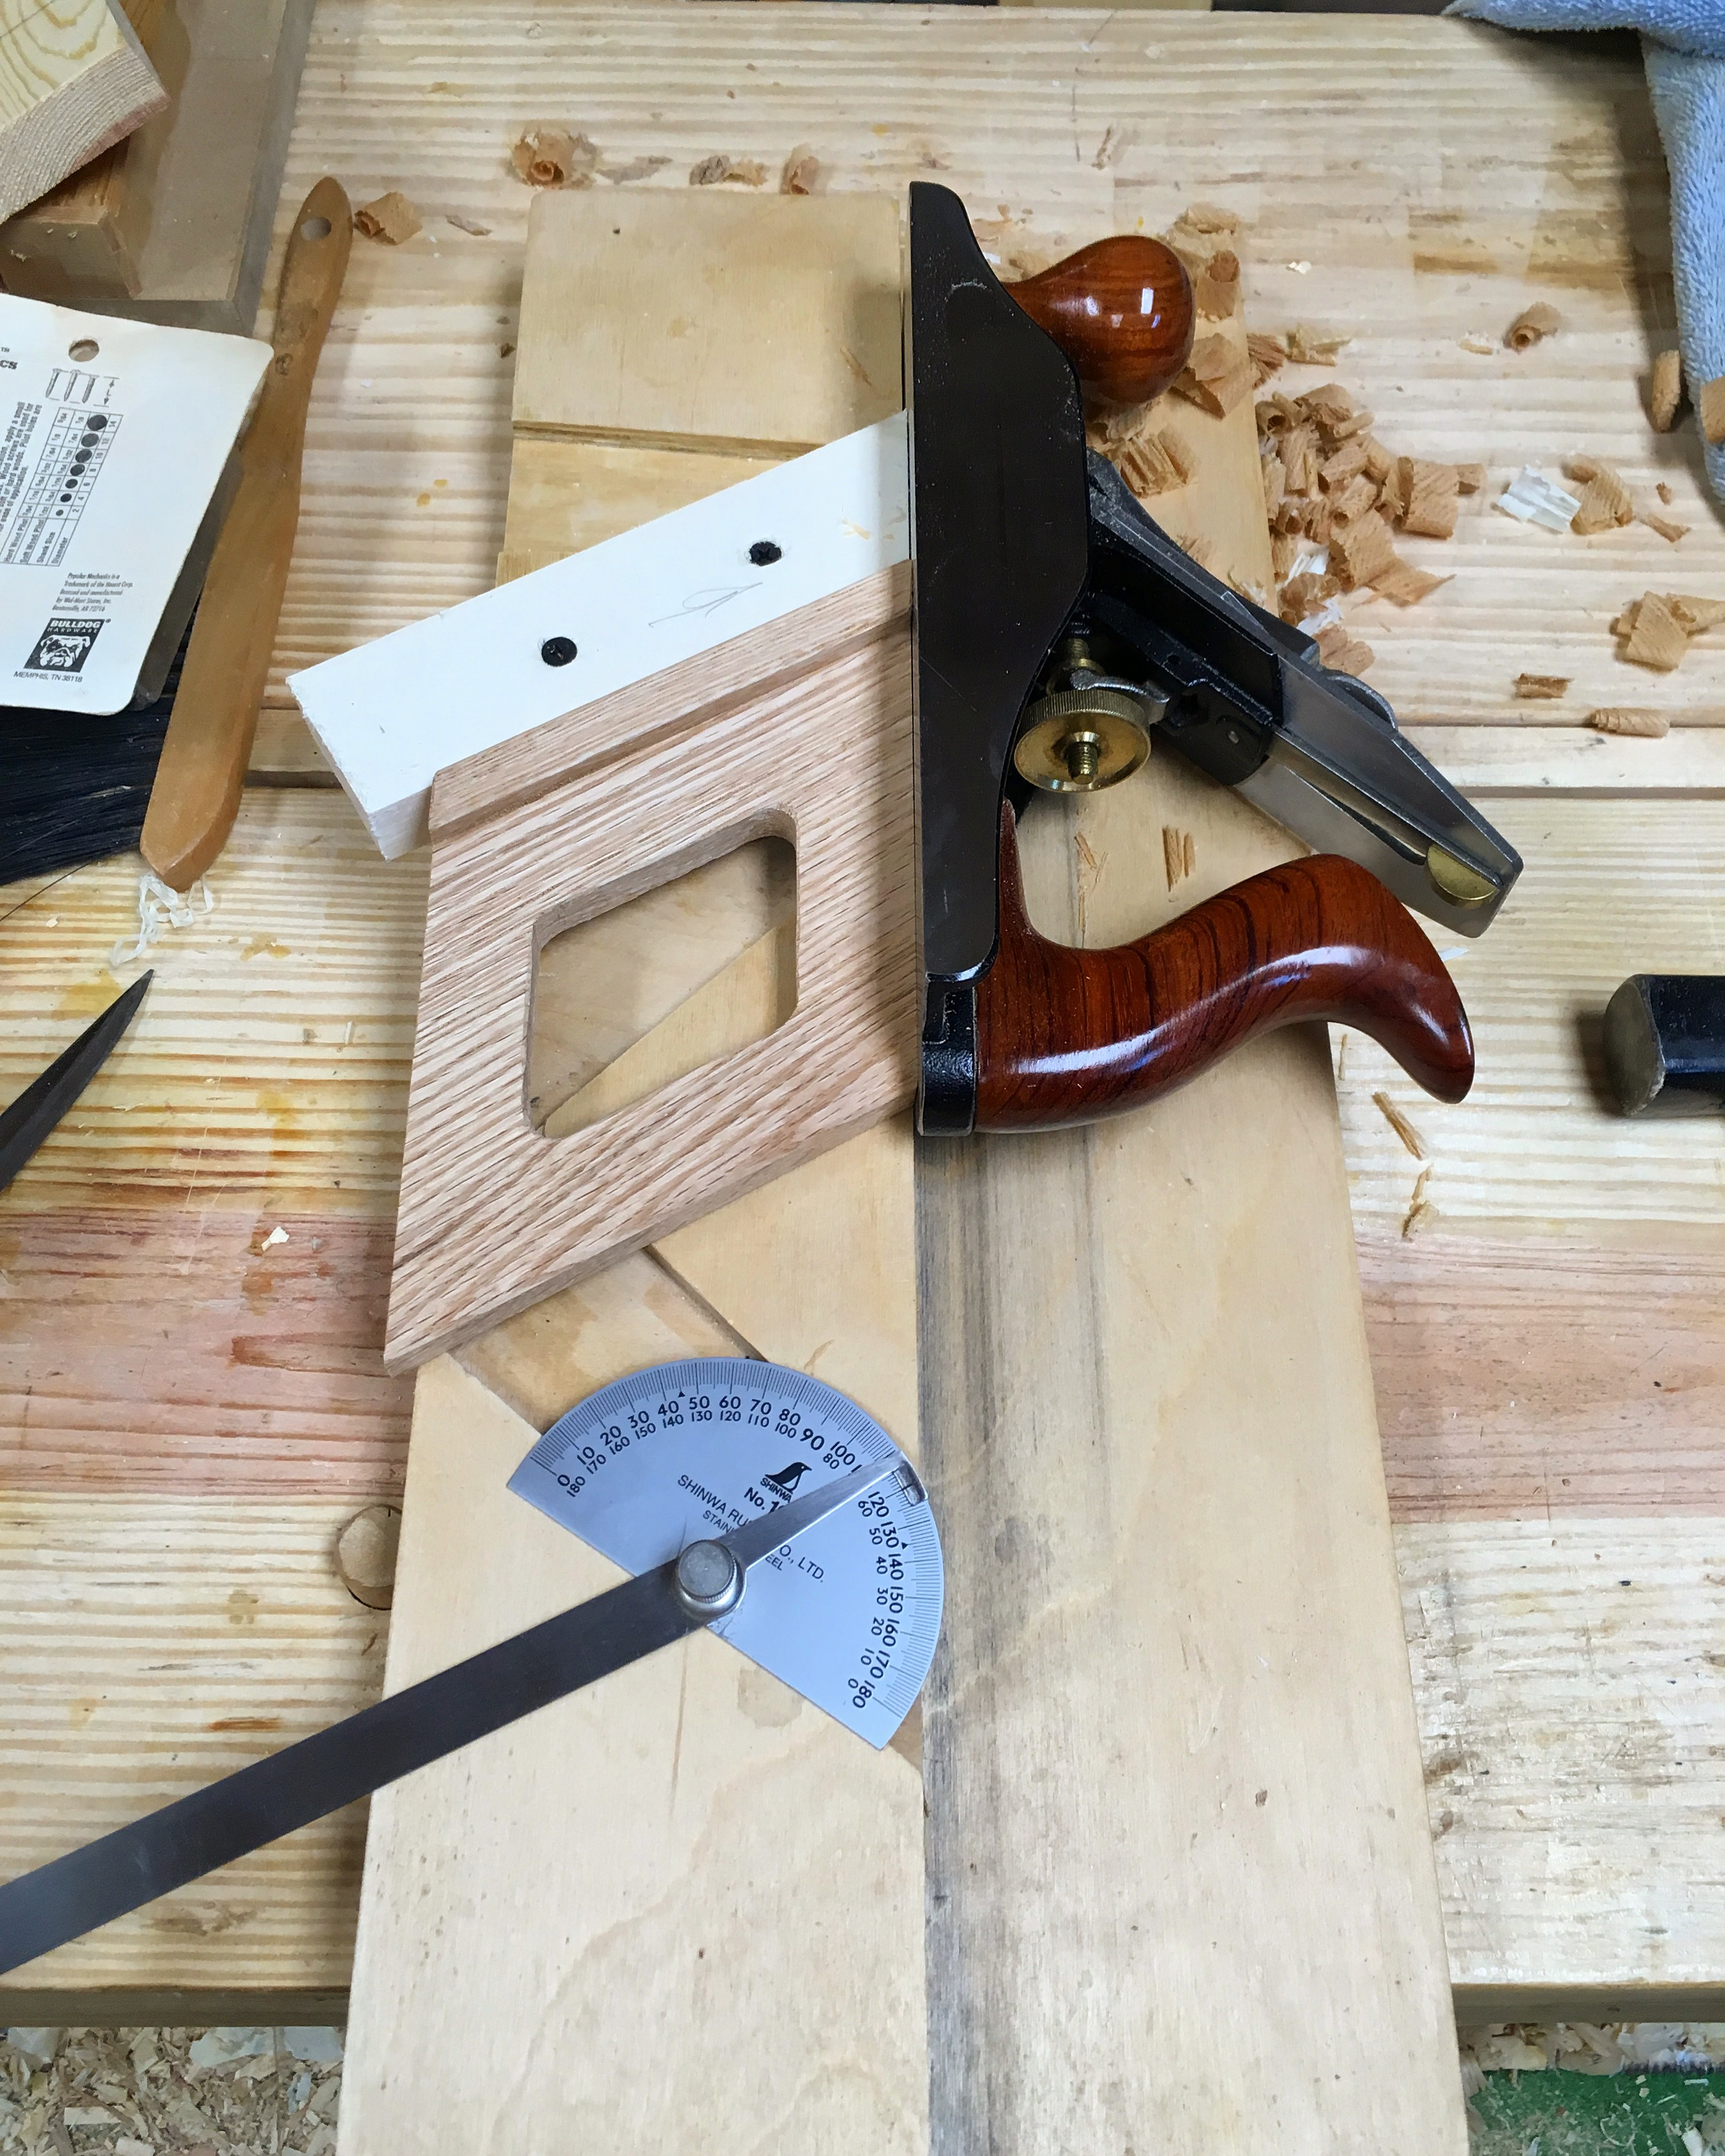

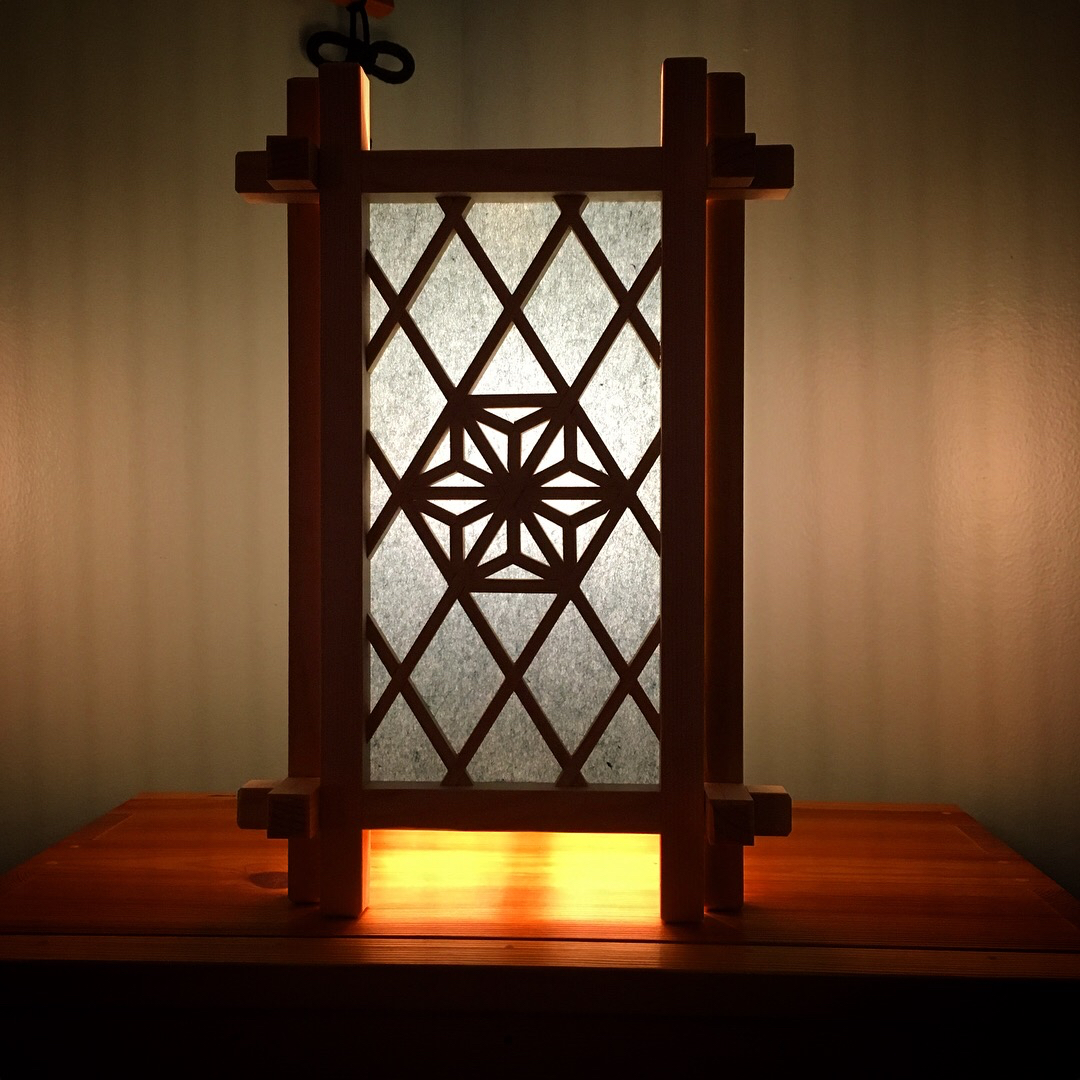
I also decided to try a simple infill for the lattice. There are innumerable options, but a I chose a simple 6-pointed star motif. This requires a 30deg and 60deg trimming jig and is made up of only two different pieces. The first task was to make the jigs.
Making jigs such as these can be intimidating to the first time maker, but is much easier than you might imagine. Saw as accurately as you can and use a freshly sharpened, shallow set plane to “sneak” up on the exact angle. It took me less than an hour to produce both of the required jigs. Mine are set up for pull planes. If you will be using a western push plane or chisel to trim with, than position your fence accordingly.
My chosen pattern requires a crossbar that divides each diamond into two equilateral triangles. Four crossbars are installed to create a hexagon.
Then six of the equilateral triangles are filled with three identical interlocking pieces. This completes the six pointed star pattern.

There are a couple of small gaps in this first attempt. Mostly due to my initial freehand cutting of the lattice. Trimming these small pieces with a plane on the jigs is also a technique all of its own, but I’m starting to get the feel for it.
Greg Merritt

Nicely Done, Greg. Very attractive design on the lattice. I’ve always been drawn to geometric things.
Thanks Matt. I think the geometry of it all is what initially drew me to the form. There are so many possibilities.
Pretty cool. I’d like to do some kumiko some day.
Be careful, it is easy to get sucked in and consumed by kumiko…just saying. 😉
Very striking. I too have been attracted to the form, just not the mundane cutting of dozens of identical joints.
Thanks Jim. Ha, I actually find cutting and trimming all of the pieces a bit meditative. At least in small doses. Something that requires hundreds of pieces might be a different story.
Hey, I think you have a gift for this! -Al
Thank you, I’ve just barely scratched the surface though.
The quilter in me really likes the quilt block you created in your luminary! Fantastic and utilitarian!
Ha…thanks. The pattern would make a nice quilt.