
I’m extremely disappointed in the 4-5 people who read my sporadic drivel. In the last installment you let me drone on about drawer fronts and frames and how I was going to spend Sunday in the shop fitting and making drawers. Not one of you thought to say,
“Hey Greg, don’t you think you should install some drawer guides first?”
LOL
Sure enough, I went out to the shop on Sunday and cleaned up the first drawer frame. The first time I offered it to the opening, it was too tight. A few swipes of the #4 and it slid in. About half way in it racked horribly in the opening. WTH! I pulled it out, looked into the opening and realized my stupidity. I had completely forgotten to install any of the drawer guides.
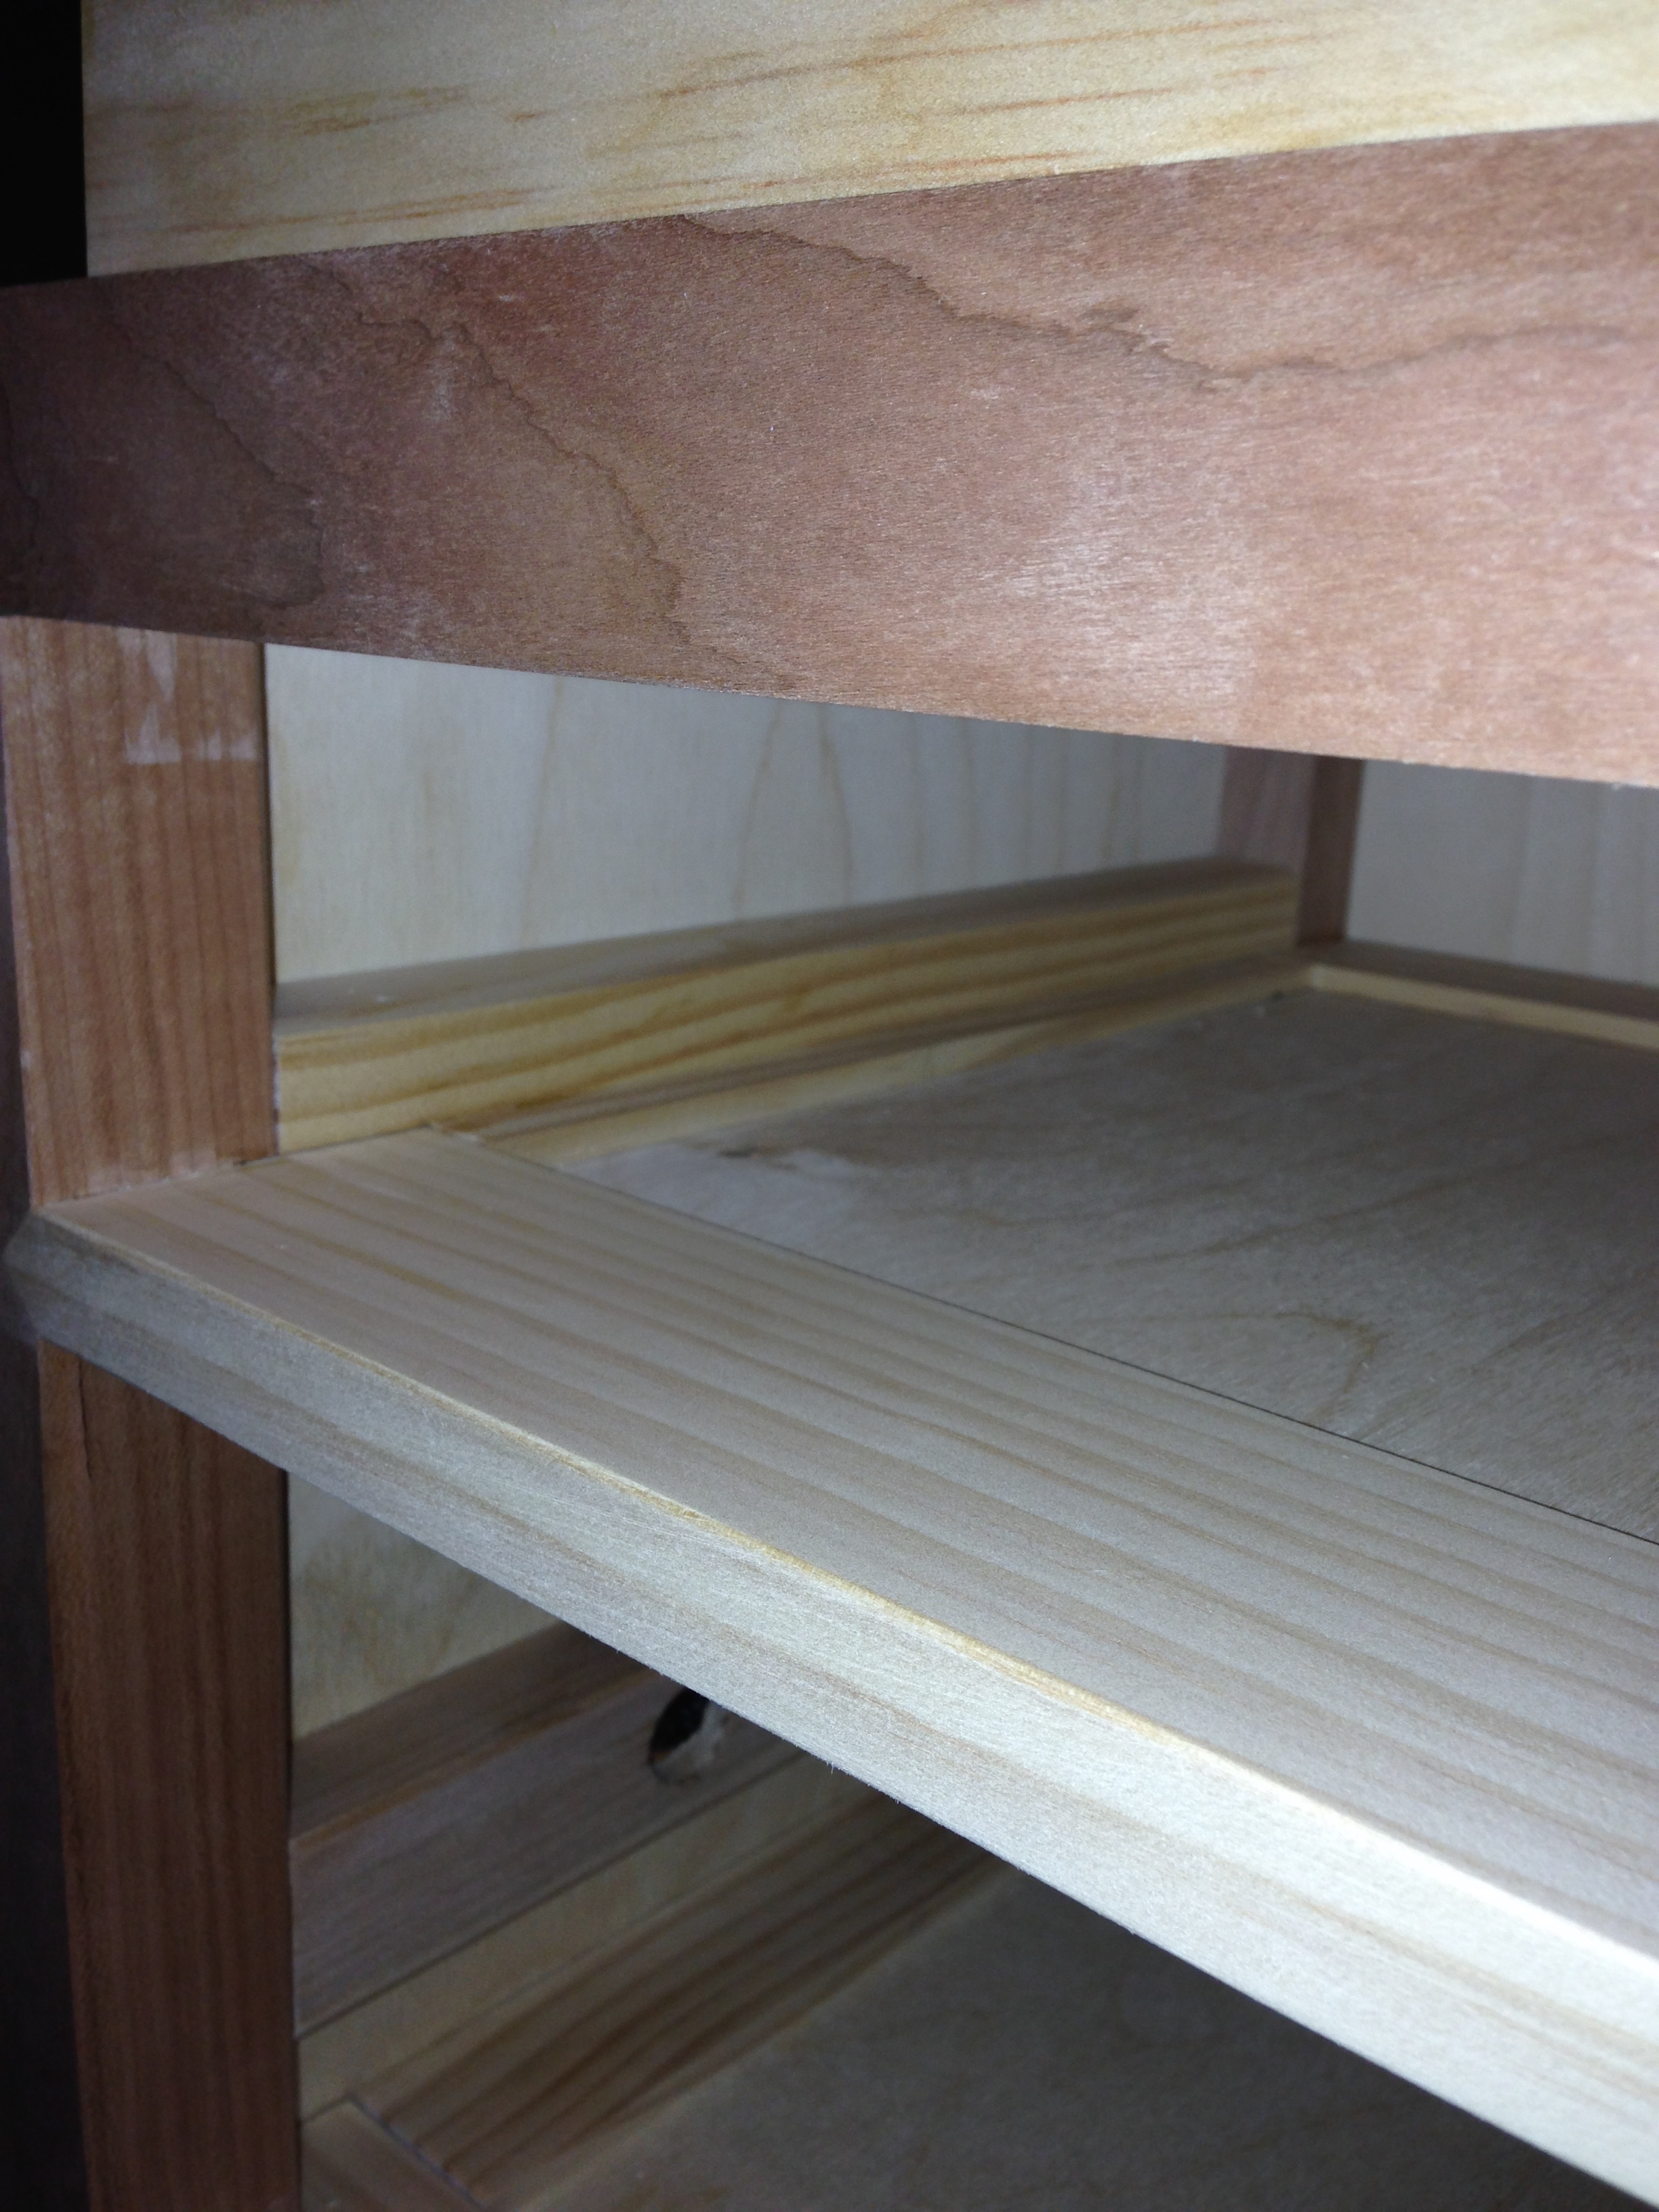
Drawer guide installed!
I spent some quality time in the scrap pile and found enough suitable pieces for the required guides. The next couple hours were spent sizing and installing all of the drawer guides. Now I’m ready to start fitting drawers.
With the drawer guides in place, the first drawer frame slid in nice and smooth. Only a little tweaking was required. I don’t use drawer stops in this design. Essentially this means everything, carcass and drawer, must be square. Also the drawer must be built fairly close to the correct depth. On HB Tansu #1 I built the drawers to be flush with the front of the carcass frame. I’m not entirely happy with how that arrangement looks once the bead detail is added to the drawer front. So this time around I’m building them to stand proud of the carcass front by about 2mm, give or take. This whole process is a little fussy but really not all that bad.

Drawer front sits proud of the carcass front. Note the temporary blue tape pulls. I learned this lesson the hard way. Never push a drawer fully in unless you have a way to pull it back out.
In summary. My Sunday in the shop resulted in the fabrication and installation of drawer guides, fitting of the first drawer frame and I even managed to begin the joinery for the second drawer frame. That will probably be it for progress until next weekend. I might get lucky though and sneak in a couple of hours this week. Time will tell.
Greg


Greg, I’m at a loss to see your drawer guides. I looked back at #9 and can’t see anything there and I don’t see them in #10. Is it the piece between the front and back stiles?
Hey Ralph. Yep, it’s the ~1″ square strip running from the front post to the rear post. Nothing special about it, just required in order for the drawer to run true in the opening. In essence, a gap filler really.
Greg
Greg i will do what my people have done for generations in situations like this…. Im sooory. (In my best Canadian ) Hahahaha…. I just thought you were introducing a new HBT type of pull on the drawer front shot. Lol
LOL…on tansu #1 the drawers were made to sit flush with the front. While checking a drawer that was still a bit snug I forgot what I was doing and pushed it all the way in. No temporary handle to pull it back out with. It took me a good half an hour to coax that drawer out far enough to get a hold of again. Never again. Before I check the fit, the blue tape handles get installed. 😉
Greg
feel your pain
Just got ahead of myself. It’s all back on track, so to speak.
Greg
drawer guides *and* pulls all together!
It’s looking good so far, and it’s got to be down hill from here right? The case joinery seems like the biggest thing, although you seem to have that wired too.