
After a couple of coats of Tried and True Original oil finish, It was time to complete the assembly of the owl.
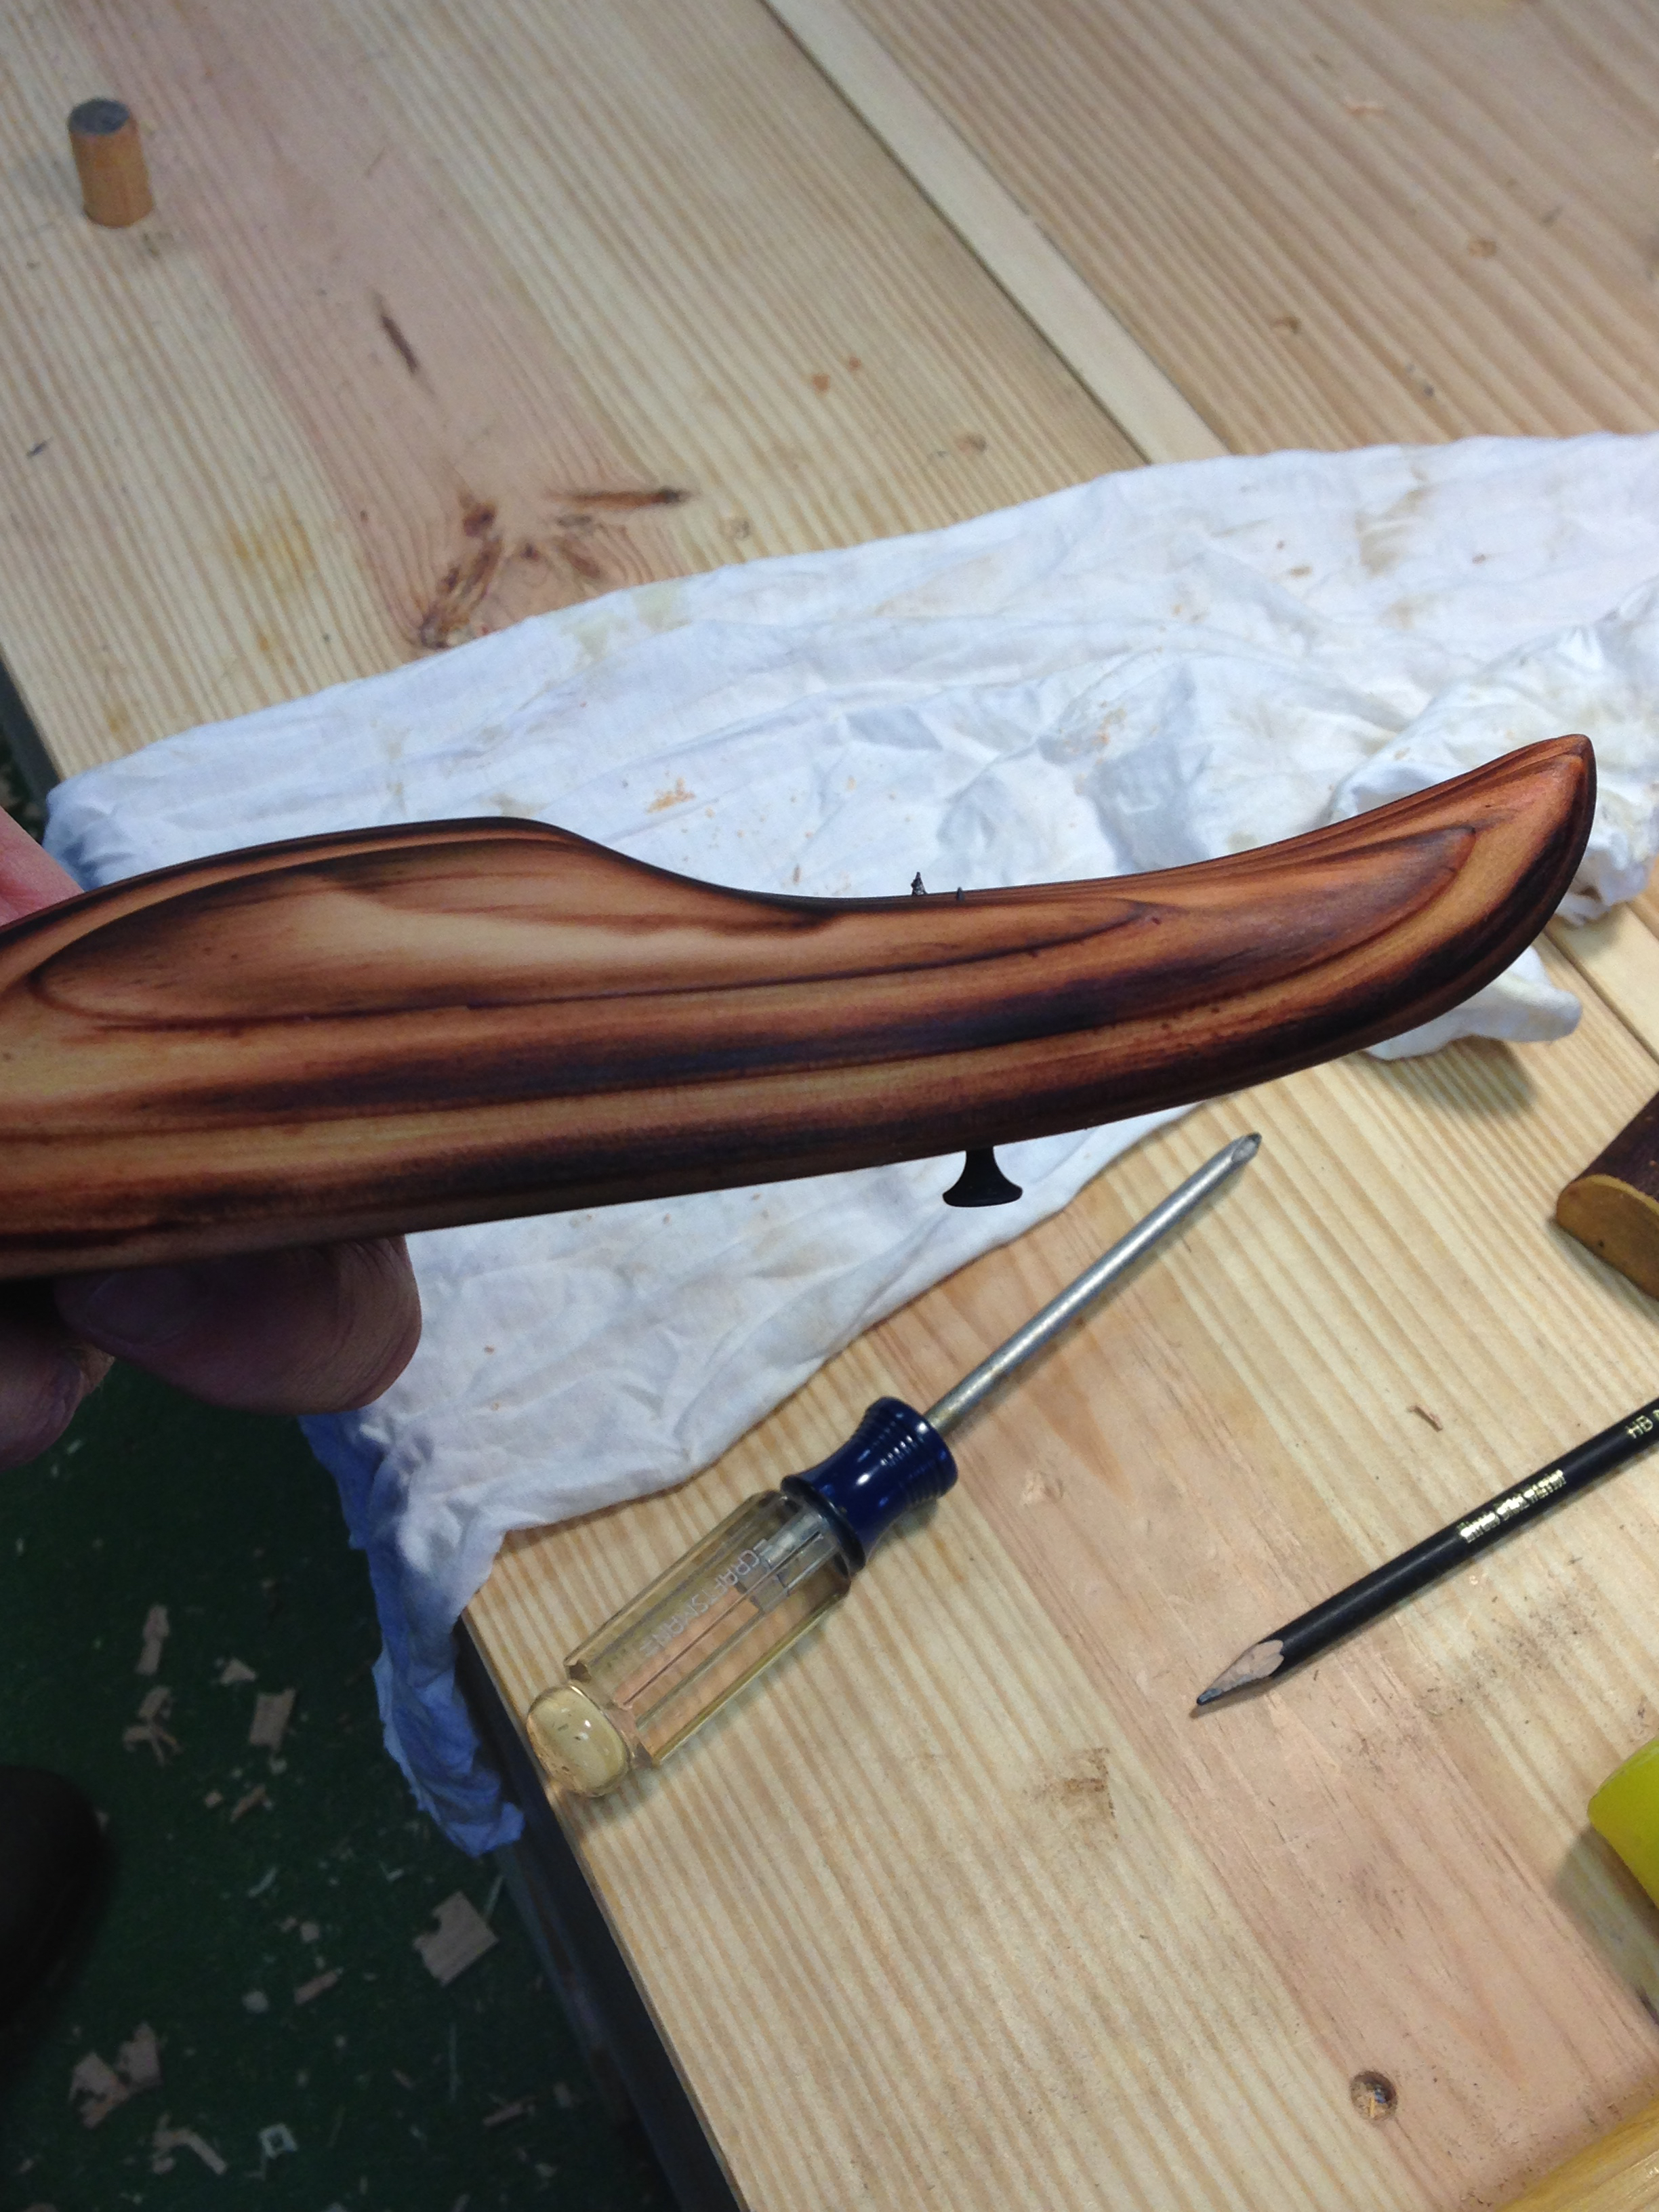
The perch is just a stick split in half, the edges dressed and I applied a coat of oil just to make it look a little more vibrant. To attach the perch to the owl I used a couple of screws.
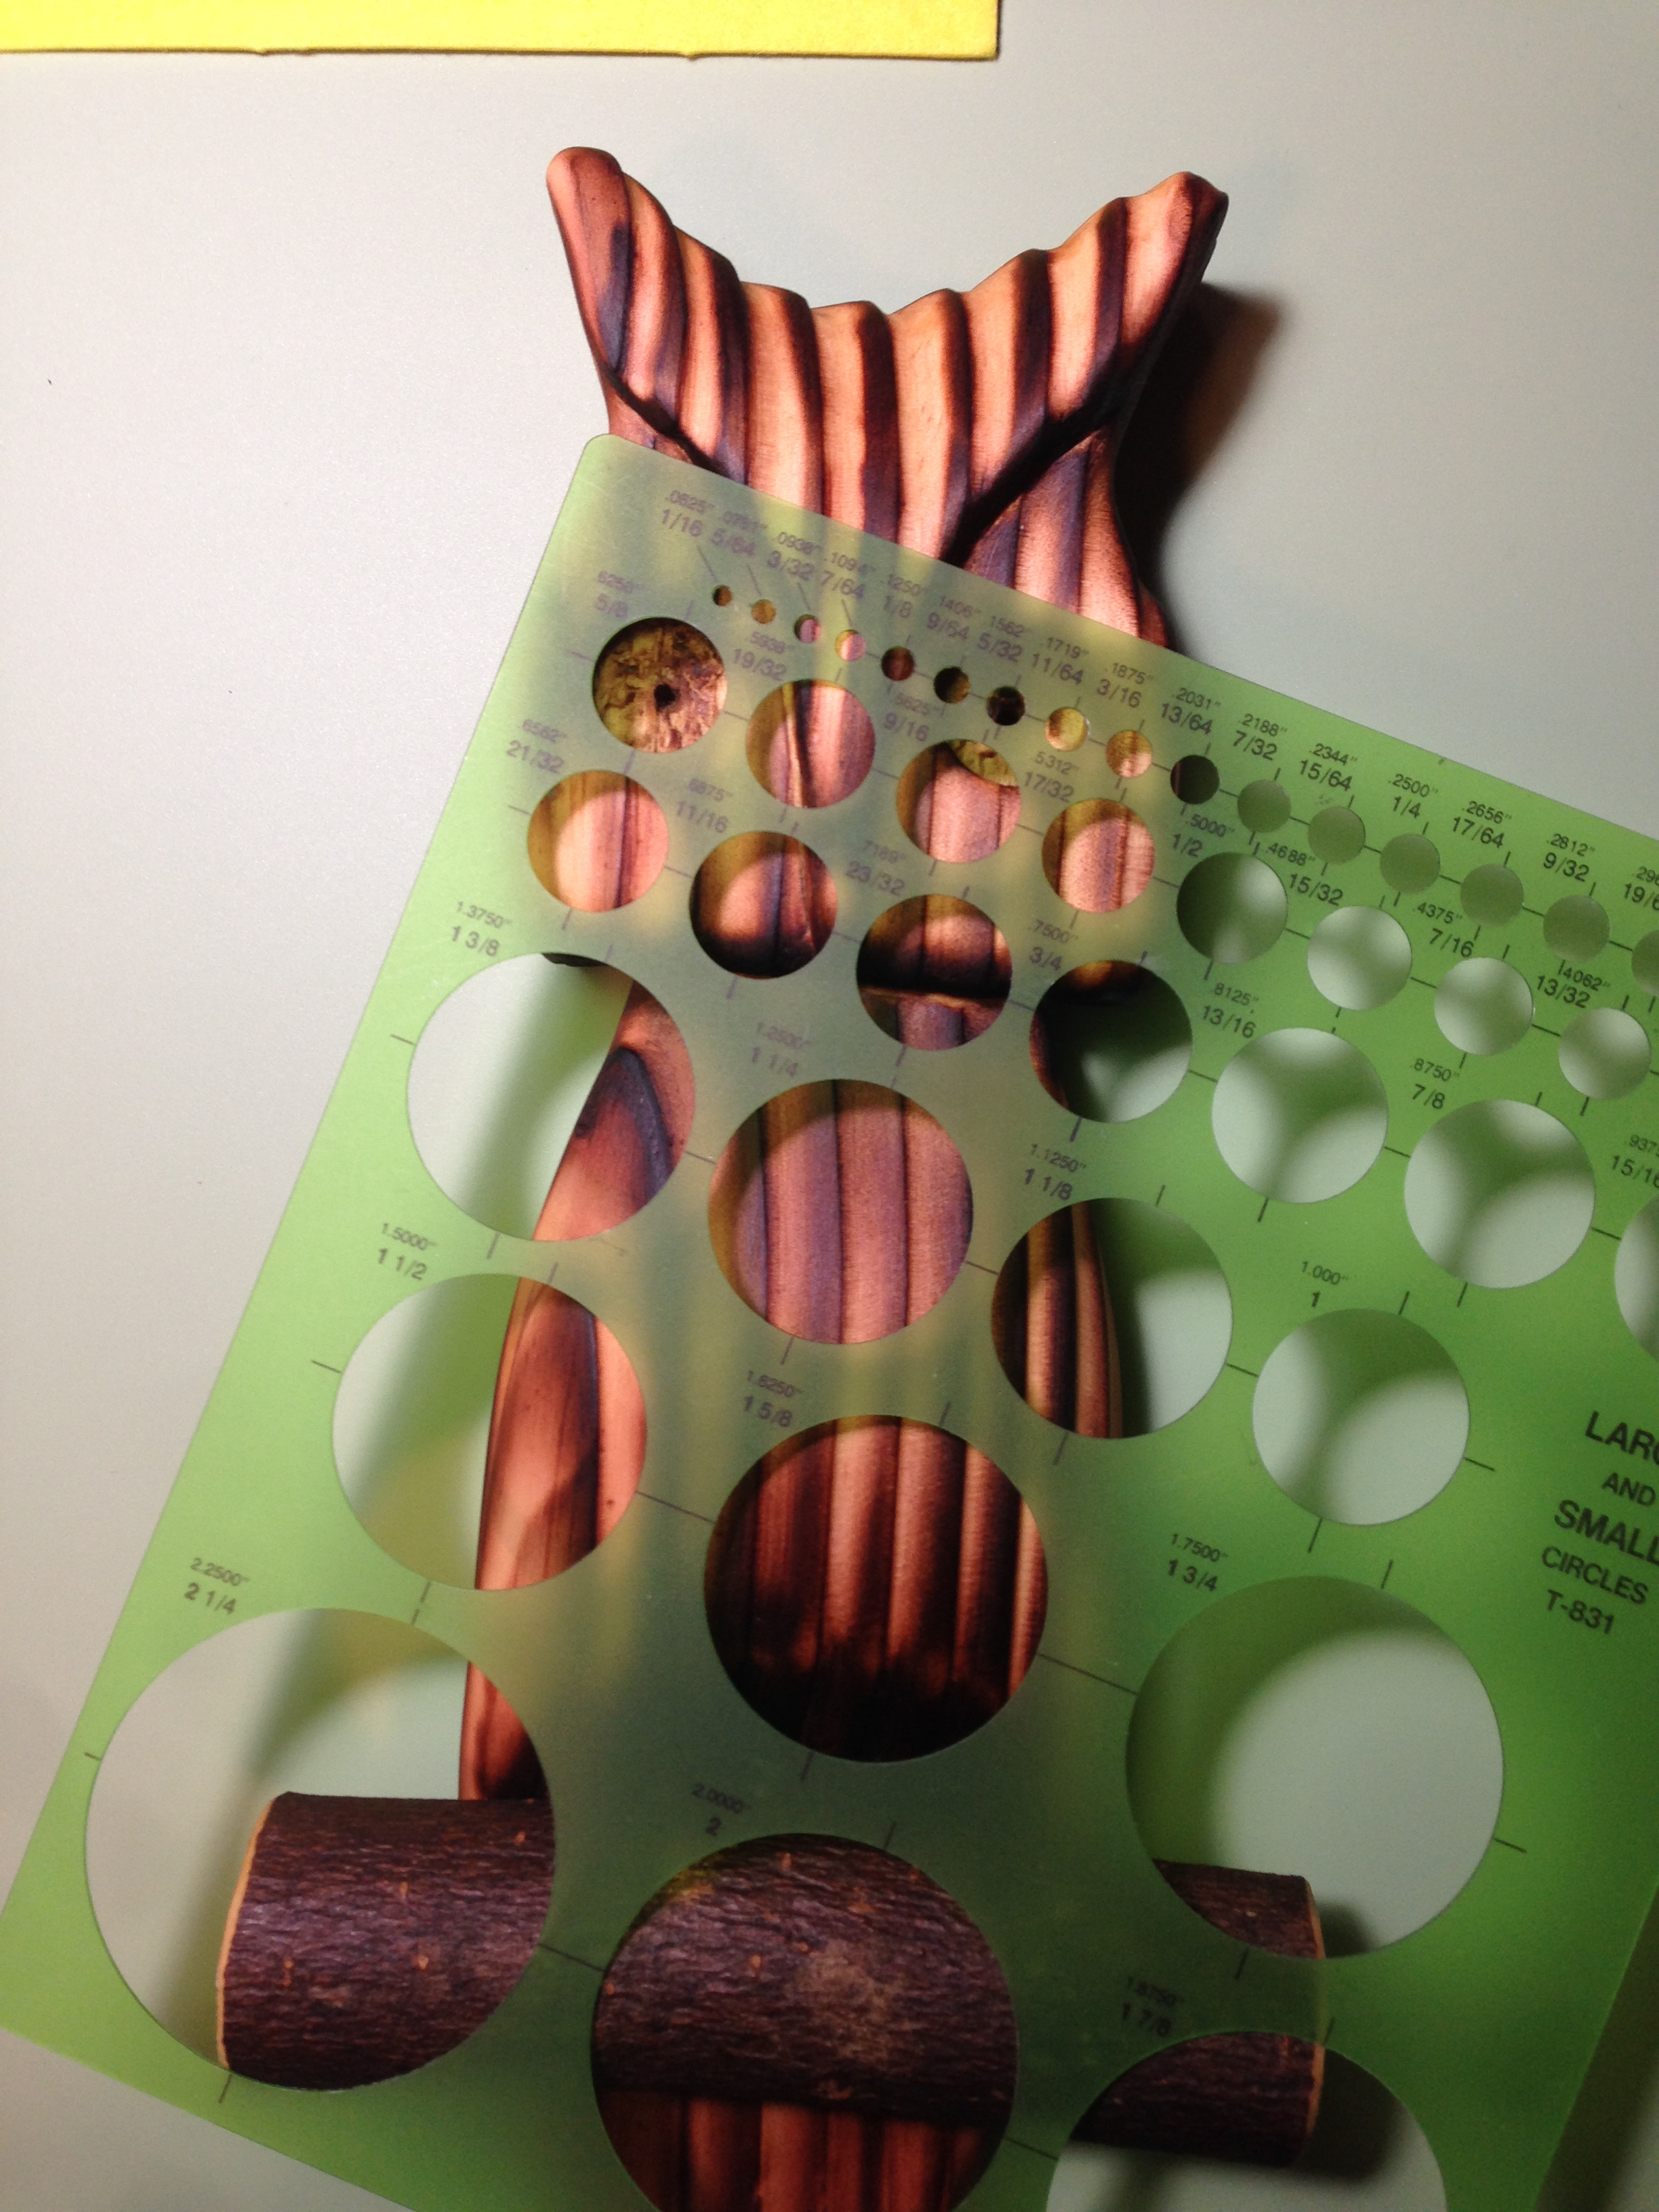
First, guesstimating hole placement.
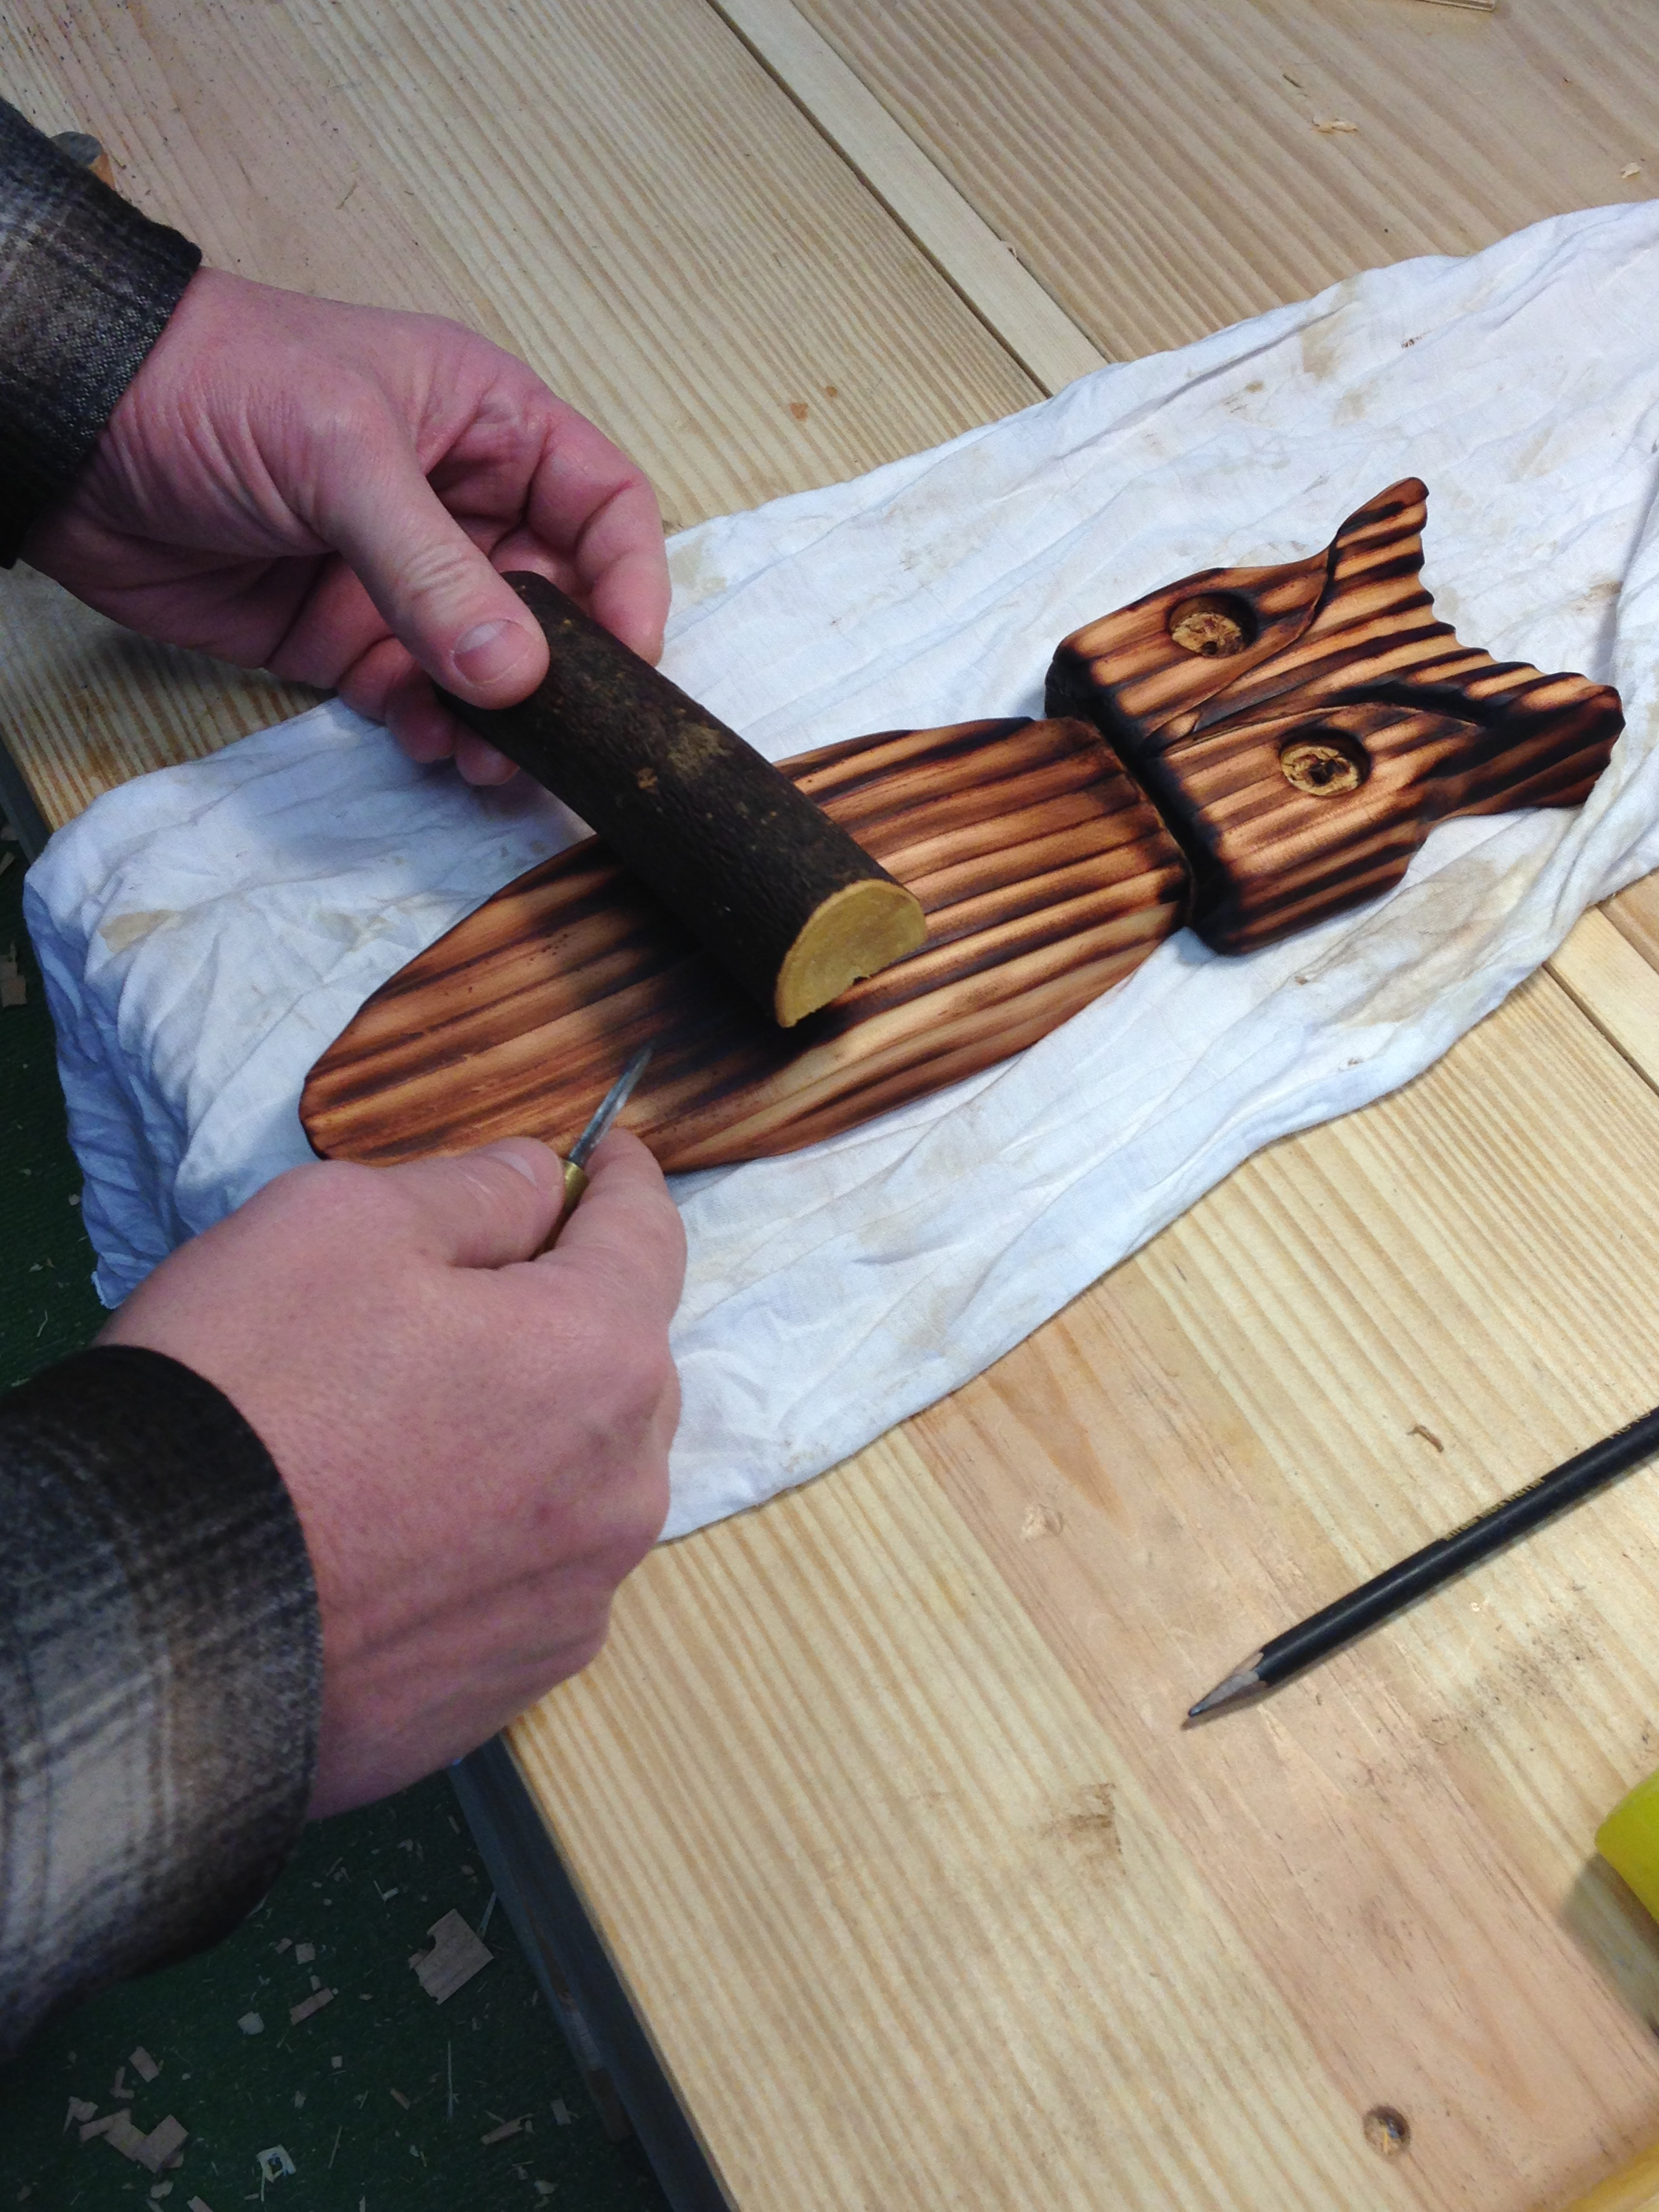
Then deepened the starter holes with an awl.
Drilled the clearance holes.
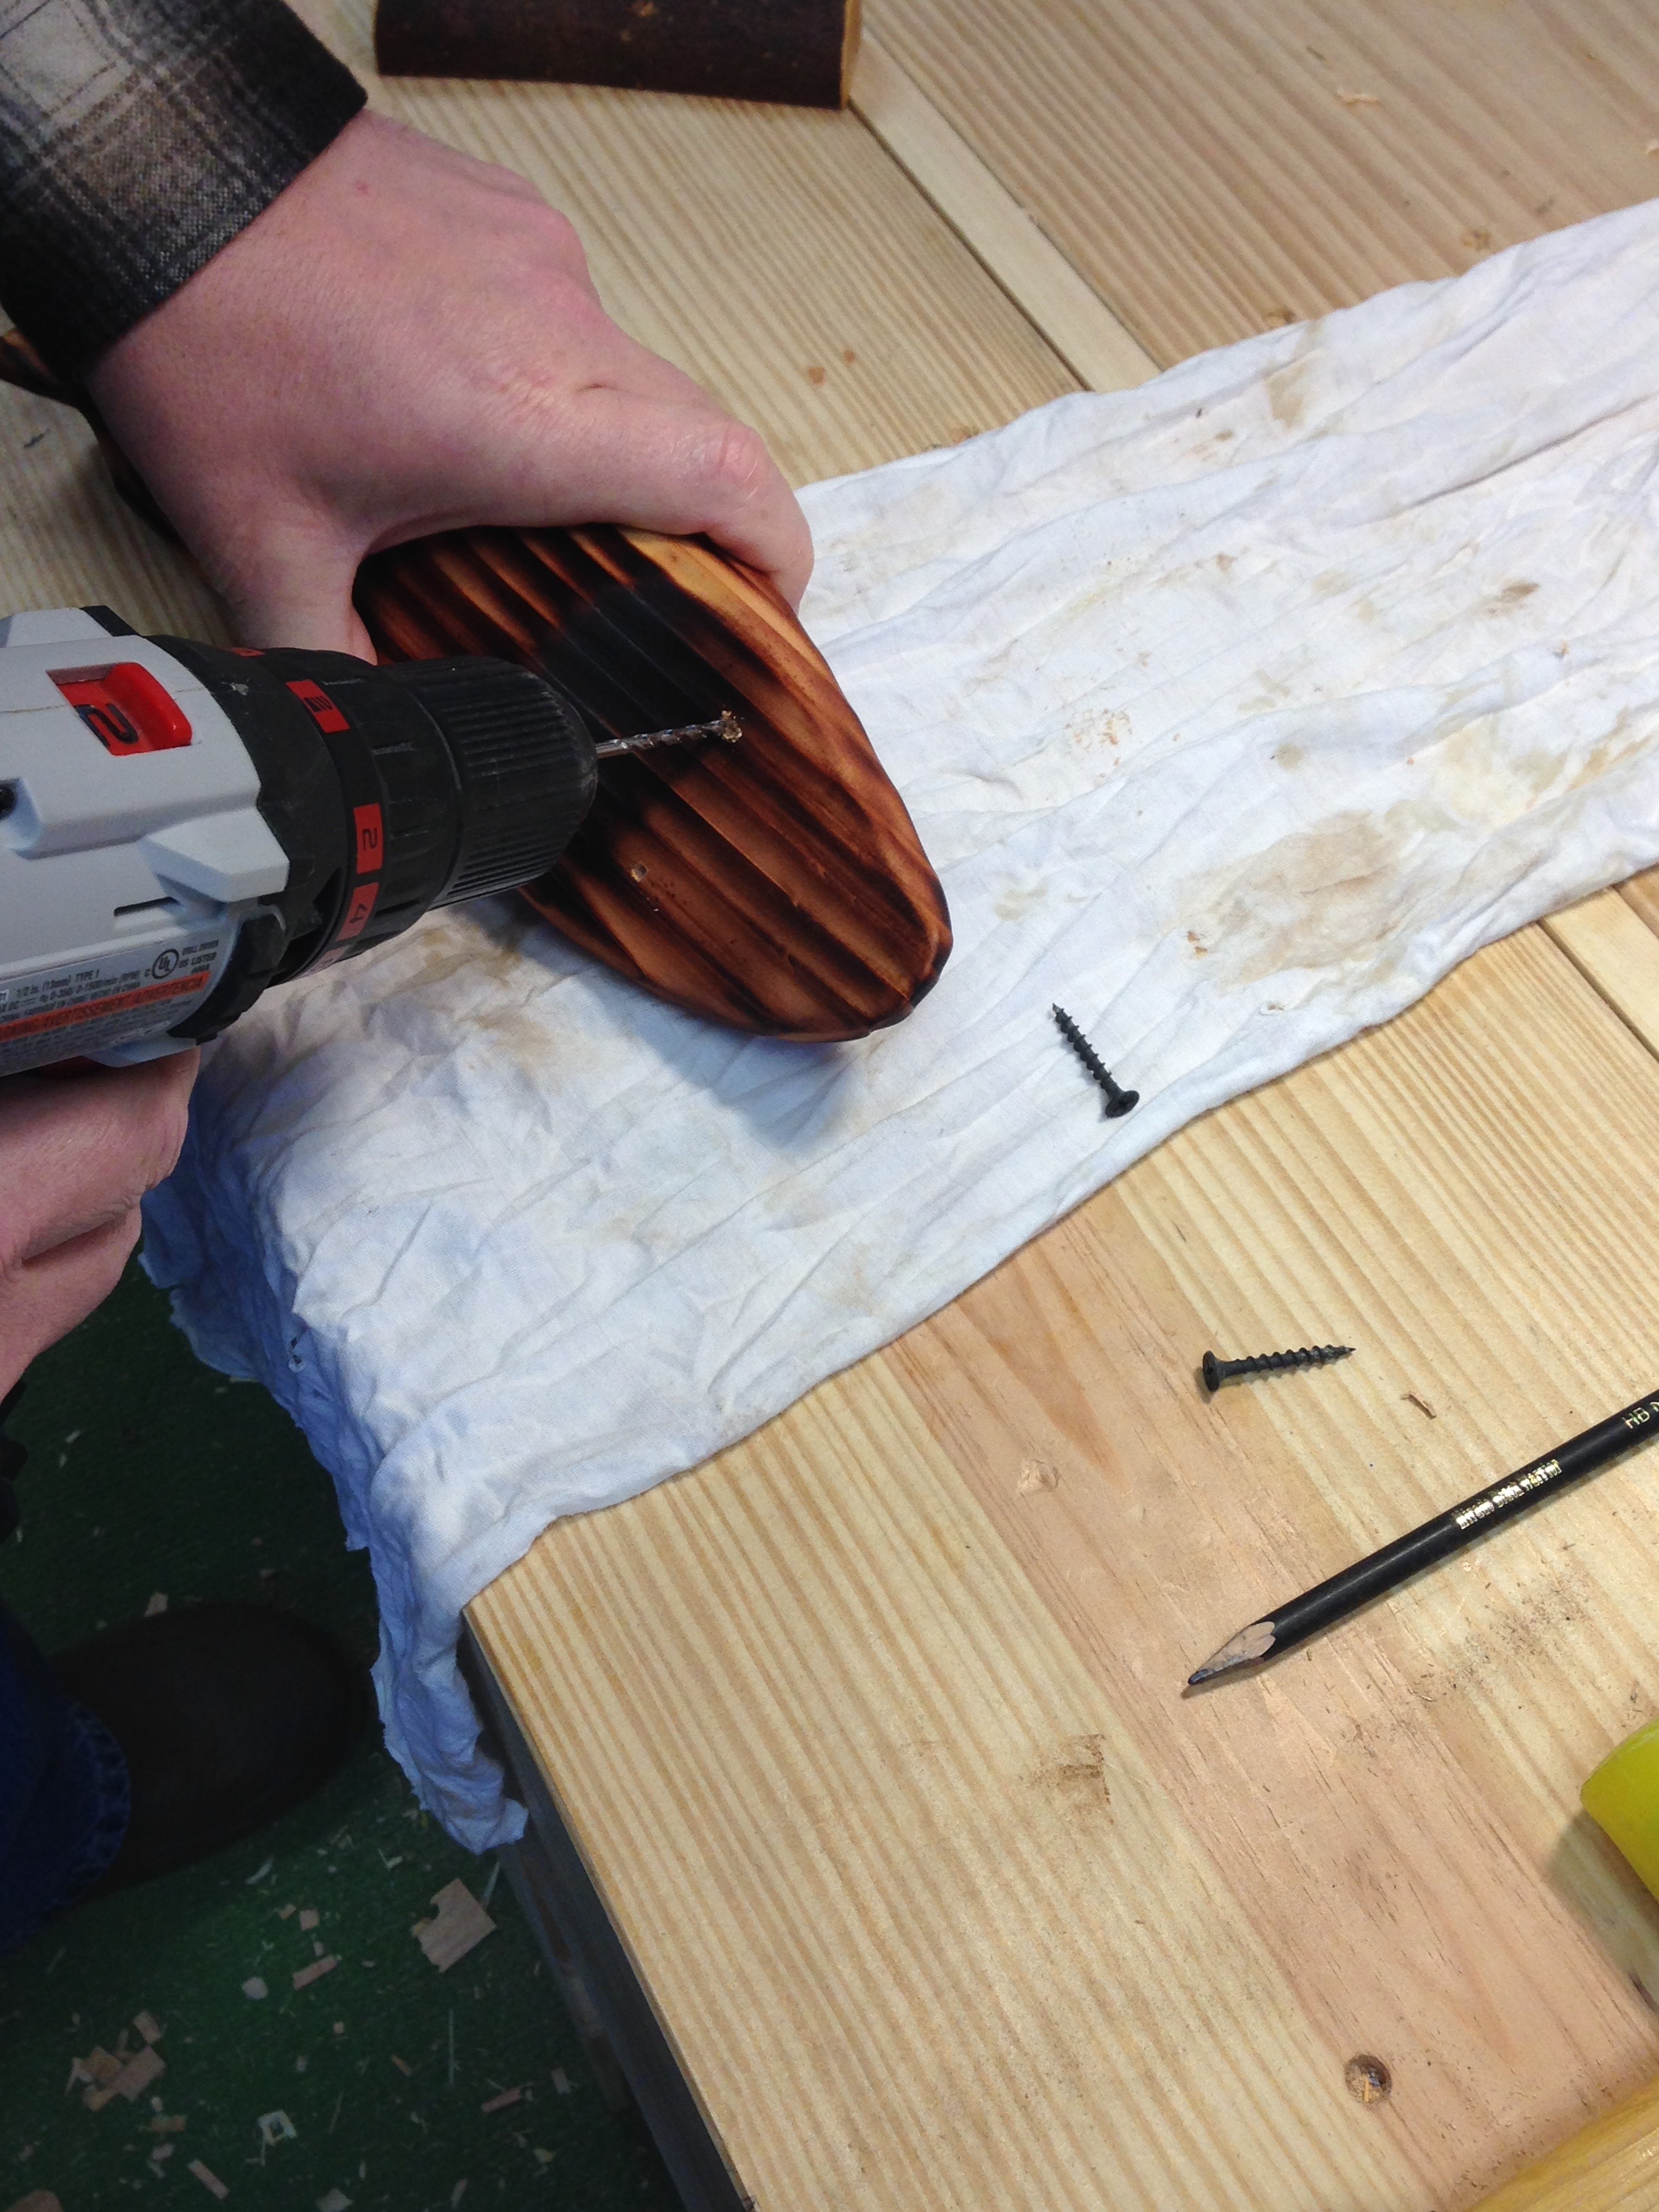
Followed up with a countersink.
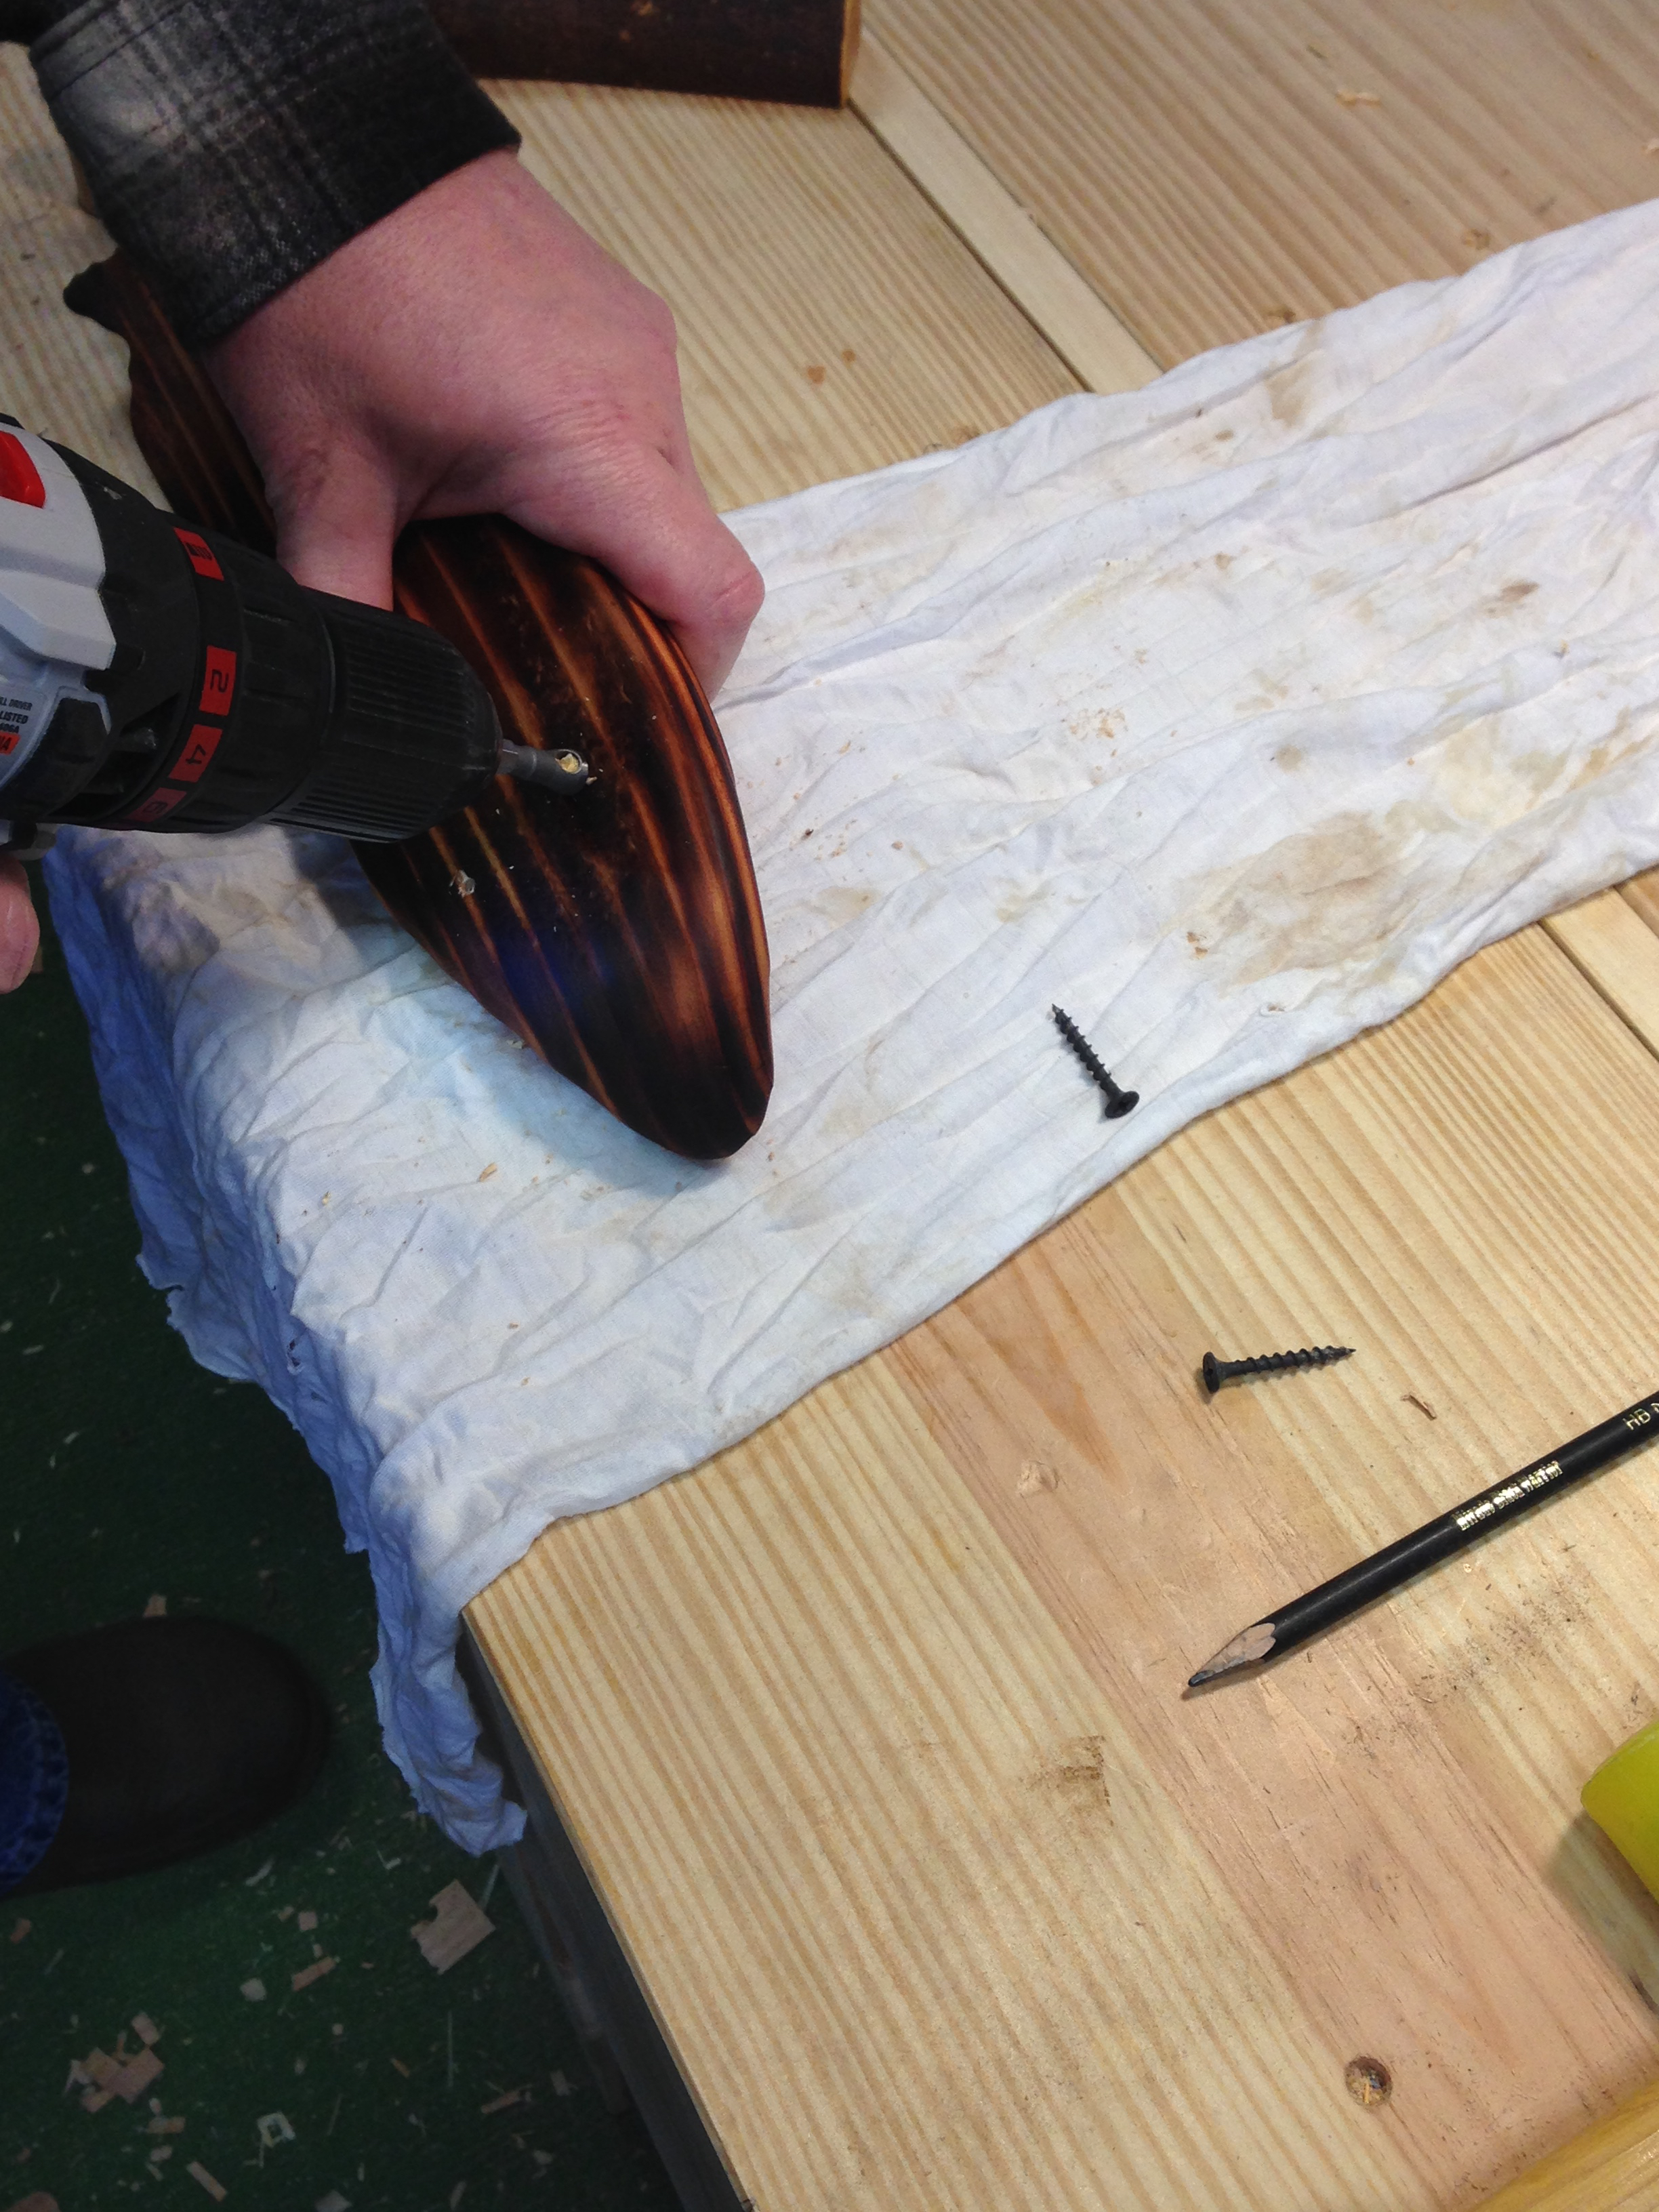
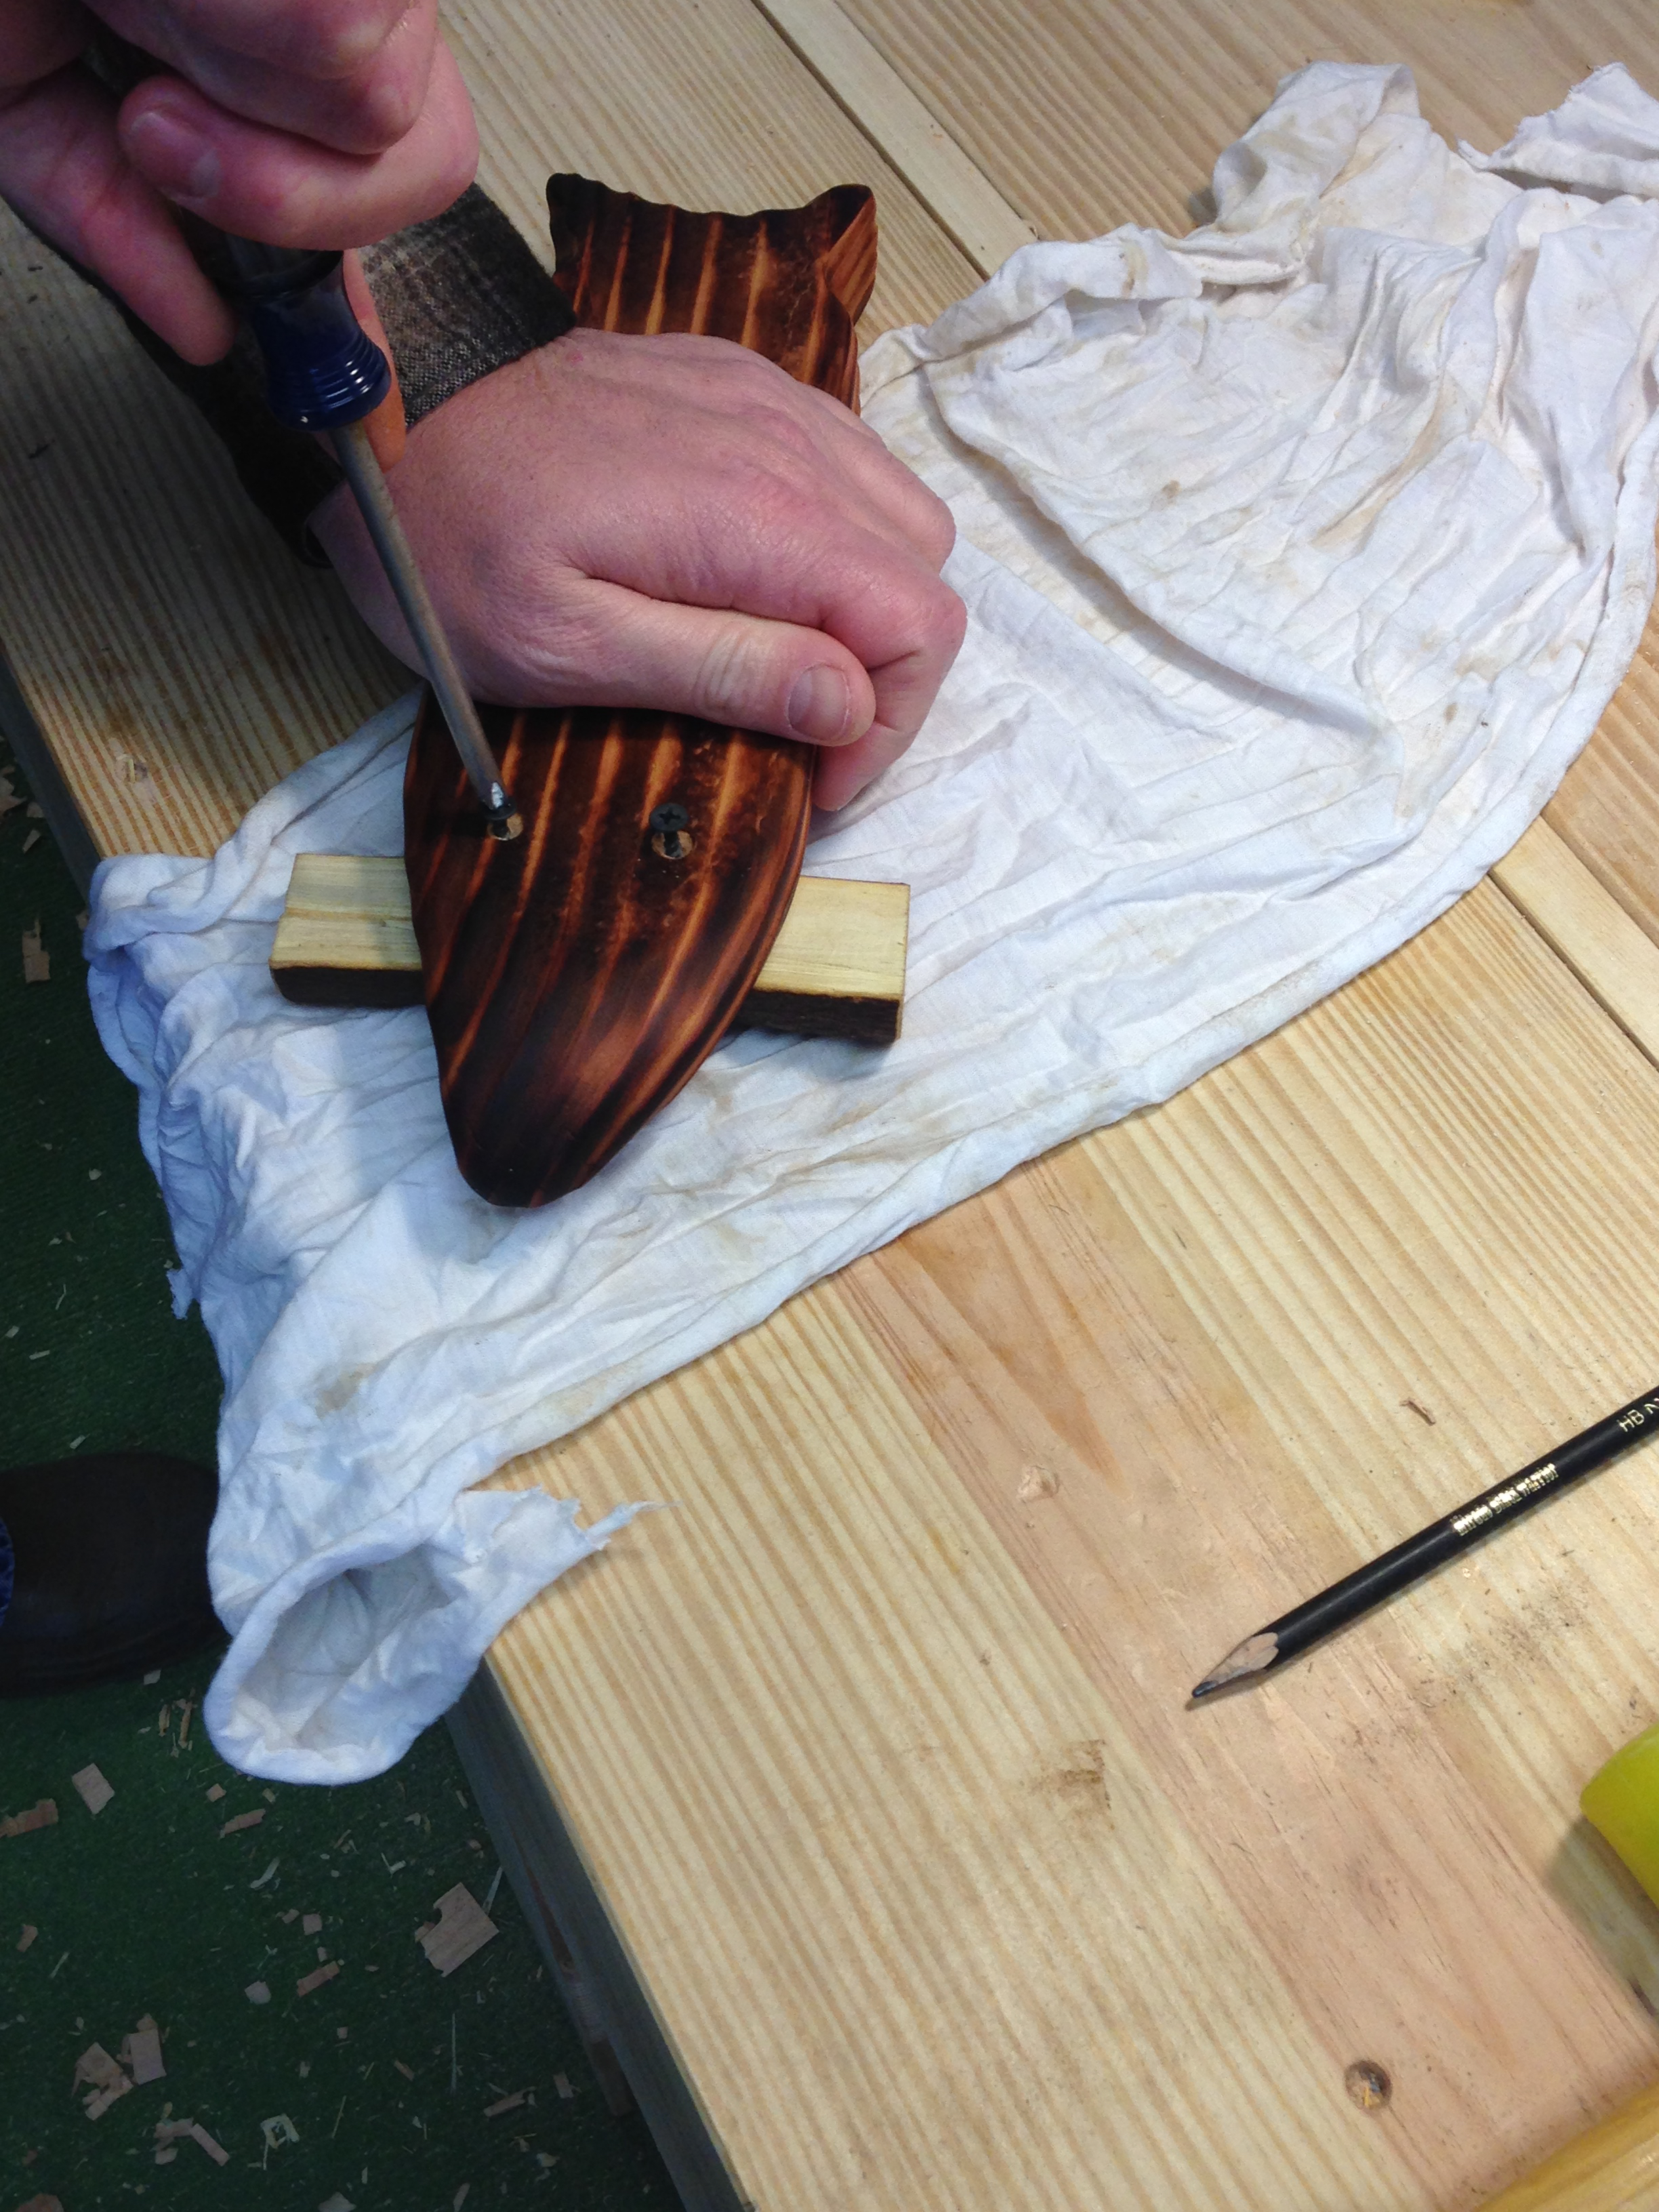
Then installed the screws so that the points were proud of the surface.
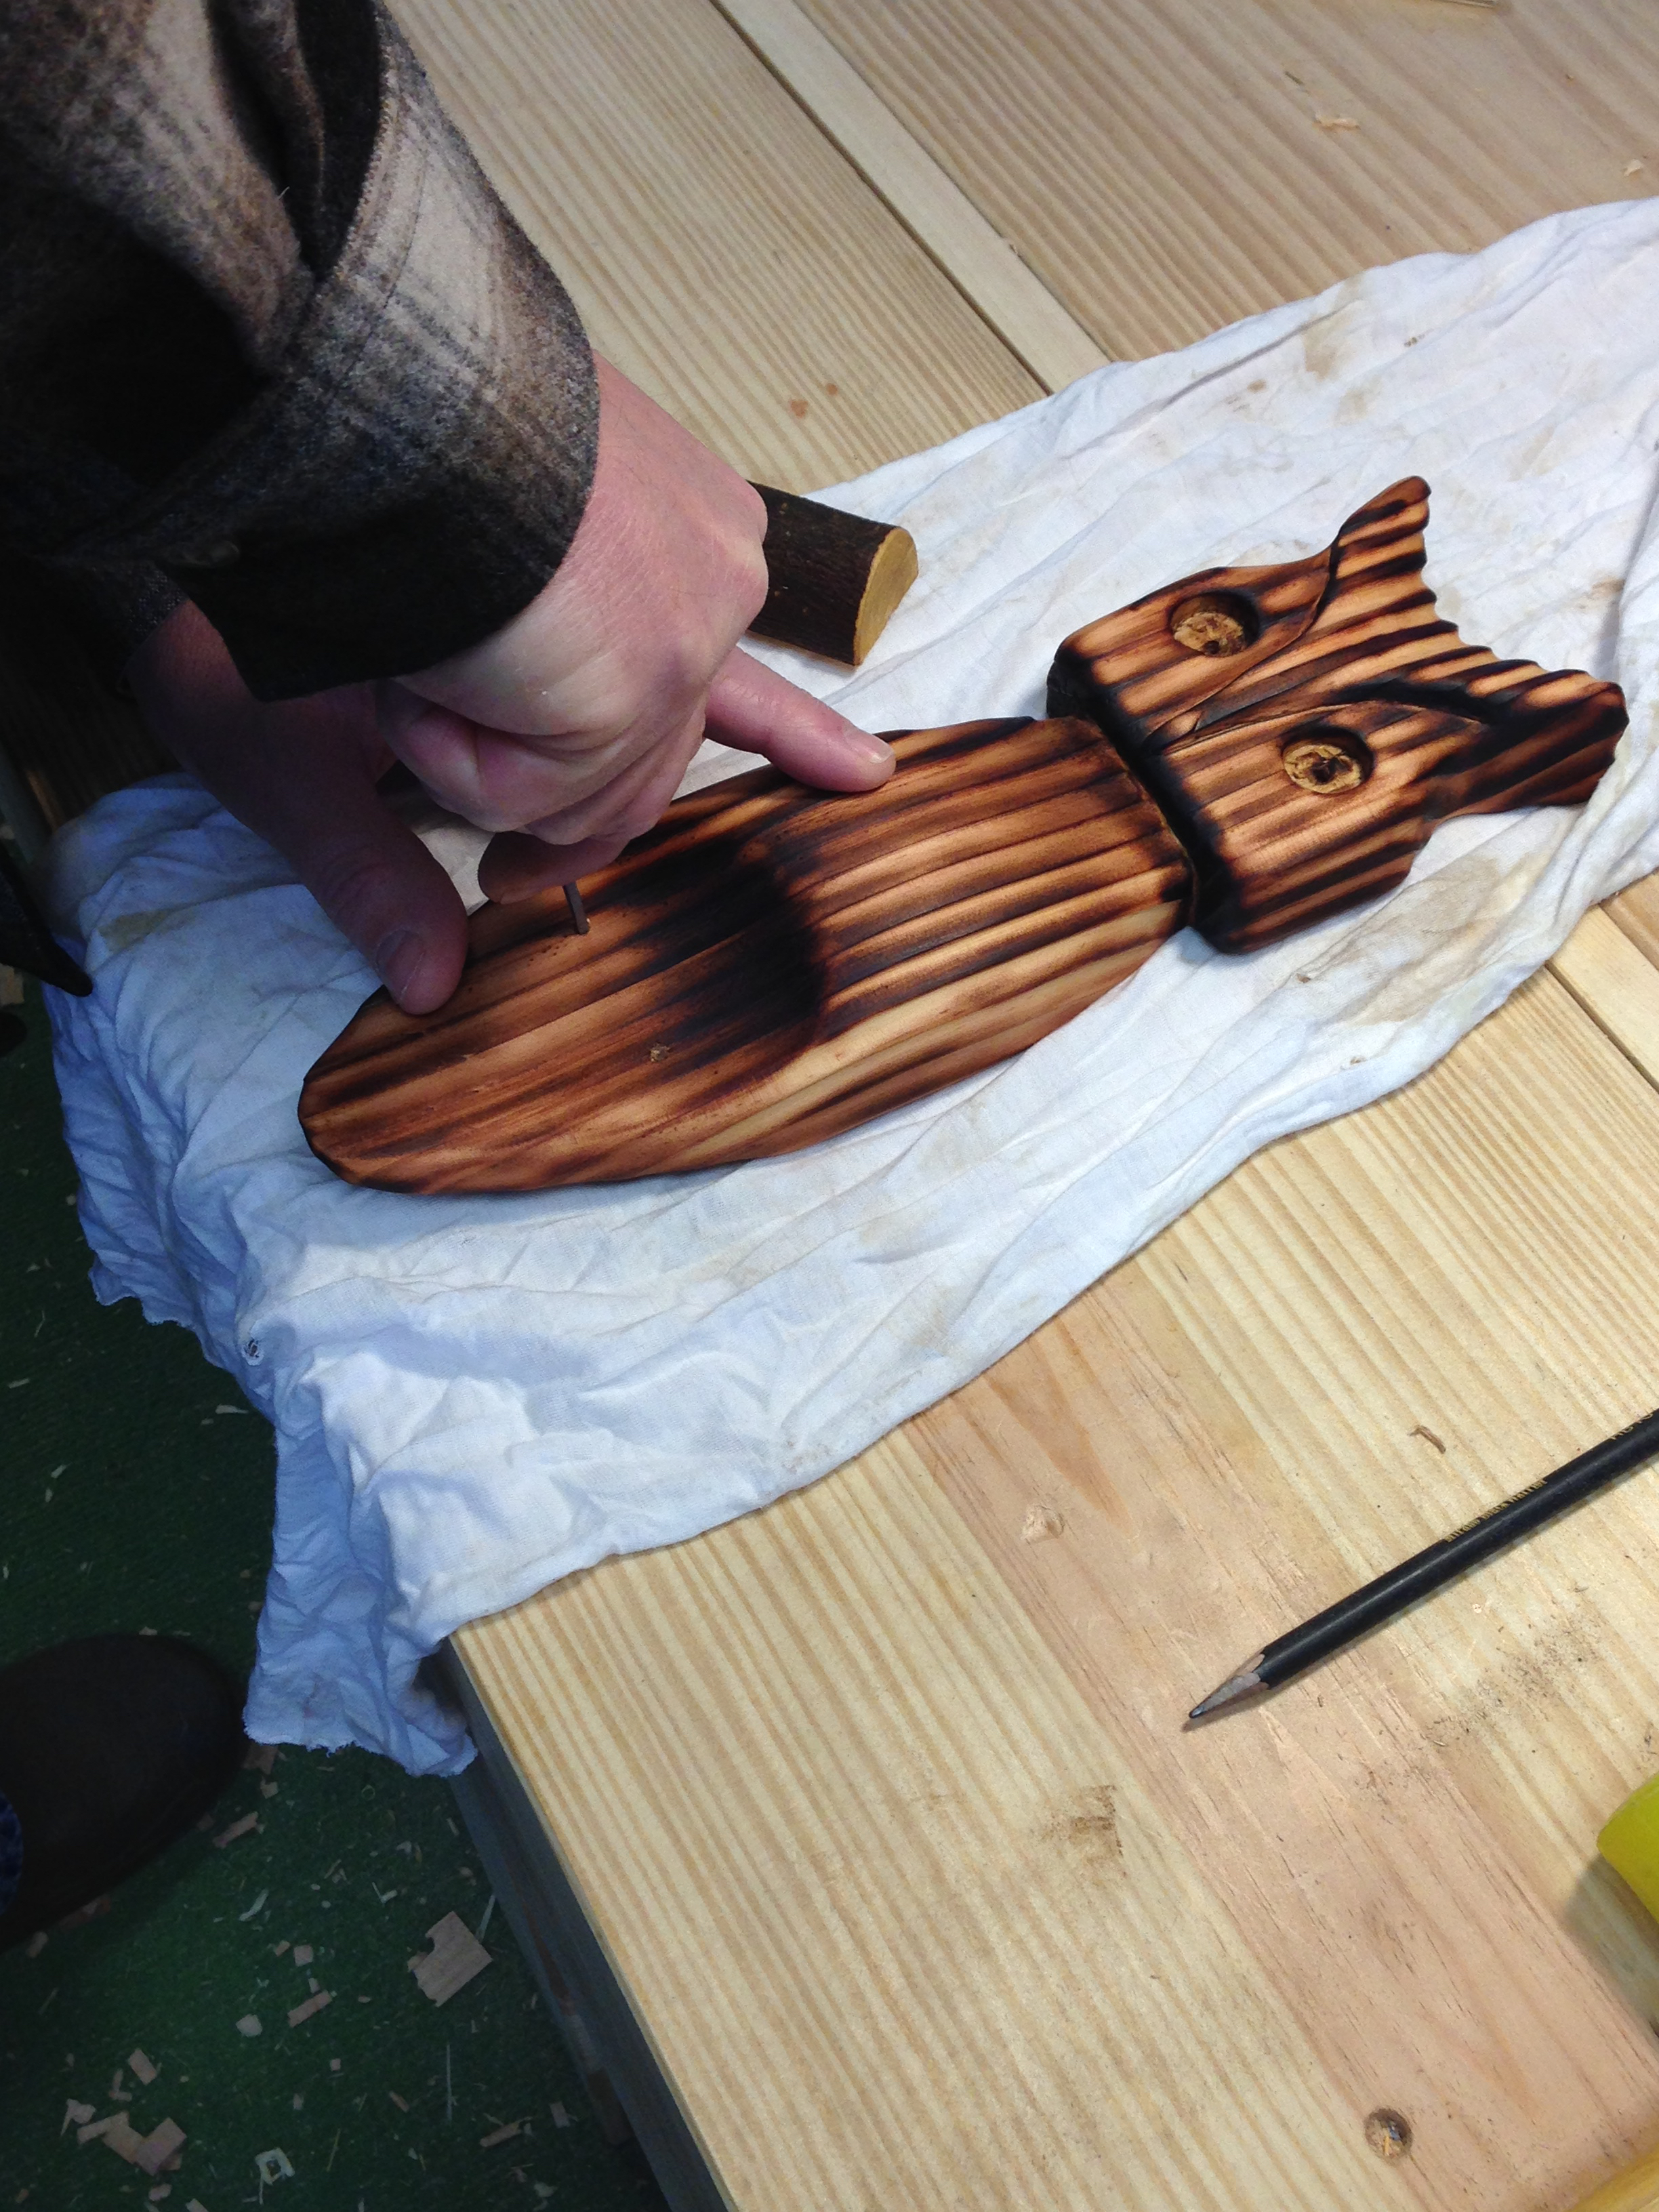
Pressed the perch into place.

Flipped everything over and drove the screws home.
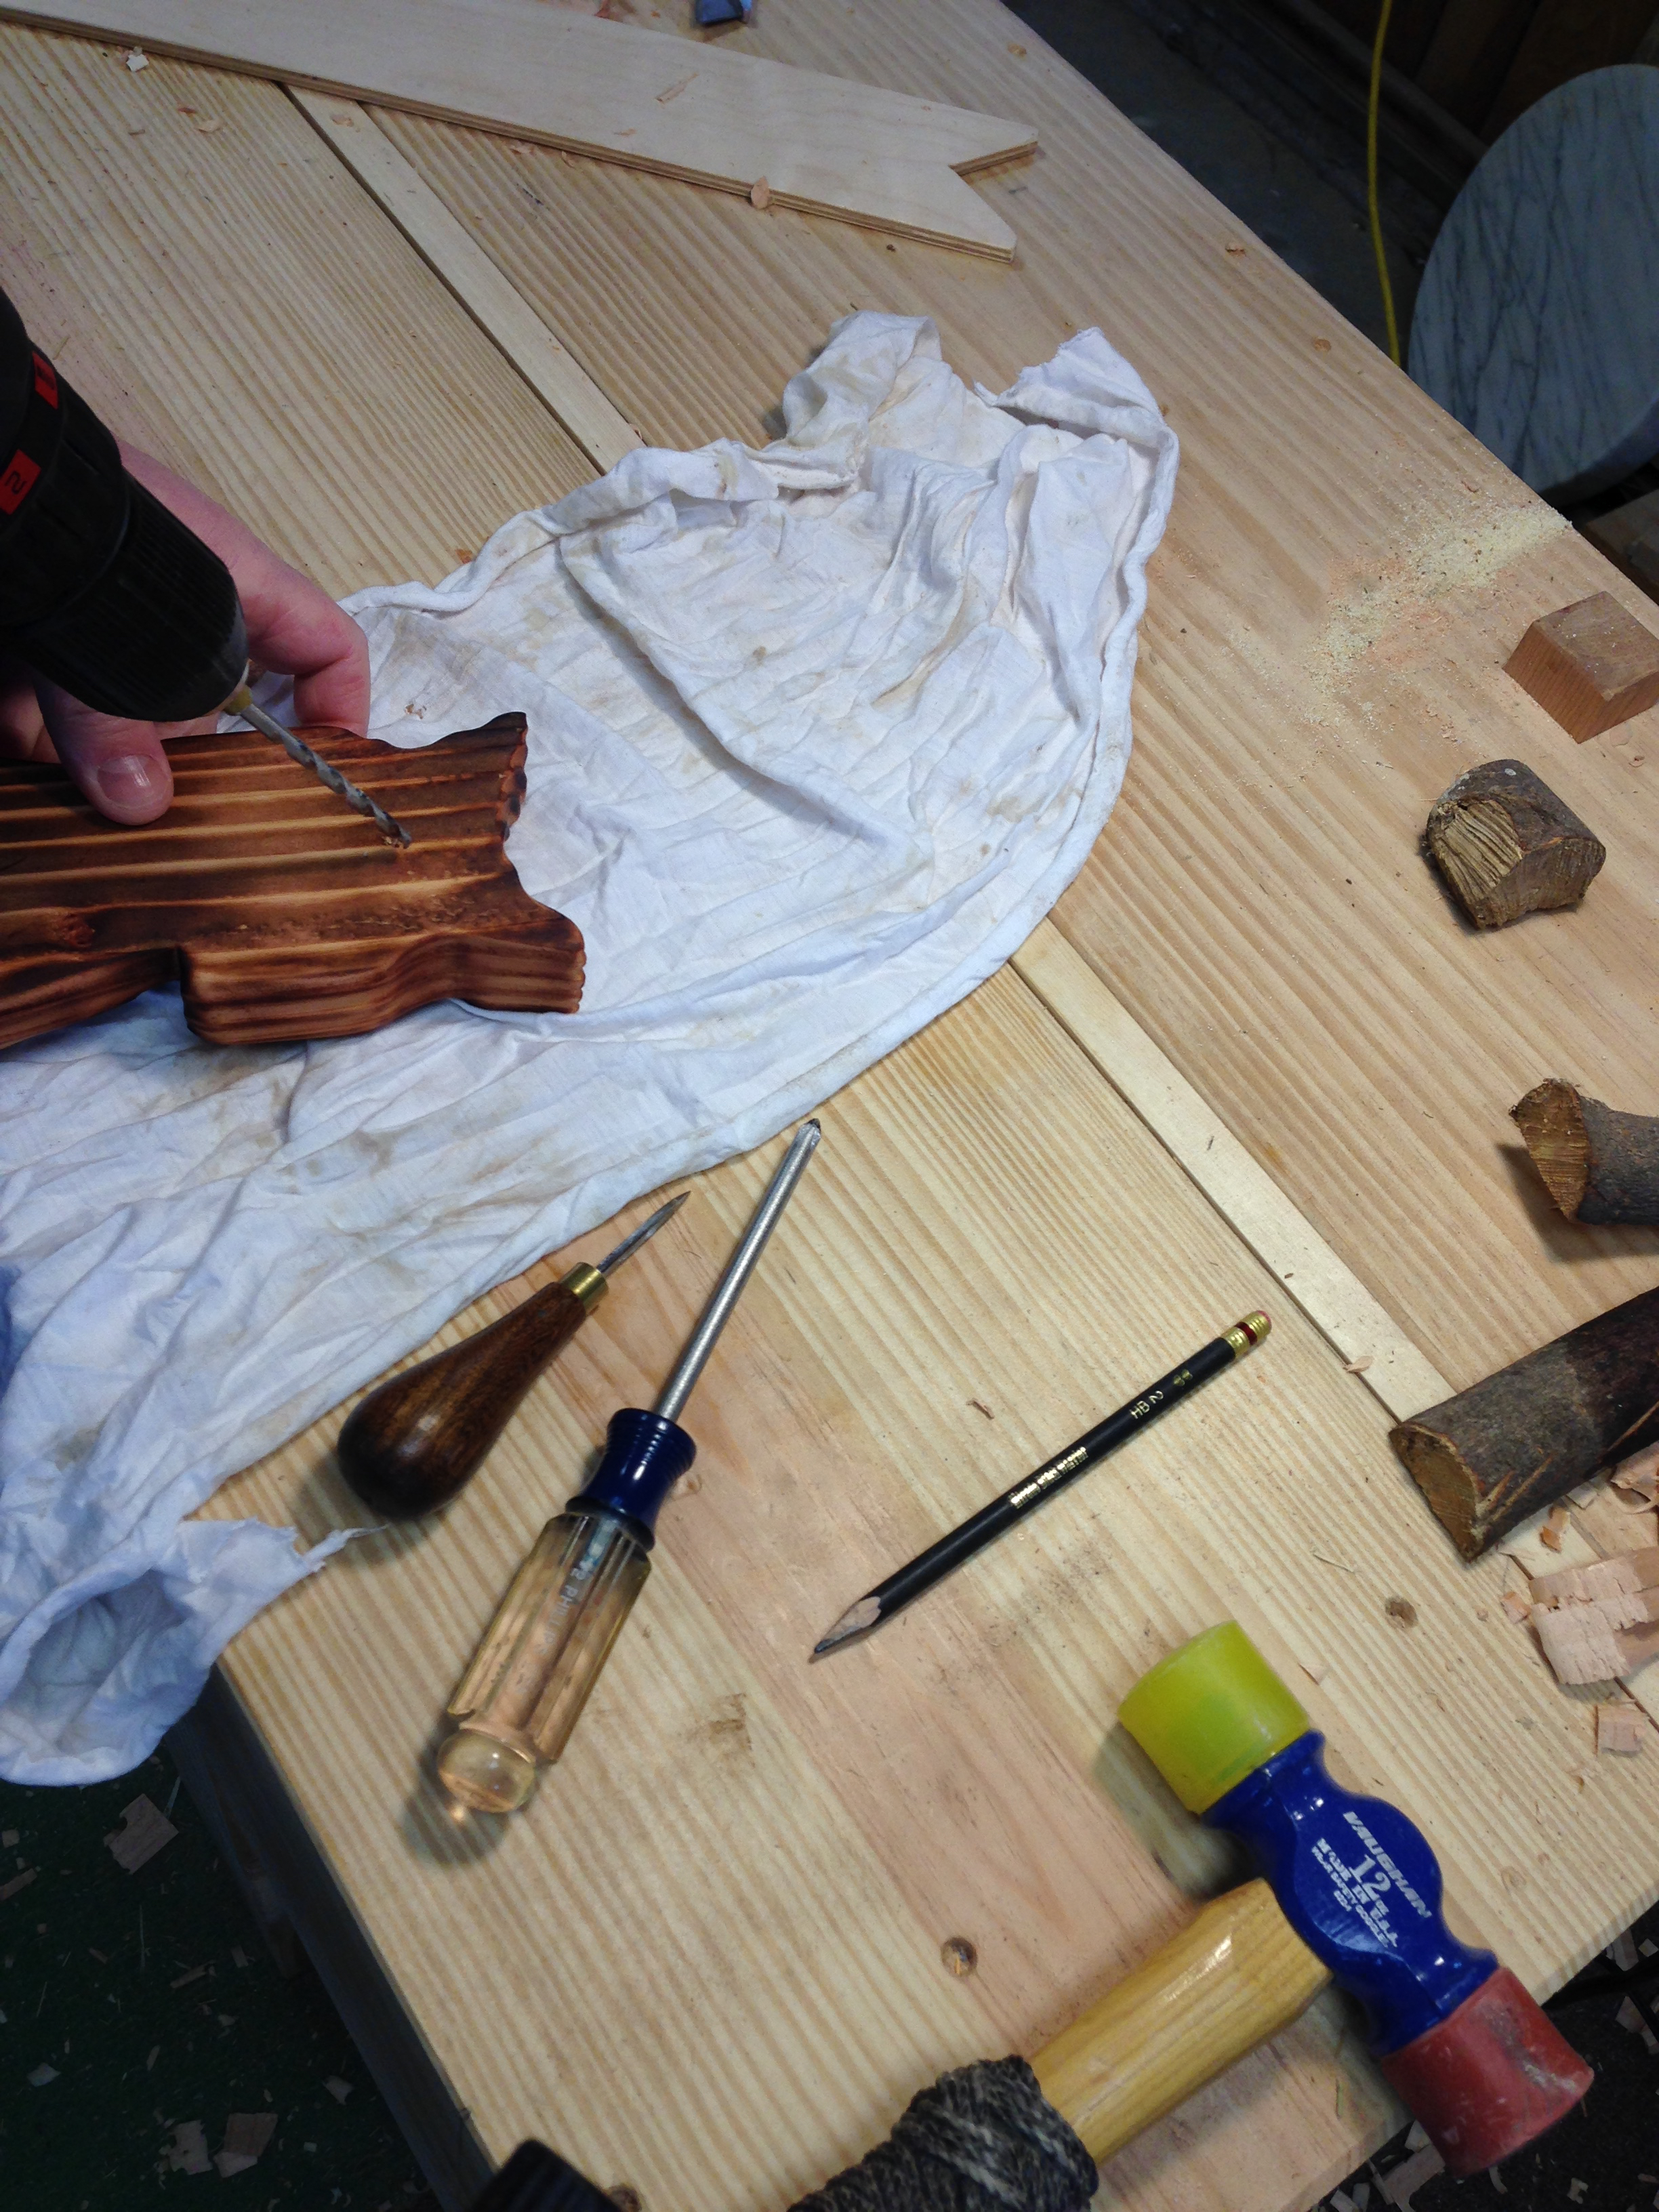
Flipped it back over and marked for a hang hole.
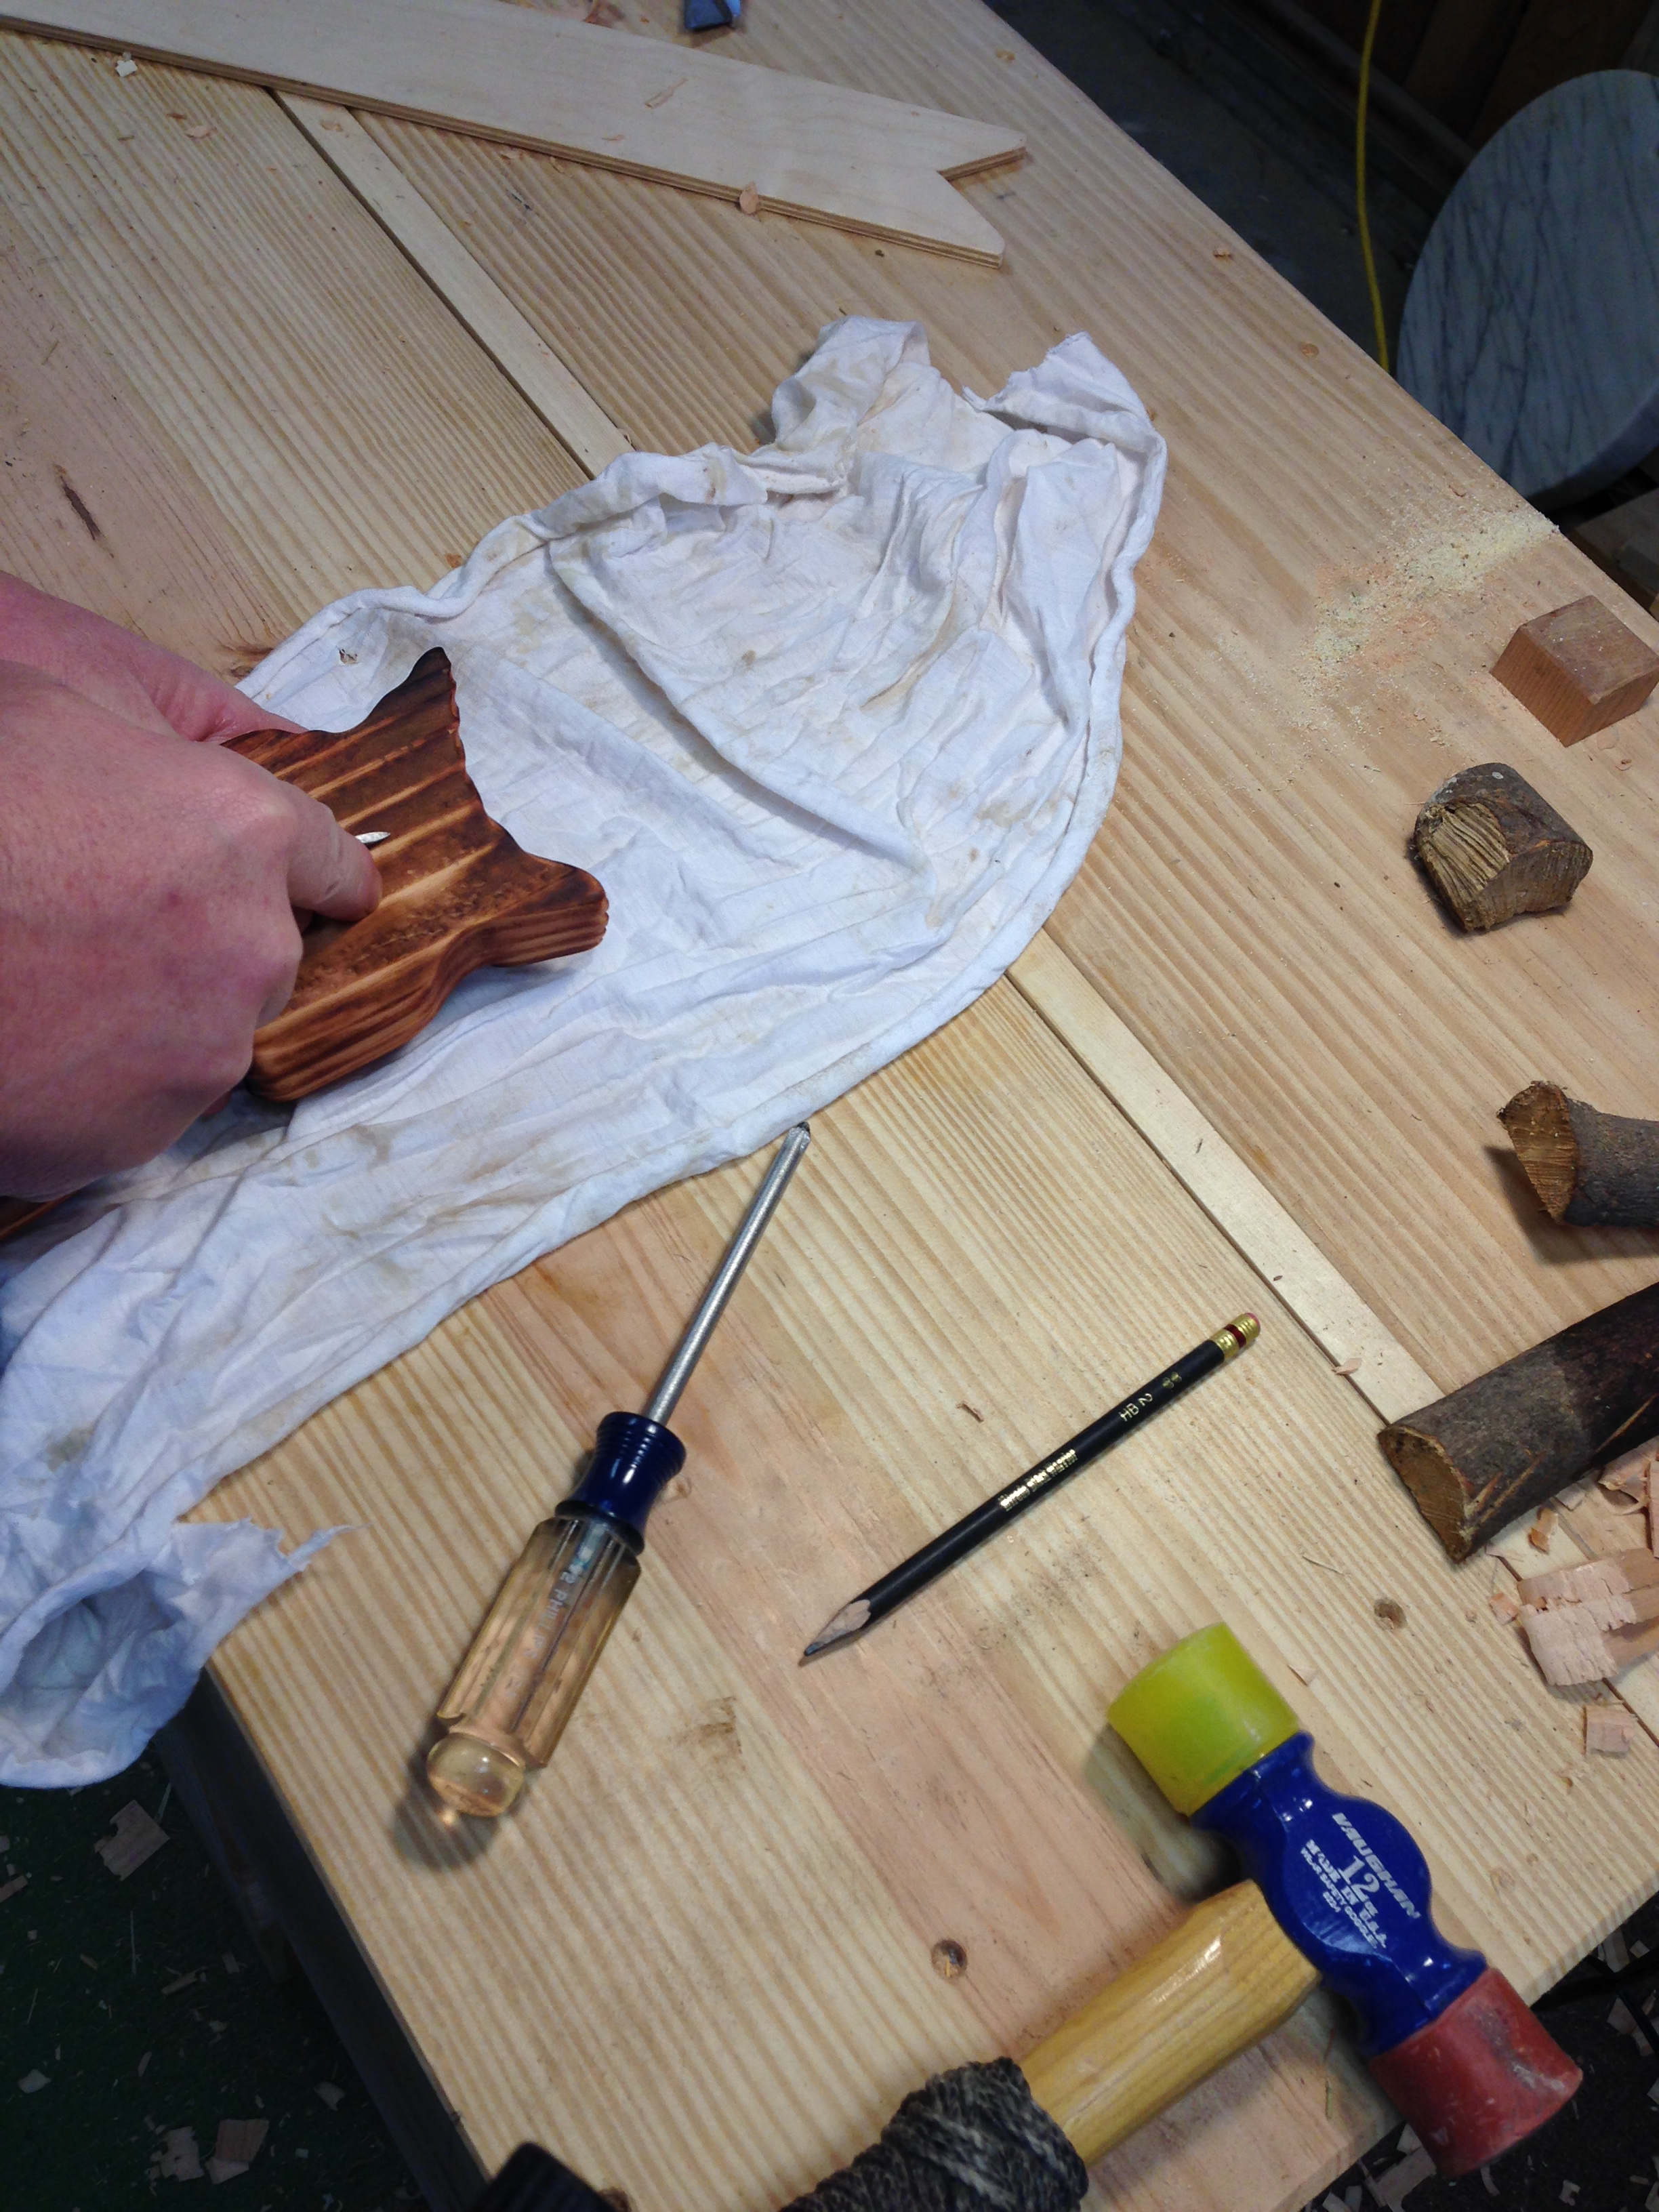
The hang hole was drilled at an angle.
To liven up the eyes I used felt. A circle template proved handy.
First a base of yellow.

Then green.
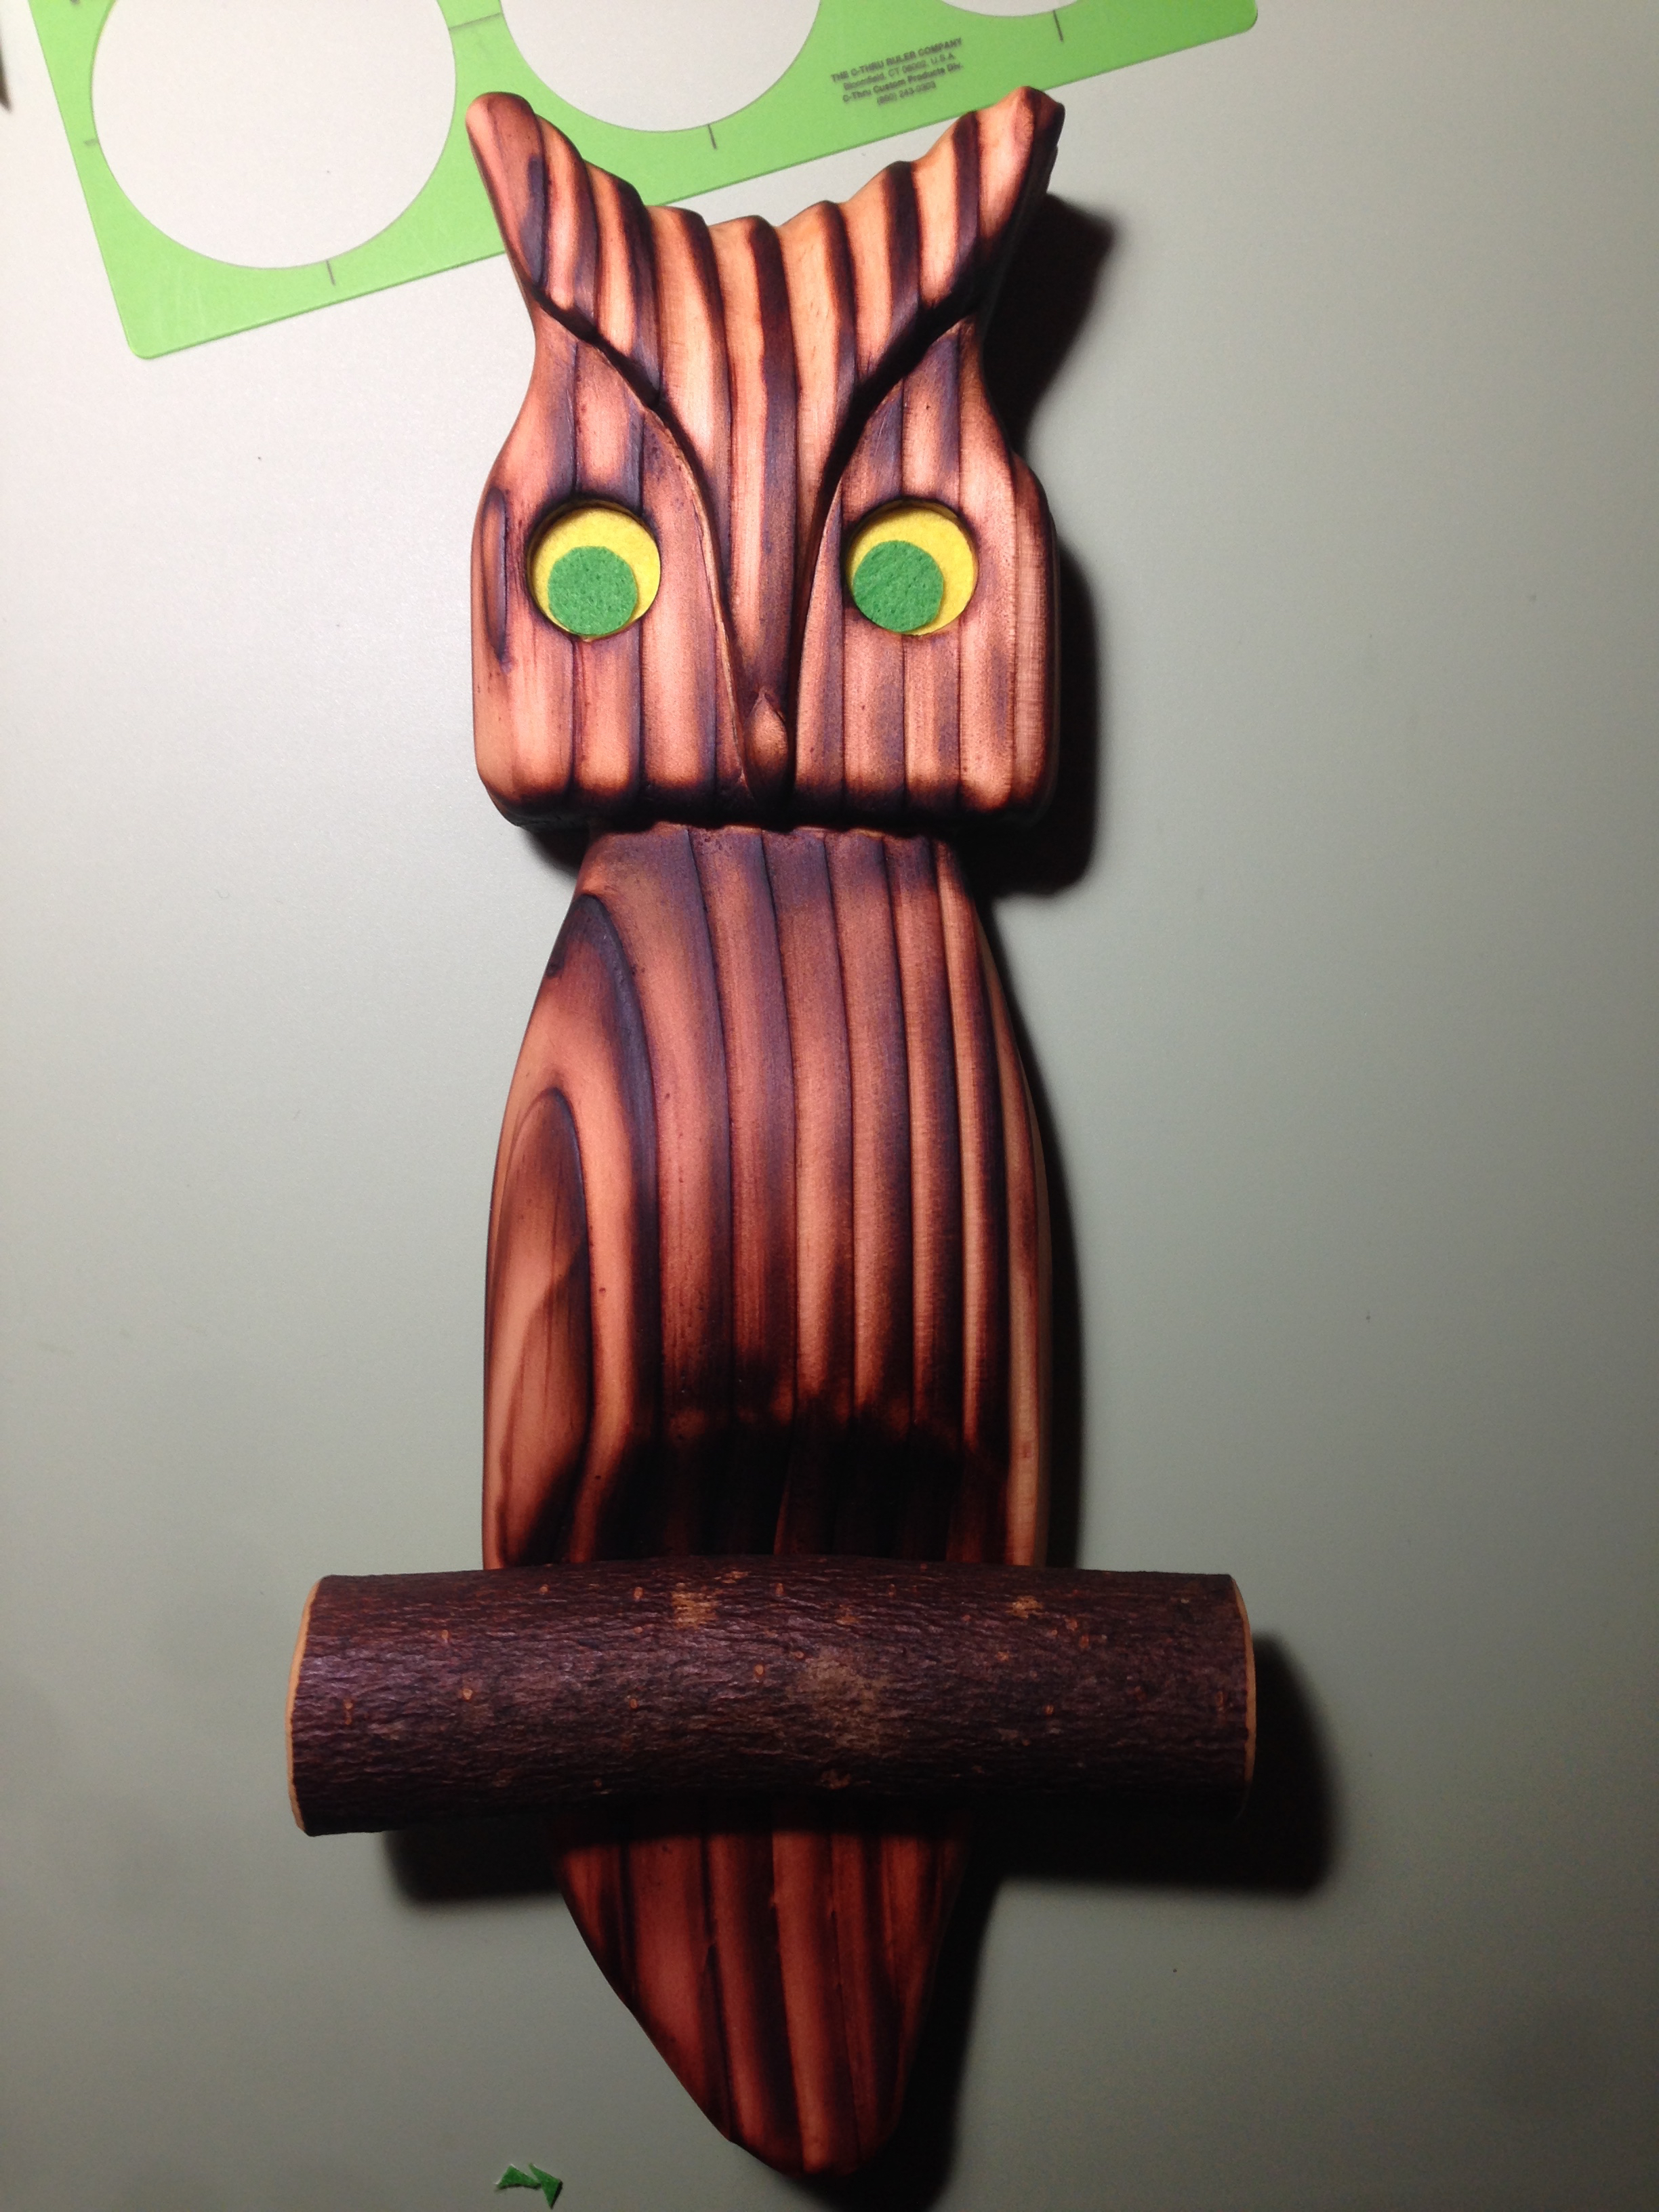
Then black for the pupil.
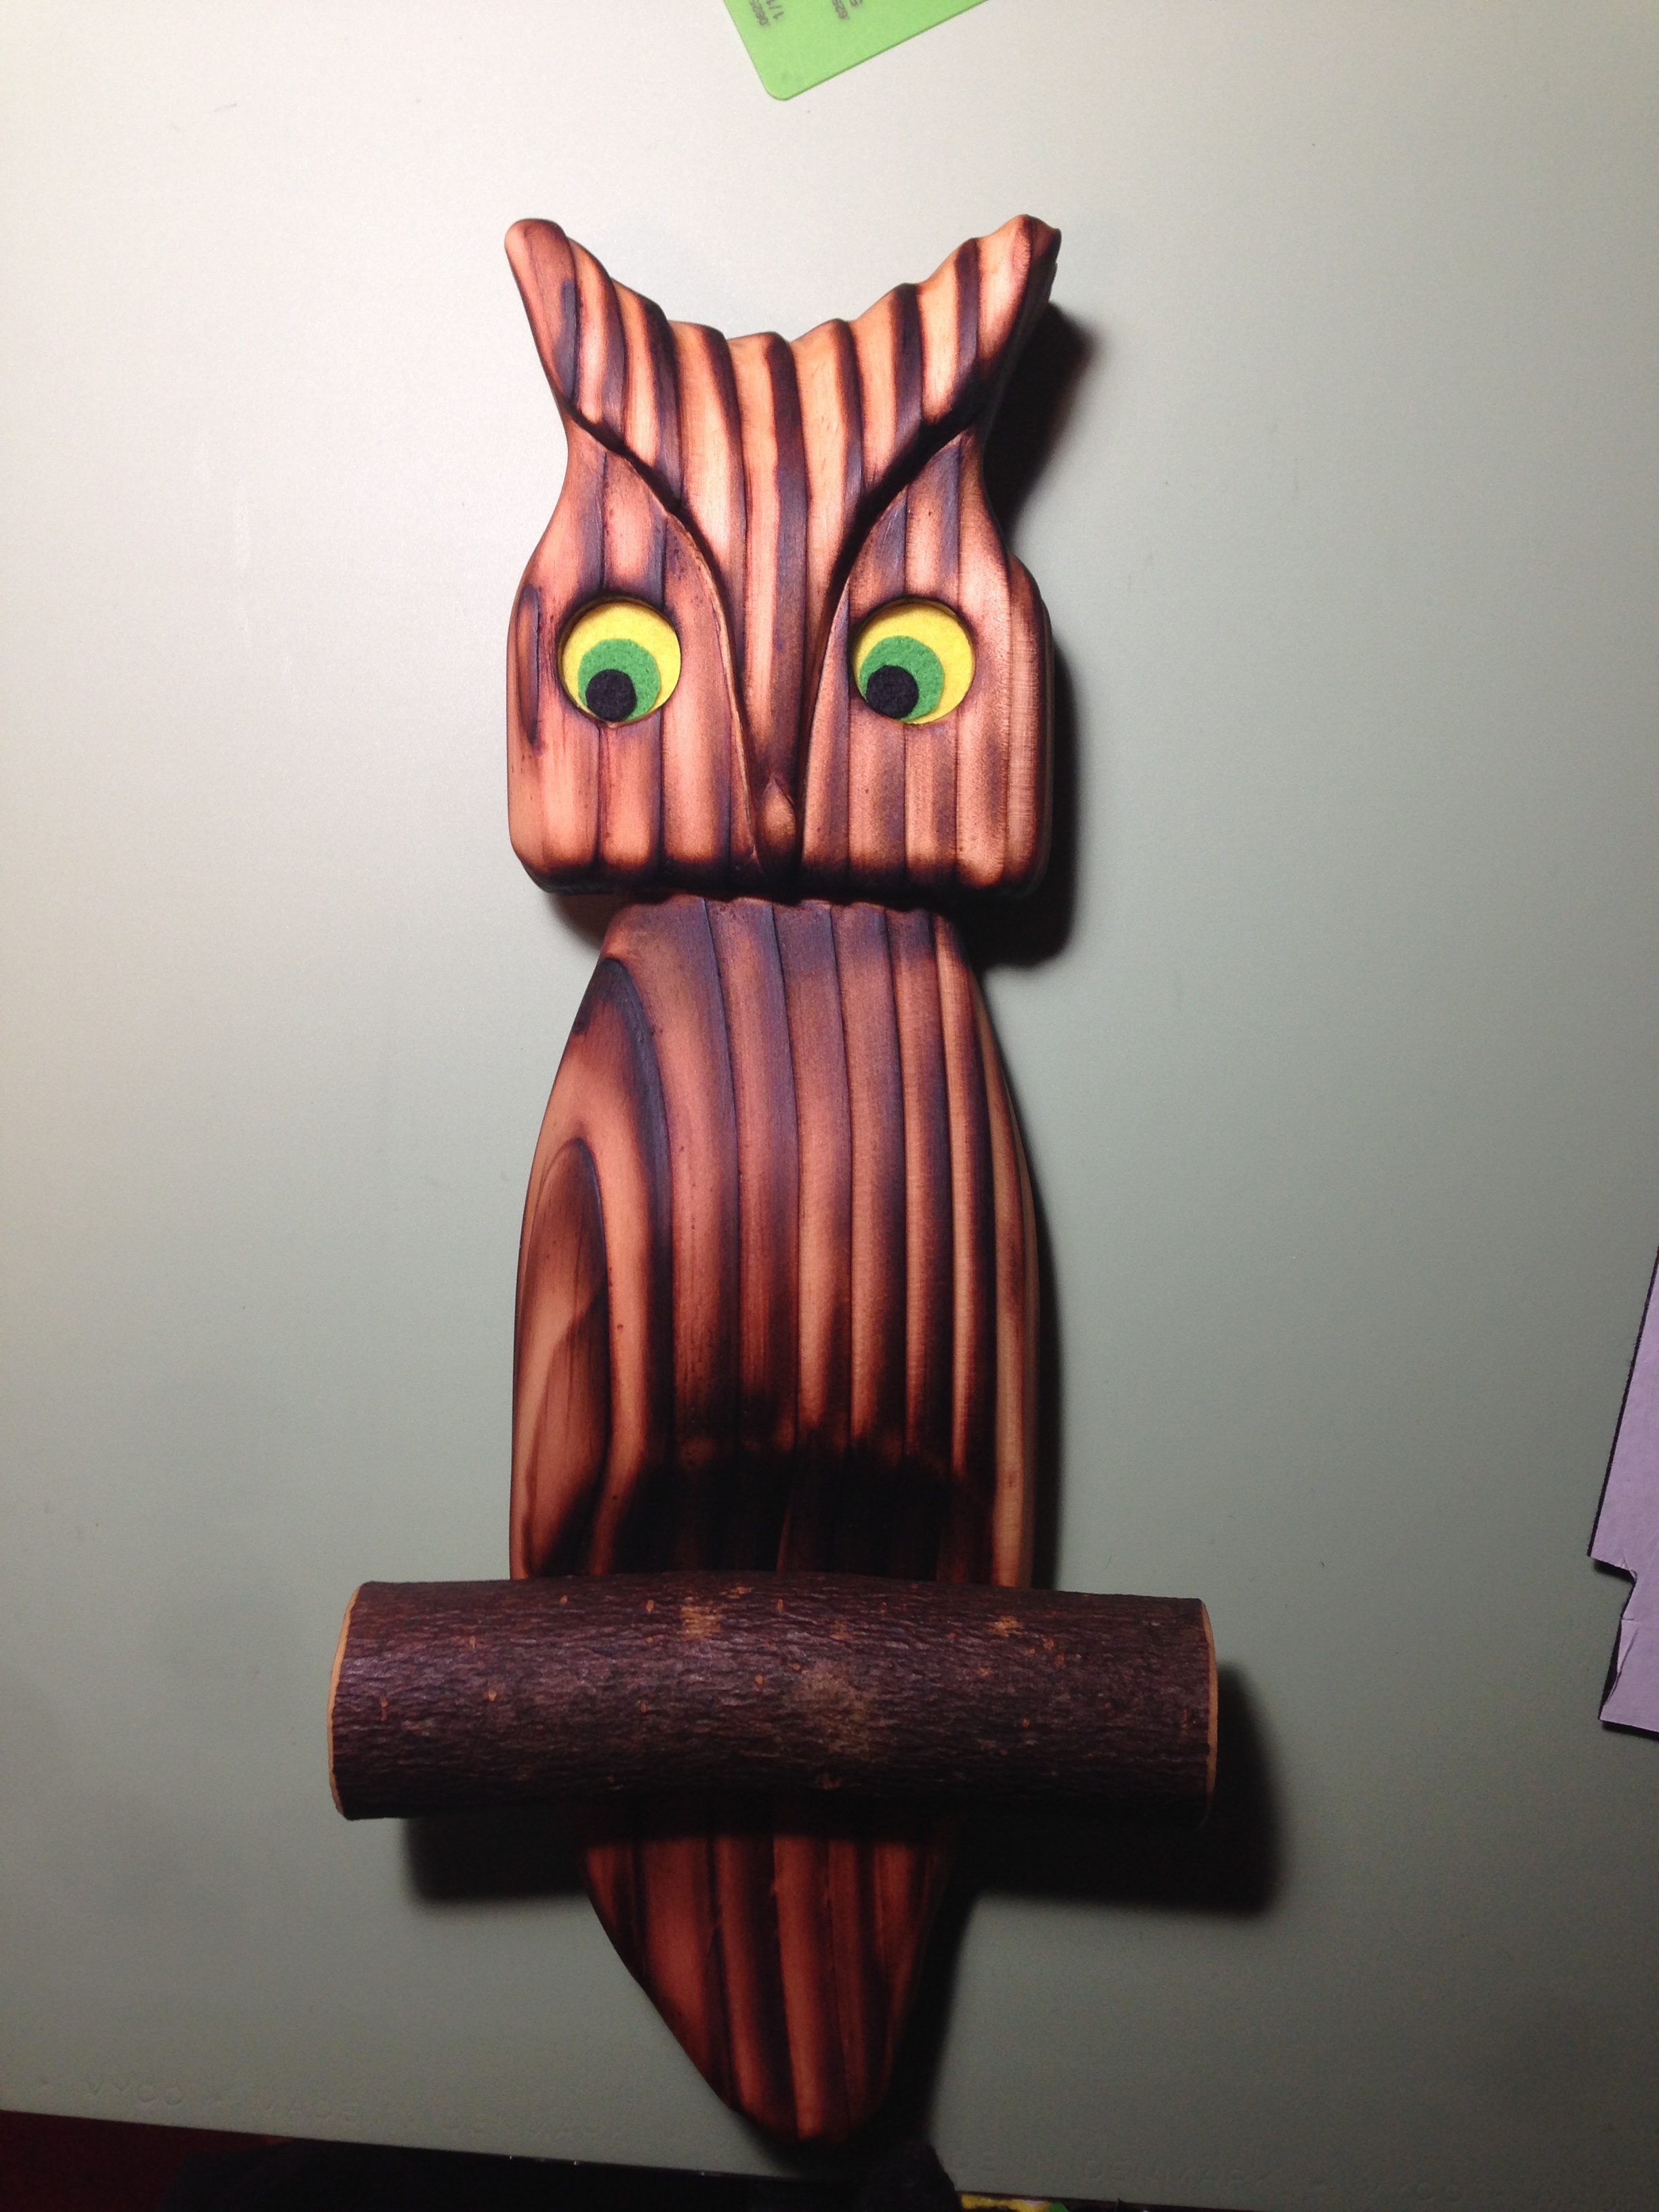
A little dab of white brings the eyes alive.

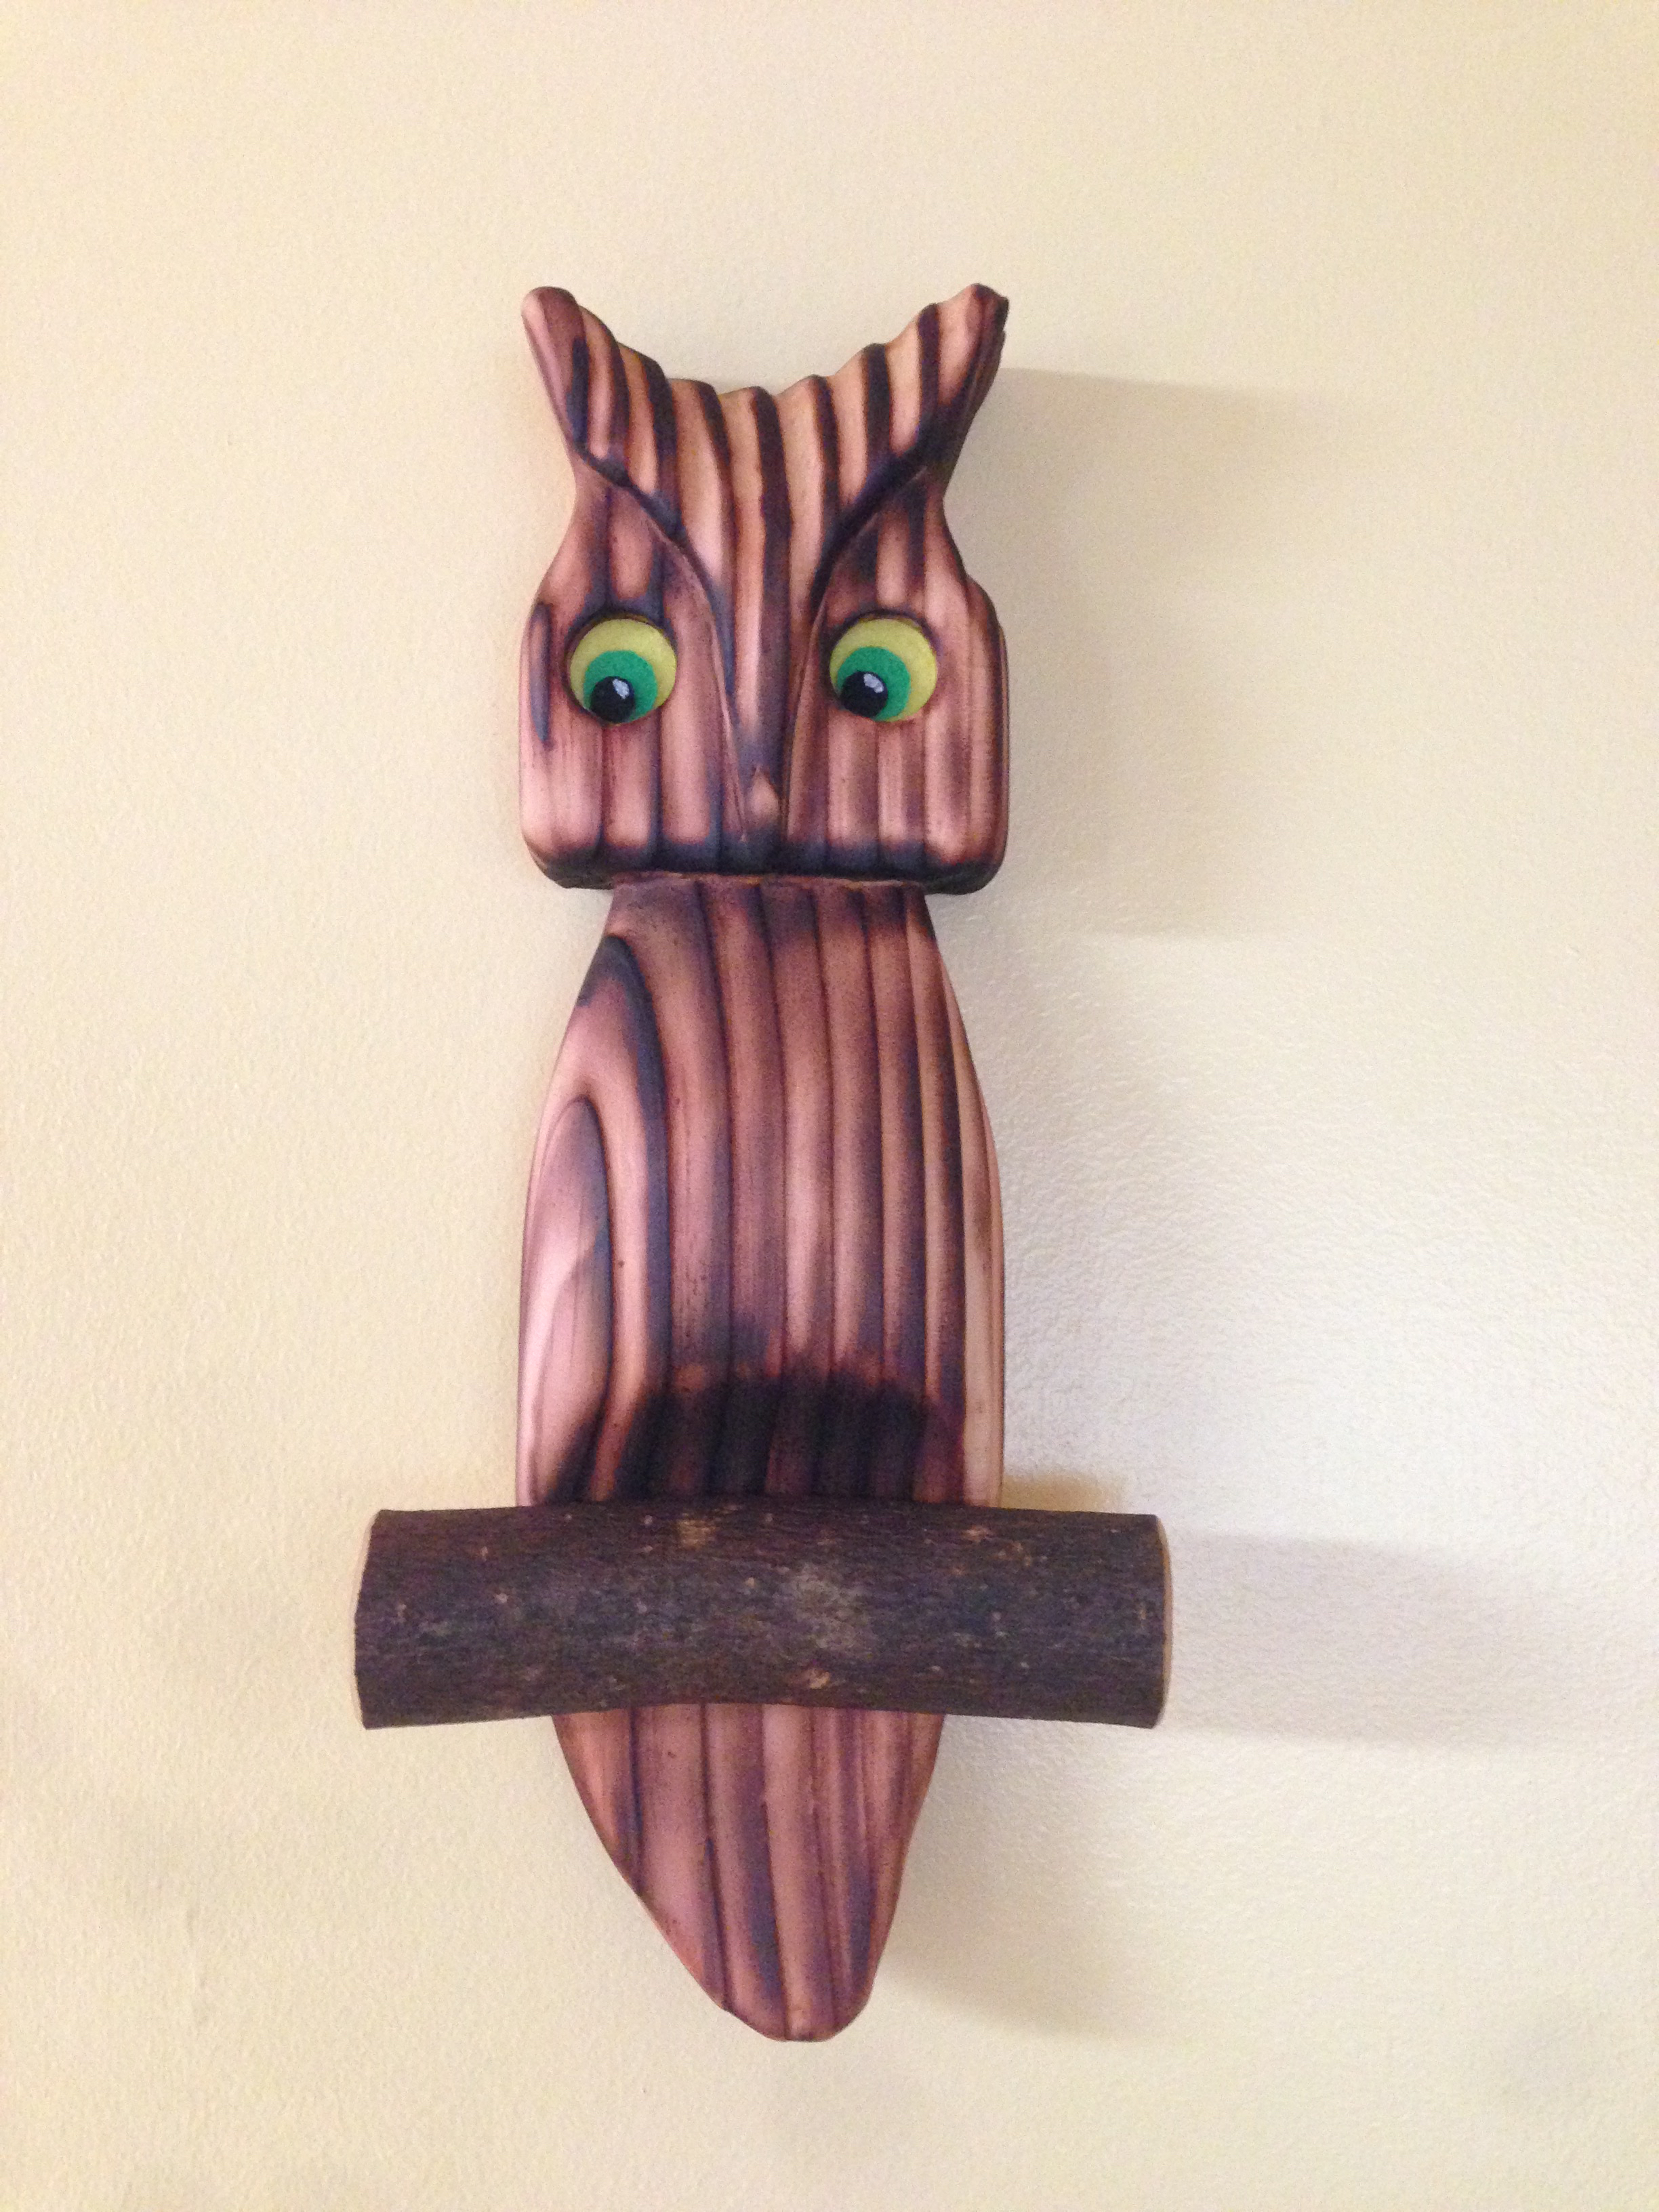
Then hung my new creation on the wall.

I’ll live with it “as is” for now, but will need to come up with something to help round out the composition on the wall. Maybe an additional owl or two. Maybe something entirely different. Time will tell.
I know this is a simple, little crafty type project, but that is part of what being able to make things is about. You don’t always have to be making furniture. We need all manner of things in our lives and it is just as satisfying for me to make something like this as it is to make a highly complex piece of furniture.
Part 1 Greg Merritt

Absolutely Greg it’s not just about making furniture it’s about making everything you can possibly conjure up. To diversify in your projects means to obtain more skill as this owl is a good example of attaining the skill of carving a good starter or intro to it at the very least. No point in jumping into the deep end if you don’t know how to swim. Funny I said that exactly how I did learn to swim.
I have a question for you. How do you find tried and true?
For me it is about making and doing. I was raised in an atmosphere where we had to be self sufficient. Not by choice, but because of economic necessity. So I learned how to do a lot of things along the way. The most important lesson was how to figure something out when I didn’t know how to do it. The basic skills of working with your hands are all interrelated and feed one another. You never know what seemingly unrelated skill will prove useful in some other project. So yes, diversification is a good thing.
I really like Tried and True. I’ve used the Original (linseed oil/beeswax) quite a bit and have also used the Danish Oil version. It is oil and has all of the pros and cons that oil entails. I particularly like the original with beeswax. Leaves a silky, low-luster sheen when buffed out and is easy to renew with a light application. The big selling point for me is the non-toxic nature of the product. They do not use any heavy metal driers so it is safe in its liquid state. The MSDS sheet literally states that consuming large quantities may cause nausea. So plenty safe to use around kids and pets and no need to wear gloves and a respirator. The standard precautions need to be taken with soaked rags though. Spontaneous combustion is an ever present risk when using any drying oil. I’ve been looking at purchasing a fire-proof waste can, but they are spendy. Anyway, Tried and True is simply a healthier alternative to the standard hardware store BLO.
Sounds like Kunos Livos I like to use actually identical from your description sheen but I did read somewhere that it does contain poly but if it is natural I doubt it does contain poly.
As for the rags I usually soak my rags in water so need to spend any money on any fire proof waste can.
Nope…no poly in Tried and True.
I soak my rags in water too then drape them over the edge of a bucket. Now that my shop is in a garage that is attached directly to the house, I’m a little more cautious. Hence the fire proof can idea.
Then I think it’s the same but labeled differently well it could be the same it sure sounds similar. I think soaking it in water is safe enough I’ve thrown it directly in the bin after doing so for years and thankfully nothings happened so far. Maybe I’ve been lucky but I figured it being wet it shouldn’t ignite.
Wow, the eyes really bring it to life. A truly artful piece!
Thanks. Still not sure I’m willing to call it art, but I like the way it turned out.
Yep, the eyes give it some life. An odd side note…due to the recessed nature of the eyes, the eyes give the optical illusion that they follow you as you walk by this thing. A little unsettling at first, but pretty cool.
Thanks for posting this one I spent a few enjoyable hours yesterday making one, it is a nice project
I have never used the blow touch finish before it gives a feather like effect.
After seeing the eyes on your owl I may have to revisit the eyes on mine.
You don’t know how much it means to me Dave that you took on a project that I put out there. I would love to see a photo.
The eyes can make all the difference. Nothing fancy just a few bits of felt, but they add a lot of character. The burnt technique is very similar to the uzukuri treatment. The difference being the the soft wood is removed with fire instead of abrasion. I really like the texture that is achieved with both. The fire option has the added benefit of color.
Glad that you had fun with this project.
Hi Greg
How can I attach a photo
Regards
Dave
There is an email link at the top of the right hand column. Let me know if it is OK to share your photo on here as well.
Pingback: Owl in the Wild | GREG MERRITT – BY MY OWN HANDS