
If you have missed it up until now, Paul Sellers is in the middle of a three-part series on making cam clamps. Start with the blog post and work your way over to Woodworking Masterclasses. It is a simple process and he lays it out step-by-step. So with a few basic materials and tools you can knock together cam clamps until your heart is content. We can never have enough clamps after all.
So I made a trip to the local Lowes and purchased a couple of strips of steel and a box of 16d finish nails. Paul recommends using roll pins, but I’m frugal and opted for the finish nails. Now a little story about the wood that I’m using.
Apparently, the gentleman who once lived in this house was a union carpenter at a steel mill. Sadly, he passed away many years ago, but I venture a guess that he either worked in or had access to, the pattern makers shop. Why do I make this guess? My attic is full of off-cuts of wood. Ranging in thickness from 3/4″ up to 2-1/2″. There is a good bit of pine and judging by the very fine grain, I’m guessing it may be sugar pine. There is also a good bit of maple. The real treasures are the piles of mahogany. That’s right, you read that correct, mahogany! None of this wood is much longer than 24″, but there is a lot of it. It will take me a full day at least to drag it all out of the attic and take stock of what I actually have. That will be a post for once the weather warms up a bit. Still pretty dang cold in the attic.
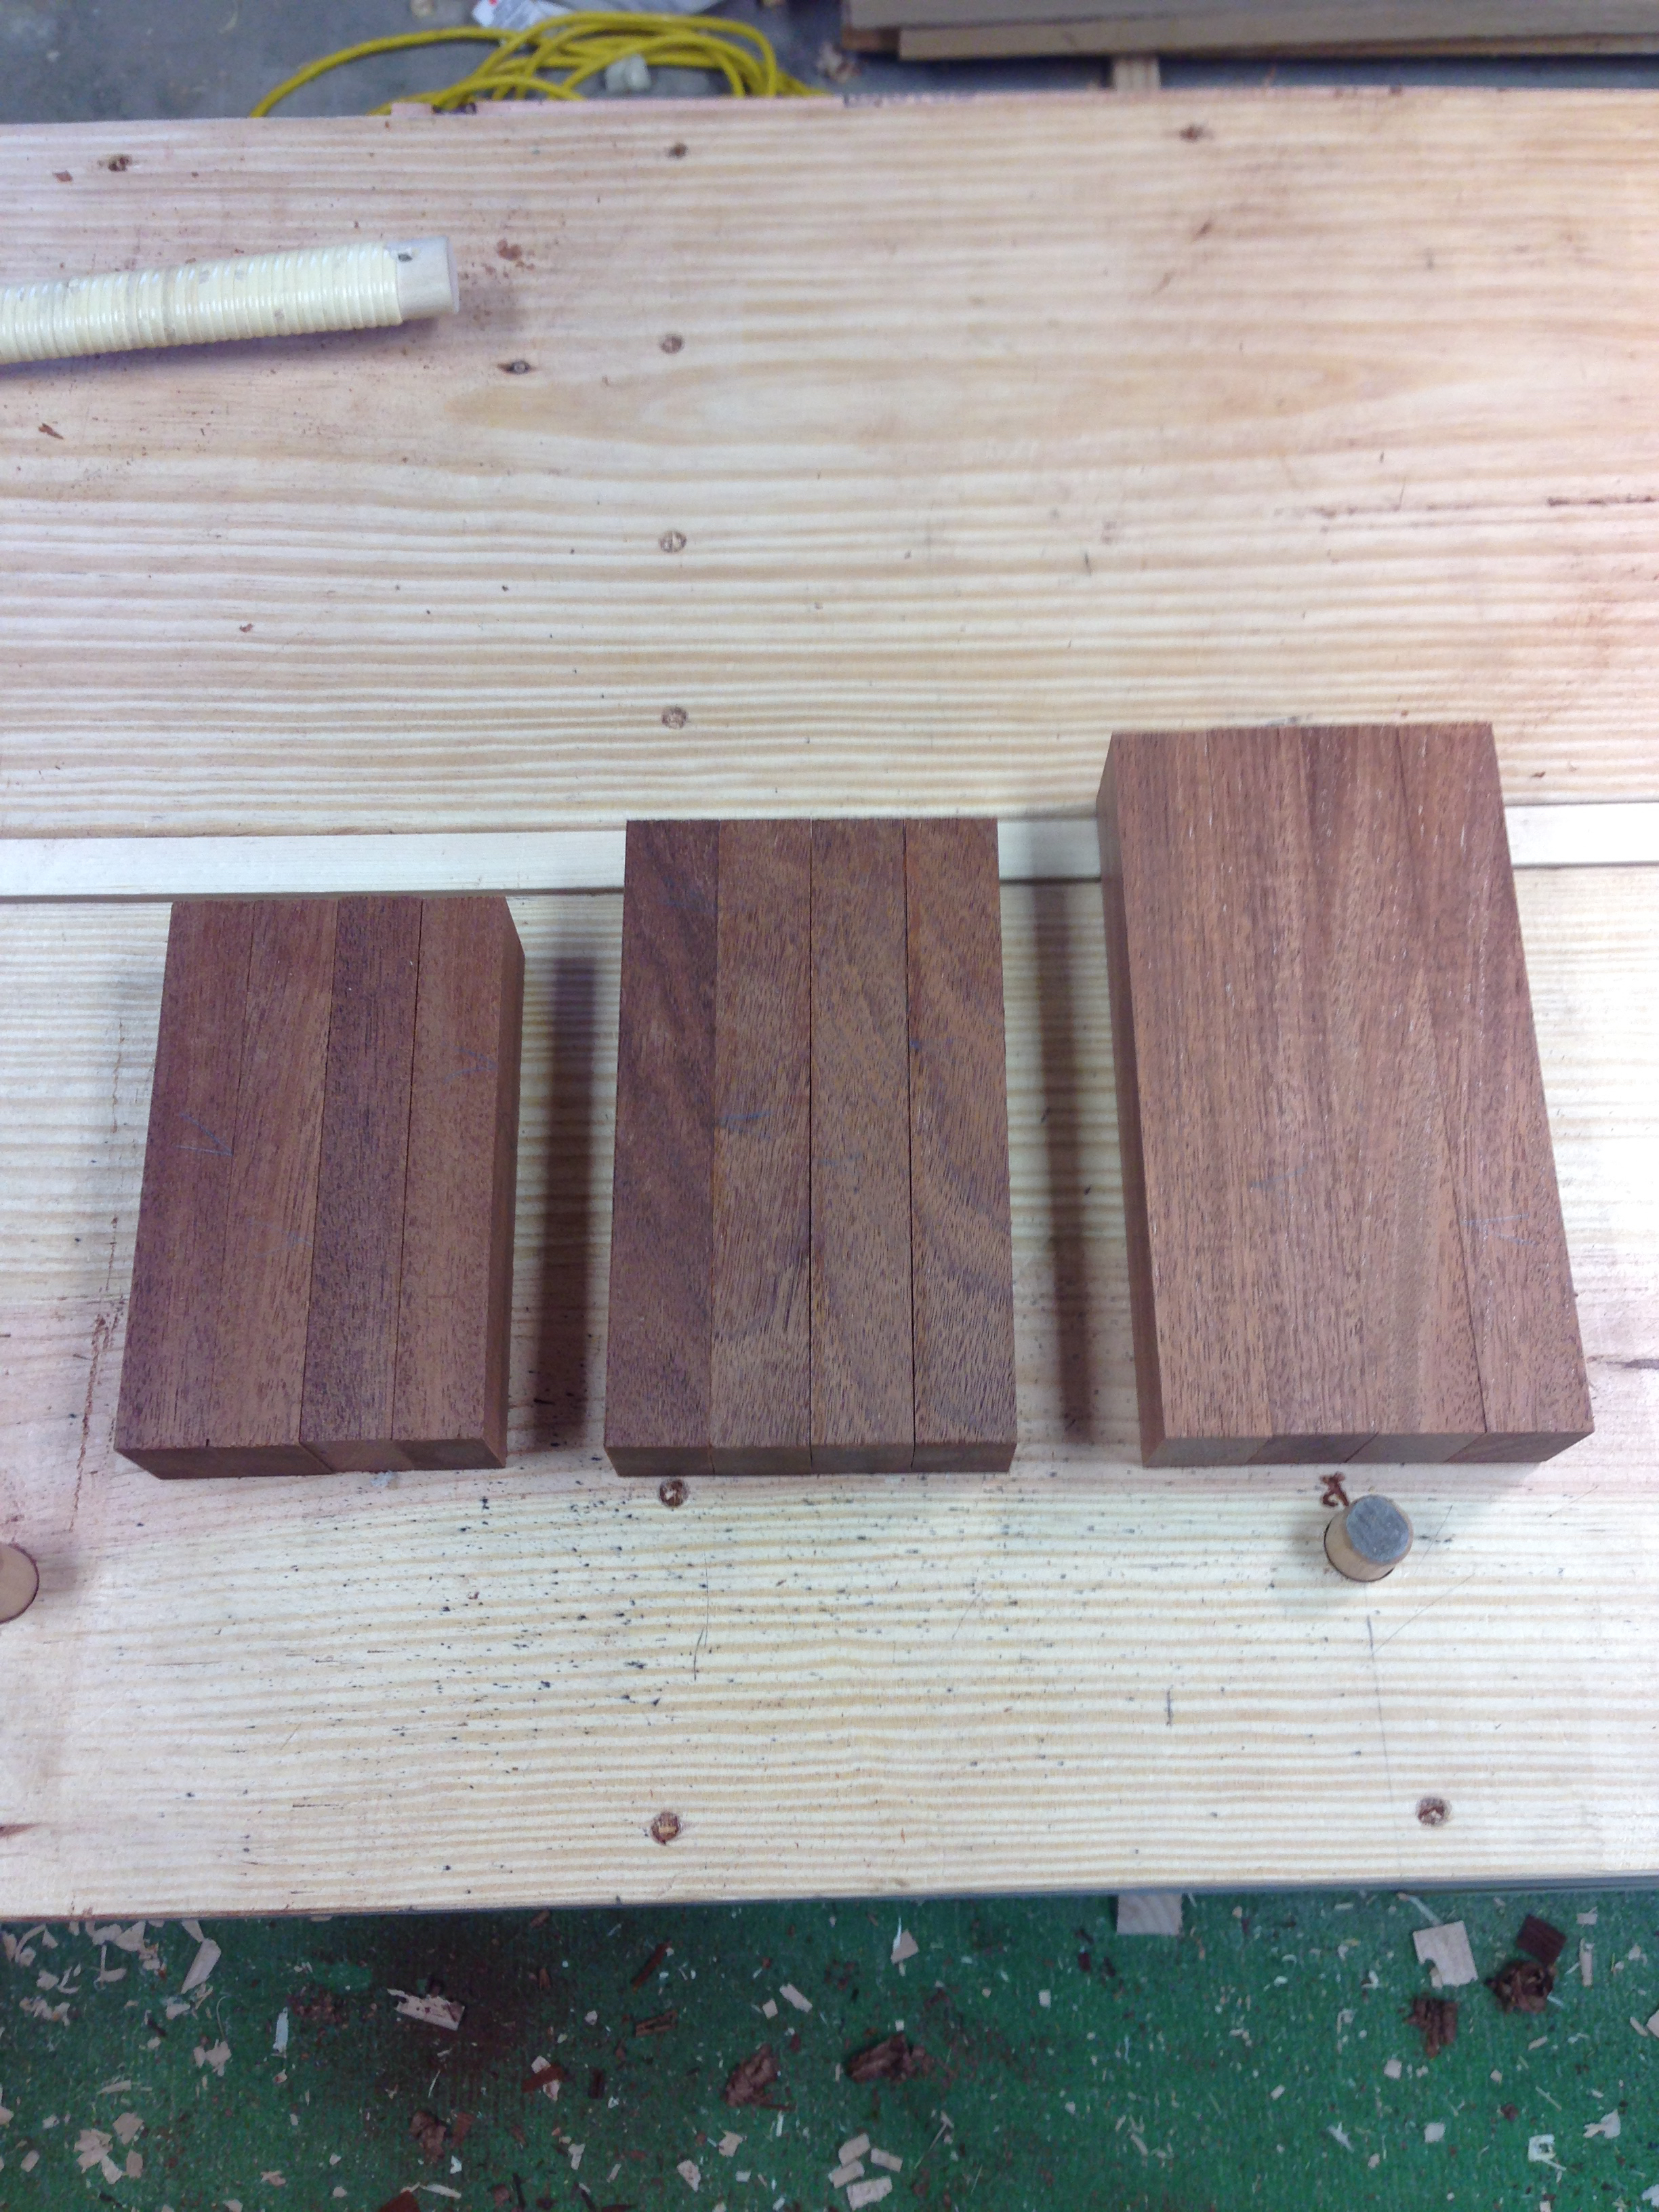
Anyway, five minutes in the attic and I had enough mahogany to make six cam clamps. Paul demonstrates a cam clamp with an 8″ clamping capacity. I’ll be making two of those plus two with a 12″ capacity and two with a 16″ capacity. I’m also lengthening the heads as the capacity increases. In other words, as clamping capacity increases, so does the reach.
I’m not going to go into anymore detail than that. I encourage you to go and watch the videos for yourself.
Head stock prepped and ready.
Made a little progress. I lost my focus and drilled a couple of errant holes, but no real harm done. I filled them with bamboo pegs and they will serve as a reminder.

I’ll be busy working on the rest of the heads this week and anxiously awaiting the third and final video in the series.
Greg Merritt

I wouldn’t have a clue where to purchase such steel but I sure would like to make a few clamps for myself. You guys are lucky everything is at your hearts desire.
Salko I’m really surprised to hear that. For some reason I would have thought you would have a better stocked hardware store in your area than I would ever dream to have. Here in the states the big box stores and most hardware stores have a small kiosk that contains steel and aluminum flatbar and angles. Nothing much, but handy bits for small projects. I do hope you can source some steel so you can make some of these clamps. I have seen them made with wood bars in place of steel. So that could be an option.
Yes that is an option I did think of it’s funny how we all think the grass is greener on the other side. Even though our local hardware store doesn’t stock such material I’m sure when I go hunting for one I will find it elsewhere but it would be nice if we had a one stop shop for all our needs. Anyway our hardware called masters is part owned by Lowes and well they gave it up and now it’s closing down. The word is that B&Q might be taking over.
Hi guys!
I saw this type of clamps made with a wooden bar as well!
For instrument makers, the use of a hard wood and a bit thicker 5 or 6mm.
My guess some aussie hard woods will do great on those clamps!
Salko is all “you’re lucky to have steel available”, and I’m over here like “you have mahogany laying around in your attic?!?” I’m glad he got here first or I may never have seen his work, which is mind boggling.
LOL…the wood in the attic will be an entire post in and of itself. Once the weather breaks I’m going to drag it all out of the attic. It will take at least a day maybe two. I feel super lucky with this find.
Salko does some amazing work. That is for certain.
I bought a piece of steel, but am holding out for roll pins. One local shop had split pins but i like the roll pins for some reason. Tommorow i have part day out of office and oh darn…. A place called “the wood shed” is about 10 minutes away. He has some serious lumber in there. Hoping he will have something in his off cut racks, must remember to bring my dimensions. Wish you all could see the place, out in the middle of nowhere amongst the farms and vineyards. Anywho, I too am following the clamp build. Hope to have a start by the weekend.
Ha..I’m just too dang frugal to spring for the roll pins. There is no doubt that they will give a more polished look to the clamps though.
“The Wood Shed” sounds like a great place. Have fun and I hope you find what you need.
Greg,
how do you secure the finish nails? do you peen or center punch the ends ?
Thanks for your blog, I really enjoy following your exploits.
Thanks Dave…
I have tried both ways. The method that I have settled into is this:
1. Drill an under-size hole. (except in the steel)
2. Drive the nail through and seat the head.
3. Cut off the excess leaving about a 1/16″ or so proud.
4. Peen that flush.
Seems to be more than adequate for the task at hand.
Pingback: Cam Clamps-Part 2-Complete | GREG MERRITT – BY MY OWN HANDS
Hi Greg, only just discovered your blog and looking forward to exploring the territory. I’m a Paul Sellers fan too and have just made a couple of cam clamps, one in metal, t’other in steel. I haven’t done any scientific tests but my feeling is the wooden one works just as well as the metal one. Re wear, time will tell. True, they don’t apply much pressure and I don’t make guitars but I still find them useful. Their best attribute is that direct, no-twisting push which is invaluable when starting a glue-up. For actual work-holding they don’t cut the mustard, however I find them invaluable for pinching two workpieces together temporarily whilst you sort out how to get your C-clamps or whatever into the setup. PTYE (Power To Your Elbow). John L.
These were fun to make and I’m itching to build a project where I can put them to use.