
Two and a half days of 90+deg in the shop is close enough to three days cure time for me. The instructions on the can say to rub the entire surface with chalk before actually using the chalkboard. So I dutifully complied then erased it with a rag…
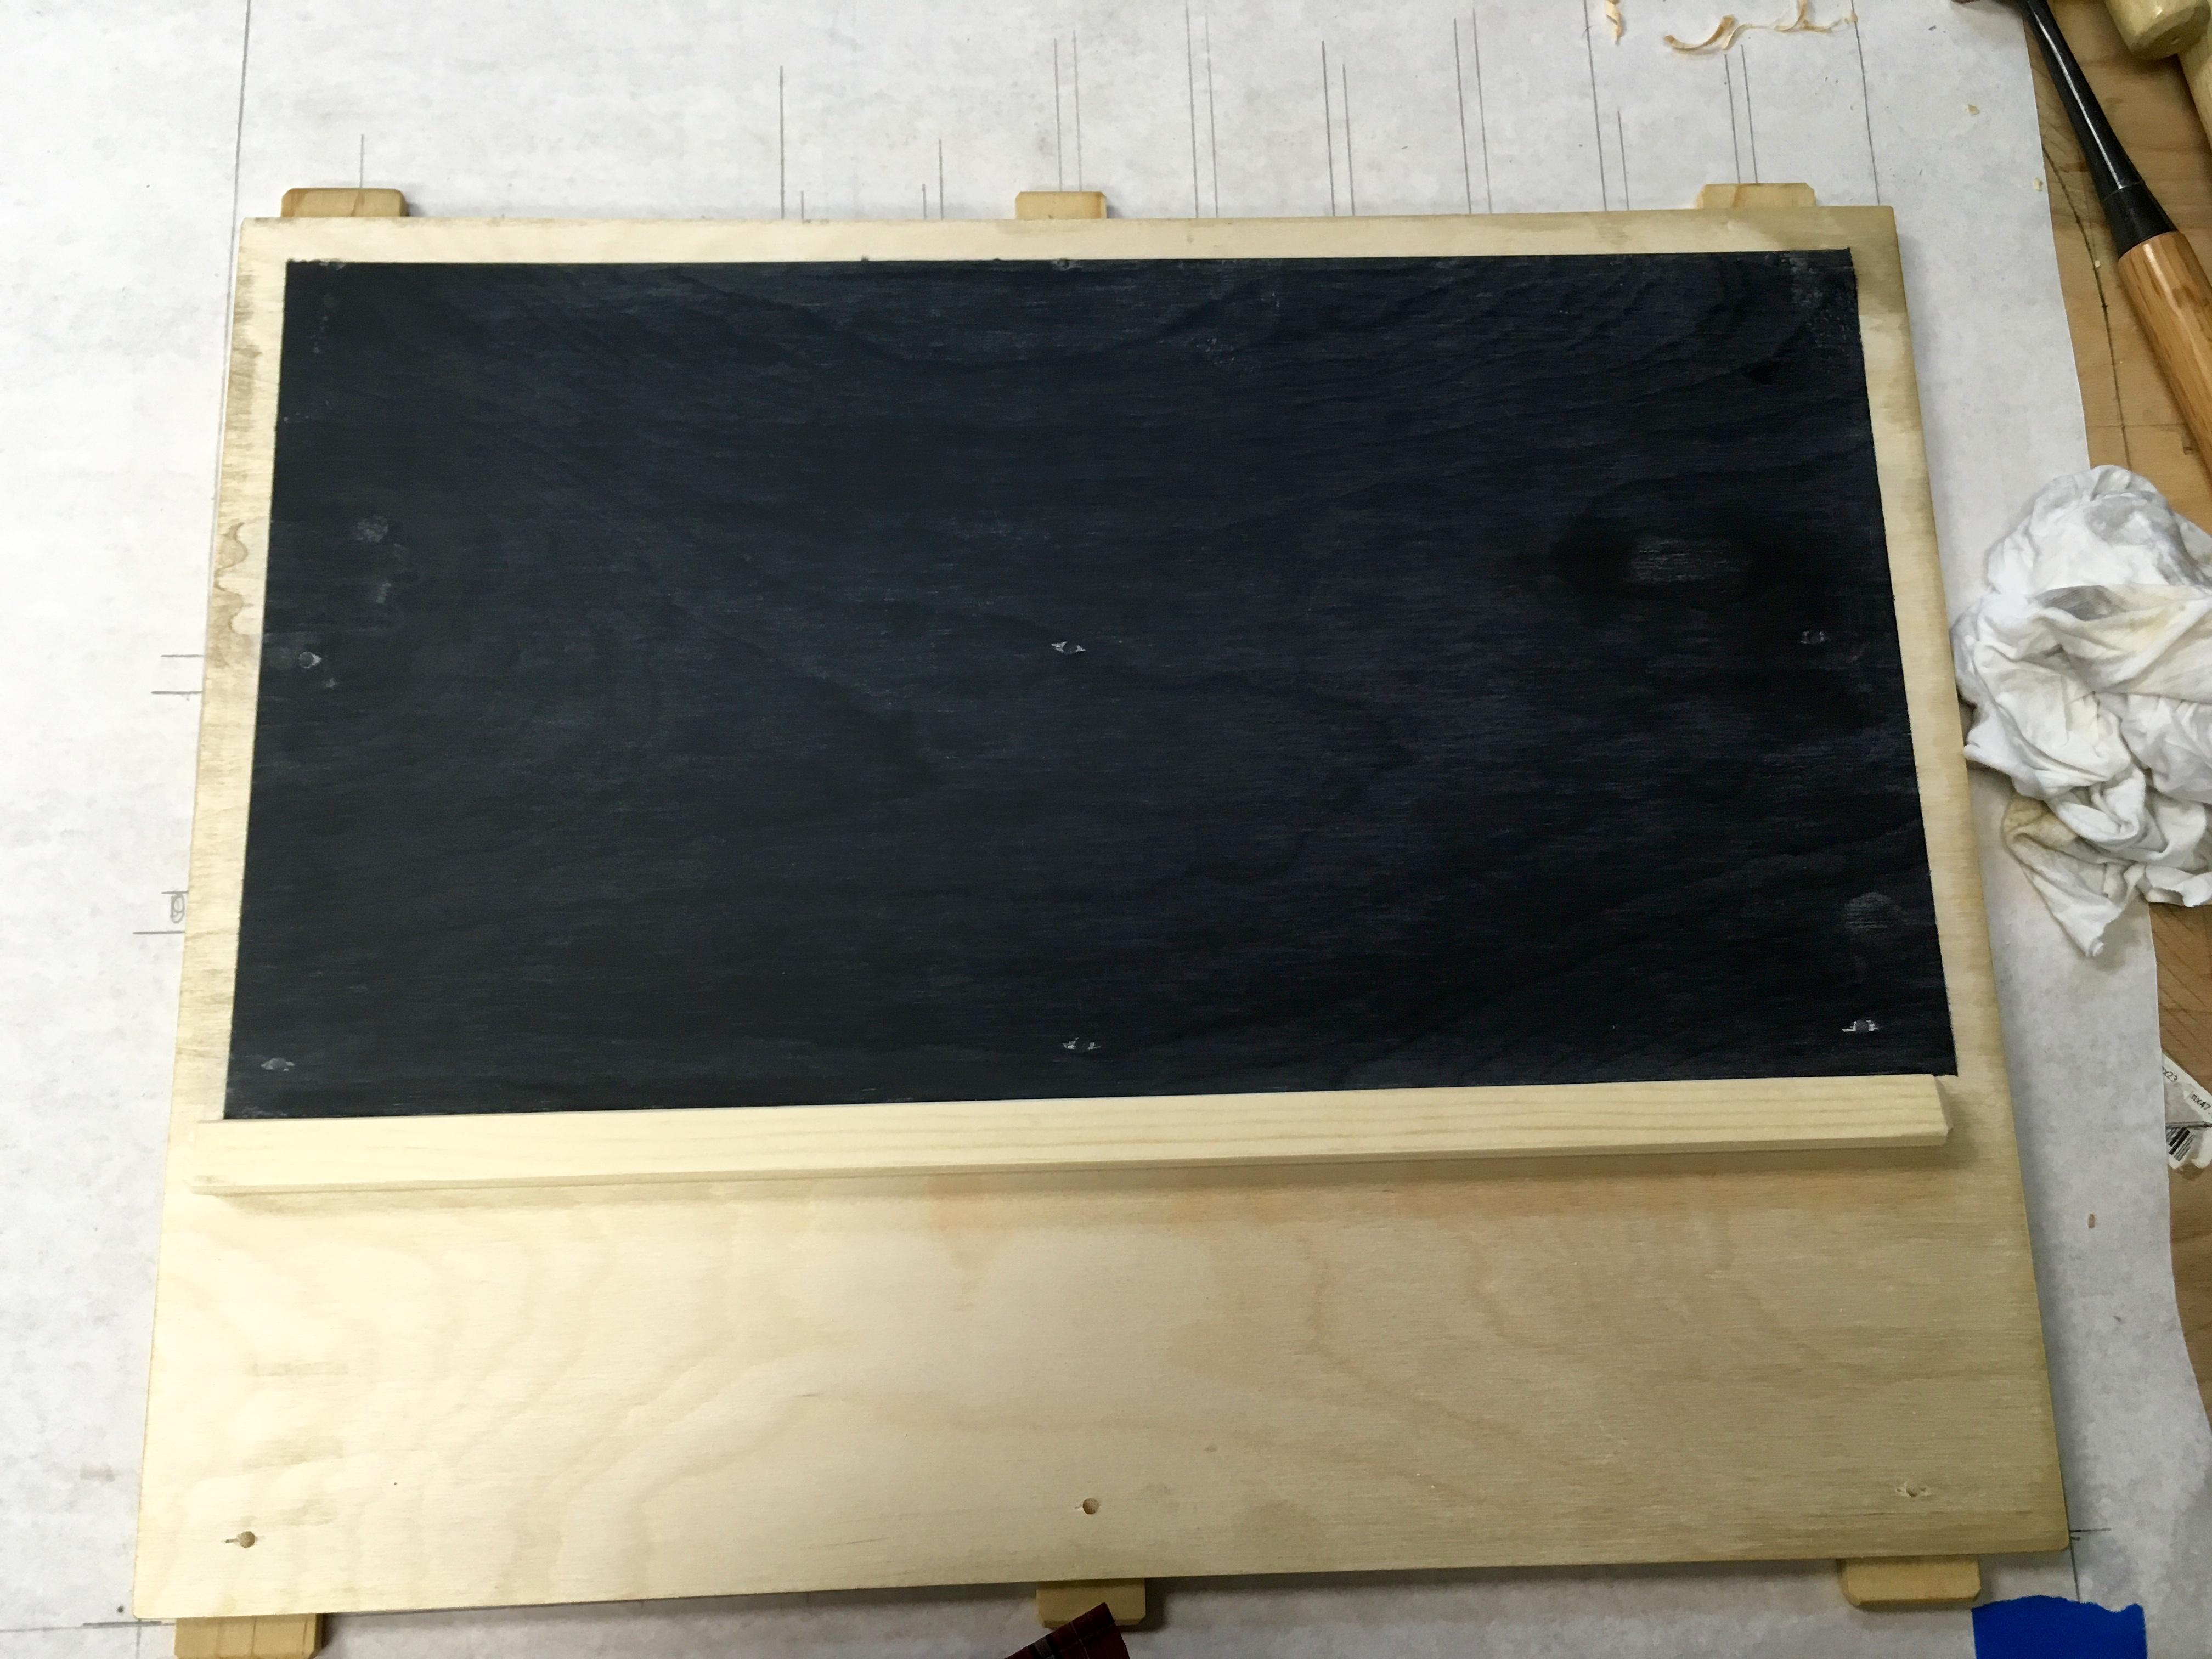
…well what do you know? It works!
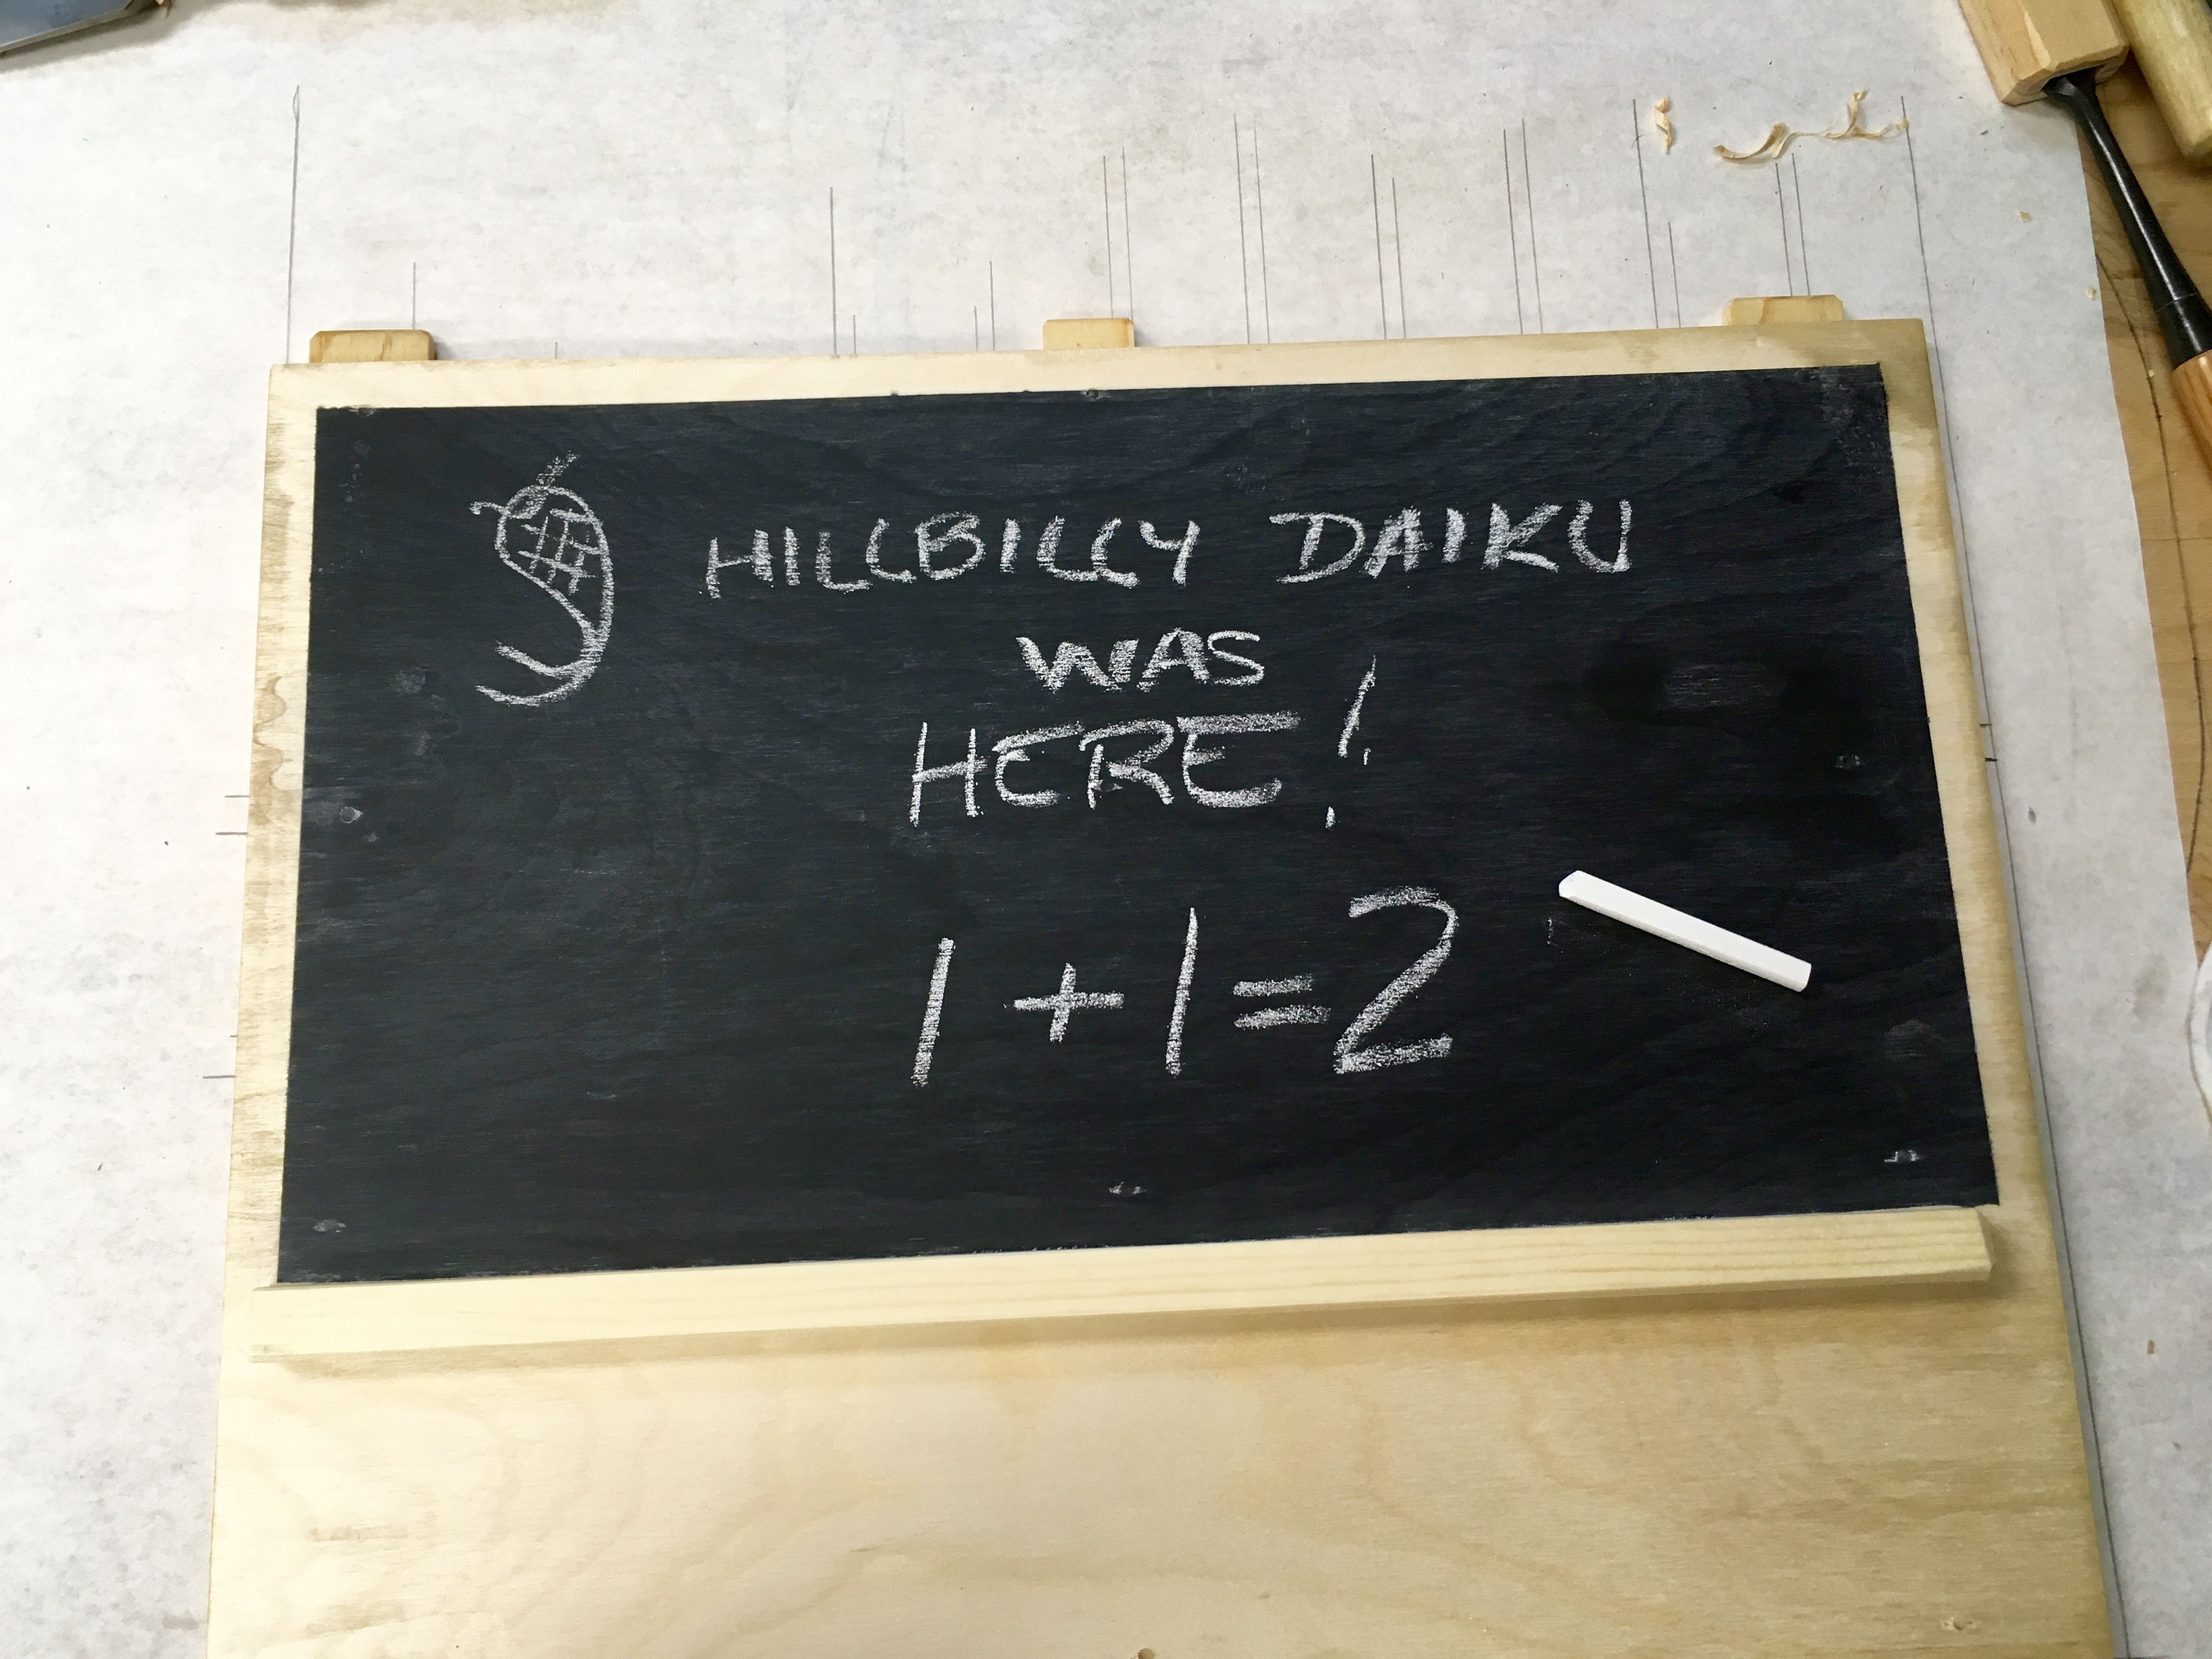
I like that the grain shows thru the paint. All in all I’m considering the chalkboard paint a success and may use it in future projects. At the very least I now have a handy place for jotting down notes and the like.
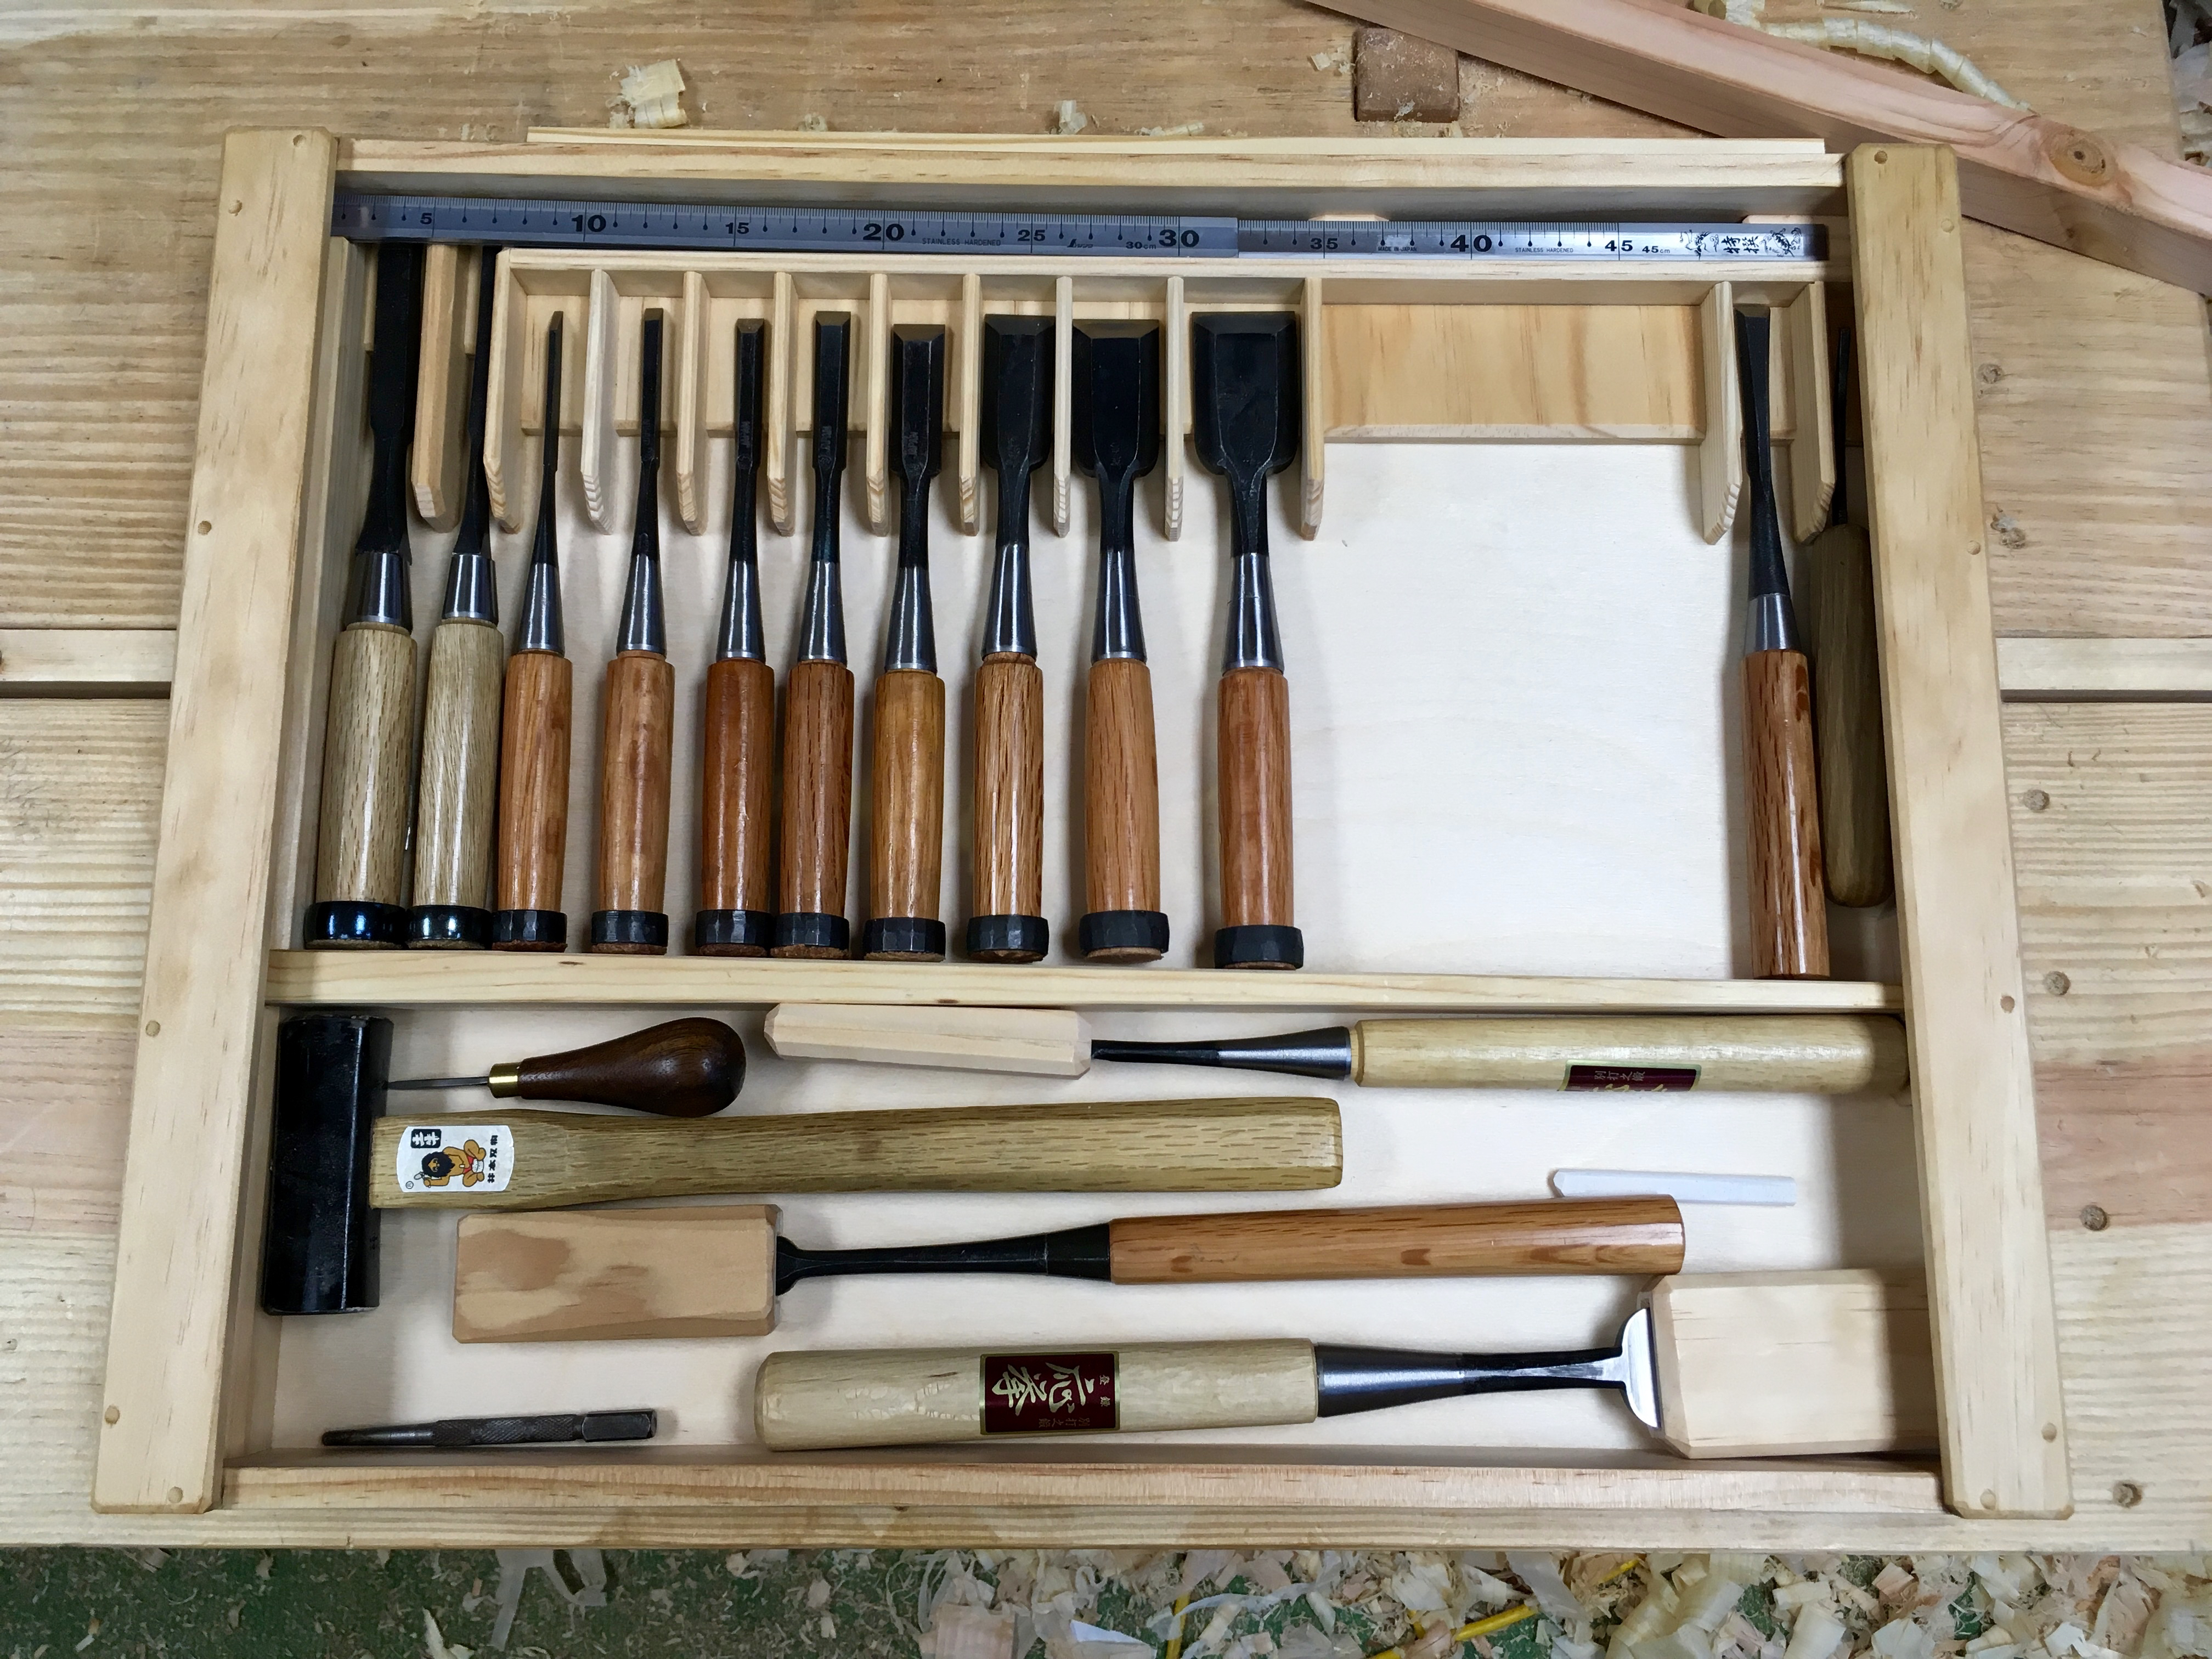
The outside of the chisel tray received a coat of linseed oil and I left the remainder of the interior raw. The tray will take on a beauty of its own as it ages and is used.
The chisel tray is ready to go to work and I’m happy with the way it turned out. It holds everything that I intended and has a little more room for any additions to the kit.
I now have a confession to make. I doctored one of my photos of the lid in my last post to obscure a bit of kolrosing/hillbilly inlay. I wanted to save it for this last post.
While sanding the lid I noticed a small knot on what would be the “show” side of the plywood panel. As I looked at that knot a thought began to form and finally congealed into an idea. You may have seen my post on the incense burner stand and the hillbilly inlay that I added to it based upon sumi ink paintings…well this lid received more of the same.
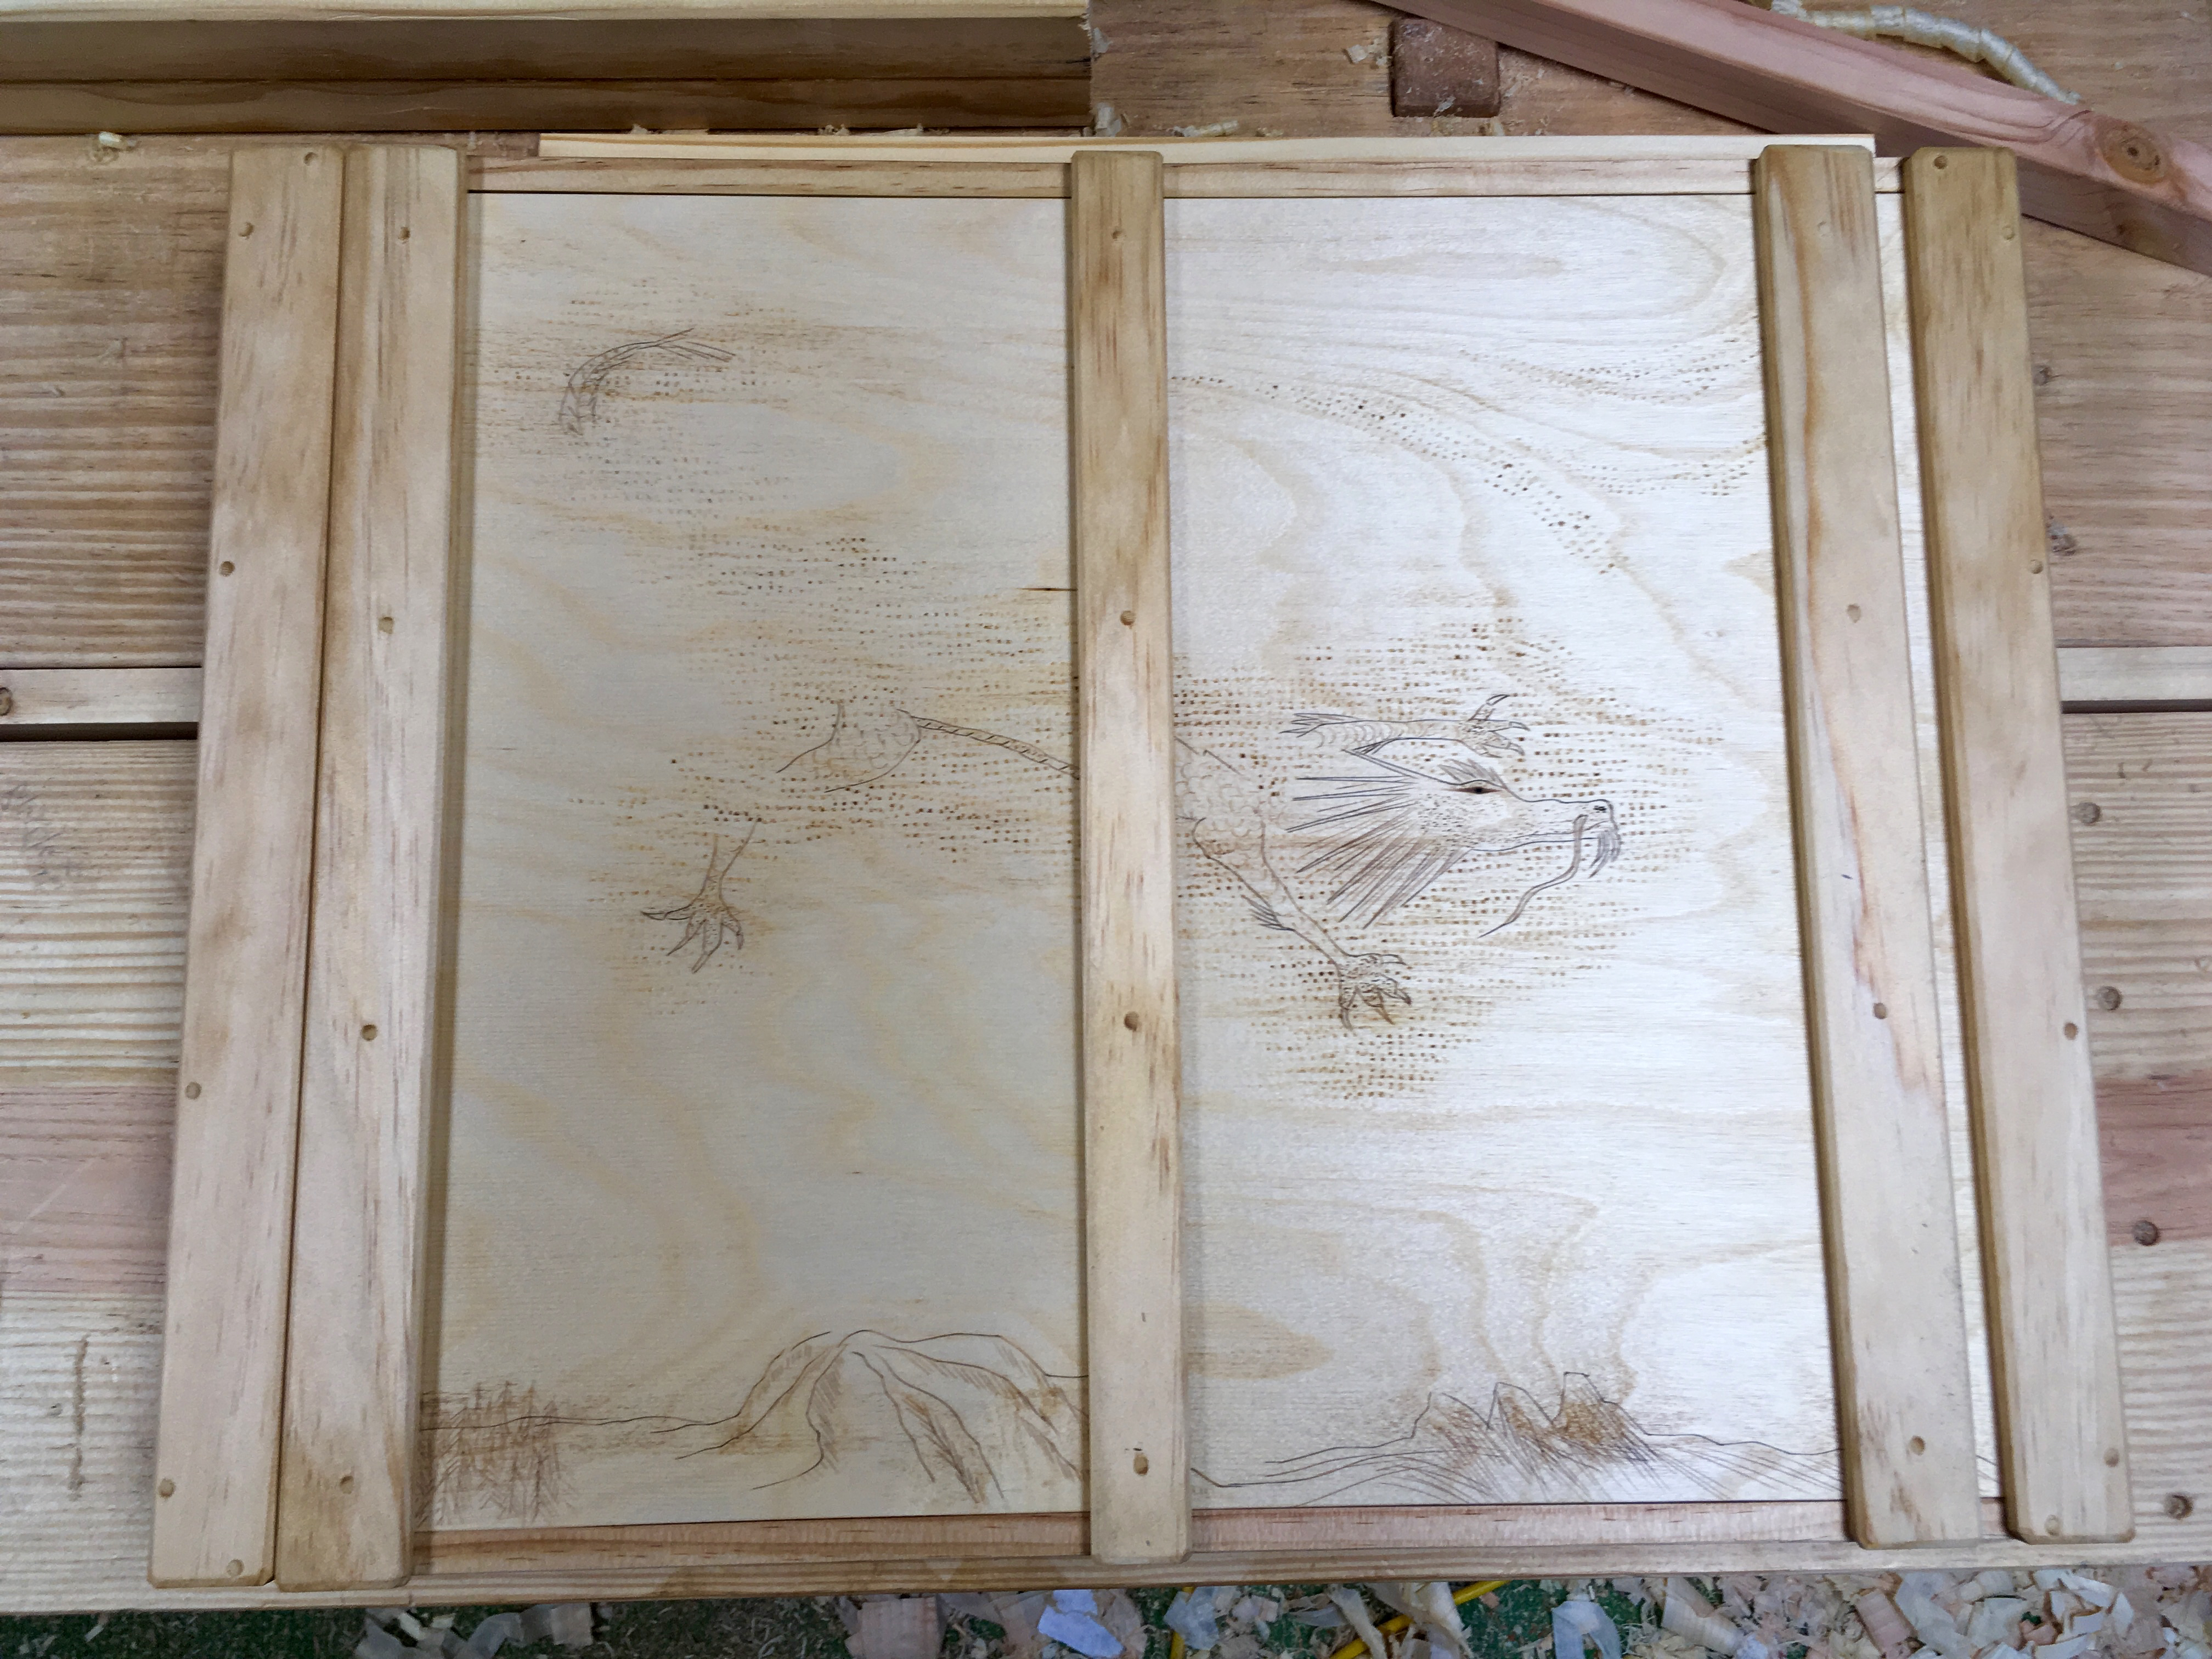
The small knot became the eye of the dragon and everything else just sort of happened. I tried to make use of the grain pattern as well. It won’t be winning any art awards, but I think it turned out pretty well and this chisel tray was perfect to practice on.
Part 3 Greg Merritt

Pingback: Chisel Tray-Part 3 | BY MY OWN HANDS
why rub it chalk before use?
No idea really. Just followed the directions on the can. 😉
Cheers btw great job on the tray
Thanks Salko!
Nice work Greg! Came out beautifully!
Thank you Brian. At the very least it is fit for use. 😉
I have a cork board over the bench, to put notes to my self, plans, aper sheets, etc.
I decide to put it there because after a while the board was a bit in the way, knocking down and so on.
So I ended in hanging on the wall, at reach high.
Any kind of support for your tray lid/board coming up?
I may come up with some way to hang the lid on the wall. If for no other reason than to keep it from getting knocked to the floor. Once I use the chisel tray while building a project or two I’m sure I’ll come up with something.
And just like that, you have two more ways to keep organized int he shop. Nicely done.
Thanks Matt! It is a step in the right direction for sure.
Greg,
I’ve really enjoyed following along with this series of posts. As always, you have done a very nice job! I have been thinking about building a small fall-front multi-drawer tool chest for all of my chisels, lay out tools, squares, etc. Your post has given me some things to think about. I really like the way you divided the chisels. Thanks.
All the best,
Jonathan
Thanks Jonathan! I made a drop front toolbox a couple of years ago and use it to hold the “fix-it” tools for around the house. If I can be of any help on your build, just let me know.
I’ve started carving a couple small birds and discovered that I loathe carving feathers in basswood. It’s occurred to me to forego carving each feather, carve the bird’s form in what the website and magazine prpofessionals call “stylistic”, and simply depict the feathering using Kelrosing. I mean, no live birds are going to try to mate with any wood bird I carve. I’m doing it to please myself, and once I carve the crest and add a little bit of coloring (not layer upon layer of paint) I’m going to know that’s a male cardinal. Carving feathers isn’t going to help the poor thing fly.
What do you think?
LOL…try a few samples first. I suspect you will need to paint the bird first and the add the kolrosing for the feathers. If you do the kolrosing first, anything but a light wash of color will probably fill in all of the incised lines. Let me know how you make out.
The thought about paint filling in the incised lines occurred to me. I’d probably use very light dye to tint the basswood … very carefully.