
 My day in the shop, henceforth known as the great wood massacre of February 2017, did not go smoothly. All of my problems were of my own making however. I was working with an unfamiliar material (poplar) as well as an unfamiliar tool. To finish off the perfect recipe for disaster I changed one of my techniques. Stupid, stupid, stupid.
I’ll start at the beginning. The goal today was simply to assemble the trestles. Add glue, knock in the legs and wedge them home. It should have been an easy, relaxing day in the shop. While my hide glue was heating up I cut the wedges for securing the legs. Here is my first error. Typically I cut short, fat wedges, but for some reason I went with a longer, thinner version. I have no idea why.
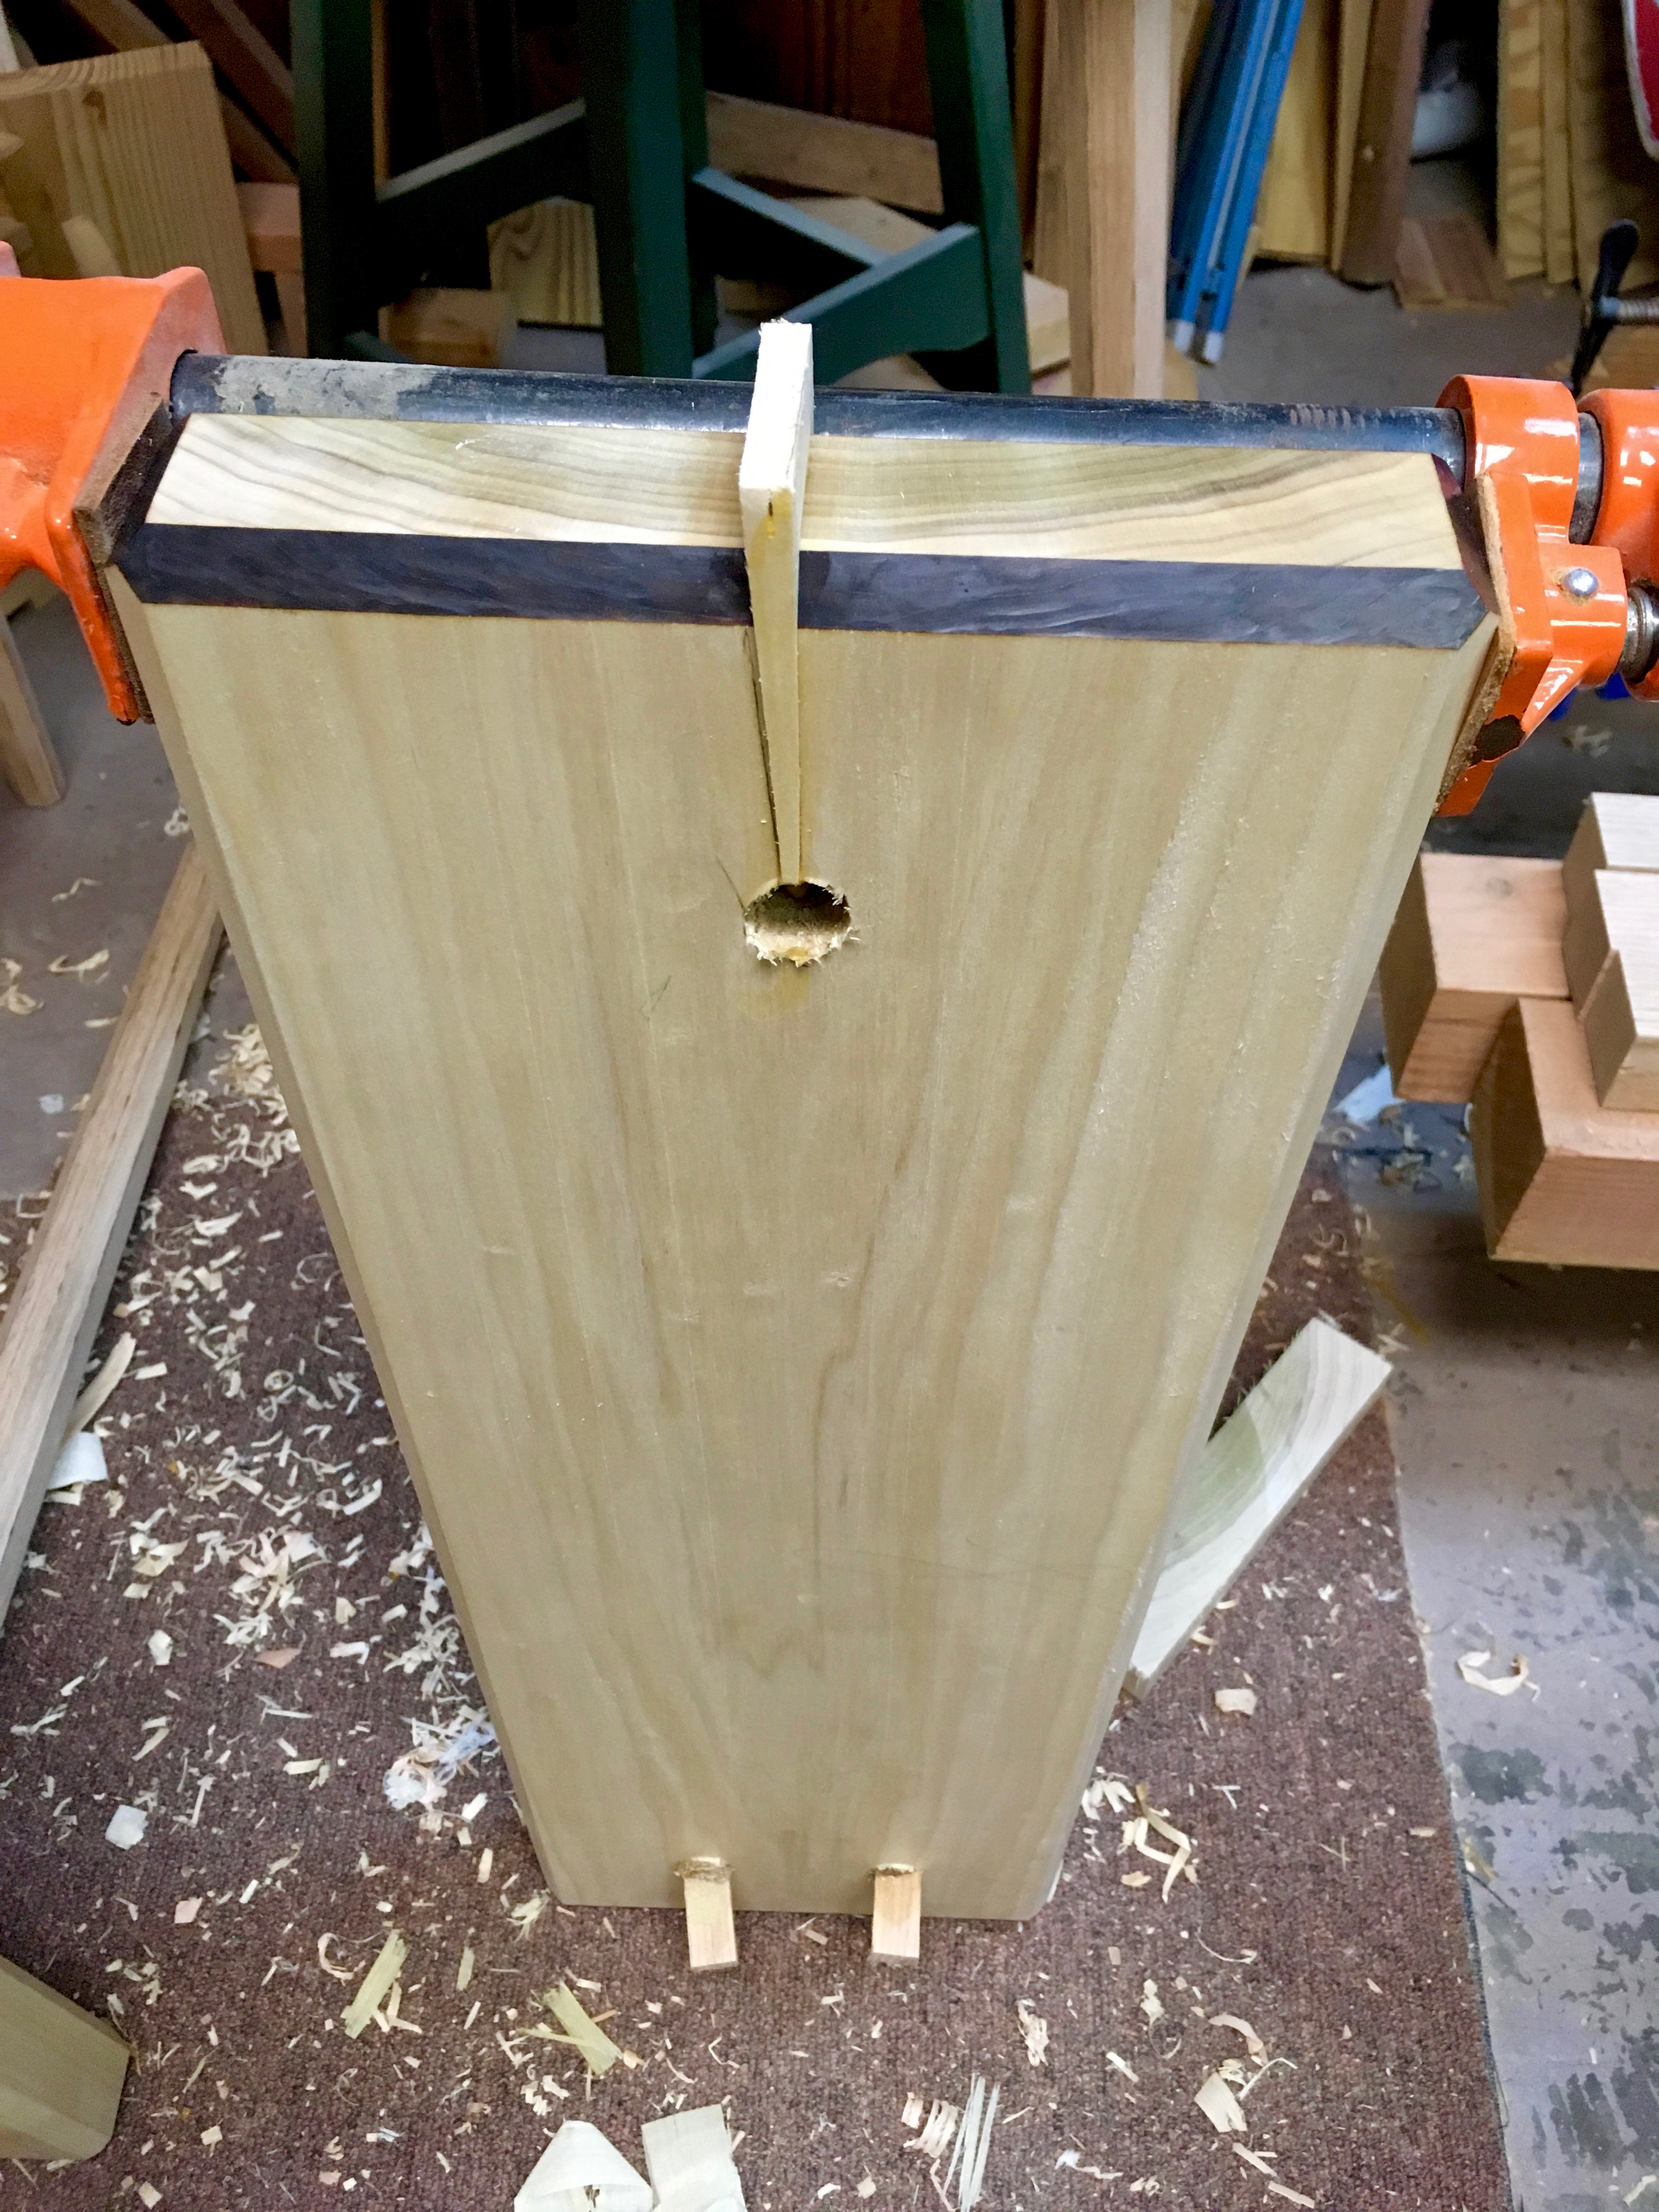
To drive the legs into their sockets, I typically use my ~16oz Japanese hammer, but my dad recently gave me a 2lb sledge and I wanted to give it a try. So I spread glue in the socket and on the tenon for the single leg of the first trestle. I drove it into place and everything went fine. Then I glued and installed the spindle between the pair of legs. With glue applied to all the surfaces I began driving the leg pair into their sockets. Everything felt good until the second to last hammer blow…it sounded a little off, but I went ahead and hit the other leg. That’s when the pair of legs went loose in their sockets. Uh, oh! (That’s the PG version). Sure enough, the top slab had split from each socket out to the end of the slab.
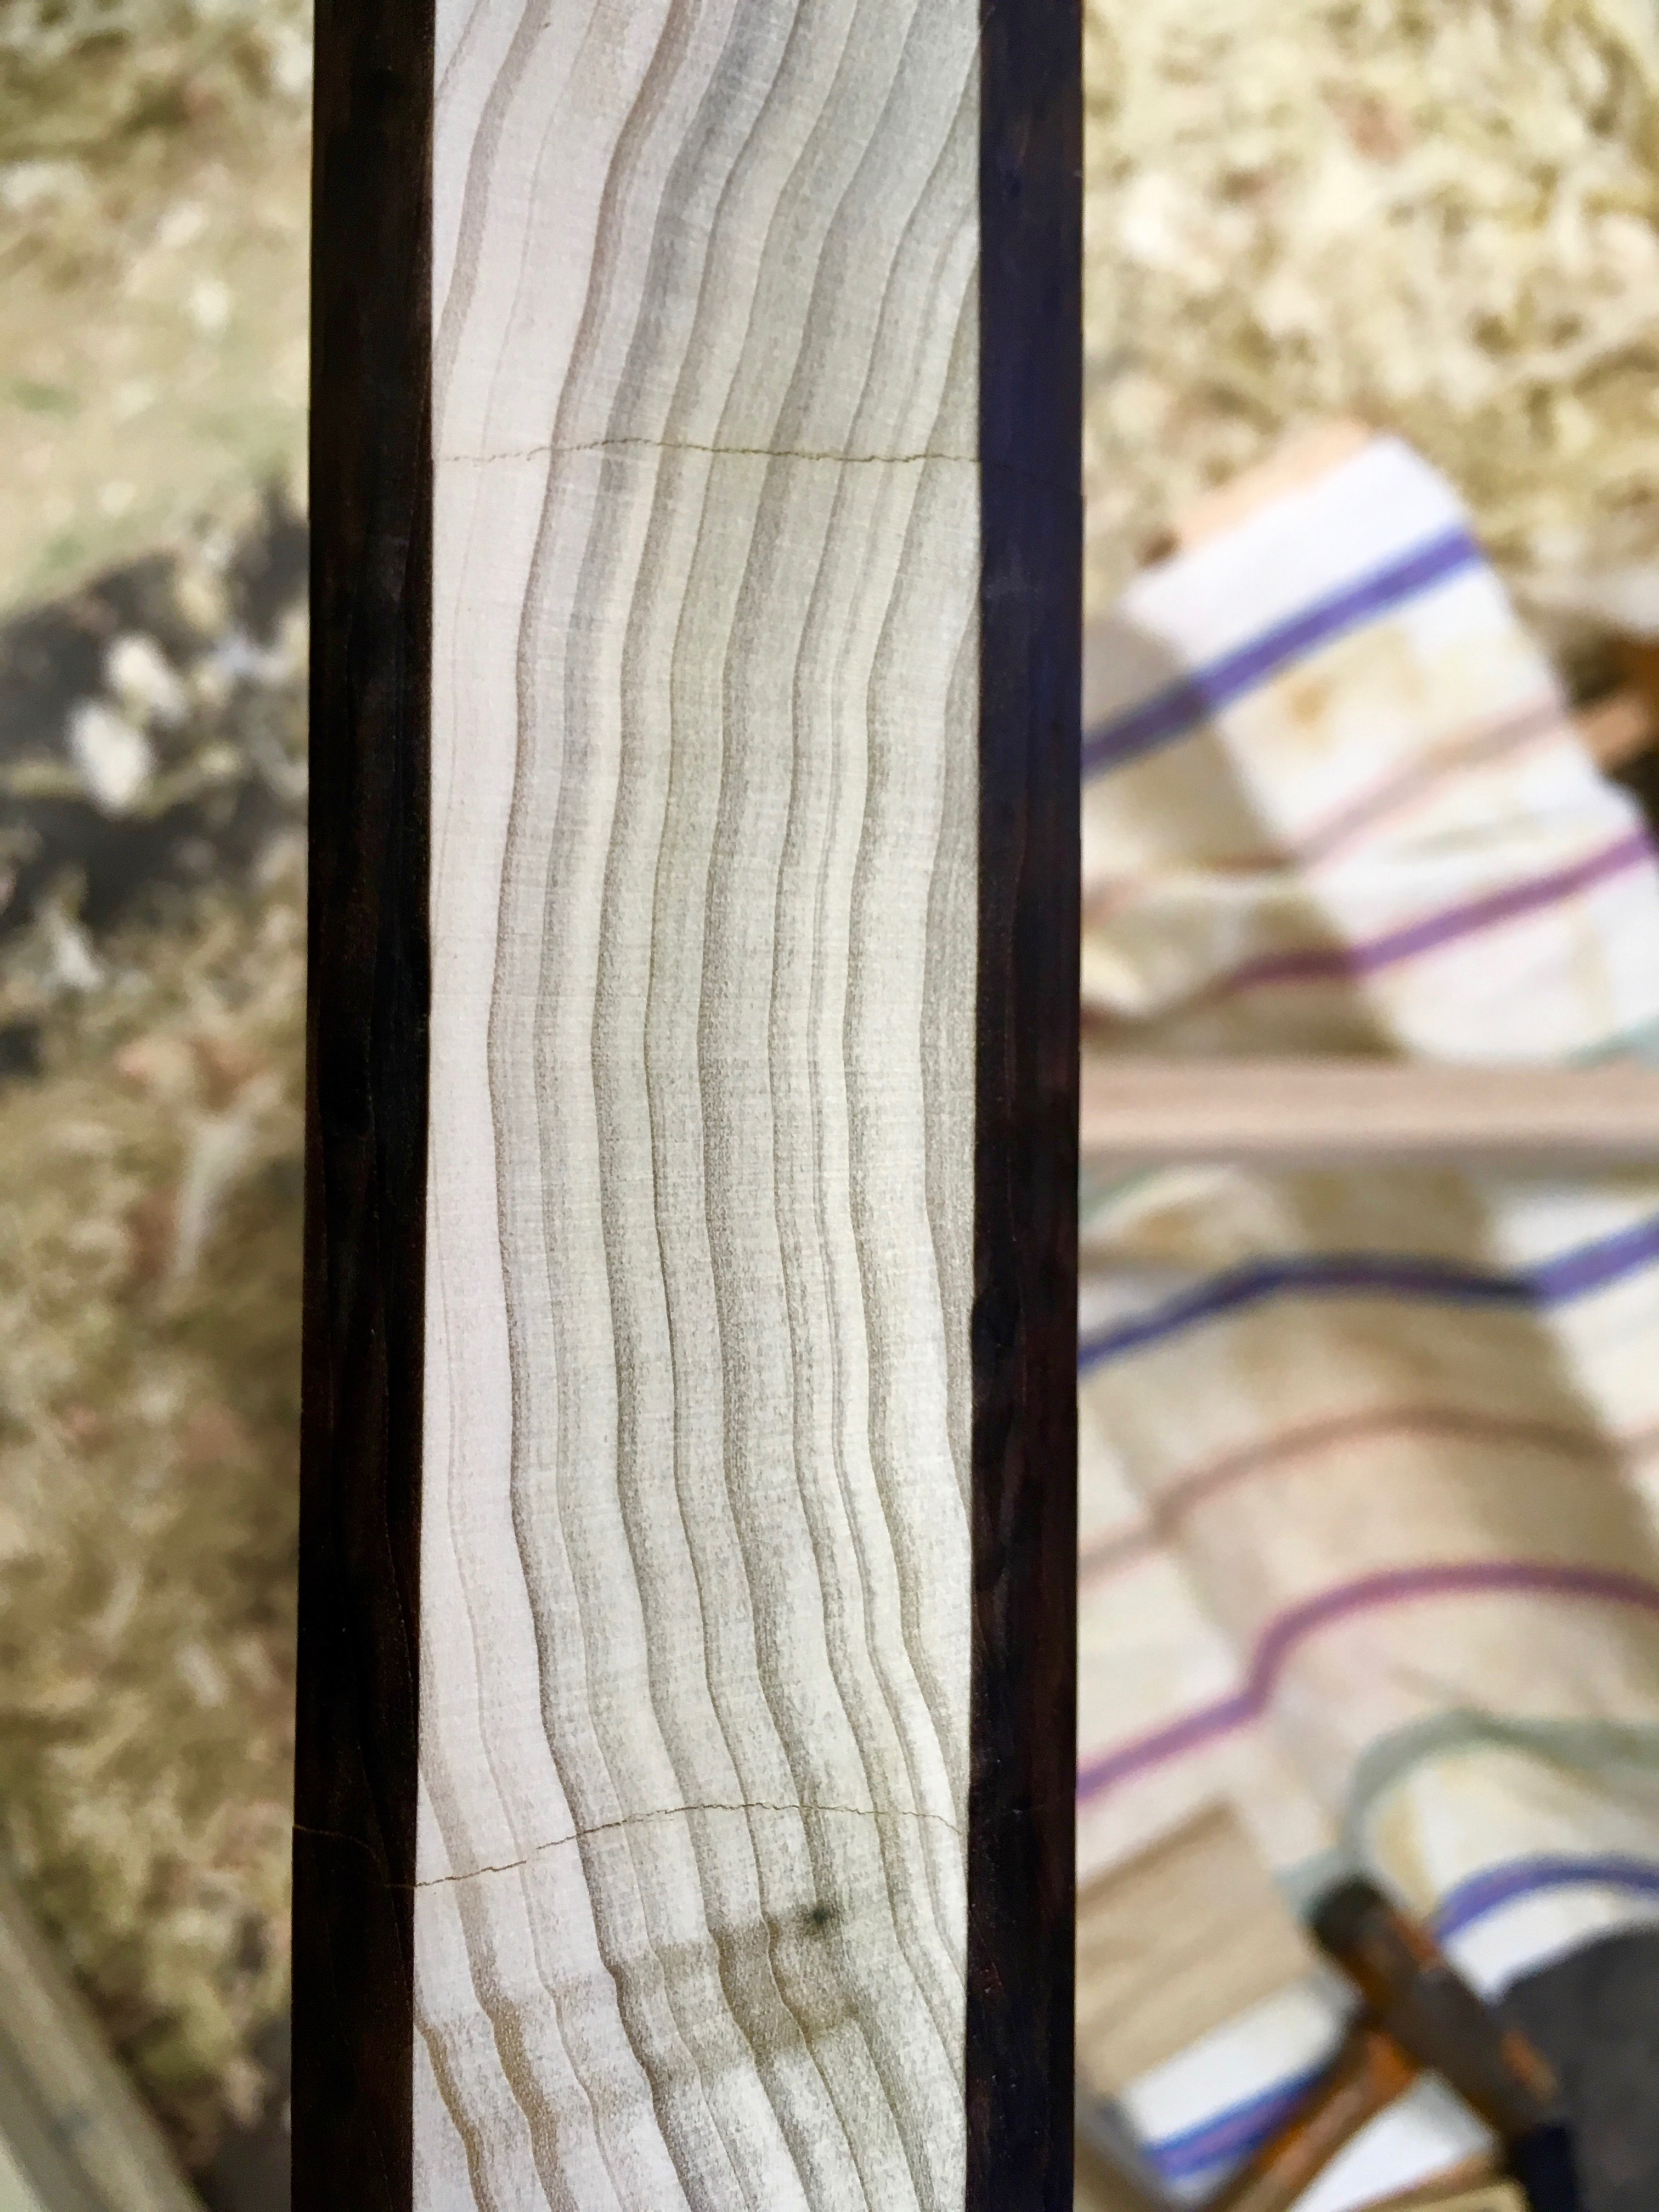
I felt a little sick, but examined the damage. With nothing to lose, I jumped in with an attempt to repair the slab. I first cut out a slice of wood that contained the split.

Then I cut and fit new pieces of poplar to fill the gaps. Then I glued and clamped them in place.

Trestle number 2 went together without incident

Trestle number 3 almost made it, but I split the slab at the single leg. Son of a b####! The same repair was made as before.
Trestle number 4 almost made it as well, but the last blow on the wedge of the last leg…I heard a horrible cracking sound.

Luckily I had the sense to make a couple of extra legs. So I prepped another leg.
To add insult to injury, I had, in a fit of anger, slammed the hammer into the slab top. Which left a pretty good donkey (jackass, in my case) mark.

So I fired up the iron and steamed almost all of it out.

Then turned off the lights in the shop before I did any more damage.
So what the heck happened? All of my previous staked projects were either laminations of SYP or plywood. A solid slab of poplar reacts differently than either of those. Using a heavier hammer made judging the progress of the tenon advancing into the socket hard to judge. The force of each blow was quite a bit more than those with my lighter hammer. Finally, my changing wedge shapes allowed the wedge to advance too deep into the tenon. Actually, I was lucky with most of them, they were thick enough to tighten before going too deep. The last wedge was slightly thinner and I paid the price.
Anyway, tomorrow is a new day. I’ll venture back into the shop and survey the carnage. Hopefully my repair attempts work out and I’ll be back on track.

Pingback: Table Trestles-Part 3 | HILLBILLY DAIKU
Looks like a rough day! Ah well, those things happen. I’m sort of amazed that they split, you have a good amount of short grain past the joint and the wedges are applying force in the correct direction.
I can’t say my past few days have been equally as frustrating, but I’ve been prototyping arms….I’m on shape #4 currently and was stupidly confident after shape #1 enough to use the mahogany….doh!
I simply applied too much force with the hammer. Plain and simple. Lessons learned.
It seems that the both of us are having less than stellar shop as of late. I have high hopes for us nonetheless. 🙂
Good recovery, Greg, with the repairs and the analysis. You can’t keep a good man down. Lots of wisdom in walking away sometimes.
I’m hopeful that my repairs are successful. I should have stopped much sooner though and ascertained what the issues were.
Thanks for sharing even the disasters. We all have them.
Steve
Mistakes and unexpected issues are just part of the process. Be wary of those who claim otherwise.
Changing to a different tool or a new type of wood can definitely introduce new problems,
Glad to see that you manged to fix it.
Brgds
Jonas
I charged in with too much confidence and was quickly humbled. Lesson learned.
Ohhhh, the woes of “carnage day.” That day arrives with regularity in my shop … but I usually keep mum about it. 🙂
Actually, I think we learn more from our failures than our successes, and I’ve had one whale of a lot of learning.
LOL…no sense hiding the failures, they are part of the process. 100% success is a fallacy when you have human beings working with a dynamic material.
Ouch! Agreed we all have those things happen to us, just made a box where a “mistake” had been made for bottom size. After making a slightly larger one that fit guess which one I put in during glue up — Yep! Hard to knock apart dovetails when they’re glued. Great save on your project though. I used to tell students that the difference between a good woodworker and an excellent one is that the excellent one knows how to fix mistakes —- You nailed it!!
Failure and how to deal with it seems to be a lesson that is rarely if ever taught/discussed anymore. I see two common scenarios in my day job. Those who completely shut down when a mistake is pointed out. I have lost count of how many have quit and walked out when confronted with their mistake. The other group seems incapable of comprehending what success is. They make constant errors and don’t understand why it is not OK. Completion of the task is the focus, not the end result/product
Sorry about the small rant. How did you fix your drawer?
No problem, time to time a rant is needed; specially in this day and age! I know what you mean about folks losing that “sticktoitness” in their work. Luckily this was a prototype box and the Old Brown Glue though hard to get apart hadn’t set completely. Used a rubber mallet and then a screwdriver to pry them apart! Should have a blog on it soon, calling them the 15 Degree box!
Suck!
Sorry you had such a hard time with those, but thanks for posting the failures. I would have thought using a 2 pound sledge would be helpful, but now I know to continue using my little carpenter’s hammer and to listen for the sound of the wedge going home.
I was always amused by Christopher Schwarz’ advice to hit the wedge one time less than it takes to split the wood. Probably not so funny for you today.
CS’s advice is spot on, but that is the nature of the process. The 2lb hammer is nice to use, but it changed the dynamic of assemble more than I had anticipated. One other change that I failed to mention. This was my first time assembling staked furniture with hot hide glue. PVA has a lot of resistance during assembly, hide glue lubricates the joint during assembly.
In essence, I created the perfect storm leading to failure. 😉
It seems you nail it….
When my wife saw it in instagram today she asked me what you’re doing because she couldn’t figure it out and neither did I. Until we both saw the leg picture. Then I understood 😦
Rough day in the shop…
New shop rule: The size of the problem is proportional inverse to the size of the hammer! 😛
Better luck next day!
It was a bad day in the shop. That is for sure. On the bright side I’m pretty sure I have been able to correct all of the issues that I created. 🙂
Pingback: First Hand-cut Dovetails in Over a Year! | Woodworks by John
Pingback: Table Trestles-Part 5 | HILLBILLY DAIKU