
 Confession time…if you follow me on Instagram, then you know that I started this lathe project a week ago. I’m little behind on my blogging, but I’ve been running a little time management experiment this week.
It is exactly five minutes between my house and my work. As a result, I come home for my lunch hour most days. Usually I eat something, check the news and catch up on reading blogs (another thing I’m behind on). Anyway, I decided to try getting in twenty minutes of shop time while on my lunch hour. So every day this week I set a 20min timer on my phone and headed for the shop. Its been a nice break in my day to get in a little wood working. More importantly, it has been surprising how much I can get done in that short twenty minutes.
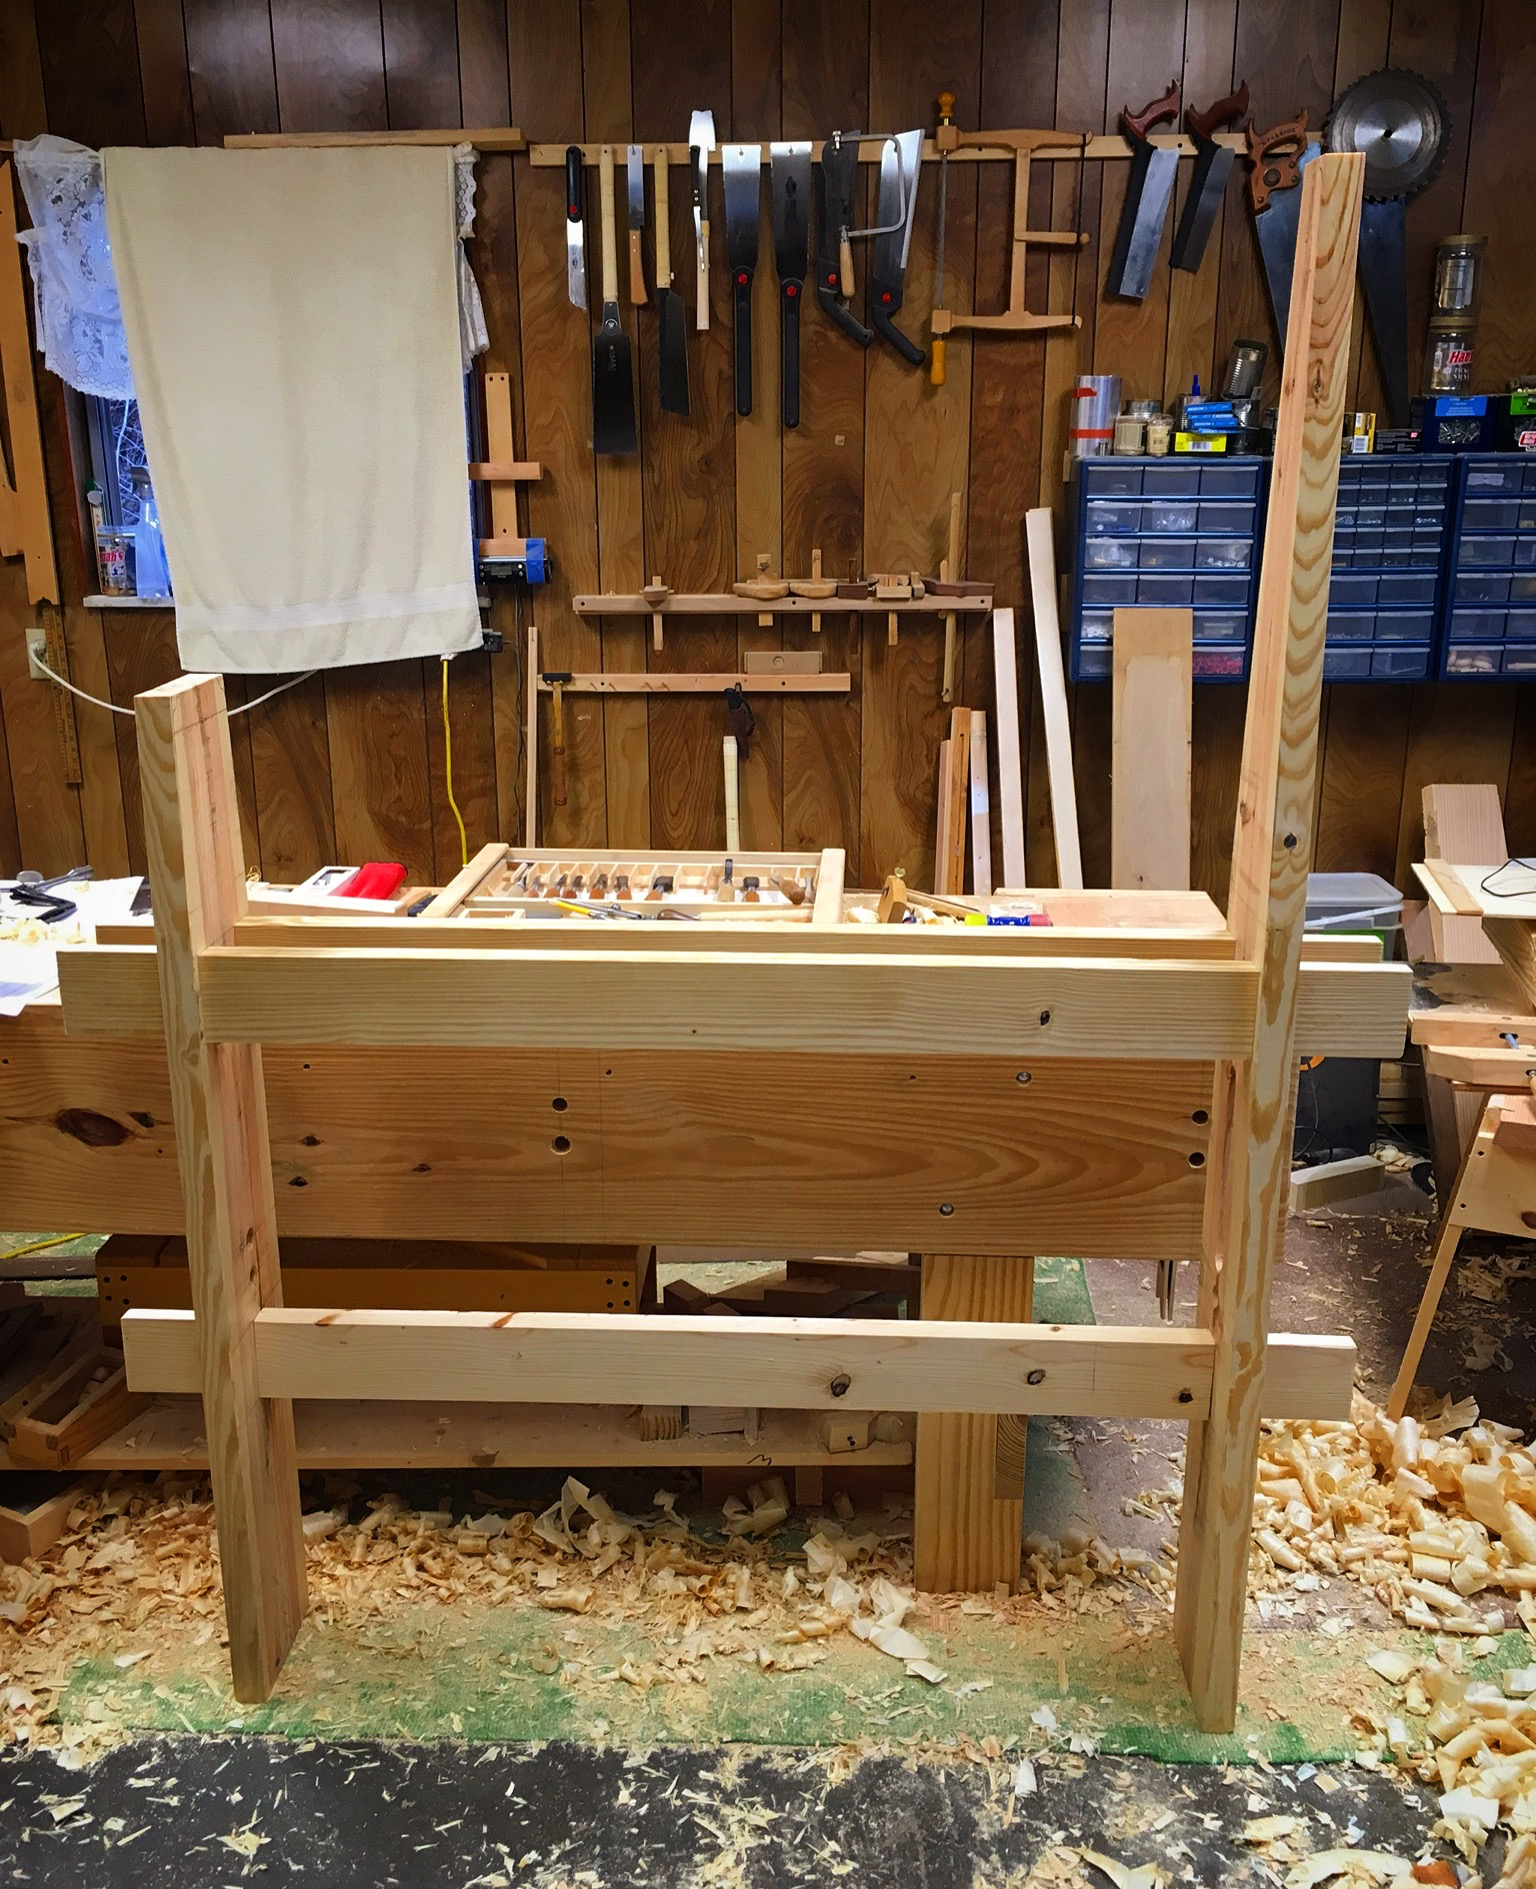
Once I had the mortises in the uprights I turned my attention to the three rails. Two will be the ways and form the bed of the lathe. The third rail serves to stabilize the assembly. Each of these rails will eventually be secured with wedges in a tusk tenon arrangement. The two bed rails have single-shoulder tenons and work in unison when wedged tight to keep them square to the uprights. The lower rail tenons have two shoulders that will keep it square.
Once I had the tenons laid out, I sawed the shoulders. I opted to split off the bulk of the waste. In hindsight, it would have been quicker to saw it off. This SYP is stringy and will not split work a darn! Which will make for a strong assembly, but tedious going for waste removal.

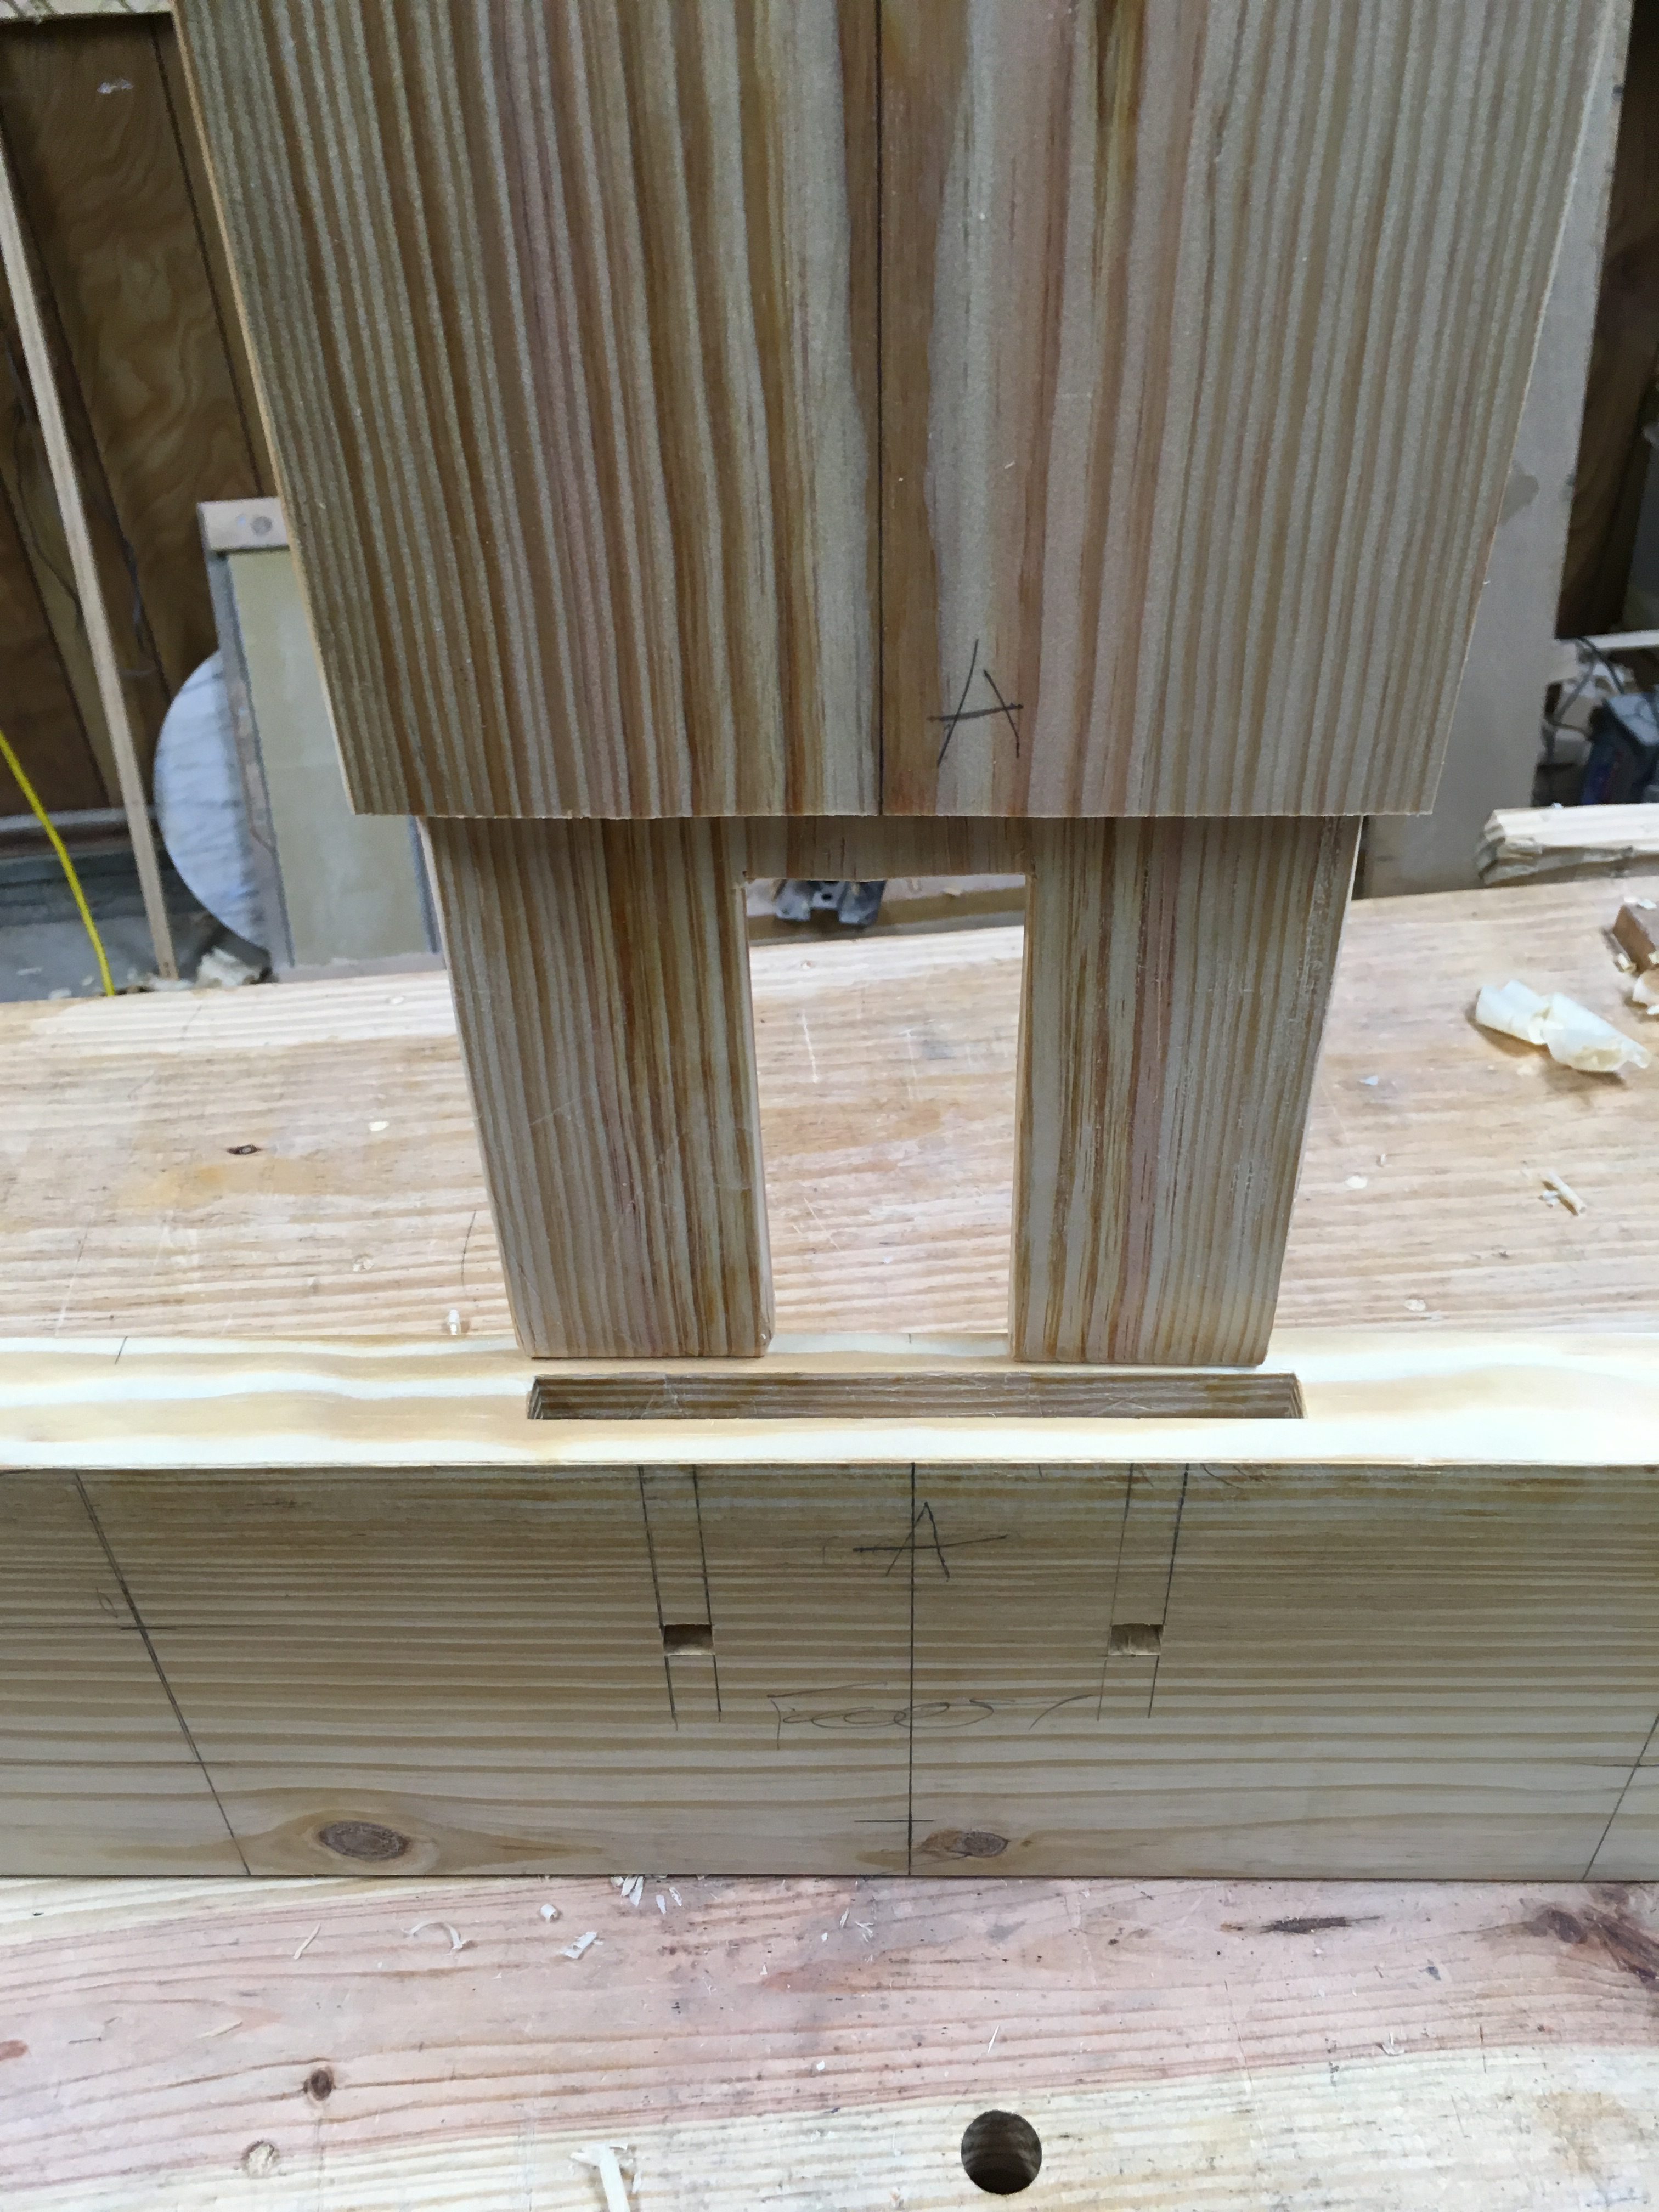
Next I worked on the feet. I made these feet much taller than Roy’s version. Which is part of how I’m gaining a little extra height. The remainder of the extra height is in the uprights themselves. The connection between the upright and the foot is a thru, spit tenon. Which ment that I needed to chop a mortise through 180mm (7″) and keep it square and plumb. Not my best design choice. This depth is the limit for my chisels, but I managed to pull it off in both feet.


The tenon was formed as I described above for the rails.
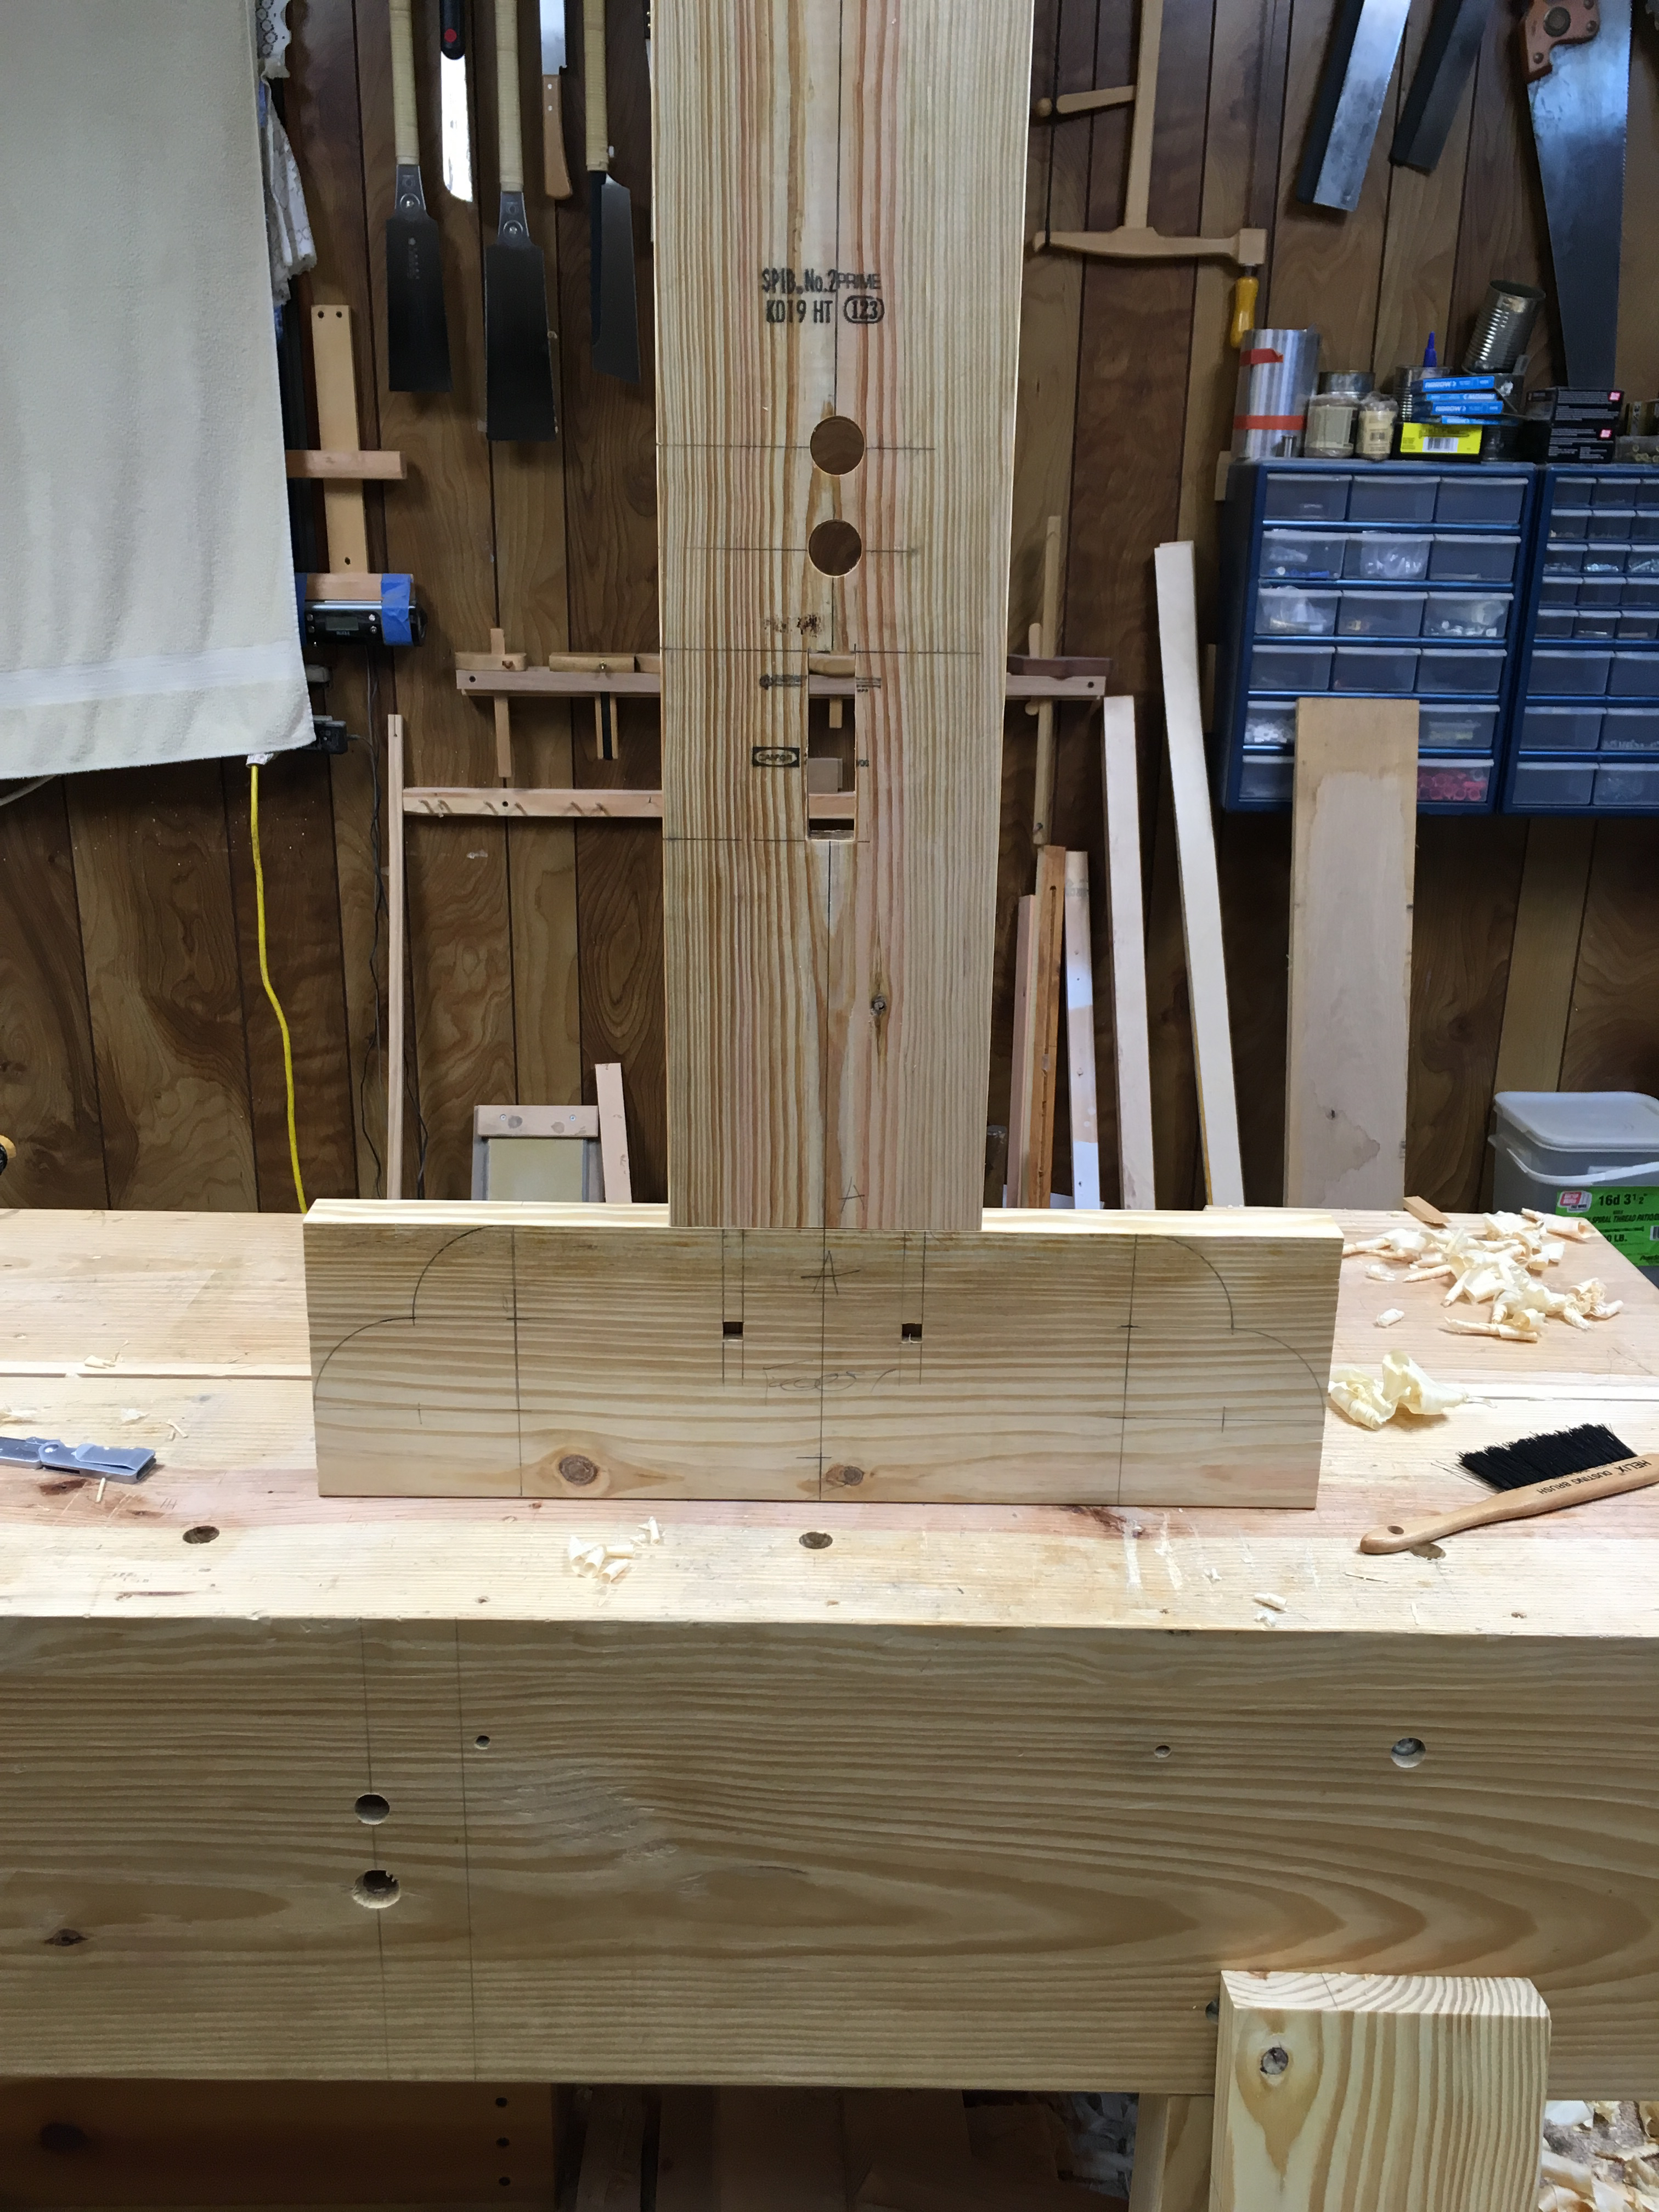
I’ll be glueing these feet in place, but also opted to add square drawbore pins. These aren’t actually necessary, but a little extra structure never hurts. Plus a little practice never hurts either. To chop the required square holes I fashioned a plug to fit into the mortise. The plug adds backing and keeps the inner wall of the mortise from being splintered out. I should have waited on this step though. I’ll explain why in a minute.

I’m shaping the feet with a Japanese inspired shape. My original plan was to have a shallow arch at the bottom center of the foot. (This is why I should have waited on locating the square pegs). I saw that I had a couple of knots in these pieces, no big deal. What I hadn’t noticed is that one of them was dead and loose. I saw that I could eliminate the knots by changing the shallow arc to a deeper shape. Ideally the drawbore pins would be closer to the shoulder of the tenon than to the end of the tenon. Changing the shape of the cutout will shift my pins about 12mm(1/2″) closer to the end of the tenon. Not a big problem, I’ll just have to lessen the offset so as not to over stress the tenon.
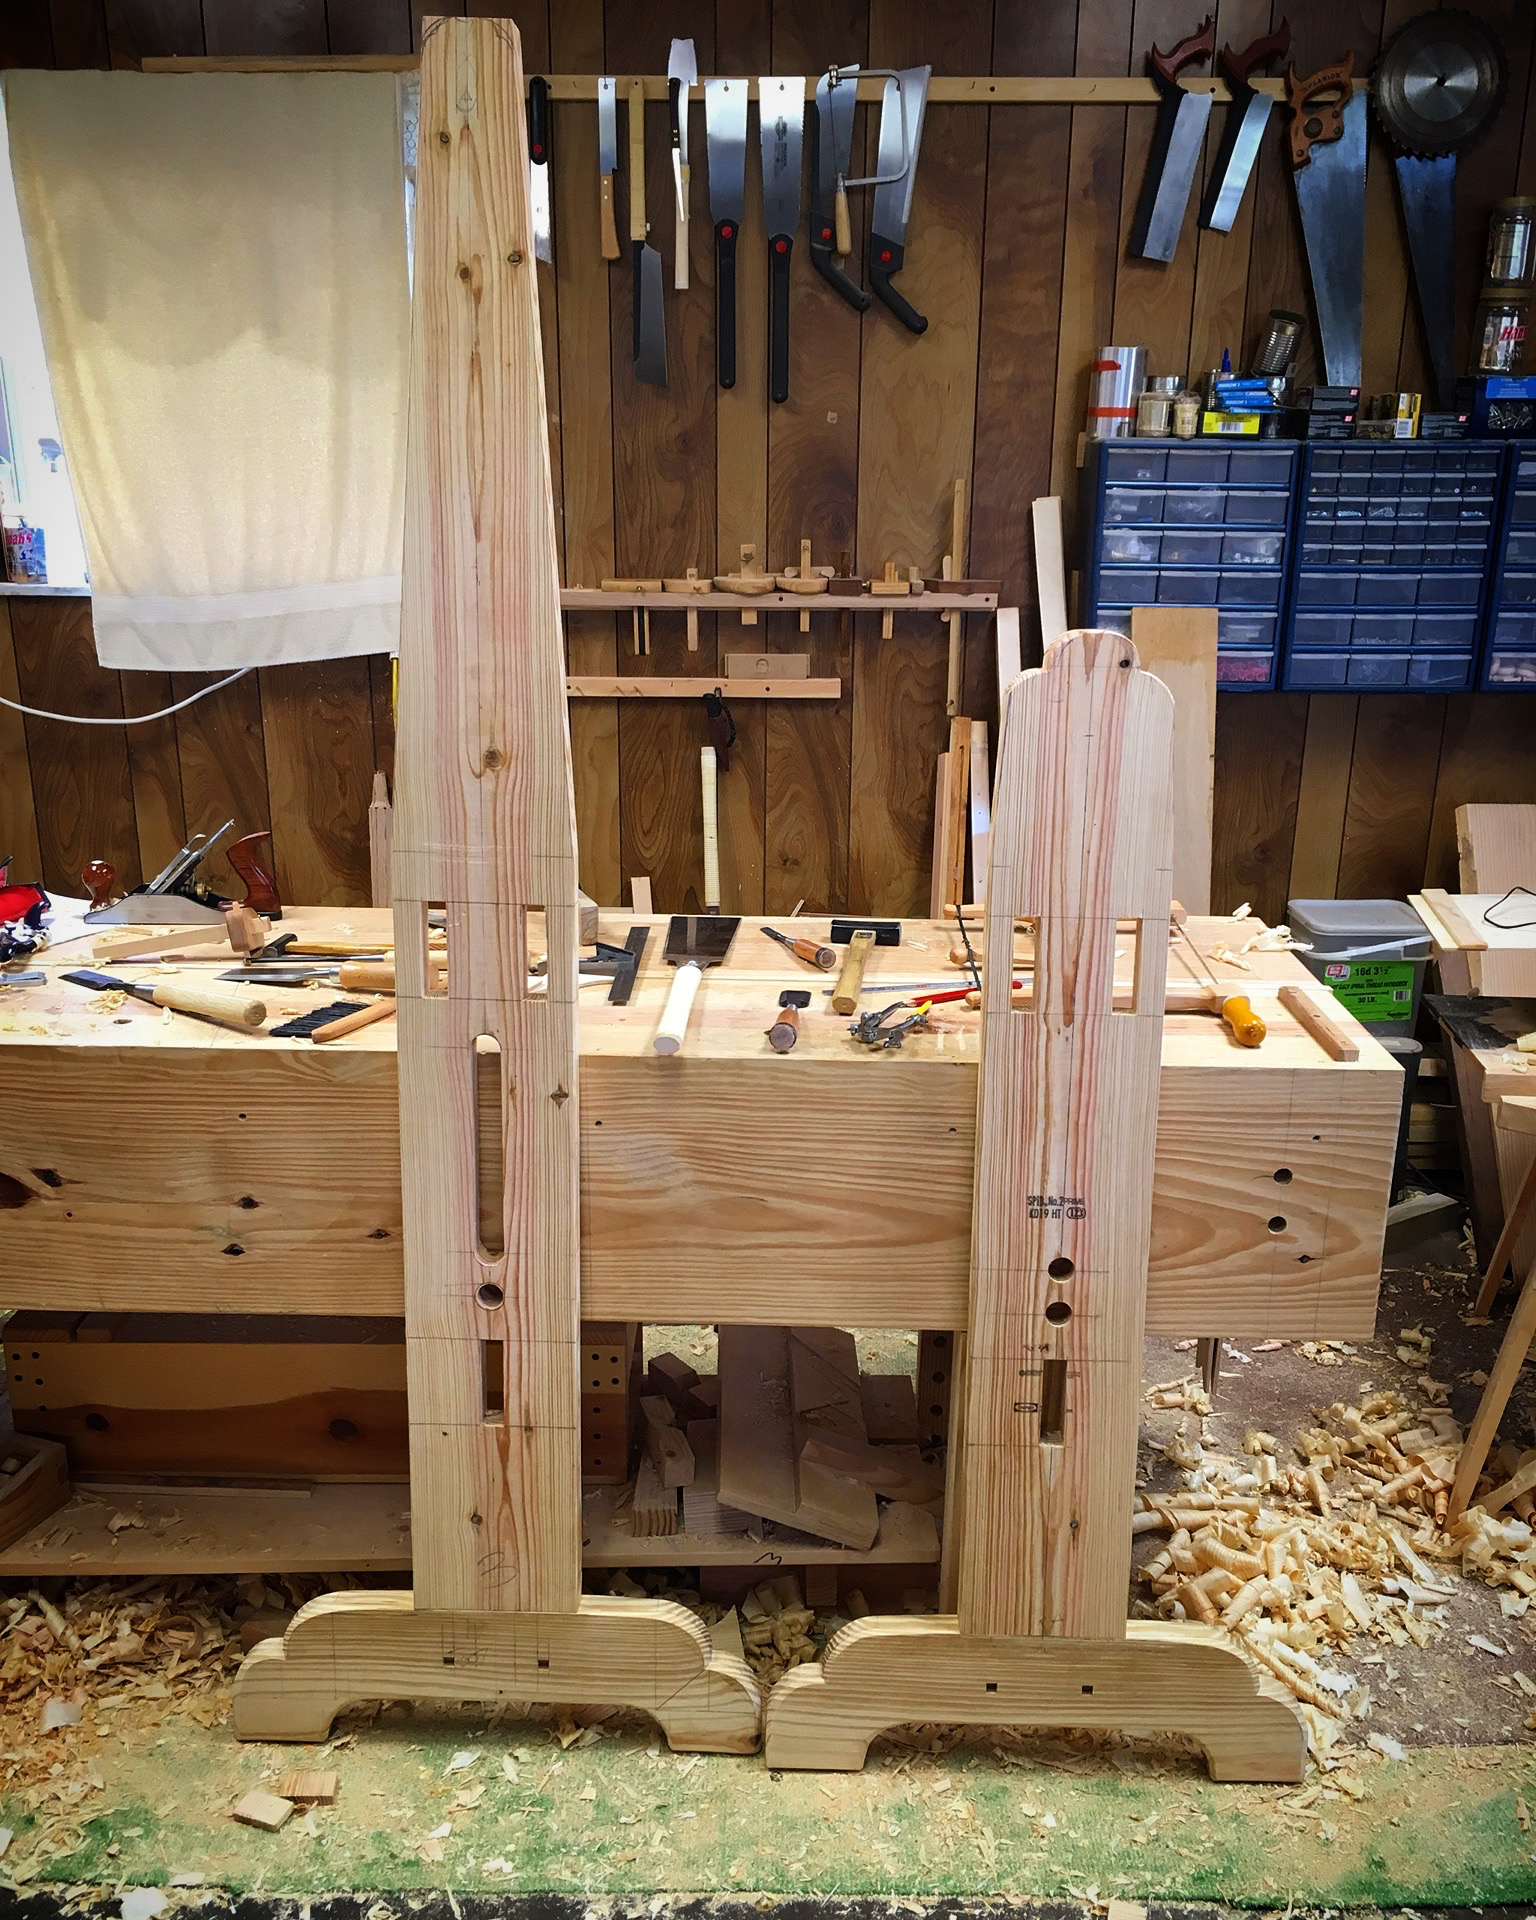
At any rate, I laid out my desired shape with a compass and cut it out with my turning saw. The shape was then refined with a sharp chisel and spokeshave.

Lather, rinse, repeat.
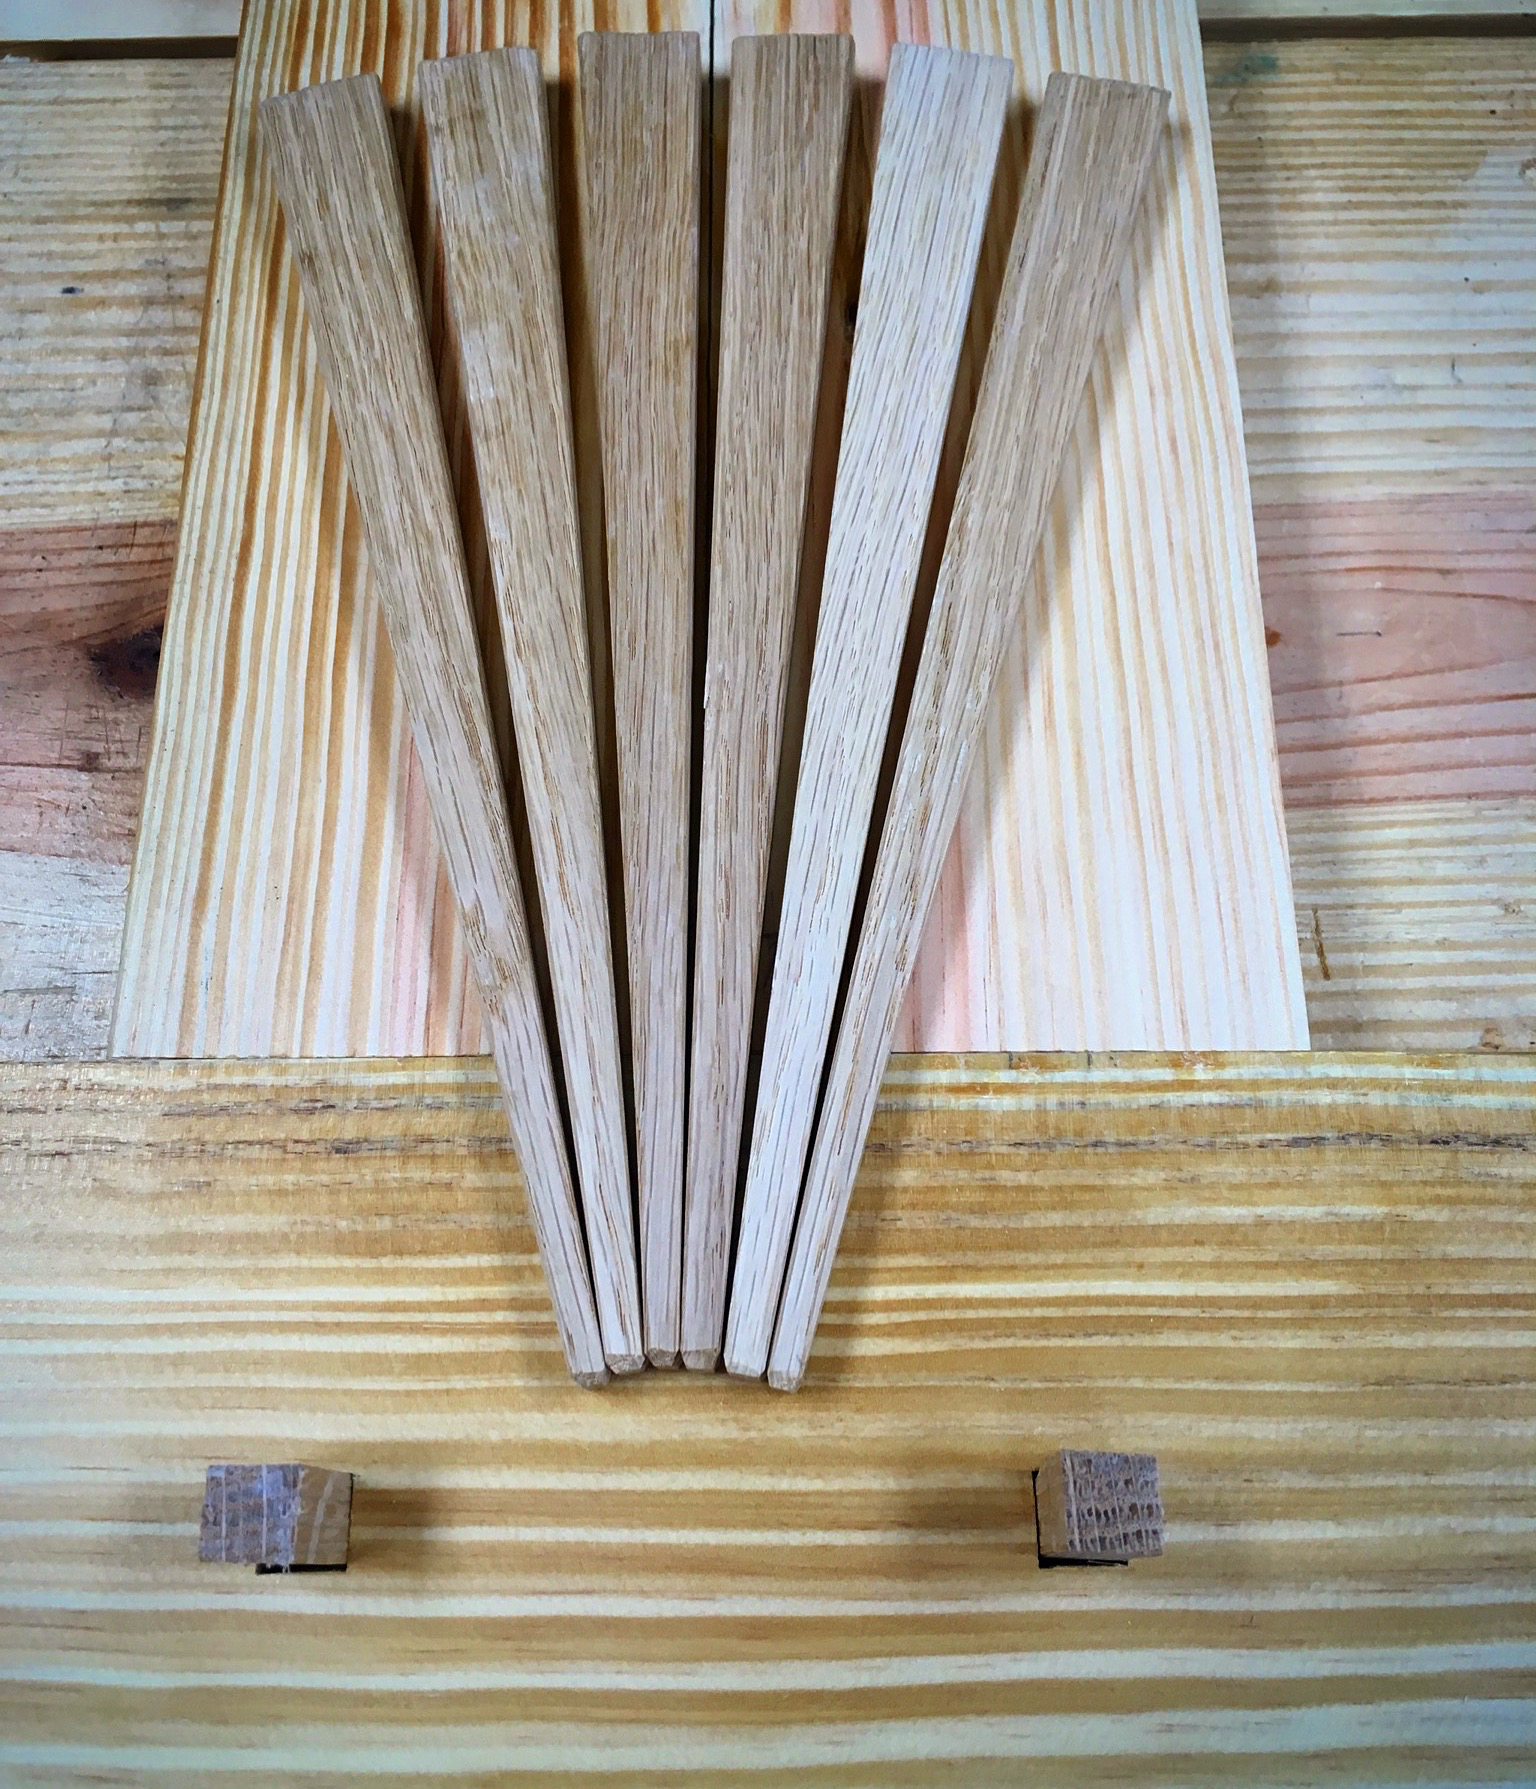
Finally, I ended my day in the shop today by fashioning the required pins and wedges. I made these from white oak.
OK…that brings this blog and you up to date.
Tomorrow I’ll chop the mortices in the rail tenons and fit the wedges. I also hope to clean up the uprights and feet with a plane and assemble them.

Pingback: Spring Pole Lathe-Part 1 | HILLBILLY DAIKU
You really did manage quite a bit in 20mins. I thought all Americans use only imperial, I’ve been using imperial for so long now that I feel like an alien in my own country.
I use imperial all day in my day job. Metric in my shop. I struggle with distances over 12″ though. I revert to imperial. I still can’t think in meters.
Think in mm or take a long step forward and that’s 1m. I still think metric is so much more simpler than working in fractions.
Some great progress. That mammoth mortise must have been quite a challenge. But with careful layout and some patience …
Thanks Matt.
Luck and brute force played a role in those mortises as well. My big fear was when mortising from each side they would be misaligned when they join up. The density changes in SYP has a tendency to shift tools around as you cut through.
Now your shop is looking like mine during a project! 😀
Is this new tool help you built the chairs that go along those recent tables?
(just in case your ‘manager’ reads this post you should answer yes) 😀 😀
LOL…the shop is looking a little rugged again.
Yes…I’m building the lathe to help in making benches, stools and chairs to go along with the new tables. Plus it is a lot of fun. 😉
Greg,
Nice work. What offset did you use for the raw bores in the feet/upright joint?
I offset the hole 2mm(~3/32″). The Japanese method is to install the square pin at the center of the width of the mortised member or to offset it towards the shoulder the width of the pin. The European method uses a round pin installed much closer to the tenon shoulder. One reason I like to split the waste off my tenons is to judge the tendency of the material to spli. This helps gauge the offset I can use. Material compressibility needs to be factored in as well. There are several nuances to consider. Experience being the best teacher. Which is why I add them whenever I can for the practice.
Pingback: Spring Pole Lathe-Part 3 | HILLBILLY DAIKU