
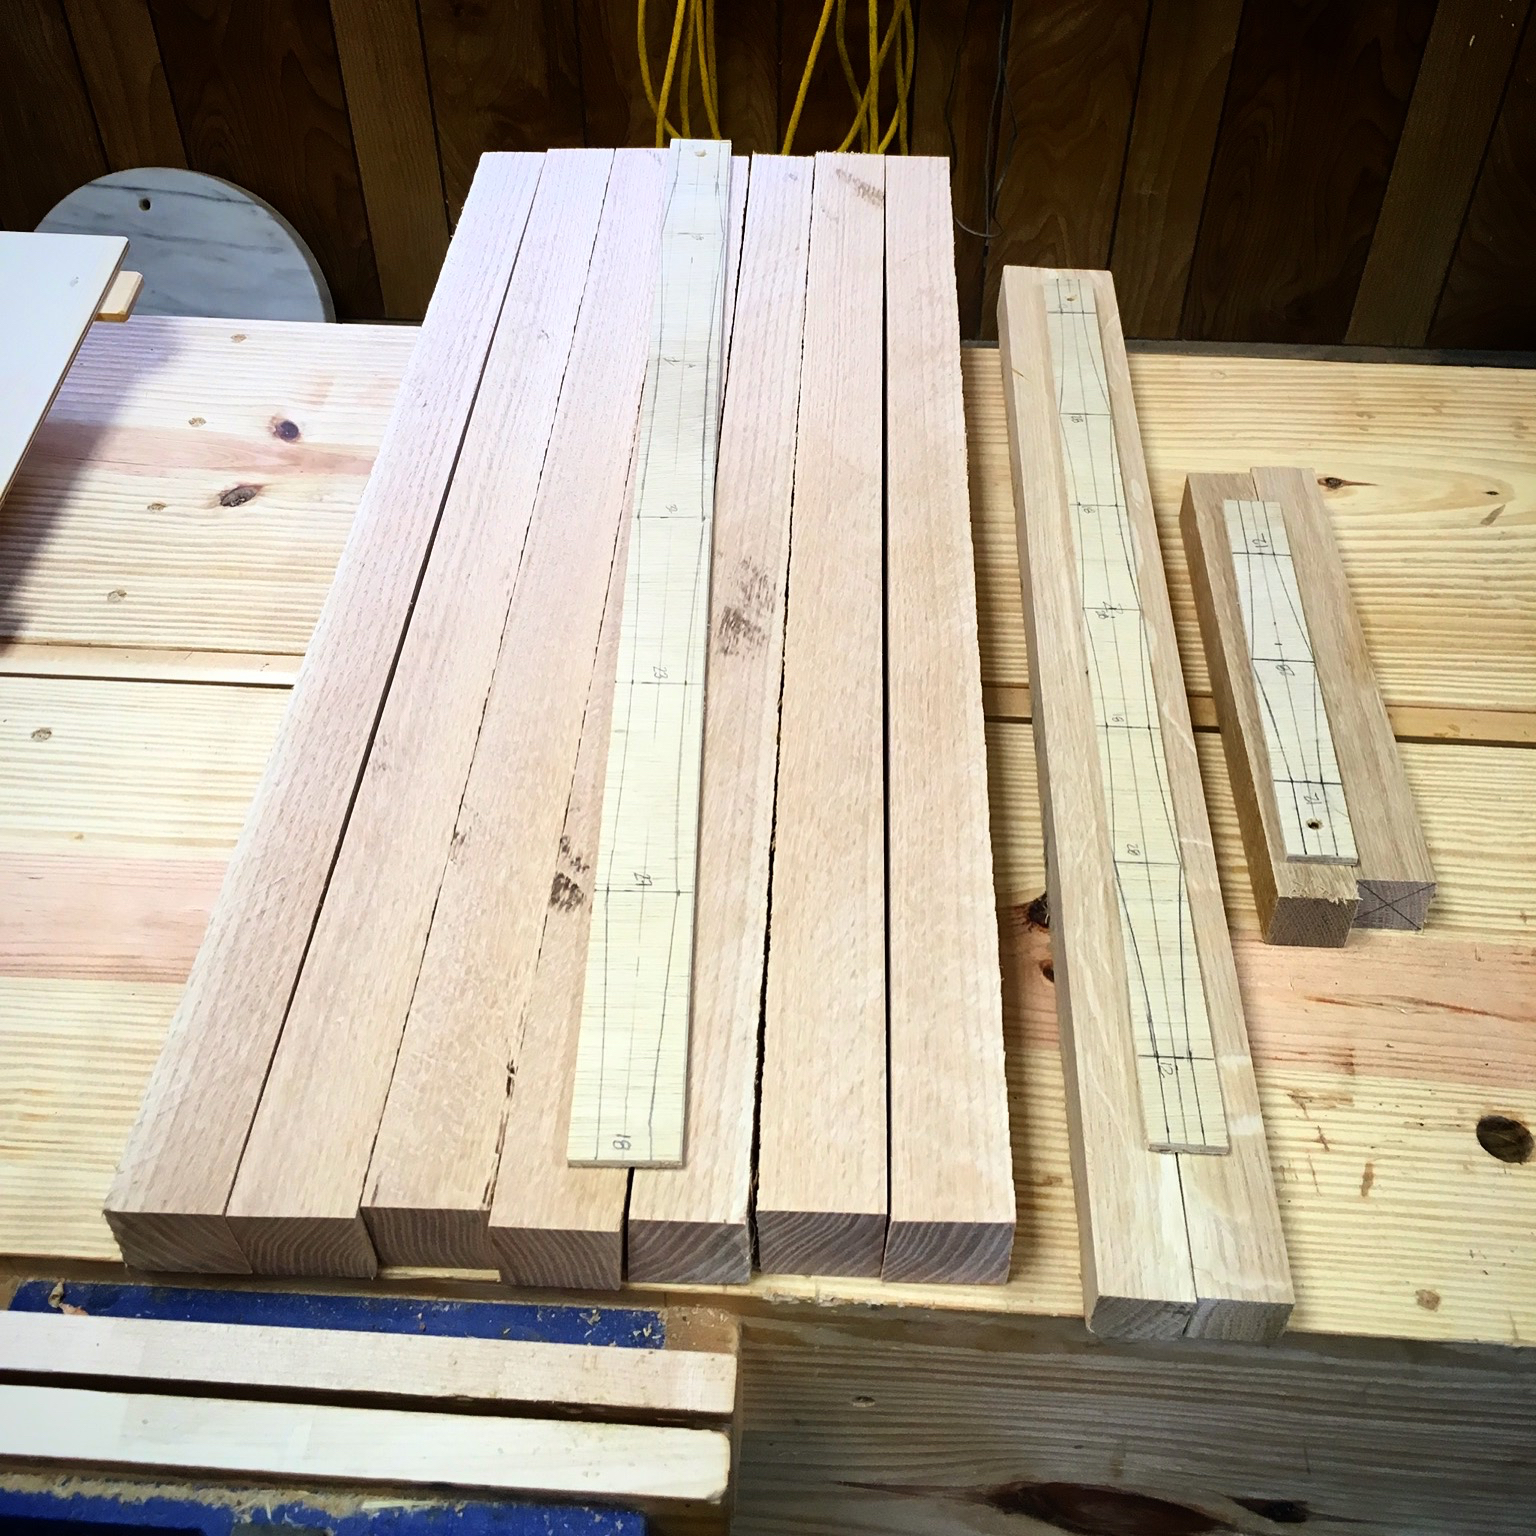
 I managed to mill up some of the parts the sewing table. I ripped some 8/4 red oak stock down for the legs and a few white oak bits for the stretchers. My setup for breaking down stock is pretty basic, bordering on the sketchy. I have an old Craftsman job site table saw. No guards, no stand. I just drag it out into the middle of the floor and squat down to run stock through it. It’s a crappy way to go, but it works. For an outfeed stand I use one of my Japanese trestles. I purposely set the lower stretcher height just for that use.
Like I said, it works. Definitely not efficient, nor safe and I won’t let anyone else use it. At some point I hope to replace it with a decent bandsaw. In the interim, I make do.
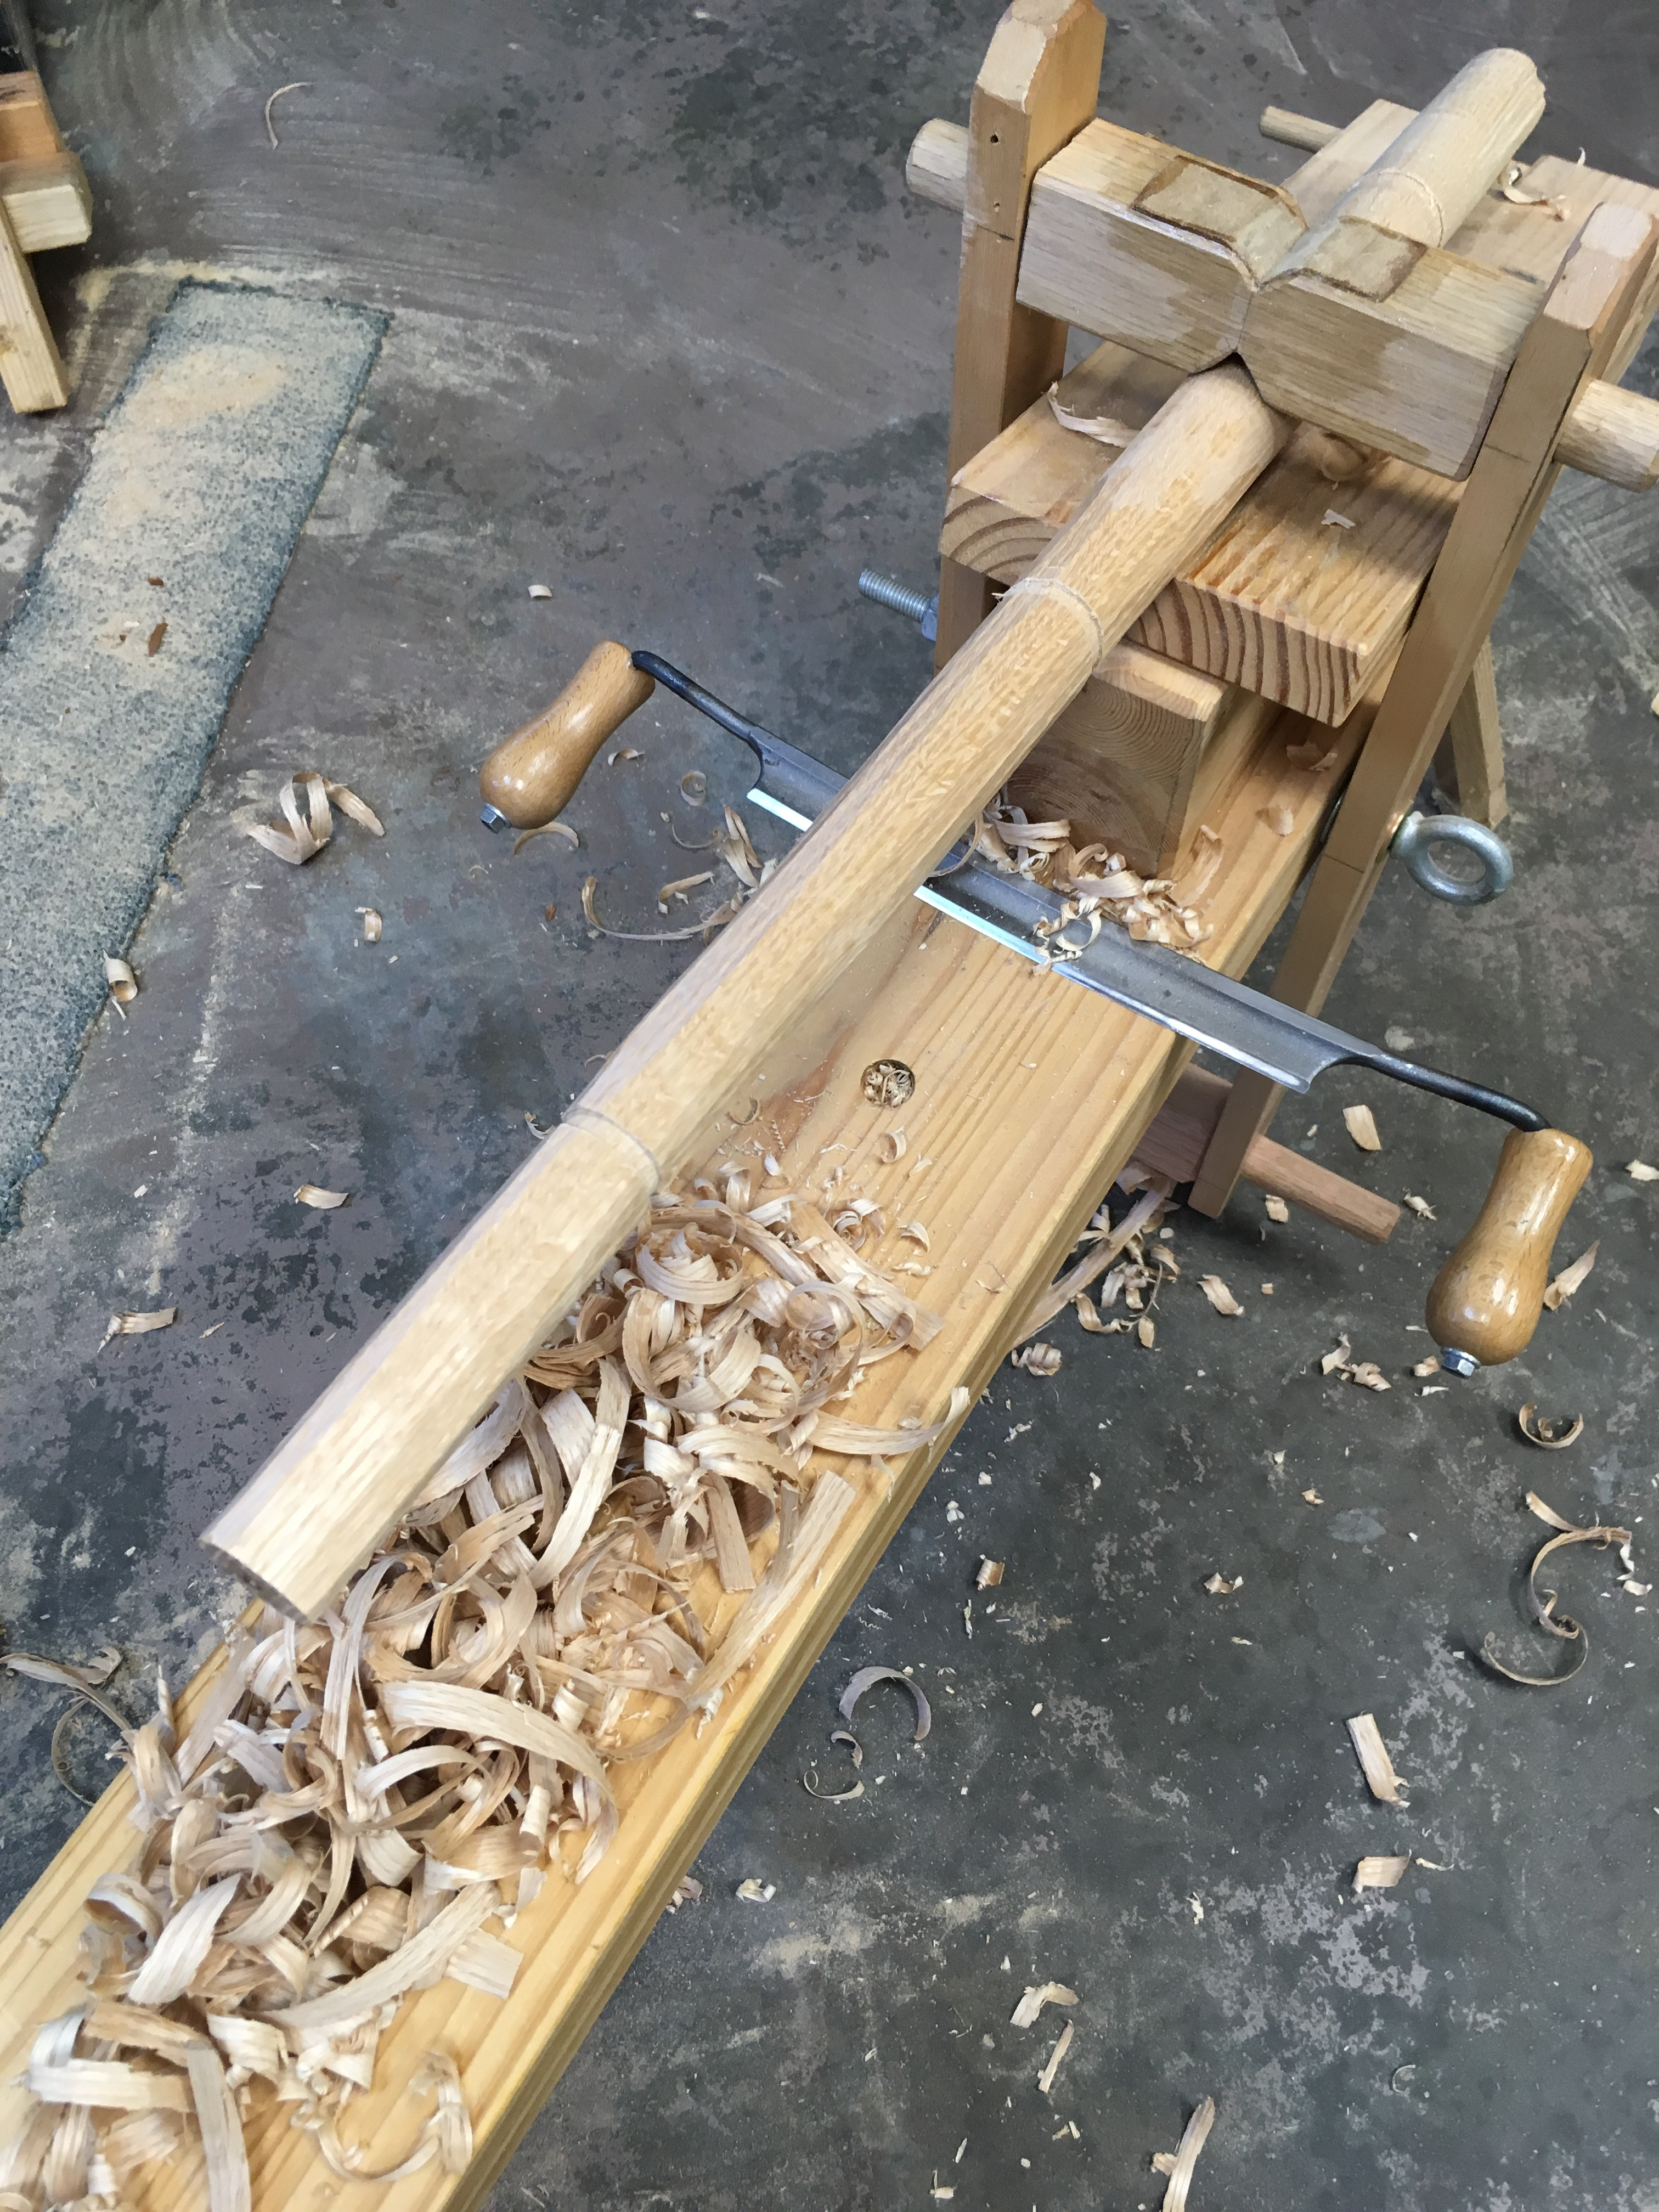
The next step was to take the leg stock to the shaving horse and knock off the corners to bring them to a rough round. The more material I can hog off with the drawknife the easier the lathe work will be.
The first leg took more a ridiculously long time on the lathe. There is a lot of material to remove. Another issue was that this thin leg tends to flex and vibrate on the lathe. Supporting the leg with my off hand helps, but makes controlling the tool a little difficult. Taking very light cuts works to an extent, but drastically adds to the completion time. Riding the bevel with a good bit of pressure seems to work really well. Although and laps in concentration will result in either a deep dig into the work or chatter mark. Ultimately, a combustion of all three methods is what it takes to get the job done.
In an effort to reduce the amount of material that needed to be removed at the lathe I came up with a process that involved a little more time at the shaving horse.
First, I would turn the blank round and mark out for the largest diameters and cut those in with a parting tool.
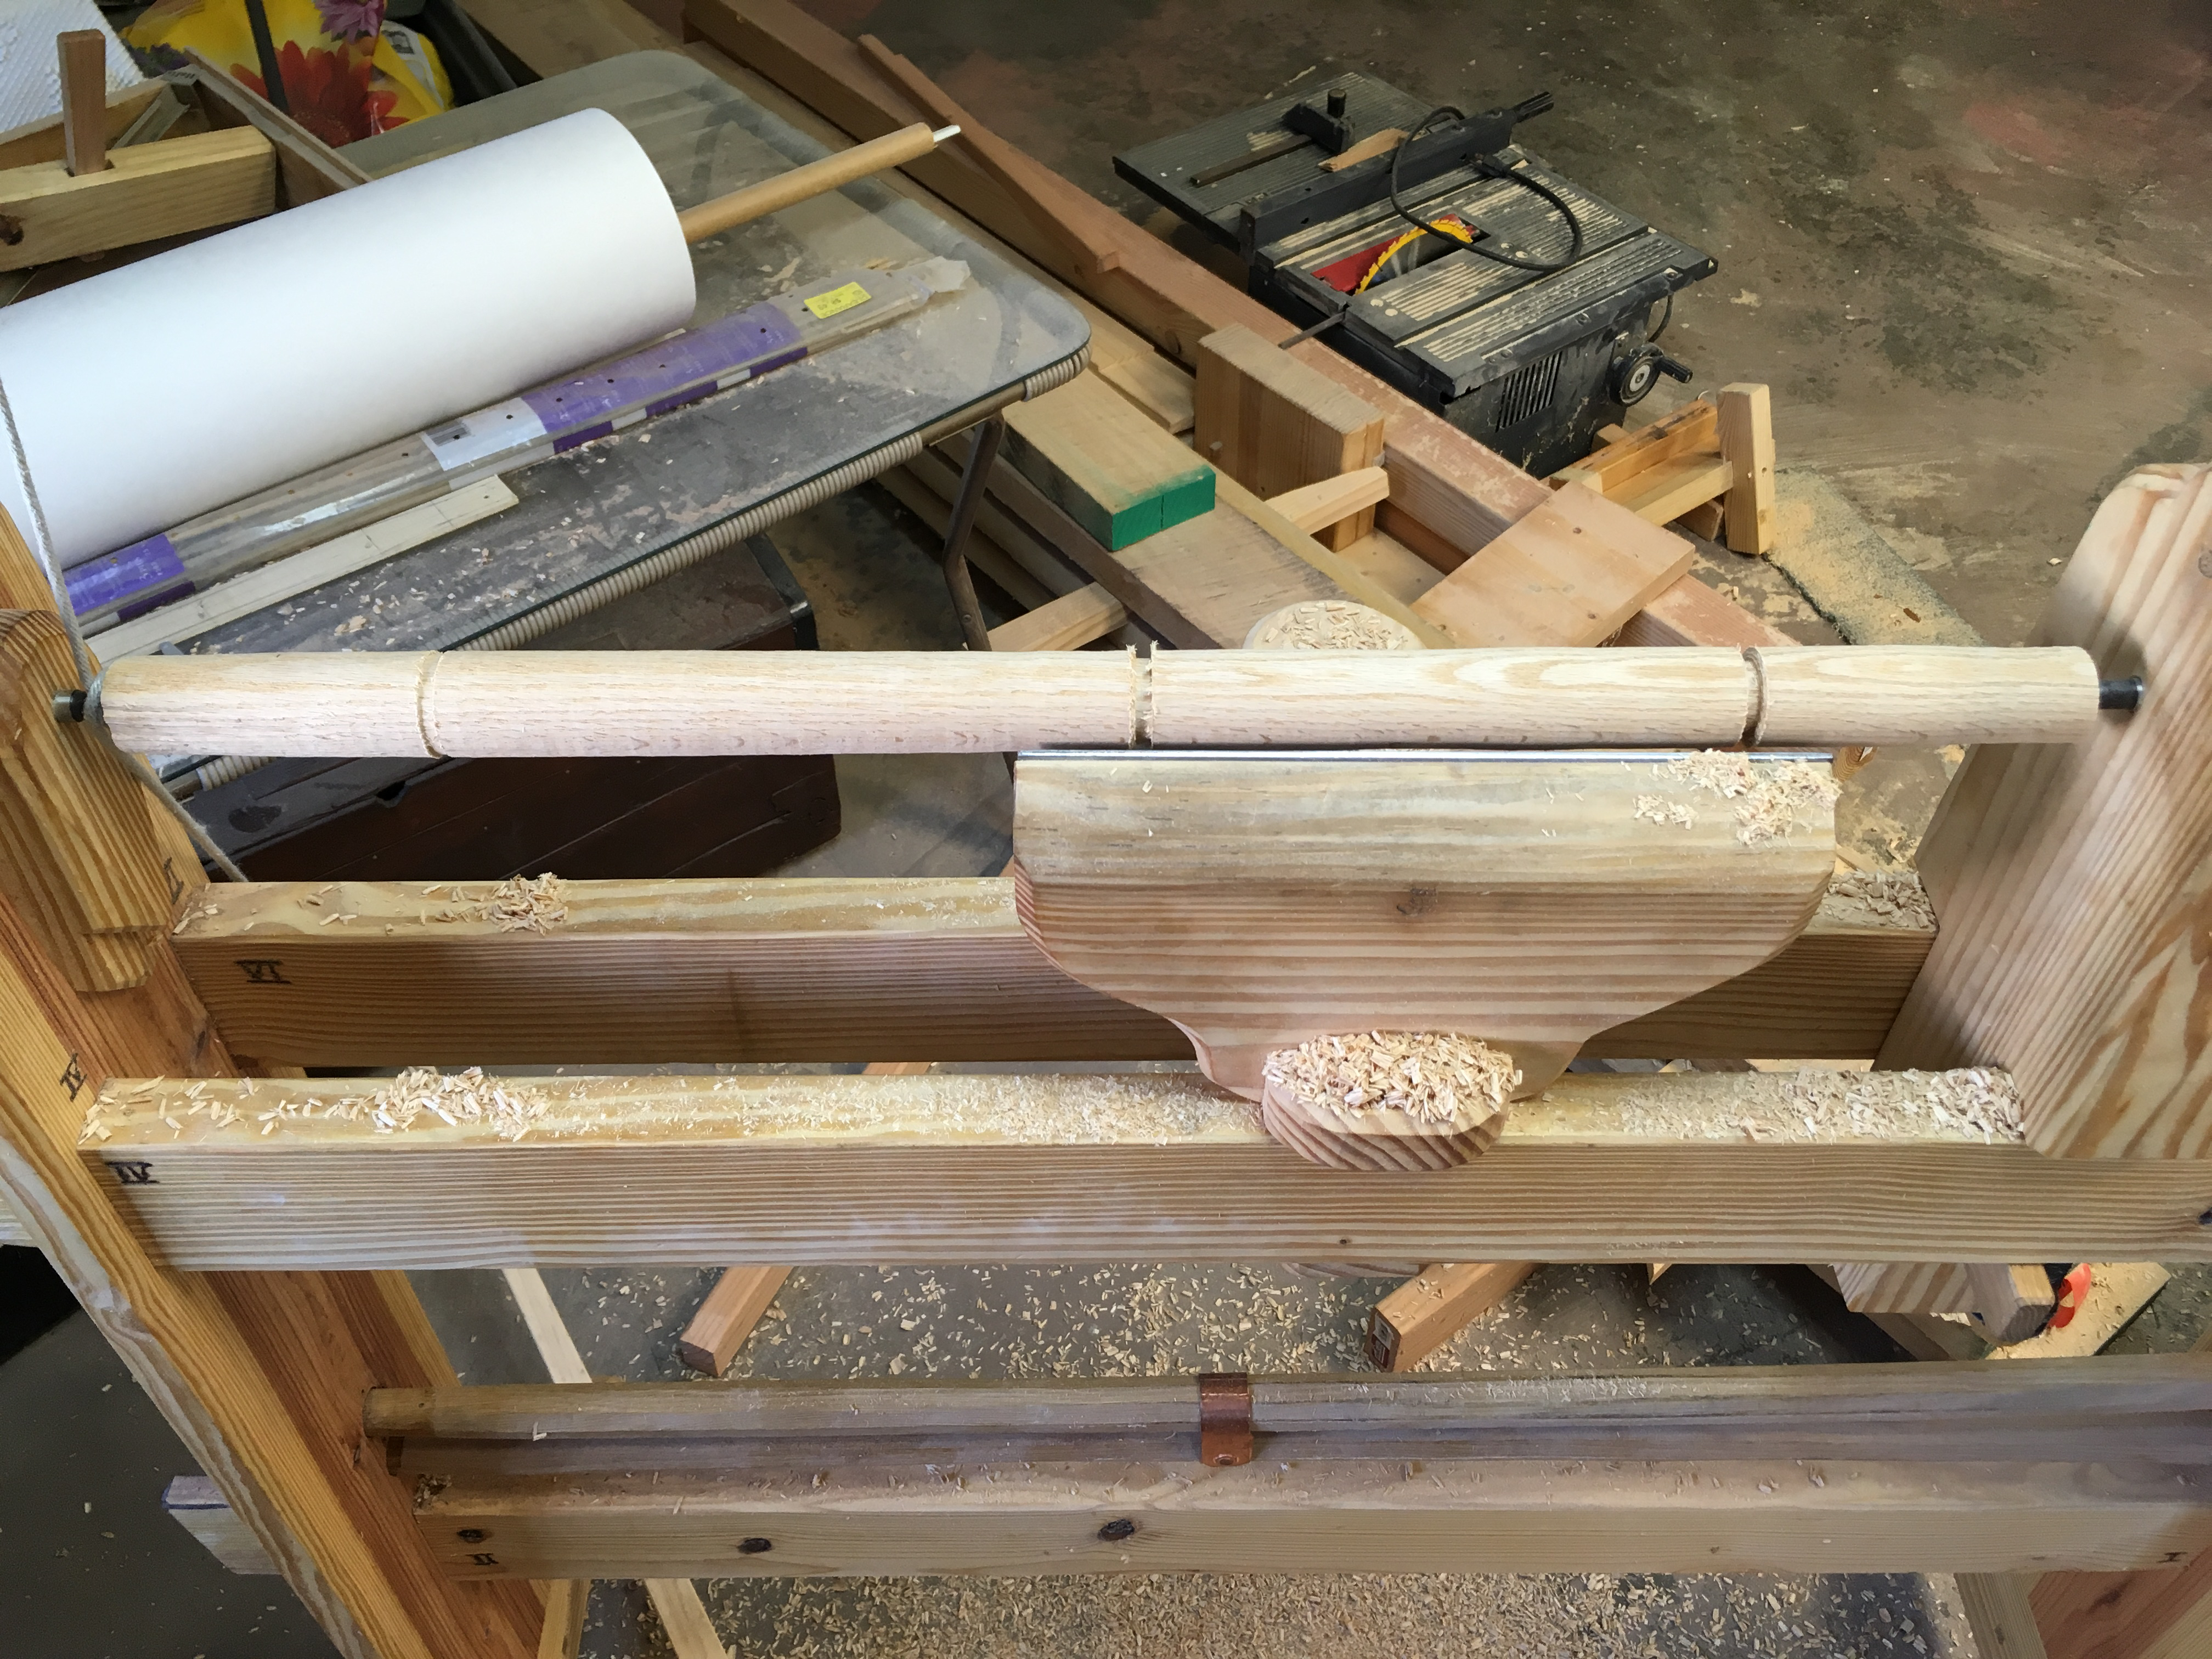
Second, I removed the blank from the lathe and took it back to the shaving horse. Removing the bulk of the waste.
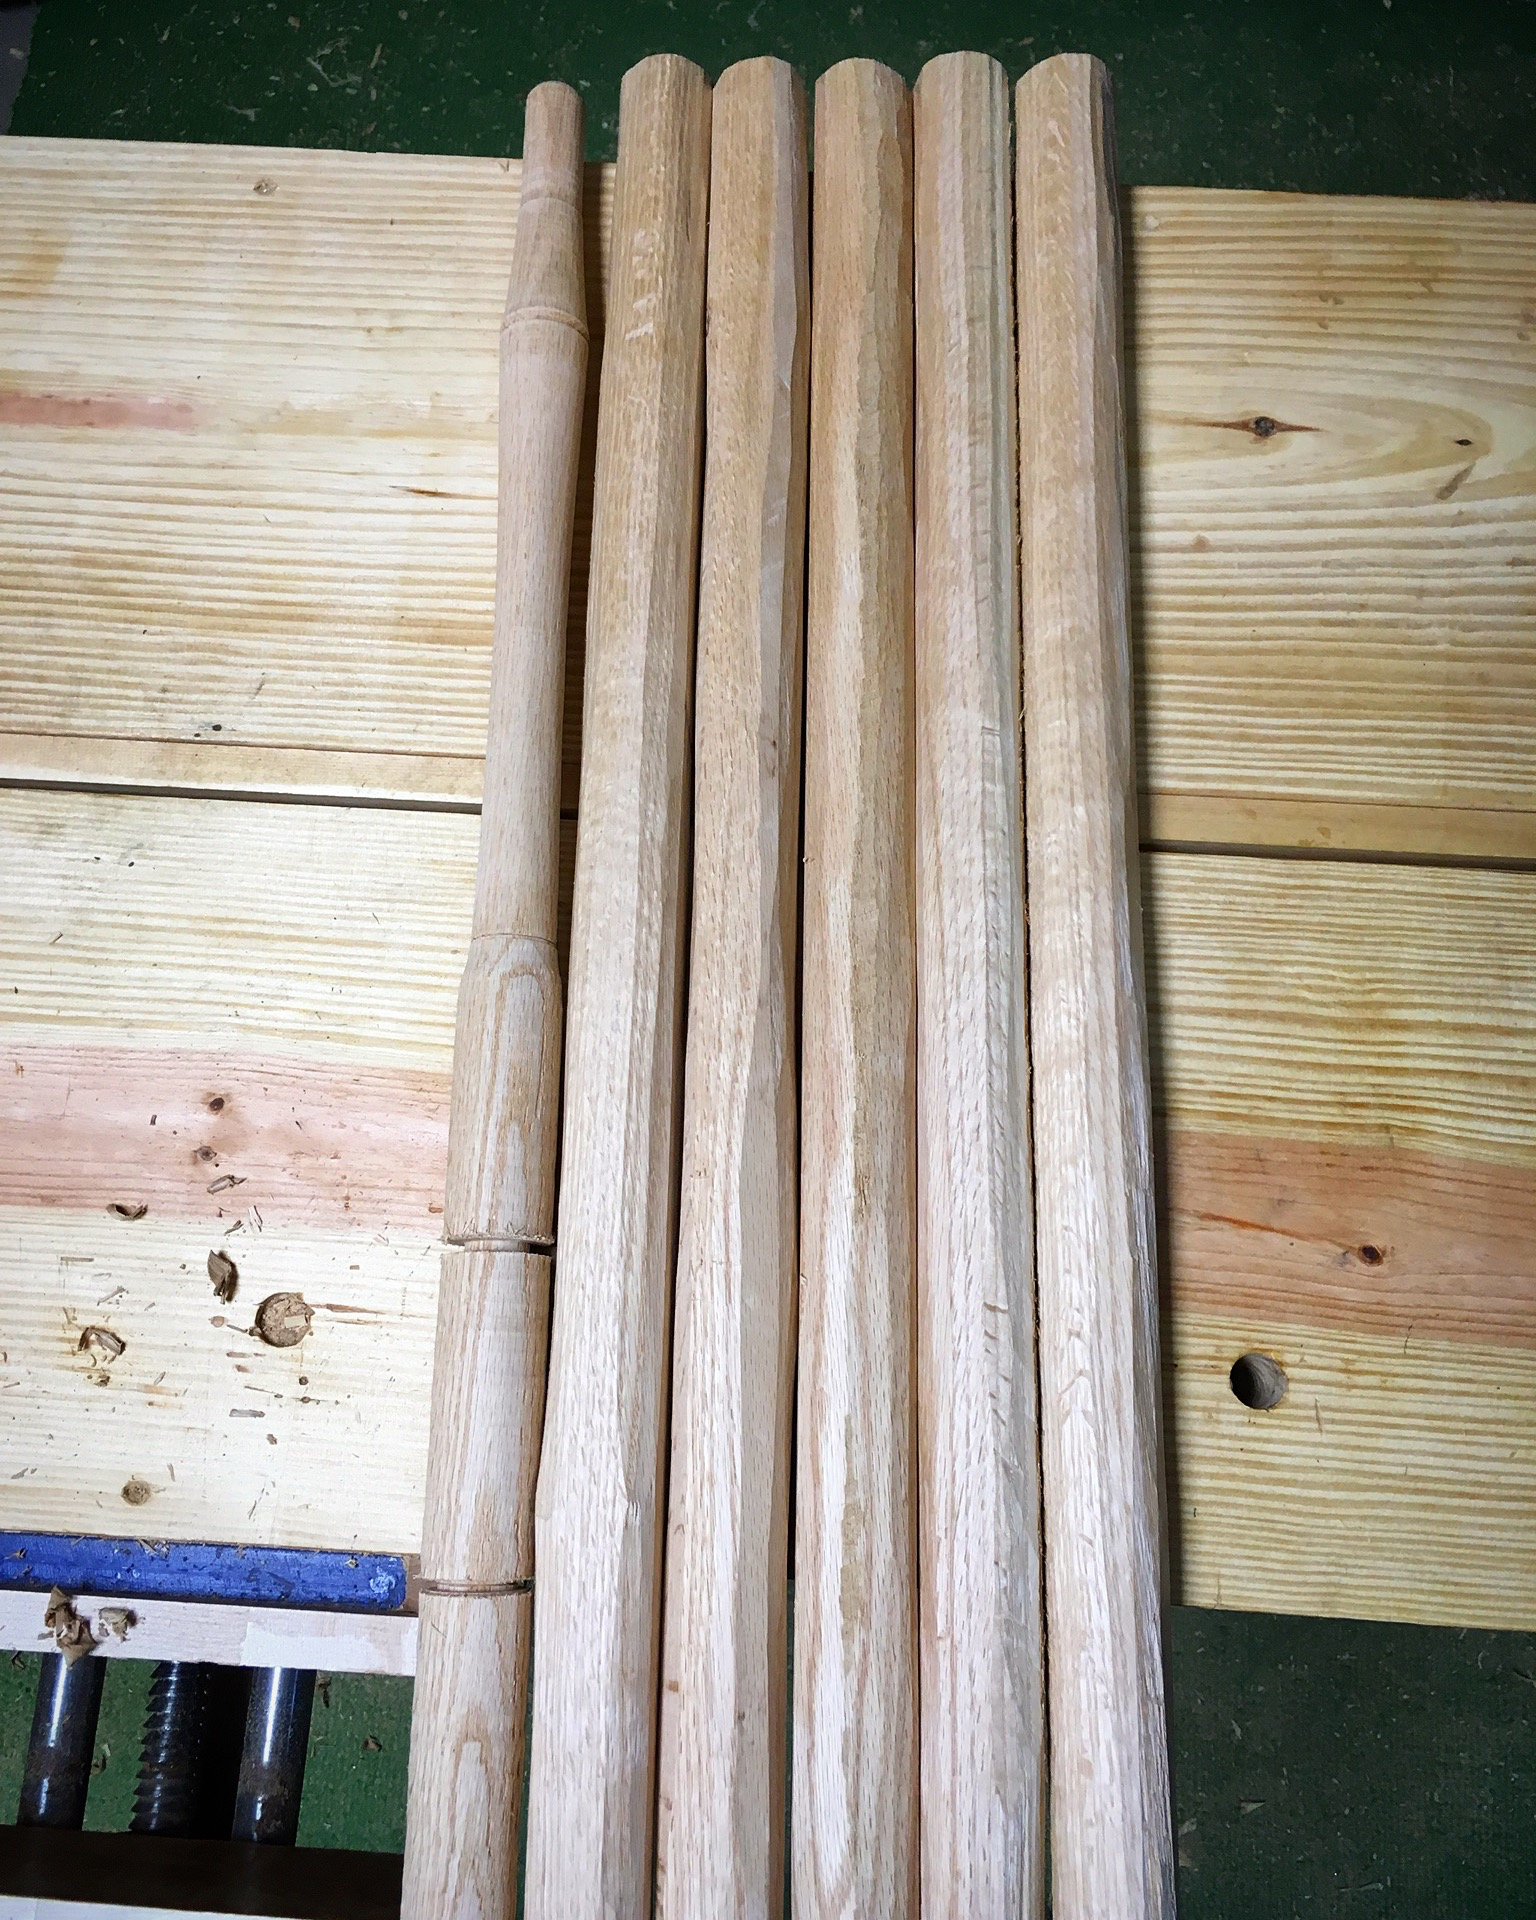
Finally, I returned the blank to the lathe and completed the turning.

The leg design is simple, but I struggled with it. The sweeping curves are a tricky thing to execute. My first attempts looked more like “V’s” than gentle curves. Thankfully I received a tip on Instagram from @bwwoodcraft. Her tip was to set the depth of curve and then focus on the height of the curve not the depth. Worked like a charm.
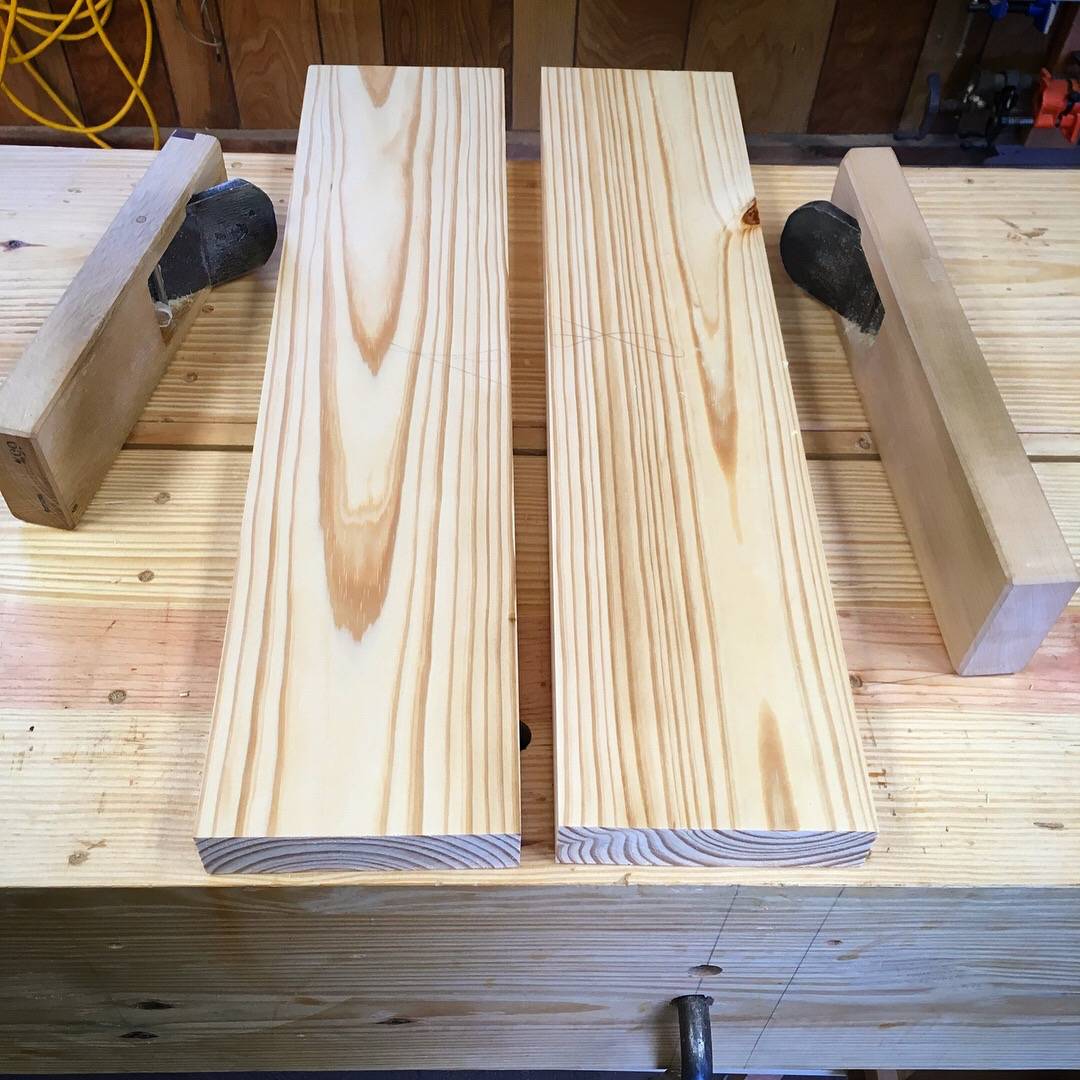
With the legs completed, I turned my attention to the tops. These tops are from southern yellow pine. Once they were cut to length I planed them flat and square.
Then laid out for the boring the mortises for the legs.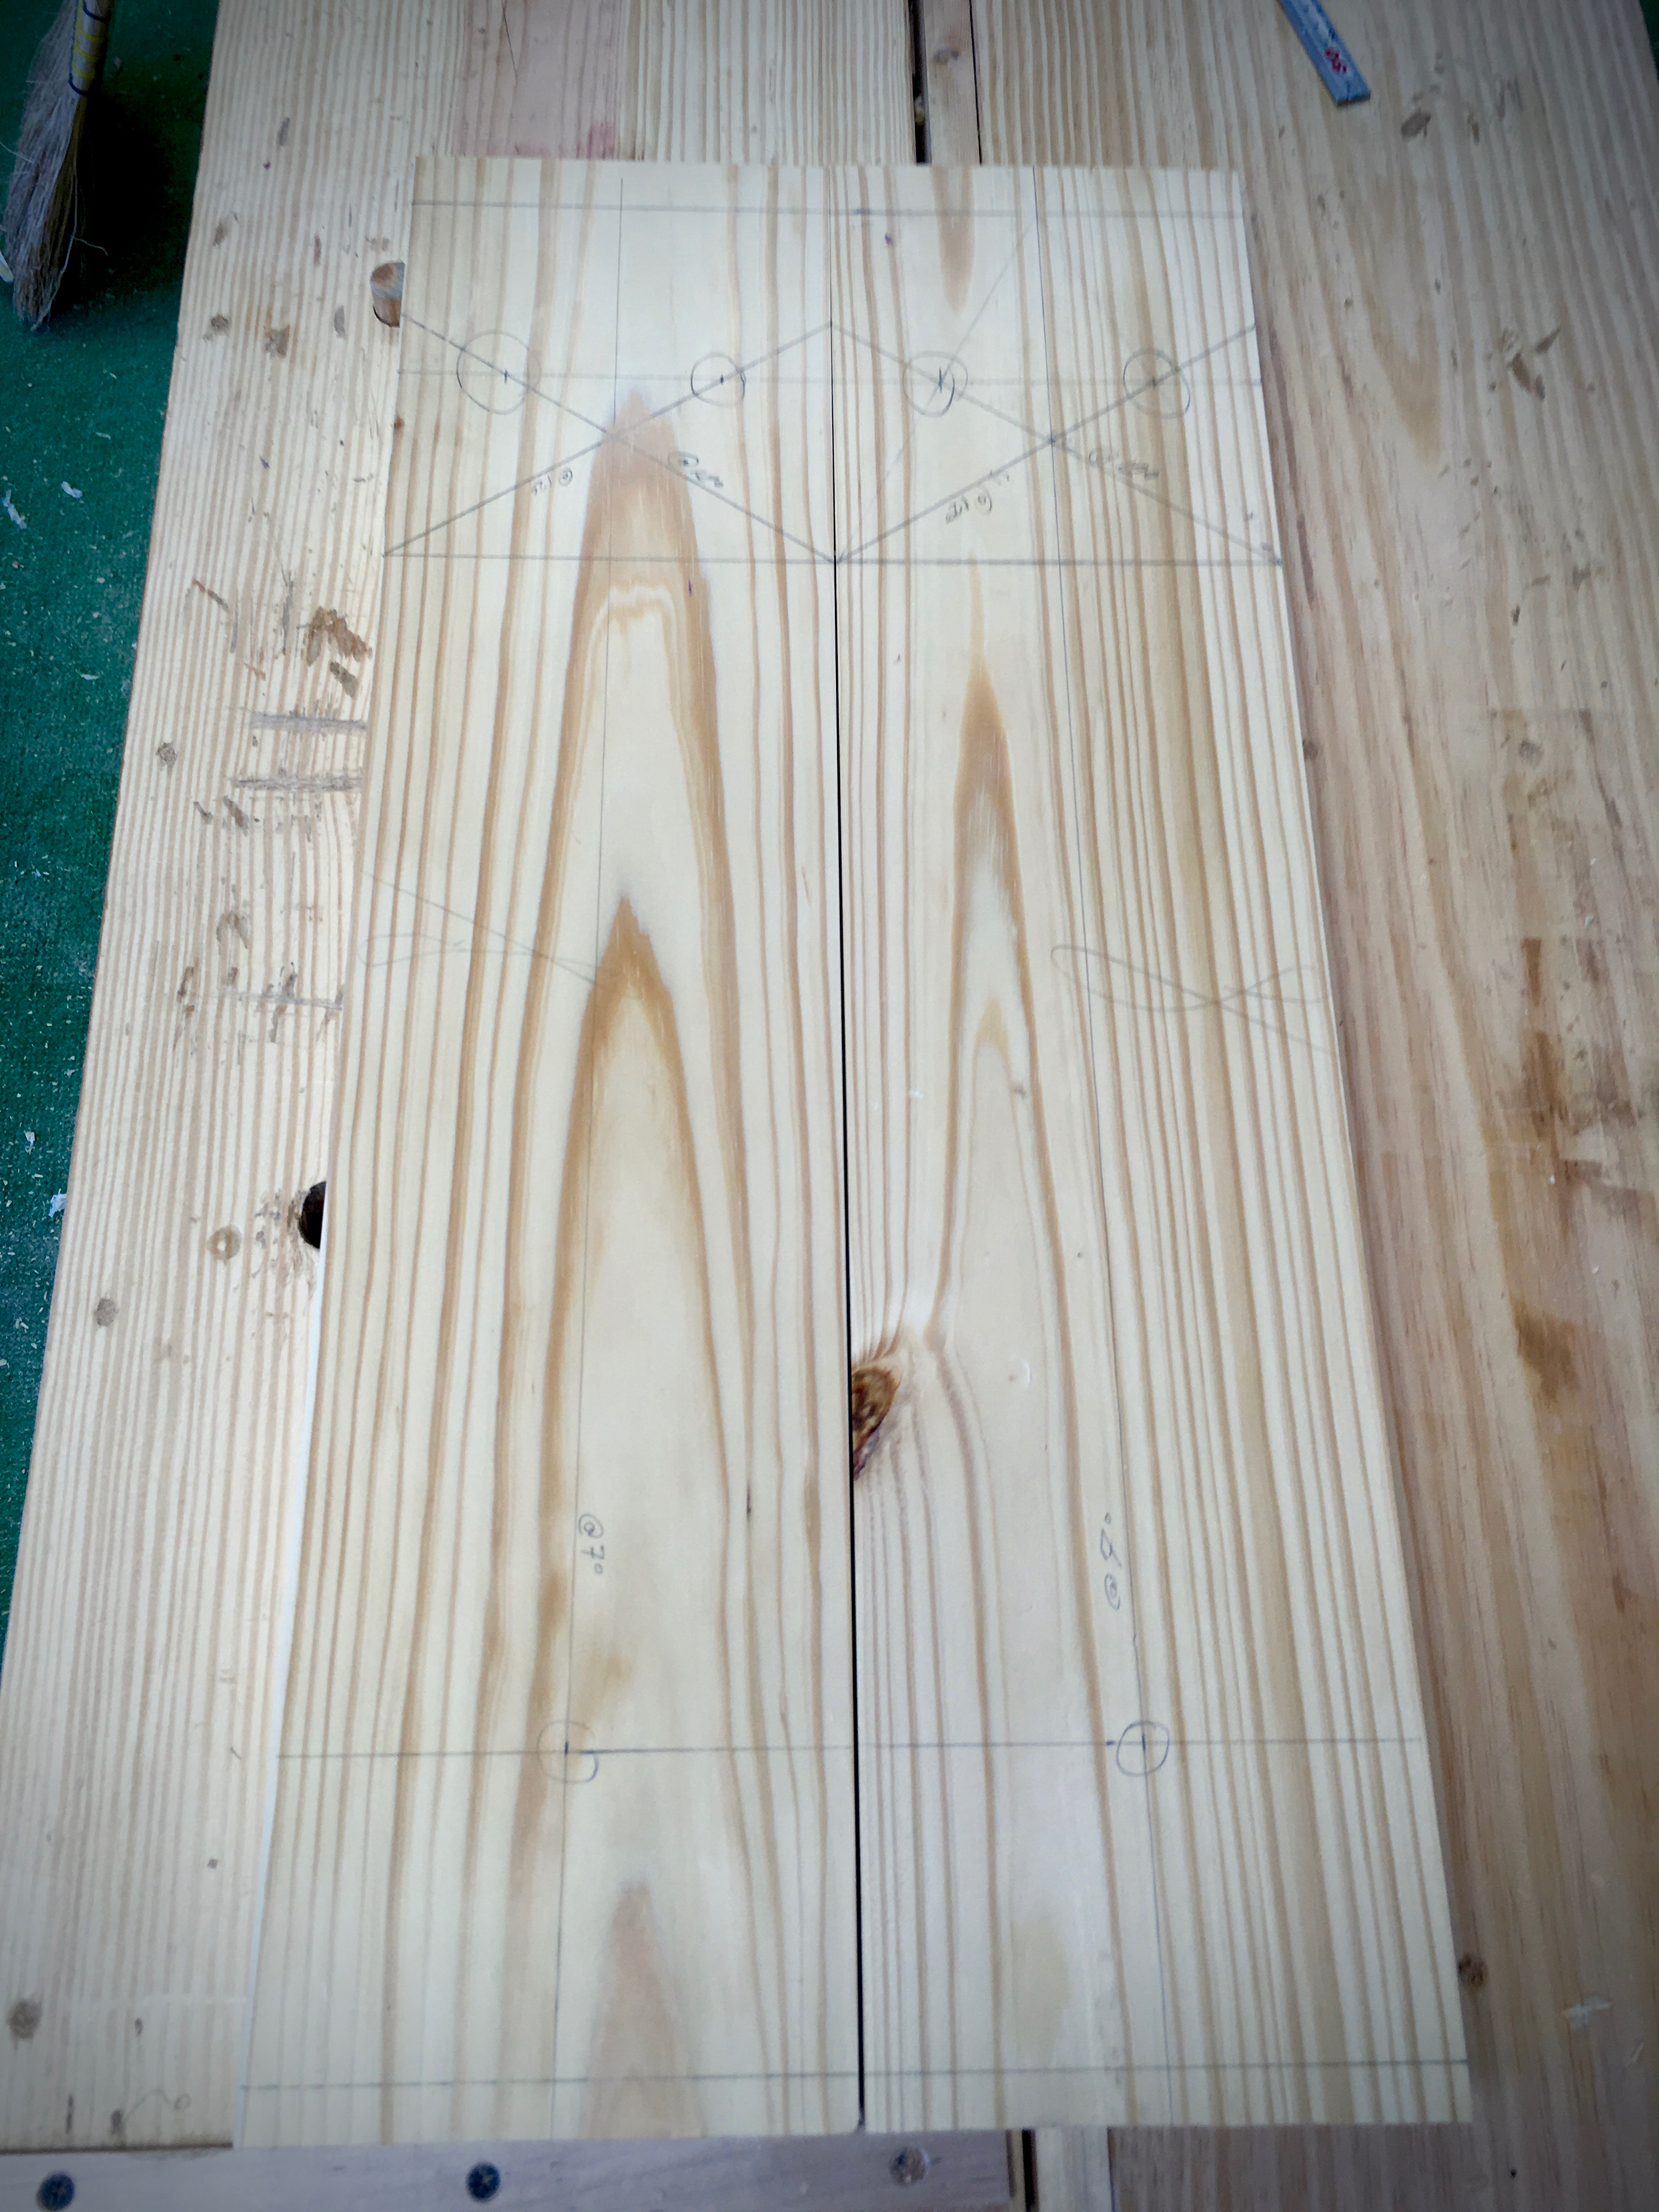
And just like that, two trestles are legged up.
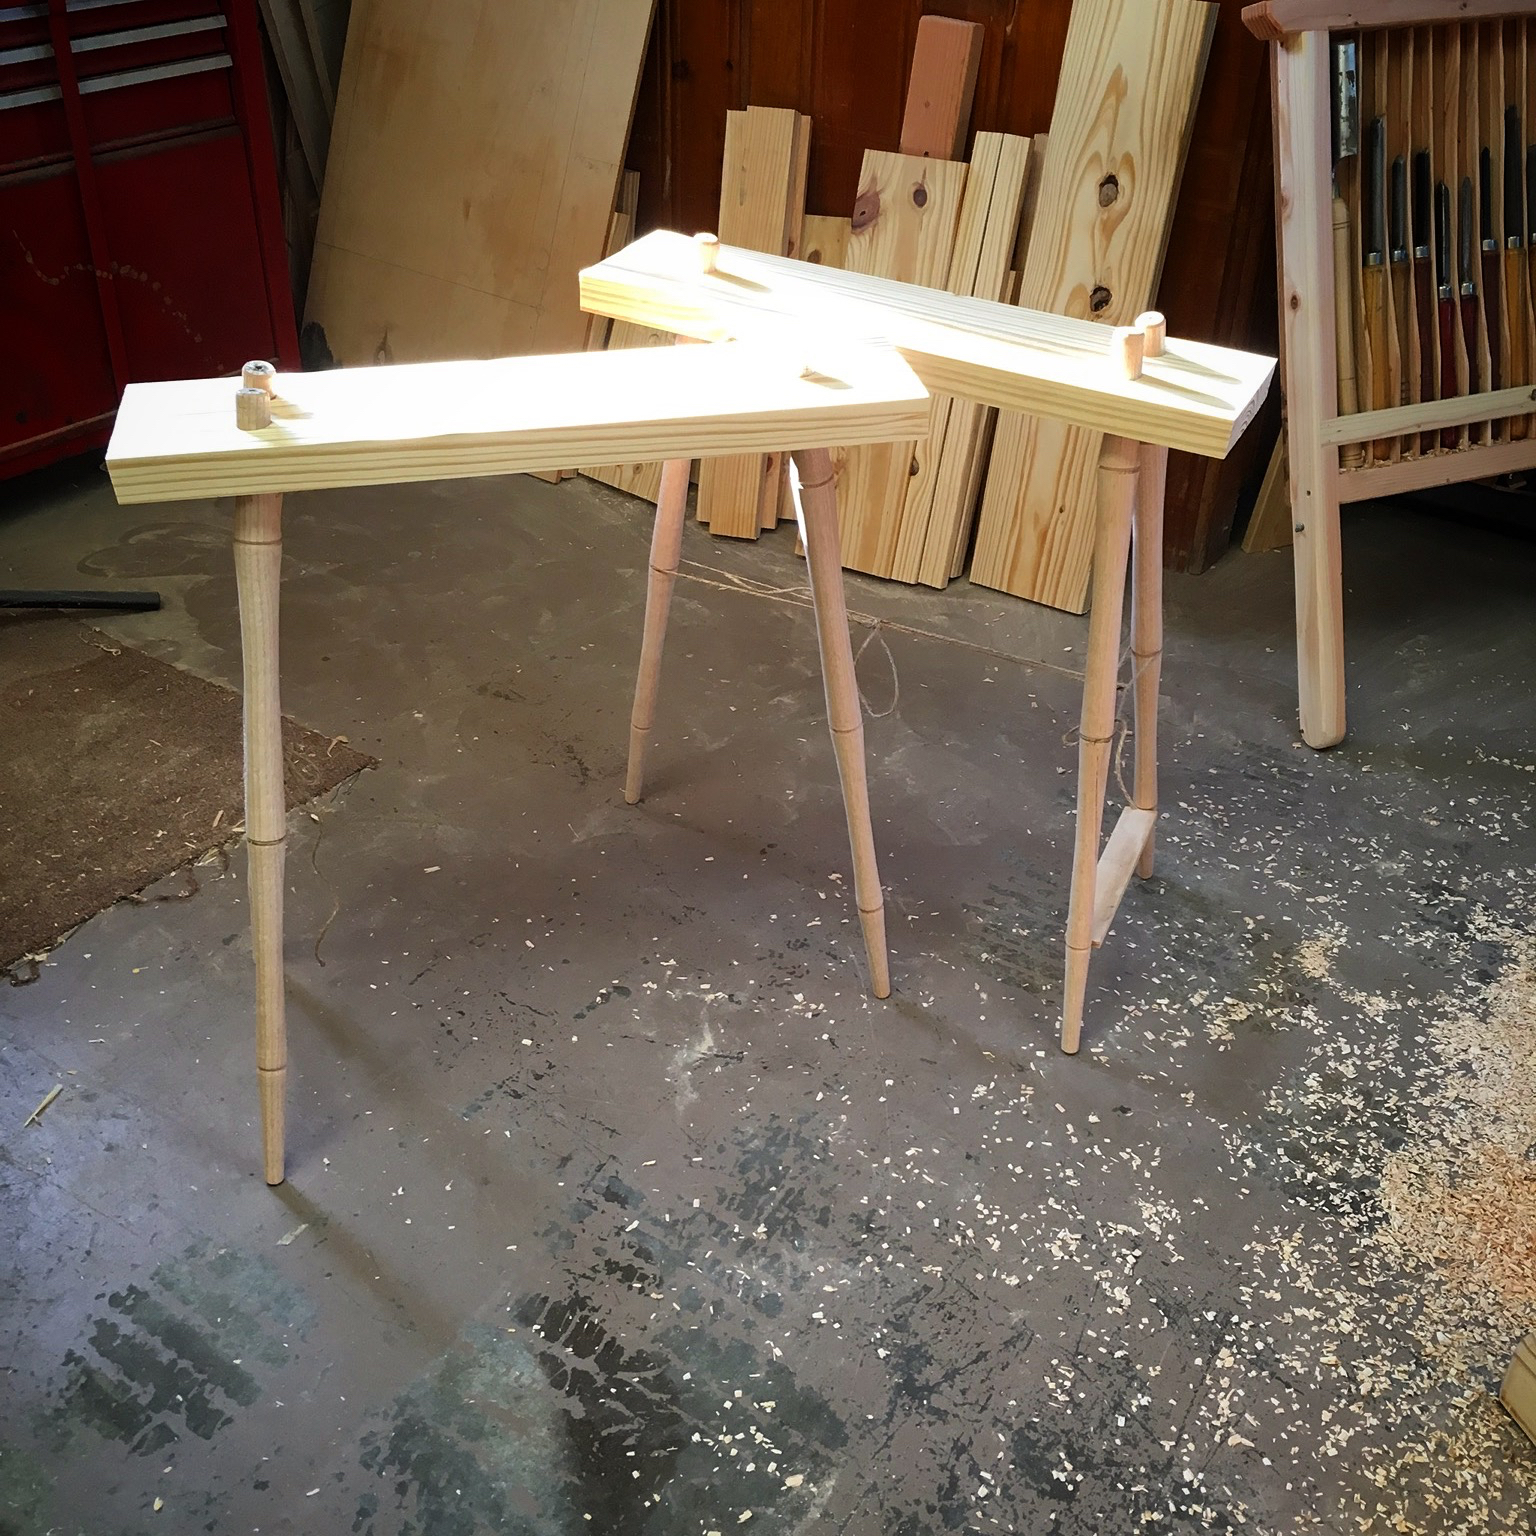
This coming week I’ll work on the stretchers and hopefully get these trestles assembled, glued and wedged.

Pingback: Sewing Table-Part 1 | HILLBILLY DAIKU
“Manager happy, me get more time in shop” said chief Solar Eclipse last weekend in the drummer council! 😀 😀
LOL…she’s not happy yet.
Pingback: Sewing Table-Part 3 | HILLBILLY DAIKU
Pingback: Sewing Table-Part 3 | HILLBILLY DAIKU