
 Wow, I’m way behind on updating this blog about the sewing table build. Apologies, but time has a way of sneaking past a person.
My last post left off with the trestles legged up but in need of stretchers. My design calls for a short stretcher spanning the leg pair and a long stretcher that ties them to the single leg at the other end of the trestle. Nothing too fancy. Just a continuation of the bamboo theme used in the legs. The short stretcher was pretty simple to turn. The long stretcher was a bit more challenging.
Both stretchers are made from white oak and are about 1-1/8″ (32mm) at their largest diameters, 3/4″ (19mm) at their smallest and have 1/2″ (12mm) tenons. That’s pretty thin for such a long stretcher and I found myself fighting a good bit of vibration and flexing while turning the long stretchers. After some trial and error, I found that riding the bevel with a bit more pressure worked for most of the turning and supporting the workpiece with my off hand helped with the finer cuts. I also had to stay on top of my sharpening and keep the tools as sharp as possible. This meant stopping and honing several times while turning each of the long stretchers.
Once I had the stretchers turned, installing them was a simple matter if boring a few holes.

The next task was to shape the trestle tops. I took a bit of an ad hoc approach for this. I only had a couple of requirements in mind for the shape. One was to visually lighten the tops. The other was to eliminate any hard edges. The bamboo theme of the undercarriage called for a more organic look and I also knew that I would be painting them and paint adheres better to rounded edges. So I pulled out a plane and my spokeshave and began shaping until I was satisfied with the look. With one done, I simply matched the second to the first.

The trestles were then disassembled. All of the parts were given the once over. Slots for wedges were cut into the leg tenons. and wedges were prepared. I glued, assembled and wedged the trestles.

The top is going to be from a slab of birch plywood. Yea I know, just go with it. Anyway, now that I have the ability to make wooden screws, I thought I would give that a try for attaching the this top. First I wanted to make sure the plywood would take and hold threads. I knocked up a quick sample (see photo above). The plywood took the threads well and it is surprising how tightly it clamps down. With the clamping method verified, I turned a couple of handles and threaded them.

My love/hate relationship with plywood continues with the top for this little table. I wanted to keep the top as thin as possible, but it also needs to remain dead flat. Management uses a cutting mat and rotary cutter to cut blocks of cloth for quilts. Often times cutting around a template. Any undulations in the top would make that cutting task frustrating at best. Since I will also be painting this table, 3/4″ (19mm) solid core birch plywood seemed the logical choice.
The top didn’t require a lot of work. I started with a 30″ (762mm) x 48″ (1219mm) sheet and ripped it to width to match the proportions that I had designed around. My old job site table saw is too small for sheet goods. So I clamped the ply to my workbench, pulled out my 300mm ryoba and went to work.
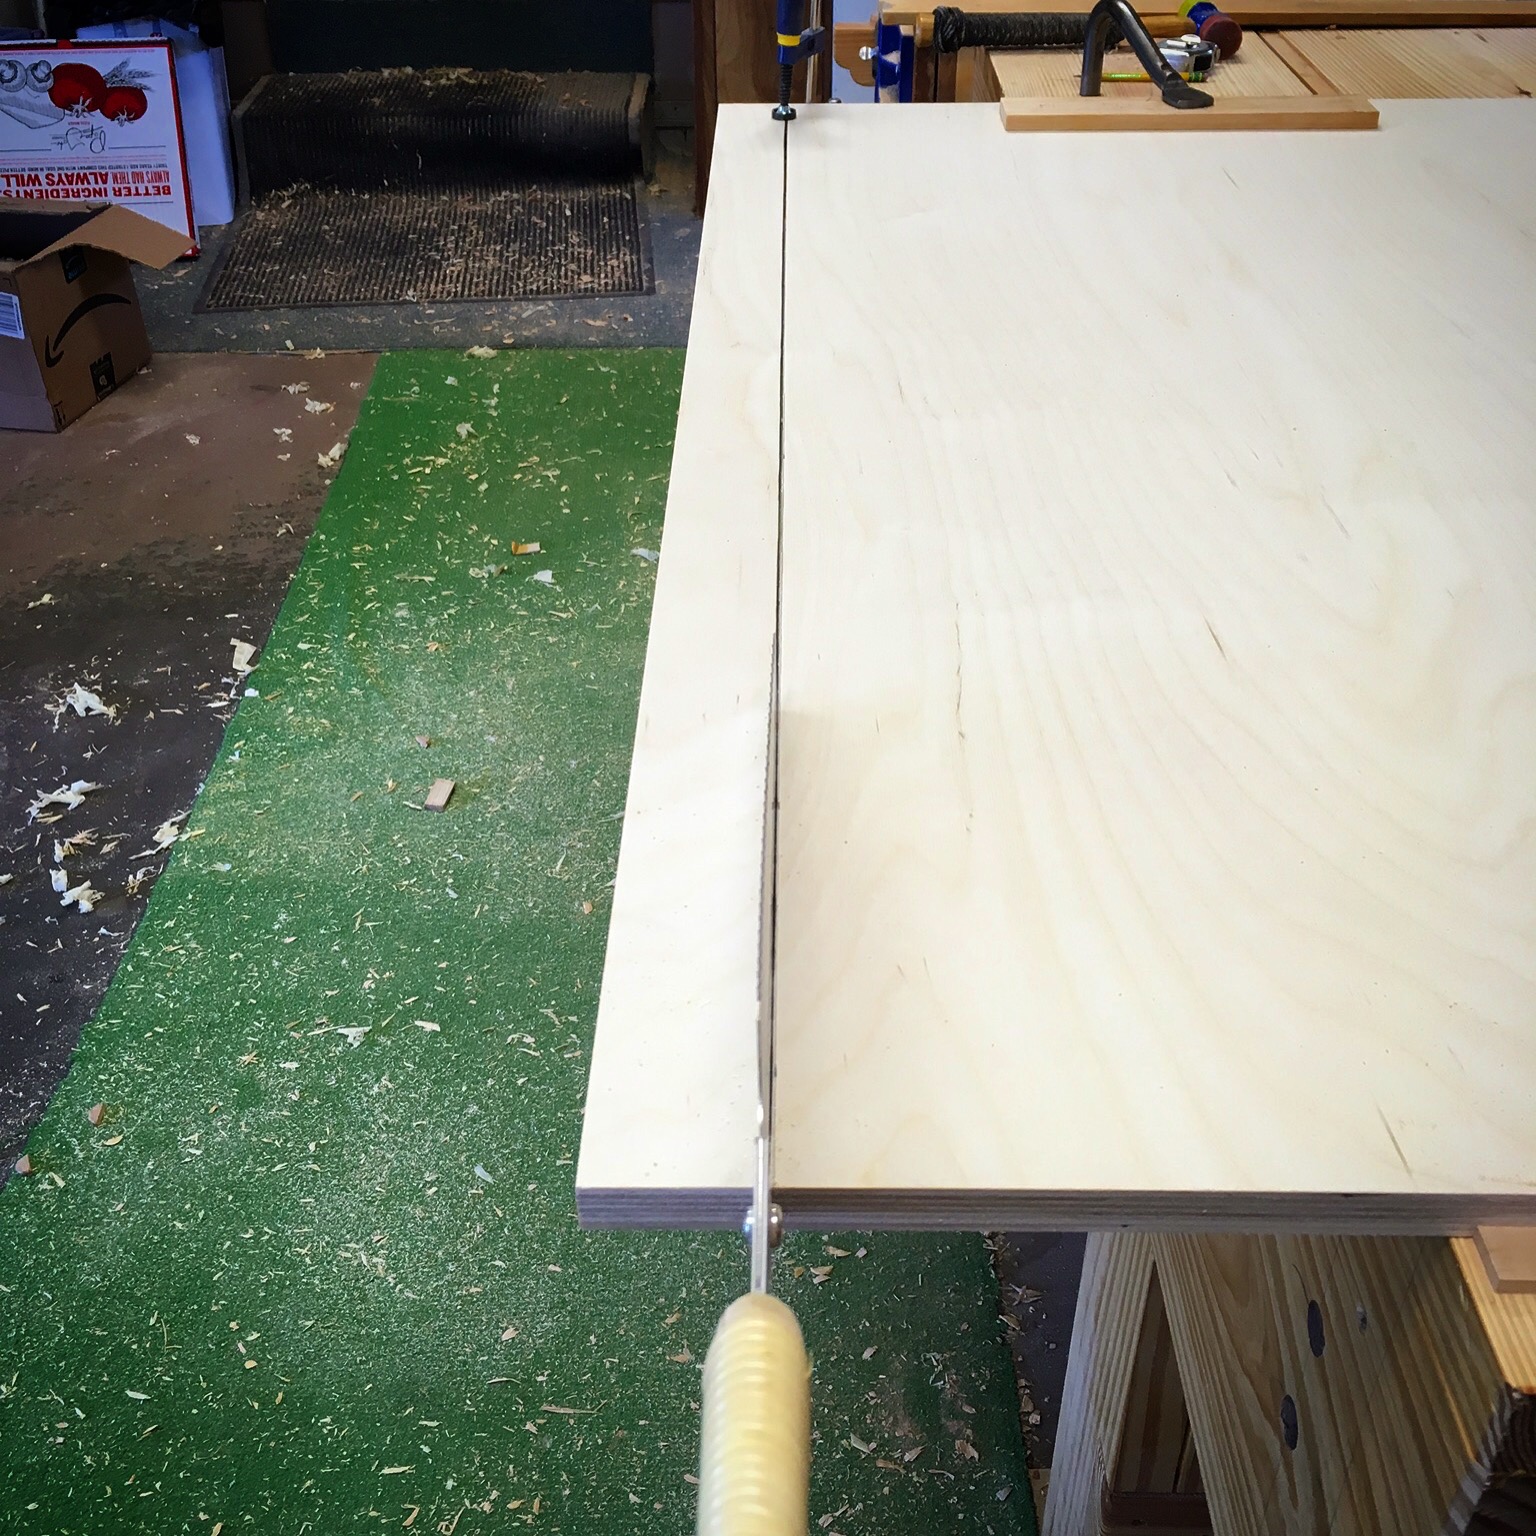
Once the top was sized, I rounded off the corners, used a plane and spokeshave to create a bullnose edge around the perimeter and located, drilled and tapped the holes for securing the top to the trestles with the threaded handles.

Almost time for a new adventure in milk paint.

Pingback: Sewing Table-Part 2 | HILLBILLY DAIKU
The work you do just to be in Mrs Management good graces!!! 😀 :D:D
Exactly! You would think the rewards would be better. 😉
Greg, looks great! You are a one man spindle factory these days!!
Thanks Brian. I’m having a lot of fun with the lathe…maybe a bit too much.
Pingback: Sewing Table-Part 4-Complete | HILLBILLY DAIKU