 Today was basically a repeat of yesterday. I chopped the mortises in the rear cross rails and then fit the corresponding post tenons.
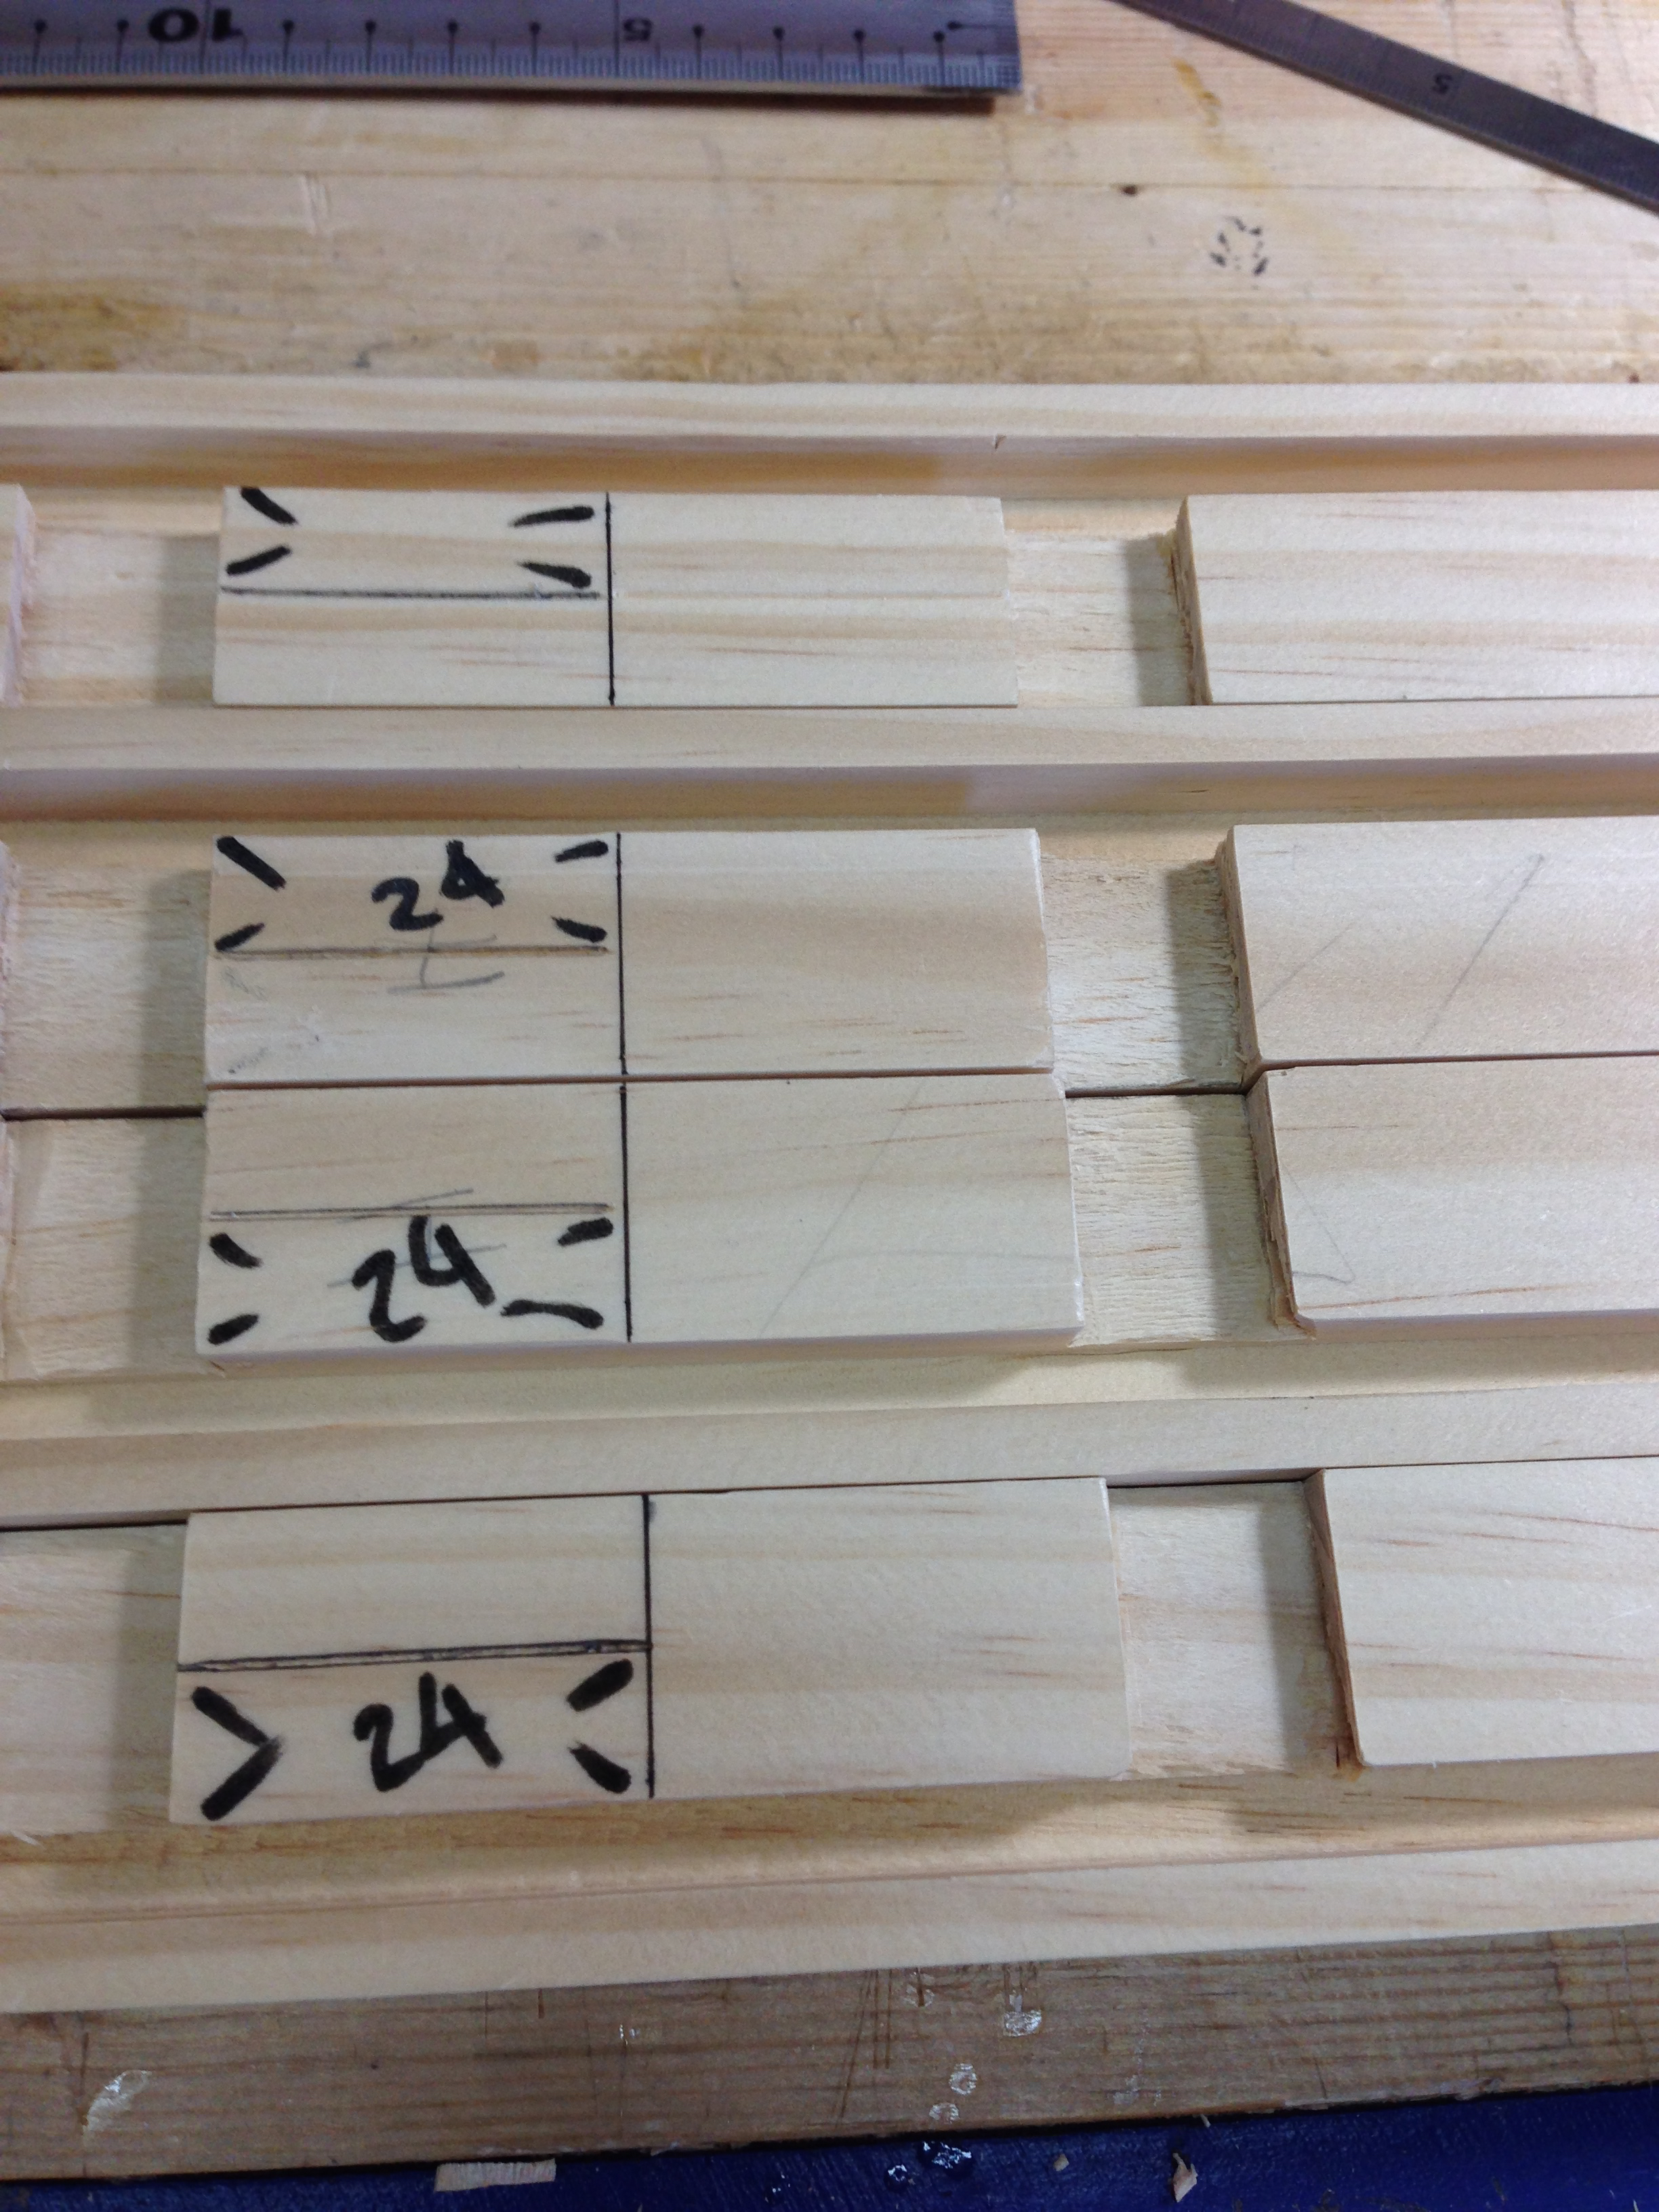
One additional operation today was to layout and chop the handle rail mortises. Nothing special about that other than to ensure they line up from post to post. This is easily accomplished by ganging the posts together and marking them all at the same time. The handle rail mortises were the last of the mortises that are required for this HB tansu.
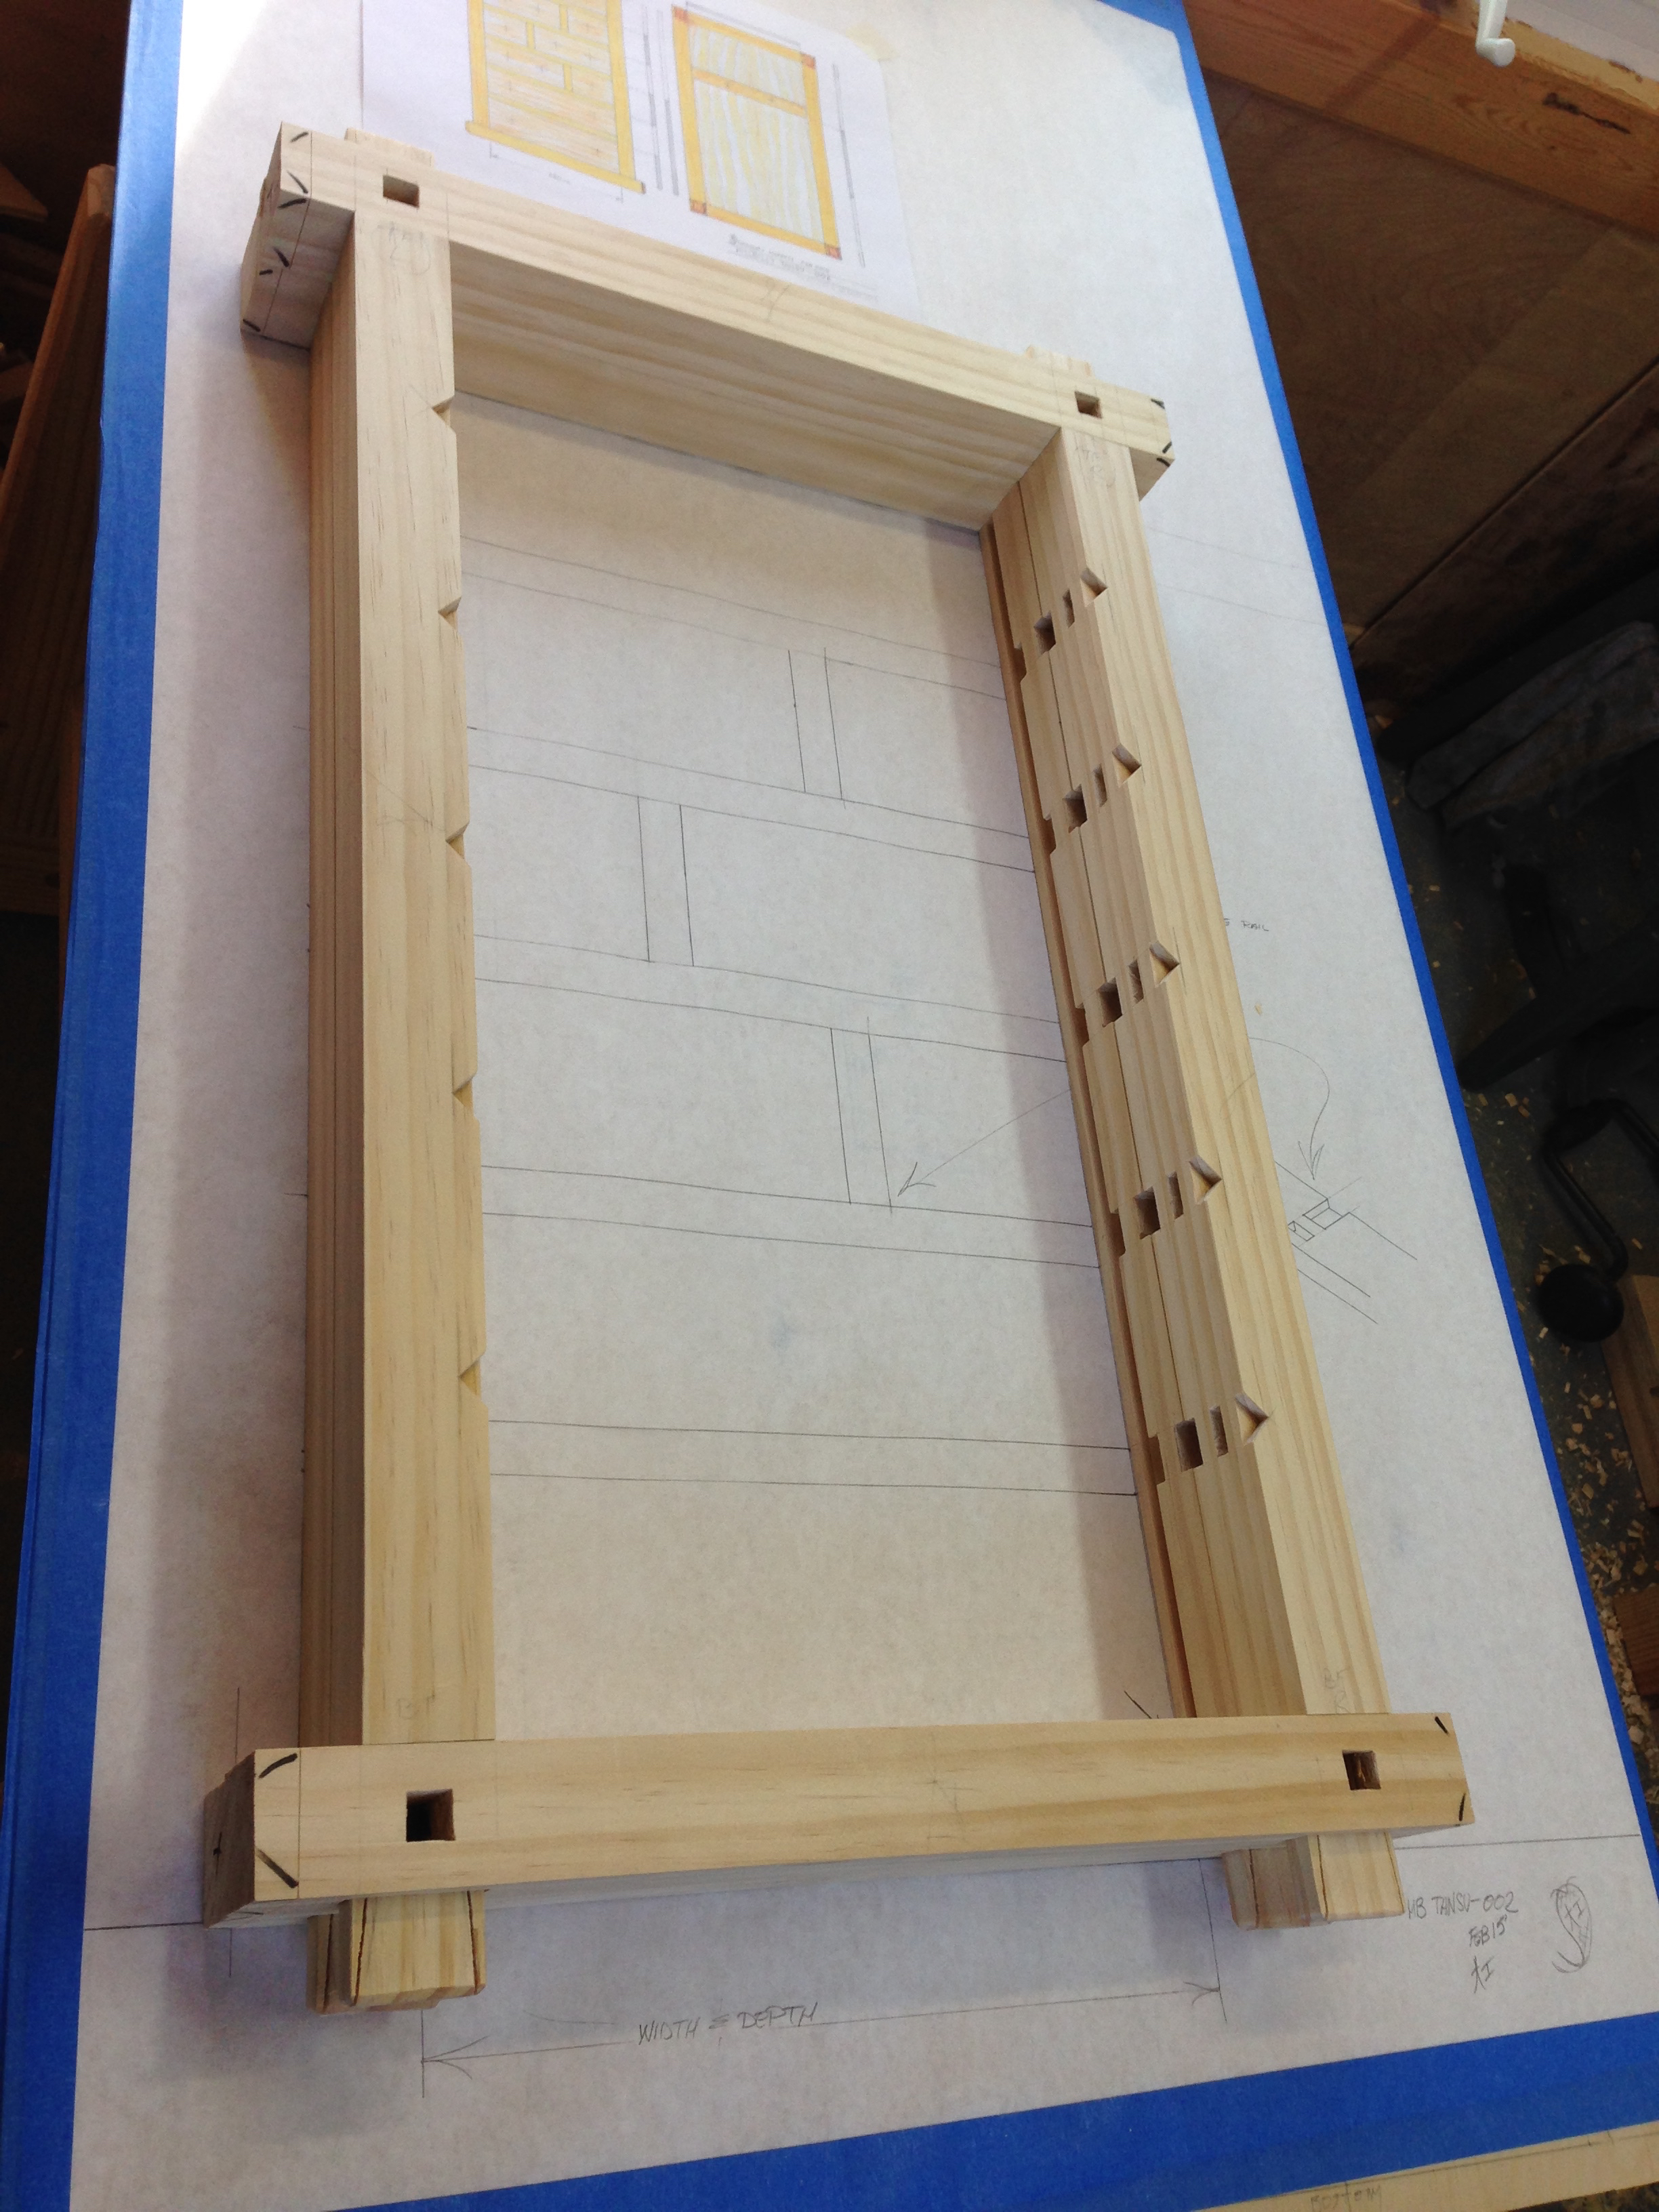
A dry fit of the front and rear frame assemblies allowed me to check for squareness. That all checked out fine. It also allowed me to verify that the frames were identical in size as well as check them against the full-size drawing. Happily those two points checked out just fine as well. I can’t say this enough, a full-size shop drawing is invaluable.

If the weather continues with the warming trend, I’ll be able to start work on the front-rear rails that tie these frame assemblies together this week. There is a long way to go but every little bit gets me closer to the finish line.

Pingback: HB Tansu #3-Progress 3 | GREG MERRITT – BY MY OWN HANDS
Hi Greg, ca you give me a couple of rough dimensions, I’m have trouble figuring out the size of the project. I thought it was fairly large but this post made me think it was much smaller.
Sure, it’s about 24″(H)x14″(W)x14″(D). So it’s not very large. About the size of a standard bedside table.
Greg
Hi Greg
Looking good, front and back frames do indeed look identical,
How do you acurately produce the triangular cut outs in the front of the frames. Apologise if you have explained in an earlier post
Thanks David. When I first decided to use the bird’s beak detail I thought it was going to be difficult. Cutting that detail is actually one of the easier operations on this build. I covered the process in the first part of the linked post. Hope that will answer your question. If not just let me know.
Greg
Thanks Greg that covers how you mark them out but how is the waste removed , as far as I can tell the cutouts are blind can you use a saw or are just chisels used
On the first two tansu I marked them out and then sawed what i could. Like with half-blind dovetails. Then pared with a chisel. On this latest tansu I used the knife to mark out the joint then pared with a chisel. Then deepened the wall with the knife and pared. I kept repeating this process until I was at depth. This method is actually quicker than trying to saw any of the waste. For the mating male portion its a knife wall and saw. I probably should write a post and shoot a video on making this joint. I’ve been really hesitant to post any “how to” when it comes to actual operations. The last thing I want to do is teach someone a bad habit. 😉
Thanks for that Greg, a video would be interesting if you ever get any spare time.
Pingback: HB Tansu #3-Progress 5 | GREG MERRITT – BY MY OWN HANDS