
 …and then there were three.
Almost every evening this week I was able to spend at least an hour or so in the shop. The sum total of that effort netted me two additional completed drawers. Not as much as I had hoped for, but progress all the same. All of these drawers are relatively small. So at first glance, small drawers should take less time. The reality is that a drawer is a drawer is a drawer. They all have four corners that require joinery and grooves for bottoms. Sure, very large drawers with additional dovetails will take more time. But average size drawers all eat up the same amount of time no matter the length or width.

I would like to draw your attention to the smallest drawer with a walnut front. This drawer is a little different and took a bit more time to execute. It is actually a removable pencil box with a sliding lid. Much like the other pencil boxes that I have made only with a slight variance in the joinery.
As I have worked on and used these tansu I have begun to think that some of the drawers should actually be treated as removable trays and/or boxes. I’m actually considering building a tansu with a separate removable case of drawers. It just seems to make sense that the drawers should be removable. Thus providing storage that can be taken to a table or similar. Worked out of and then stored away again in the tansu proper. Now I’m not saying that all of the drawers in a tansu should be this way, but maybe one or two key elements of a tansu. Anyway, long story long.
The smallest drawer with a walnut front will be a removable box with a sliding lid. So the joinery should reflect the fact that the box will be in full view when it is removed from the tansu. Lapped dovetails in the front and the rear. A sliding lid box is a simple thing to build and it’s also very easy to make a mess of it. So in an attempt to keep myself straight I first plowed both grooves in each side piece. One for the sliding lid and one for the captured birch ply bottom. I had one small scrap of walnut left that was just large enough to make the rear of the box. This was a one-shot deal.
The dovetails were marked out and sawed as per the usual. The tricky bit is to get the rear piece to set flush with the bottom of the lid groove. Since the groove is already in place, it’s very tempting to drop the saw into the groove. Don’t! Trust me on this. A gap is what you will end up with. Instead I sawed as close to the edge as I could and then trimmed the remain sliver of wood away when I chopped out the other waste.
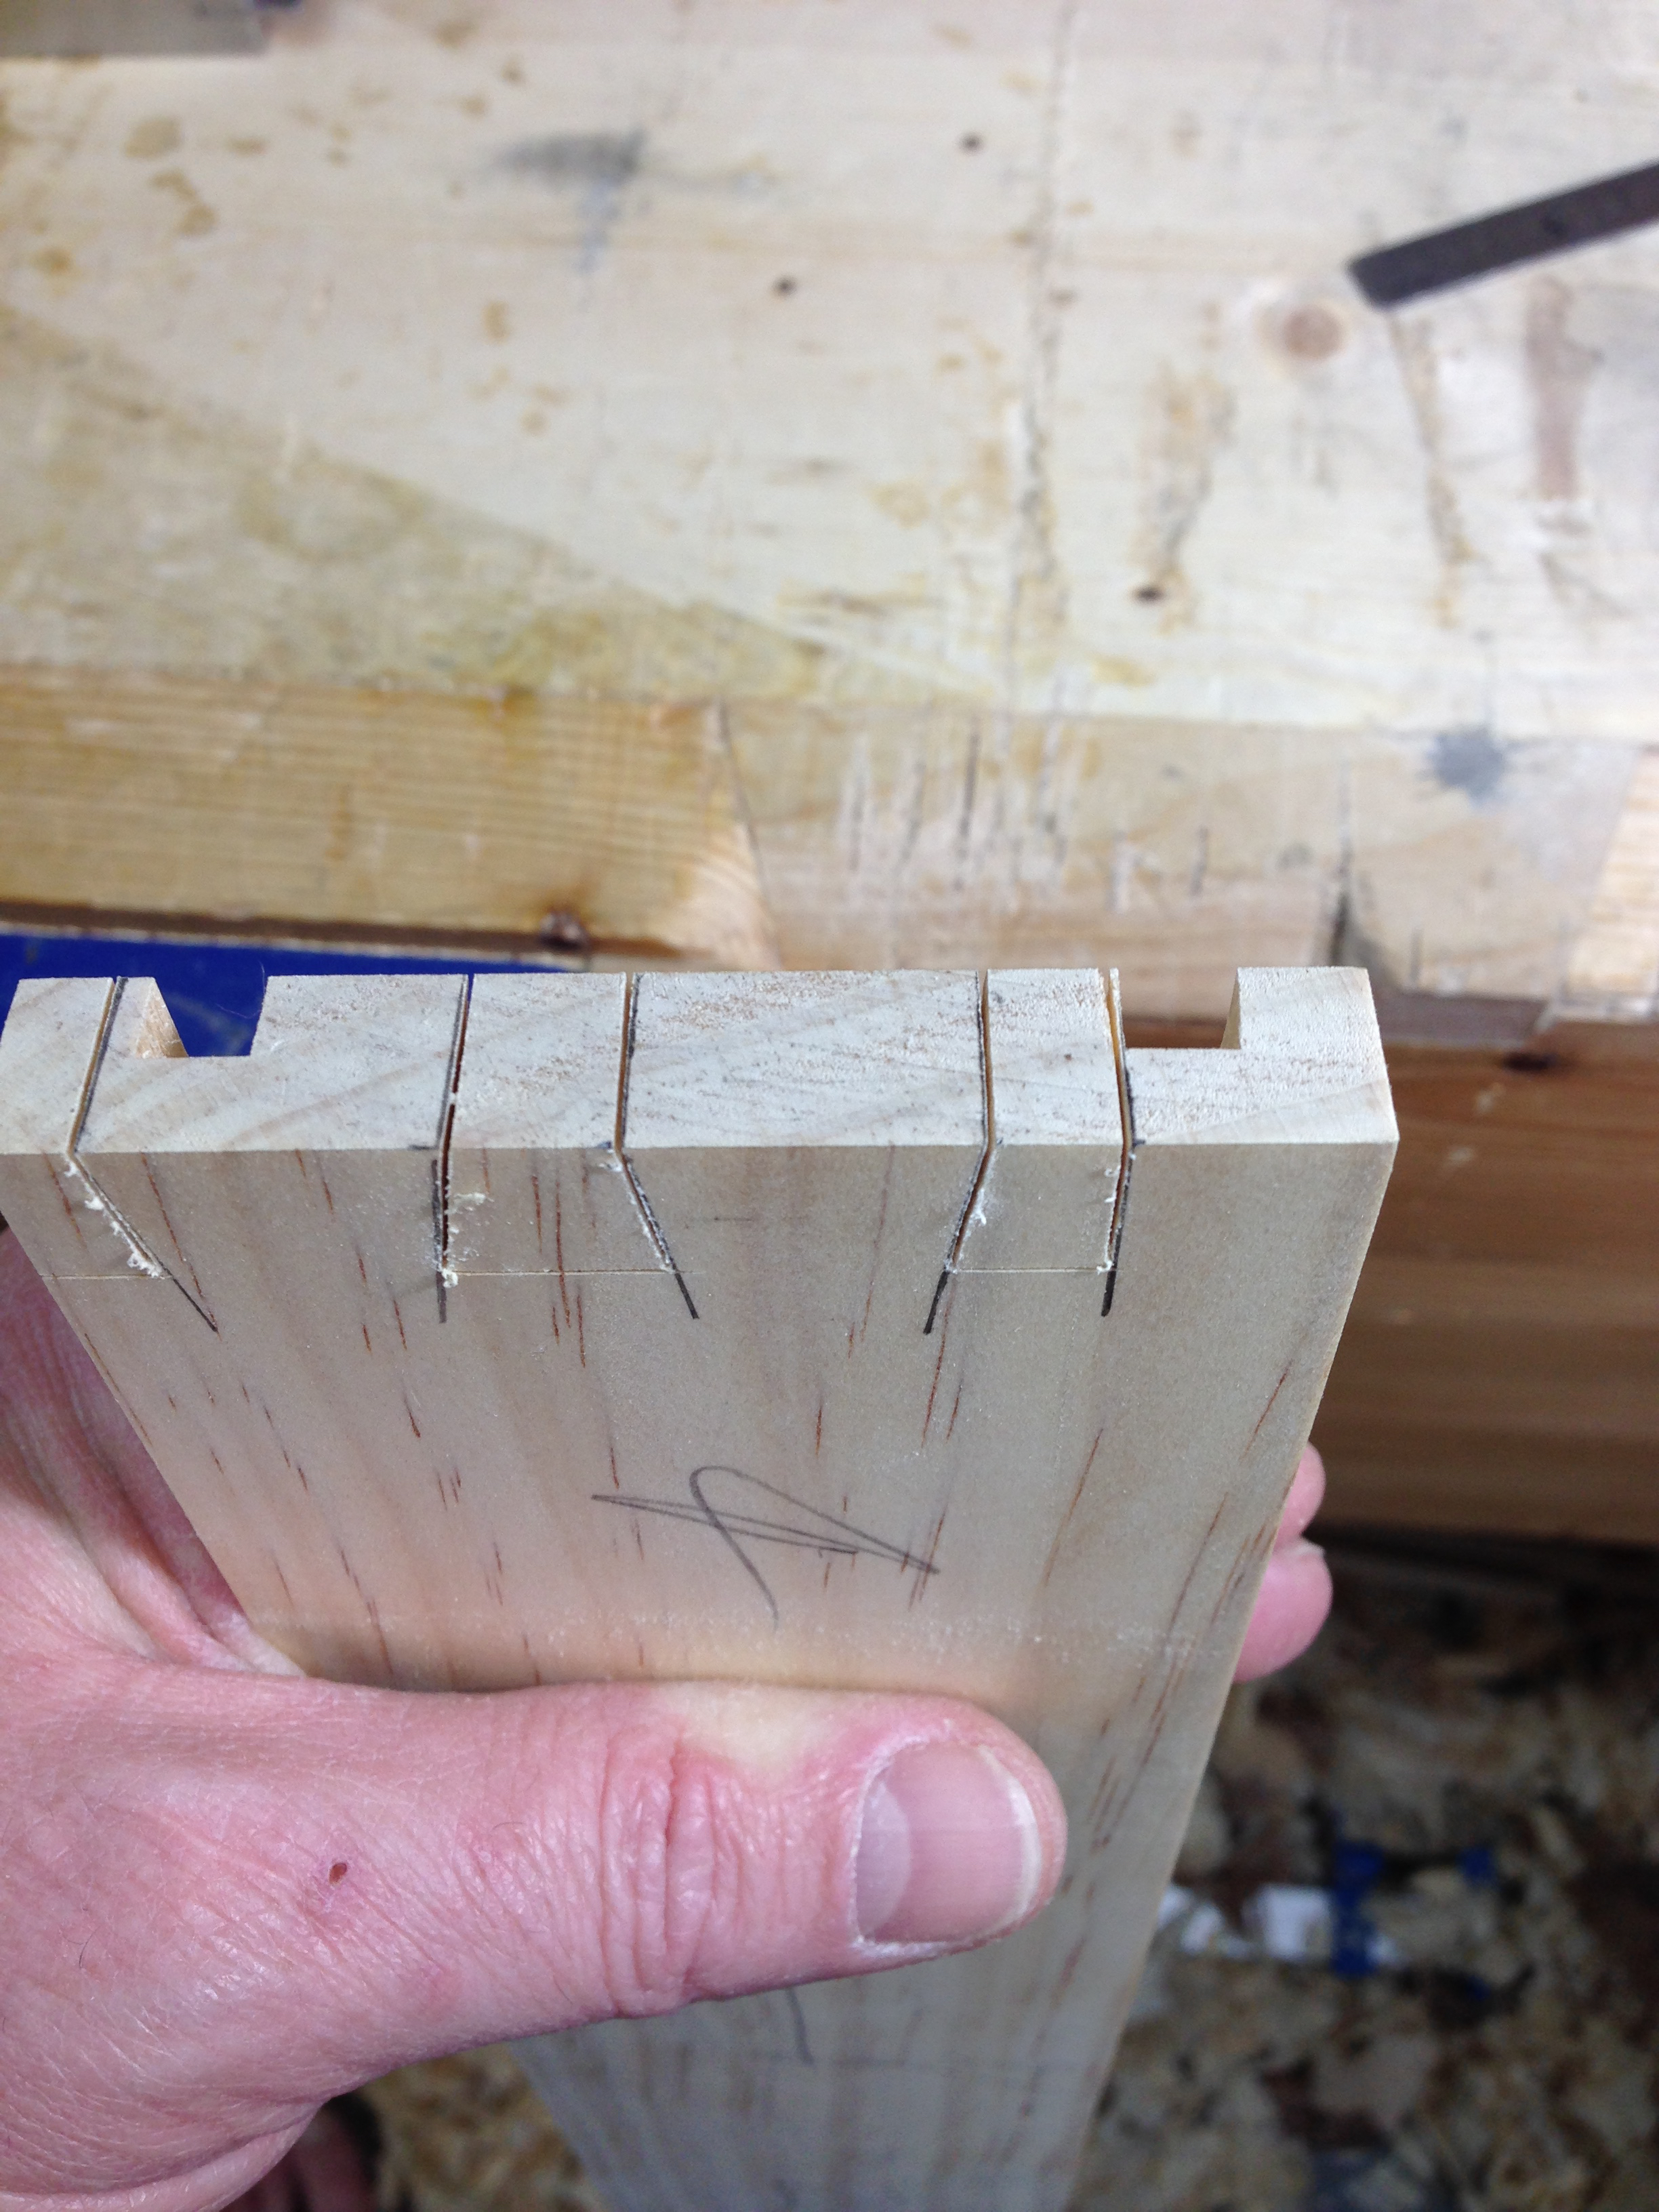
Note the sliver of wood next to the groove on the right.
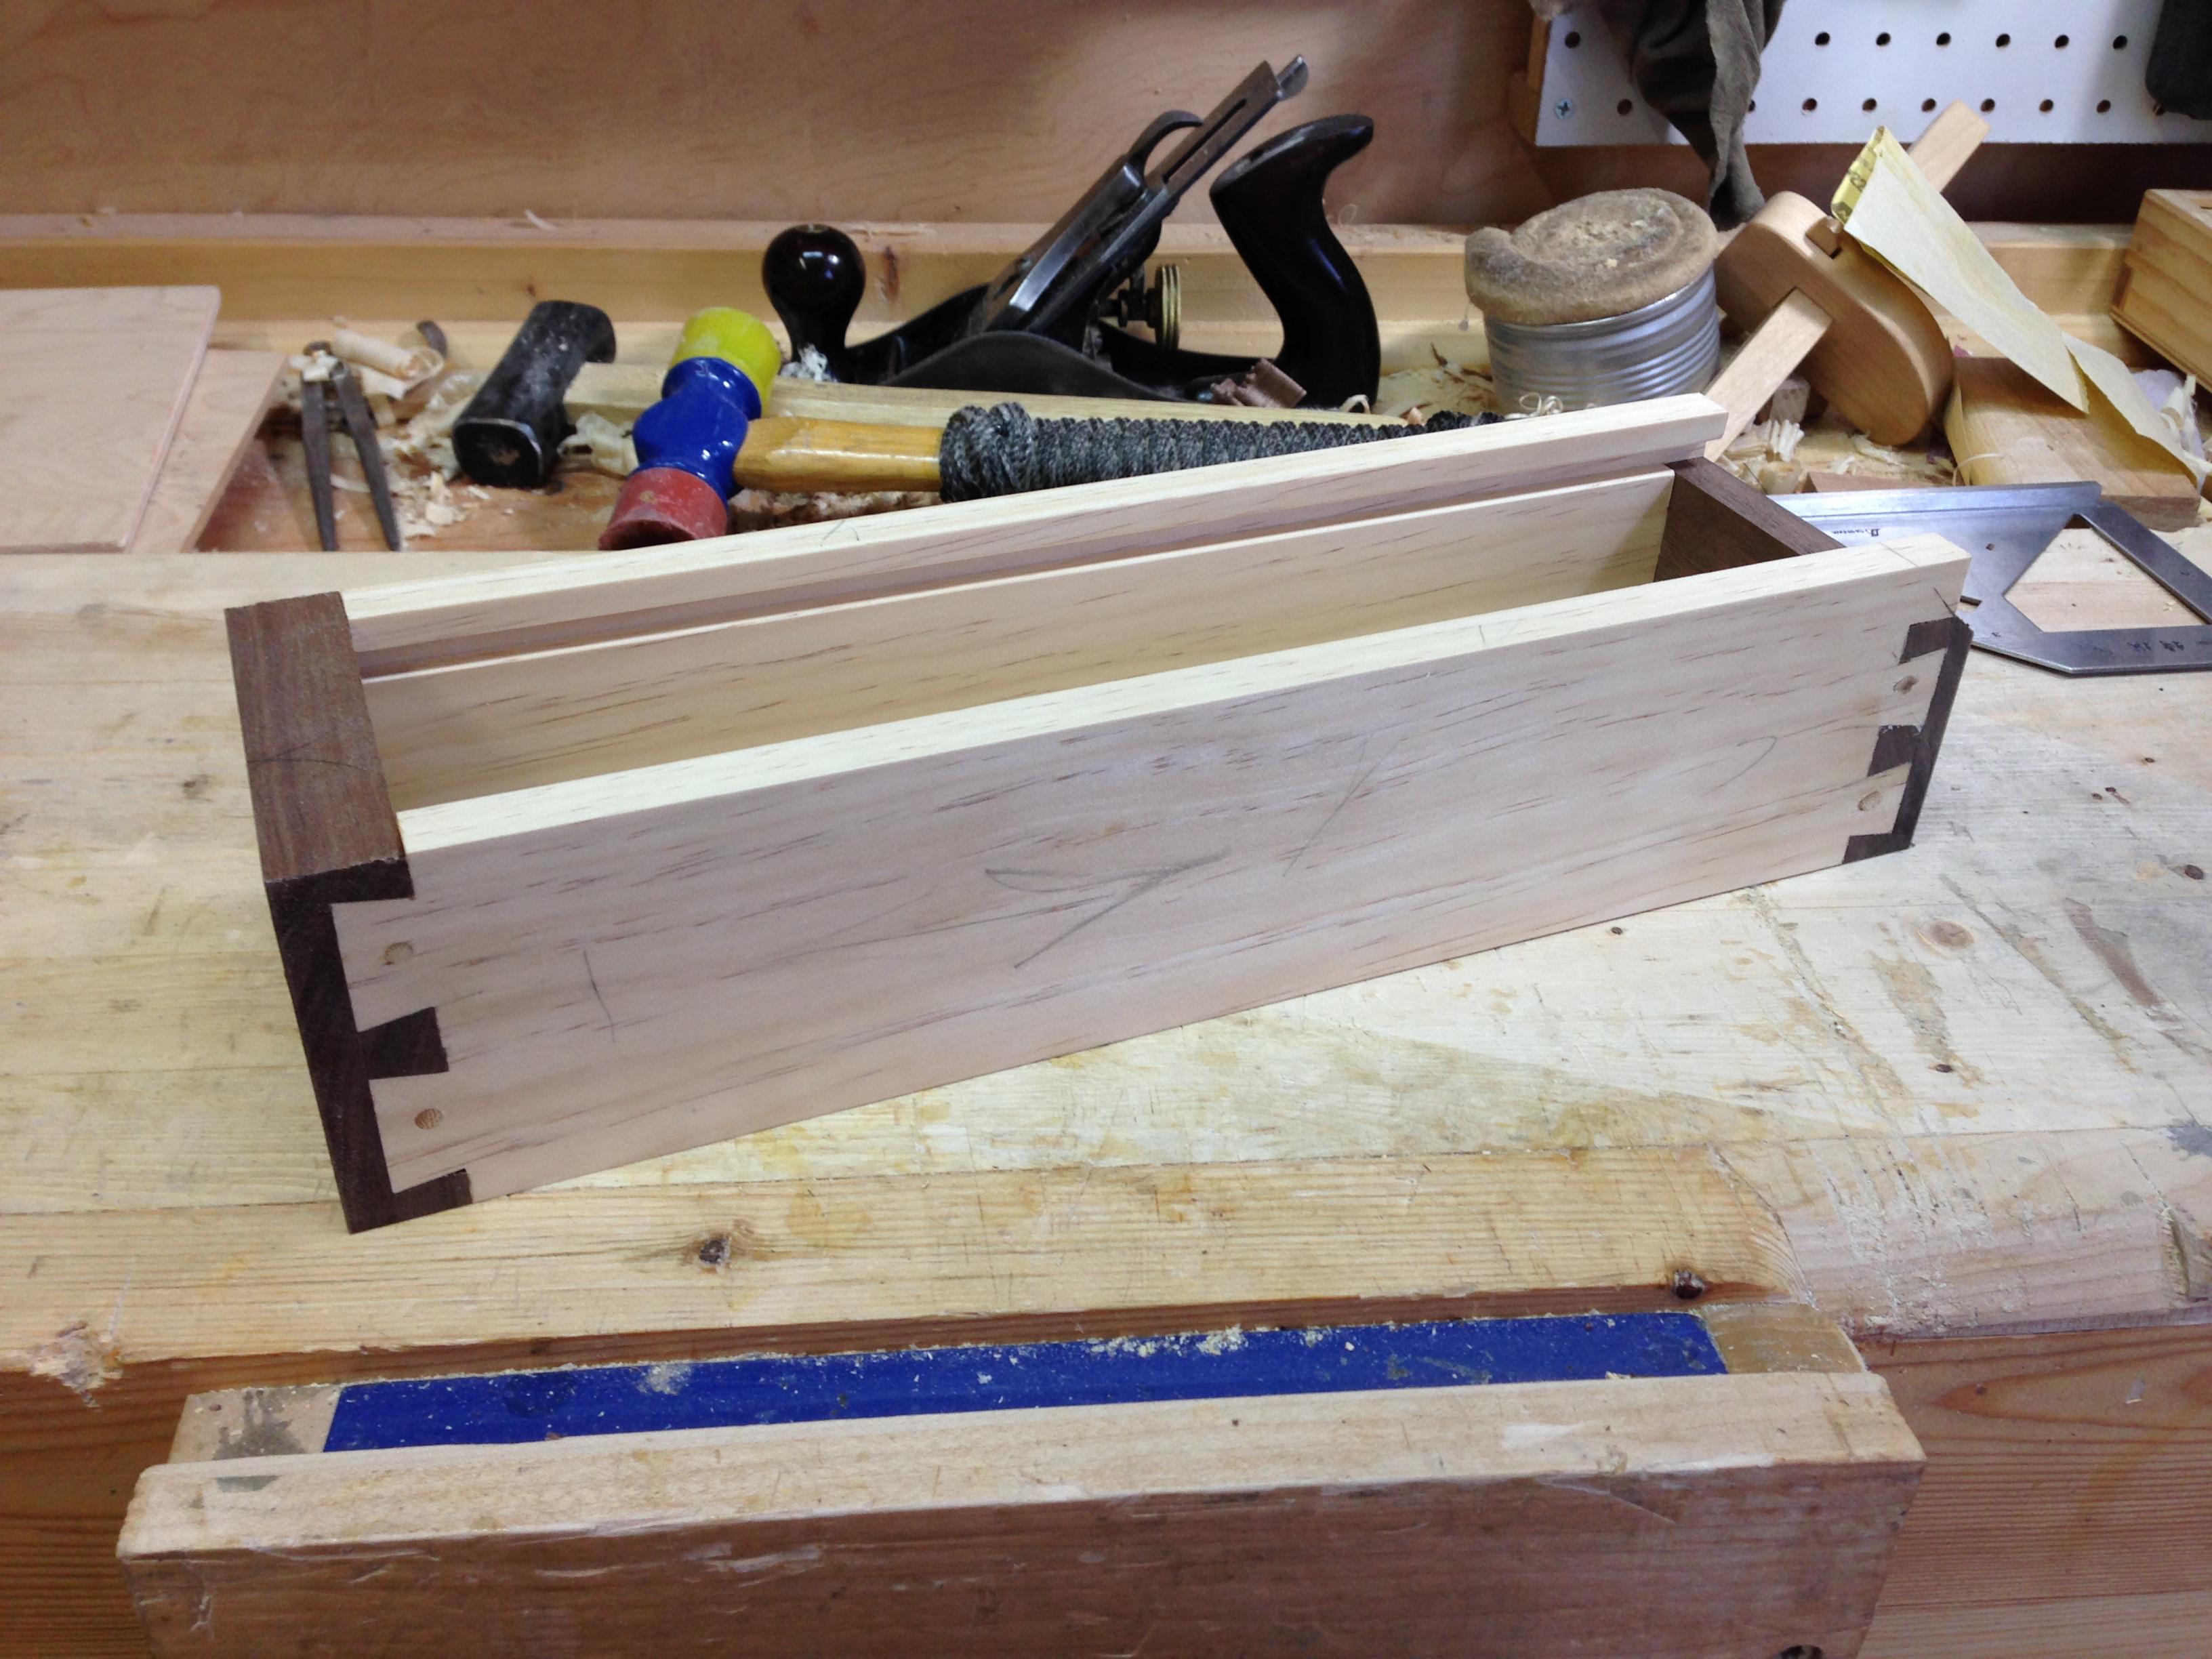
All of the parts milled and ready for assembly.

Assembled, glued and pegged.
My hope is that I can build the remaining three drawers tomorrow. That will leave the fitting and installing of the drawer bottoms over the course of the coming week. Next weekend I’ll begin adding the decorative touches.

Pingback: HB Tansu #3-Progress 15 | GREG MERRITT – BY MY OWN HANDS
Greg I know that you often use BLO as a finish. I am working on a small keepsake box for an upcoming birth. I’m working in cherry and decided to go BLO. I’m having two issues. 1. The BLO seems to bring out glue joints. I’m using titebond II and it is creating on orange stripe. 2. First coats looked really nice but now I have a sticky finish after 30 + hours drying. Weather has been warm and sunny so I don’t think it a humidity issue. Any suggestions?
Hi Mike,
There is nothing you can do about the glue joint issue I’m afraid. Unless its glue squeeze out. That can be scraped away. BLO is great for highlighting grain but it also highlights any and all imperfections and joint gaps.
BLO is not a surface finish, its a penetrating oil. When applied you should let it soak in for 15-30min and then wipe off the excess. There should be no wet looking areas after the wipe down step. You must remove all of the surface standing BLO or you will have a sticky surface. Anyway, wipe the surface down with mineral spirits until the sticky/gummy areas are gone. Steel wool can help with this step. Let it dry for a day or so and apply another coat of BLO as outlined above.
Hope that helps and good luck.
Greg
Greg, slick idea for the small drawer! When are you going to start on your tool chest? Did you see that Christopher Schwarz is going to build a Japanese style tool box in Port Orford Cedar?
Thanks Joe! I’ll be at least two more weeks on this tansu. Once that is completed I’ll start my toolbox. It will be a Japanese type more along the lines of Toshio Odate’s. Yep, Ive seen what Chris Schwarz is up to. Seems a little over the top for what it is supposed to be. I’ll address that in an upcoming post. The good news for some is that sales of button head cut nails and Port Orford cedar will go thru the roof.
Greg
Linseed oil: I have hand-planed lots of yellow pine timbers. Found that I got more consistent results by applying several coats of RAW linseed oil mixed 1/1 with turpentine (or mineral spirit) before planing. Enough oil penetrates and remains in the surface to protect against dirt and moisture, not enough to gel (it will also resist the absorption of excess glue). Unlike BLO, Raw linseed oil does not contribute to spontaneous combustion (although the shavings are awesome fire-starters), is generally non-toxic, and won’t leave a mess of semi-hardened varnish inside planes that are left overnight. It will polymerize if given sufficient time to react with oxygen. Linseed oil finishes have no UV filter, and darken perceptibly.
Another way to control that glue spread is shellac. Interestingly, linseed oil will penetrate shellac.
I usually use BLO for the first several coats and then switch to Tried and True original for the last couple of coats. I’m looking at ordering an “organic” BLO. No heavy metal driers. “Boiled” with oxygen to start the polymerization process.
http://www.solventfreepaint.com/cleaned_linseed_oil.htm
I actually look forward to the darkening of the BLO over time. I guess I’m just different that way.
I’ve used BLO to make an overly soft piece of pine a little more workable. Slather on the BLO and let it soak in. Wipe dry and let dry for a couple of days. Makes a marked difference in the workability of the wood.
Greg
I am really enjoying watching your furniture develop. It seems to me that you have a truly practical, creative and original idea.
Thanks Michael. I’m a firm believer that folks can build decent furniture with basic, readily available materials and a little bit of creativity. I’m trying to practice what I preach.
Greg
Pingback: HB Tansu #3-Progress 17 | GREG MERRITT – BY MY OWN HANDS