
 Over the past week and this weekend I was able to acquire the needed material and complete the construction of the remaining three drawers. I was also able to cut, fit and install all of the drawer bottoms. There is nothing new in any of those process, so I spare you the boredom of the play-by-play. Instead I’ll bore you with the play-by-play of adding some of the decorative elements.
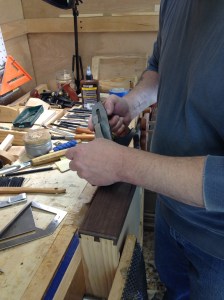
The first decorative element I added to the drawer fronts was a perimeter bead. Pretty simple to do. The inner portion of the bead is formed with a flat head screw installed in a block of wood. The remainder of the bead is formed with a plane and a little sanding. That’s the long grain beads. The end grain bead requires a little more effort, but not much. The screw is used as a gauge, then the inner wall is knifed in. A chisel is then used to remove the waste to form the inner portion of the bead. The outer portion of the bead is completed in just the same manner as with the long grain.
-

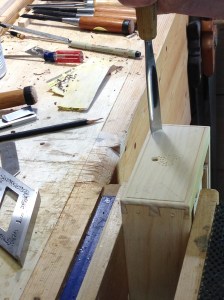
- Gauge the end grain bead.
-
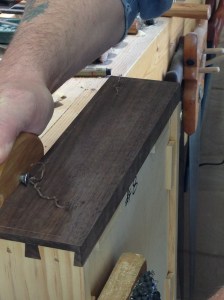
- Cut the inner portion of the long grain bead.
-

- Knife in the inner wall of the end grain bead.
-

- Chisel out the end grain waste.
-

- Shape the outer portion of the end grain bead with a skewed plane.
-
- Shape the outer portion of the long grain bead.
-

- Clean up with a little sanding.
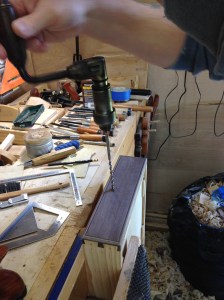
With the bead in place, I then installed the holes for the drawer pulls. The drawer pull will be installed 15mm above center on the drawer front. More about that later. Since this will be the same on all of the drawers, I set a pair of dividers to make my life easier. So all I needed to do was to find the center of the drawer front then use the dividers to locate the hole for the pull.

I also wanted to add a textured area below the drawer pull. Since I already had the dividers set, I used them to scratch a circle to delineate the area to be textured.

Then I drilled the hole for the pull and used a countersink to clean an ease the edge of the hole.

I then made a decorative punch out of a scrap piece of steel. A little file work was all that was needed to have it ready to work.
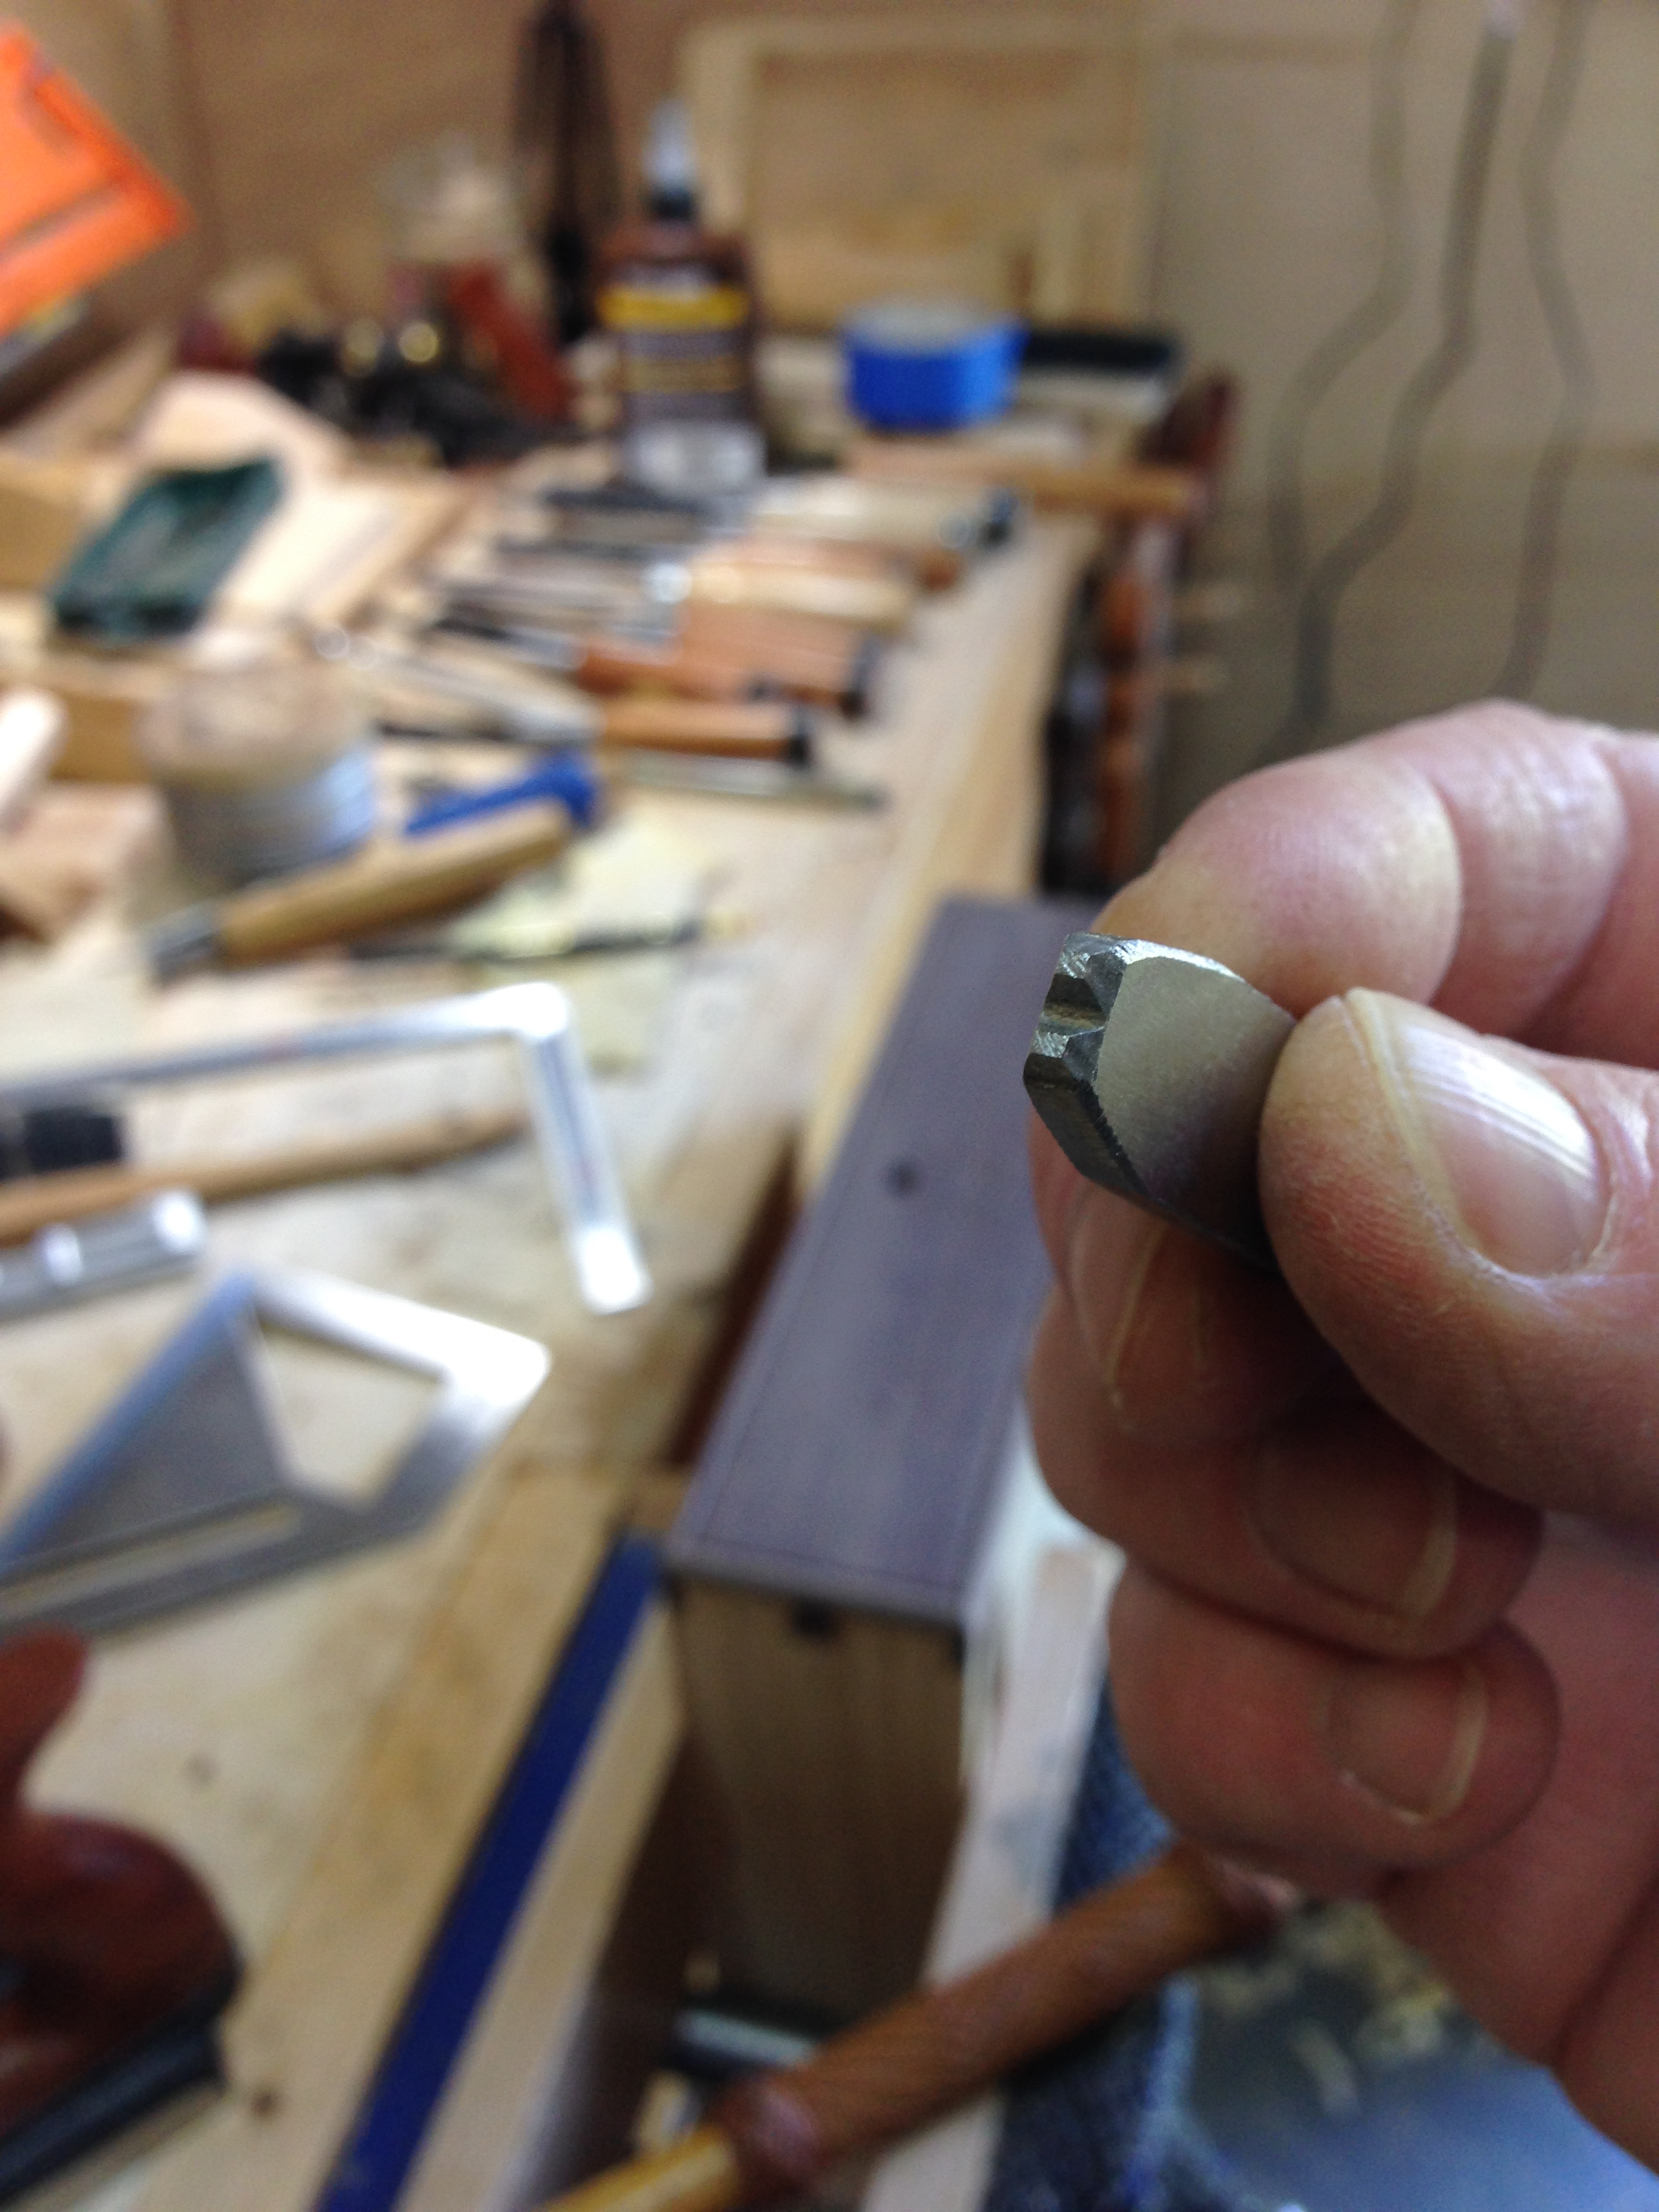
The punch is then tapped with a hammer to create texture.

I repeated the above process for all of the remaining drawer fronts. With that done it was time for a little Hillbilly Inlay. Don’t act surprised, you knew I was gonna’. I developed a new pattern for this build. It is created with two gouges and a knife.
-

- Pencil in the 45’s from each corner.
-

- Create the inset. Dividers ensure consistency.
-
- Large gouge sets the perimeter.
-

- Smaller gouge adds a little flare.
-

- Knife in a few lines.
-

- Finally rub in the coffee.
I still need to take the wood burner to the bead trench to create the perimeter line on the drawer fronts. I think the black line will also help to tie the pine in with the walnut. Still a good bit to do before the finishing process can be started. Even so, I couldn’t help but wipe a quick coat of BLO on a couple of drawer fronts to get a sense of what they are going to look like. It’s a crappy photo, but gives the general idea.


That’s really cool. I’ve never seen that method before.
The bead? Paul Sellers has written several posts about it. One can be found here:
https://paulsellers.com/2012/12/making-the-wall-clock-the-poor-mans-beading-tool/
Roy Underhill demonstrates it here:
http://video.pbs.org/video/2292091598/
Chris Schwarz posted about it here:
http://www.popularwoodworking.com/woodworking-blogs/chris-schwarz-blog/improvised-tools-thanks-blue-tape
Greg
Great looking detail, Greg! Also, I had previously had trouble while attempting end grain beads with either the “Poor Man’s Beading Tool” or an old Stanley 66. I believe you’ve put me on the right track.
Thanks Gary! Glad you found the post useful.
Greg
Pingback: HB Tansu #3-Progress 17 | GREG MERRITT – BY MY OWN HANDS
I like your decorative elements Greg. That adds a nice touch. Thank you for sharing.
Thank you and your welcome.
Pingback: HB Tansu #3-Progress 19 | GREG MERRITT – BY MY OWN HANDS