
In Part 1 I recounted my trying weekend in the shop while remaking the dai block to turn this blade into a functioning kanna. So now that I solved the mystery of the skewed blade and fixed the chip in the mouth and sole, it was time to see if I could salvage this build.
After work this evening I went straight to the shop. First I cut the dai block to final length and planed the ends square. Then a took a few shavings on the sides and top to clean up those surfaces. I pulled the pin back out so I could clean up the surfaces on the interior of opening and give a little more clearance for the chip breaker. By the way, I used a 12d nail for the retaining pin. Works great! Then I reinstalled the pin and eased all of the appropriate edges.
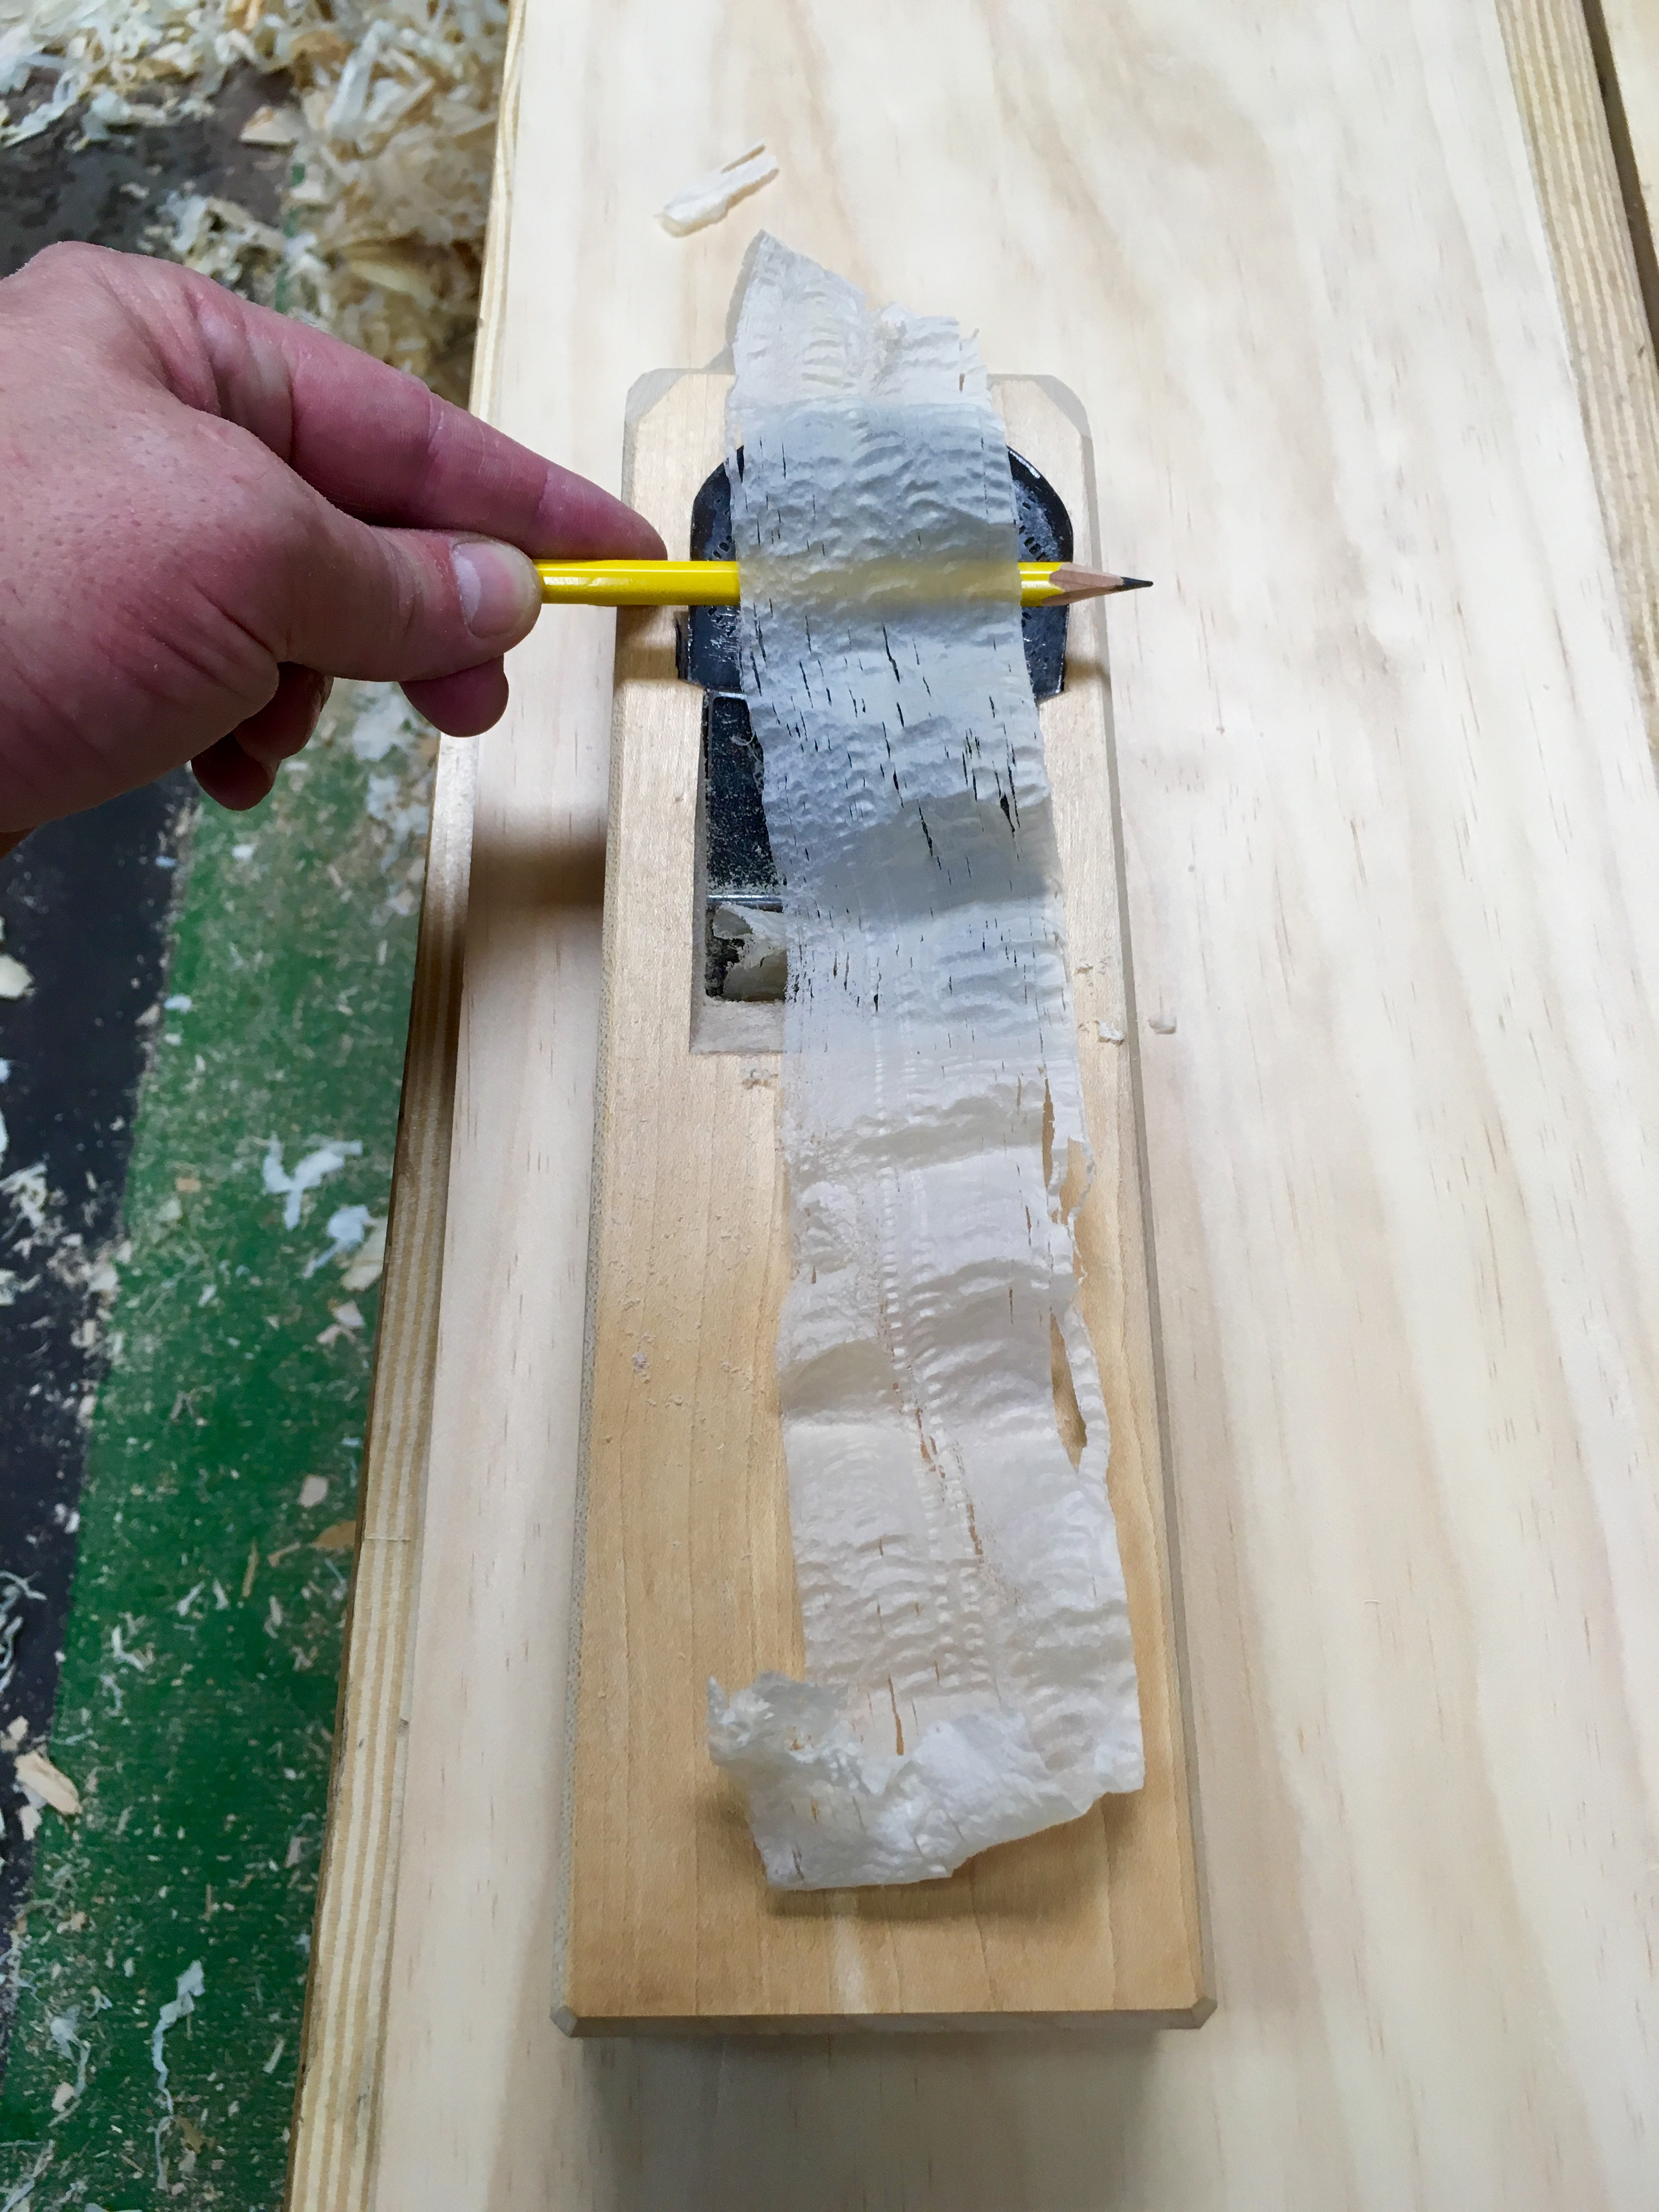
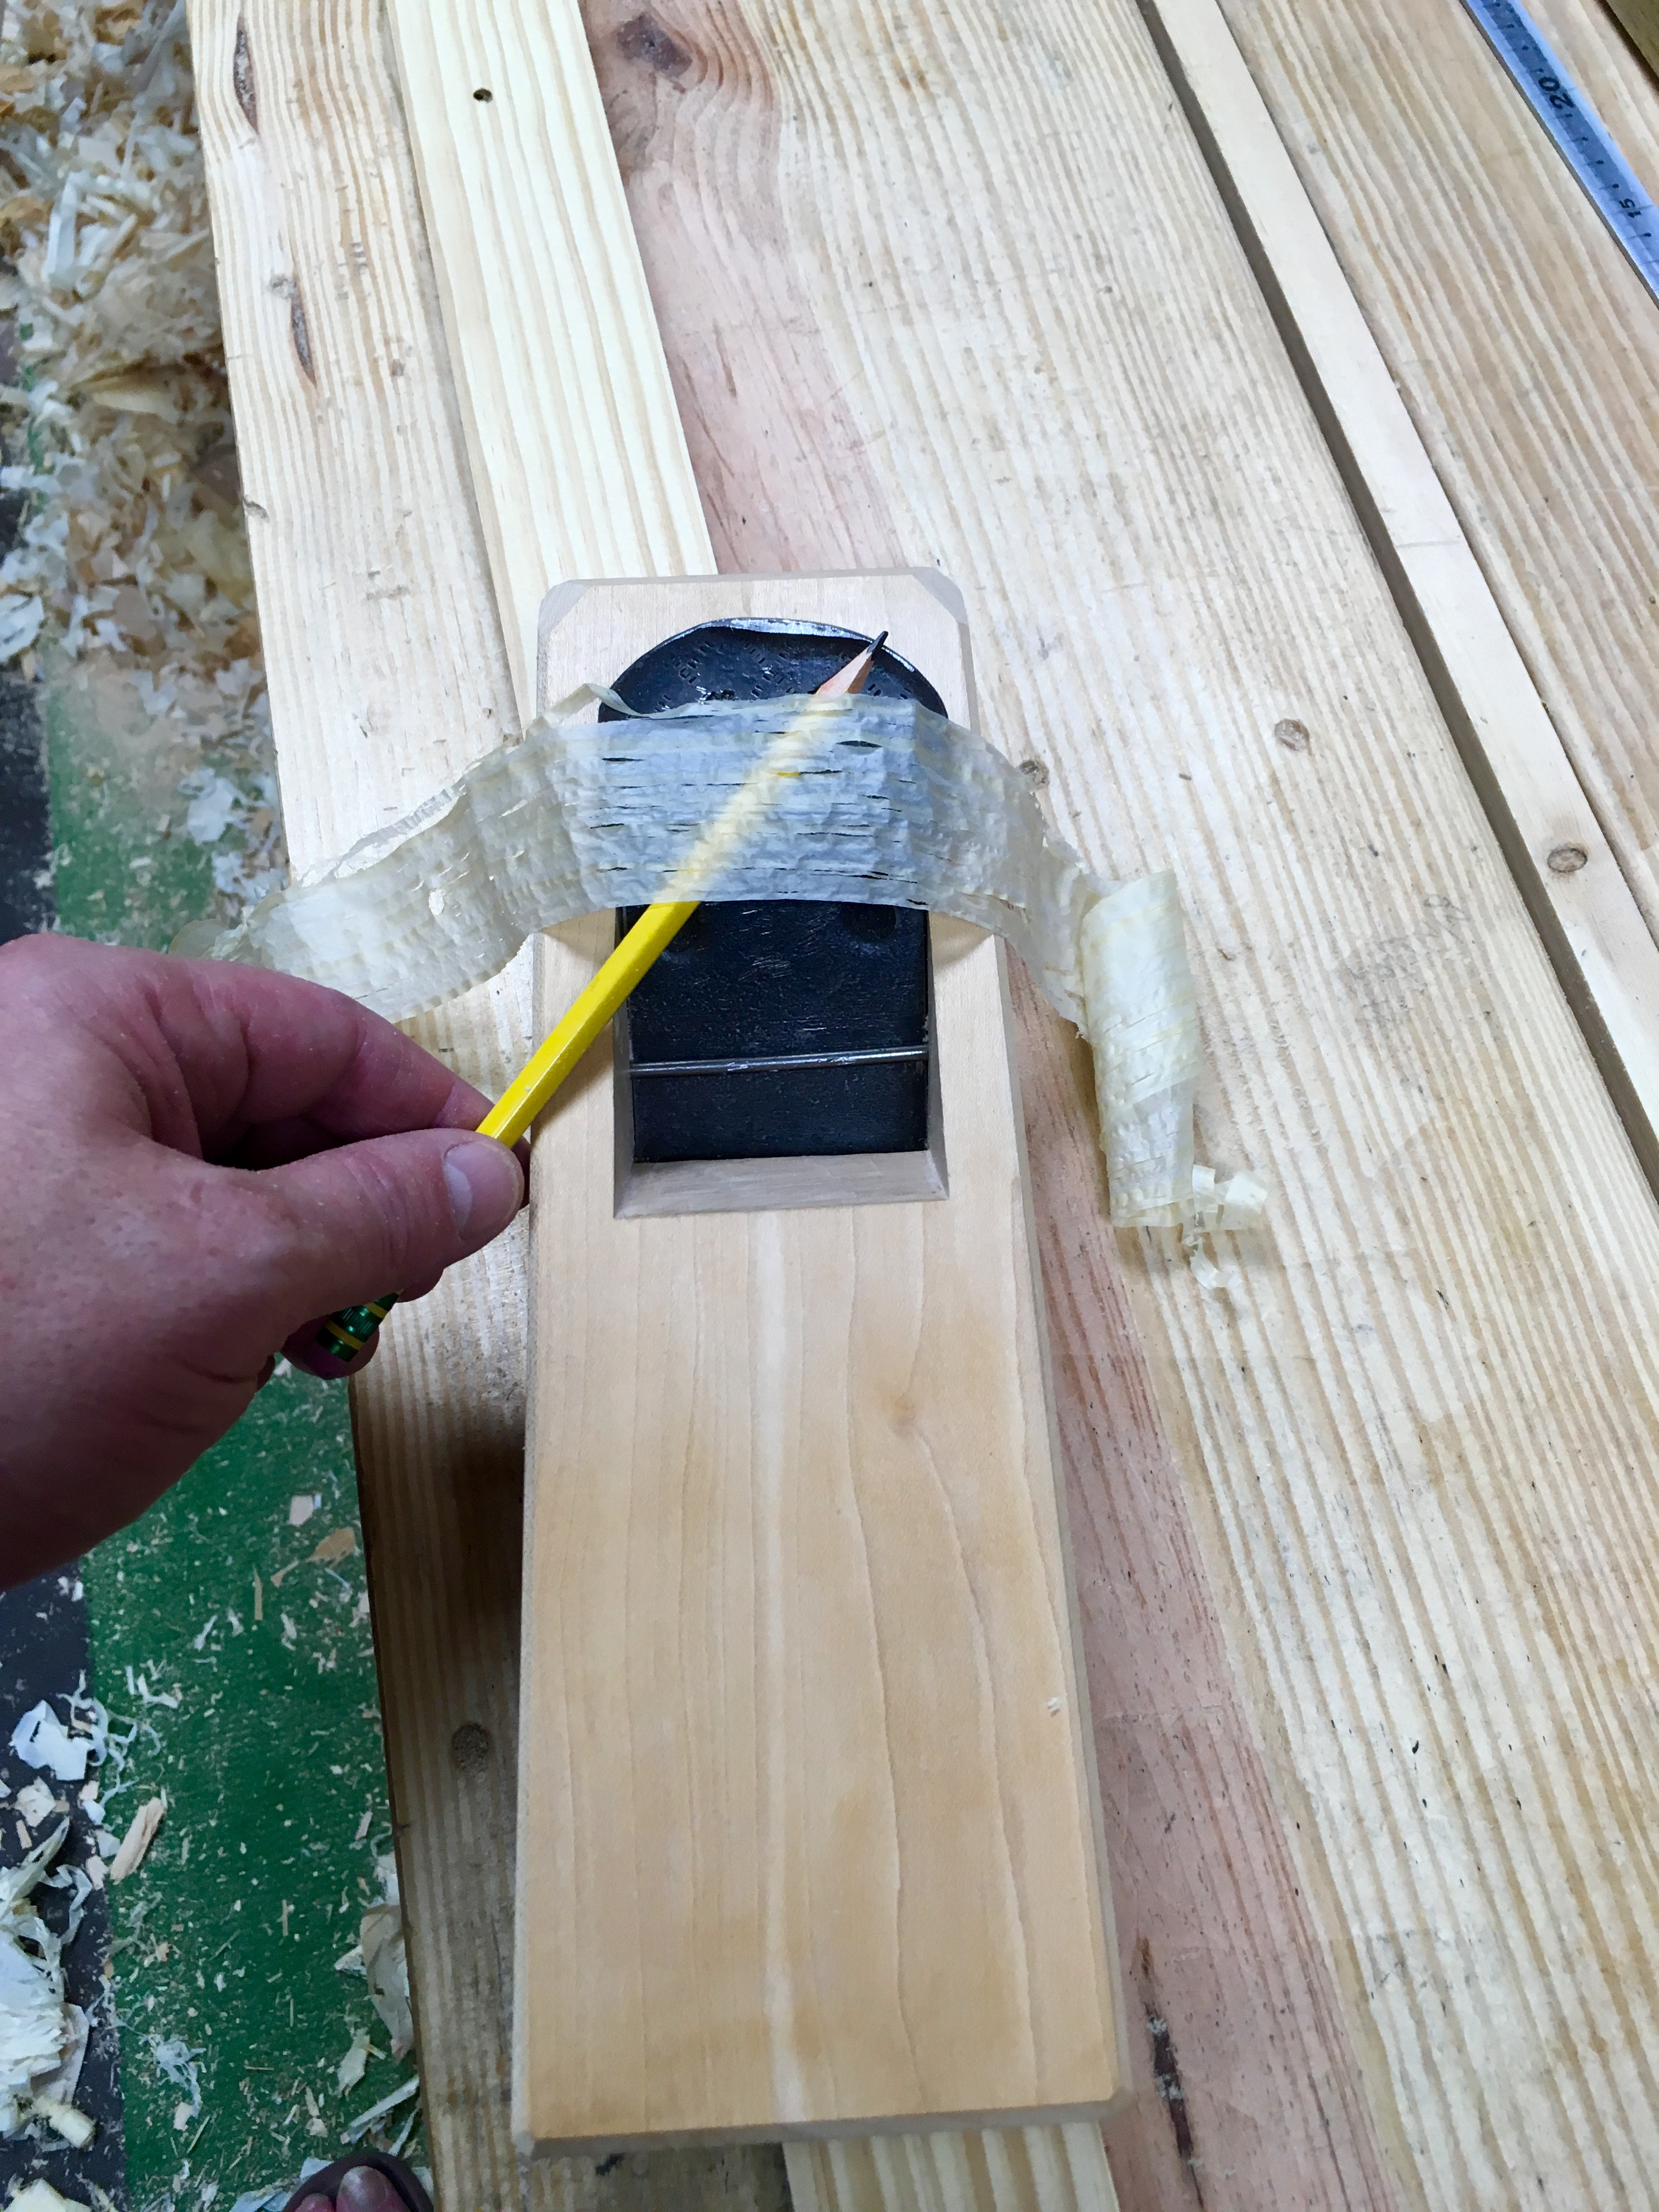
With the blade and chip breaker set just short of coming out of the sole and began conditioning the sole. This kanna will be a smoothing plane which means two contact points on the sole. One at the very back (in Japanese planes the back is the end closest to you when in use) and one just in front of the blade. So I drew a pencil line across those areas and began flattening the sole on my glass plate covered with sandpaper. The idea is to flatten the sole on the sandpaper until the pencil lines are completely removed. This should make those two areas coplanar. Then I refined the conditioning with my scraper plane. I want to lower the other areas by just a fraction of a millimeter. Scrape a little and check with my plane ruler. Lather, rinse, repeat.
OK, I’ll start with the fix for the skewed blade. I removed material from the side of the right hand slot. This allowed the blade to sit square to the sole, but opened up more of a gap on the left. See the large gap on the left (large is relative). It should only be about 1mm. Doesn’t affect the function, just aggravating.

Anyway, lets see if it works.
First up is a piece of fir 2×4.

Not too bad. How about a piece of big box mystery pine?
This seems promising. Now a piece of SYP.
Holly crap! IT WORKS! I’m pretty glad that I didn’t give up on this one. It’s not perfect by any means and the sole needs a little more conditioning but it will be a fantastic user and a constant reminder of lessons learned.

Next up will be the truing plane.
Part 1 Greg Merritt

Good on you Greg well bloody done old boy you did it. I bet you couldn’t wait to come home and give it a try. Now keep making them until its sunk in and I hope your writing these steps in your own notebooks. Congrats Greg I’m proud of you.
Thanks man! Yep, I was stewing on this all day at work and jumped right in as soon as walked in the door at home. Yes, lots of notes. When I can knock one out without issue, I’ll write up a post with more details as to the making.
It has been frustrating, but a rewarding experience…so far.
Fantastic!
Thanks! It was a learning experience to say the least.
Great detailed report
Thanks Antonio. Hopefully my ramblings made sense.
CONGRATS Greg!
It’s really frustrating when in the midst of getting obsessive-compulsive. I was “All in OCD” with configuring a website yesterday, and hammers don’t work well on computers.
Yet when it’s done, there’s tremendous satisfaction in the accomplishment and the learning.
At some point, you might want to collect all of these hira-kana posts and compile them into what I call an “ebook of convenience.” I can offer some secrets on how to do that.
At least the hammer takes all of the mystery out of why the computer doesn’t work. LOL
If I can build another dai or two without any major issues, I may try to consolidate my notes. I have a lot that I have not posted on here until I vet them. I’ll send you a message when I get to that point and find out how to tackle the ebook.
Kanna’s look so good.
It is strange, because if you were to describe one for a non woodworker, I guess they would think that something essential square with a depression cut in it could hardly be beautiful. But then they haven’t seen yours.
Brgds
Jonas
Hey thanks Jonas. Wooden planes in general have a certain basic appeal, especially to those that use them. So many possibilities with such a basic, unadorned tool.
Hi Greg looks like you managed to take all the complexities and simplicities and marry them to a finely tuned instrument/tool. Awesome!
BrianJ
Thanks Brian. It seemed like it was uphill all the way, but the finished plane works pretty well.