
OK…you are probably getting sick of the kanna posts. Sorry, but you will have to bare with me a little while longer.
Emboldened by my mediocre success with my first dai making experiment, I decided to tackle making a dai to replace the one for my block plane. Over the years my lack of understanding and experimentation have made a mess of the original dai block. The blade is a small 36mm(1-1/2″) in width and the resulting plane(kanna) is light and very handy to have at the ready. I’ve missed having this kanna at my disposal.
Smaller should be easier right? Turns out, no, no it is not! Making a dai is exacting work, but making a small dai is a whole other level of fussy. This size is the limit for the tools that I have. My keyhole saw was the only saw small enough to cut the ramp slots. My 3mm chisel was a snug fit in cleaning up those slots as well. In the end though I was able to knock out a reasonably functional dai and now I have a functioning block plane once again!
One other project for this weekend was to build a plane sole ruler. Up to this point I have just been using the edge of my square. It works, but is not ideal. At any rate, a kanna does not have flat sole, well most of them don’t at least. I’ll not go into the different configurations at this point. The important bit is that certain sections of the sole are scraped lower (conditioning) leaving small contact points remaining. To check the conditioning you need an accurate straightedge. You can purchase a metal one specifically made for the task, but I couldn’t bring myself to shell out $90US. In Odate’s book he illustrates a shop-made solution. Basically winding sticks that are registered together thru the use of a couple of dowel pins. I’ve seen a few much fancier examples on the Internet, but I like simple. The idea is to take a single board and split it to create a book matched pair. The theory is that by book matching and then registering them together any movement in one piece of wood will be counteracted by the opposing piece. The top edges are beveled on each piece to create a finer contact edge. The two are then locked together and planed as a unit. Then the beveled edges are offered to each other. Any deviation from straight will be magnified by a factor of two. You then make corrections as needed until the two edges mate perfectly. Then, and only then, do you have a true straightedge. Then the plane sole ruler is used to verify that the contact points are coplanar and that the scraped areas are at the proper depth. Have a look at this video to see the plane sole ruler and the the process in action.
Ideally you need dry, stable wood for making the plane sole ruler. So up into the magic attic I went and descended a few minutes later with a 3″ wide piece of straight-grained pine. I then dressed and divided the board. Drilled for dowel pins, they are glued into one piece and friction fit into the other. Then I beveled the top edges and began the truing process. Simple and cheap.
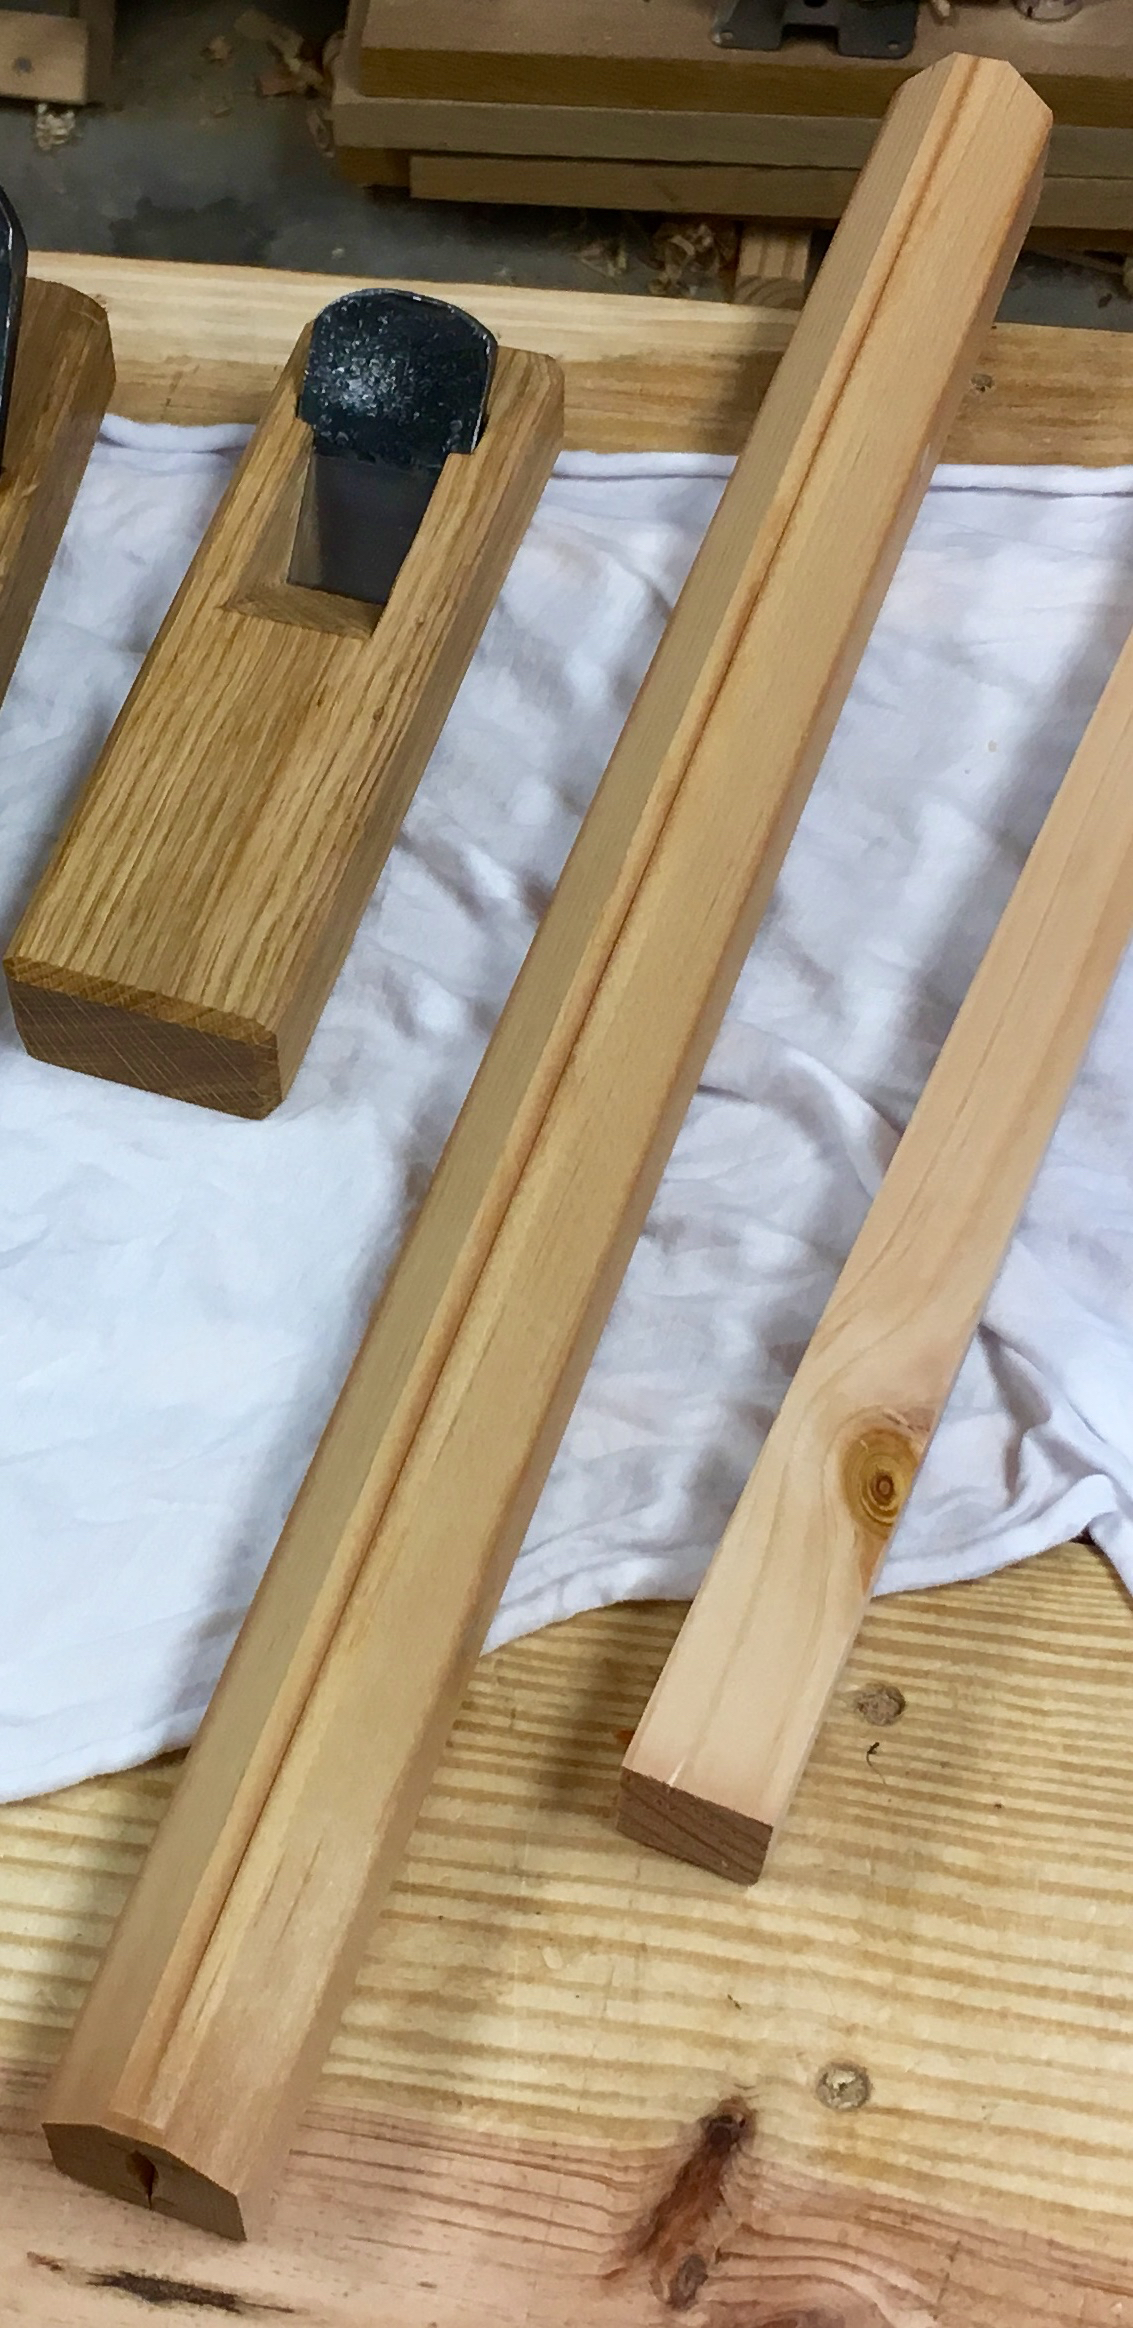
A look at the profile.
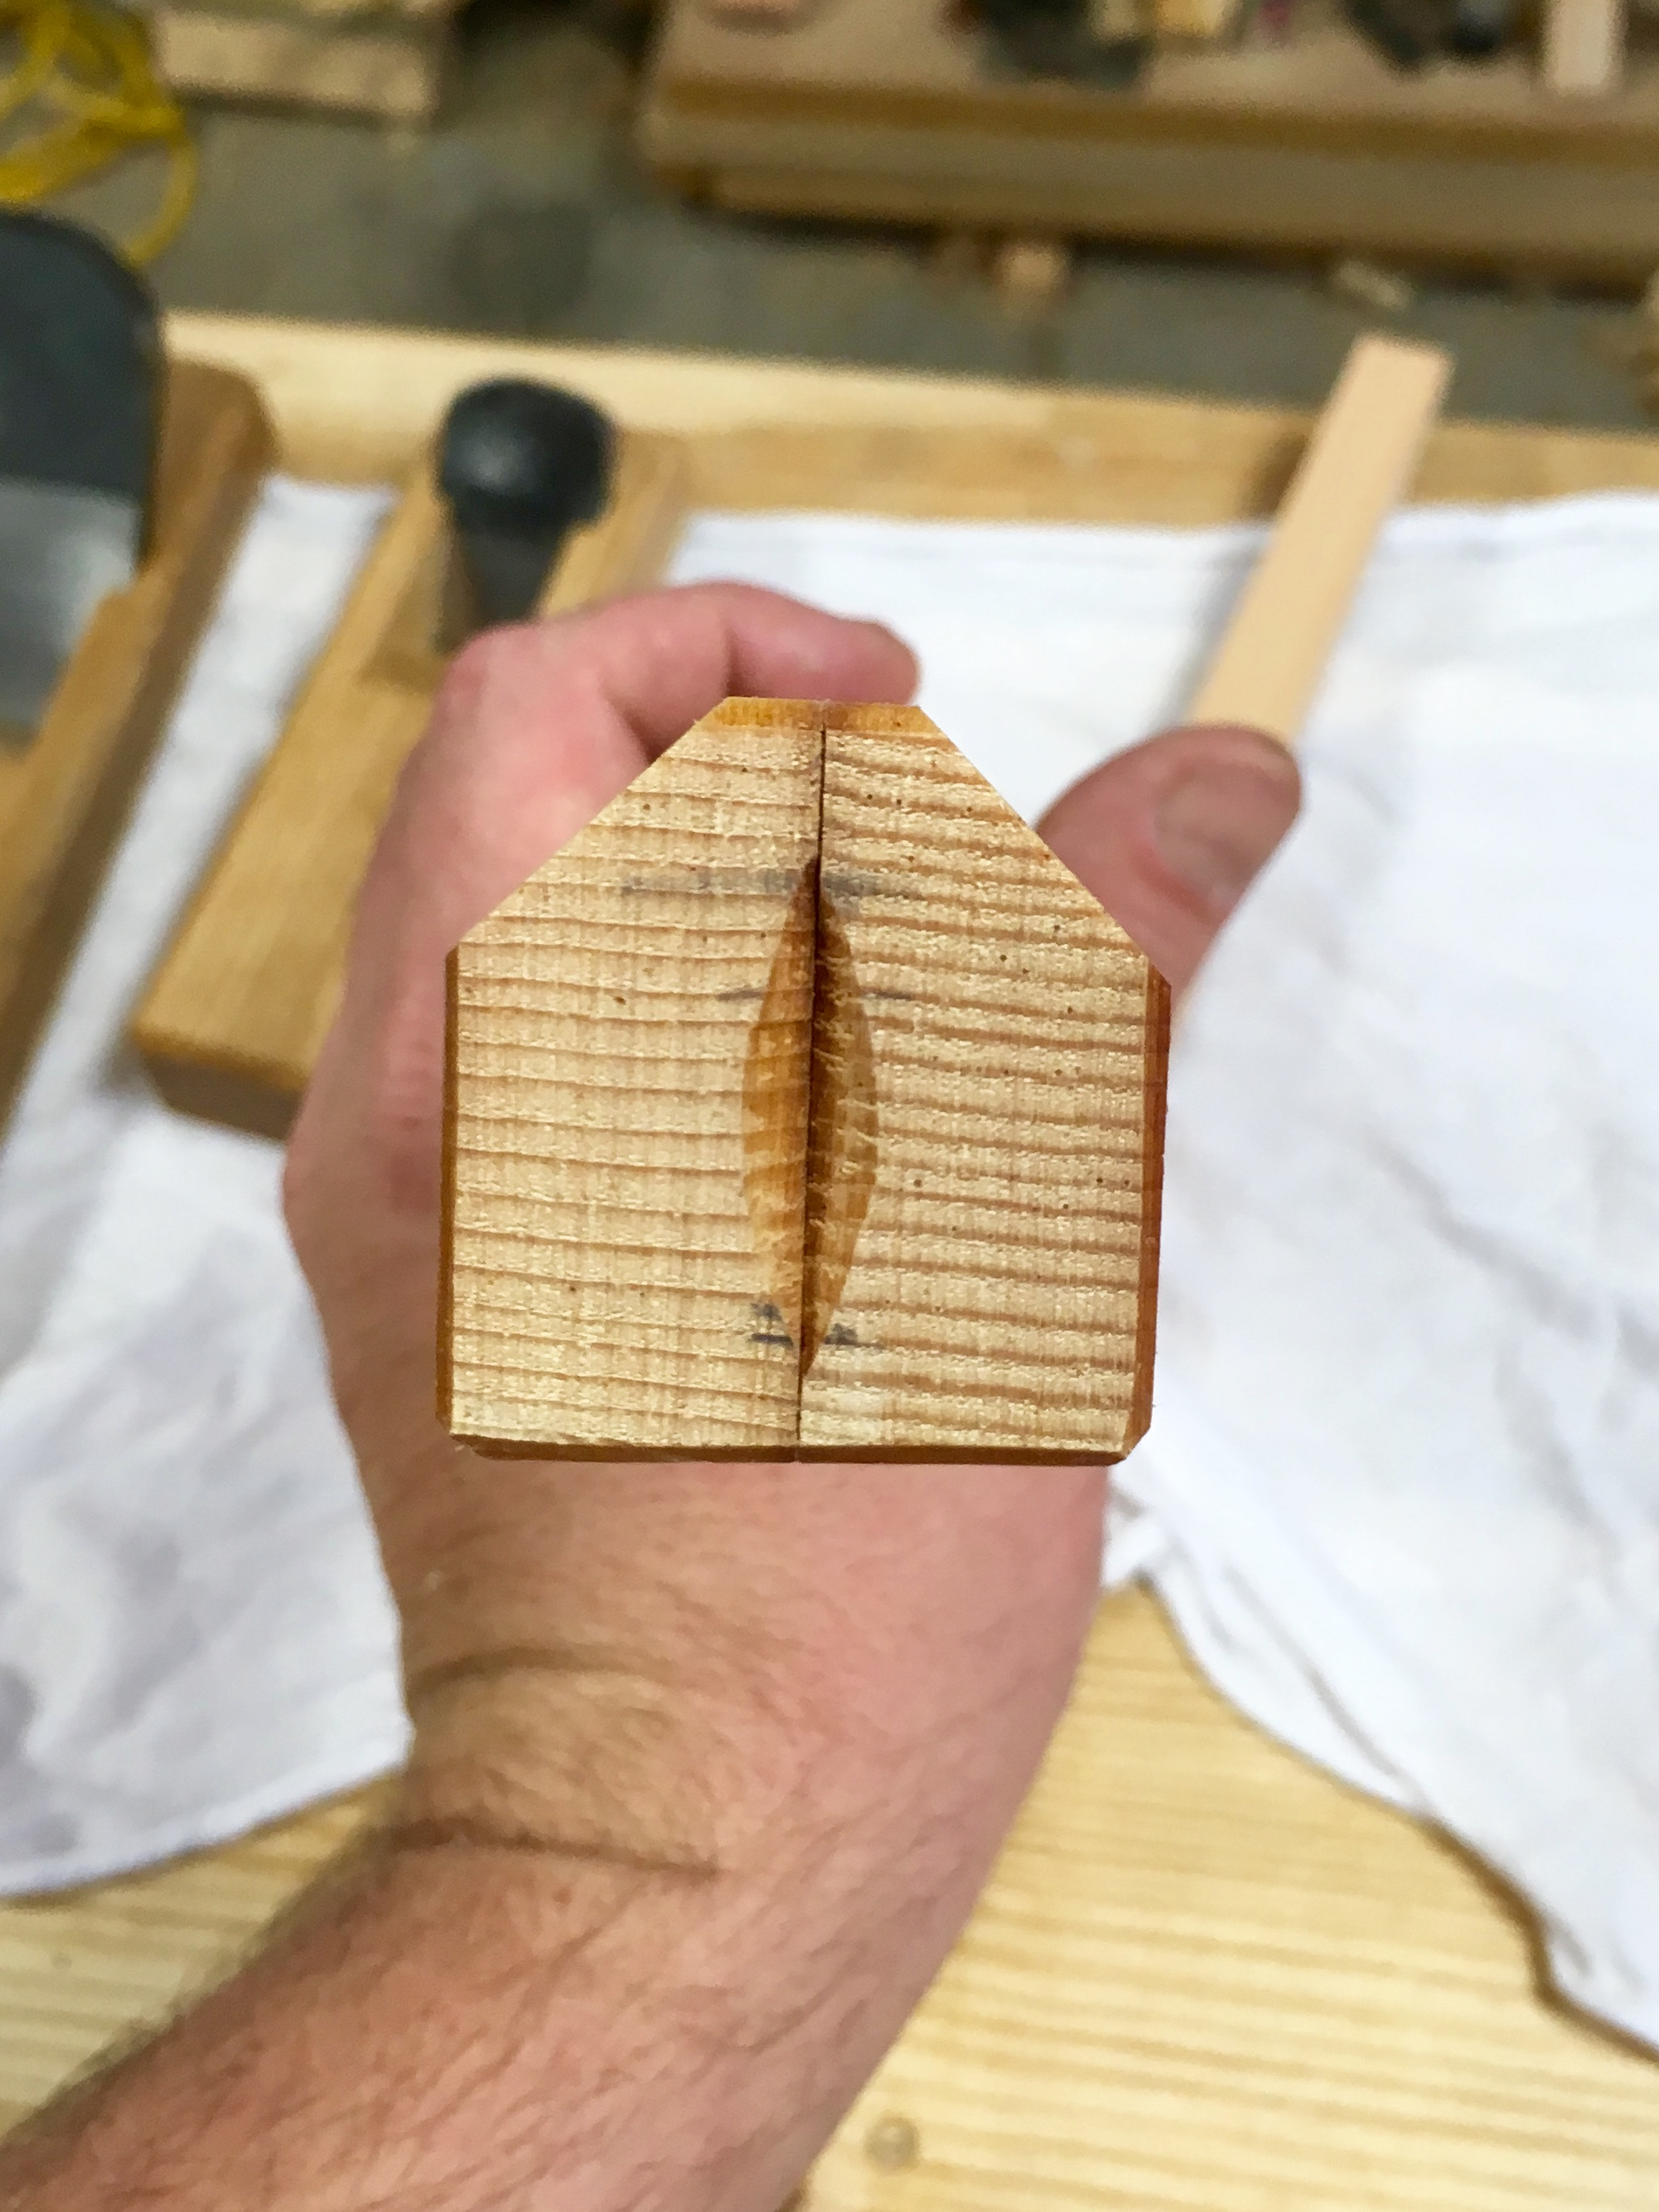
The two halves.
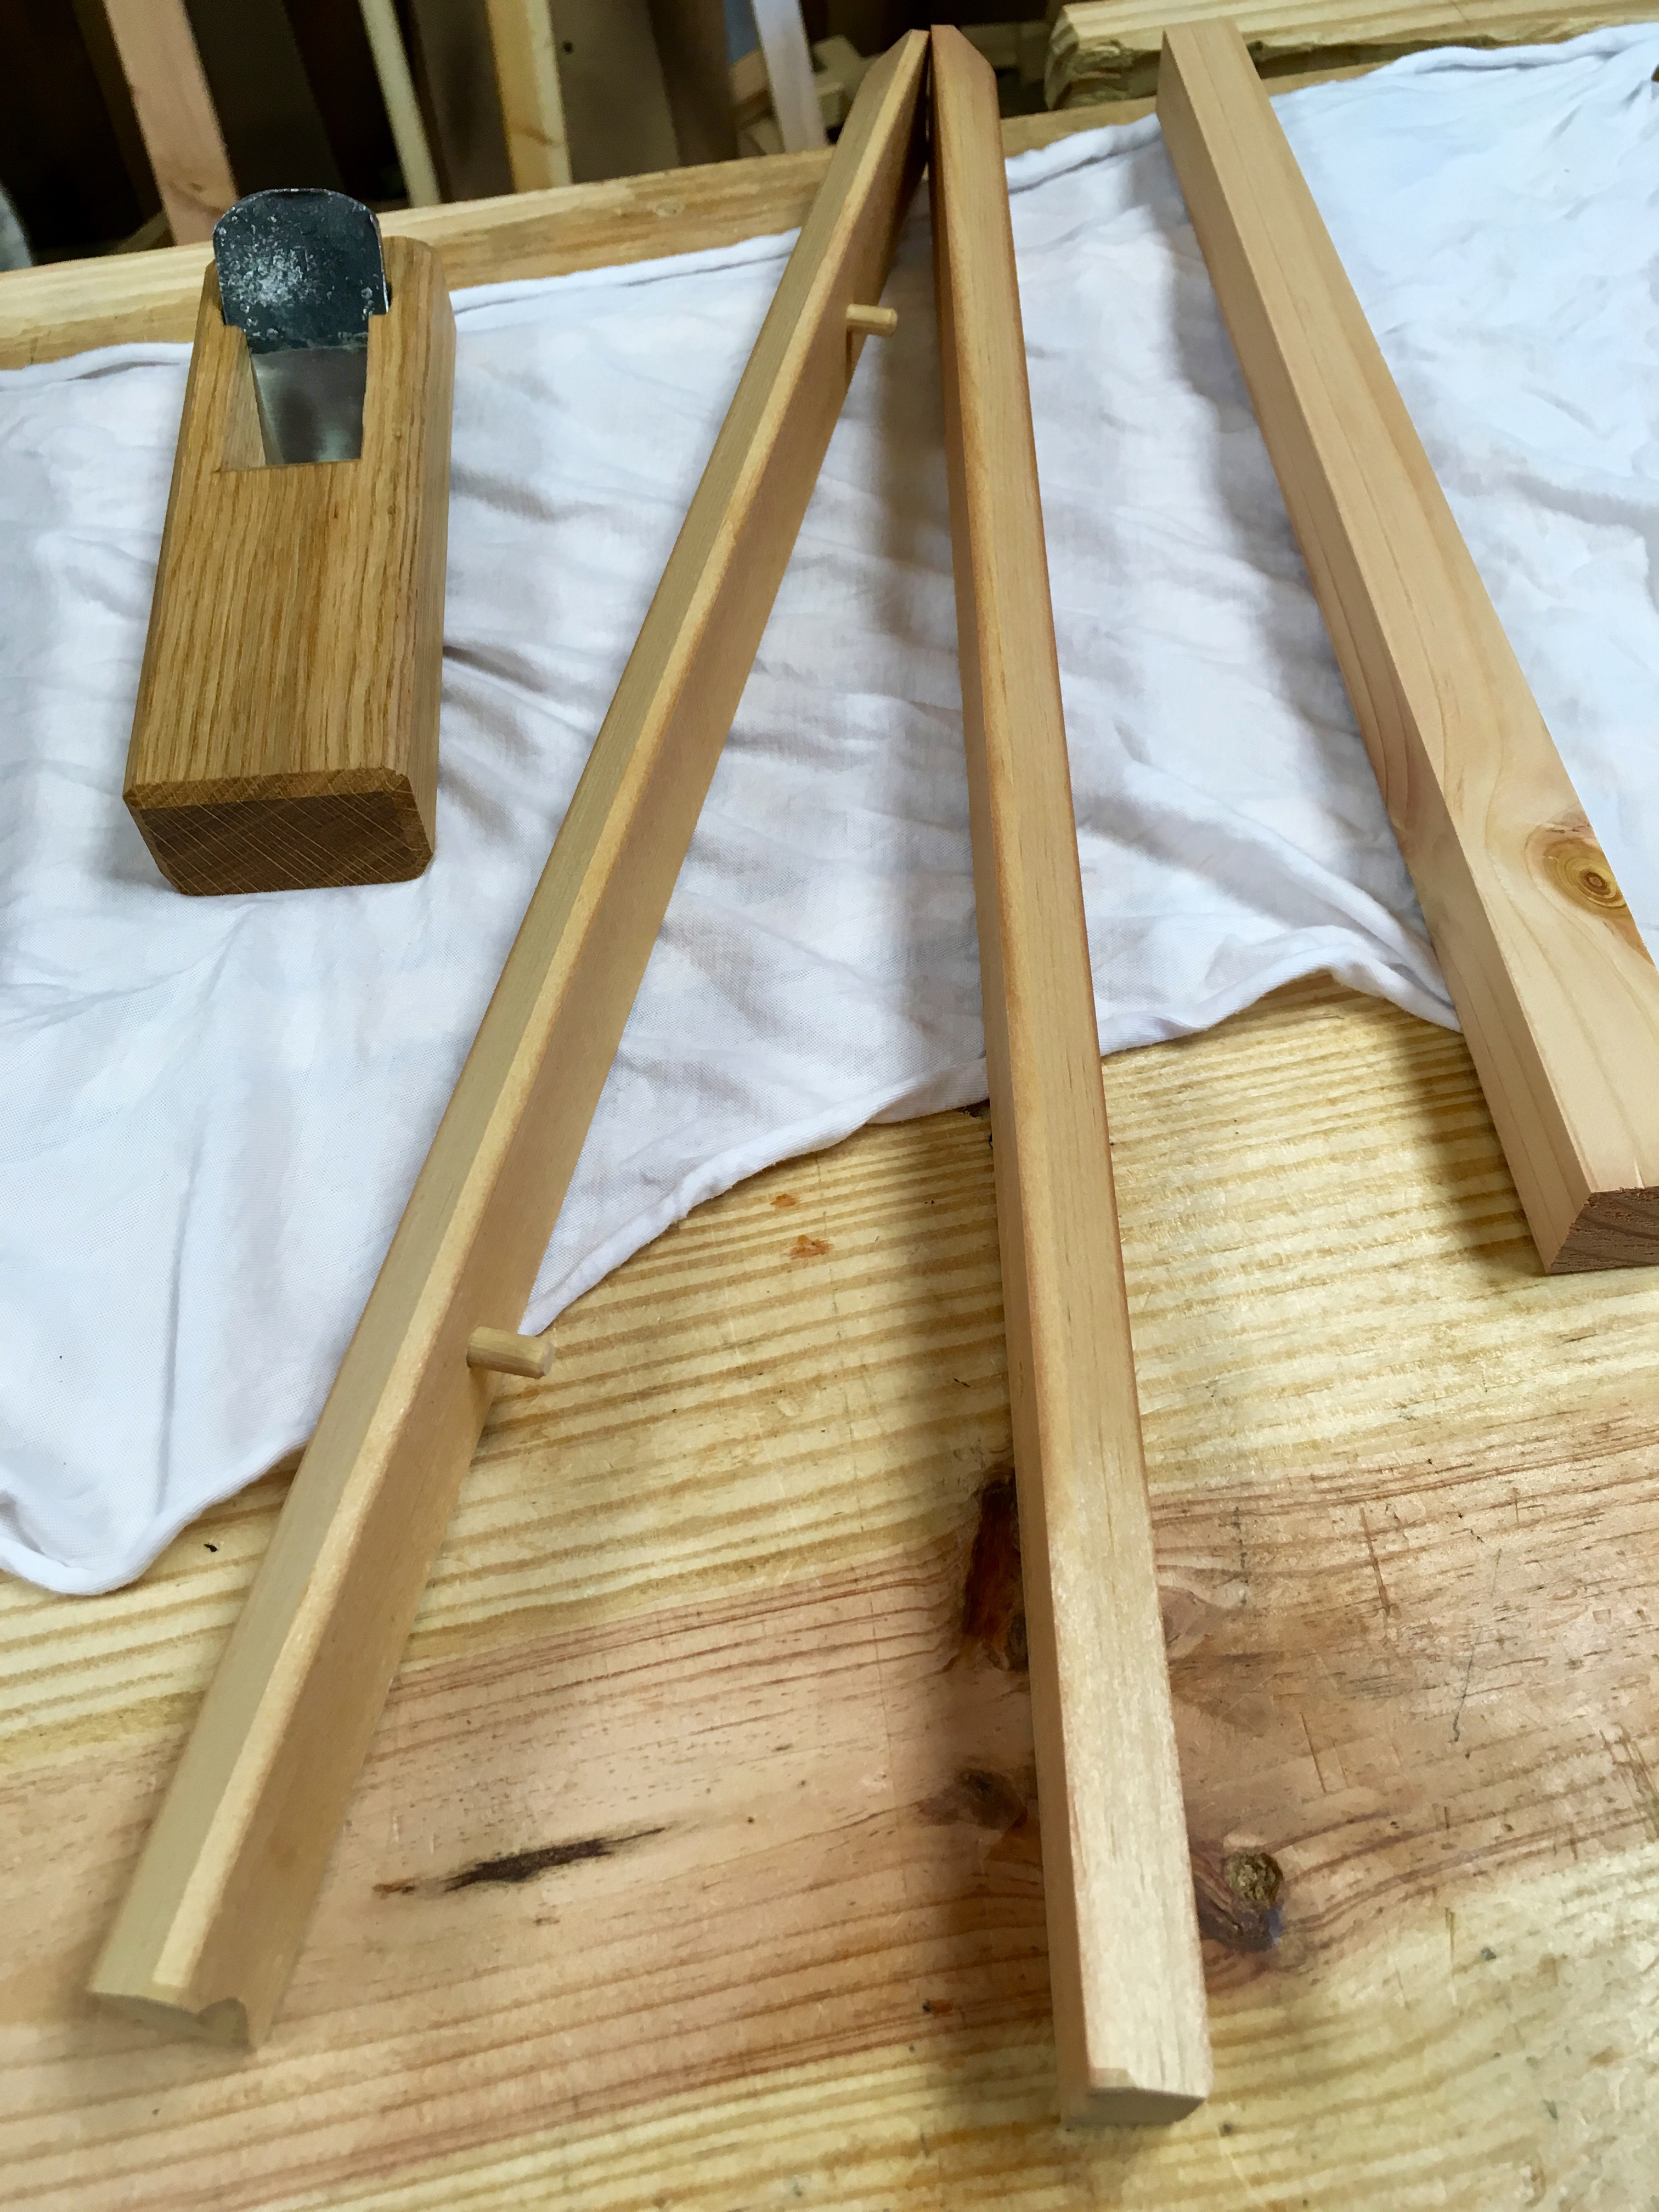
I then used the newly minted plane sole ruler to condition the sole of my newly minted block plane. How’s that for self sufficiency? Like with my previous plane, I bedded the blade of the block plane at 45deg. Works great for planing the scraps of 2×4 and SYP that I’ve been running tests on.

I still have a whole lot to learn about the Japanese plane, but I’m at least up and running…finally!

Greg Merritt

What does the plane sole ruler do? sorry for my ignorance but I just didn’t get it.
Yea…I think I left that part out of the story. I need to edit this post.
The plane sole ruler is used to verify that the contact points are coplanar and that the scraped areas are at the proper depth.
I edited the post and added a video that should explain the plane sole ruler and the process of conditioning the sole.
What he’s created is the same setup as you would have on a jointer table but why, if I understood Japanese I would have my answer. Btw that’s the cleanest machine shop I have ever seen, everything is so beautifully laid out with plenty of space in between. I think I’m going to explore their workshops and get a few ideas on how to set mine up.
There are several ways to condition the sole of a Japanese plane. They all have a pressure point in front of the blade, This results in the wood being compressed just before it is cut. The result is a burnished/polished surface.
That guys shop is fantastic. I wish I understood Japanese so that I could get a better idea of what kind of shop he is running.
Metal planes also flex and depending where you place your finger can alter the cut but metal planes won’t burnish the timber to the same effect as wood on wood. You can achieve the same results with western style wooden plane. Honestly I don’t see any benefits with Japanese plane over a western wooden type. To me they are both achieve identical results.
All planes work just fine, as long as they are sharp and well tuned. Like Bob pointed out, the wooden planes are lighter. The benefit though is a personal thing for me. The pull stroke makes more sense to me ergonomically and switching over to the Japanese planes has been a long-term goal of mine.
As long as your happy with it is all that matters and you’ve picked up a new skill one over me. I had desires in making a wooden jointer but lost it the other day banging on it to get the blade out for sharpening. If I do decide to make one I would like to employ the quick release blade mechanism like HNT has. Just a brass block inside press against another brass rod, one tap and it’s out. He said it’s his idea and a bloody good one too.
Smaller is never easier! There are just as many steps to making a small version of something. AND, the tolerances are usually reduced too!
Those shavings sure look great! Nice plane. FWIW, I’m not bored with kanna posts. Keep em’ coming.
for Salko: My opinion, since I don’t have any Japanese planes, is that the biggest benefit of the Japanese plane are the same as with western wooden planes: much lighter weight than their metal cousins.
Yep…I knew better, but went in with high hopes that this time it would be different. 😉
The planes work pretty well. I’m starting to get my head wrapped around the kanna, slowly, but I’m getting there. Don’t worry, there will be at least a few more posts dealing with my exploration of the kanna.
true
Doing smaller stuff is much harder… Remember my bed prototypes?
I like these posts because it give me more understanding on how and why “things” work!
LOL…I remember. I thought I would get lucky and this time would be different. No such luck.
Thanks, it’s good to know that you are finding these posts useful.
Greg,
Have you seen this post by desmond king?
http://kskdesign.com.au/blog_files/tuning_my_finishing_plane.html
one of these days I will get brave enough to get a kanna.
Dave O
No I had not. Thanks for the link. I do have his books though and there is good information in those as well.
Pingback: Hira Kanna Remake-Part 2 | HILLBILLY DAIKU