
 With my design in hand and materials at the ready, it was time to get started. The first step was to cut my 24″x48″ sheet of ply into two 24″x24″ sections and glue up my slab. Nothing fancy to report here. Slather glue on the mating surfaces and clamp them together. I will say that the whole process was made easier with a glue roller and judicious use of screws as clamps.


While the glue was doing its thing, I started on the legs. I cut the required lengths from my stock as per my design drawing. Then worked them to four-square.
My legs are simple tapered octagons, larger at the top, smaller at the floor. I have been working on an extremely fast way of laying these out and cutting them. I’m not quite ready to go into detail on the process, but I seems to work really well.
The bulk of the waste was peeled away with a drawknife while the stock was clamped in my shaving horse. Man I love that thing! The tenon portion of the legs were shaped with my Veritas tapered tenon cutter.
Three stages of leg in my experimental process.
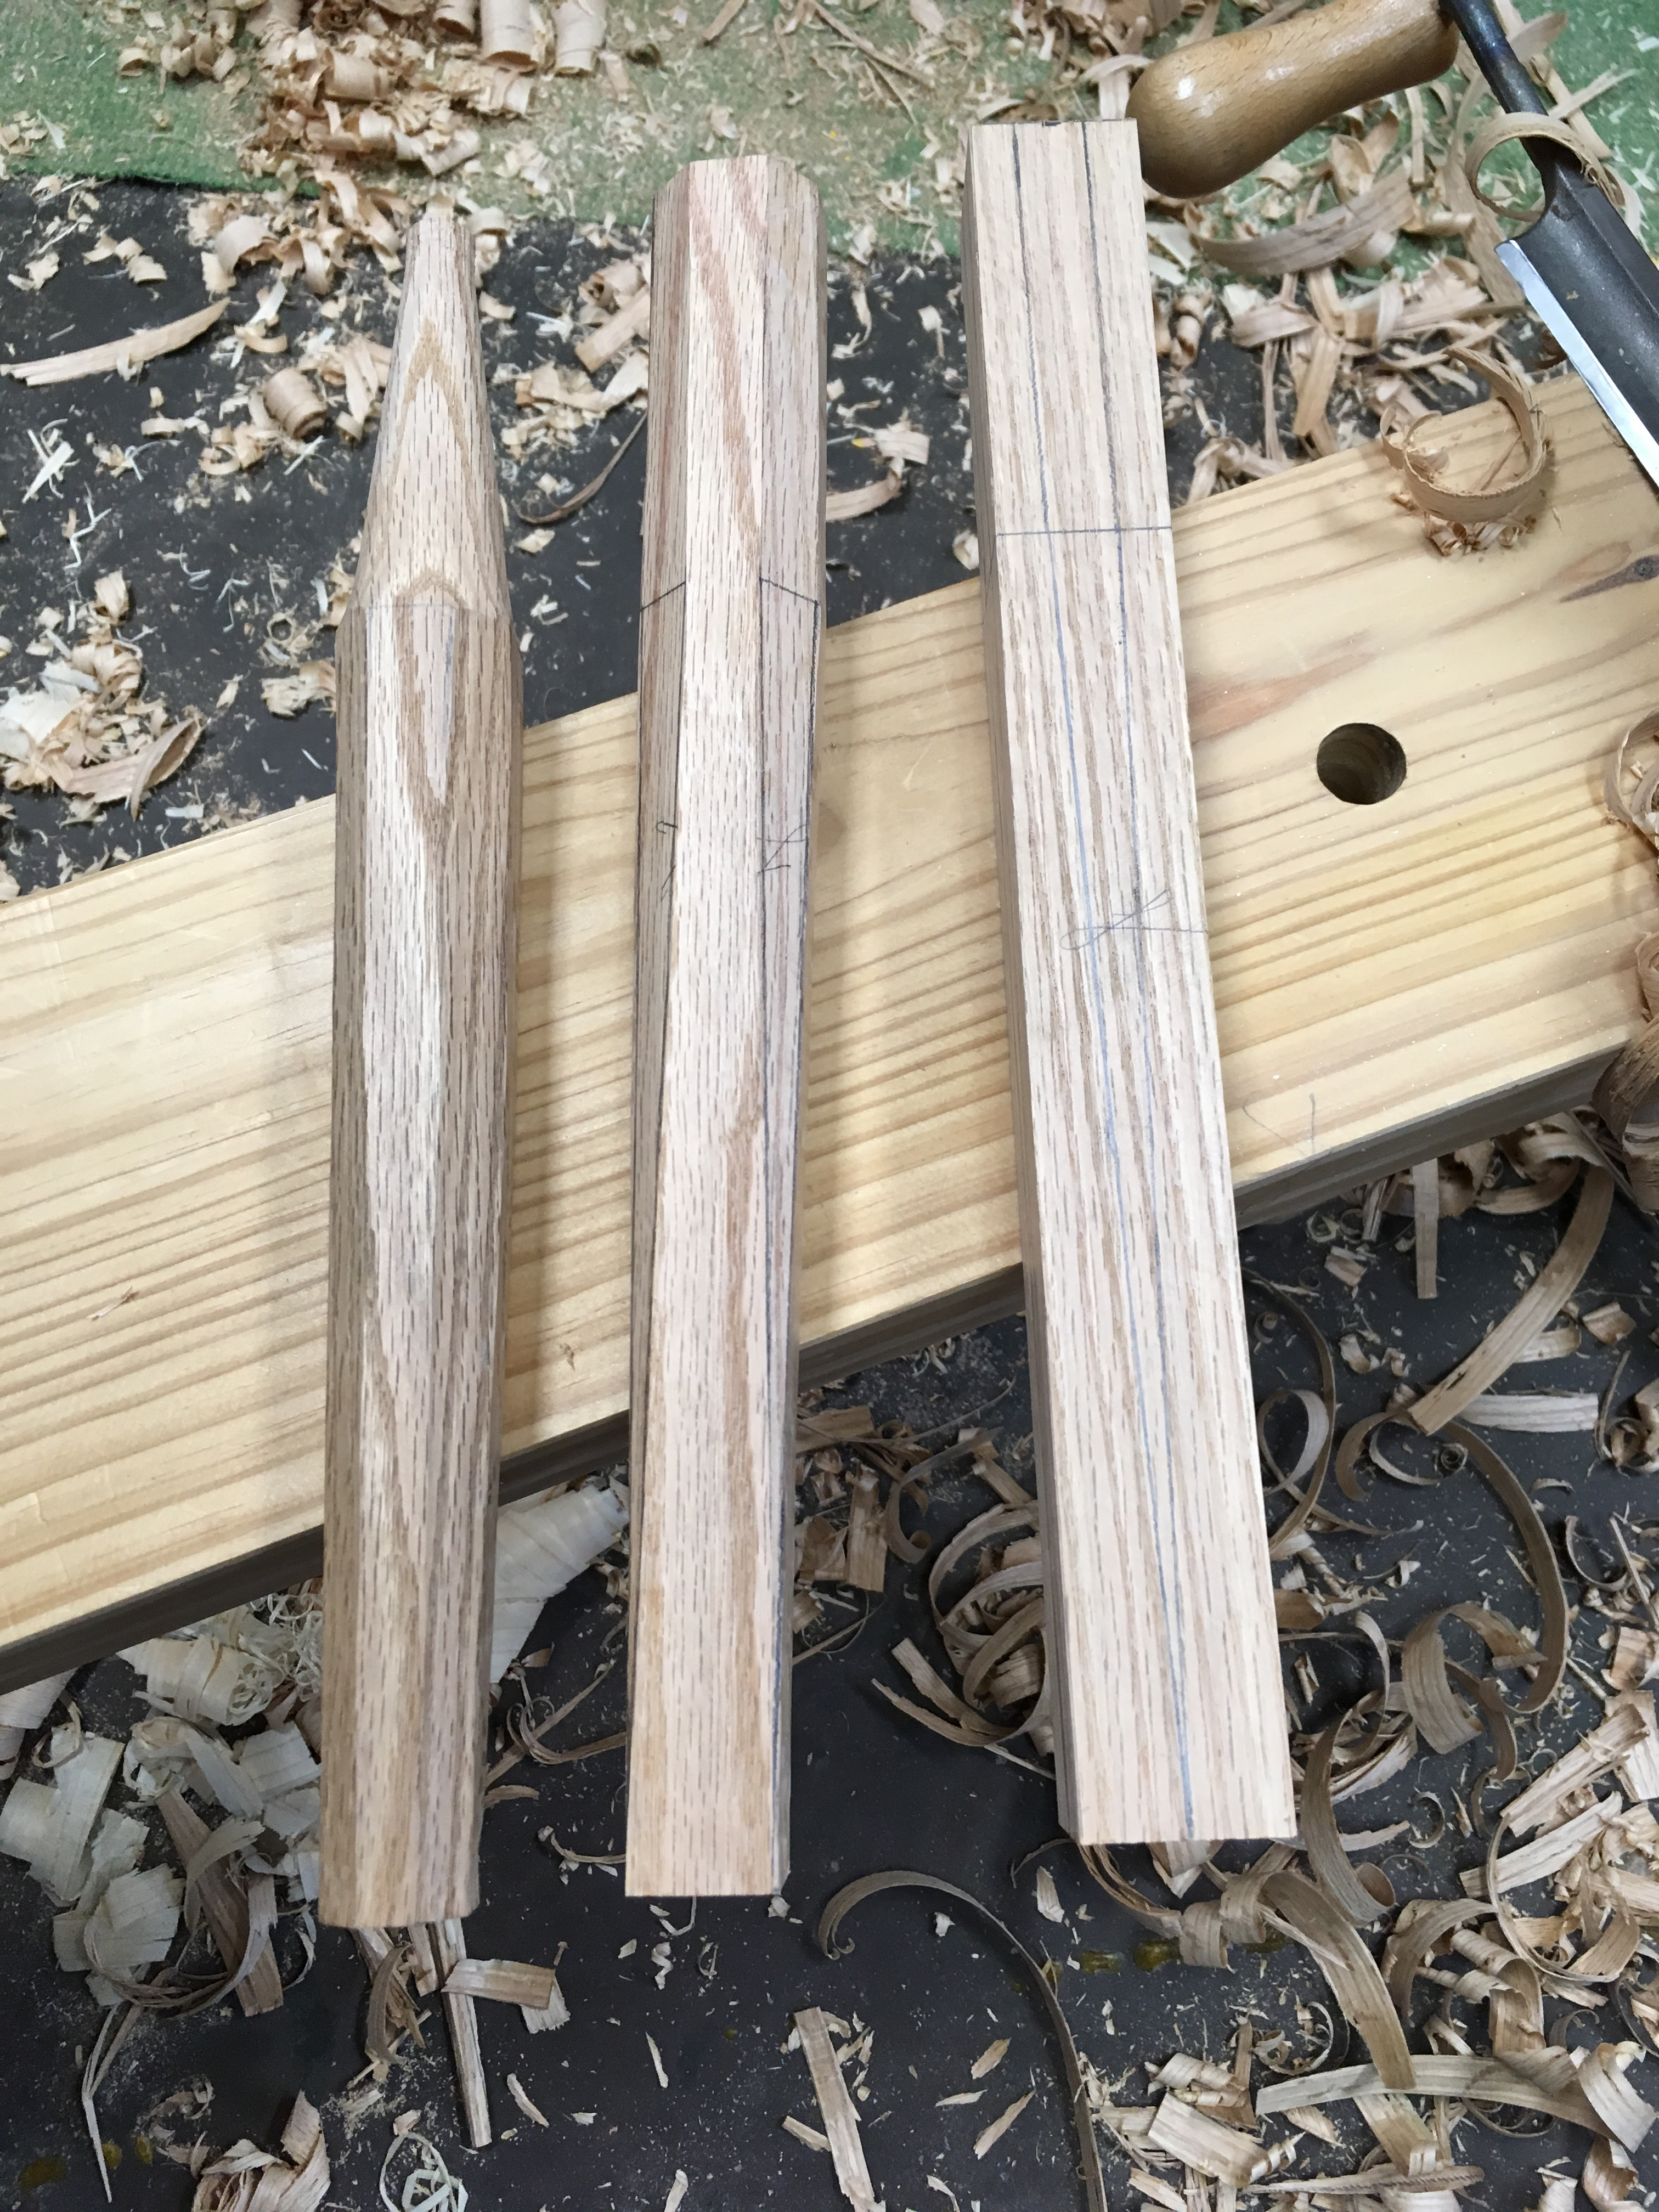
The roughed out legs were then refined with my recently minted truing plane.

To finish off the legs I fired up the wood burner and added the same embellishments as per the past staked projects.
After waiting the requisite 24hrs for the glue to do its work, I removed the clamps and screws and tackled the layout. I designed this project with a very simple layout. One setting on the dividers and a square is all that is required.
By setting the dividers/compass to 1/2 the Module (72mm) I was able to step off all of the required key points. The sight lines for each leg runs at 45deg. So the square makes laying these sight lines out very easy. I simply positioned the square so that each leg rested on the center point location of the leg and the vertex of the square rested on the mid-point line between those two points. Confusing when I try to spell it all out, but takes about three seconds to actually do.
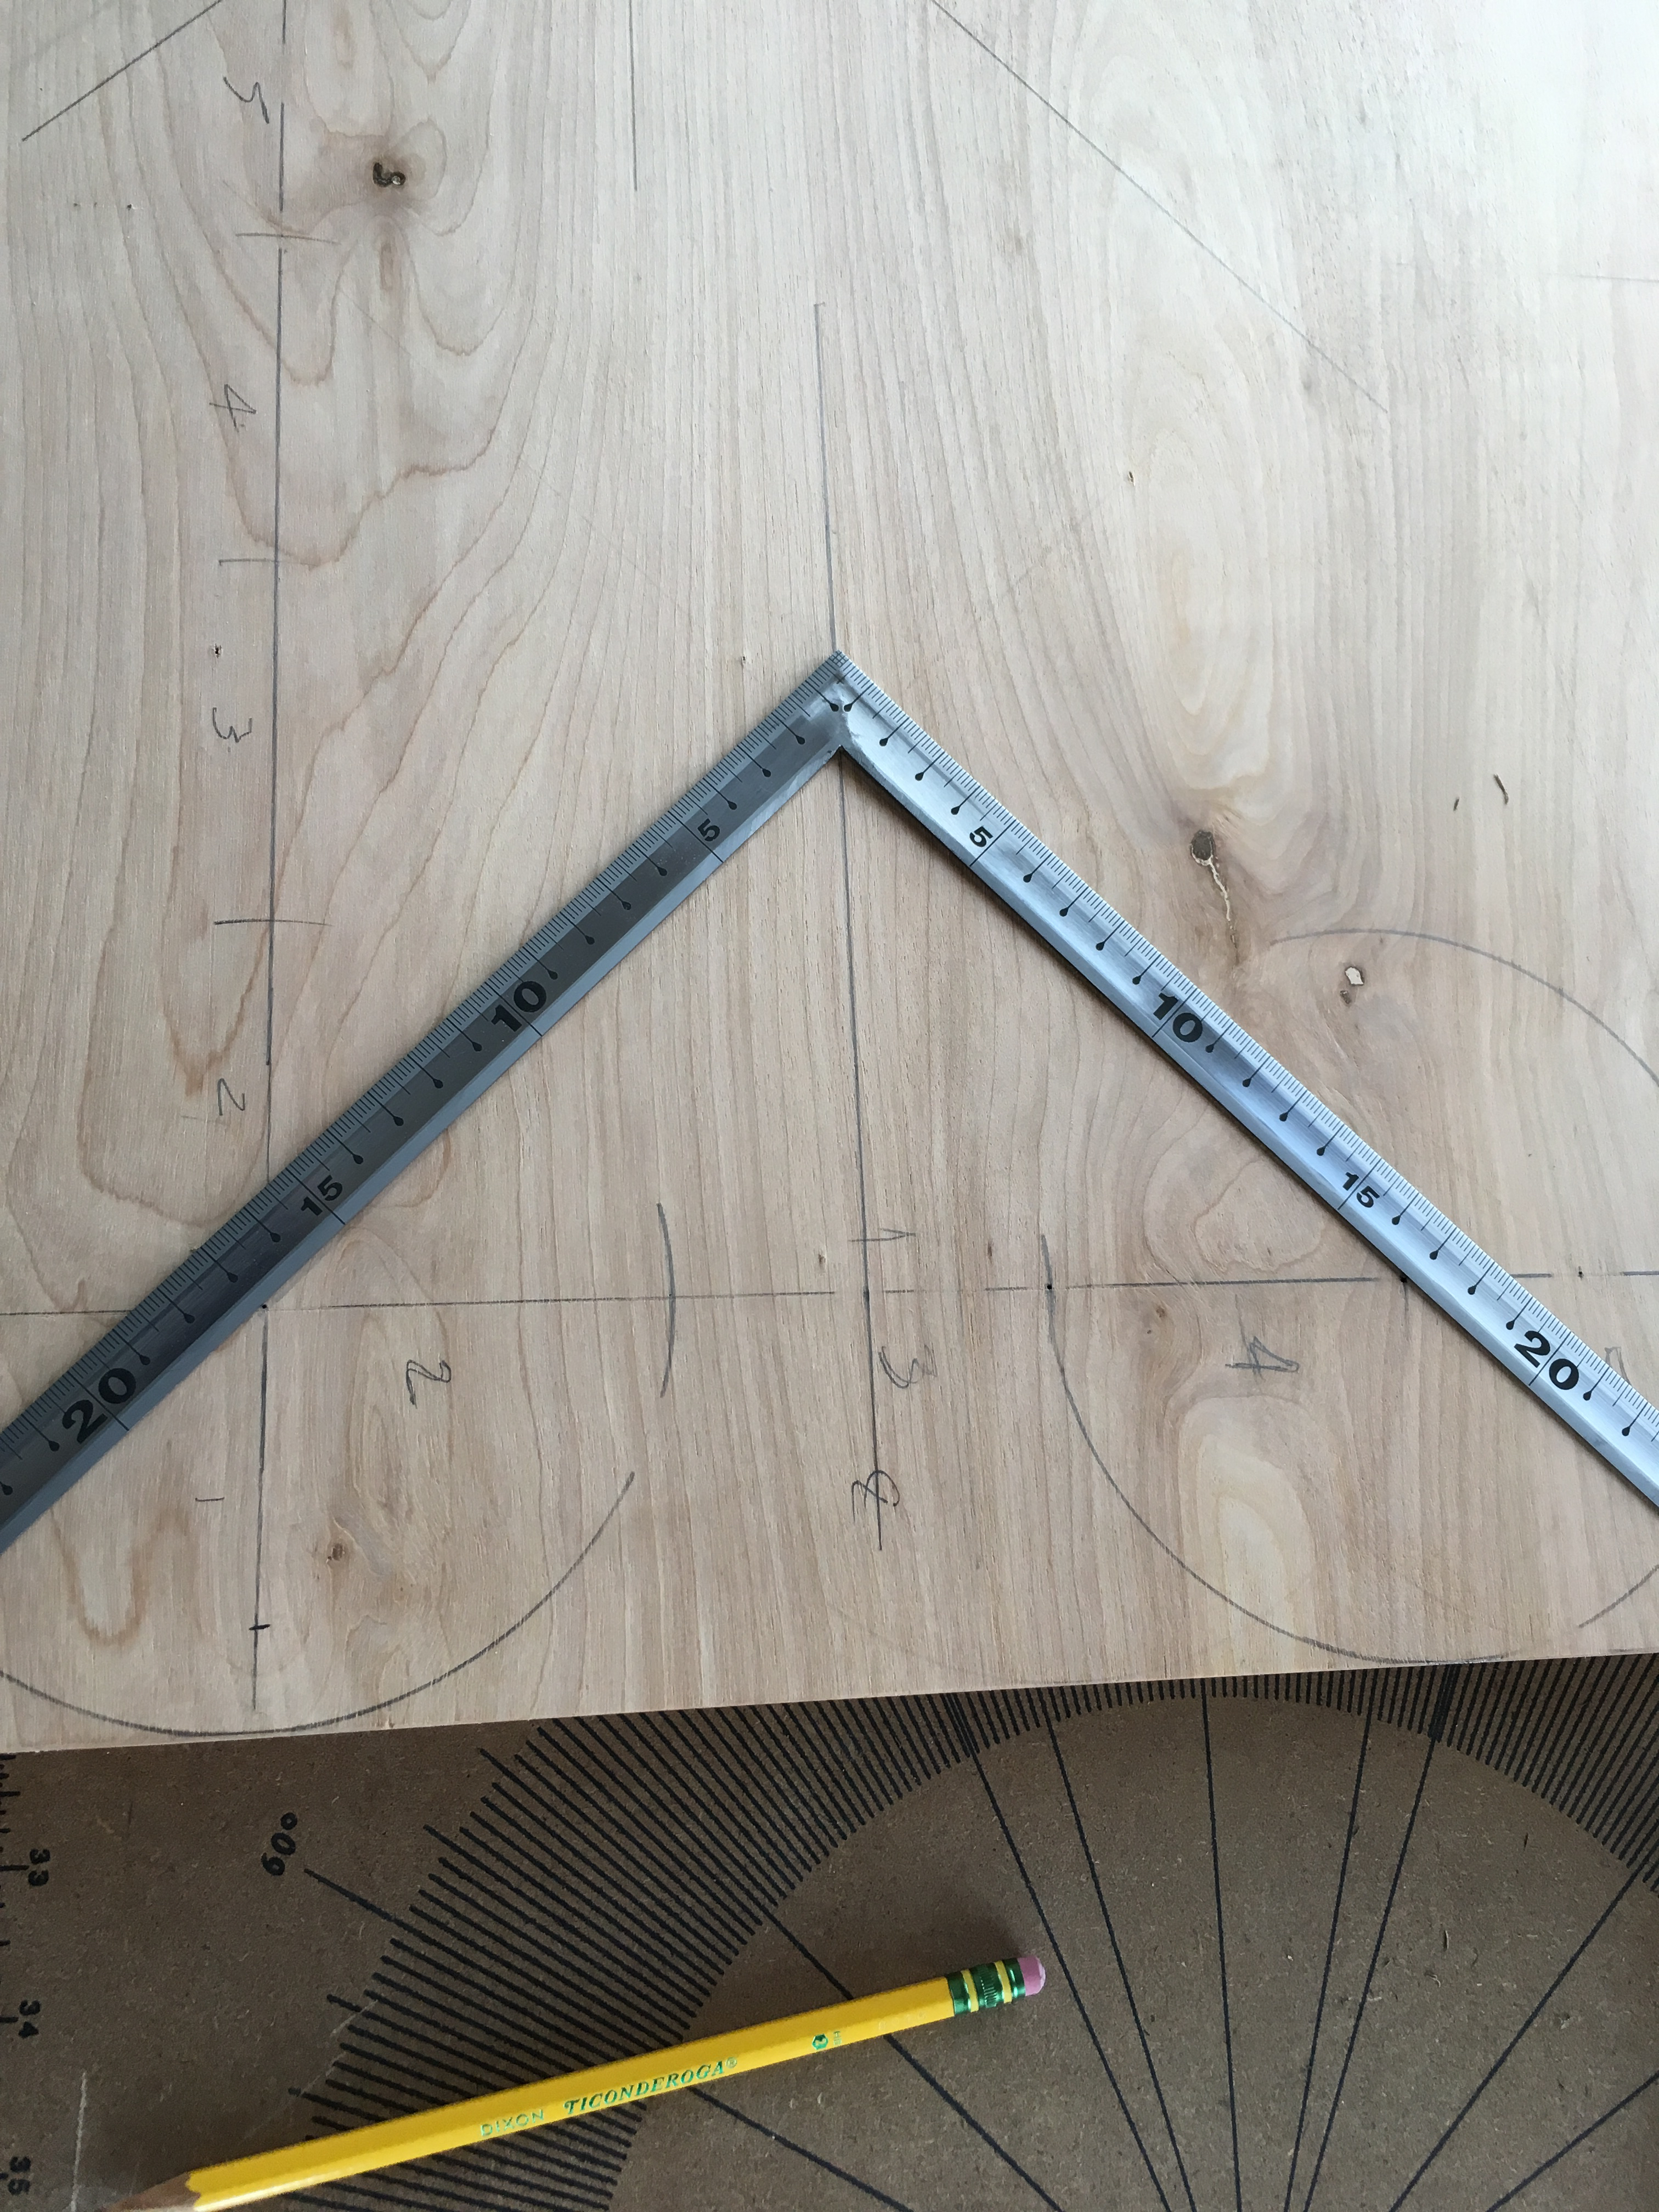
The remainder of the layout was completed by simply connecting the tangents between the established corner arcs.

A handsaw, plane and spokeshave separated the wanted from the detritus. A little caressing with sandpaper finished off the top.

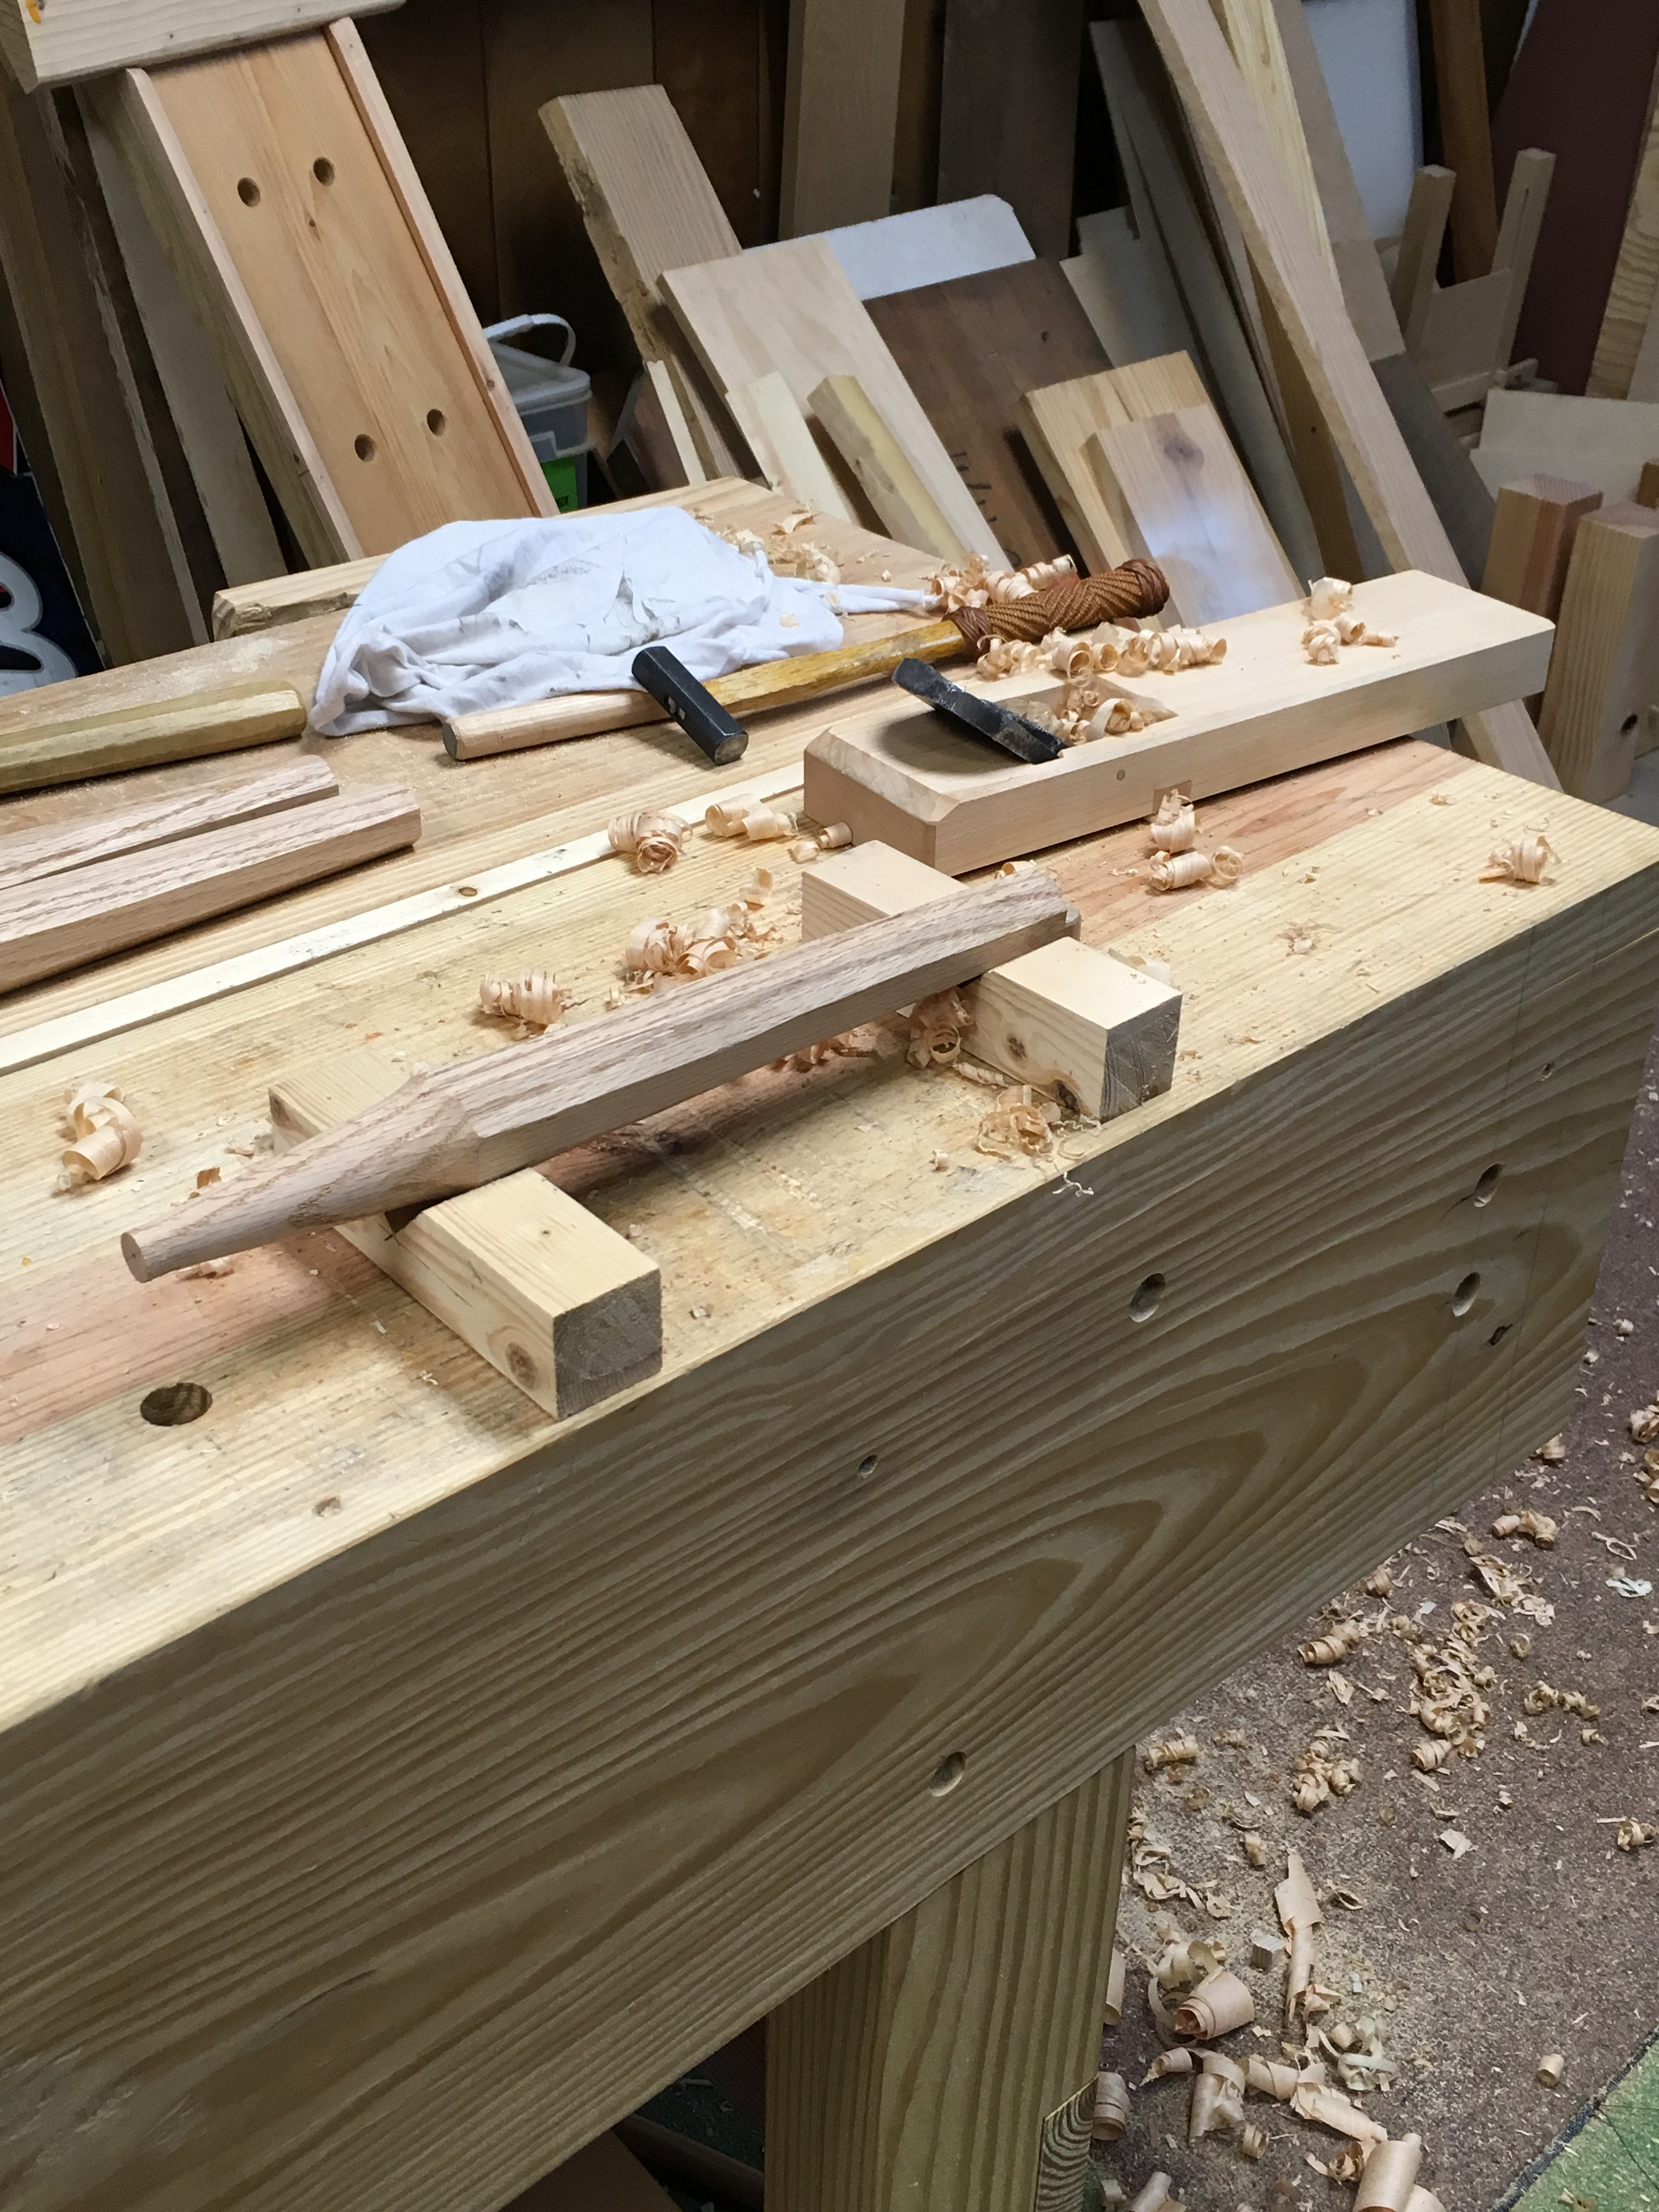
To install the legs into the top I first set a bevel square to the desired resultant angle, drilled a 1/2″ hole as close to the angle as I could manage and then reamed those holes to match the taper of the leg tenon. Since the actual legs are tapered, a round dowel “sharpened”, with the Veritas tapered tenon cutter, comes in handy for gauging my progress and accuracy with the reamer.

Each hole was reamed and tweaked for a secure fit and pleasing visual installation.

The I cut a slots into the the leg tenons, applied glue to socket and tenon, drove the legs home with a mallet and installed wedges into the the legs to lock them into place.

With the legs installed I needed to trim them for length and level. Working in the sun porch, its warmer than the cold garage shop, I first leveled my work table. Then shimmed the stool so that it too was level. Took a measurement and cut a spacer block to the thickness of the leg length that needed to be removed. With all of that done. I used my half pencile (C.W. tip from the Anarchist’s Design Book) to mark the legs for trimming.

Next I’ll trim the legs, apply two or three coats of oil and then tackle the upholstery.

This is NOT a blog post… this is a complete tutorial!
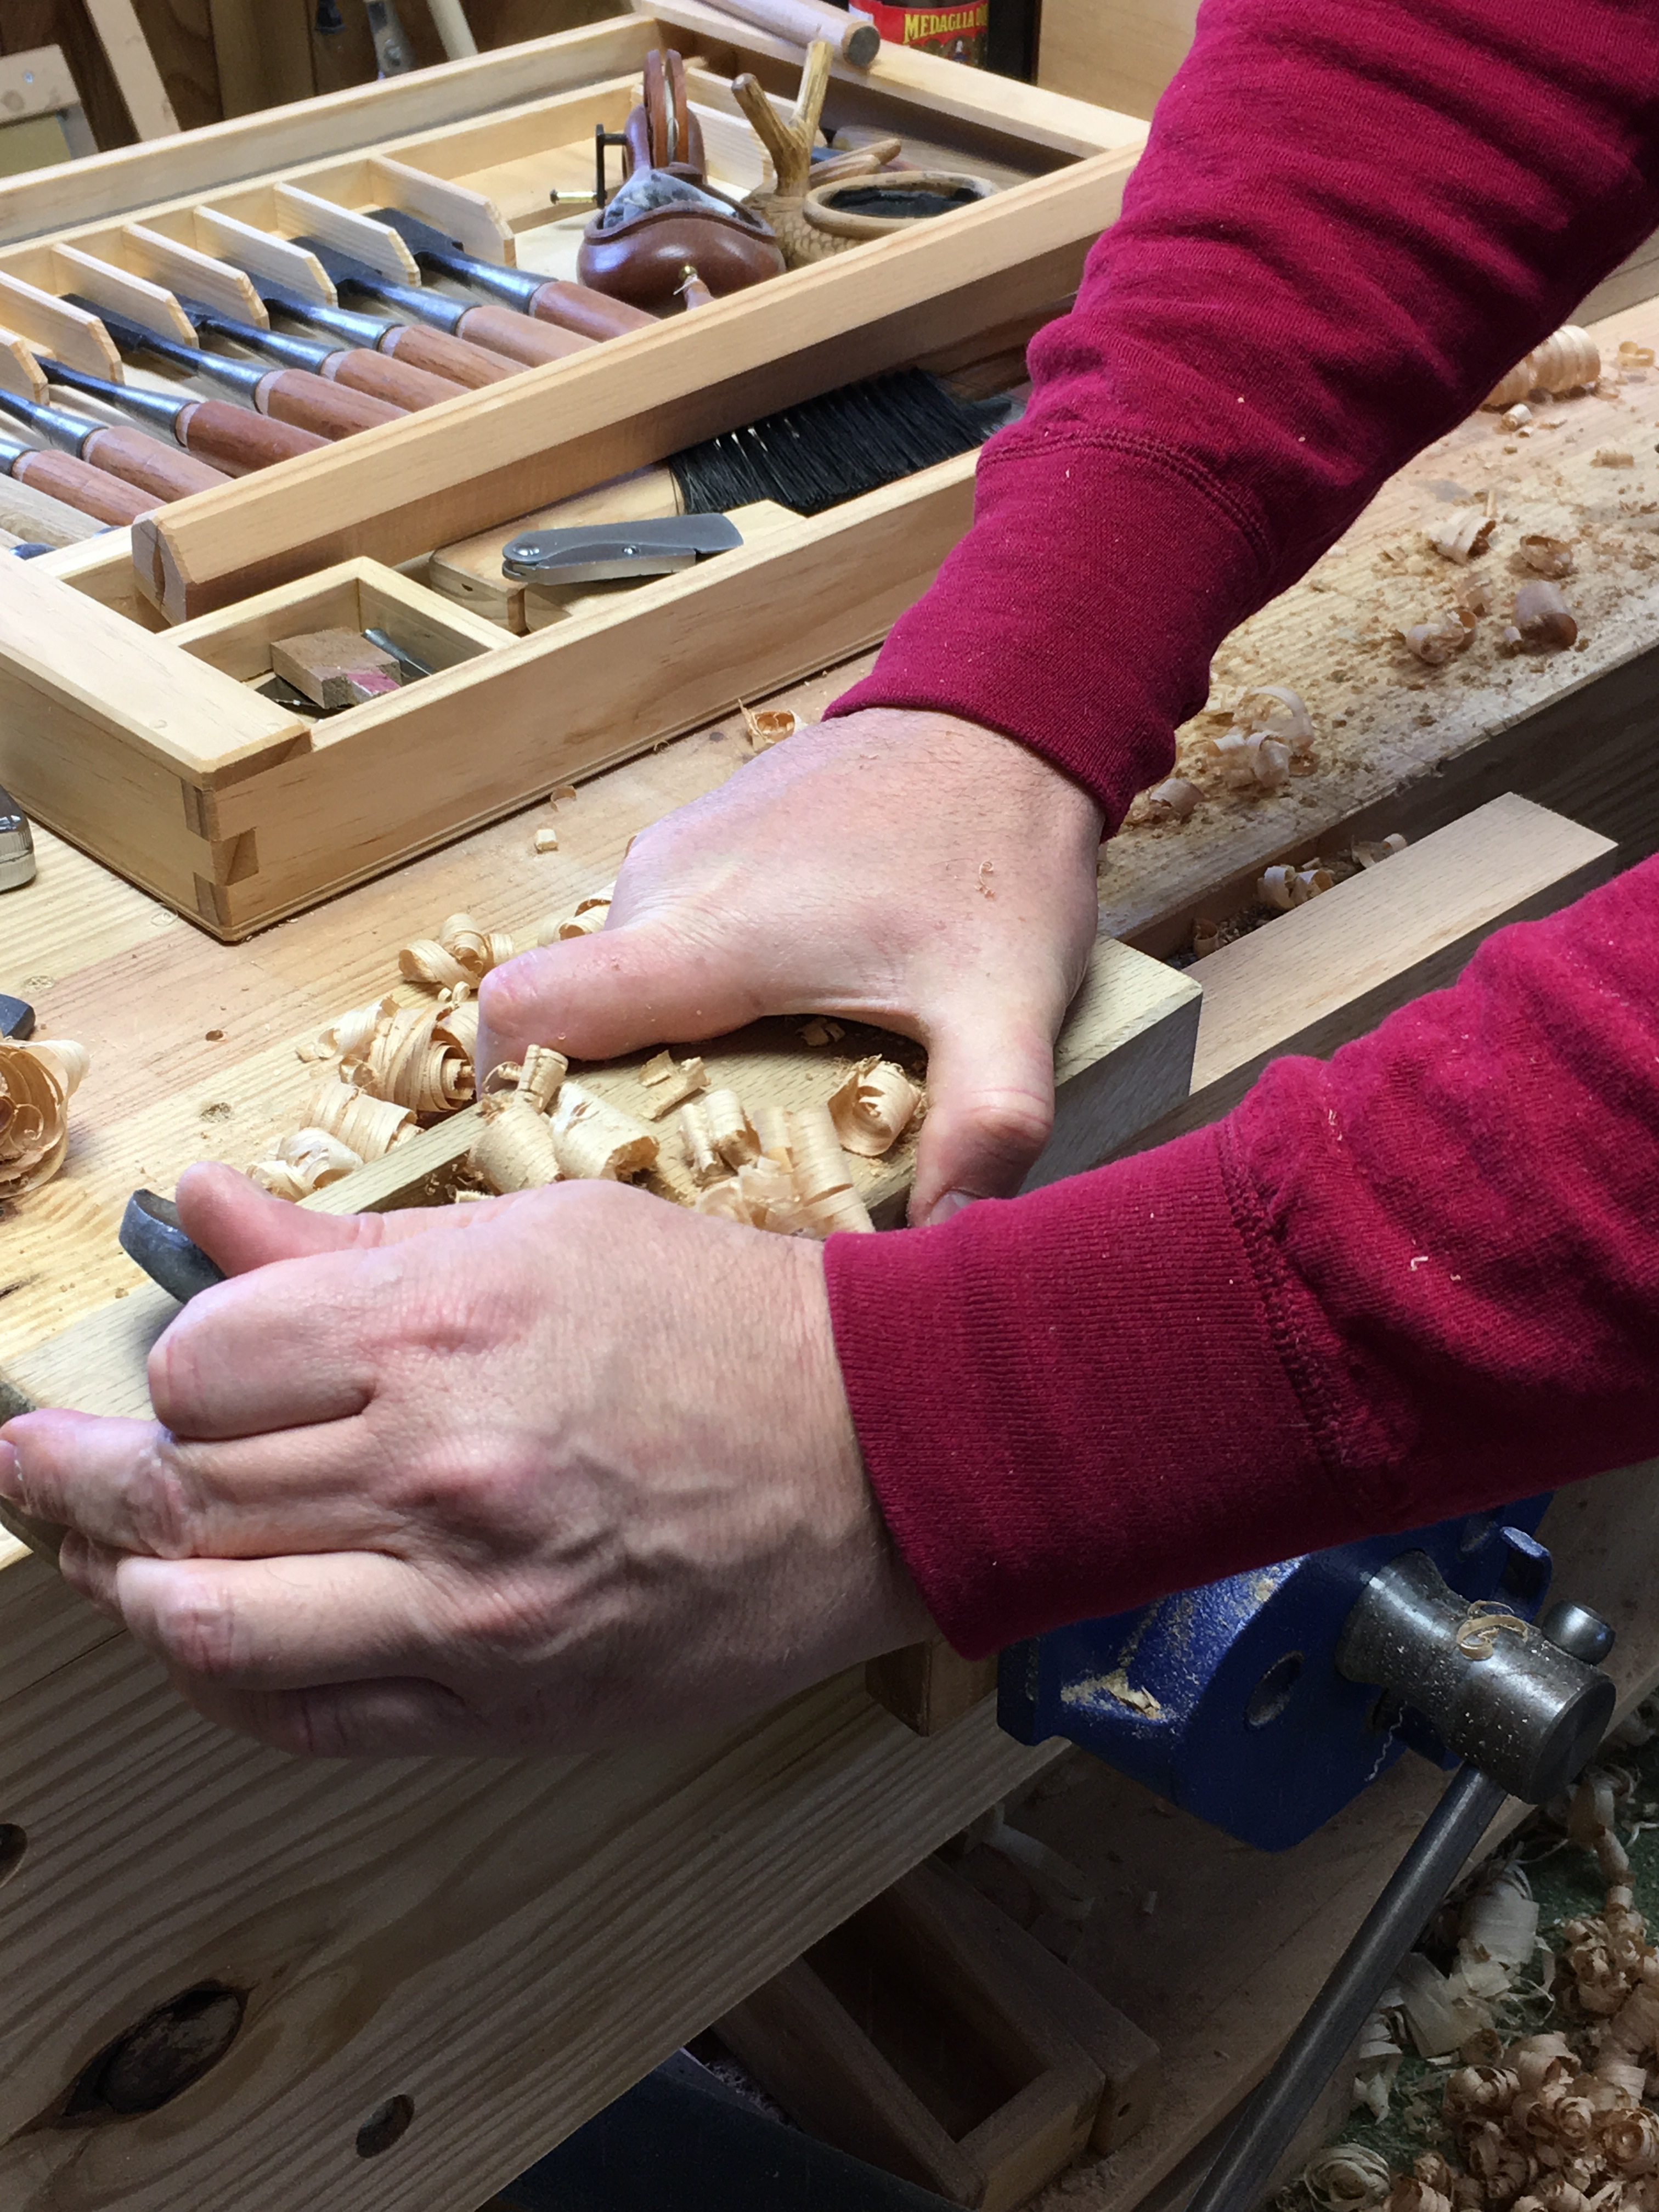
I cannot let my wife see the 3rd picture, with your tools so tidy on the tray, because she already says I need to be more organize – As always wife/manager IS right and never, ever mistaken…. you wish!
Not sure if its a very good tutorial, I’m still struggling to get back into the blog groove since my move. Thanks for the encouragement.
LOL…I’ll try and get the messy parts in future photos so you will stay out of trouble. 😉
thank you for expanding my vocabulary as well. Reading this blog is never a detritus of my time. Looking good Greg.
Thanks…LOL…if you are looking to expand your vocabulary, you will be better off with “word of the day” toilet paper than my drivel..LOL..:)
Pingback: Asymmetric Footstool-Part 1 | HILLBILLY DAIKU
Pingback: Asymmetric Footstool-Part 3-Complete | HILLBILLY DAIKU