
 Sunday afternoon I removed the clamps from the lamination and finished shaping the top. Then I drilled and reamed the holes for installing the legs.

I installed the legs with glue and wedges. Since my work table was still set up on the sun porch, I took the assembly into the house and marked the legs for length and level.

Once the legs were trimmed, I wiped them and the bottom side of the top with a coat of Tried & True.
Then there was a Christmas miracle!
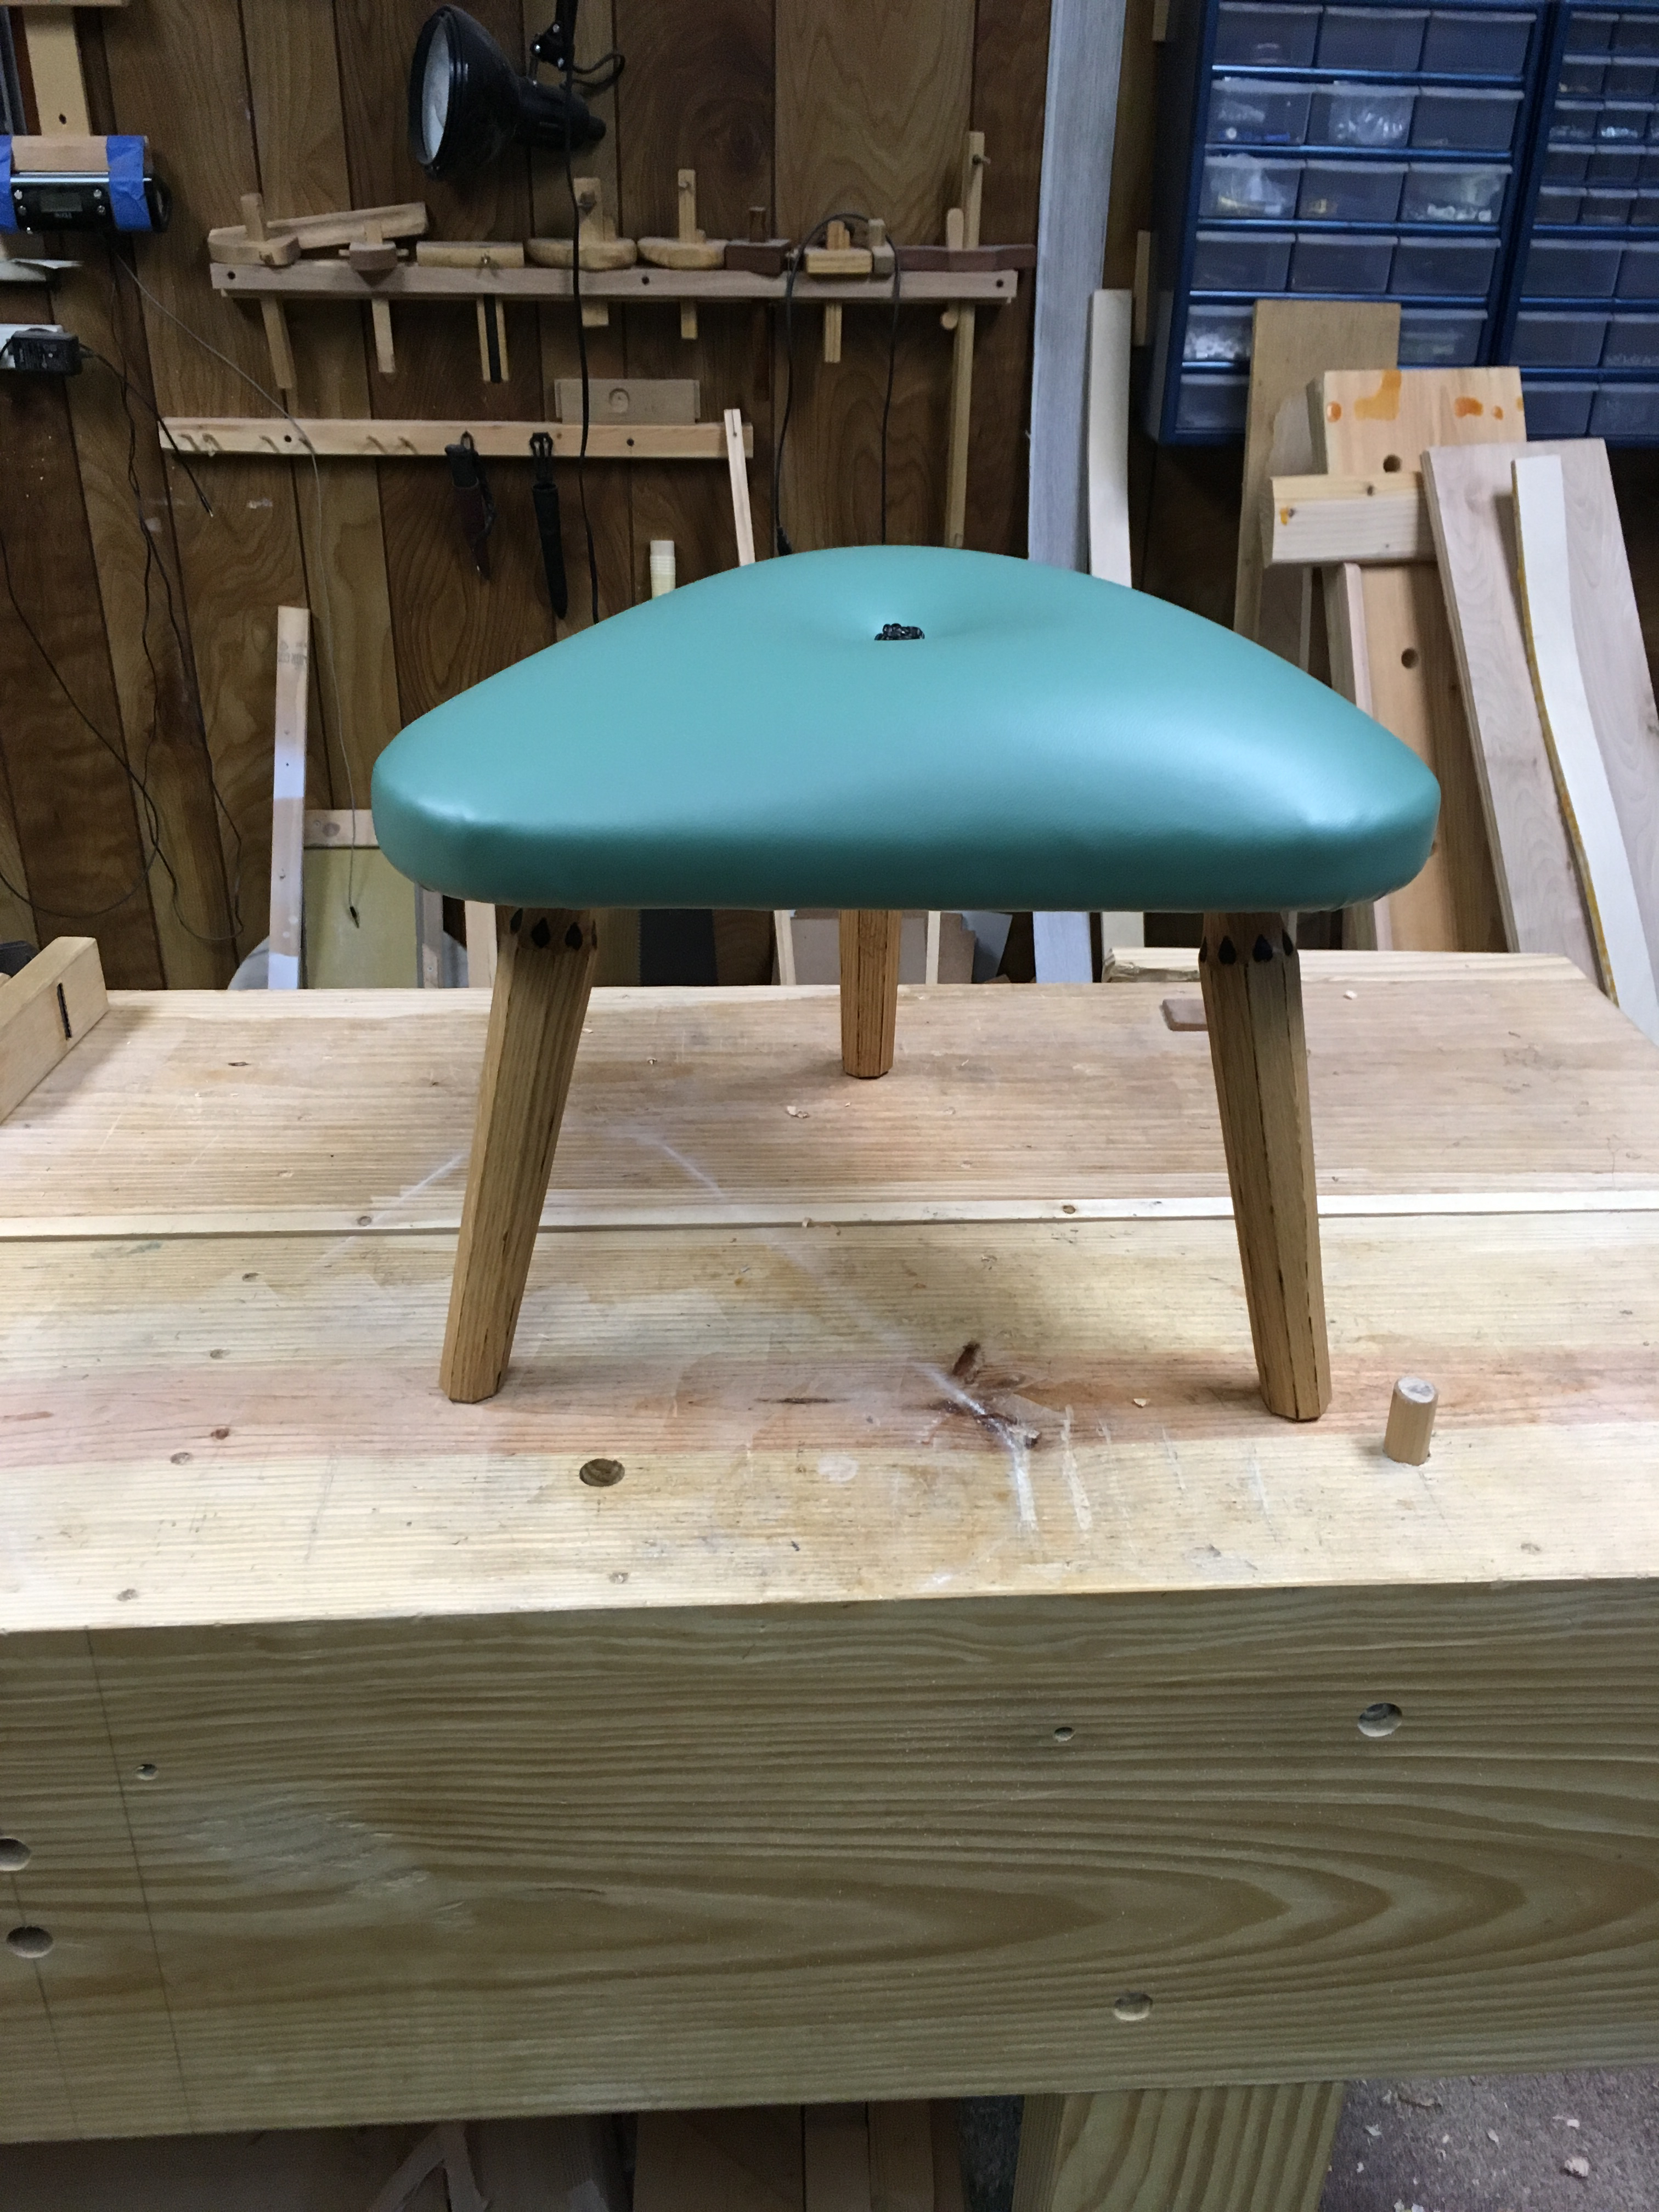
A wall & crown tufting button.

My logo stamp and date.

I’ll add a couple more coats of Tried & True over the next few days, but I’m actually done! Not too shabby. I started Saturday morning and finished on Sunday evening.
I do apologize for the lack of details, but I had my head down and I was on a mission. Of course management’s reaction was…
“That was quick. You should have time to make another.”
Luckily she was joking…I hope!
Part 1 Greg Merritt

Pingback: Equilateral Footstool-Part 1 | HILLBILLY DAIKU
You work fast!
Sometimes I get lucky and everything goes as planned…not very often…but sometimes.
This one looks just as fantastic as the last. Nice work!
Thanks Brian! Not sure if the qualifier, “as fantastic as the last”, is a agood thing, but I’m assuming the best. LOL…;)
Great!
Now Santa can chose in witch footstool where he rest is feet 🙂
Santa is afraid to come to my house…management might put him to work! 😉
LOL!!!
Greg I’m in pain! I wife got you in her’s instagram feed sometimes my days star with “oh look your friend finish this…!” 😦
LOL…Sorry about that Antonio…you might have to take away her internet privileges…
Your wife can’t talk to my wife or I’ll have to quit my job to get all the projects done.
LOL…I gave up most sleep and every weekend. Agreed, it is probably in our best interest to keep them far apart. If they are allowed to conspire against us…all hope is lost. 😉
The upholstery work is great one day I hope you’ll make a video on how you do the button.
Thanks Salko.
Which part of the button? The actual tying of the button knot or the install?
The part how it all depresses inwards
Probably not the correct way, but it works for me.
Before I upholster the piece, I drill a 1/4″(6mm) hole in the board where I want to have a button. After the upholstery is installed I measure and mark the button locations on the upholster. Then I use a large needle and twine to pull the tag end of the button down thru the upholstery, foam and thru the pre-drilled hole. Then its just a matter of pulling it taught and stapling the tag ends fast to the underside of the board. You can see the tag end of my button in the above photo beside my logo stamp.
Hope that makes sense.
Wow it’s simple thanks Greg
Pingback: Equilateral Footstool-Design Drawing | HILLBILLY DAIKU
Pingback: Tapered Octagonal Legs with the OCTA-LEG-PRO | HILLBILLY DAIKU