
 It is no secret that I prefer a hand-rubbed oil finish. It is my go-to finish of choice. I don’t think that I am alone in this fondness. Judging by the blog posts and articles that I read, several others feel the same way.
Oil has a lot of things going for it. It is easy to apply, easy to renew and easy to repair. It can also be better for your health, depending on your product of choice. An oil and wax finish does have some shortcomings though. It’s not the most durable finish and if your after a high gloss, forget it, it is not going to happen. Also, an oil and wax finish requires some maintenance. It will need an occasional buffing and reapplication once in a while.
Yes, an oil and wax finish is easy to apply. Your don’t need any special training or skill, but don’t mistake easy application for quick or less work. The finishing process can span several days. Possibly even a week or more, depending on the size of the project and surface quality that you are after. If you want a hand-rubbed finish…yep, your actually going to have to rub it by hand…a lot.
Since I’m just completed two large tables, I thought I would discuss the steps that I go through when applying an oil and wax finish. I’m no expert, so this is not holy writ, just the steps that I have found to work best for me. Please feel free to question or contradict any of all that follows.
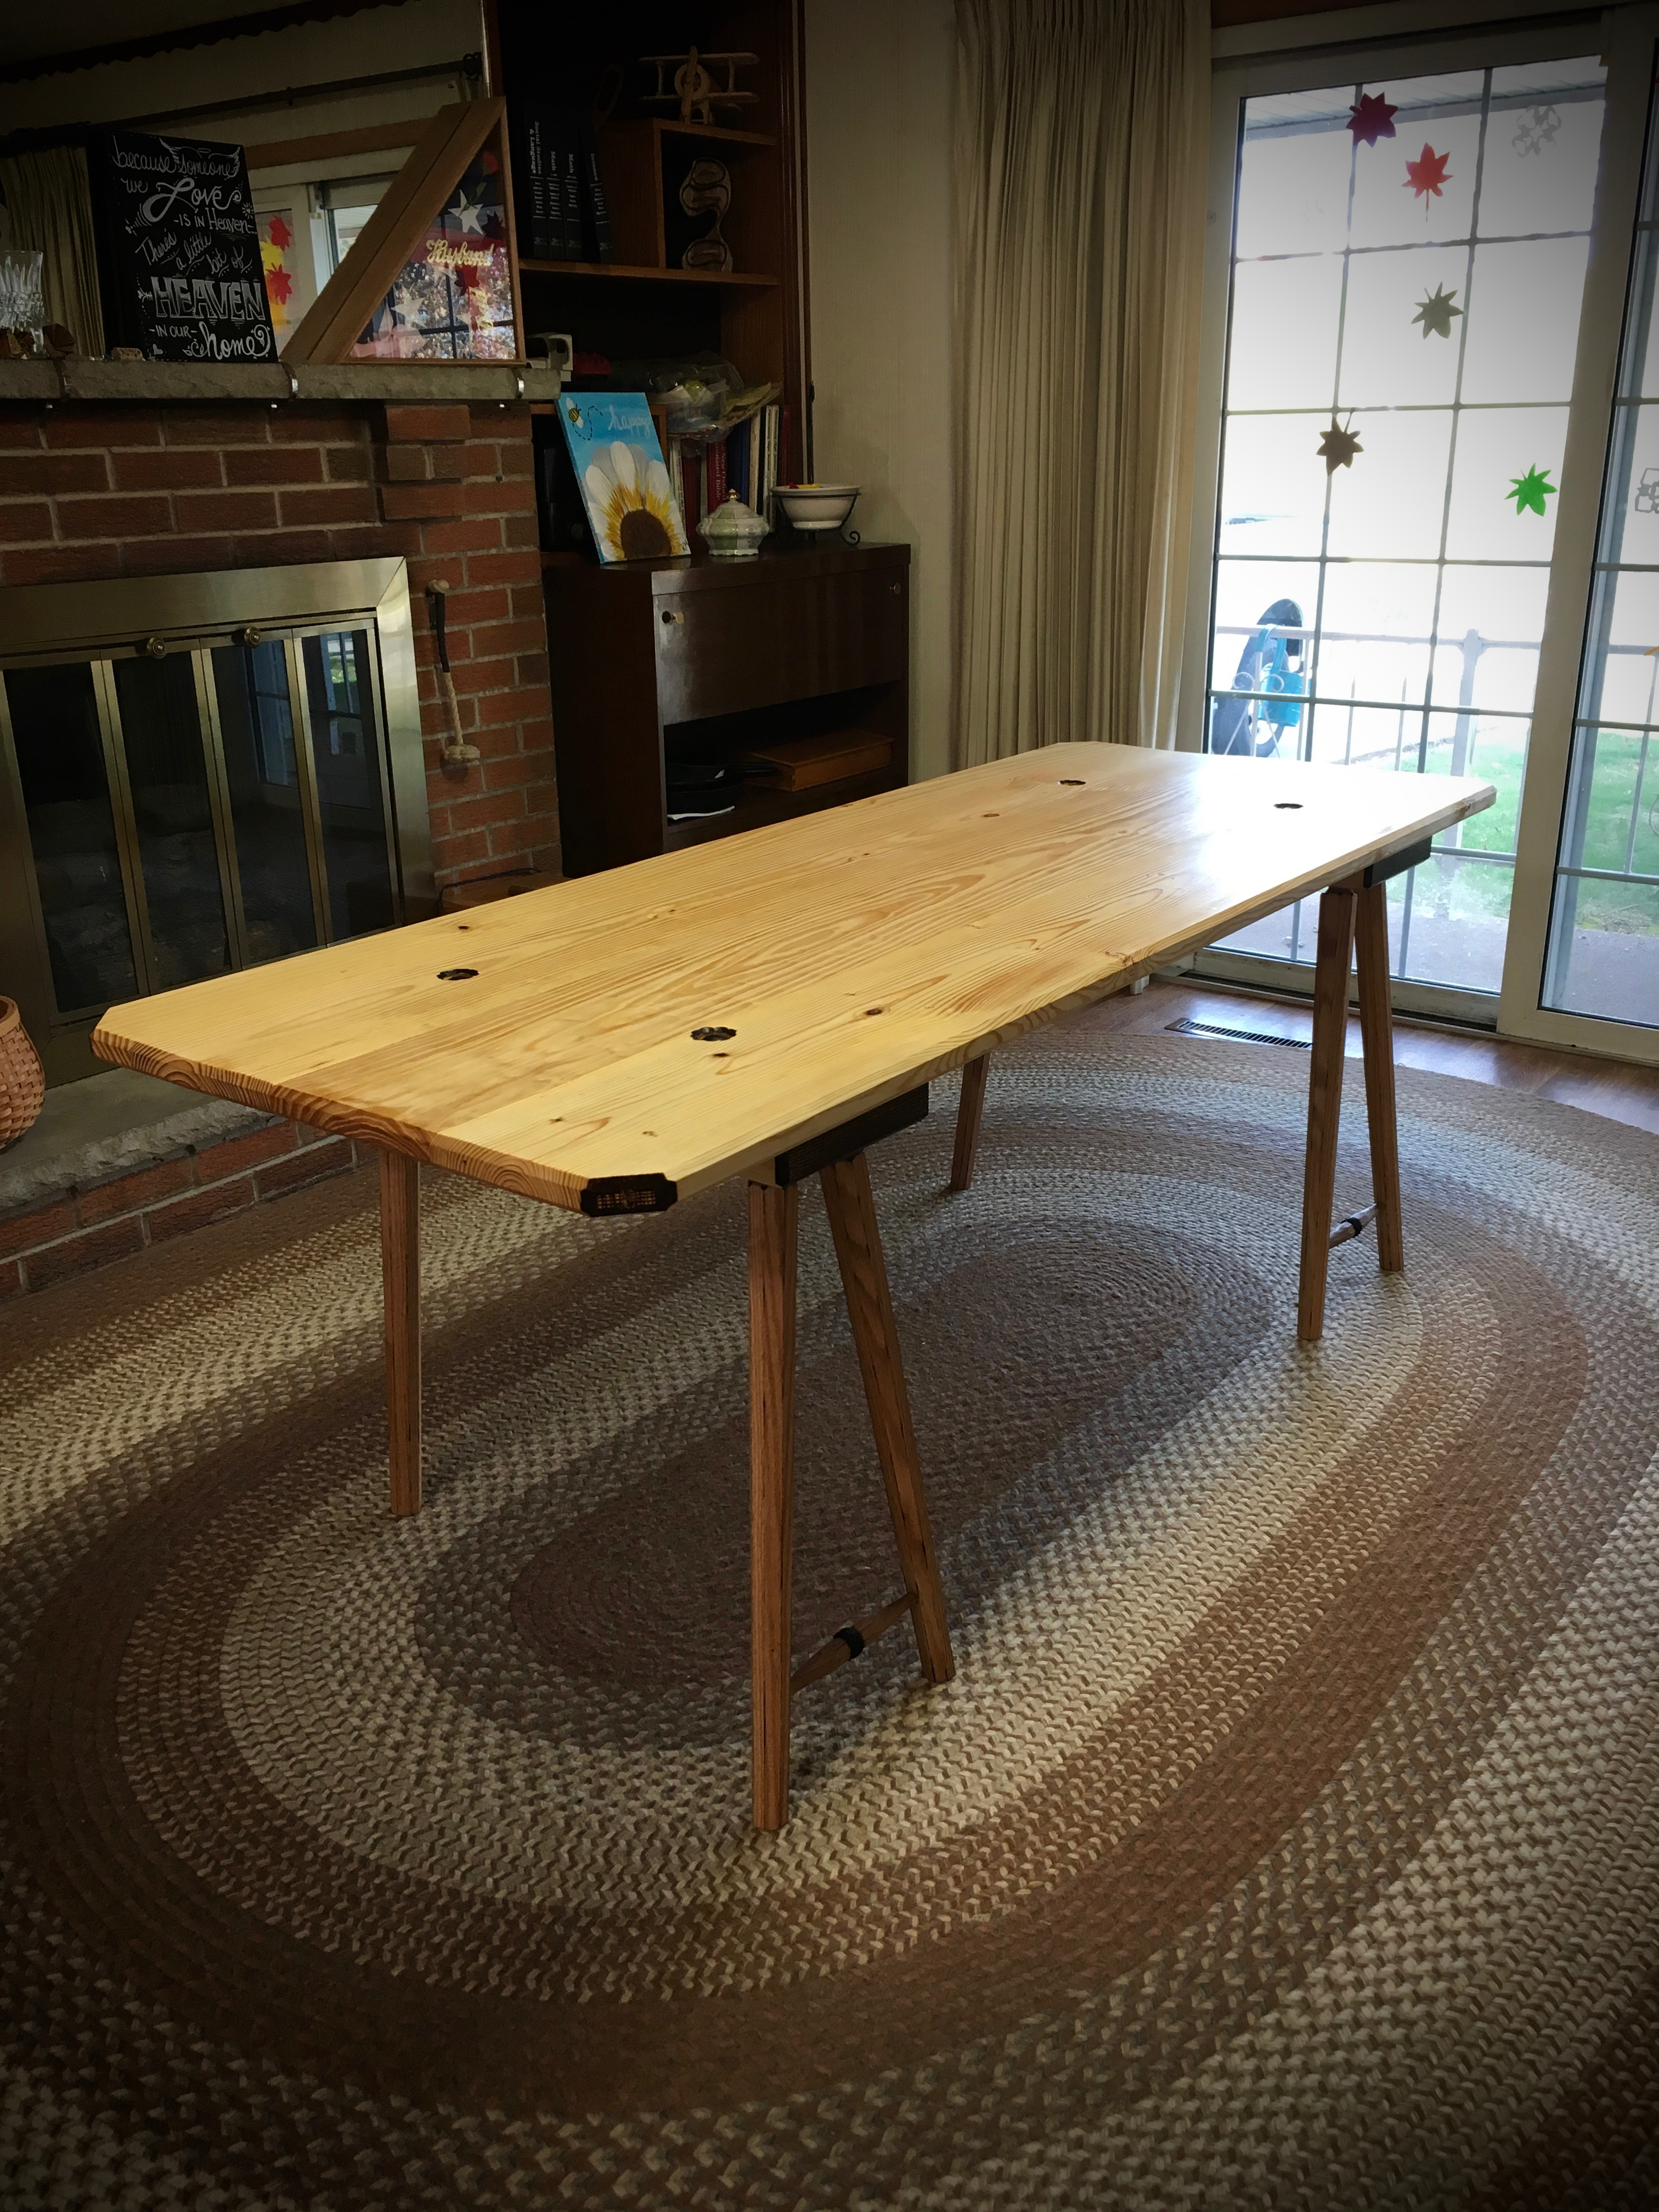
Note: time on task in the following is based upon one face of a 30″x77″ table top.
First and foremost I want all surfaces to be from an edge tool. I use sandpaper when I need to, but those areas are given more attention with oooo steel wool or burnished with shavings. Why? I want the surfaces to be burnished and that is what a cut surface from an edge tool is. A burnished surface is basically a head start on an even luster from the finish. I prefer to use Japanese planes, but any well tuned finishing plane will get the job done. Push, pull, iron body, wooden body doesn’t matter. It just needs to be sharp and finely set.
If I can’t get the burnished finish from an edge tool, I’ll use the alternatives that I mentioned earlier. Rubbing a handful of shavings on the surface of the work piece is quite effective. 0000 steel wool will get the job done too. Alternatively, I will use the uzukuri technique to both texture and burnish the surface. This is what I did with the table top.
First using the rough and then the medium uzukuri brush, I went over every square inch of the table top. I also employed a couple of different size gouges for areas that had deep tearout or that I simply wanted to have a more pronounced texture effect. In all it took between seven and eight hours to complete the uzukuri treatment and bring this table top to the point of being ready for the oil.


Step two is an application of linseed oil only, no wax. This is a penetrating coat of oil and for this I use Tried & True brand Danish oil. Which is a polymerised linseed oil and contains no heavy metal driers and is completely food safe. Also I have tinted the oil with “Raw Sienna” artist’s oil paint, which imparts a warm amber tone to light-colored woods such as pine, poplar and oak. To apply this first coat of oil I use a soft cotton cloth and vigorously rub the oil into the wood. The friction induced heat helps to drive the oil into the wood. This application took between thirty to forty-five minutes. I then let the oil “soak” in for five to ten minutes.
Below are side-by-side comparisons. With tinted oil on the left, without on the right.


Once the oil has been allowed to dwell, I begin buffing the surface and removing any oil that remains on the surface. I’ll continue this until the surface has NO remaining wet areas. This step took about fifteen minutes. After a couple of hours I go over the surface once more to remove any oil that seeps back to the surface.
Then I wait for twenty-four hours. Technically the directions on the can say eight hours, but I almost always let it dry for twenty-four hours.
Step three begins with buffing the surface once again with a cotton cloth. I repeat if necessary. What I’m looking for is no color or oil coming up on the cloth. Then I buff the surface yet again. This time with 0000 steel wool. This further burnishes and seals the surface of the wood. All this buffing takes about thirty minutes. Now I’m ready for the second coat of oil.
For the second coat of oil I use Tried & True Original finish. This is a mixture of polymerised linseed oil and beeswax. Again, it is food safe and contains no heavy metal driers. Just like the first coat of oil, this is vigorously applied. This took another half hour to forty-five minutes. The product needs to “soak” in for an hour before buffing off, which took an additional fifteen to twenty minutes.
Then I wait for another twenty-four hours. Buffing once more along the way.
Coat number three follows the same exact steps as the second coat. Buff, burnish with steel wool, apply the oil and wax mixture, wait, buff, wait, buff again and wait.
Generally three coats will do. One coat of the tinted linseed oil and two coats of the linseed oil/beeswax mixture. After the third coat has been allowed to dry, forty-eight hours this time, a final buffing with a cotton cloth completes the finish. I’ll typically add one more coat after a few months have passed. From then on out, a periodic buffing is all that is needed to keep the piece looking fresh.


So there you have it. An oil and wax finish doesn’t require any great skill, but easy is a relative term. This type of finish does require some hard work and time. Sure, you could skip some of the buffing and burnishing steps, but the end result will suffer…trust me on this.
Greg Merritt

Love the individuality of your work, Greg. What is your ratio mix of raw sienna and oil for your first application?
I got lucky with my first try. 1,25oz tube of paint to 32oz of linseed oil (one new tube of paint to one new can of oil). I’m pretty happy with the results and doubt that I’ll change anything with the next batch.
Nothing good comes without a bit of hard work. Thanks for the finish regimen.
True…very true.
I should add the bonus part… The ‘manager’ loves the upgrade for strong vigorous biceps 😀 😀
LOL
LOL…😂
ng crazy has just happened, this post doesn’t exist in my readers list in wordpress I had to look it up manually through my browser.
I do agree the hand rubbed look if done properly is the most appealing finish to my eyes and your finish turned out really well as expected. Lacquer and poly has it’s place but for this table it would be out of place so you made the right choice.
WordPress has been acting a little weird for me. Not sure what is going on with it.
Thanks. Not sure if my way is proper, but it works for me.
If it works its proper. Remember my no blotch staining technique, it was shunned by popular woodworking mag because no one wanted to against their leading finisher. Discoveries are made because of the few that dare to think outside the box.
I just made some of the lindseed oil (technically artist’s stand oil) beeswax up this weekend. I enjoyed rubbing it into the wood (made a Paul Seller’s style wall clock out of quarter sawn white oak). It was relatively easy to do (just requires a bit of elbow grease and an unrushed state of mind). Thanks for providing some details on the process. In the future I will likely do as you say and have the first coat be the lindseed oil.
I bet your clock looks great. Linseed oil only on the first coat will get you a little better penetration and grain highlighting, but it is really a personal preference thing.
Exquisite as always. I love the low-key appeal of blo and beeswax on pine, it gradually change a few years later to a faint orange tone, without any dye.
I am glad my suggestion to add your blog to norsewoodsmith.com was accepted 😉
Thank you, and thanks for suggesting my site to norsewoodsmith.com.
The tinted linseed oil jump starts the look of natural pine aging without getting in the way of that natural color change.
Pingback: Oil/wax finish | The Simple Handyman