
 The forecast called for hot and humid today (They weren’t wrong). So I completed my grass mowing duties as early as possible. This left me the remainder of the day to work in the shop.
This is what I opened the door to, but soldiered on.

I clamped the case assembly up tight so that I could fit the back panels. Checked the case for square figuring I would have to rack it a little one way or the other. But it checked out fine as it sat. I did discover an issue though. The width at the top was 1.5mm less than at the bottom. When cutting the bottom panel to fit into the dado I must have left too much line. The quick and easy fix was to run the router plane across the bottom of the end panel dados and give them a little more depth. Problem solved.
The top edge of the back panels were run thru the shooting board and then trimmed for height. I decided to use a simple shiplap joint were the two panels meet each other and the rebate plane made quick work of this.
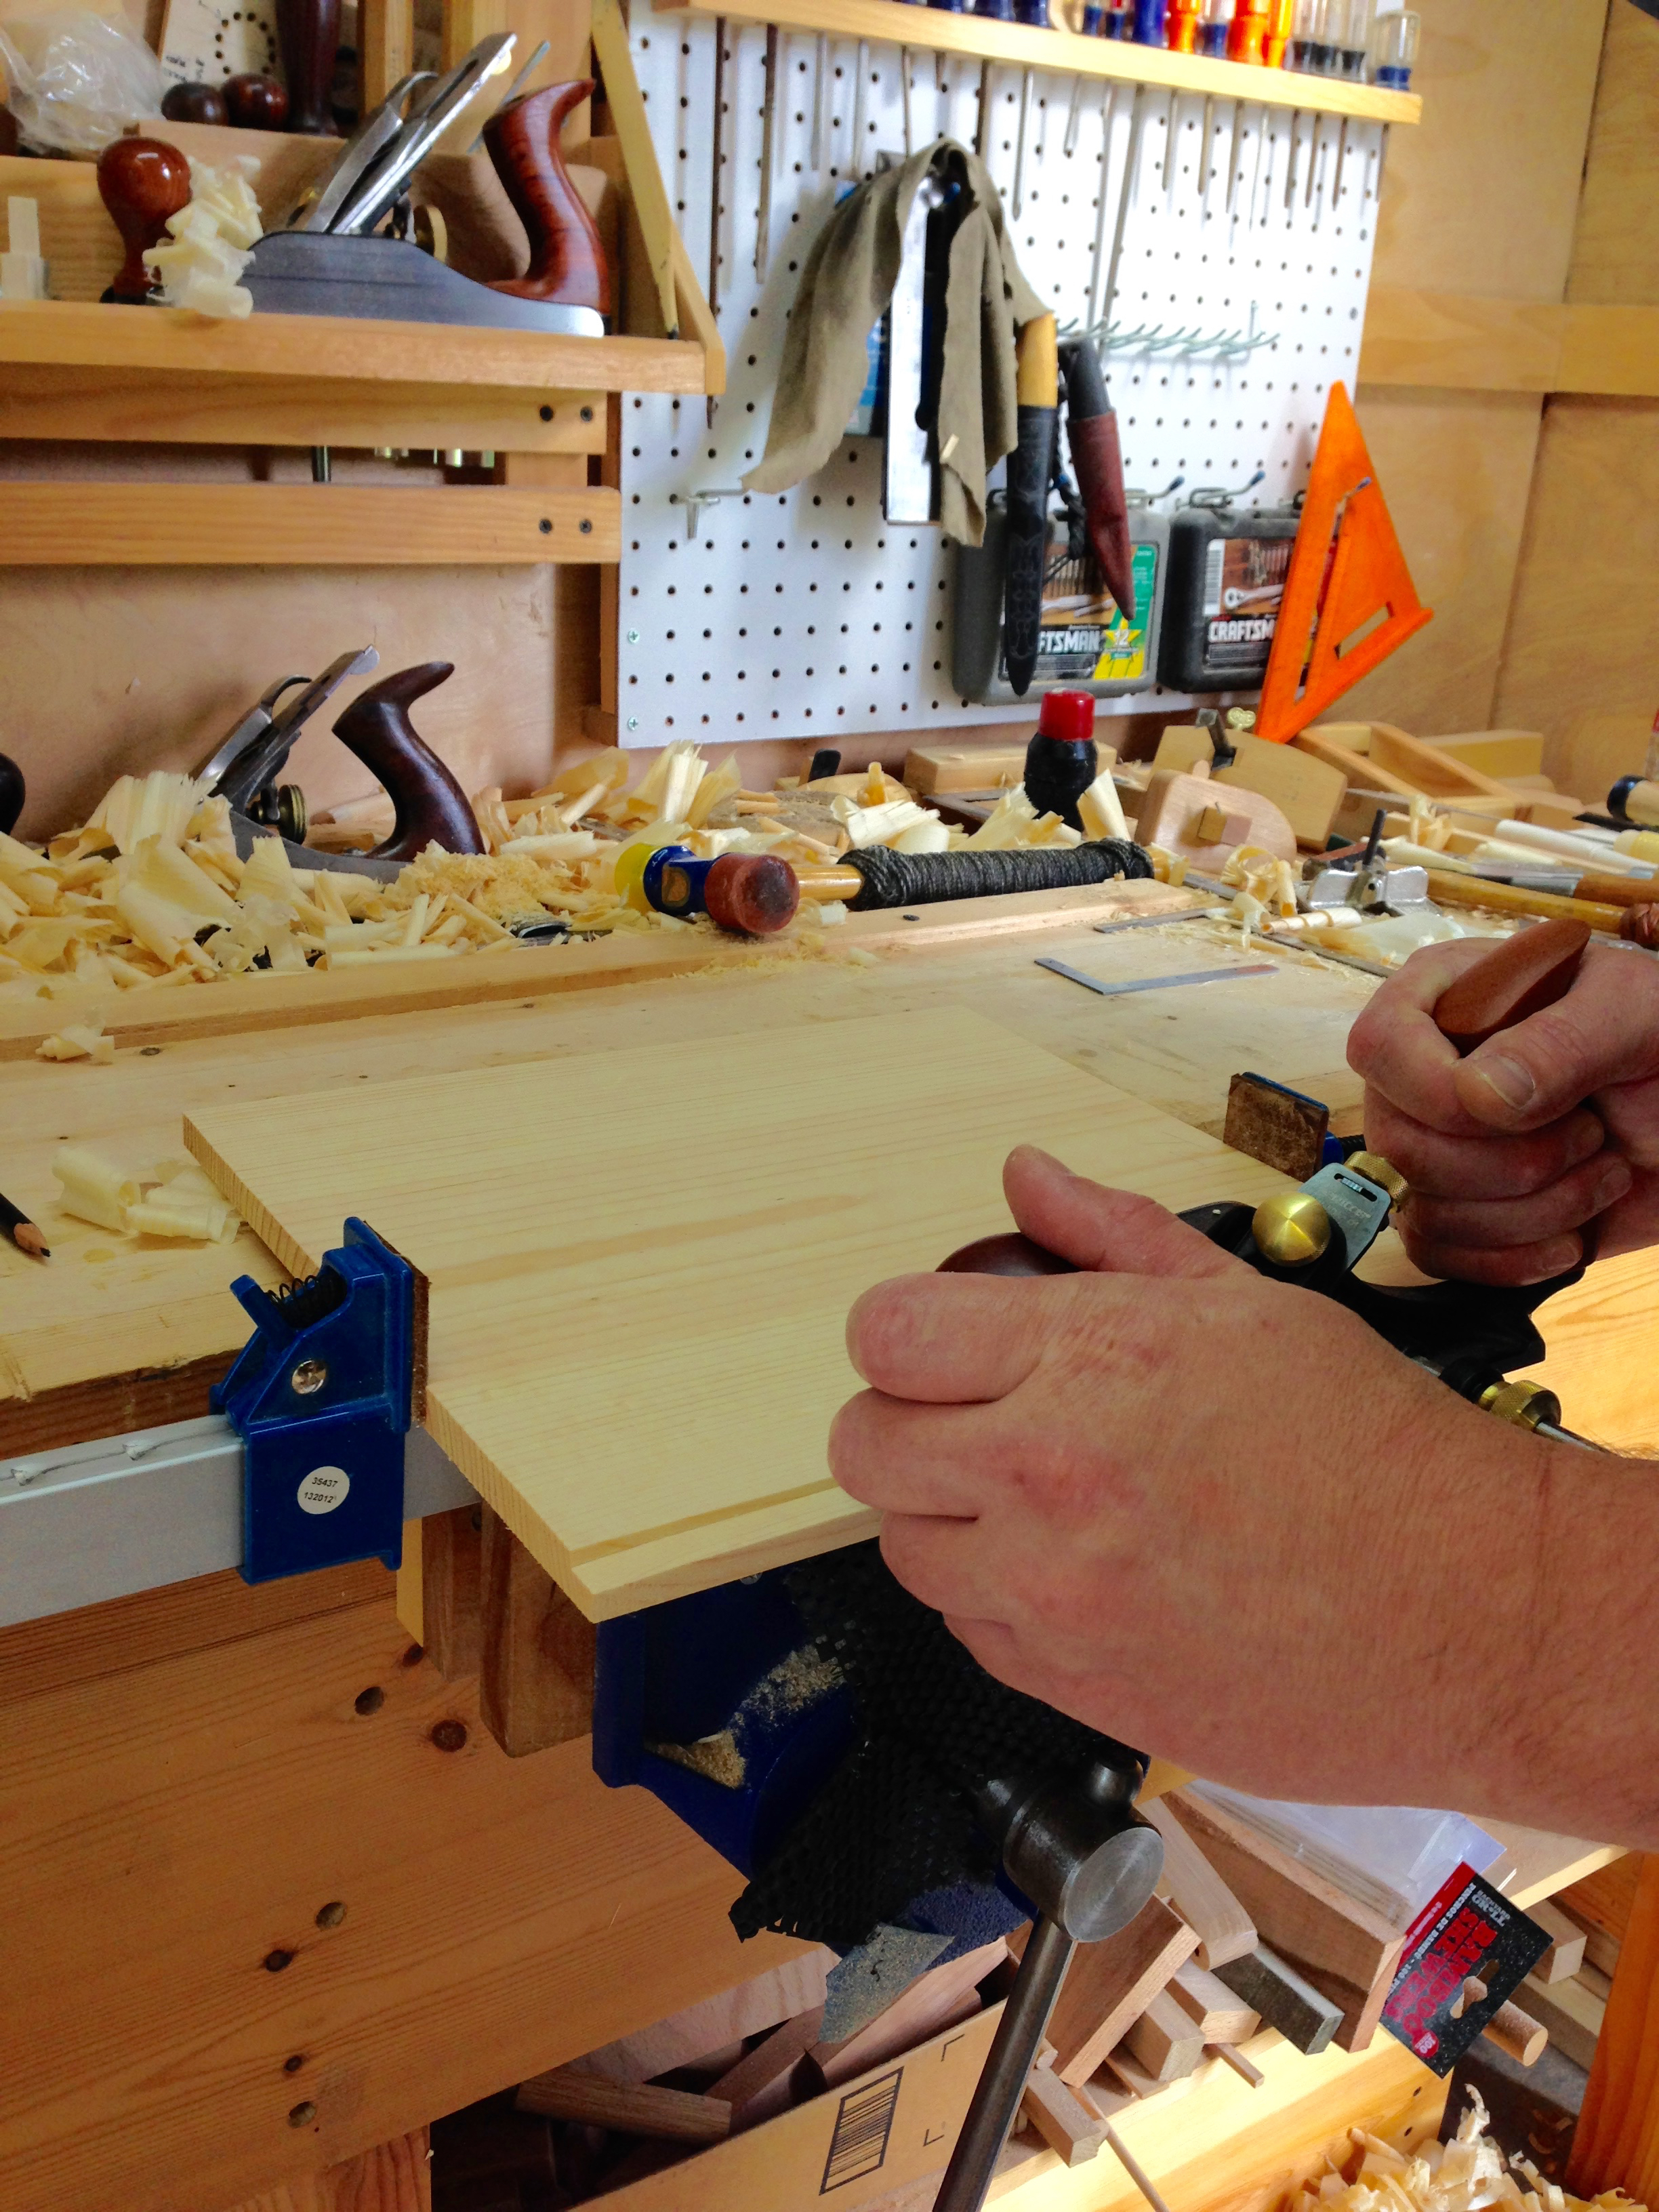
Then I trimmed the width of each panel, leaving a little extra for final planing after they are installed.

I decided to tackle the handle recesses next. This detail is directly from the original and I’m not entirely sure about its utility. More of a finger hold than a handle but we will see how well it works.
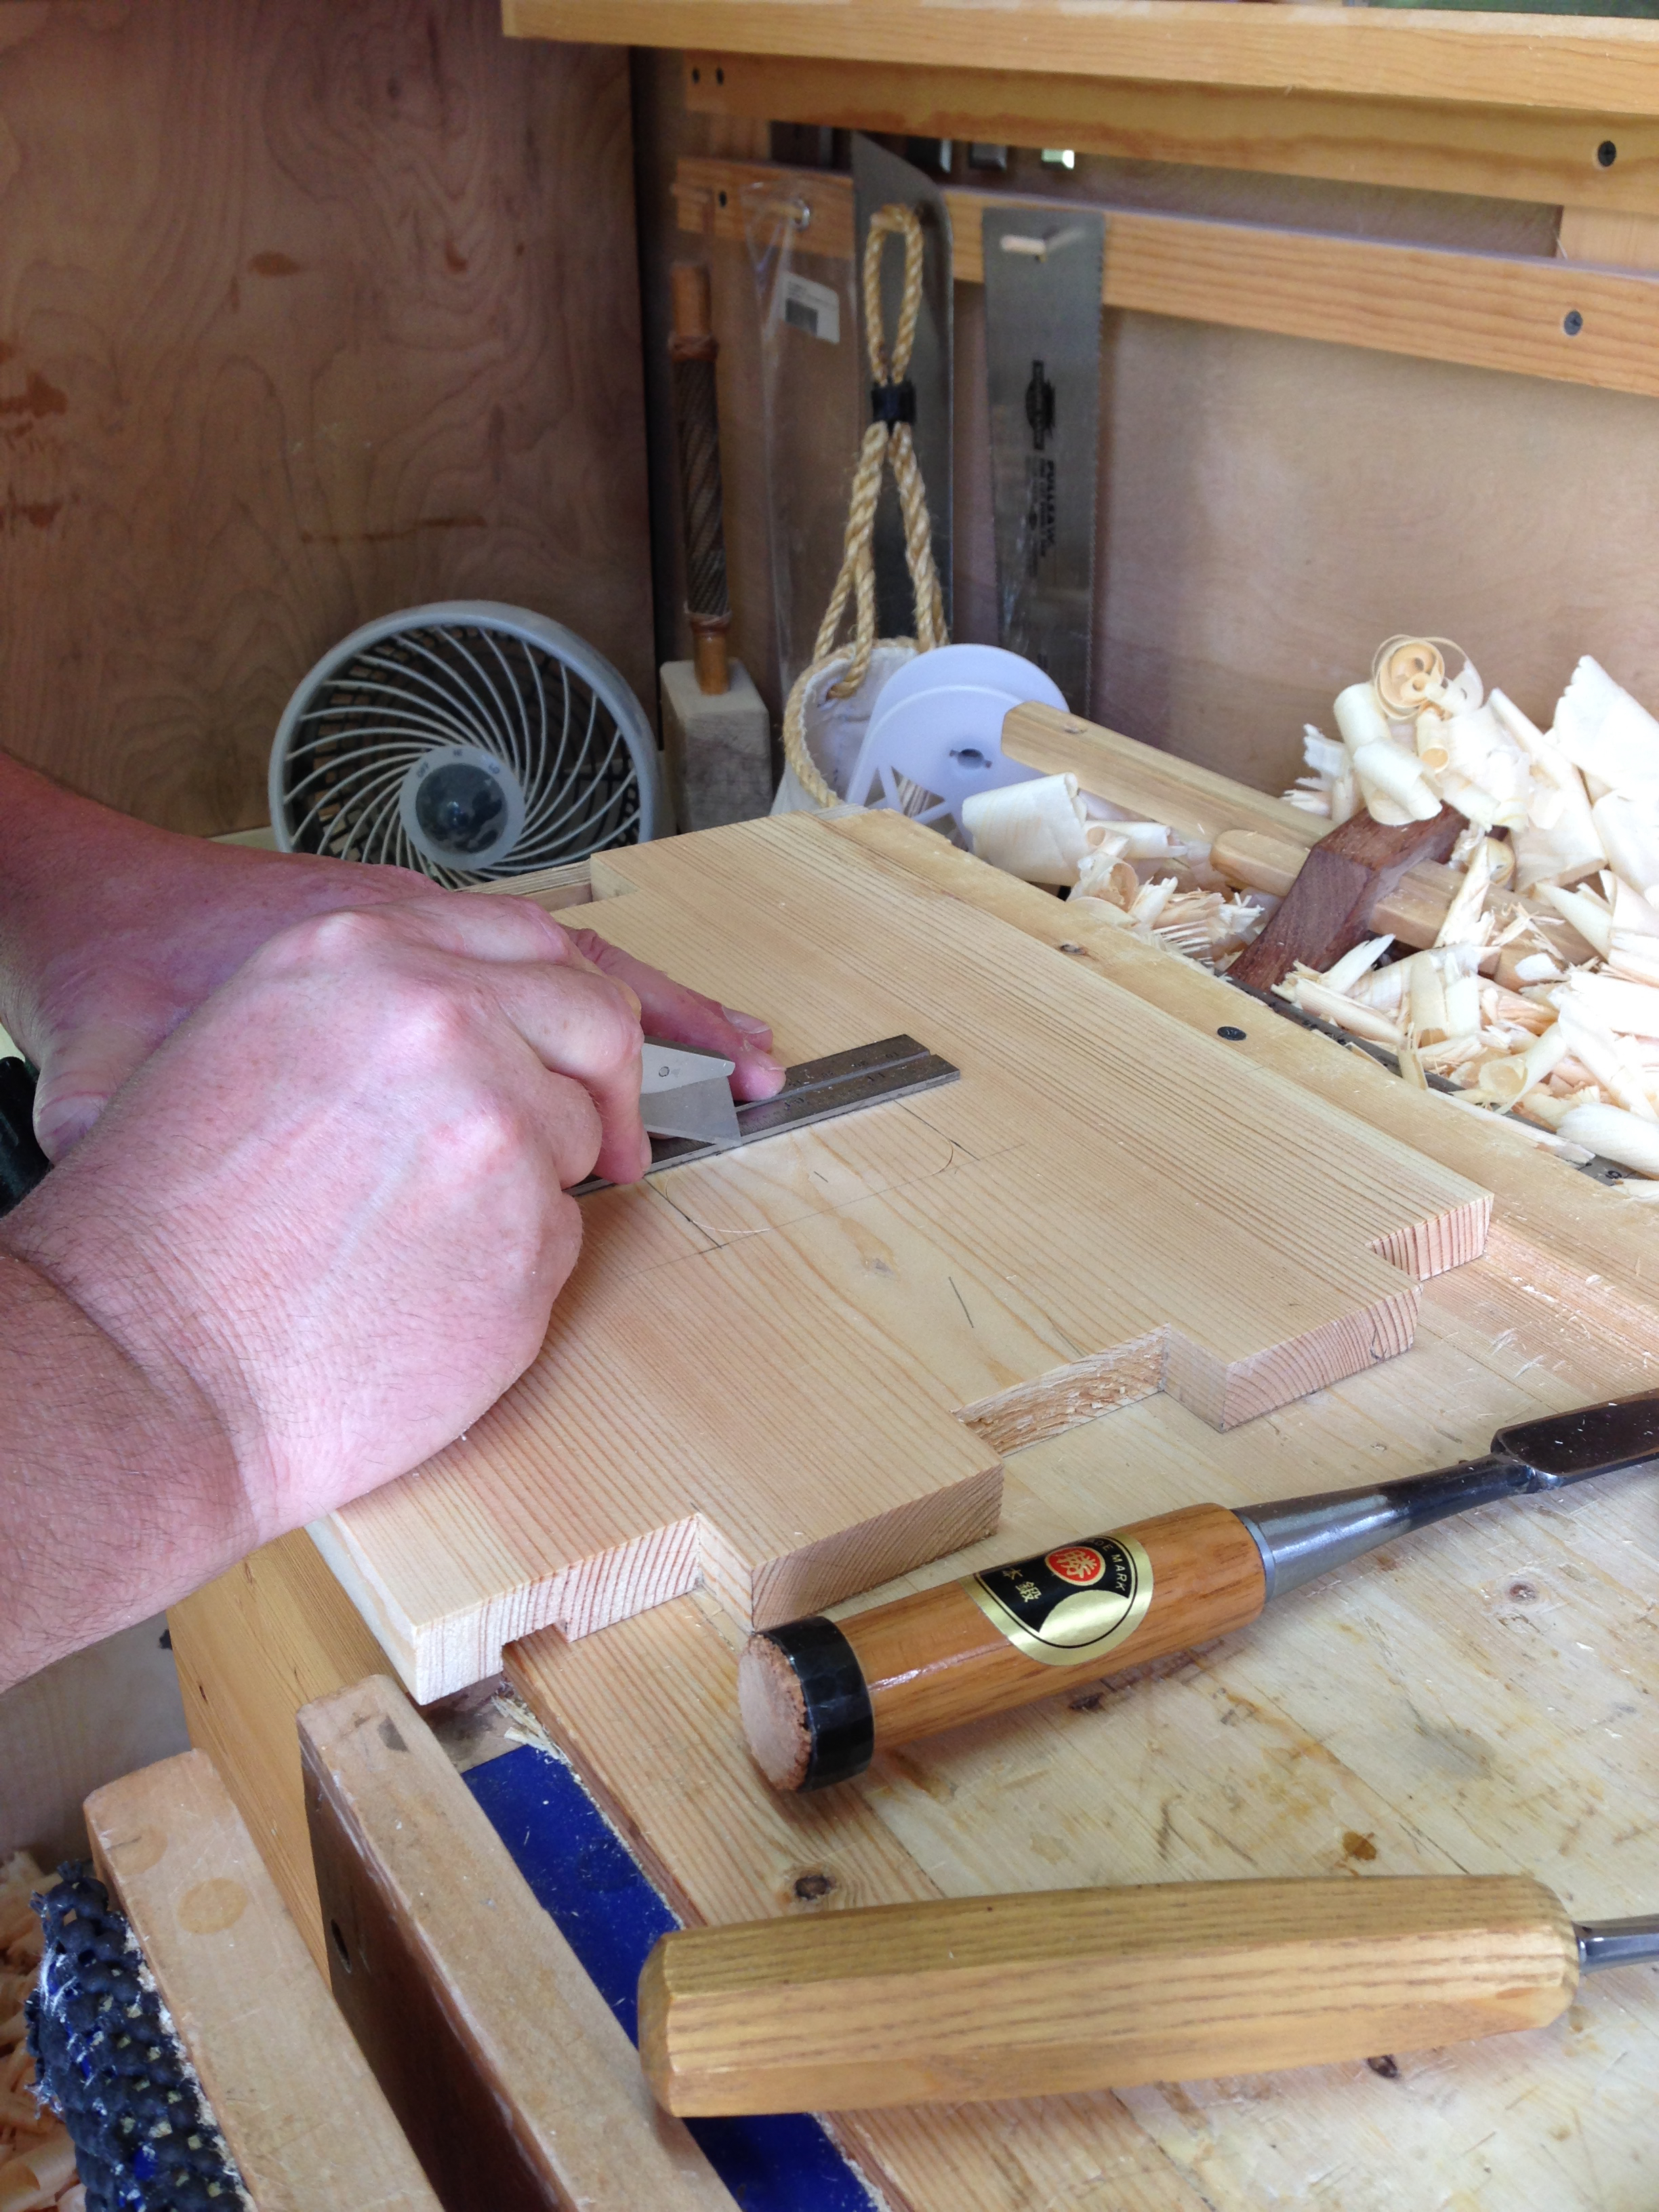
The layout was pulled directly from the full-scale drawing. To cut the recess I first used a gouge to mark the corner radii. All I have is a standard carving gouge, so the bevel is on the outside. Not the best option since I want the walls of the recess to be vertical, but workable.

Then I used a square and knife to connect the incised corners.
The waste is removed pretty much the same as when making a dado.
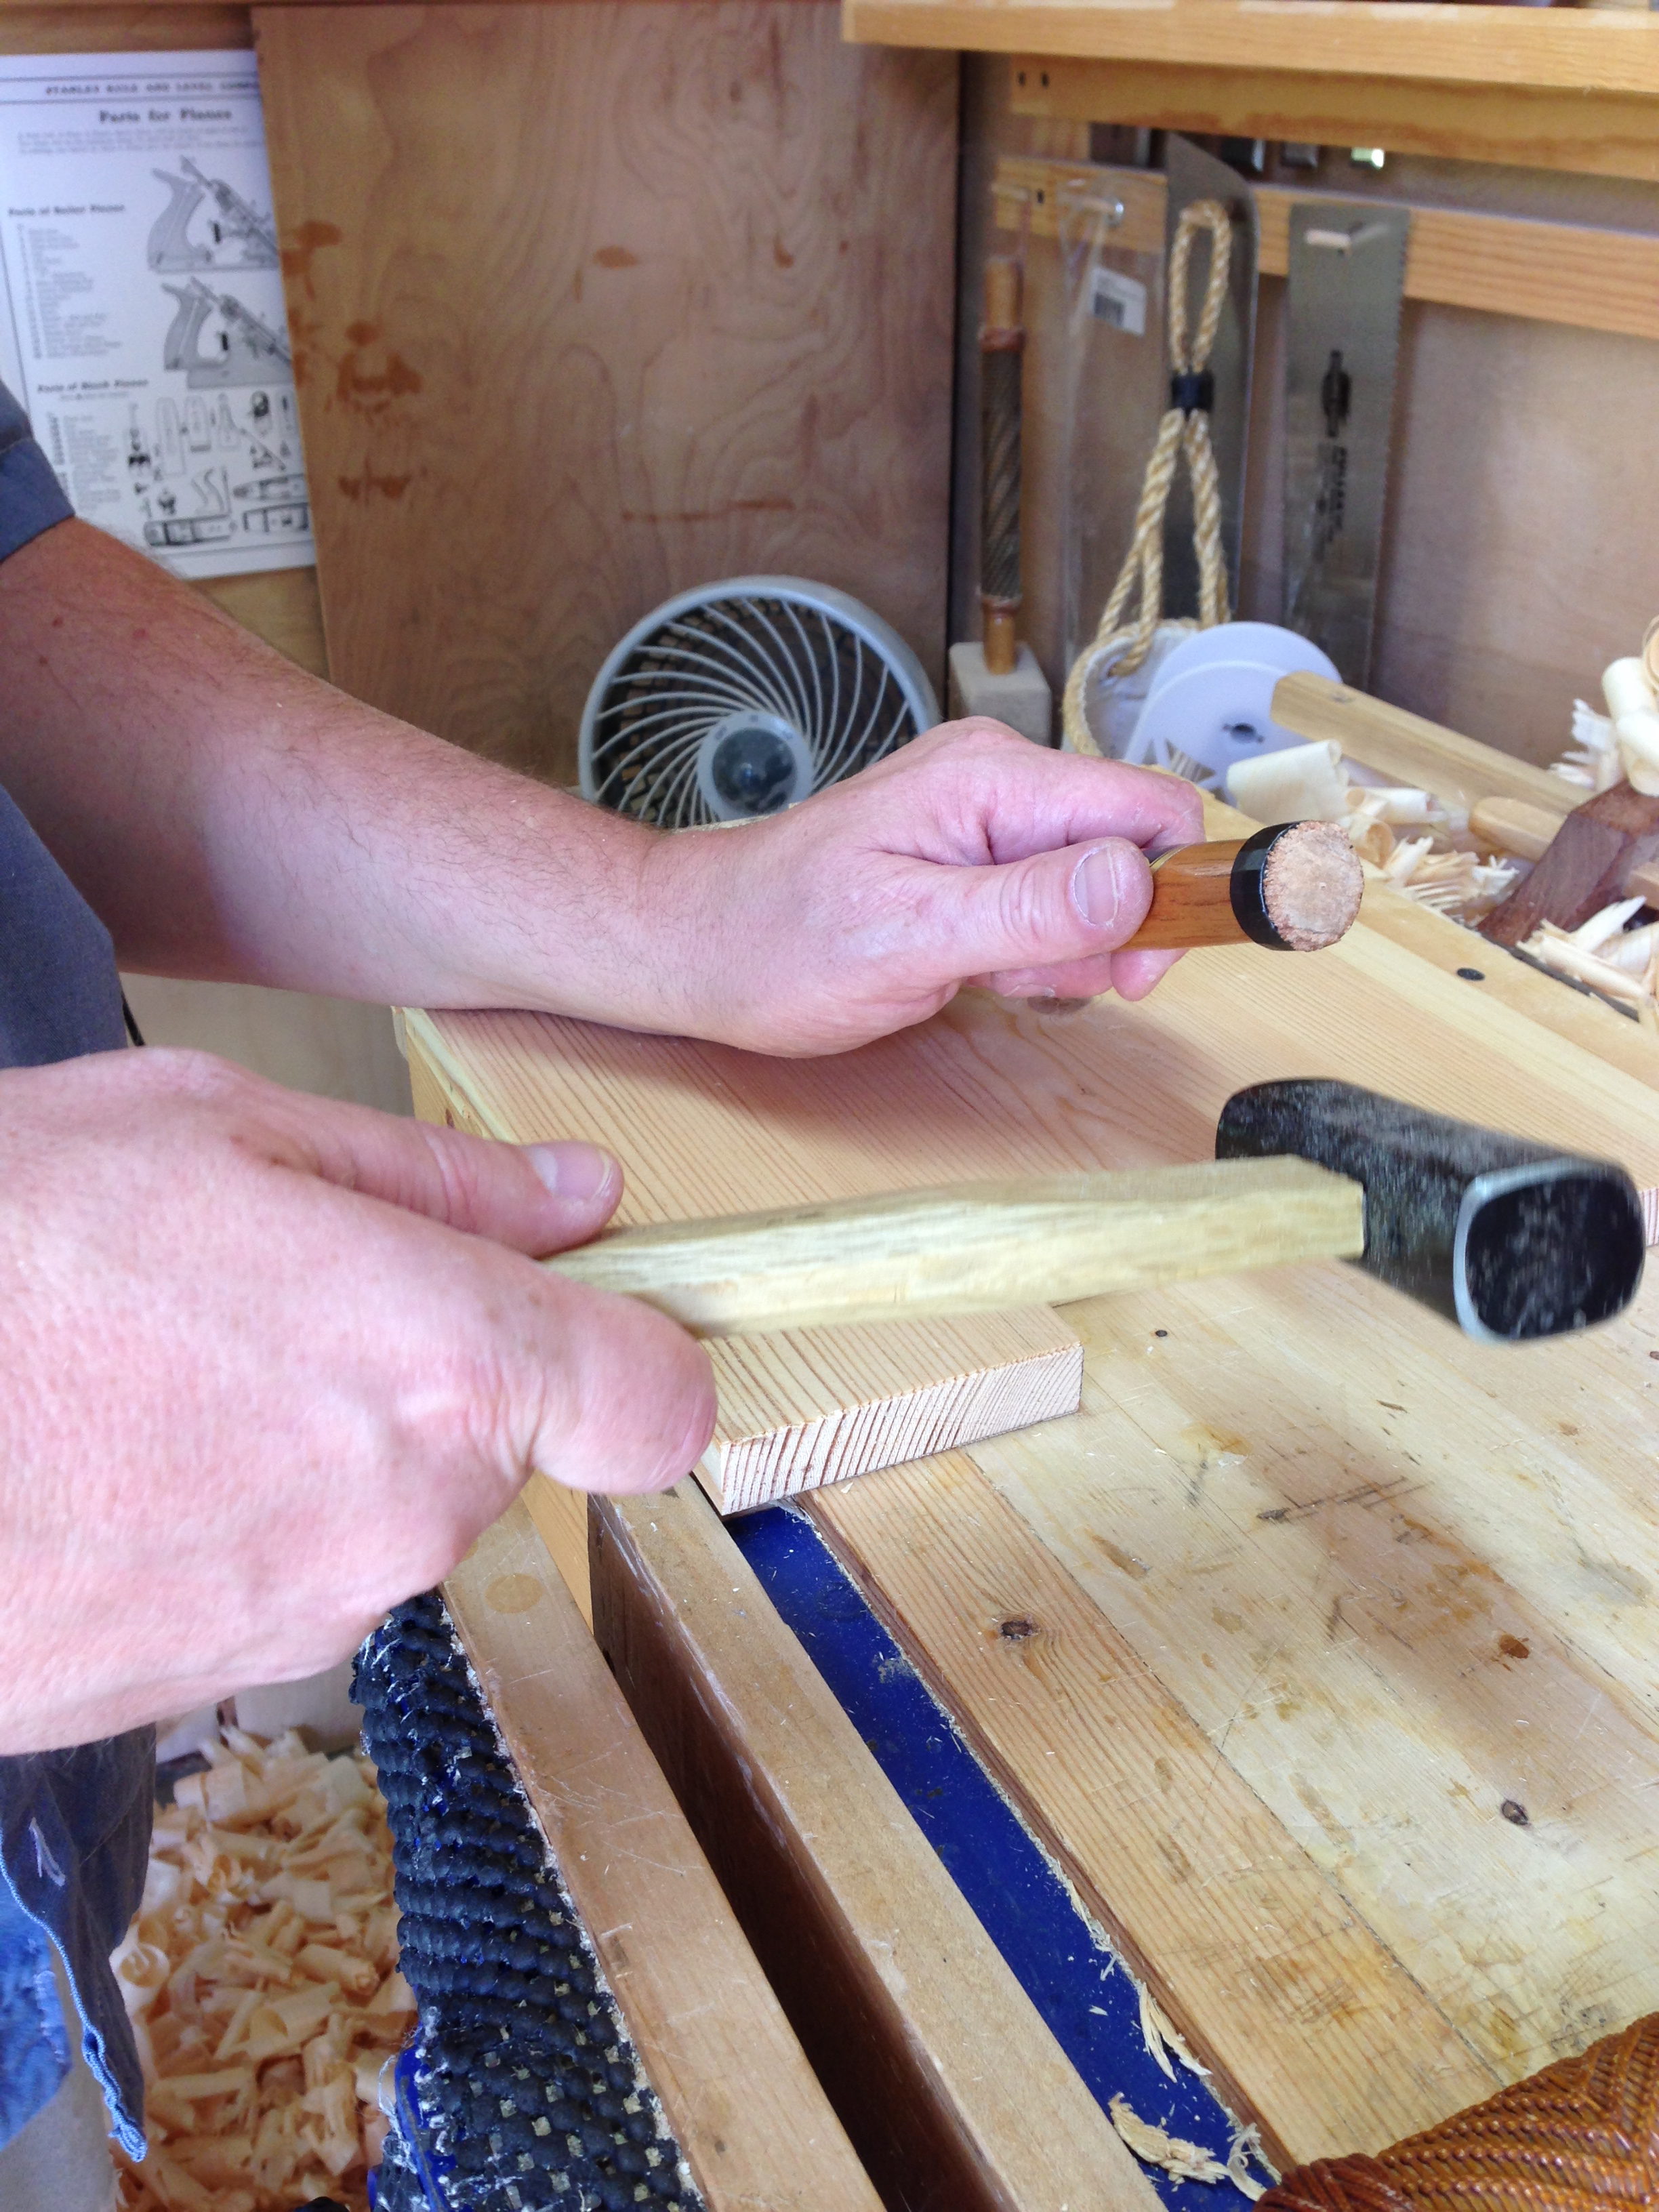
Chop.

Pare. The hammer is used to add precision not brute force.
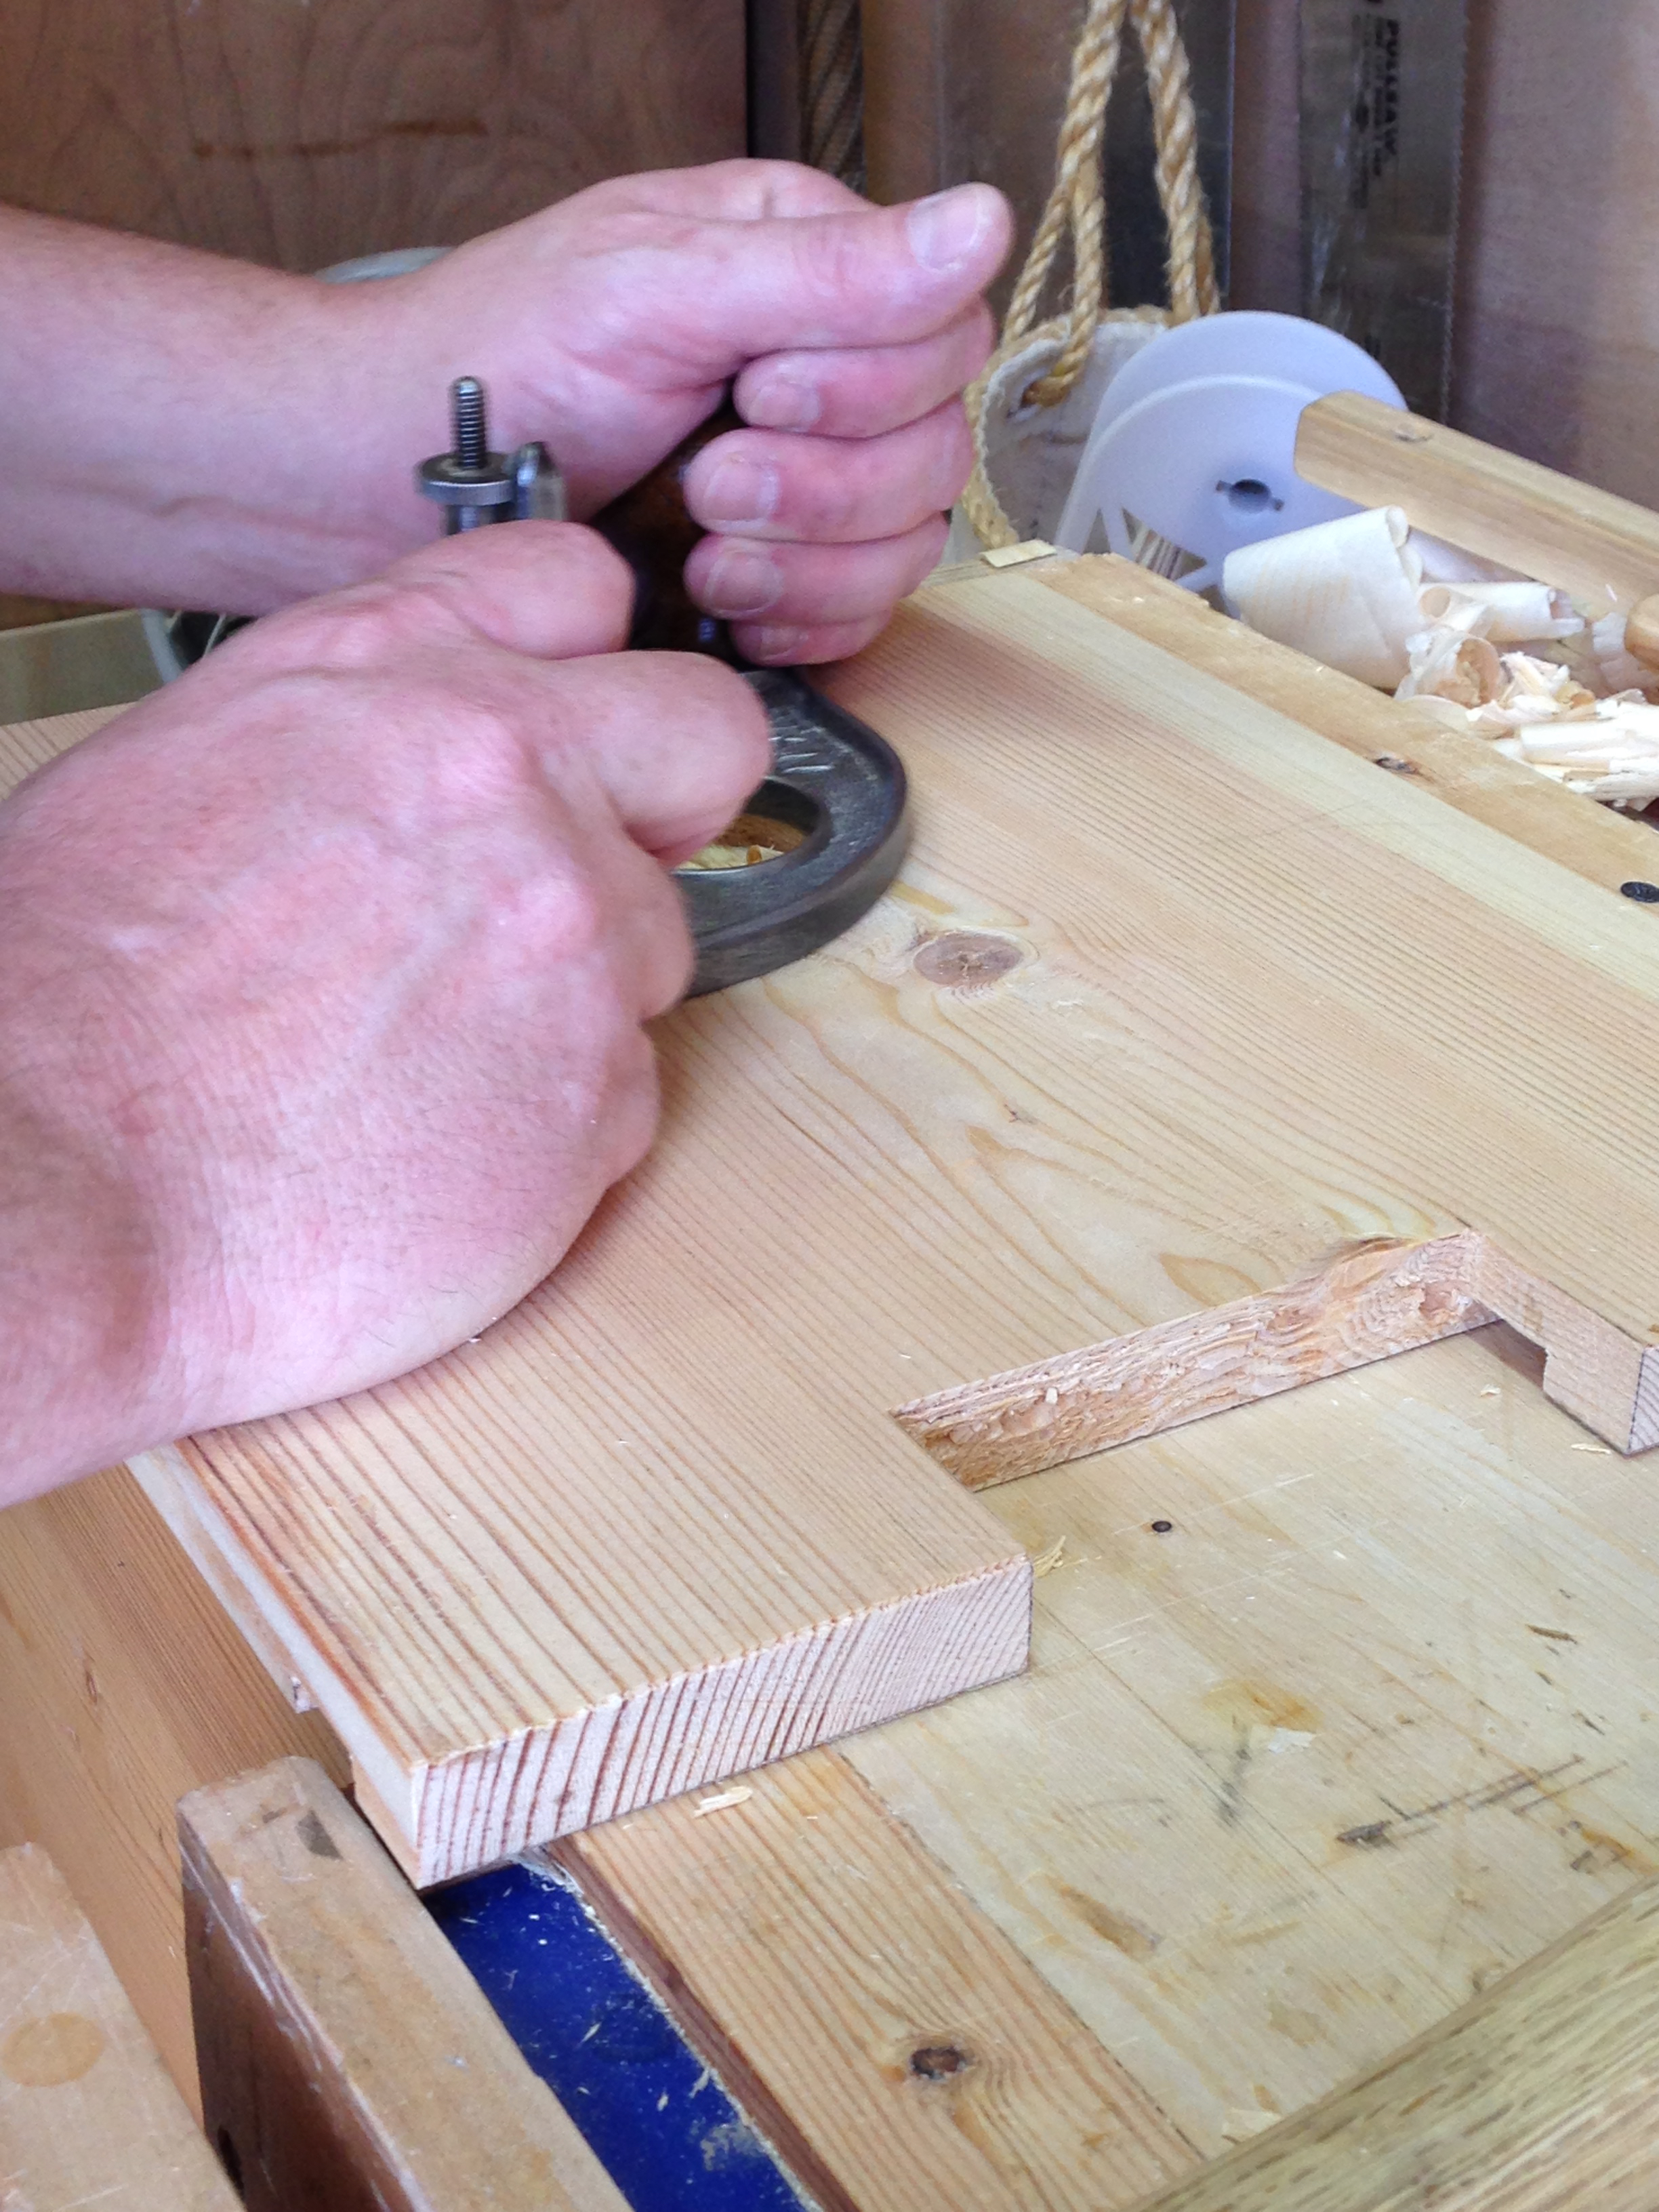
Level it with a router plane.
I then added a little texture to the recessed area.

Then out came the wood burner.
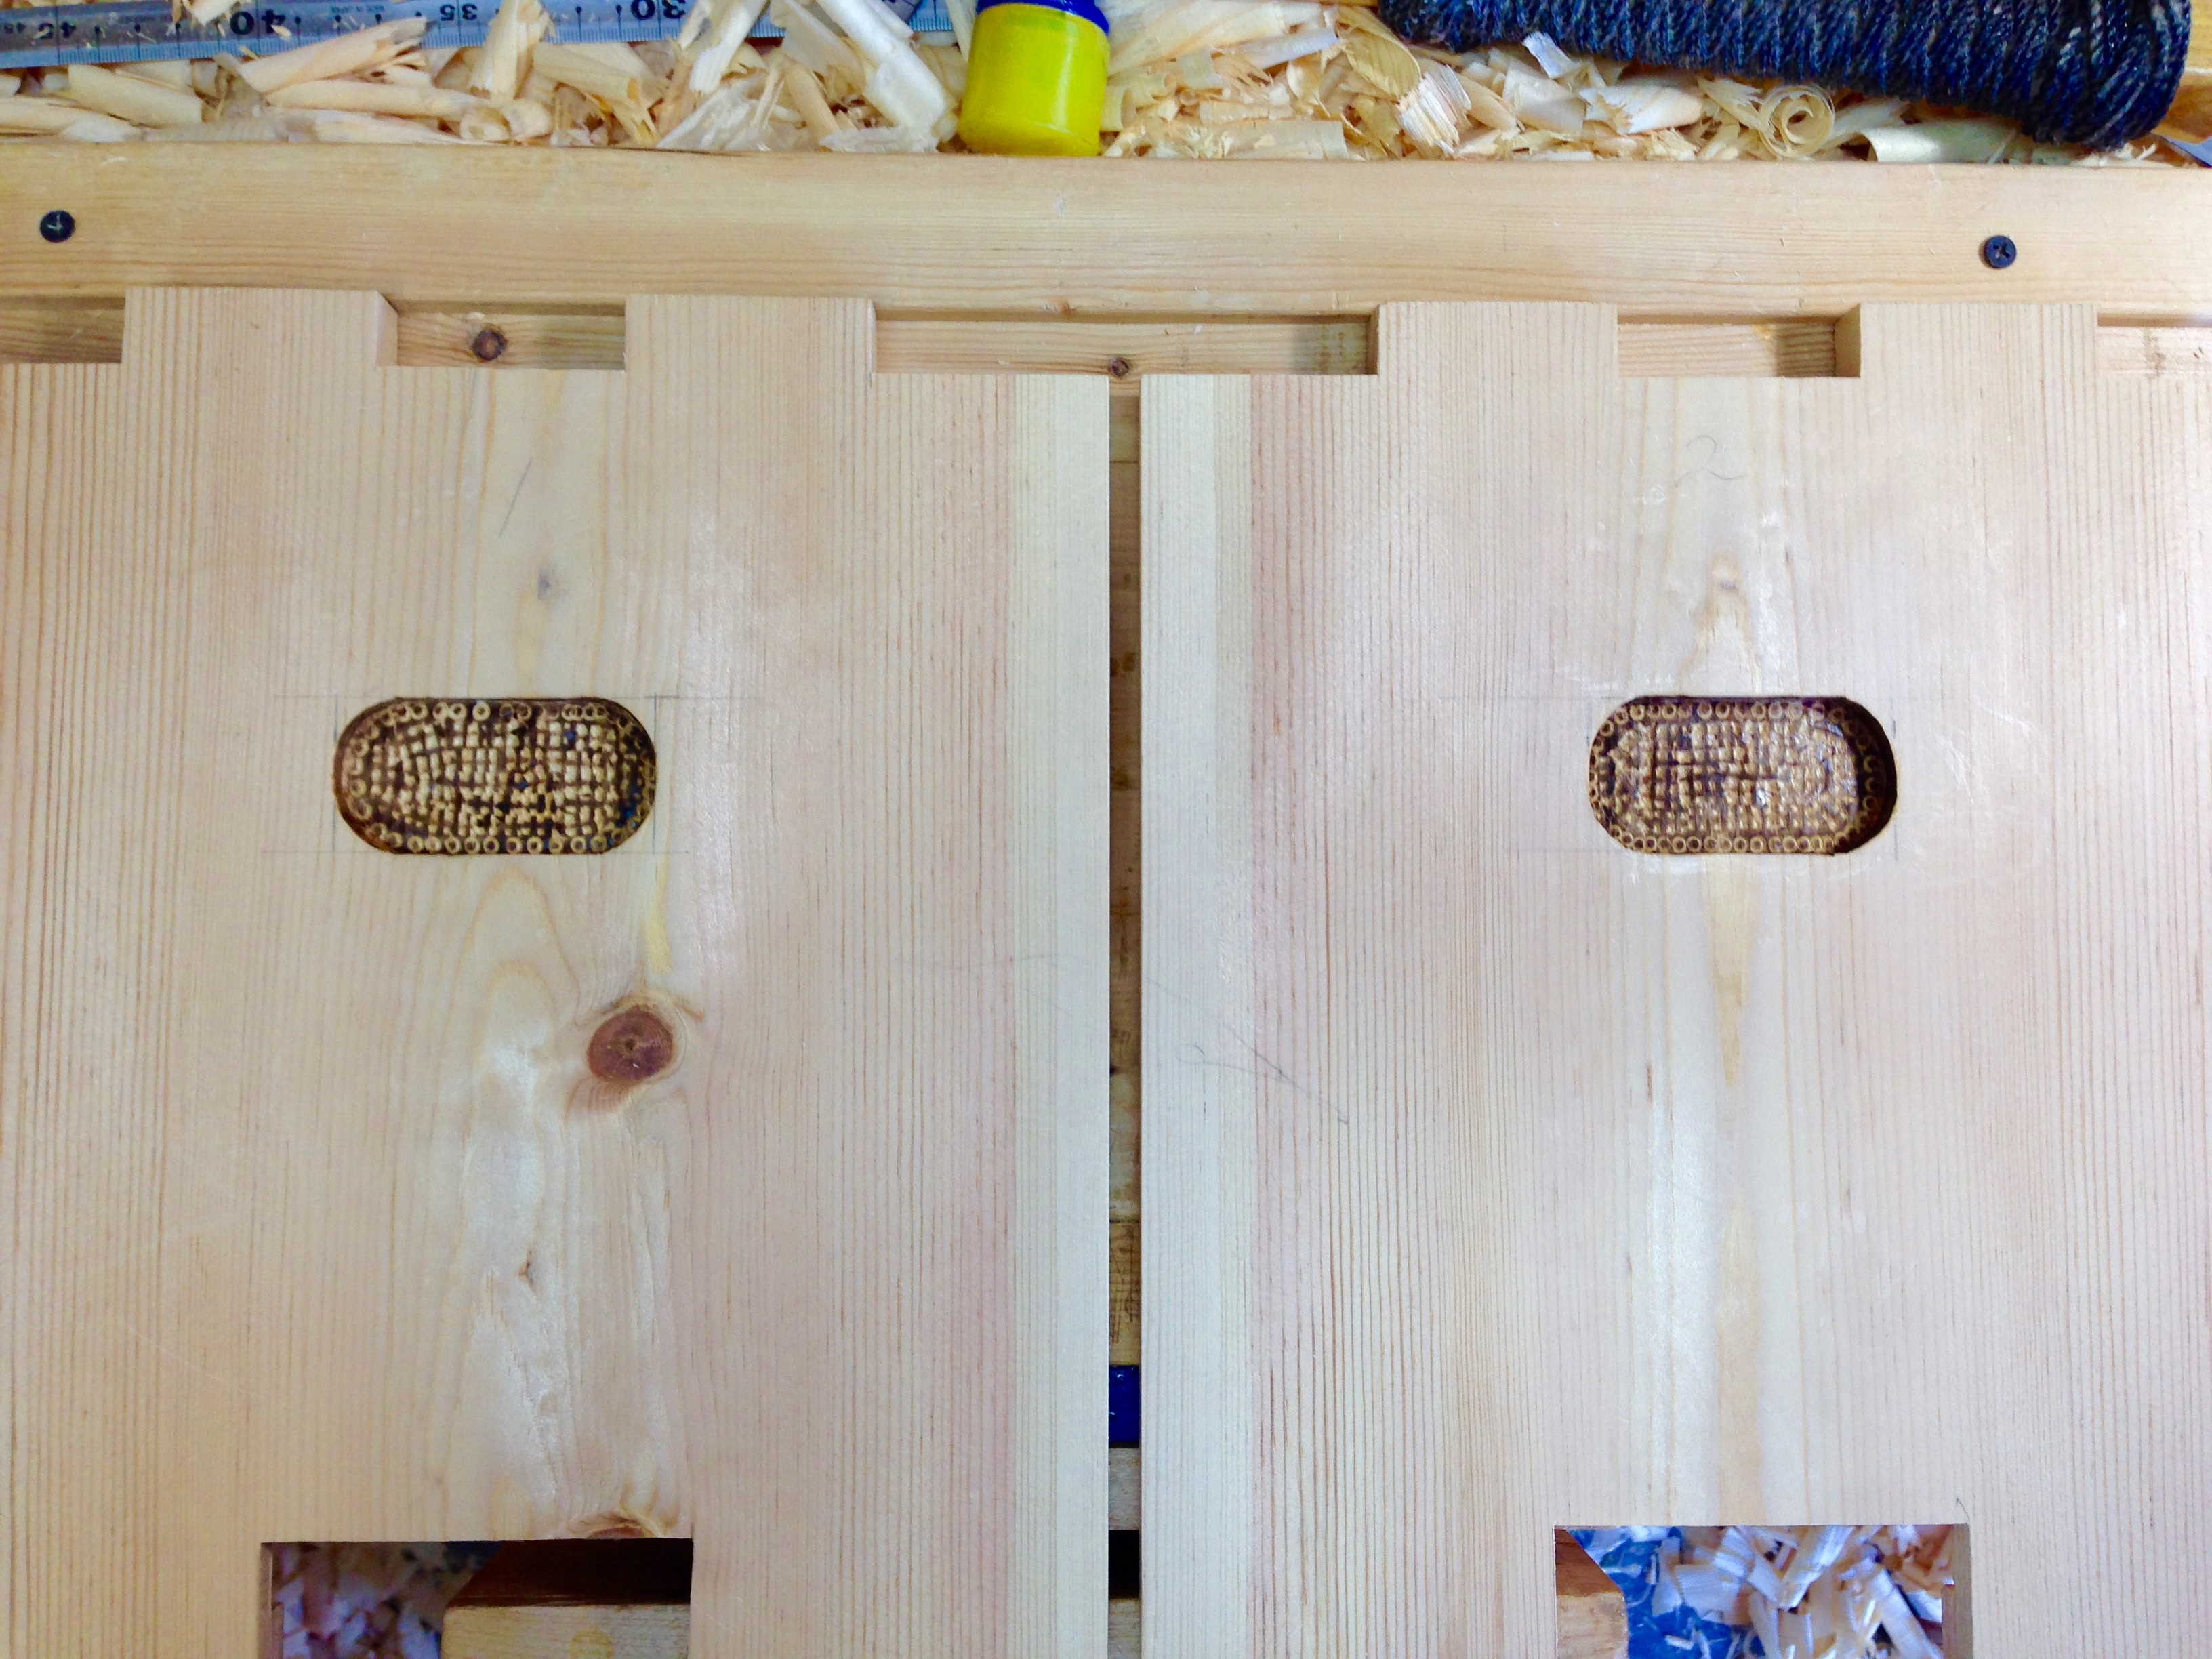
I think this will look pretty good once the oil finish is applied. As is, the contrast looks a little stark, but the oil will darken the pine as well as tone down the burnt areas. At least that’s the plan.

Pingback: HB Hobby Tansu #1-Part 6 | GREG MERRITT – BY MY OWN HANDS
Looking great. A little off topic, but do you know any online resources for sharpening a carving gouge like the one you have? Or how you do it? I’m leaning on getting my first non straight blade, but I’m wondering how big of a hassle it’ll be to maintain it. Thanks.
Thanks Siavosh. There is a gouge sharpening video over on Paul Sellers’ Masterclasses site. Can’t recall if it’s in the free section or not. But its the technique I’ve been using. I use the same stones and strop as I use for all of my sharpening. The only “special” tool is a piece of pine with its edge rounded over. I add a little buffing compound to that and strop the inside of the gouge. Straight forward and simple.
It will take you a few tries to get the hang of it, but it’s not difficult. So don’t let the maintenance aspect worry you.
Looking great! I’ve had the same niggling troubles with squareness because of dadoes not being the same depth, or possibly the wood is softer on one component or maybe I’m applying uneven clamping pressure while trying to correct a bow. I’m about to start a couple more Japanese tool chests and will be rebating my end boards to fit into narrower dadoes. My hope is that the shoulders of the end boards will register solidly against the finished surfaces of the sides, allowing for some sloppiness in the dado. Getting accurately square rebates on the end boards should be easy because I’ll be ganging them up and creating my rebates directly from the scribe lines.
…at least that’s the hope, anyway.
Thank you Paul.
The rebate method is a good option. It makes it much easier to get the exact distance between parts. That’s the method I used on the vertical divider on this project. Since that divider also holds the smaller center horizontal divider, I didn’t want it floating up and down and causing the drawers to possibly stick. The rebate keeps it locked in place.
I thought I could get buy without buying more tools but I keep running into situations where a gouge would make things easier (like the eye recesses on my rocking dinos). What make and size do you use Greg and how do you like it.
Answered with a post. A gouge does come in handy.
Cool I’ll search your previous posts
New post. Just went up.
Thanks, I’ve been planning on building Paul Sellers stool eventually so even better.
Pingback: Gouges that I Own | GREG MERRITT – BY MY OWN HANDS