Yesterday, Monday, my plan was to complete and fit the sliding doors and then do all of the final trimming and sanding winding out the day with the first coat of BLO. Yep, you guessed it, that didn’t happen. We had abnormally warm temperatures for November but a cold front was sweeping through bringing with it strong winds. Gusts to 50mph in fact. We of course lost power at about 11am and remained without for 12hrs. Not a huge setback since I don’t use any power tools. It did leave the shop a little dim but I was still able to work. Too dark for photos though, so no progress pics of the doors.
Completing the doors only took a couple of hours. I trimmed off the horns and ran the doors on the shooting board. With all four edges square to each other I added the rebates top and bottom to fit the grooves in the bearers. The tongue on the bottom is 6mm(W)x3mm(D) and the one on the top is 6mm(W)x10mm(D). On the last tansu I cut these rebates with my Record 043 plough plane. That worked pretty well but each end of these rebates is a crossgrain cut. So with the plough plane I had to do a bit of knife work every so often in order to get a clean cut. After much debate I ordered myself a Veritas rabbet plane. I’m not a tool buyer. I love to look at and read about tools but I try to only purchase those that I actually have a need for. I’ve made it a lot of years without a dedicated rabbet plane but decided that it was time to add one to my shop. I’m really impressed with the quality, fit and finish on the plane that I received. It was very easy to set up and the blade was extremely close to being ready to go. All I had to do was polish the back, it was dead flat, and hone the bevel. After a few test runs I put it to work on the doors. The rebates were much easy and faster to cut with a dedicated plane. Really happy with my purchase so far.
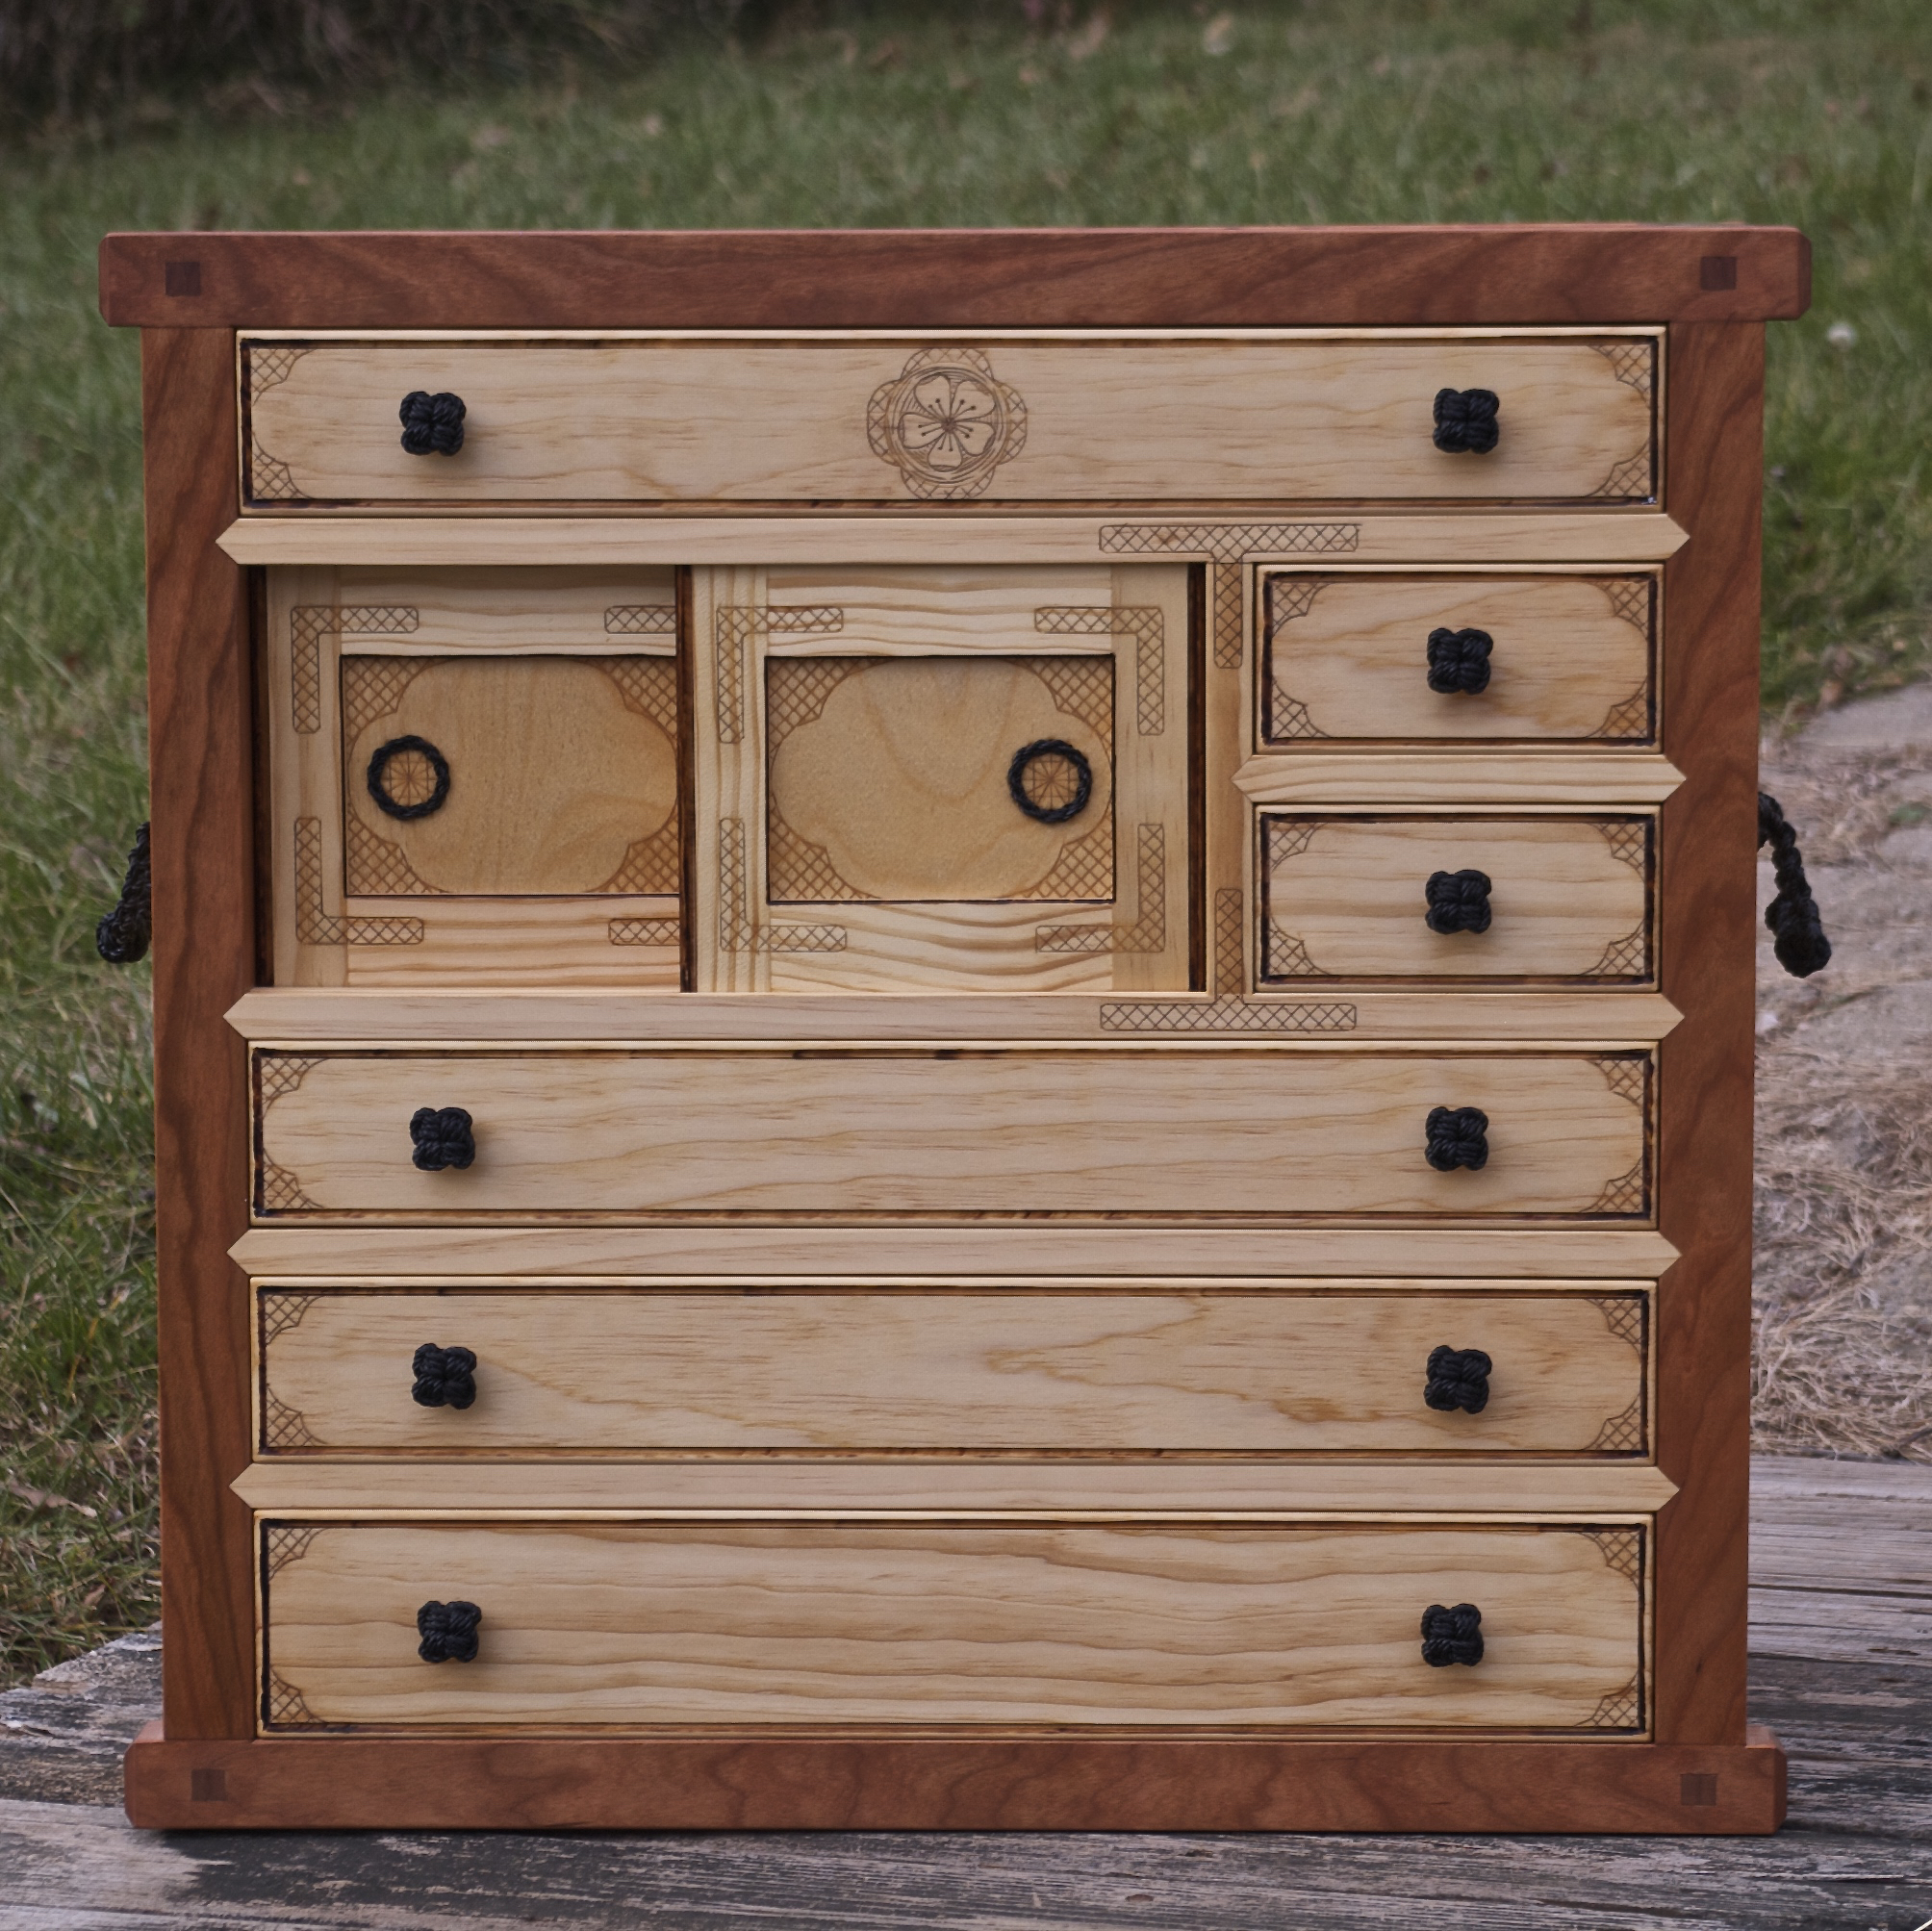
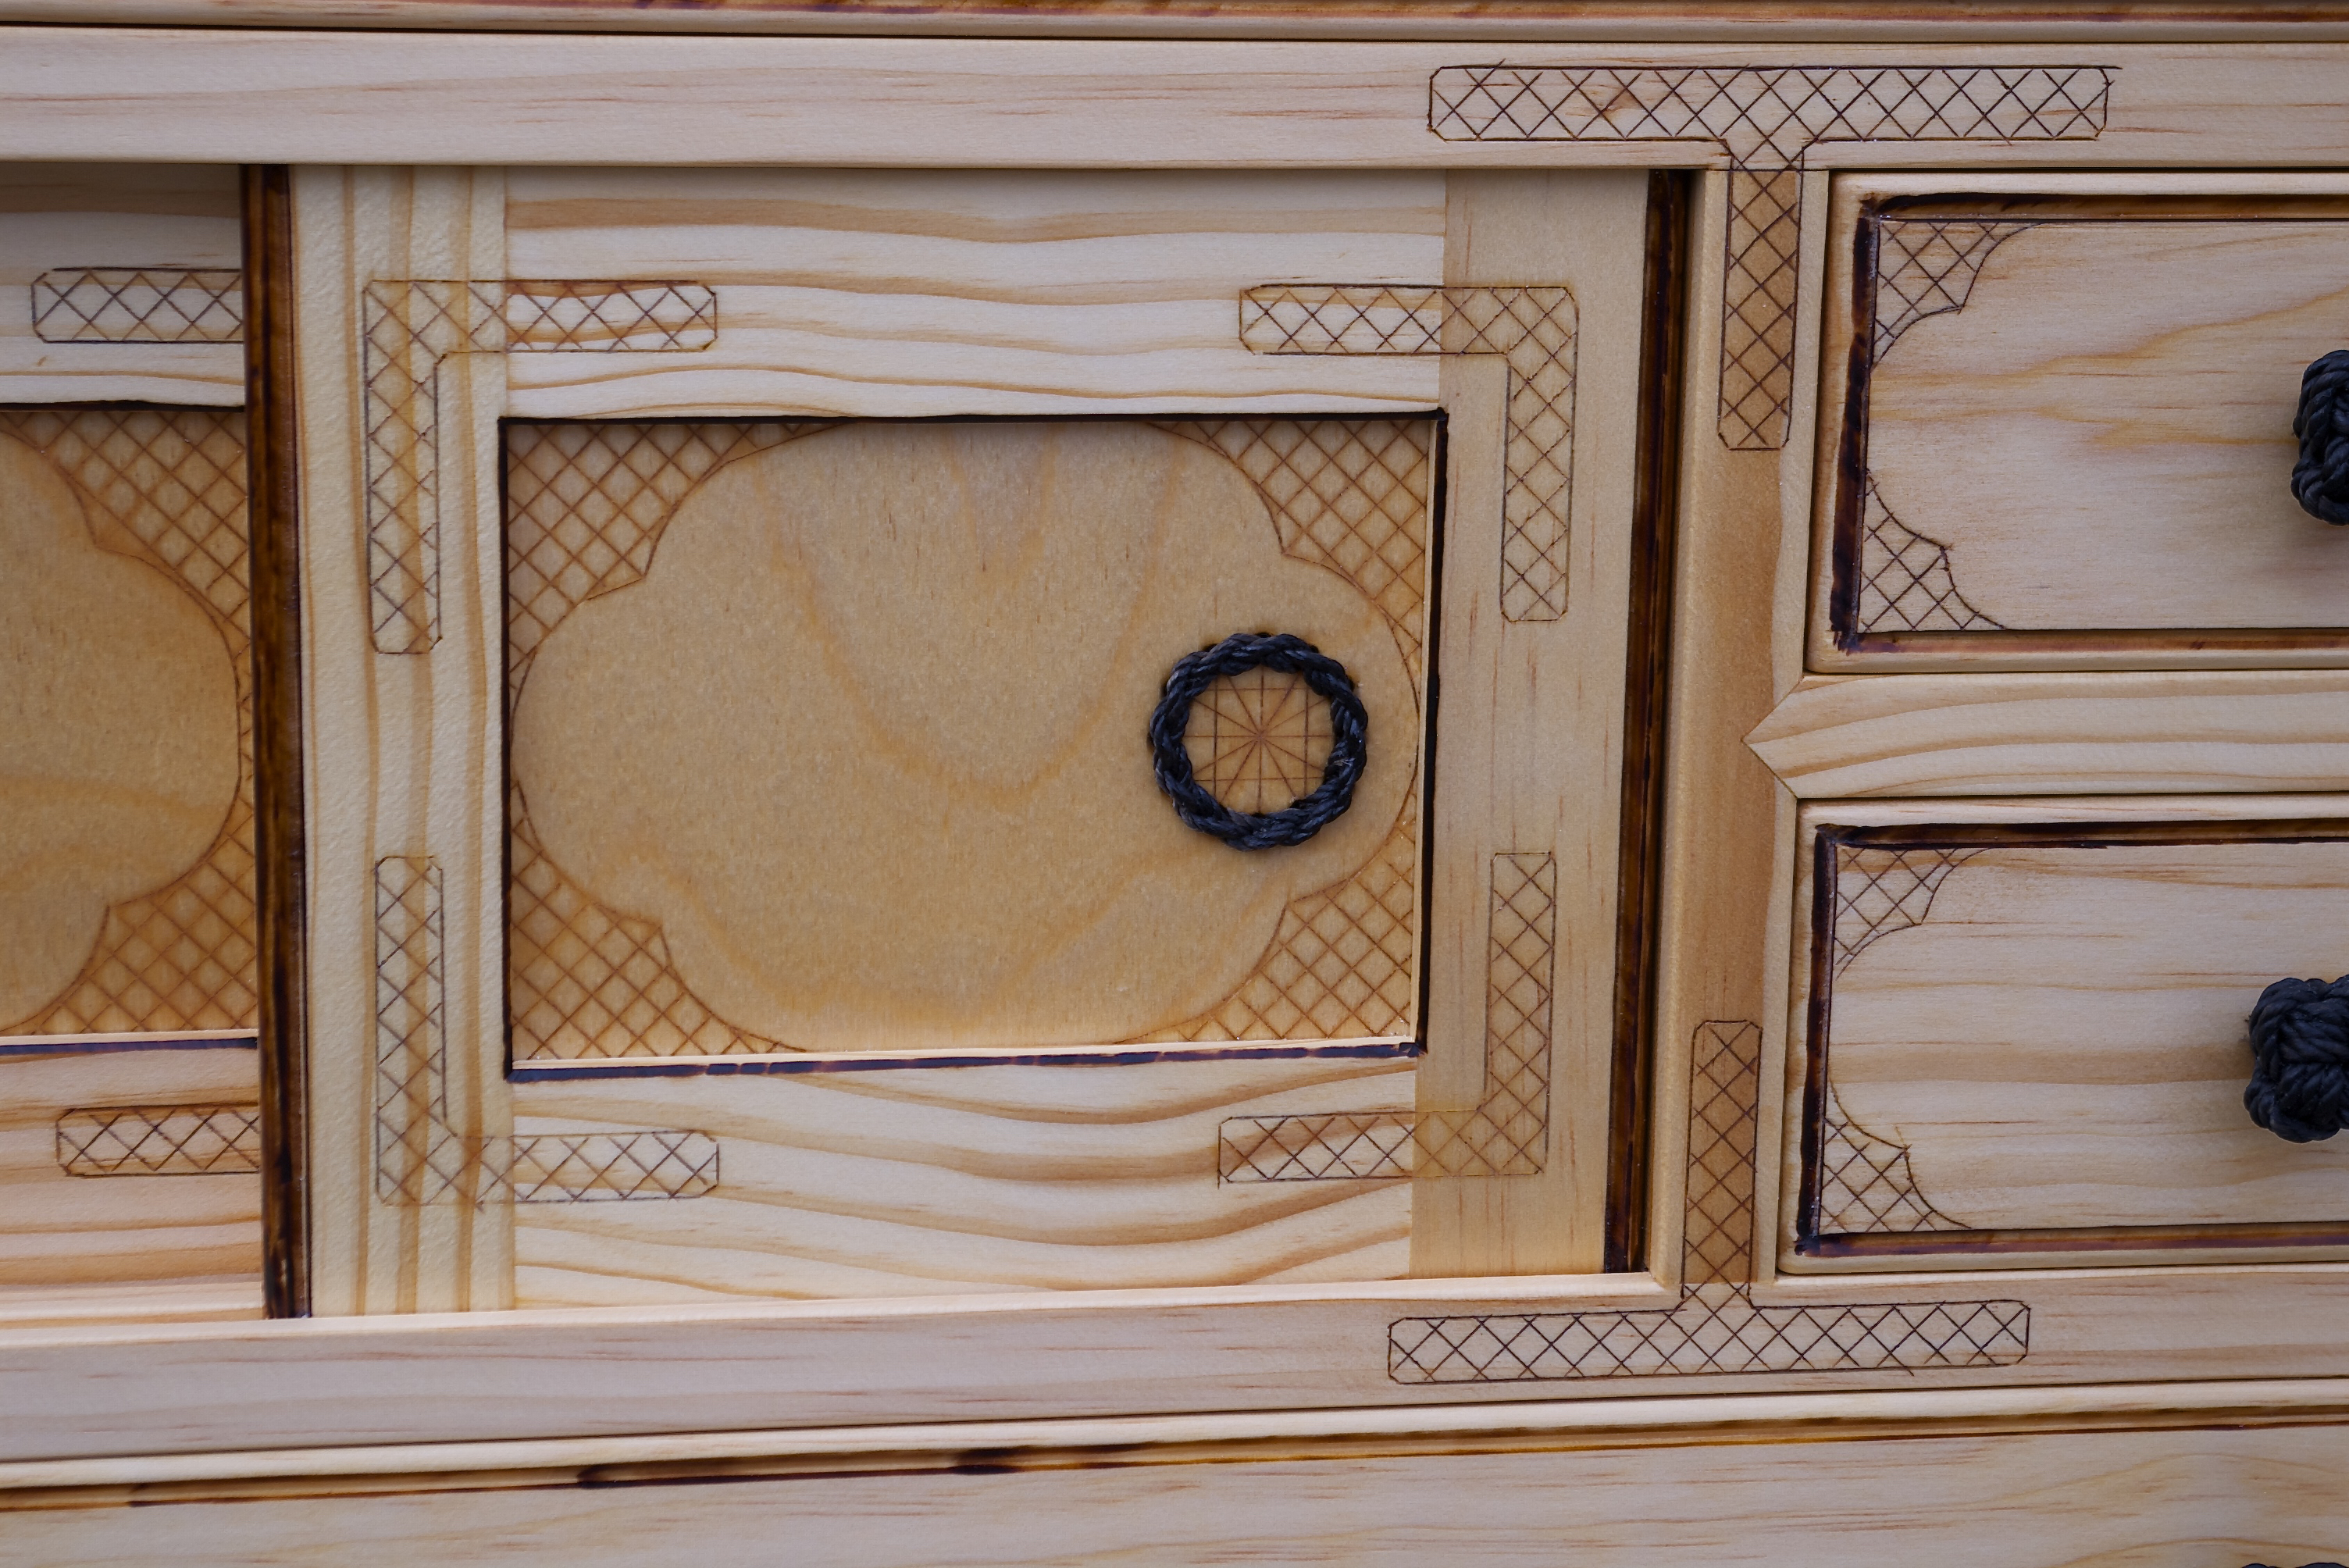
Anyway, with the doors fitted I turned my attention to adding some decoration to tie them in with the drawer fronts. All of the drawers have a bead detail around their perimeter and I wanted something similar on the doors. The top and bottom tongues prevent adding a bead on all four edges so I settled on a full edge bead. Simple to do. I just run the beading tool on the two adjacent edges and finish them off with the plane and sandpaper. I still wasn’t satisfied with the look so I added a little more kolrosing to give the look of corner straps. By the time I had all of that done I had to run the boy to a school function. When I got back the power was back on but it was getting late. The only other thing I accomplished on Monday was used the woodburning tool to give the beads the same blackened look as those on the drawers.
There was a frost on this morning so I headed out and turned on the space heater in the shop and went back inside to drink my coffee and wait for the shop to warm up. I then spent a few hours trimming, sanding and easing edges. I don’t know about you, but do you ever find yourself at the end of a project and wonder how it is you actually done it? This is probably the most complicated thing I have ever built and it feels a little surreal as I go over every inch of it and ready it for a finish. Did I really build this? Strange, huh?
The finish on the last HB Tansu was a failed experiment with tinted wax. It ended up looking OK, but not the way I had envisioned. This time I wanted to do better, much better. I ordered, read and reread Stephen Shepherd’s book, “Shellac, Linseed Oil & Paint.” A wealth of information and I highly recommend it. After reading the book and doing a little bit of experimenting, I decided to go with a few coats of BLO and then a couple of coats of Tried and True original finish. The BLO will soak in deep and highlight the grain. The Tried and True is linseed oil with the addition of beeswax. So that should give a little extra protection and a nice luster. That’s the theory anyway. This finishing process is not fast. I’ll have to wait at least 24hrs between each coat meaning it will take several days before I can call it done. Enough stalling. It was time to commit and add the first coat of BLO.
I knew the BLO would darken the color of the pine and the cherry as well as highlight the grain. I knew that. I was not prepared for how dramatic the difference was going to be. It’s been a long time since I was excited over adding a finish, but once I began applying the BLO I couldn’t go fast enough. I wanted to see what the whole tansu was going to look like. Sweet Baby James! I like it!

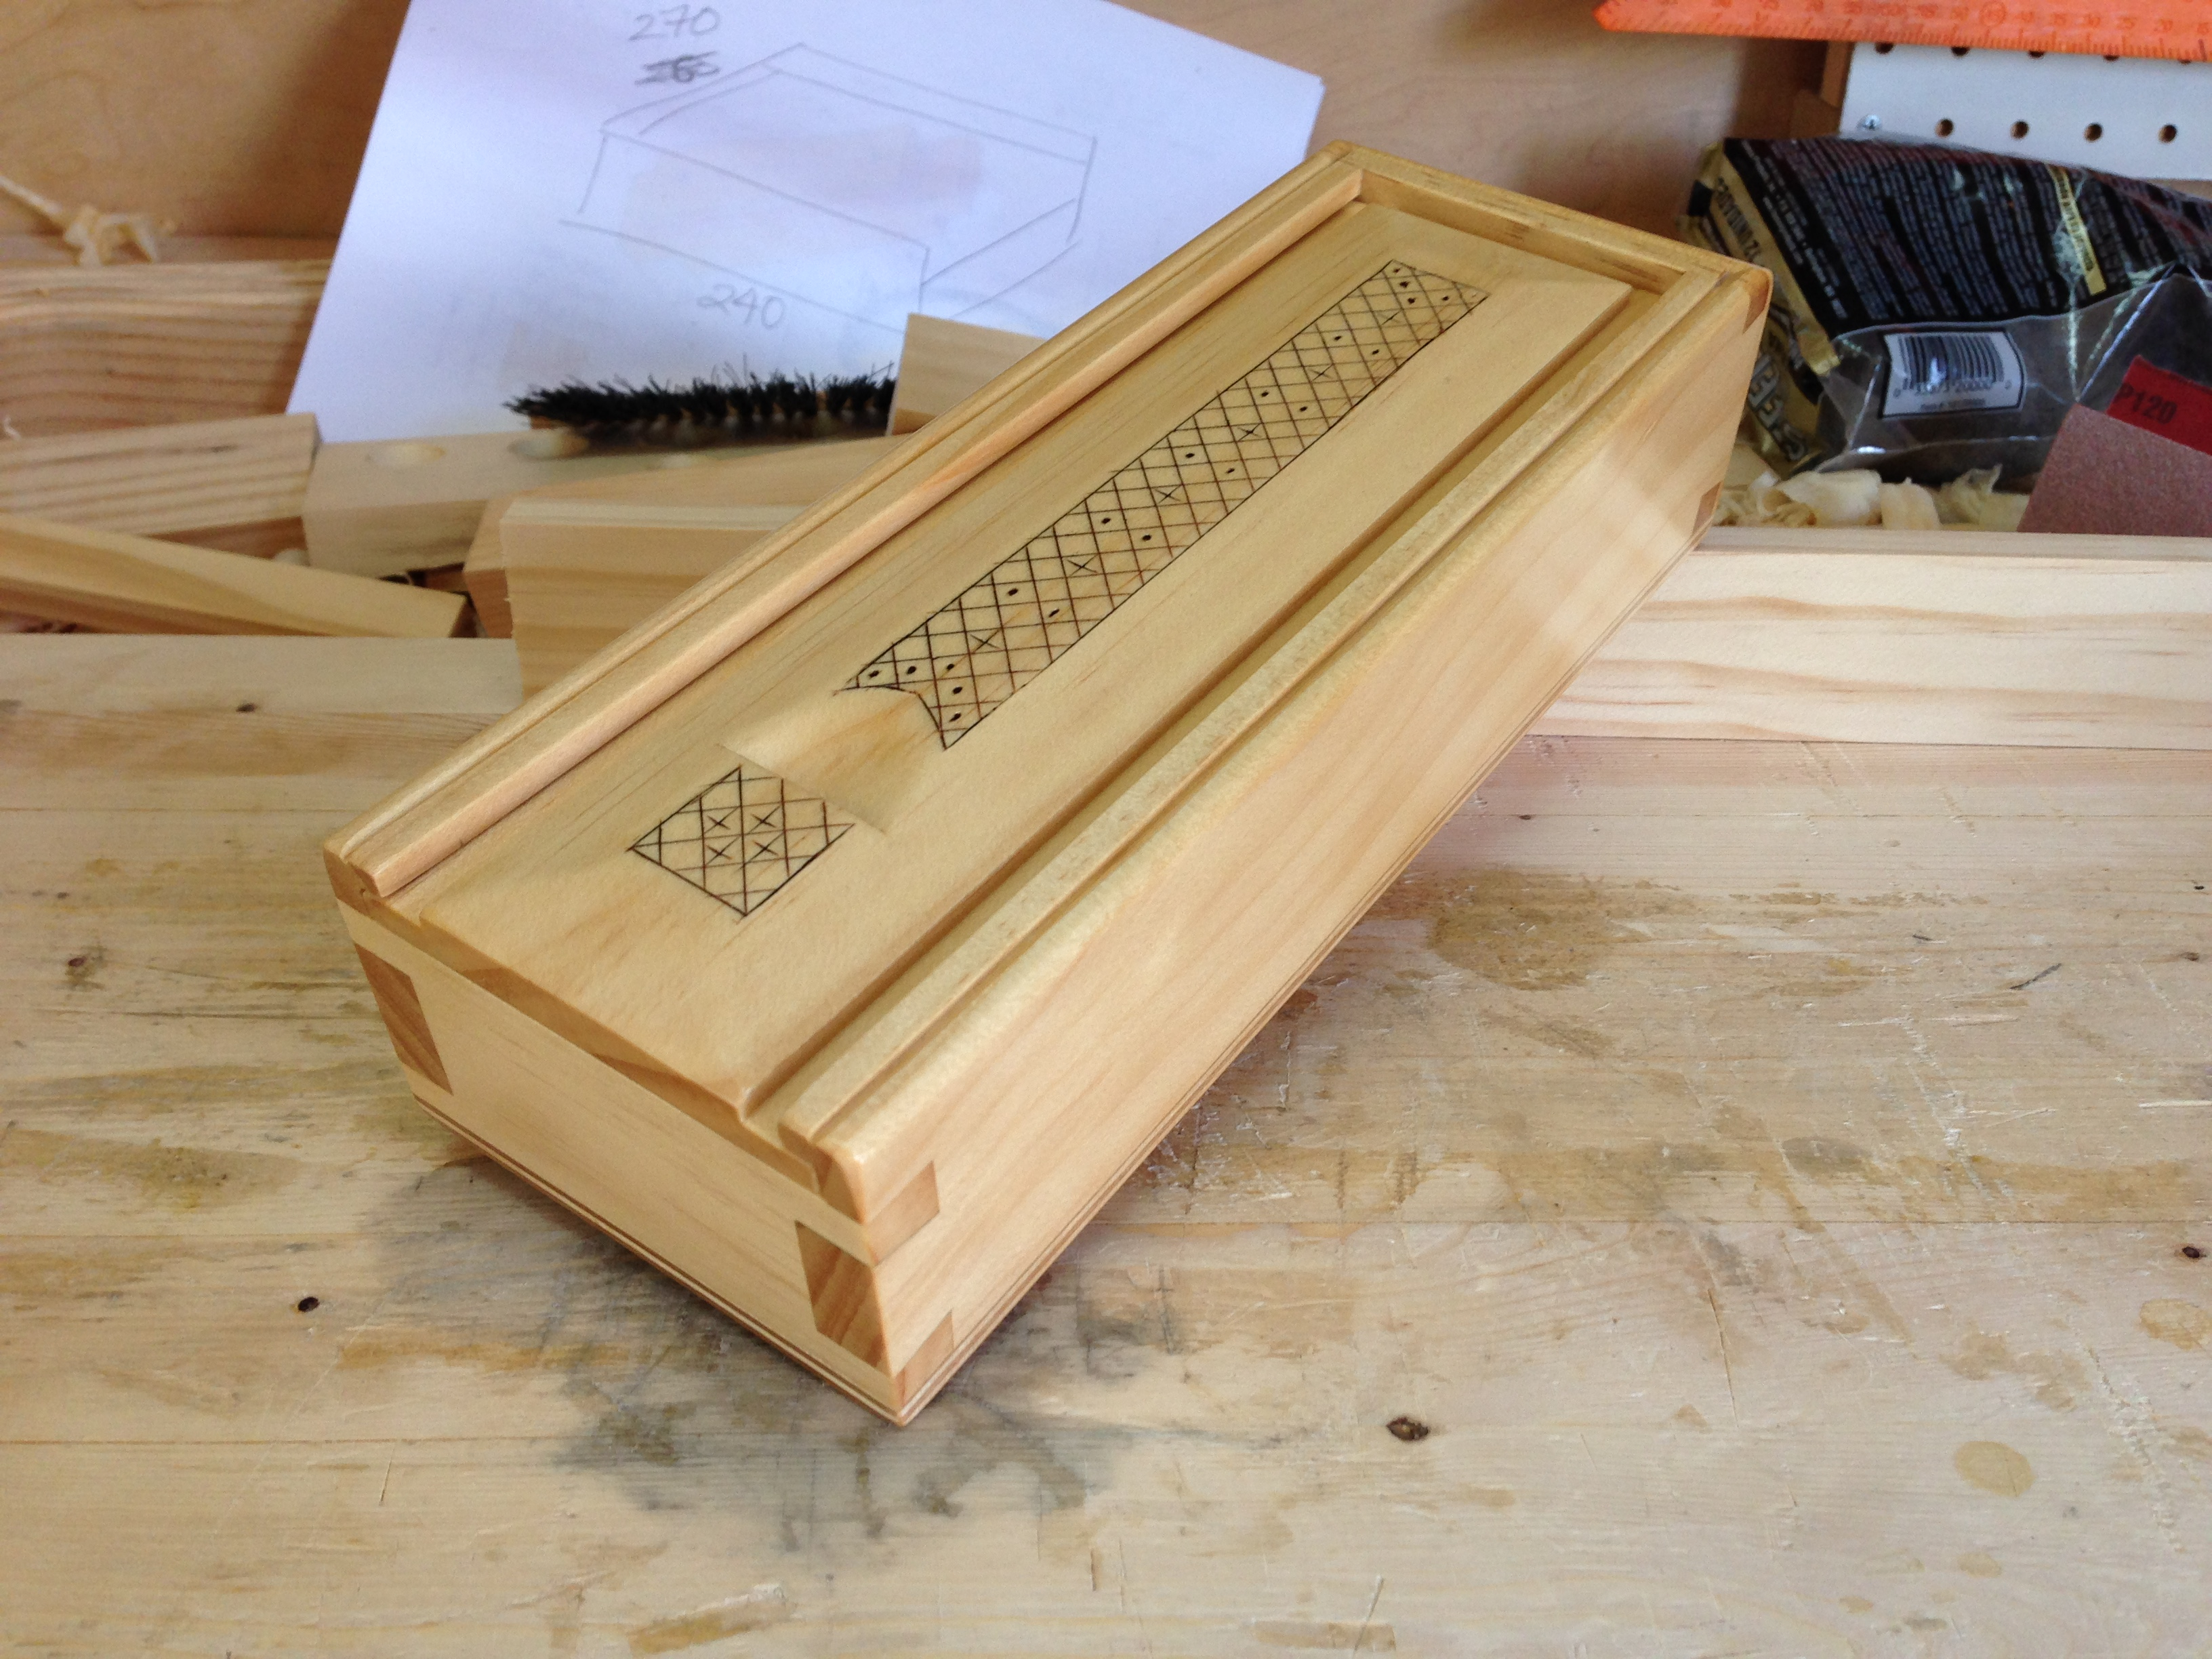
Here is the end view with a little kolrosing that I hadn’t discussed before.

One coat down and at lease two more of the BLO to go. Then the Tried and True. I’m still on track for being completely done with this project by this weekend.
Greg

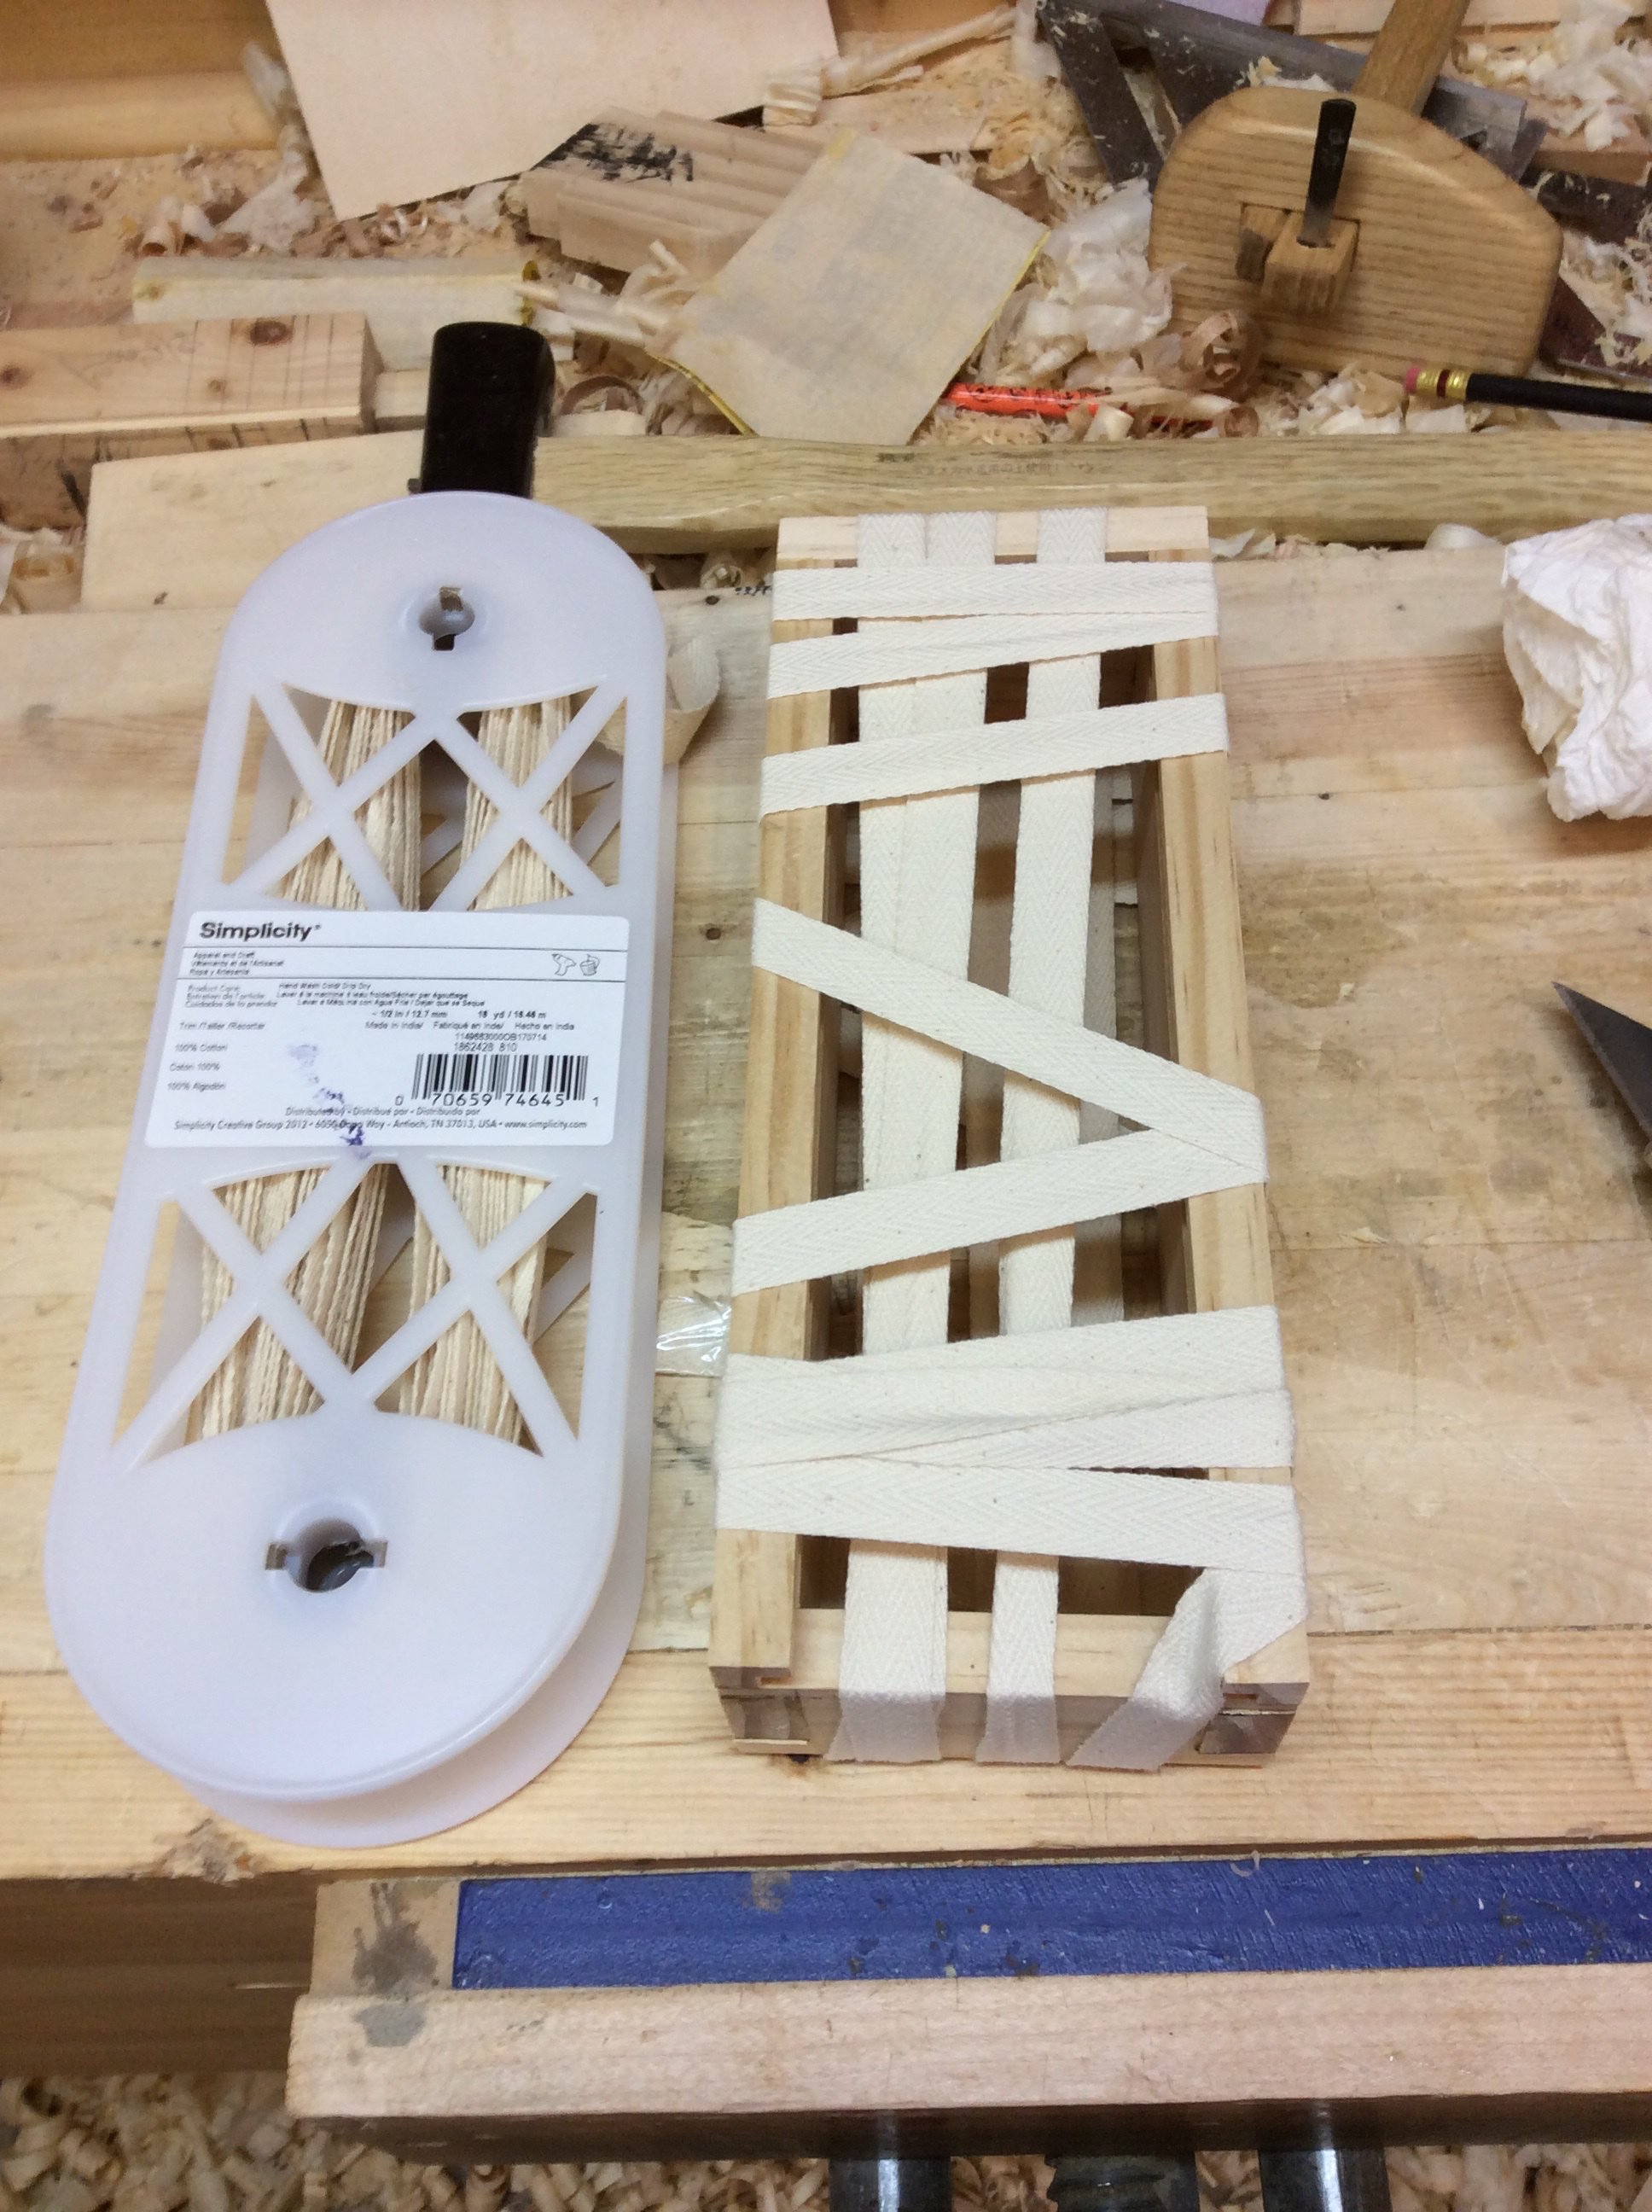
 Part two of this little project starts with the installation of the rope grommet at the top of the bag. This operation would be difficult if not impossible without the seaming palm. To sew the grommet in place requires the needled to pass through several layers of canvas on each stitch. The seaming palm gives you the protection needed as well as allowing you to use the power of your entire arm to push the needle