Knots, Drawings and Journaling

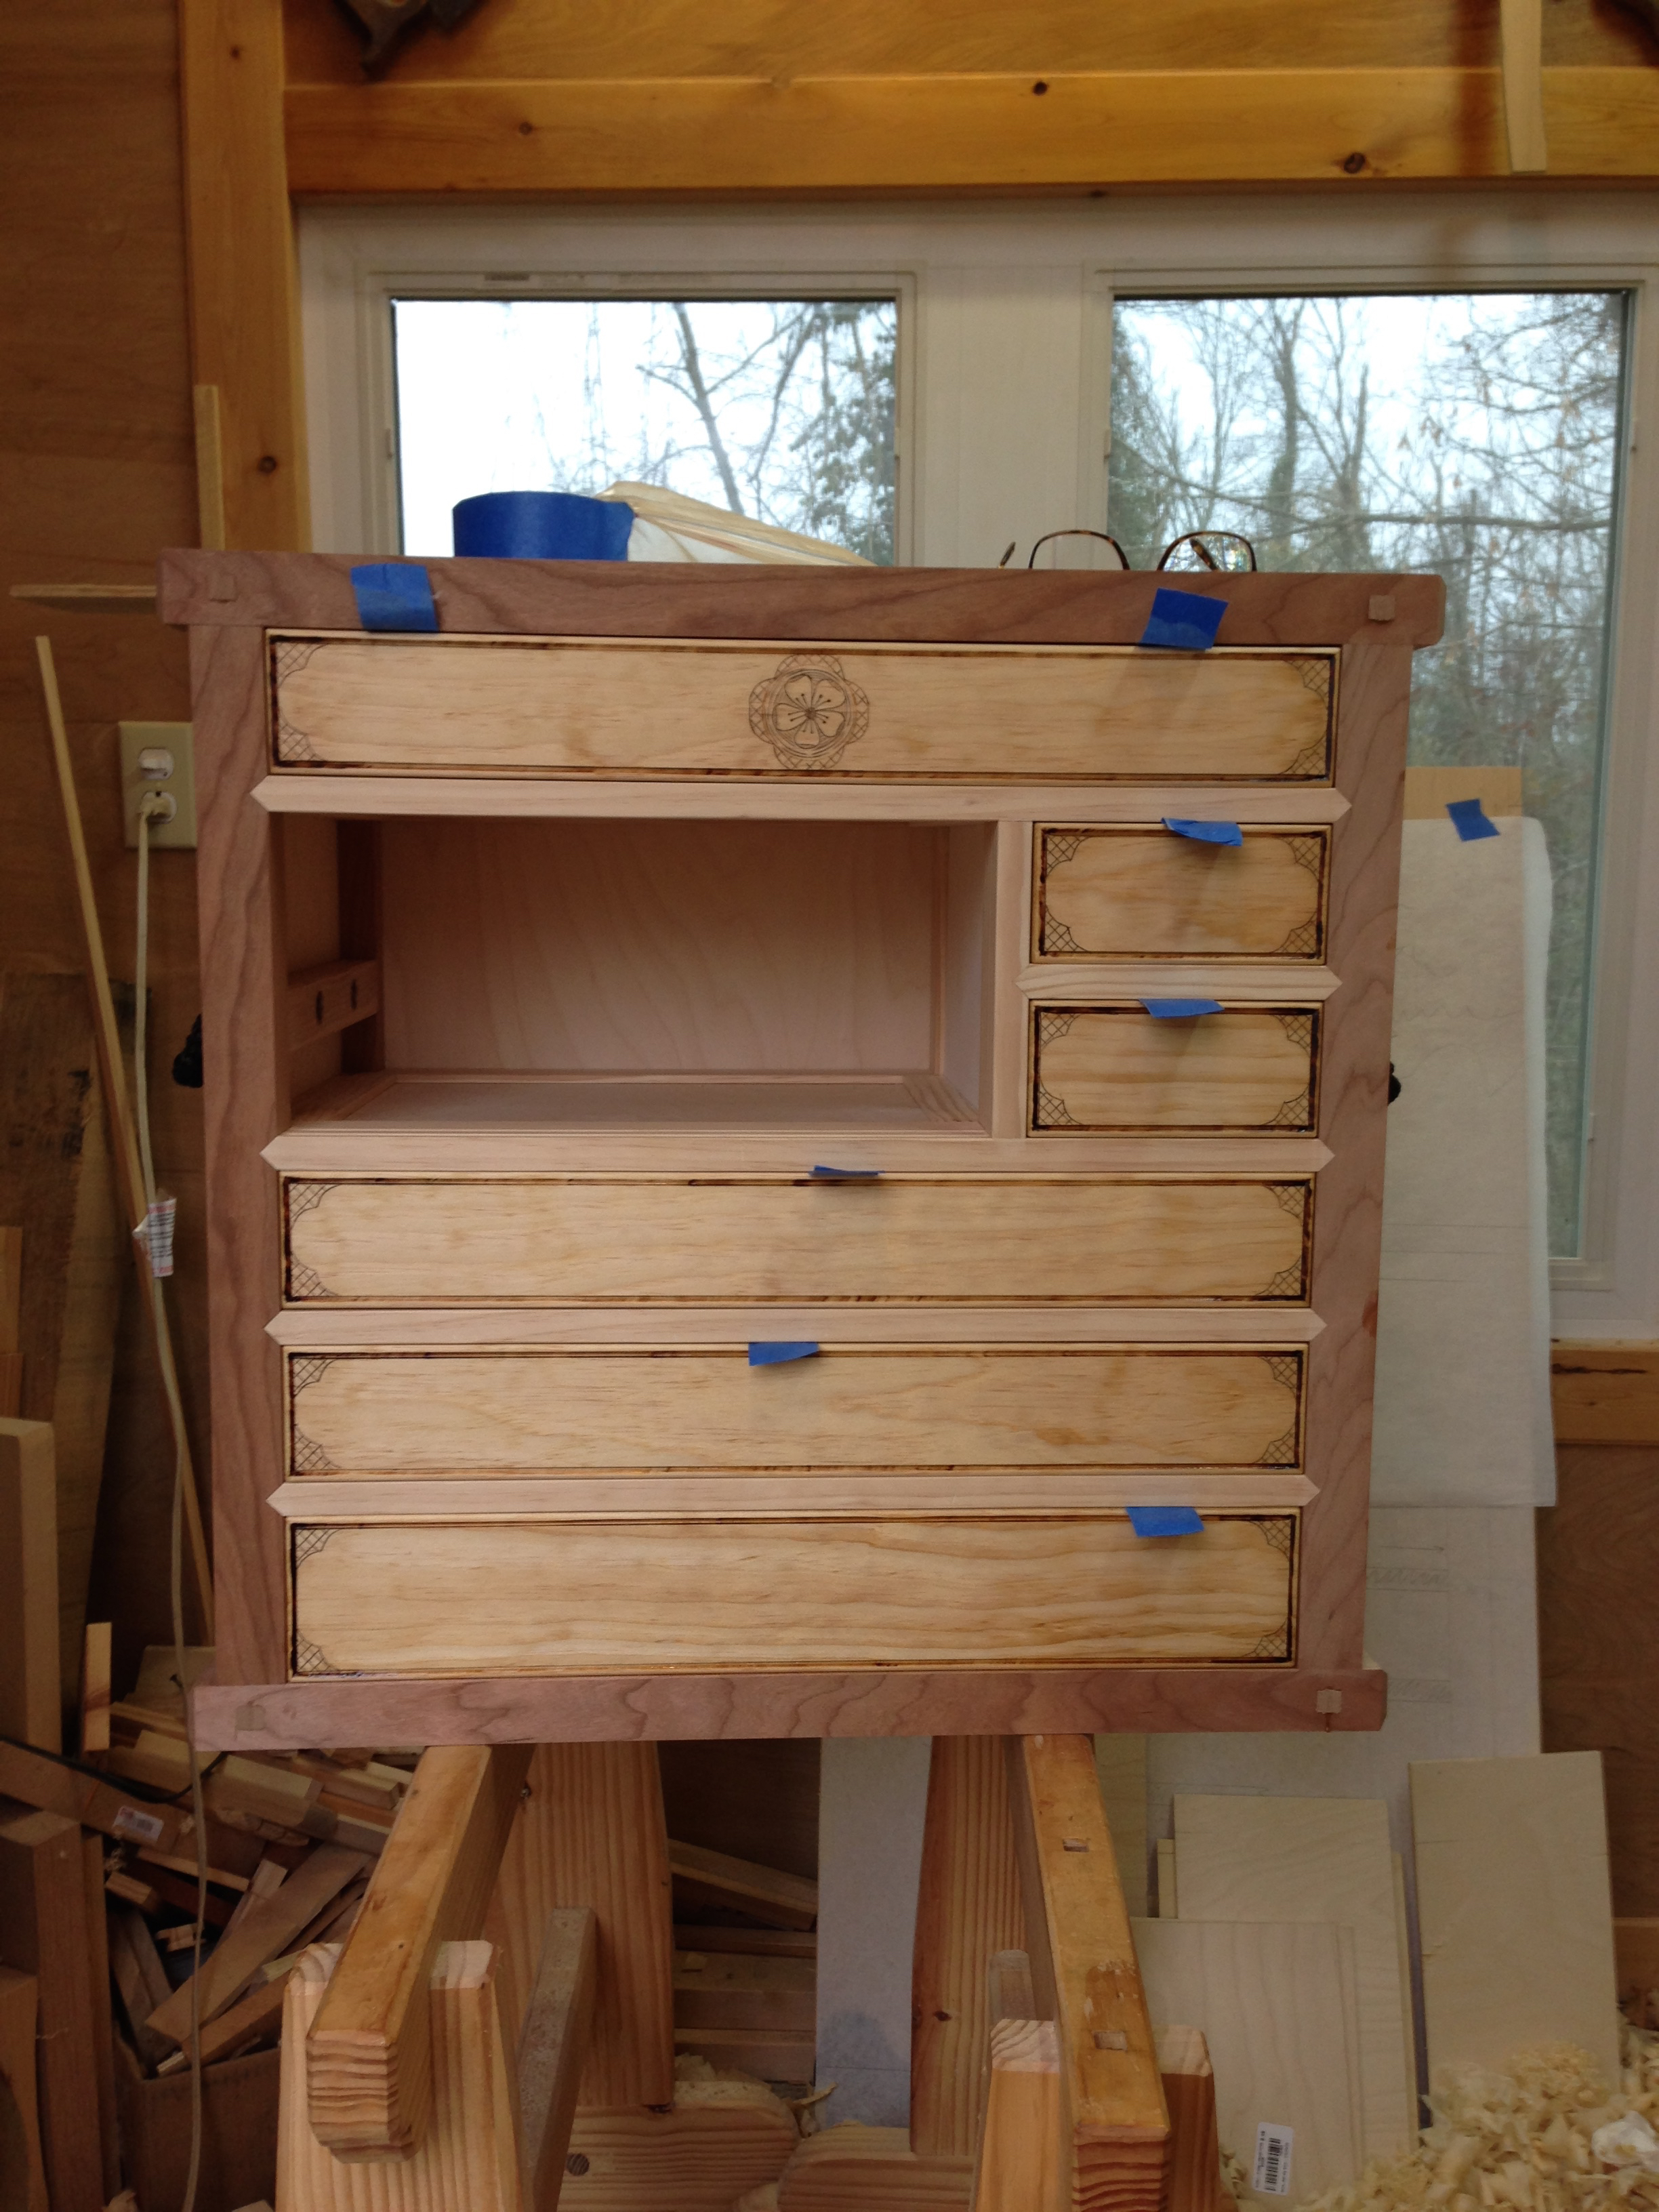
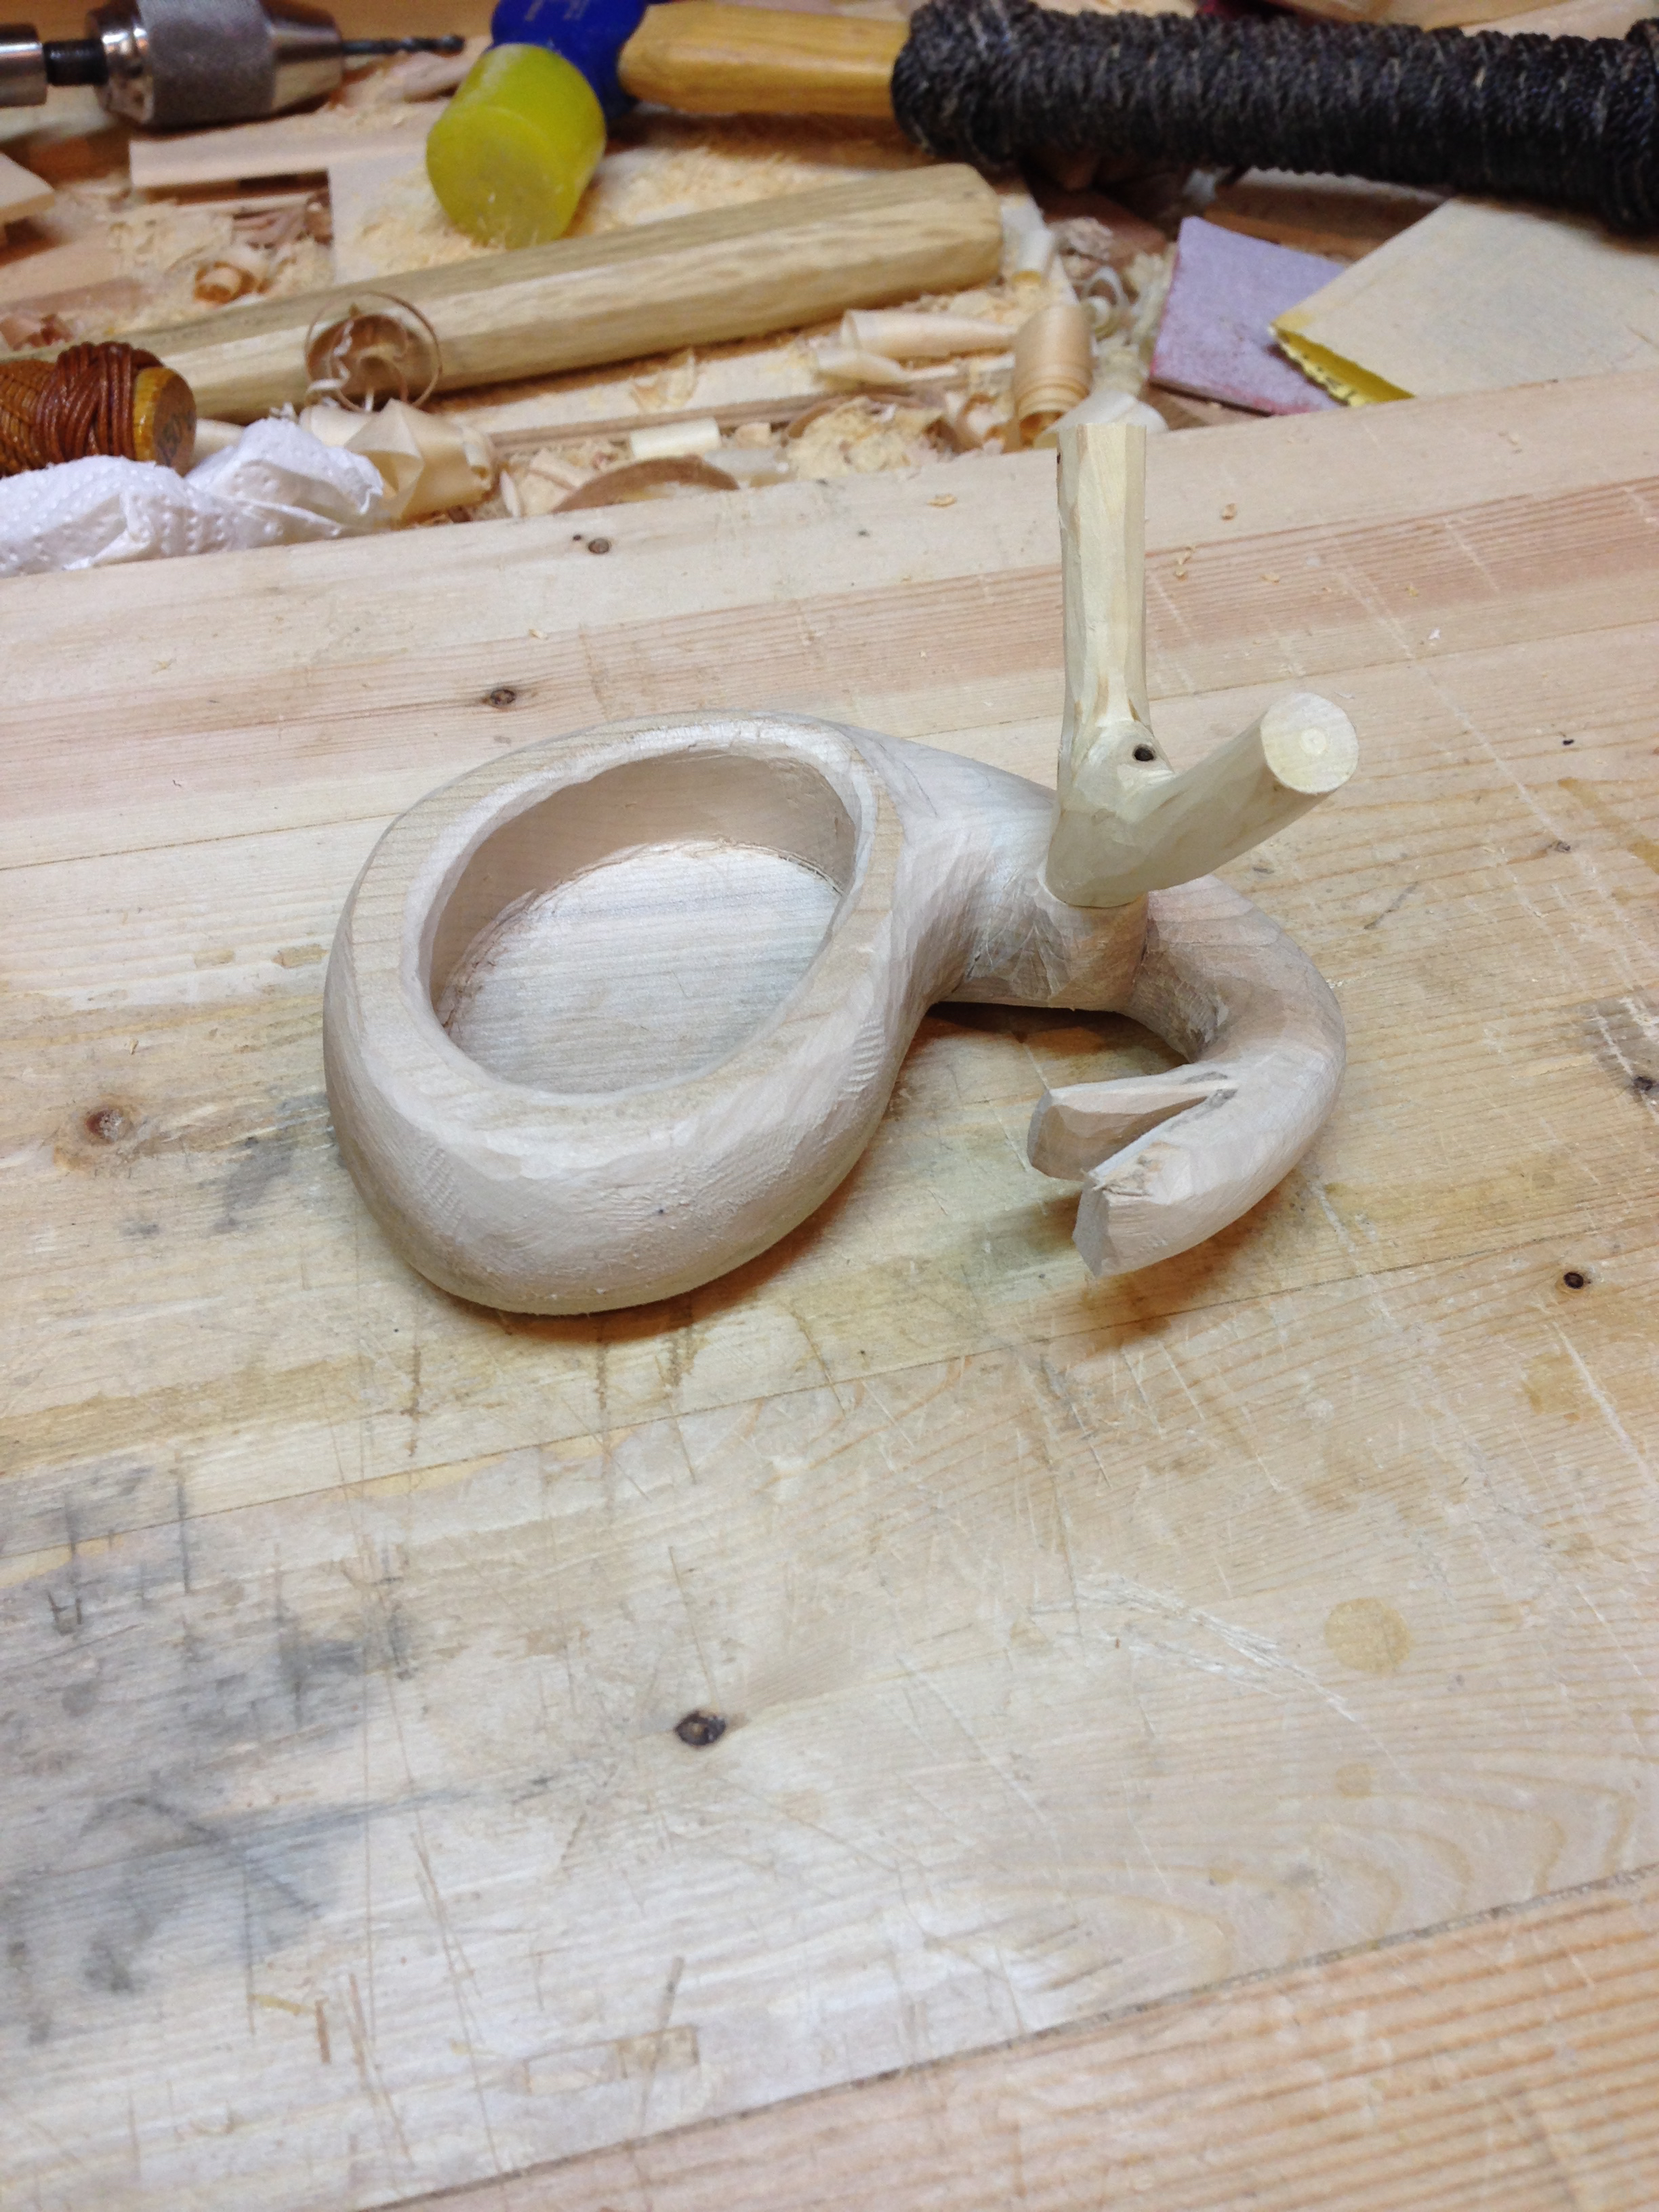
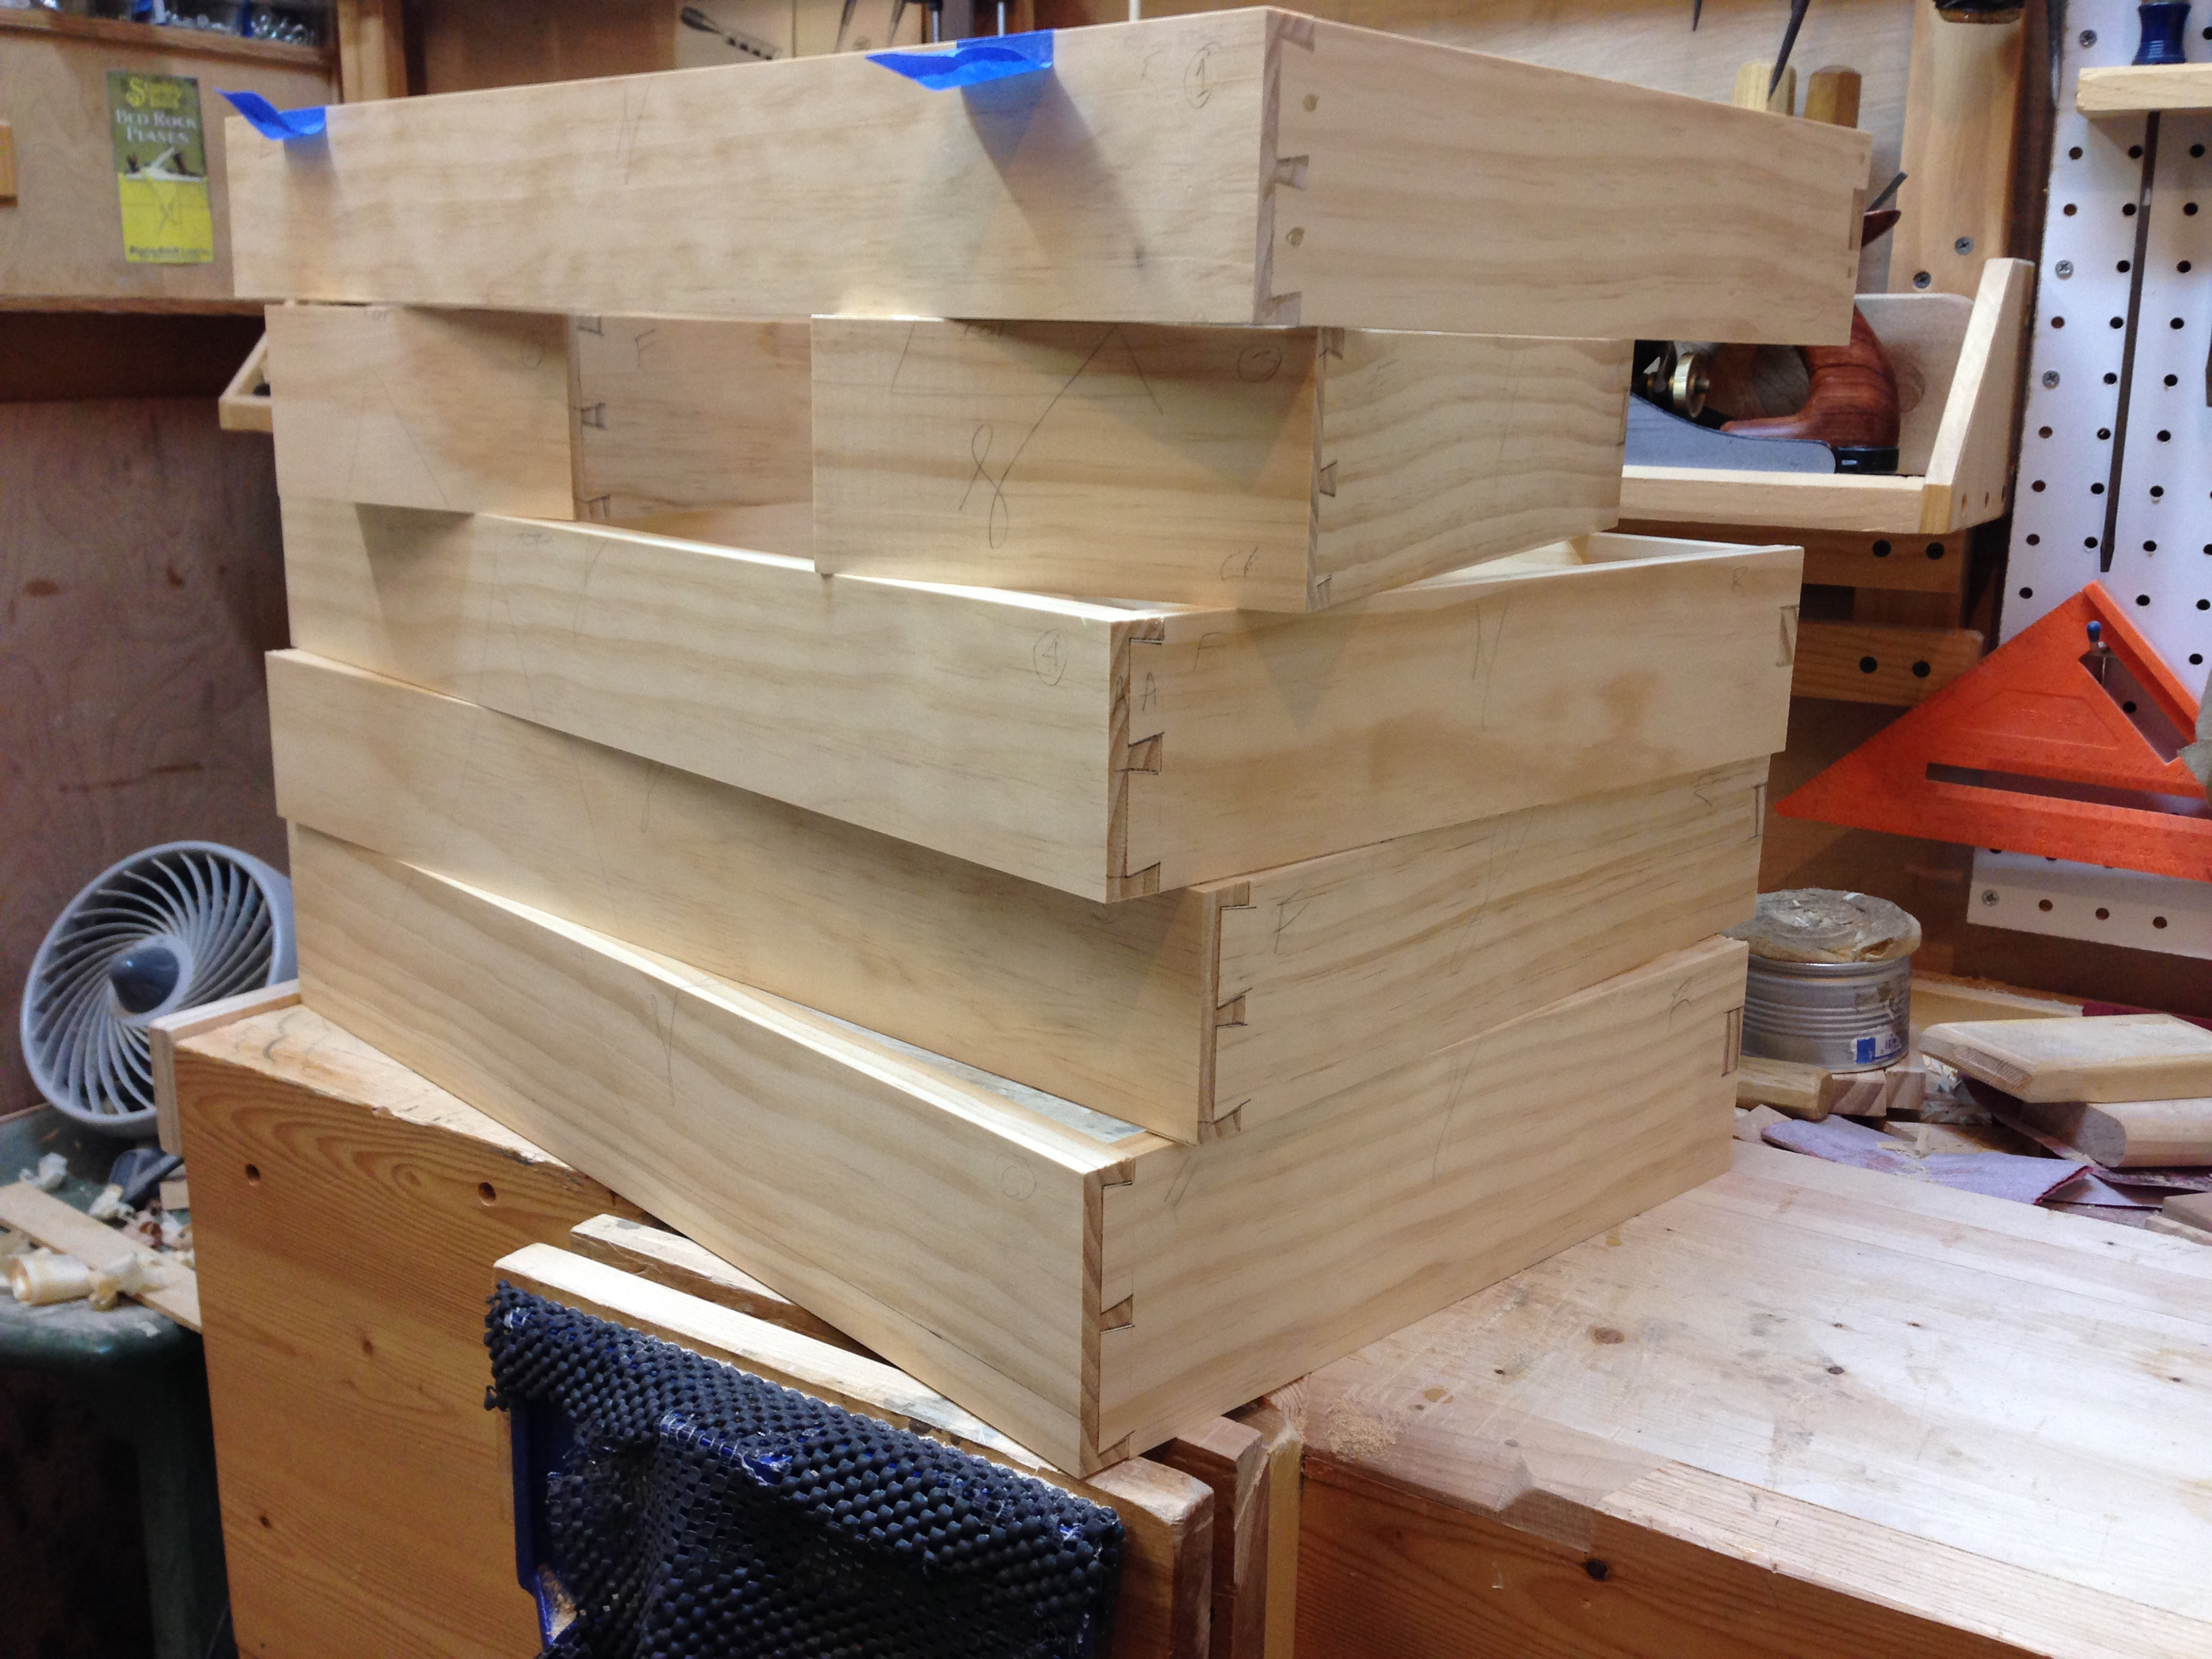
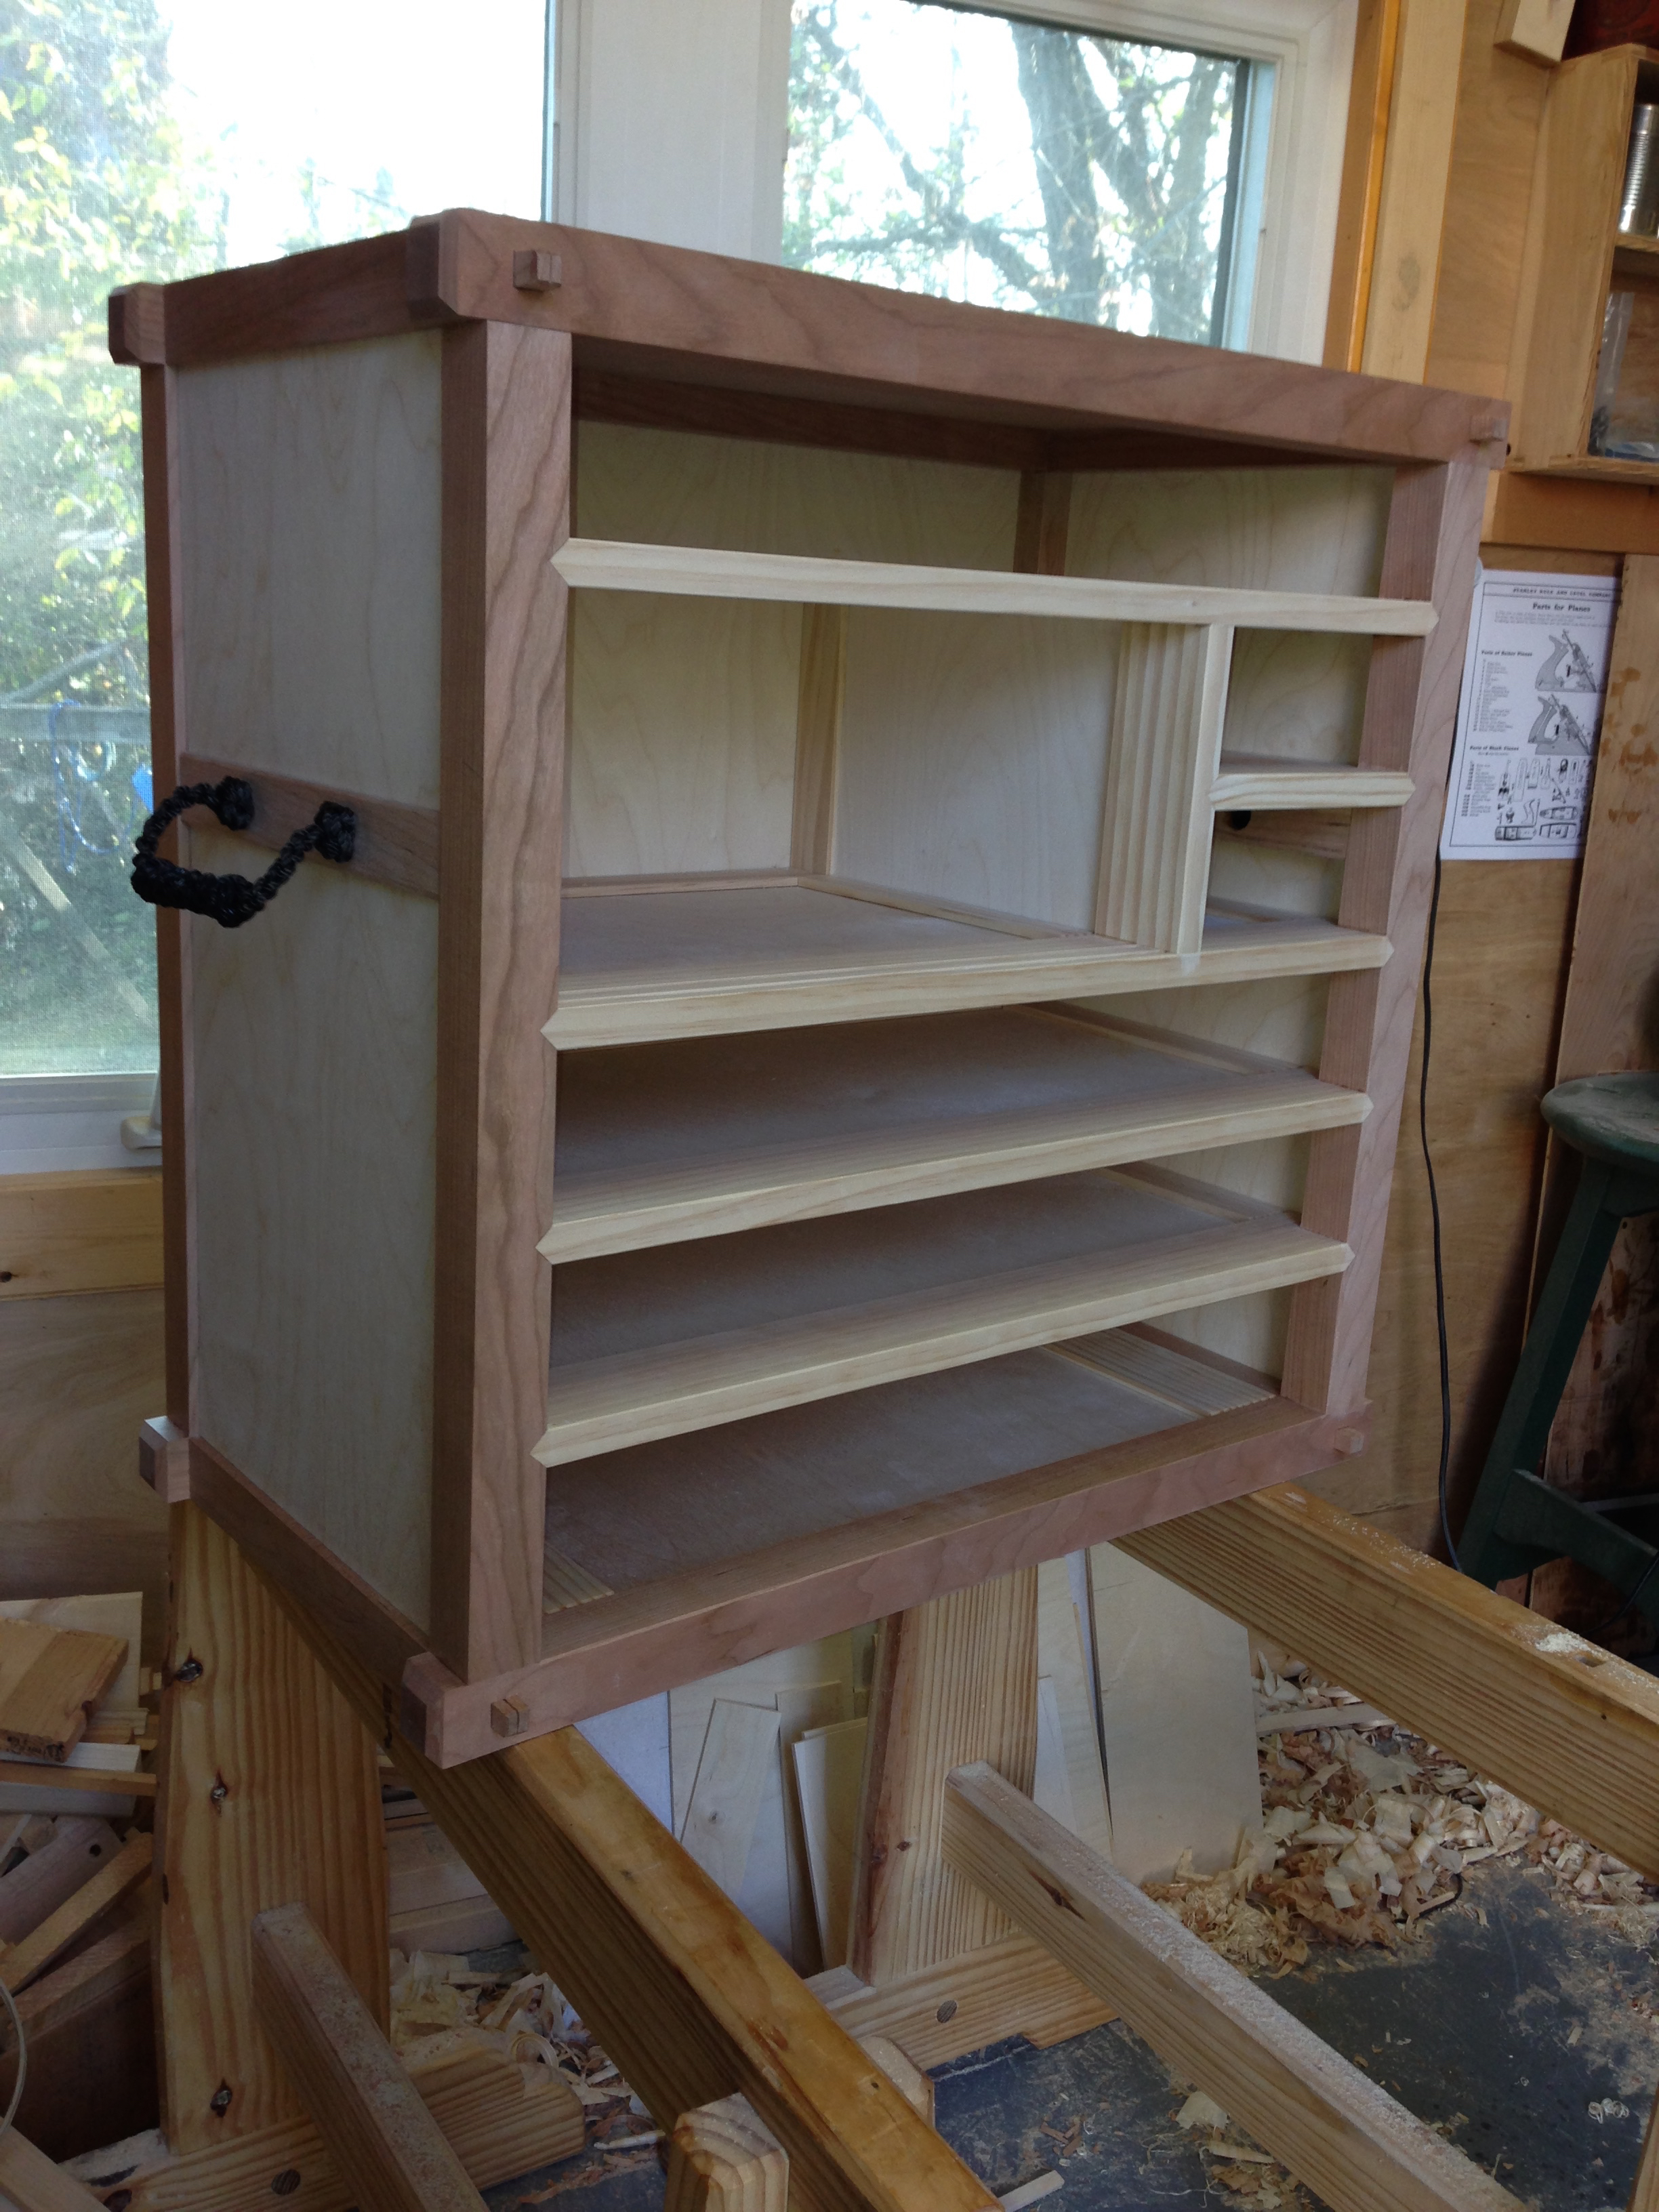
The weather has dropped below freezing and decided to stay there all week.  So no shop time after work this week.  It just takes too long to heat the shop to a reasonable temperature in order to get any work done.  So I focused my attention on playing a little catchup with drawings and tying the last of the knobs I need for the HB Tansu #2.  I’m still not done with the knobs, 6 down and 4 to go.  I may actually get them all done before I hit the rack tonight.  These knobs are all four strand star knots tied with #72 tarred nylon.

hbt2-36

hbt2-37

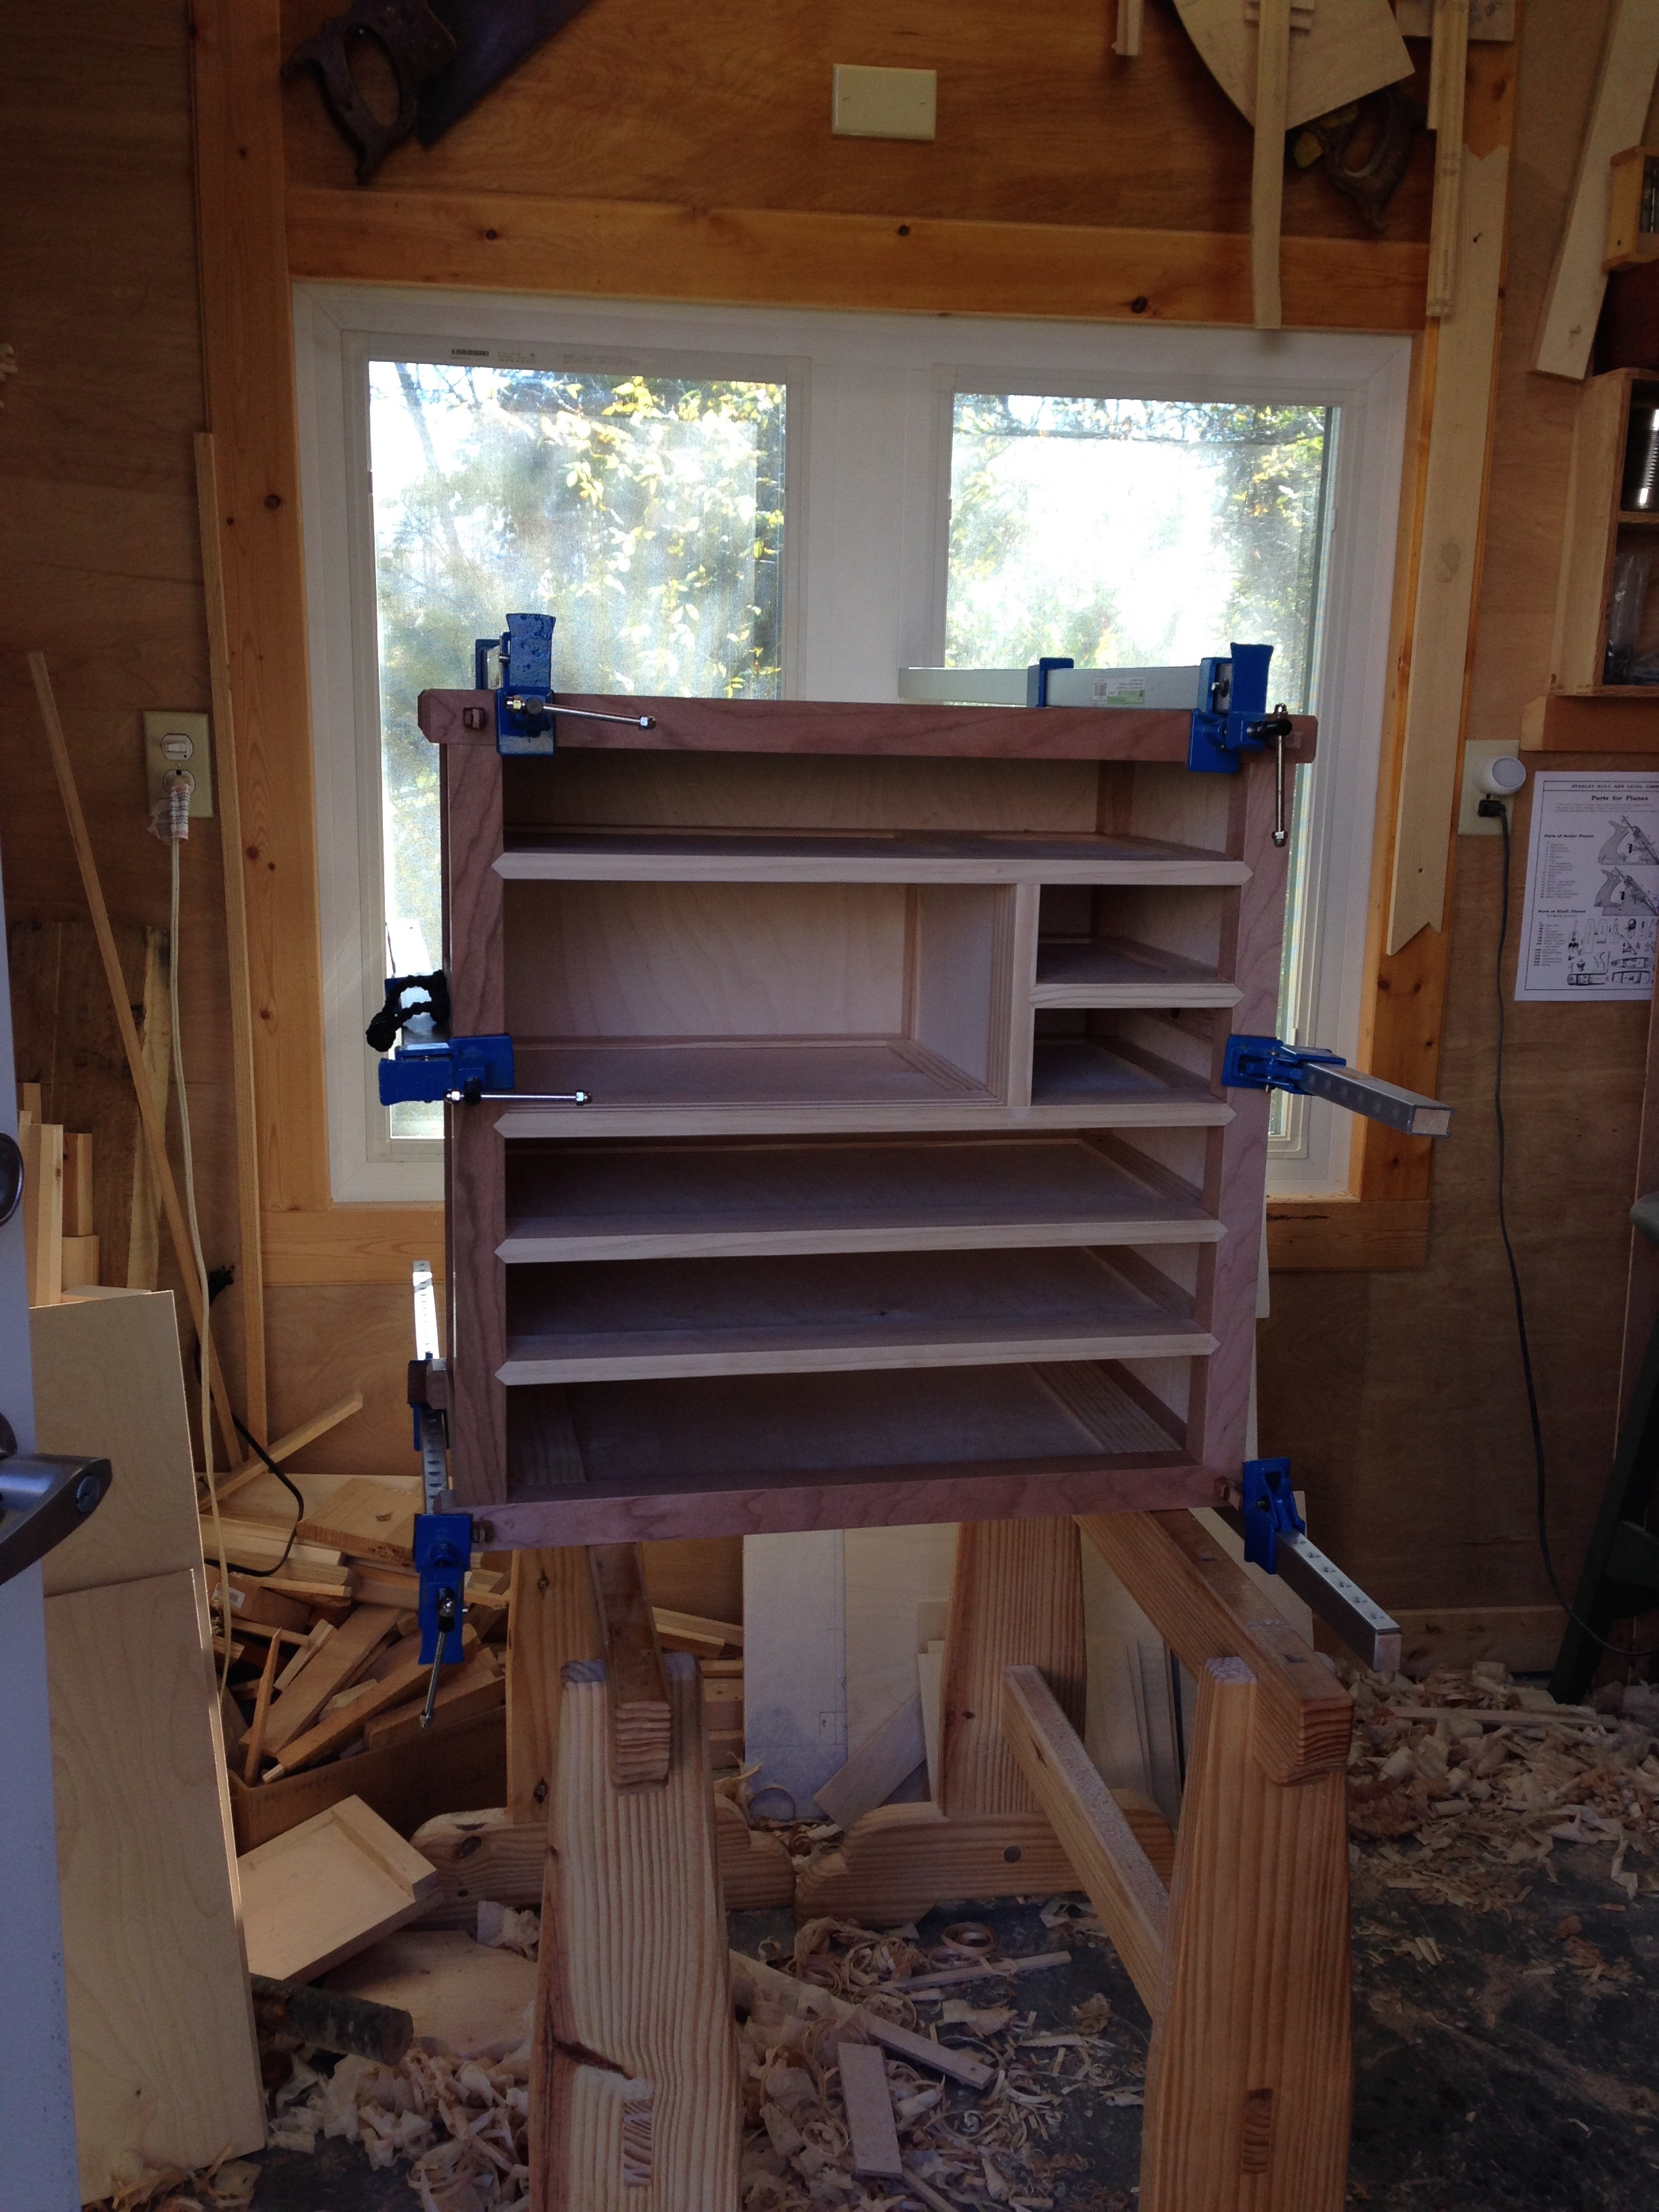
I also completed the drawing that illustrates the divider details.

hb_tansu_divider_details

I hope that all of you keep some sort of journal for your work and ideas.  The drawings that  I post on here are a little over the top.  It’s just my thing.  I find creating the hand drawings quite relaxing and derive a lot of enjoyment from them.  What I actually use on a daily basis though, is a dedicated sketchbook that I keep on the end table with a pencil tucked in so that it’s always at the ready.  Every idea goes in that little book.  Mostly scribbles and notes, but I try to get everything down on paper.  Once in a while I’ll flip back through the pages and see if anything catches my eye that I may have forgotten about.

The important thing is to find something that works for you and use it.  I know that Sketchup is popular currently.  I messed around with it a little but find it to be limiting to quickly getting an idea recorded.  I think it would be good for creating final polished design drawings, just not for the journalling of ideas.  I use AutoCAD daily in day job and we still turn to pencil and paper for quickly getting an idea on paper.

The most popular excuse for not journalling is, “I can’t draw.”

To that I say, “Learn.”

Drawing is simply a hand-eye coordination skill.  It can be learned and improved with practice just like any other skill of this type.  Does that mean we can all become artist? Nope.  We can develop enough drawing skills to get our ideas on paper and maybe even communicate those ideas to others.  Drawing is also a transferable skill that will help you in your woodworking.  Layout, especially laying down and blending curved areas, will be greatly improved as your drawing skills improve.  Drawing will also improve your ability to visualize how things are to be assembled or even what they will look like long before you cut the first piece of wood.  So, if you are already journalling, good for you and keep up the good work.  If not, get a piece of paper and a pencil and get started.

Greg Merritt

Posted in Design, Illustrating, Knot Tying | Tagged , , , | 7 Comments

HB Tansu #2-Progress 12

I began the weekend by finishing the fitting of all of the drawer frames.  I must say that leaving the bottoms out for now has been a very good way to go.  It has been much easier to work on these and hold them in the vise without the bottoms to get in the way.

With the drawer frames fitted to their openings it was time to start adding some details.  All of the frames received a corner bead.  This is accomplished on the the long grain with a simple screw in a block of wood.  The screw trick takes care of the interior portion of the bead and the exterior of the bead is shaped with a plane.  The whole thing is refined with sandpaper.  The cross grain is a little more work.  I use a knife to establish the interior wall and the interior portion of the bead is simply chisel work.  The exterior sees the plane employed once more and sandpaper finishes off the lot.

hbt2-33

The next detail I added was some kolrosing to each corner and a center medallion on the topmost drawer.  I created a pattern to make this go a little quicker and to ensure uniformity.  I lined up the pattern on each corner and traced along it with a utility knife.  I then added some additional incised lines to complete the design.  The center medallion was created with the same pattern with the addition of a freehand cherry blossom motif.  Once all the lines were incised I rubbed instant coffee into them and used a fine grit sandpaper to remove any areas that had been raised by the knife.

hbt2-34

The next idea that I had was to use a wood burning tool to darken the interior portion of the beads.  My wood burner is a cheap craft model that I’ve had for years and it’s nothing special.  With that bit done, the panic set in.  The burnt areas really stood out against the whiteness of the pine and began to think that I had completely ruined it.  So I slated on a coat of BLO to see how it was really gone to look.  Then the panic began to subside.  Once the black knobs are installed and the rest of the tansu gets a coat of BLO and darkens, I think it’s going to look pretty good.

hbt2-35

I’m getting close.  I can see the light at the end of the tunnel on this build.  The drawers still need bottoms installed, I need to build the doors, install the knobs and the whole lot needs a final cleanup.  At least I have a jump start on the finishing process.  As to that, everything will get at least on coat of straight BLO.  After that there will be two or three coats of Tried and True Original finish.  Then lots of buffing with steel wool.

Greg Merritt

Posted in Hillbilly Tansu-001 | Tagged , , | 4 Comments

Build Yourself a Sumi Pot (Sumitsubo?)-Part 3

My little sumi pot is complete.  Over the last few days I added a couple of coats of Tried and True original finish and then finally a coat of paste wax to the outside surfaces.  I like the way it turned out, functional with a bit of whimsy.  Now its time to see if I can get the sumisashi to work too.  Otherwise my sumi pot is going to be relegated to being a knick-knack on a shelf.

My order from Hida Tool arrived this week and I have been anxious to try all of this out since I opened the box.  I’ve only ordered from Hida tool a few times but I am impressed with their speed and their careful packaging.  Anyway, I now have silk wadding, sumi ink and (4) sumisashi pens.  I ordered (4) because I’m sure that I’ll make a mess of at least one trying to get a handle on how to sharpen and prepare it.

The raw silk wadding is just a bunch of fibers.  These will act like a sponge to hold the ink in the sumi pot.  The packaging and directions are in Japanese only but there is a drawing that gives you the setup.  There are two small micro mesh bags included in the box.  The silk is to be divided and stuffed into these bags.  If I was setting up a traditional sumitsubo with an ink line, one bundle would be placed below the snap line and one on top.  The idea is that as the line is drawn between the two bundles of ink soaked silk it will be completely coated.  Since I’m just setting up a sumi pot I’ll only need to use one bag.

I placed the bundle of silk into my pot and added some ink.  The ink has a watery consistency and I took my time adding it.  Each addition of ink was worked into the silk bundle with a scrap piece of wood.  The idea is to saturate the bundle so that it will release ink to the sumisashi but not be a sloppy mess.

The sumishashi came pre-shaped but still needs to be prepared for use.  Like most Japanese tools, the end-user is expected to make their own final adjustments as they see fit and to suite their needs.  I left the line flat, wide line drawing end alone for now and focused my attention on the writing end.  I used a sharp knife and shaped this end so that the mark produced will be more on scale with the size of joinery that I typically do.  The final step to preparing the marking end is separate the fibers on the tip so that it will hold ink.  Most sources agree that this is best accomplished by laying the sumisashi on a hard surface and tapping the first 1/2″ or so of the tip as you roll the sumisashi.  So that is what I did.

Time for a test run.  I loaded the line drawing end with ink and lightly pulled it along the edge of my square.  The result was a nice thin line.  Success!  Then I dipped the marking end in the ink and drew a centerline mark on my line.  Success again!  I’ll have to spend some time developing a feel for the sumisashi.  It’s very sensitive to the amount of ink and pressure applied.

sumi_pot-19

My first impressions are very favorable.  The system works as intended.  Do I think the sumi pot and sumisashi will make me a better woodworker?  Of course not.  I do however think that they will be beneficial to my layout routine.  An accurate layout is very important.  Any errors will haunt you throughout the entire project.  The ritual of preparing the ink and the sumisashi will add an air of importance to my layouts.  Forcing me to slow down and focus.  Another benefit will be the greater visibility of the ink vs. a pencil.  Pencil lines tend to wear off as a project progresses.  The ink will not.  I work under artificial light most of the time and pencil lines tend to glare in these conditions.  The ink will not.  I’ve been using a fine tipped marker for layouts and a brush tipped marker for marking the waste and numbering parts.  That works but removing and replacing caps and switching pens is cumbersome.  The sumisashi combines the two into one marking tool.  So the actual layout process should be more efficient for me.  I already use a light pass with a plane to “erase” my layout lines.  The ink does not soak into the wood so this method of removal will still work just fine.

I had a lot of fun with this little project.  Maybe I gave you some ideas or a least introduced you to something new.  I need to get a few projects through the shop before any final decisions are made as to the efficacy of the sumi pot and sumisashi for my layout routine.  For now though, I’m quite happy with what I have created.

Greg Merritt

Posted in 5-Tools, Sumitsubo-Sumi Pot | Tagged , | 13 Comments

Build Yourself a Sumi Pot (Sumitsubo?)-Part 2

After a few hours of carving, actually let’s call it whittling because I wouldn’t call what I do carving, my sumitsubo is a little more refined.  It may actually look like a koi fish!  I would like to point out a couple of things.  Any shape will work, use you imagination and have some fun with it.  As long as you make a recess for the silk wadding, your golden.  Everything after that is just for decoration and fun.

Anyway, my next step was to install the twig that will act as my sumisashi rest.  Before I started shaping, I chopped a mortise in my block and fit a tenon on the end of the twig.  I simply glued the twig in place with a little CA glue.  Once the glue was set, I blended the joint the best I could and added some carving to further blend the two pieces together.

sumi_pot-06

A little clean  up and a light sanding to take care of any sharp bits or pieces that might snag  on something later and cause a piece to chip out.


sumi_pot-07


sumi_pot-08

I wanted to add a bit of color.  So I added a coat of Light Walnut Danish Oil.  I’m pretty happy with it so far.  Over the next few days I’ll add two or three coats of Tried and True Original finish.  I should be able to call it done after that and it will be ready for a test run.  My supplies should arrive in a couple of days and I should be able to post about the setup and show how the whole system works.


sumi_pot-10

sumi_pot-11


Greg Merritt

Posted in 5-Tools, Sumitsubo-Sumi Pot | Tagged | 9 Comments

Build Yourself a Sumi Pot (Sumitsubo?)-Part 1

sumi_pot-20The sumitsubo, literally ink-pot, is a traditional Japanese layout tool.  It works much like a standard chalk line except that it uses ink in place of the chalk and the line is made of silk.  You can see several examples here.  The video below is a demonstration the sumitsubo in use.

My interest in the sumitsubo lies not with snapping long thin lines, but as an ink reservoir for the another traditional Japanese layout tool, the sumisashi.  This is an ink pen made from bamboo.  One end is shaped for drawing long, thin lines along a straightedge and the other is shaped for writing.  I have wanted to try this method of layout ever since first reading about it in Toshio Odate’s book, “Japanese Woodworking Tools: Their Tradition, Spirit and Use“.

The main reason I haven’t tried it yet is cost.  A sumitsubo will set you back about $100.  That’s a bit much for me to spend just to experiment.  The ink and sumisashi are pretty inexpensive though.  As I was researching the internet and reading articles about the sumitsubo, I discovered that it was traditionally made by the craftsman using it.  Hey, I’m a woodworker.  I should be able to make this thing.  This first one will strictly be an ink reservoir.  So no snap line or winding wheel.  Maybe in the future I’ll tackle that setup.  I can order the ink, silk wadding and sumisashi from Hida Tool.

I started with a well-seasoned block of maple that has been in my shop for a few years and sketched out the general idea of what I want it to look like.  I based the design on my logo, a stylized koi fish.  The overall shaping will be done with whatever gets the job done.  Coping saw, bow saw, chisels, knife, rasp, files and sandpaper.

sumi_pot-01

I used a brace and bit to remove the bulk of the waste for the “pot”.  Followed that with a router plane until I had a depth that I was happy with.  I then used a gouge to undercut the walls of the pot so that it will better hold the silk wadding.

sumi_pot-02

I wanted a stand to rest the sumisashi on while not in use.  I’ve seen several videos where the sumisashi is stored in a traditional sumitsubo by resting it in the groove of the winding wheel.  Since I’m not going to have a wheel, I needed to add some sort of rest for the sumisashi.  My idea is to have the koi swimming around a twig.  The twig will be the rest and is made from a piece of dry limb.

sumi_pot-03

I’ve not ordered my supplies yet but this piece of scrap plywood should give you the idea of what I’m going for.

sumi_pot-04

There is still quite a bit of shaping and detail work to do.  But not a bad start.

sumi_pot-05


Greg Merritt

Posted in 5-Tools, Sumitsubo-Sumi Pot | Tagged , , | 12 Comments

HB Tansu #2-Progress 11

Time flies when you set a crazy goal.

I only managed to get about an hour in the shop over the past week.  So my goal this morning was to complete all of the drawer frames and have them glued up.  It’s now 8pm and I had to call it a day.  I met 50% of my goal.  All of the drawer frames are made and will have to wait until tomorrow for glue.

hbt2-32

Greg Merritt


Posted in Hillbilly Tansu-001 | Tagged | Leave a comment

HB Tansu #2-Progress 10

I’m extremely disappointed in the 4-5 people who read my sporadic drivel.  In the last installment you let me drone on about drawer fronts and frames and how I was going to spend Sunday in the shop fitting and making drawers.  Not one of you thought to say,

“Hey Greg, don’t you think you should install some drawer guides first?”

LOL

Sure enough, I went out to the shop on Sunday and cleaned up the first drawer frame.  The first time I offered it to the opening, it was too tight.  A few swipes of the #4 and it slid in.  About half way in it racked horribly in the opening.  WTH!  I pulled it out, looked into the opening and realized my stupidity.  I had completely forgotten to install any of the drawer guides.

hbt2-29

Drawer guide installed!

I spent some quality time in the scrap pile and found enough suitable pieces for the required guides.  The next couple hours were spent sizing and installing all of the drawer guides.  Now I’m ready to start fitting drawers.

With the drawer guides in place, the first drawer frame slid in nice and smooth.  Only a little tweaking was required.  I don’t use drawer stops in this design.  Essentially this means everything, carcass and drawer, must be square.  Also the drawer must be built fairly close to the correct depth.  On HB Tansu #1 I built the drawers to be flush with the front of the carcass frame.  I’m not entirely happy with how that arrangement looks once the bead detail is added to the drawer front.  So this time around I’m building them to stand proud of the carcass front by about 2mm, give or take.  This whole process is a little fussy but really not all that bad.

hbt2-30

Drawer front sits proud of the carcass front. Note the temporary blue tape pulls. I learned this lesson the hard way. Never push a drawer fully in unless you have a way to pull it back out.

In summary.  My Sunday in the shop resulted in the fabrication and installation of drawer guides, fitting of the first drawer frame and I even managed to begin the joinery for the second drawer frame.  That will probably be it for progress until next weekend.  I might get lucky though and sneak in a couple of hours this week.  Time will tell.

Greg

hbt2-31

Posted in Hillbilly Tansu-001 | Tagged , | 7 Comments

HB Tansu #2-Progress 9

Now that the carcass is assembled, it’s time for drawers.  My shop is small and I have found that is much easier to build one drawer at a time in my confined space.  Not exactly conducive to production, but thats not what I’m trying to do anyway.  Like I’ve said before, most of my lumber supplies come from the big box stores.  Not ideal, but I have designed around the supplies that are readily available to me.  Ordering wood online has limitations due to shipping and I make use of that resource when I can or need to. Continue reading

Posted in Hillbilly Tansu-001 | Tagged , , | 8 Comments

HB Tansu #2-Progress 8

Today was carcass glue-up day.  Always a little stressful, but getting less so every time I do it.  I started by addressing all of the small areas that I identified yesterday as needing work.  Once that was done, I gave the exterior panels one more round of sanding just to be sure.   From there I disassembled the carcass and stacked all of the parts in what I hoped would be a logical sequence of assembly.  Then it was slather on the hide glue and place the parts.  I apologize for the crappy photos.  Truth is, I’m actually surprised that I had the presence of mind to stop and take any photos at all.

I started withe the back frame assembly laying on the trestles.hbt2-18

Then installed the corner rails and the handle rails.  Followed by the exterior panels.hbt2-19

Then I installed all of the front/rear bearers and dust panels.hbt2-20

Then came the front panel assembly.  This ones tricky to do by myself.  There are a lot of bits that need to be guided into grooves.  Any one of which can stall the entire process until it’s sussed out.hbt2-23

Then I added the clamps to seat all of the parts.hbt2-22

Once I was satisfied that everything was seated and in its proper place, I added the wedges.


hbt2-21

Now I just wait for the glue to set.  After that I’ll start the final cleanup of the carcass.

In reality, I could skip the glue and simply clamp the carcass tight, drive in the wedges and the assembly would be just fine.  The glue is not needed to hold the thing together, but I still feel better knowing it’s there.  Maybe on the next build I will be brave enough to skip the glue….maybe?

Greg Merritt


Posted in Hillbilly Tansu-001 | Tagged | 7 Comments

HB Tansu#2-Progress 7

It’s been a rough week all around.  The server at work crashed while trying to install an upgrade to the accounting software.  Since I double as the IT department, the problem fell to me.  Unfortunately it was beyond my capabilities.  So I called in reinforcements.  Luckily my brother is very skilled in this type of work and, although he was unable to repair the server, he was able to do a fresh install and together we were able to get the office back up and running in just over 24hrs.  That’s a clean install on the server, all of the desktops setup to talk to the new server and we even managed to get the accounting software upgraded.  To top that off, the company I work for went from being individually owned and operated to being family operated.  I’ve been down this road before and it’s never been good.  I’ll have to let it play out but I think it’s time to move on.

hbt2-16Even with all the work related issues I was able to tie the handles for the HB Tansu plus a couple of knobs.  If you remember, I need to install the handles before I glue up the carcass due to an accessibility issue.  I managed to do the final cleanup of the handle rails and install the handles.  The securing knots are neatly tucked away in the counterbore.  From there I was stuck waiting on Woodcraft to call and tell me my plywood order was ready for pickup.  Which they said would be this past Friday.hbt2-17

Friday came and by 4pm still no phone call from Woodcraft telling me that me order was ready.  So I called them.  They informed me that the truck had not arrived yet and they had no idea where it was.  If it showed up, my order may be ready by Saturday.  They finally called about 11am this morning and said that my order was ready and I could pick it up at my convenience.  Nine days after placing my order I finally had the birch ply that I needed to continue building Hillbilly Tansu #2.

hbt2-14After a quick trip across town, I was back in my shop and ready to start cutting the panels. There is nothing special about fitting the panels.  Just measure the opening and cut the panel slightly smaller than that.  There are a couple of things to be aware of though.  First is that all of the panels edges should be dressed and lightly beveled.  This isn’t absolutely necessary but makes assembly go much easier since there aren’t any hard edges to hang up on anything.  The other thing I try to watch out for is that I keep the side panels cut from the same section of ply and that the grain is kept in alignment.  It’s easy to get one of the pieces flipped so each piece is carefully marked.  With the panels all cut, fitted and dressed, it was time for one final dry fit.  This is my last chance to find any areas that need any last minute touches before the final glue-up.  I found and marked a couple front to rear bearers that need some attention so that they are flush with the front and rear bearers.  That is where I stopped for today.  In the morning I’ll do the last touch ups and then it’s time for the marathon glue-up session.

Greg Merritt

Posted in Hillbilly Tansu-001 | Tagged | 4 Comments